When you click on links to various merchants on this site and make a purchase, this can result in this site earning a commission. Affiliate programs and affiliations include, but are not limited to, the eBay Partner Network.
The car was stripped down, and sent to the painter. I tried to do as much disassembly work as possible to reduce his cost, and potential for broken parts. I'm a little concerned about the rear glass removal, so i hope they don't destroy that.
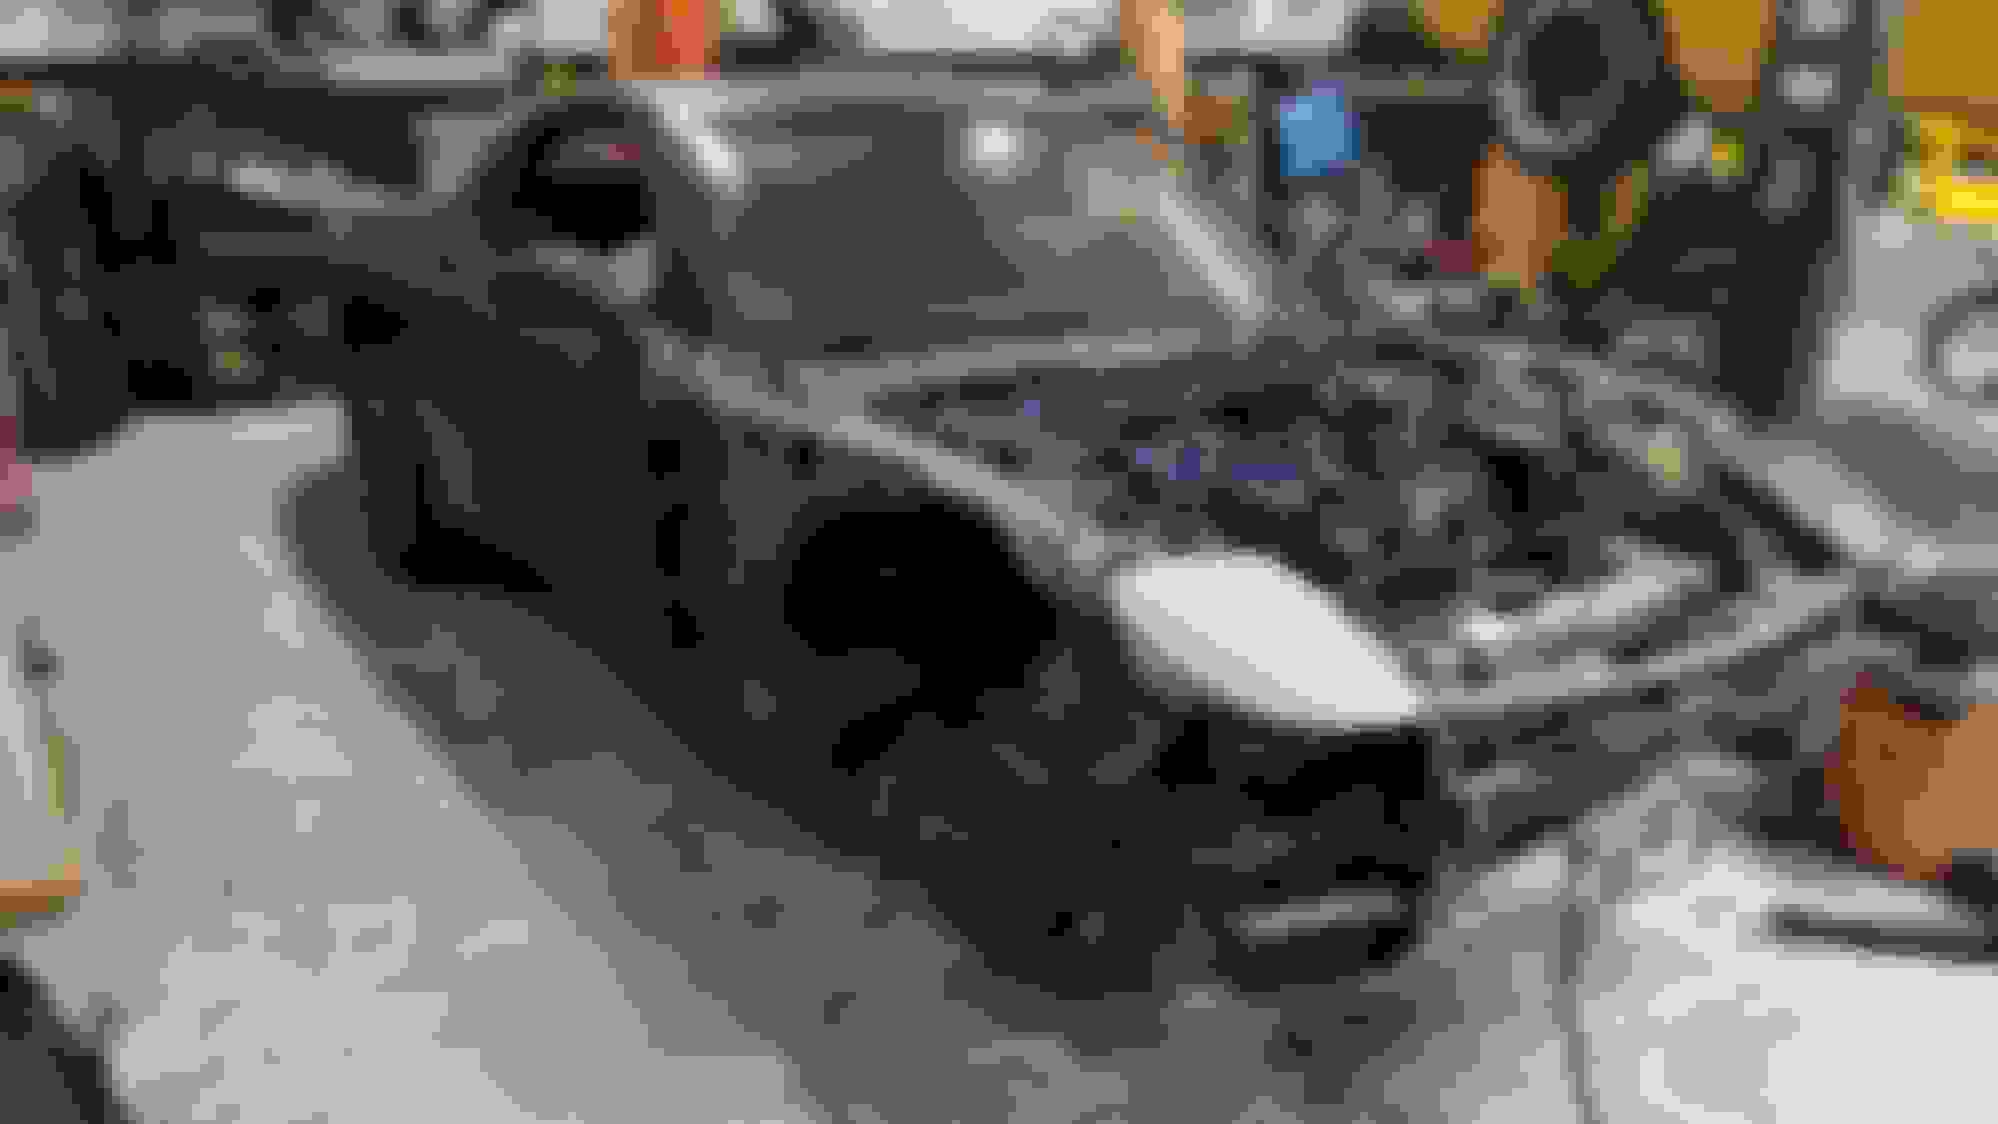
I'm also not having him paint the engine bay, as I simply ran out of time, and didn't want to lose my spot in line to have my car worked on. I'll address that later.
Updates from the painter. Panels are all fitted up, gaps checked. Holes from the previous body kit are now filled. Wing is now mounted. Pretty happy with the progress so far.
I�m enjoying your build and eager to see what you think of the paint and body work. I have a MB touring that needs some body refreshing and a rear wing installed. It is slow progress with these cars. Everything requires long part searches or special order lead times.
I recognize the garage pics from the PNW RX7 group! Maybe I�ll get to check the car out in person at a meet up sometime.
Thanks man, appreciate the kind words.
The painter is taking the week off for a new baby. We also welcomed our daughter two weeks ago, so I'm not the least upset about slower progress for now. Hopefully I'll find time when the car comes home to work on it.
Btw I usually go to the C&C at Griots in Tacoma. You'll usually find me there in the gold FB. If i can get the FD running for this summer we'll have to setup a cruise!
Not a whole lot to report just yet. Car is about 80% done at the body shop, so should be getting some good updates really soon. In the meantime, i refinished some faded plastics using SEM Trim paint.
Alright, so it's time to reveal what direction i chose for repainting the car. I know some purists might wince a little, but after a lot of deliberation i decided to do something more custom for a number of reasons. The biggest driver was knowing I have no plans to sell this car, so making it "just for me" was what mattered most. Yes, an OEM color would be more proper, pure, correct; however you want to look at it. My counter to that is this car already had a checkered past with some small collisions and would never be "original" again. Secondly I couldn't justify spending all this money having the car repainted a color I wasn't crazy about. Sorry black car owners, but black is just too boring to me, and I wouldn't have been happy. That said, here it is:
The color is Lamborghini Arancio Borealis. I spent weeks looking at paint codes and kept coming back to this. I always wanted to own an orange car, and this pearled orange just looks so good. I can't wait to get some pics of it in the sun, it really pops. A run down of what we did:
Welded all the body kit rivet holes closed
Repaired previous body work that wasn't up to standard along passenger side quarter
Repaired poor body work drivers side rear
Fitted and gapped rear bumper, front bumper, and the 99 wing
New windshield, reinstall old hatch glass
The car should be coming home to me tomorrow. I now need to go through all my factory trim and decide if it can be cleaned up or needs to be replaced.
That looks awesome! Reminds me of CYM in that it is a pearlescent, bright color, except it is orange instead of yellow. Body panel fitment looks on point too, nice work.
I figure some of these updates are going to be less exciting than others. Truthfully I think this thread is more of a record for me to look back on and have those "oh yah, i did that" moments, so if it's dry or bland for your taste, sorry!
As I'm working, it's tough for me to put parts back on the car that are clearly subpar, dirty, etc. It's slow progress, but progress nonetheless.
A simple quick sanding and some flat black paint to refinish the wiper arms. The rear plastics looked very sun faded, and as you can see even scratching those areas with a fingernail it turned to powder. I hit them with some scotchbrite and the same SEM trim paint. I don't think I'm going to do all the plastics in the car, i think that's overkill. These ones are kind of "separate" from the rest of the interior panels so a refresh that might not perfectly match probably won't stand out too terribly.
Cleaning, repairing, correcting as I go. One step forward, two steps back. It seems like everything is linked to something else that needs to get done. Seats can't go in until the plastics are all in. Plastics can't go in until seat belts. But there's also that amplifier/wiring. Oh, and the battery in the spare bin to deal with.
It's an endless string of to-do's that i don't want to have to pull things apart to redo, so I'm churning in slow progress.
I did get my seat belts back from safety restore. I wish I'd taken a before shot of them, but classic me I forgot. They were VERY sun faded and didn't look very safe. I bought them second hand and they were pretty difficult to track down.
Going in for an install, the previous owner had removed all the seat belt components and stuffed floof into the pockets behind the speakers. They also did some kind of custom leather wrap job on the seat belt slot plastics. I'll need to strip those off and clean the glue off
Speaking of seat belt install, I'm missing the following components and wonder what part they play. It seems that the plate set might be part of the belt carrier, but the covers? Does anyone have these, or can shed some light?
More pedantic tasks that just will bother me unless i make them right: Finding all the missing clips and fasteners so my plastics don't rattle or fall off. I spent some time at the junkyard looking around, and was mildly successful for some, but not all.
That seems to be the shape of the seat belt guide for the rear interior quarter panel. But it looks like someone has made it into a delete plate. In the picture above, I looks like it is attached to the quarter panel where the seat belt guide normally is.
When the seat belt guide seems to be missing, I sometimes find it still attached to the seat belt assembly. I takes some effort to separate it and so some folk might not try.
The plate set is more like a small bar that acts like a guide. The "covers" are more like cups the seat belt retractor sits in.
I believe I have several of those "plates" and "cups" if you want to give me a DM.
Dave @Redbul is the man, and came through. Parts are installed and i think we're back up and running with the right bits for working belts.
Making little progress here and there. Installed all exterior LED lights and I'm glad i did, it makes a huge difference.
I also fixed the broken tail lamp holder that was causing issues, got the correct u nuts for the rear lights and buttoned up the whole rear hopefully for the last time.
I also cleaned up some of the plastic parts that the previous owner had covered in that leather. They were caked in glue.


 05-15-22, 10:56 PM