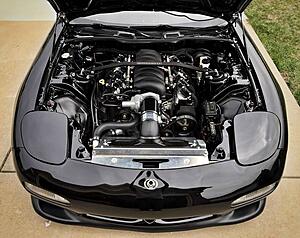
Esser's LS3 FD RX-7 R1 **Warning V8 content**
#26
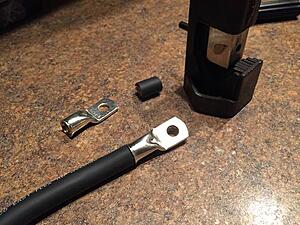
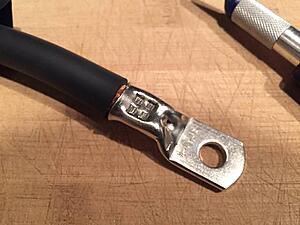
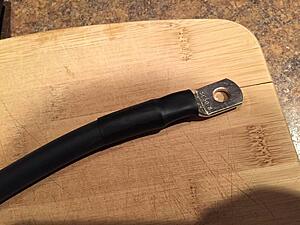
Made my own wire terminals for battery relocation.
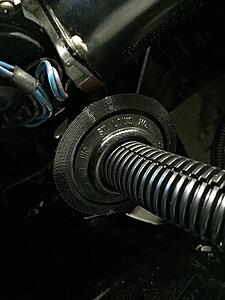
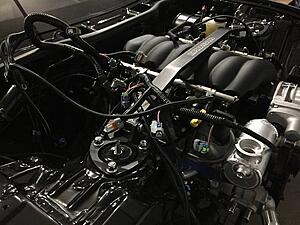
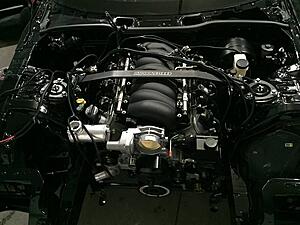
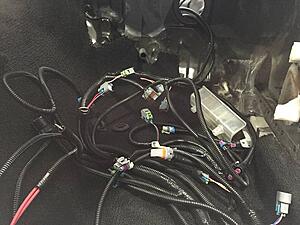
Started wiring in the engine. I went with the PSI conversions wire harness. Quality seems spot on and price is great compared to all other harness manufacturers. I 3D printed a hole size reducer so that the 2inch firewall grommet on the harness would mate up to the existing 3inch hole on the FD firewall.
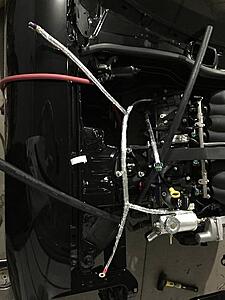
Heat wrap installed:
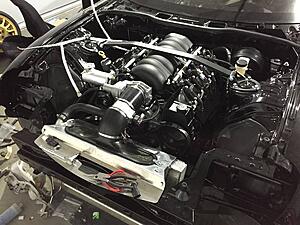
I was also able to get the samberg radiator installed:


Started wiring in the engine. I went with the PSI conversions wire harness. Quality seems spot on and price is great compared to all other harness manufacturers. I 3D printed a hole size reducer so that the 2inch firewall grommet on the harness would mate up to the existing 3inch hole on the FD firewall.


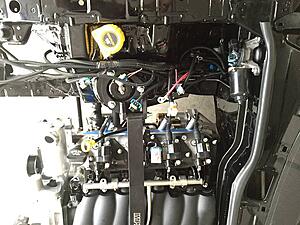
Heat wrap installed:

I was also able to get the samberg radiator installed:

#27
I have done a full conversion to speedhut gauges, and thought I would share my process. I posted this DIY in the electronics section as well, figured I post it in my build thread. I was able to retain all the factory housings and bezels for a complete stealth look. I did all of this in about 3 hours, and no major fabrication was necessary for an OE look. First of all, you will need to order these sizes:
4.5" Tachometer
4" Speedometer
2-1/16" Oil pressure
2-1/16" Water temp
2-1/16" Fuel gauge
I have seen a lot of people order the smaller 4inch tach, or get the 3-3/8 speedo. Dont do this. I actually measured the holes, and the 4.5" tach and 4" speedo work perfect. They actually measure out almost identical to the diameter of factory gauges. Trust me.
So for those of you that dont know, the speedhut gauges include their own bezel (usually aluminum) and their own rings to mount them. They also have a button (if programmable) and their own plexi-glass window. We will be ditching the plexi-glass window and aluminum bezel in order to make the factory mazda pieces work.
So here is how the speedhut gauges look compared to the stock ones:
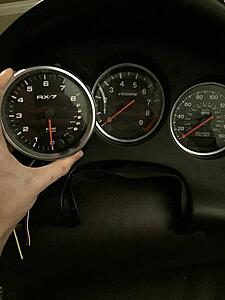
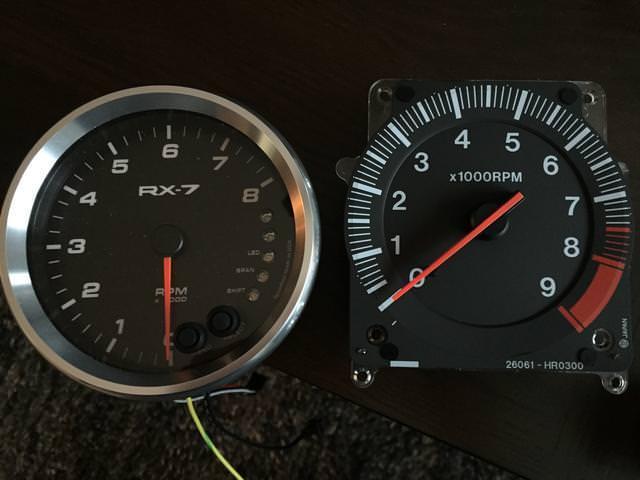
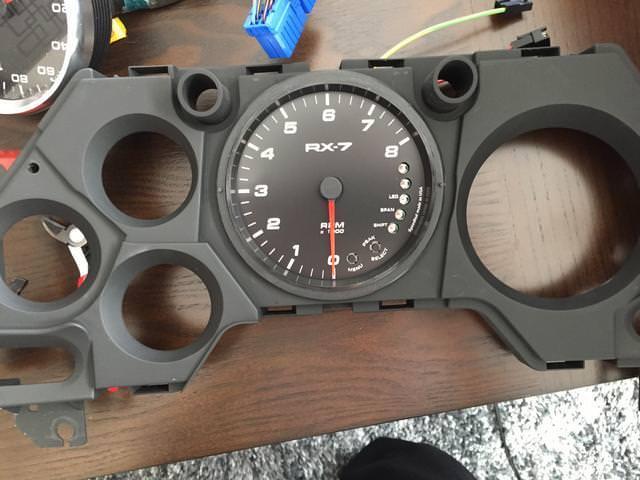
I went with the Revolution style gauge with white font. I also had the custom lettering put on to say "RX-7" ($10 option)
First step is to remove the cluster obviously and unclip the clear lens cover and the black plastic backing from the cluster assembly.
You will be left with this:
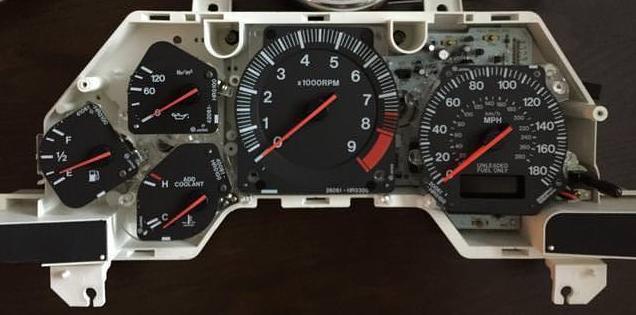
The stock gauges themselves unbolt from the back. There are about 3 bolts per each of the gauges. Go ahead and remove them so that you have an empty piece of white plastic (don't mess with the circuit board paper on back, we need to retain this for the turn signals) but you can go ahead and start removing the larger bulbs that screw in from the back.
Now looking at the black plastic gauge housing, you will notice that these holes are way to small for our large gauges. I used some side cuts and started making cuts into the edges of the housing. This effectively opens up the holes for the larger gauges. Then I literally threaded the gauge body into the housing. bottom them out until they sit flush at the front.
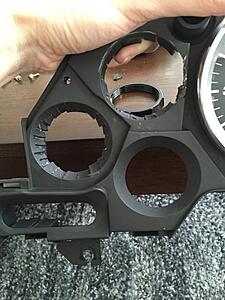
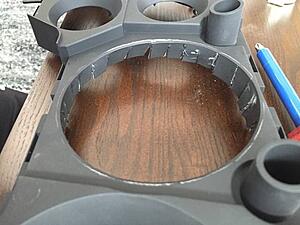
Dont worry about being neat, this cant be seen. Gauge will "press/thread" in:
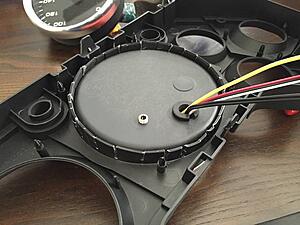
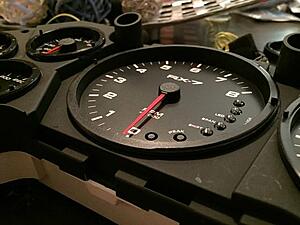
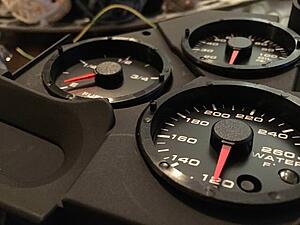
Tach installed: notice the aluminum bezel is removed and the slider ring on the back is also ditched.
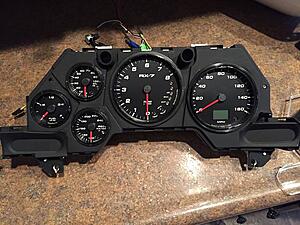
Remove any interferring white plastic standoffs on the base of the cluster. These will be obvious when piecing it together.
Run the wires through the (now) un-used bulb holes:
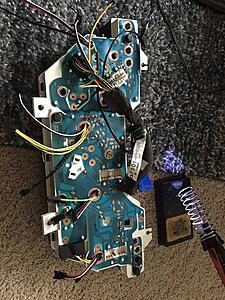
Once all the gauges are pressed in, I noticed that there are stubs on the edges of each gauge. I will need to drill out the clear lens to accept these protrusions. I put a bit of toothpaste on the tip of edge stub and then lined up the lens so I could see where I needed to drill:
4.5" Tachometer
4" Speedometer
2-1/16" Oil pressure
2-1/16" Water temp
2-1/16" Fuel gauge
I have seen a lot of people order the smaller 4inch tach, or get the 3-3/8 speedo. Dont do this. I actually measured the holes, and the 4.5" tach and 4" speedo work perfect. They actually measure out almost identical to the diameter of factory gauges. Trust me.
So for those of you that dont know, the speedhut gauges include their own bezel (usually aluminum) and their own rings to mount them. They also have a button (if programmable) and their own plexi-glass window. We will be ditching the plexi-glass window and aluminum bezel in order to make the factory mazda pieces work.
So here is how the speedhut gauges look compared to the stock ones:


I went with the Revolution style gauge with white font. I also had the custom lettering put on to say "RX-7" ($10 option)
First step is to remove the cluster obviously and unclip the clear lens cover and the black plastic backing from the cluster assembly.
You will be left with this:

The stock gauges themselves unbolt from the back. There are about 3 bolts per each of the gauges. Go ahead and remove them so that you have an empty piece of white plastic (don't mess with the circuit board paper on back, we need to retain this for the turn signals) but you can go ahead and start removing the larger bulbs that screw in from the back.
Now looking at the black plastic gauge housing, you will notice that these holes are way to small for our large gauges. I used some side cuts and started making cuts into the edges of the housing. This effectively opens up the holes for the larger gauges. Then I literally threaded the gauge body into the housing. bottom them out until they sit flush at the front.


Dont worry about being neat, this cant be seen. Gauge will "press/thread" in:

Tach installed: notice the aluminum bezel is removed and the slider ring on the back is also ditched.


Remove any interferring white plastic standoffs on the base of the cluster. These will be obvious when piecing it together.
Run the wires through the (now) un-used bulb holes:

Once all the gauges are pressed in, I noticed that there are stubs on the edges of each gauge. I will need to drill out the clear lens to accept these protrusions. I put a bit of toothpaste on the tip of edge stub and then lined up the lens so I could see where I needed to drill:
#28
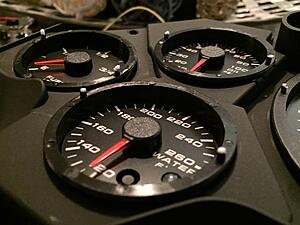
The "drill here" mark it made on the lense:
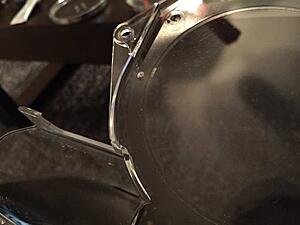
At this point you can re-install the lens and see that everything fits and lines up like OE
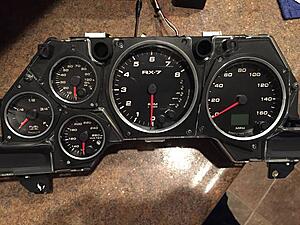
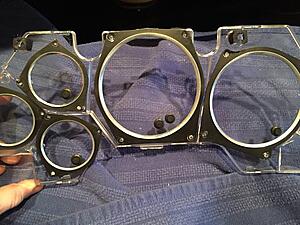
But then you will realize that you can't push the buttons on the programming for each gauge. I marked "eye-balled" where each of the buttons were with a sharpie, then removed the bezel and drilled it out to accept the speedhut rubber buttons and standoffs.
Drill slowwlllyyyyyy:
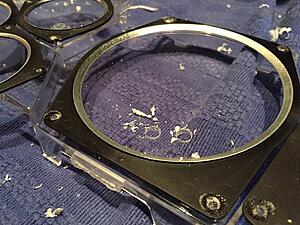
Buttons installed:
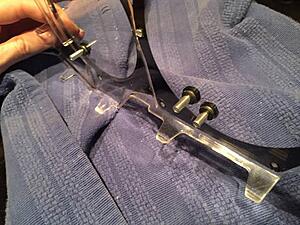
Standoffs put in place to reach the button on the gauge:
Screw all the items back together and you now have a fancy factory looking gauge setup:
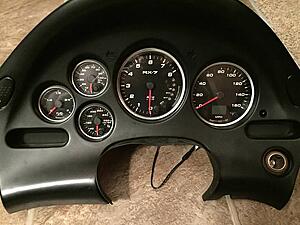
#29
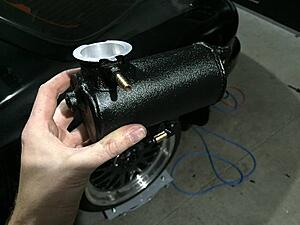
I hit the expansion tank with a couple coats of wrinkle black, turned out pretty nice.
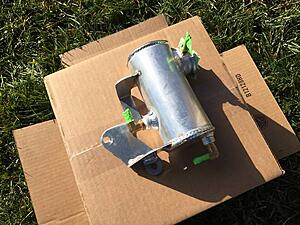
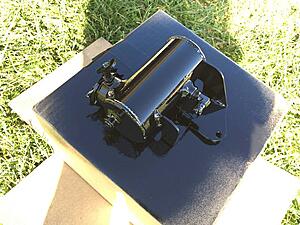
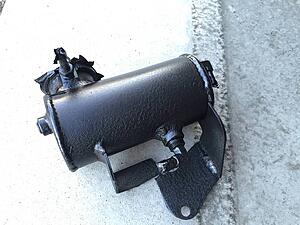
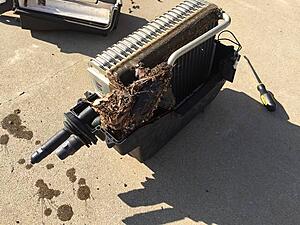
I also completely took apart the HVAC and cleaned out all the debris. My roller is low mileage, but still had a bit of leaves and crap in the vents:
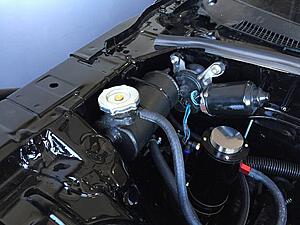
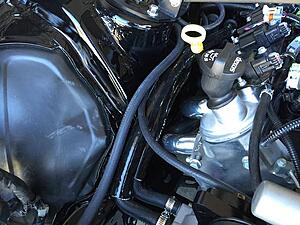
I did some relocating, and I think I found a better spot for the expansion tank in the bay. It tucks into the corner by the wiper motor pretty well. I temporarily set it here to see how the hose routing will work.
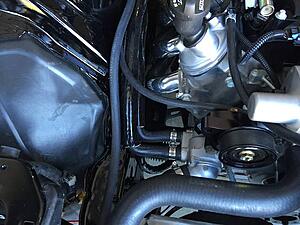
Heater hoses ran, and covered in some fiberglass heat wrap from RaceFlux.
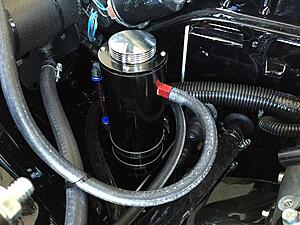
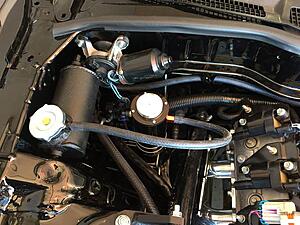
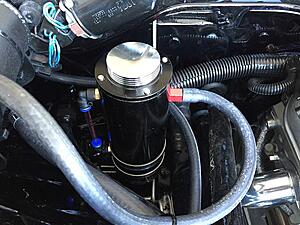
I also found a nice overflow tank and fabbed an aluminum bracket for it to sit back in the corner next to the expansion tank. Will have to go back through and clean up all the hoses, but I think i'll stick with this setup. It get the expansion tank in the highest place possible for coolant burpage.
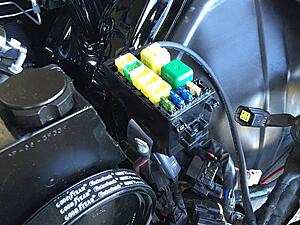
Also fabricated an aluminum bracket to mount the front fuse box to:
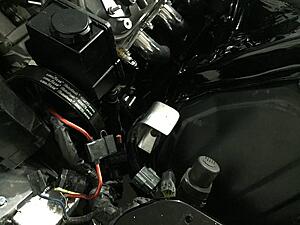


I also completely took apart the HVAC and cleaned out all the debris. My roller is low mileage, but still had a bit of leaves and crap in the vents:

I did some relocating, and I think I found a better spot for the expansion tank in the bay. It tucks into the corner by the wiper motor pretty well. I temporarily set it here to see how the hose routing will work.

Heater hoses ran, and covered in some fiberglass heat wrap from RaceFlux.


I also found a nice overflow tank and fabbed an aluminum bracket for it to sit back in the corner next to the expansion tank. Will have to go back through and clean up all the hoses, but I think i'll stick with this setup. It get the expansion tank in the highest place possible for coolant burpage.


Also fabricated an aluminum bracket to mount the front fuse box to:

The following users liked this post:
rotame12a (12-28-17)
#33
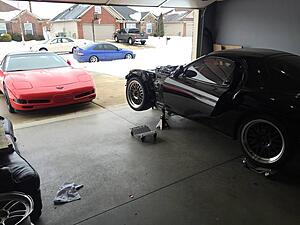
Finally had a warm weekend so a lot of progress was made. I had to remove the intake again in order to get the speedhut oil pressure sender and adapter installed. I also had to slightly trim the firewall lip to help clear the wire harness.
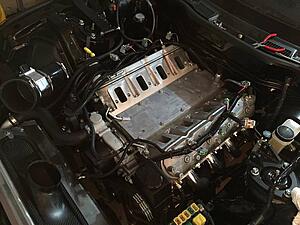
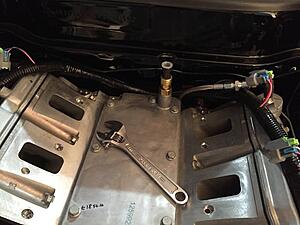
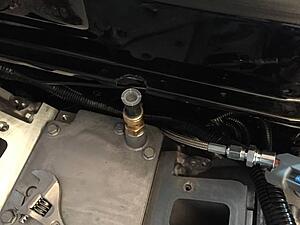
It was surprisingly warm out today despite the 6 inches of snow on the ground!
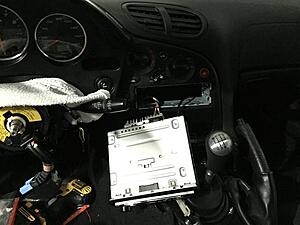
I bought a cheap Pioneer radio to install in the empty hole on the dash, and wired it up. To my surprise the retractable antenna works still.
It was time to fill up the coolant system. I used a AirLift system, which vacuum fills the entire coolant system. I pulled a 30in vacuum on it and it took about 3 full gallons to fill. Zero bubbles and no need to burb the system with this method!
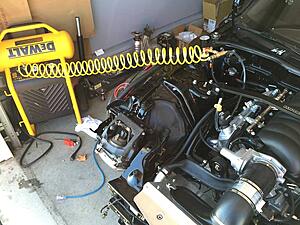
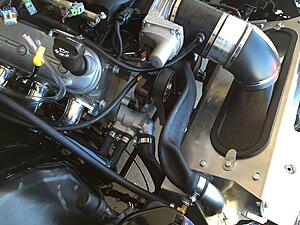
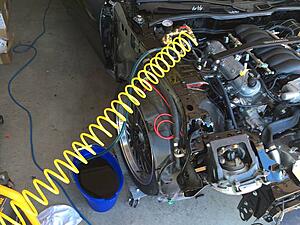
It sucked up the fluid until it was full to the brim.
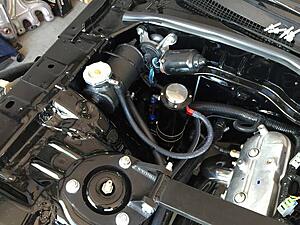
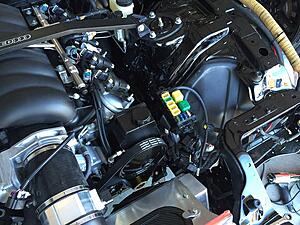
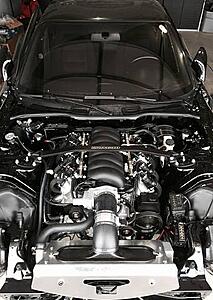
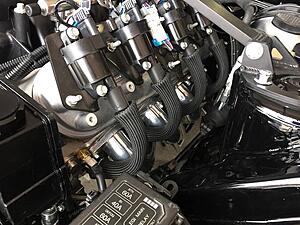
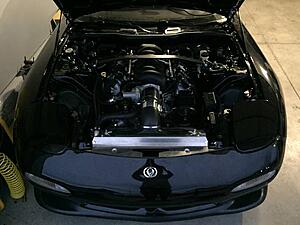
I installed the plugs and wires, as well as some vibrant heat sleeves on the wires for added protection. Here are some shots of the "completed" engine bay. Just waiting on an oil catch can and it's basically how it will look:
And I finally found a cover for my fuse box lol
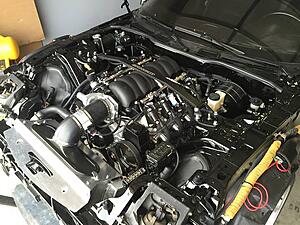


It was surprisingly warm out today despite the 6 inches of snow on the ground!

I bought a cheap Pioneer radio to install in the empty hole on the dash, and wired it up. To my surprise the retractable antenna works still.

It was time to fill up the coolant system. I used a AirLift system, which vacuum fills the entire coolant system. I pulled a 30in vacuum on it and it took about 3 full gallons to fill. Zero bubbles and no need to burb the system with this method!


It sucked up the fluid until it was full to the brim.

I installed the plugs and wires, as well as some vibrant heat sleeves on the wires for added protection. Here are some shots of the "completed" engine bay. Just waiting on an oil catch can and it's basically how it will look:


And I finally found a cover for my fuse box lol

The following users liked this post:
rotame12a (02-05-18)
#34
It's getting close!
I started re-installing all of the factory panels and bumper, it took some time to get the body lines correct again. I decided early on that I would delete the factory hood latch, and went with an aero catch setup. The install is a bit of a pain, but I was able to do a clean setup.
Started by drilling a 1.5 inch hole and working off of that.
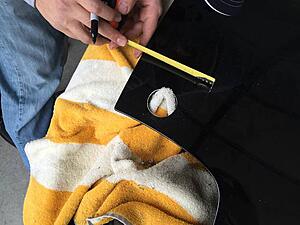
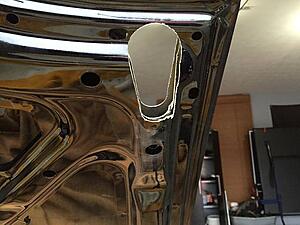
I chose the mounting location behind the headlight, it looks cleaner in this location IMO
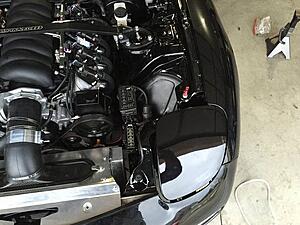
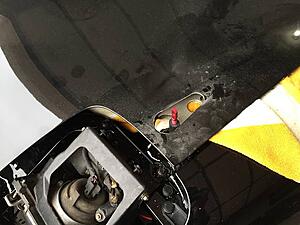
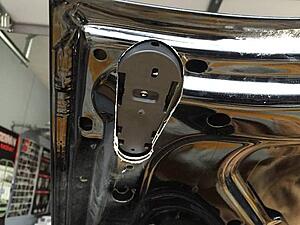
Finished result:
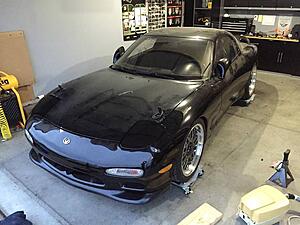
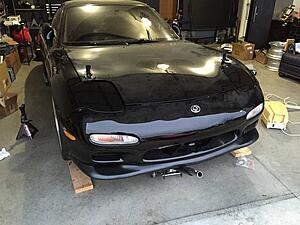
Time to start the engine! I primed the oil system using a drill pump, and held it at 40 psi for a few minutes and made sure oil got into the valve covers.
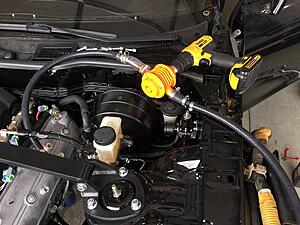
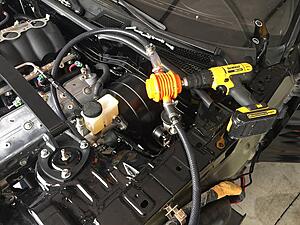
My little drill pump jig works will, I put a clear section in to see the oil going through to make sure you're pumping. I will have to upload a video, but the engine fired right up on the first attempt! It's almost ready for the first drive, just have to do a quick alignment in the garage.
I started re-installing all of the factory panels and bumper, it took some time to get the body lines correct again. I decided early on that I would delete the factory hood latch, and went with an aero catch setup. The install is a bit of a pain, but I was able to do a clean setup.
Started by drilling a 1.5 inch hole and working off of that.


I chose the mounting location behind the headlight, it looks cleaner in this location IMO


Finished result:


Time to start the engine! I primed the oil system using a drill pump, and held it at 40 psi for a few minutes and made sure oil got into the valve covers.


My little drill pump jig works will, I put a clear section in to see the oil going through to make sure you're pumping. I will have to upload a video, but the engine fired right up on the first attempt! It's almost ready for the first drive, just have to do a quick alignment in the garage.
#38
My painter filled in the hole for the cable, and I decided to just ditch the hunk of metal up front. Glad I did, I really like being able to open and close the hood without going inside the vehicle.
I was able to wash the car for the first time in a year. It moved out under its own power, very promising. Clutch grabbed great, but I lost brake pedal pressure. I think my master cylinder is just bad, it grabbed a little then went to floor like it blew out a seal, got a new one on the way. Bunch of pics in the decent weather! The paint still has zero miles on it, shines up great.
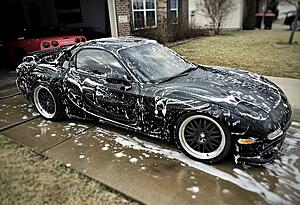
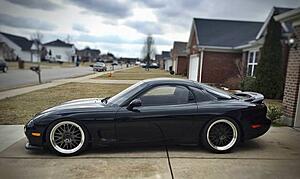
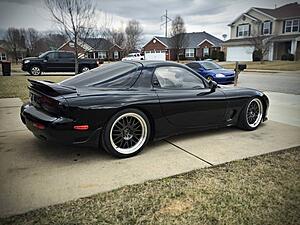
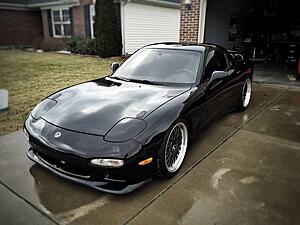
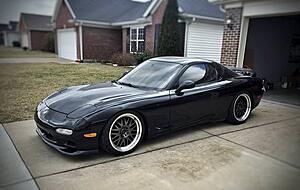
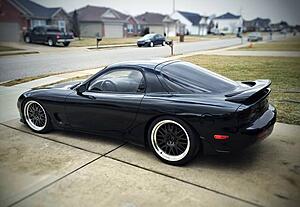
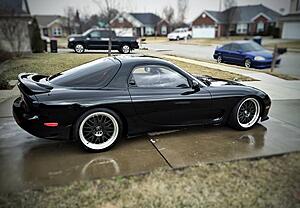
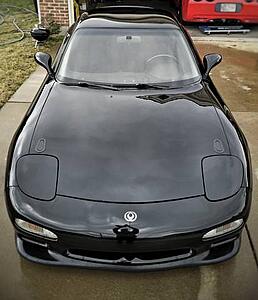
These wheels look damn good, but they are heavy ****'s being XXR. Looking to replace them with something lighter that still looks decent.
I was able to wash the car for the first time in a year. It moved out under its own power, very promising. Clutch grabbed great, but I lost brake pedal pressure. I think my master cylinder is just bad, it grabbed a little then went to floor like it blew out a seal, got a new one on the way. Bunch of pics in the decent weather! The paint still has zero miles on it, shines up great.


These wheels look damn good, but they are heavy ****'s being XXR. Looking to replace them with something lighter that still looks decent.
#40
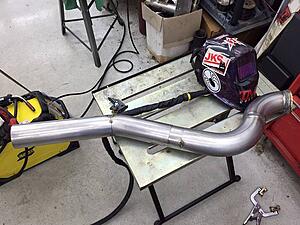
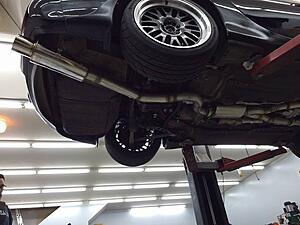
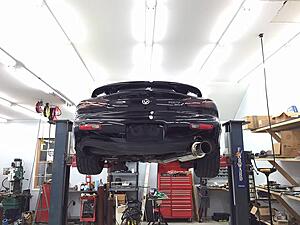
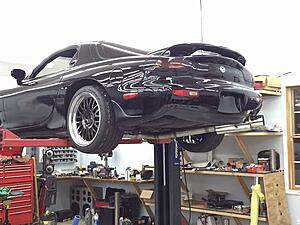
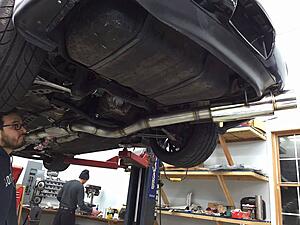
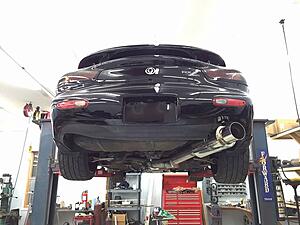
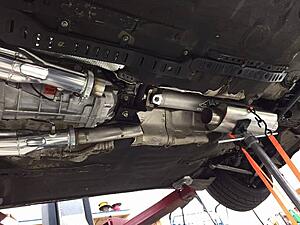
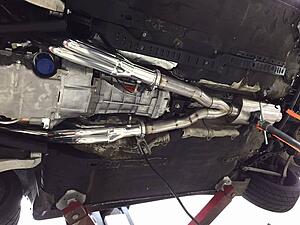
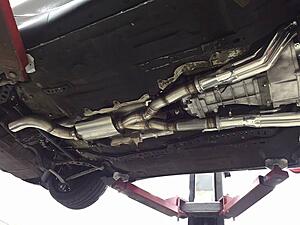
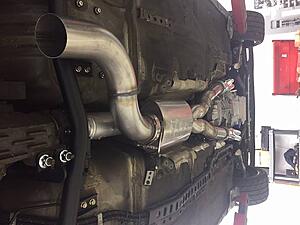
Tackled the exhaust this week. Got it up on a buddy's lift and worked for about 20 hours to get this fabbed up, lots of work!
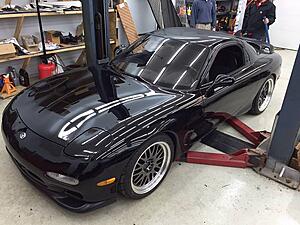
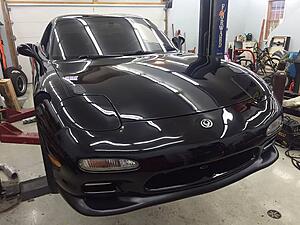
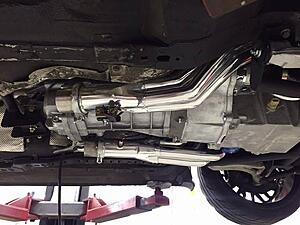
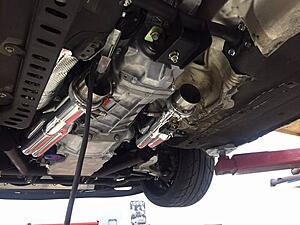
The setup is as follows:
JTR 1-3/4" headers
3" Y-Pipe into a vibrant merge into 3.5"
Borla XR1 3.5"
Then at the end there will be an Apexi muffler
Here is the progress so far
Here is Luis the welding Guru at work:
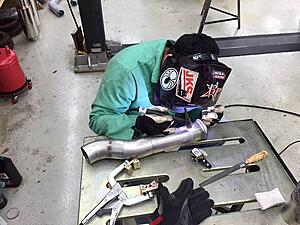
That was about all we had time to complete. Hopefully next weekend we can knock out the muffler tail section. Goal is to make it less than 103db at 50 ft, which is what most tracks require.


The setup is as follows:
JTR 1-3/4" headers
3" Y-Pipe into a vibrant merge into 3.5"
Borla XR1 3.5"
Then at the end there will be an Apexi muffler
Here is the progress so far


Here is Luis the welding Guru at work:


That was about all we had time to complete. Hopefully next weekend we can knock out the muffler tail section. Goal is to make it less than 103db at 50 ft, which is what most tracks require.
#44
Detailing an already detailed car. I think a new word might need to be created to truly expressed the details of this work. Very clean setup and very jealous. Thanks for sharing especially your work with the speedhut conversions. If you ever get an opportunity, a video of the car and exhaust would be great. Curious how that exhaust setup sounds.
-groovin
-groovin
#46
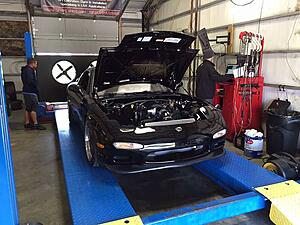
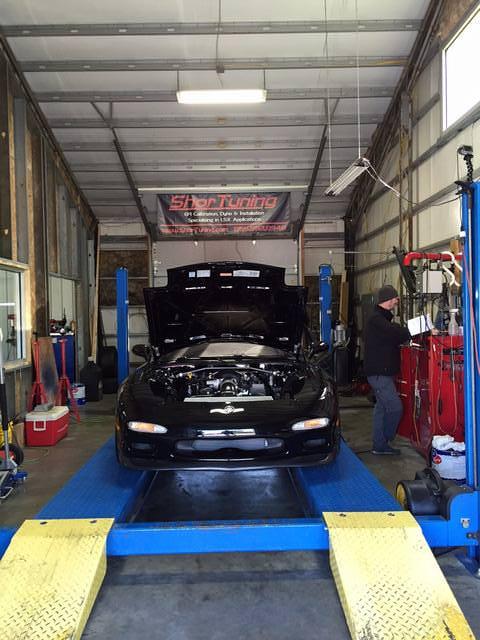
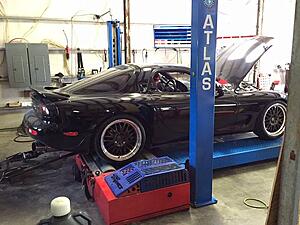
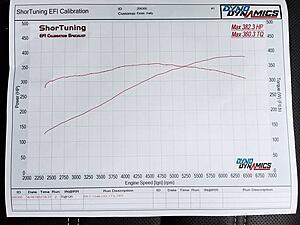
I finally got into my appointment at the tuner. I drove the car around for about 100 miles to get things broke in, changed oil, then headed to the dyno tune!
It put down 382hp, which is right in line with what most stock LS3's do on the dyno. More importantly it drives perfect, even with the aggressive RXT clutch. Torque is everywhere!
working on uploading the dyno vid
It put down 382hp, which is right in line with what most stock LS3's do on the dyno. More importantly it drives perfect, even with the aggressive RXT clutch. Torque is everywhere!


working on uploading the dyno vid


