Dliverance street/autox build
 08-24-13, 08:35 PM
#126
Senior Member
Thread Starter
iTrader: (9)
Join Date: Dec 2012
Location: ft.lauderdale
Posts: 317
Likes: 0
Received 0 Likes
on
0 Posts
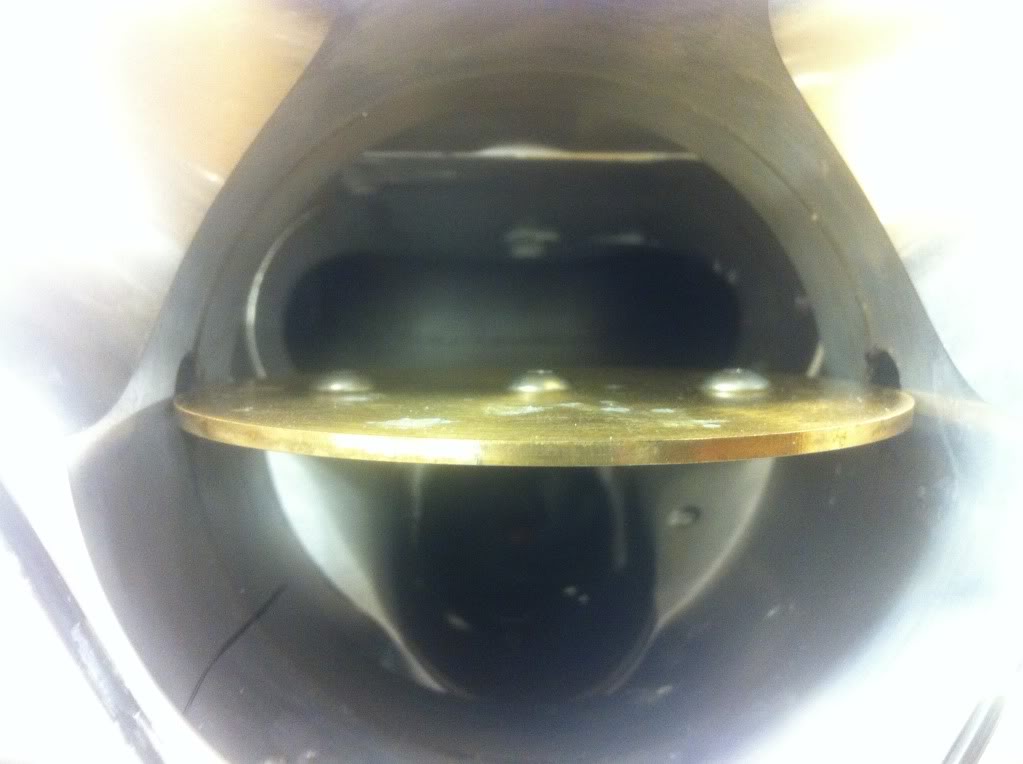
So I got to see my engines internals today and what a glorious sight it was. My rotors, housings, and plates were all in really good condition. The builder thinks the engine was rebuilt about 40k miles ago. There was a bit of carbon buildup on the rotors but that's normal. The only problem with the engine were the pinched/distorted o rings for the oil. I don't know how it lasted that long with them like that but I'm very glad I brought the engine in for rebuild when I did. If all goes well the engine should be put back together in about three weeks. While the engine is out I'm going to get the bay painted so I have a 100% fresh start. If all goes well it'll be running in 4 weeks.

 08-29-13, 06:35 PM
#128
Senior Member
Thread Starter
iTrader: (9)
Join Date: Dec 2012
Location: ft.lauderdale
Posts: 317
Likes: 0
Received 0 Likes
on
0 Posts
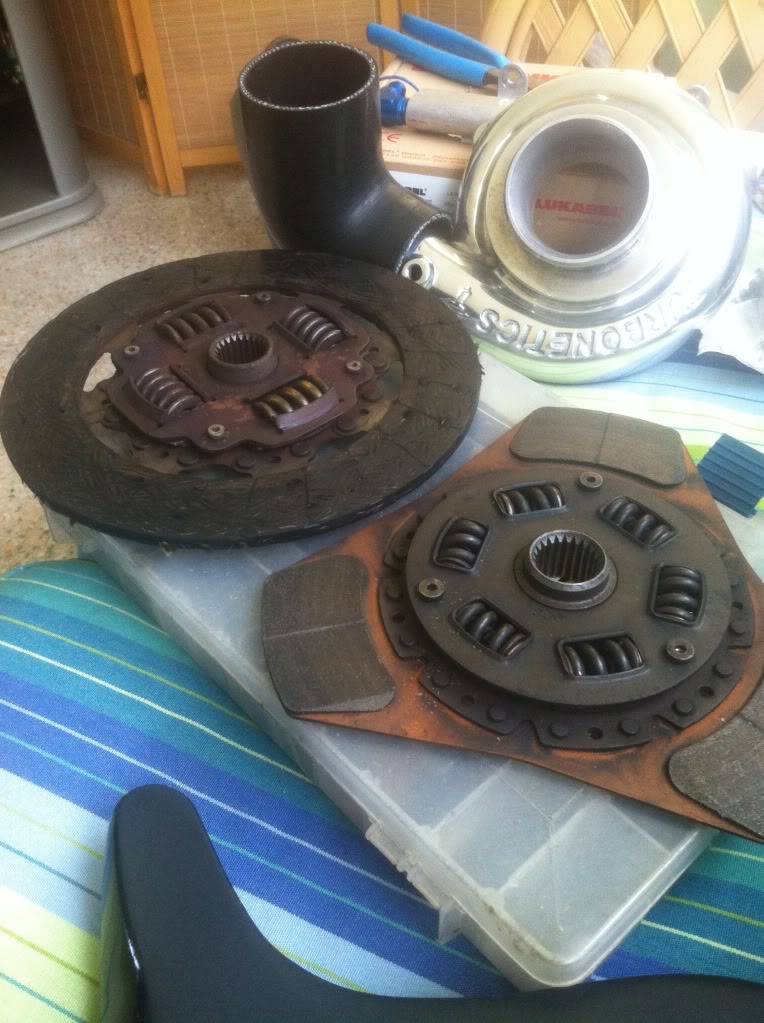
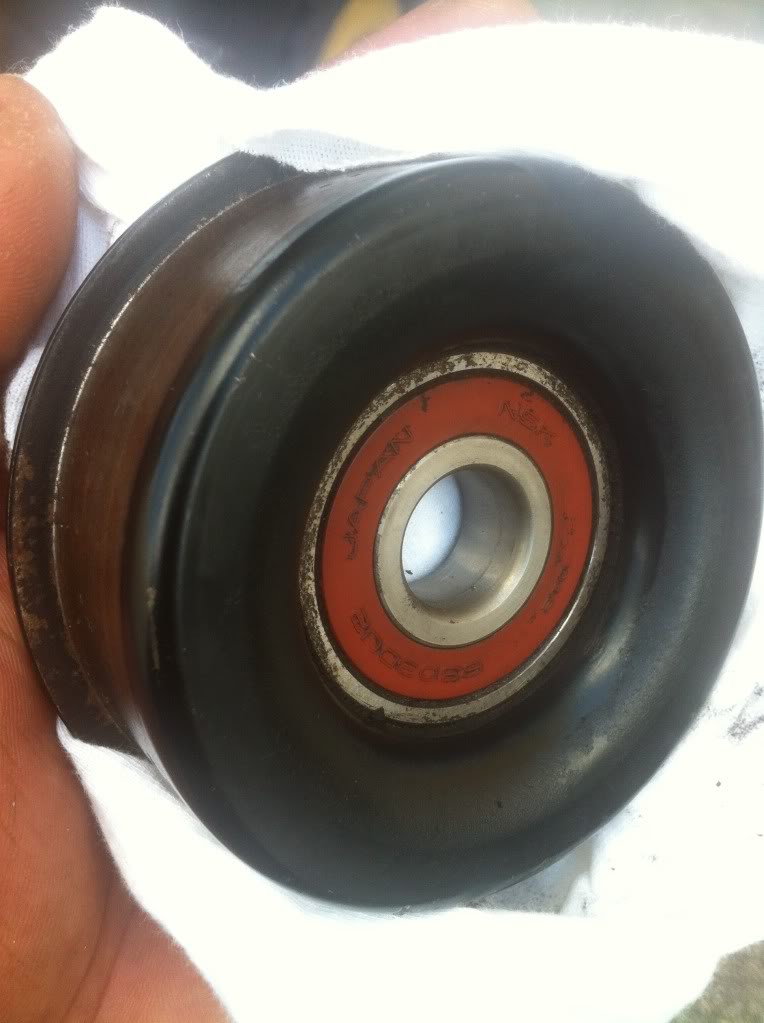
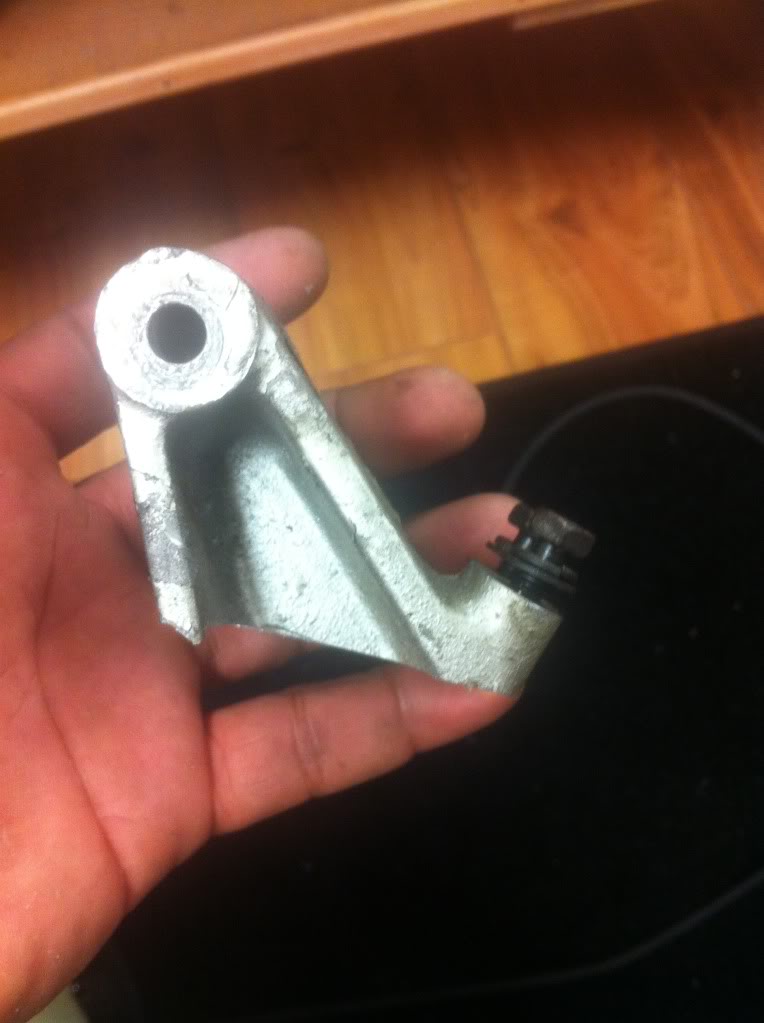
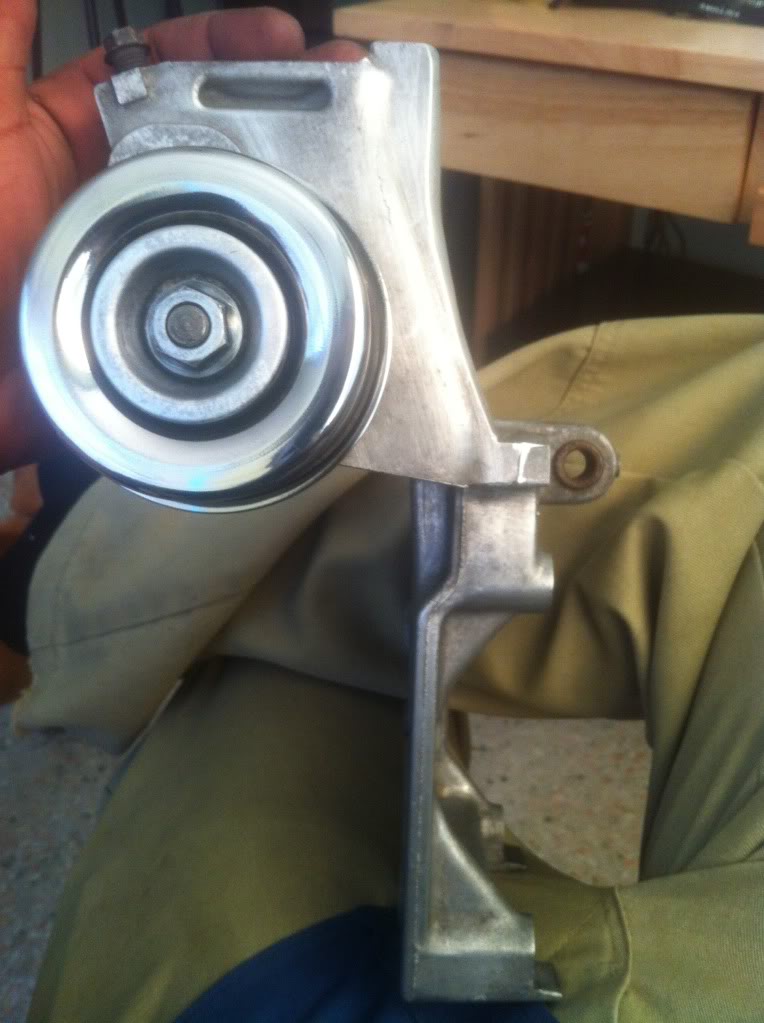
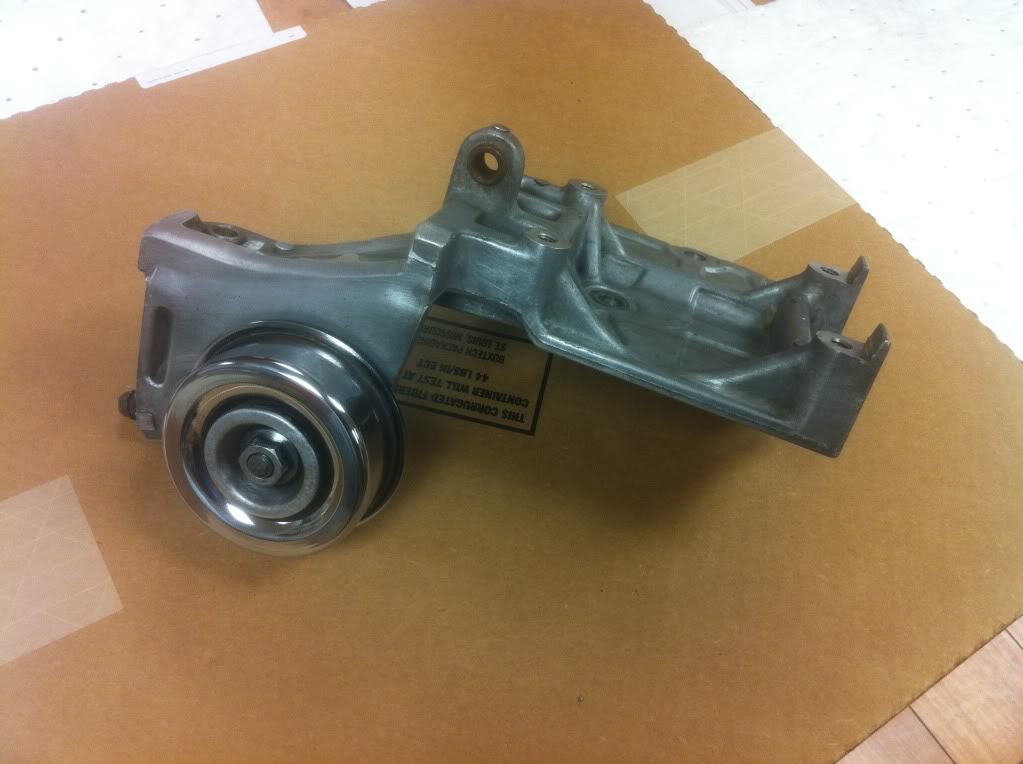
I'm going to keep this post short and sweet since I've tried this 3 times and screwed up thrice already. Long story short, I cleaned up some parts and removed the air pump mount and power steering pump mount. Thanks to XLR8 for the pulley idea.


 09-09-13, 05:18 PM
#133
Senior Member
Thread Starter
iTrader: (9)
Join Date: Dec 2012
Location: ft.lauderdale
Posts: 317
Likes: 0
Received 0 Likes
on
0 Posts
Thank you Evo.
I made some more progress on the little things this weekend and some today. I nabbed some 0AWG wire for the battery relocation, mounted the OEM aluminum bumper rail to the front bumper to give it a more OEM look and slightly better fitment, and I milled the **** out of my UIM. The rotary works TB had this huge opening and right on the other side was a huge restriction in the UIM so I decided to chop it all out and make the UIM match the ports of the TB. Hope you guys like it and forgive me, it was my first time using this mill.
Here's the bumper bracket. Right now its still in the fitting stages but once it's done I'm going to bead blast it to clean it up.

Fitment so far.

Here's what the battery cable looked like after I crimped the ends on it but before the heat shrink.

And the TB work.


 09-10-13, 12:02 PM
#135
Senior Member
Thread Starter
iTrader: (9)
Join Date: Dec 2012
Location: ft.lauderdale
Posts: 317
Likes: 0
Received 0 Likes
on
0 Posts
Yeah I have 
I took some time and cleaned up the port work on the UIM. Looks a bit cleaner to me without the jagged edges.
I wonder what kind of power gain it'll have if any with the TB.
I took some time and cleaned up the port work on the UIM. Looks a bit cleaner to me without the jagged edges.
I wonder what kind of power gain it'll have if any with the TB.

 09-15-13, 10:13 AM
#142
Senior Member
Thread Starter
iTrader: (9)
Join Date: Dec 2012
Location: ft.lauderdale
Posts: 317
Likes: 0
Received 0 Likes
on
0 Posts
I got word back from the engine builder on Friday and my engine will be ready for pickup next weekend. This is all fine and dandy but I still need to paint the engine bay first.
While I was waiting for the engine to be rebuilt I did some math and my intercooler setup was starting to look like my weakest link. The rest of my setup seemed to support 450whp but the intercooler should only be good to about 400 so I decided to sell my intercooler setup and koyo. My next setup will be a rotary works v mount with quite a bit of customization.
Wish me luck.
09-15-13, 10:43 AM
#143
Senior Member
Thread Starter
iTrader: (9)
Join Date: Dec 2012
Location: ft.lauderdale
Posts: 317
Likes: 0
Received 0 Likes
on
0 Posts
So just as a reminder to myself I'm going to make a list of all of the modifications done to the car so far.
Exterior
99 spec front bumper
99 spec lights
99 spec OEM front lip
Suspension/steering
Buddy Club coilovers
Power steering delete
Super pro steering rack bushings
Megan outer tie rod ends
Fuel/ECU
Apexi PFC FD3S4
Aeromotive fuel pressure regulator
Bosch 1680cc secondaries
OEM 850cc as primaries
KG parts secondary rail
Rotary Performance "competition" fuel pump
Stainless lines with AN fittings
Engine
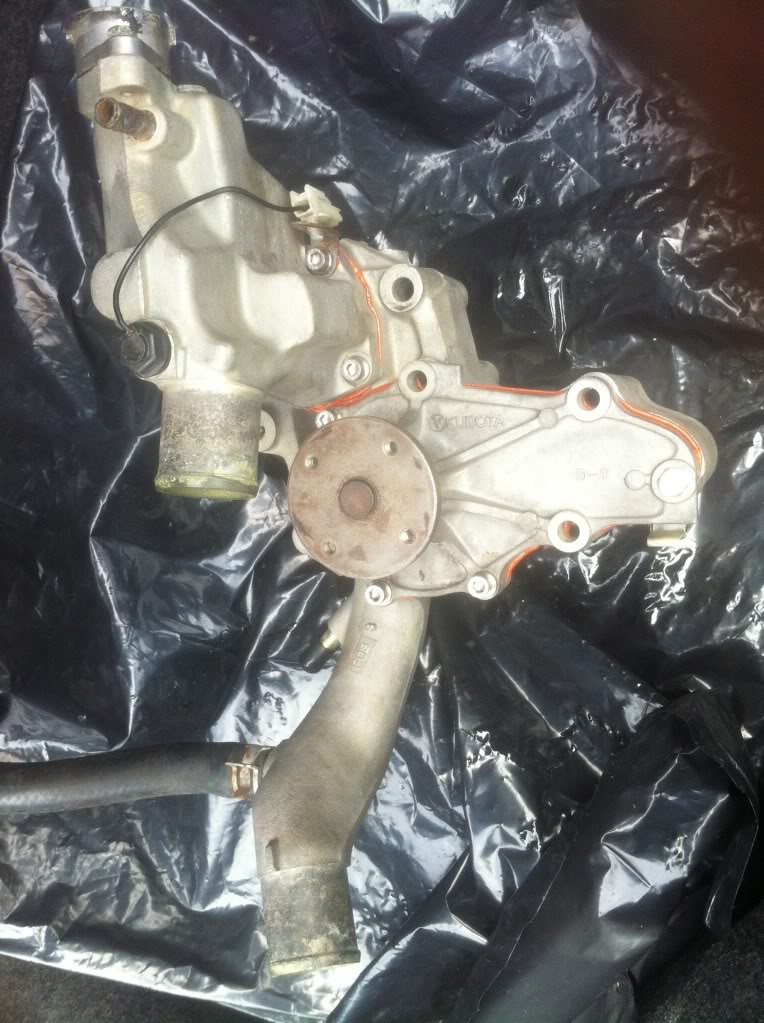
Engine rebuilt and mildly ported 9/2013
Rotary Works throttle body
Rotary Works V mount intercooler/radiator
Ported UIM
Greddy t3 manifold
Turbonetics 60-1 Turbo with .70/.77
Tial MV-S wastegate
Custom aluminum oil filler neck
Custom coil pack relocation bracket
Rotary works 3" stainless V-band downpipe
Megan 3" stainless midpipe
I think that's it as of now but I'm sure I forgot something.
I still need to get a wideband, boost gauge, coolant temp gauge, catch can, Rywire harness, another Greddy elbow, and a tune.
Exterior
99 spec front bumper
99 spec lights
99 spec OEM front lip
Suspension/steering
Buddy Club coilovers
Power steering delete
Super pro steering rack bushings
Megan outer tie rod ends
Fuel/ECU
Apexi PFC FD3S4
Aeromotive fuel pressure regulator
Bosch 1680cc secondaries
OEM 850cc as primaries
KG parts secondary rail
Rotary Performance "competition" fuel pump
Stainless lines with AN fittings
Engine
Engine rebuilt and mildly ported 9/2013
Rotary Works throttle body
Rotary Works V mount intercooler/radiator
Ported UIM
Greddy t3 manifold
Turbonetics 60-1 Turbo with .70/.77
Tial MV-S wastegate
Custom aluminum oil filler neck
Custom coil pack relocation bracket
Rotary works 3" stainless V-band downpipe
Megan 3" stainless midpipe
I think that's it as of now but I'm sure I forgot something.
I still need to get a wideband, boost gauge, coolant temp gauge, catch can, Rywire harness, another Greddy elbow, and a tune.
09-22-13, 03:14 PM
#145
Senior Member
Thread Starter
iTrader: (9)
Join Date: Dec 2012
Location: ft.lauderdale
Posts: 317
Likes: 0
Received 0 Likes
on
0 Posts
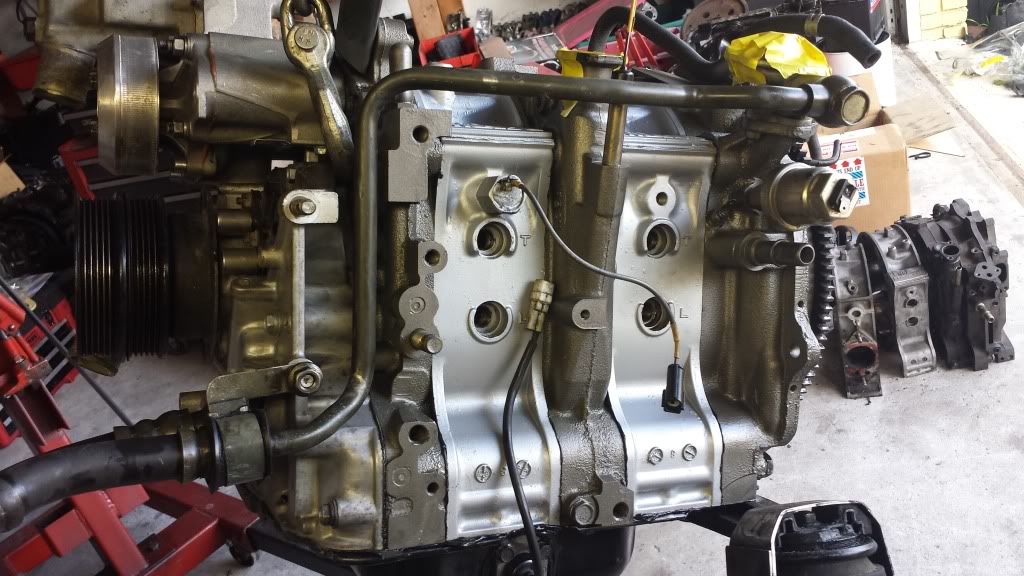
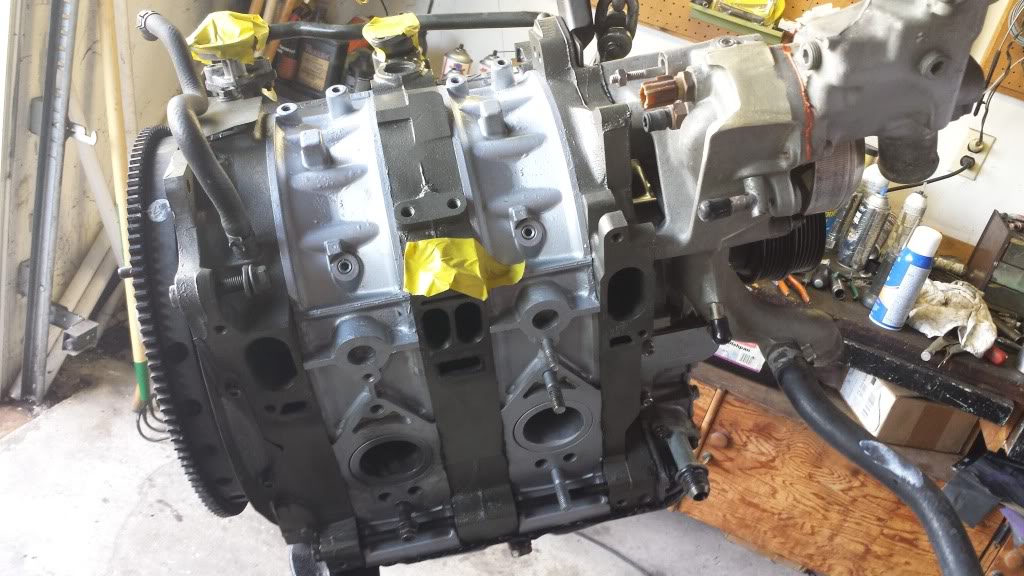
I went down and got a look at my engine today. I would have picked it up but I need a truck. Going to have to borrow one and pick it up tomorrow. I think it looks pretty damn good.
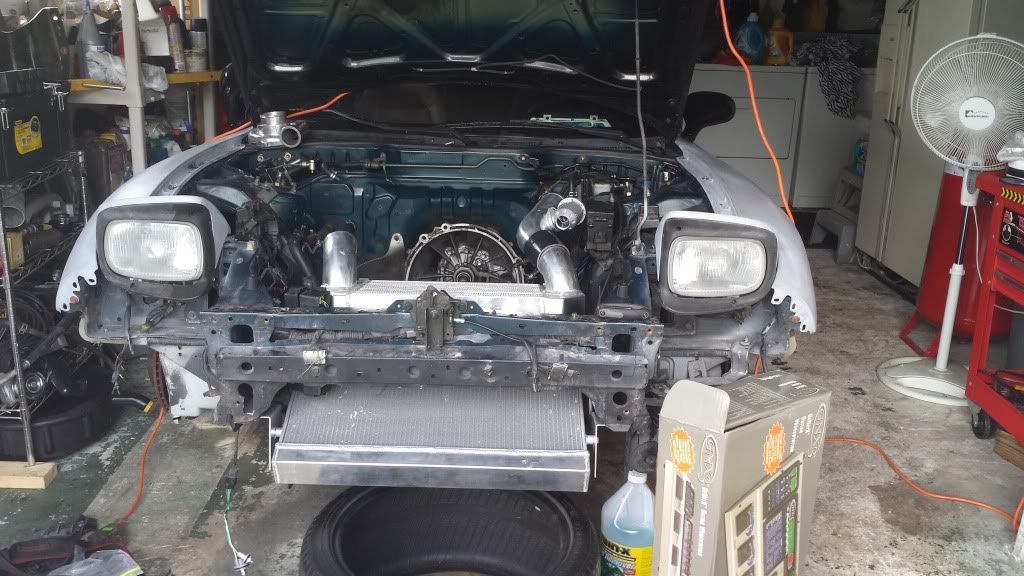
I also started the v mount install. So far everything is pretty solid. I still have to weld on some L brackets for the condenser, re bend the AC lines, extend the fan wires, and find a new home for the relay box. I think I'm going to mount the relay box under the passenger headlight.
Now that the engine is done and the v mount is all pretty much set, I am going to paint the bay so I can start putting her together permanently.
I also started the v mount install. So far everything is pretty solid. I still have to weld on some L brackets for the condenser, re bend the AC lines, extend the fan wires, and find a new home for the relay box. I think I'm going to mount the relay box under the passenger headlight.


Now that the engine is done and the v mount is all pretty much set, I am going to paint the bay so I can start putting her together permanently.
09-22-13, 10:13 PM
#146
Senior Member
Thread Starter
iTrader: (9)
Join Date: Dec 2012
Location: ft.lauderdale
Posts: 317
Likes: 0
Received 0 Likes
on
0 Posts
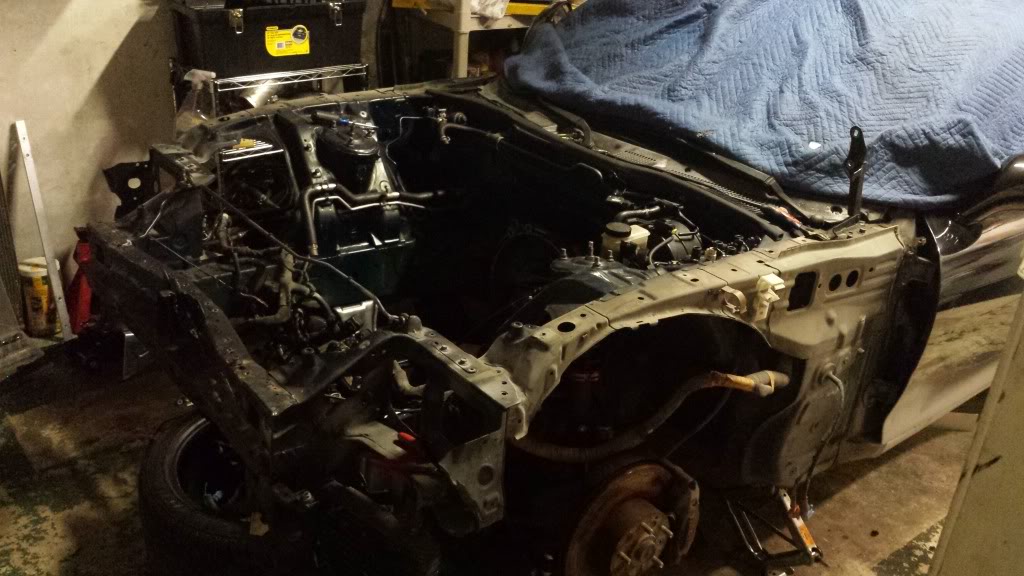
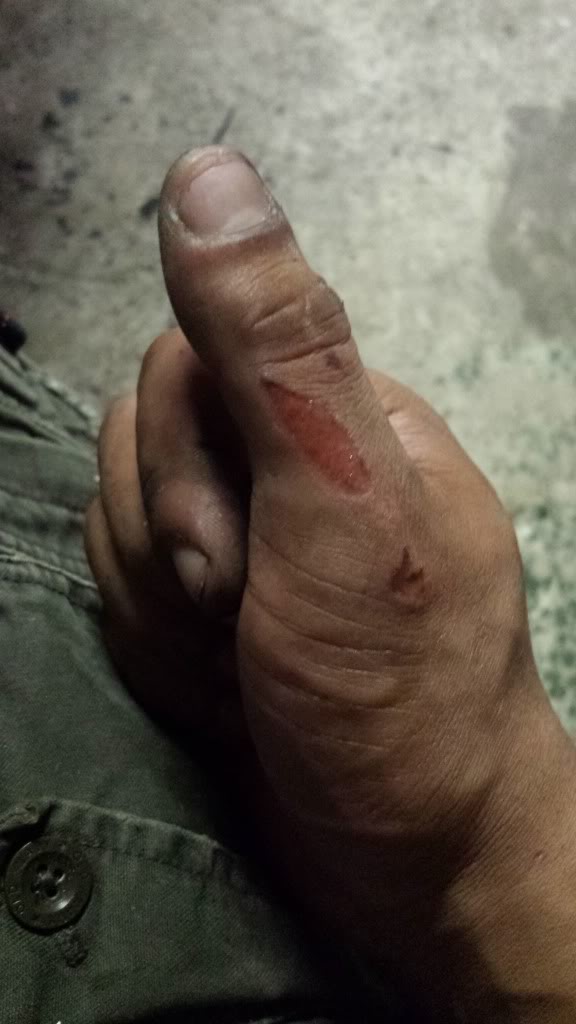
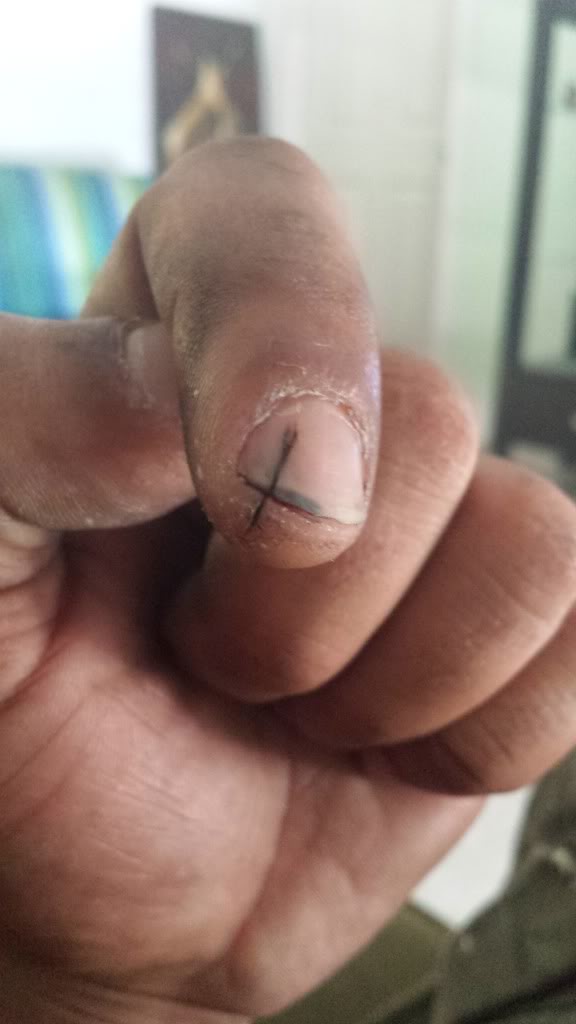
Did some more work today. Got all of the front body panels off and most of the harness out of the way so can start sanding and preparing for paint. I busted two fingers up pretty good too.

09-23-13, 11:15 AM
#148
Senior Member
Thread Starter
iTrader: (9)
Join Date: Dec 2012
Location: ft.lauderdale
Posts: 317
Likes: 0
Received 0 Likes
on
0 Posts
The problem with gloves is when you're trying to tighten a 10mm by hand. Frickin sucks lol. I'm not in a huge rush to get the engine home since I still have to paint the bay but I'll get it home today or tomorrow.