Deesan's slammed BP20B Street Weapon
 01-11-15, 04:00 PM
#1

Welcome everyone!
Now that you are here (hopefully to stay), I invite you to join me on my quest to build a unique and amazing turbo bridge ported 20B FD3S.
First off, let me give you guys a bit of back story on me and the car itself.
Prior to buying this car I wasn't all that much into cars to be honest, being a guy I liked them, but nothing that prevented me from sleeping at night... Then one day Fast and the Furious Tokyo Drift came out (you're authorized to laugh at me hahah) and of course, I went to see it like everybody else my age! Unfortunately for me, I had no idea seeing this movie would end up costing me this much money!I fell in love the moment I saw Han's Veilside Fortune, it was what you can call love at first sight!
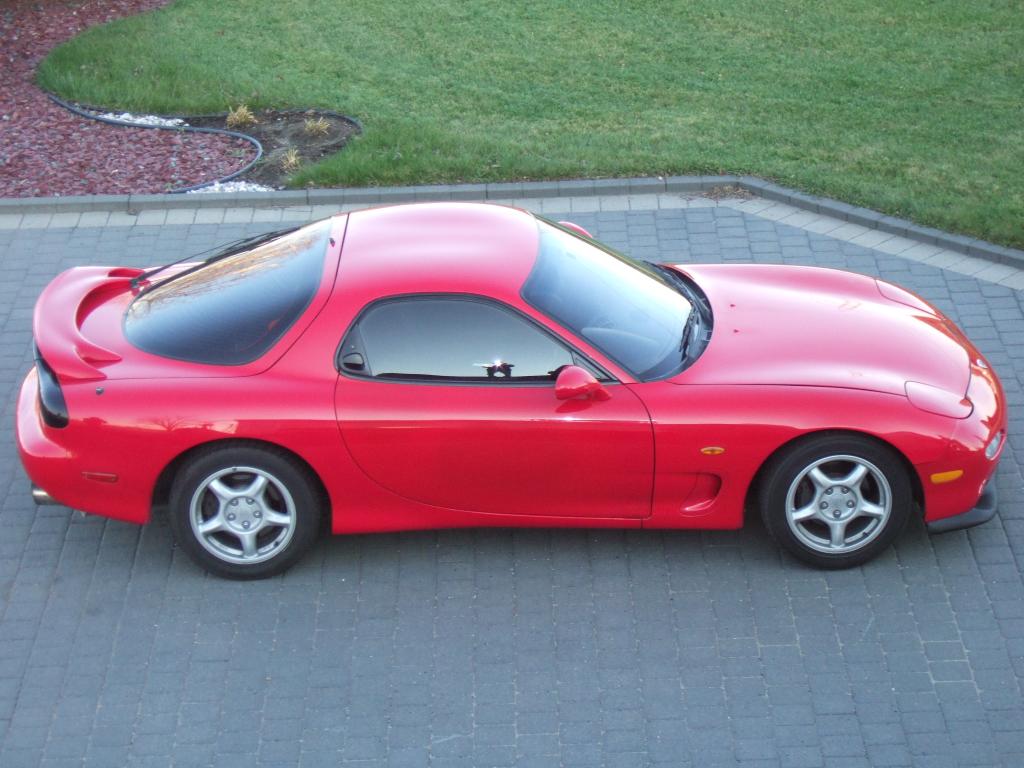
Obviously, coming out the theater I had no idea what this crazy looking black and orange car was, so I hit Google and only took me couple of minutes to find the info I was looking for. From that moment, it was already too late for me to turn back, I knew I wanted one! To make it short.. a couple of months later I was the proud owner of a RHD 1993 VR FD3S in it's complete OEM form. An extremely clean one and it had about 63k KMs.
As the years passed by, I started putting money on it and the car began to evolve as my passion for cars did. During the first couple years I used to tell people I would only modify the exterior and be done with it... I was lying to myself! In 2010 I blew the engine, which had all the regular bolt-ons (PFC / MP / catback / intake / boost controller / gauges)and decided to go all out with a 3 rotor setup.

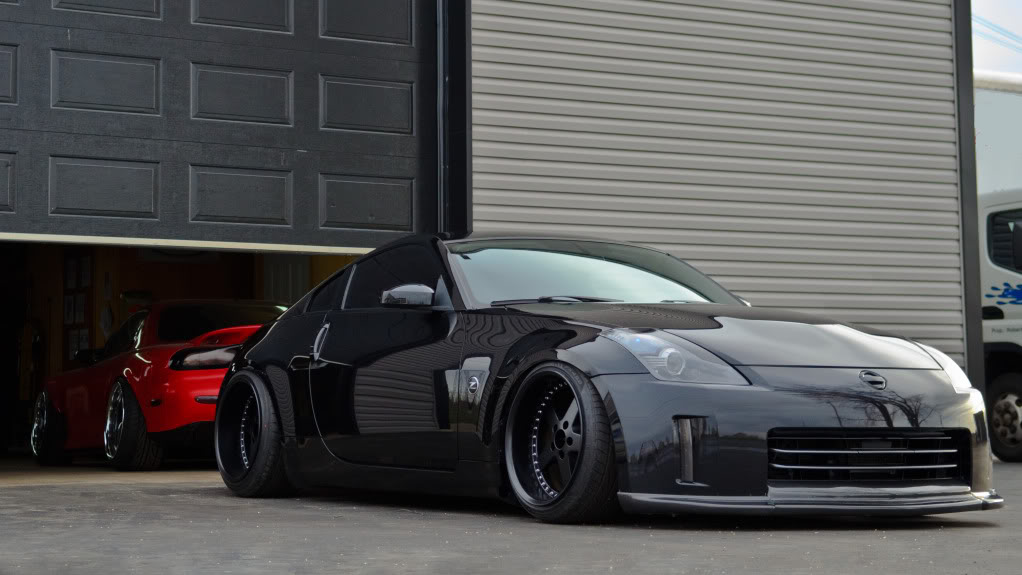
At this time, I didn't have enough knowledge on them nor enough money in my dream budget to make it happen. So I chose to put the car aside for an unknown amount of time while I were to gather valuable information and plan the entire build the best I could. In the meantime, I built this 350Z to keep me entertained and I needed a winter beater (I know not your average winter beater ).
).
Now here I am about 3 years and 50k later, finally beginning to build a completely retarded bridge ported 3 rotor setup! Trust me guys, this is going to be good, you won't be disappointed!
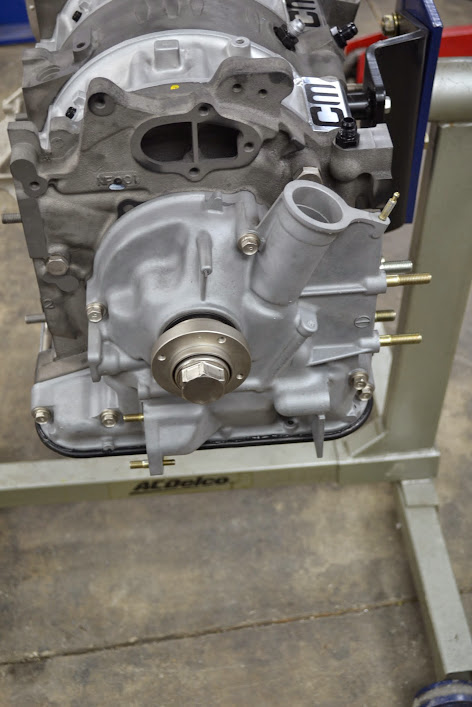
Last year, I picked up a C series engine from a private seller and got the engine shipped to Mr Chip at Chip motorsports to get the engine rebuilt. My mindset is to make it right the first time around. I didn't want to lose time and money on a used engine in an unknown condition. I must say the guy is quite busy and it took a couple of months to get my engine back, but the engine came back in a better condition than it was when it rolled out from Mazda's factory.


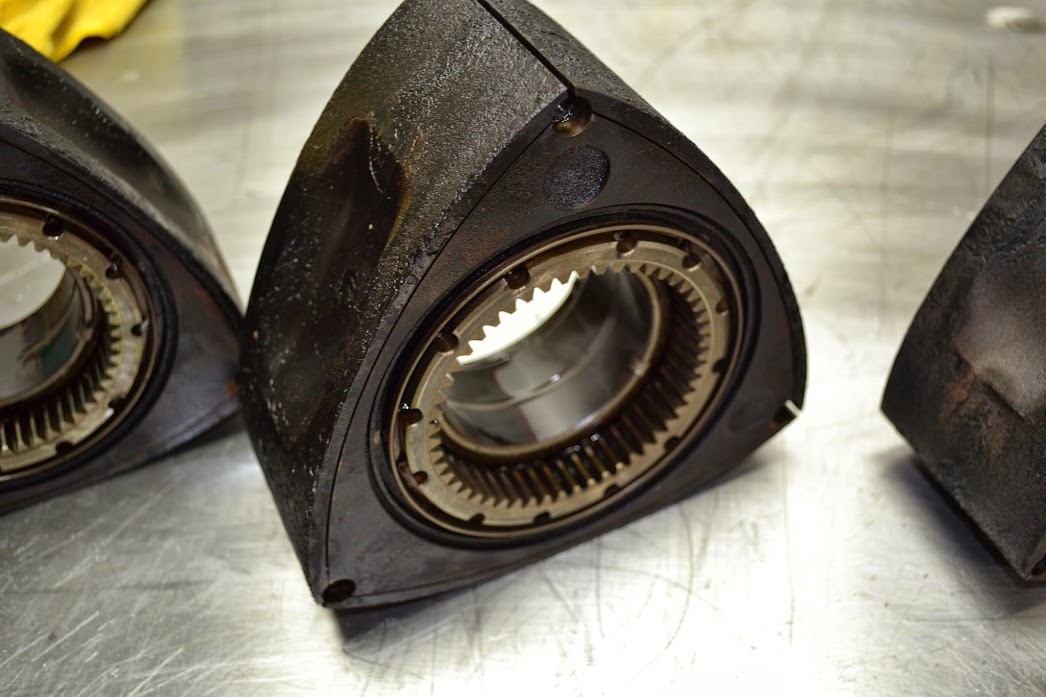
Some pictures of the internals after Chip worked his magic.
Click this link to see more photos: https://plus.google.com/photos/+Chip...569?banner=pwa


In my next post I will be posting my part list and obviously more part pictures and progress photos as well!
Please feel free to subscribe and ask questions if you are interested in my build! You can also follow me on instagram @D33SAN Thank you!
Now that you are here (hopefully to stay), I invite you to join me on my quest to build a unique and amazing turbo bridge ported 20B FD3S.
First off, let me give you guys a bit of back story on me and the car itself.
Prior to buying this car I wasn't all that much into cars to be honest, being a guy I liked them, but nothing that prevented me from sleeping at night... Then one day Fast and the Furious Tokyo Drift came out (you're authorized to laugh at me hahah) and of course, I went to see it like everybody else my age! Unfortunately for me, I had no idea seeing this movie would end up costing me this much money!I fell in love the moment I saw Han's Veilside Fortune, it was what you can call love at first sight!
Obviously, coming out the theater I had no idea what this crazy looking black and orange car was, so I hit Google and only took me couple of minutes to find the info I was looking for. From that moment, it was already too late for me to turn back, I knew I wanted one! To make it short.. a couple of months later I was the proud owner of a RHD 1993 VR FD3S in it's complete OEM form. An extremely clean one and it had about 63k KMs.

As the years passed by, I started putting money on it and the car began to evolve as my passion for cars did. During the first couple years I used to tell people I would only modify the exterior and be done with it... I was lying to myself! In 2010 I blew the engine, which had all the regular bolt-ons (PFC / MP / catback / intake / boost controller / gauges)and decided to go all out with a 3 rotor setup.


At this time, I didn't have enough knowledge on them nor enough money in my dream budget to make it happen. So I chose to put the car aside for an unknown amount of time while I were to gather valuable information and plan the entire build the best I could. In the meantime, I built this 350Z to keep me entertained and I needed a winter beater (I know not your average winter beater
).
Now here I am about 3 years and 50k later, finally beginning to build a completely retarded bridge ported 3 rotor setup! Trust me guys, this is going to be good, you won't be disappointed!
Last year, I picked up a C series engine from a private seller and got the engine shipped to Mr Chip at Chip motorsports to get the engine rebuilt. My mindset is to make it right the first time around. I didn't want to lose time and money on a used engine in an unknown condition. I must say the guy is quite busy and it took a couple of months to get my engine back, but the engine came back in a better condition than it was when it rolled out from Mazda's factory.
Some pictures of the internals after Chip worked his magic.
Click this link to see more photos: https://plus.google.com/photos/+Chip...569?banner=pwa
In my next post I will be posting my part list and obviously more part pictures and progress photos as well!
Please feel free to subscribe and ask questions if you are interested in my build! You can also follow me on instagram @D33SAN Thank you!


 01-12-15, 06:26 PM
#7

-18x10 0
-18x12 +7
-18x13 +20

Some pictures to keep you guys looking
Xcessive LIM + 6x 1000cc Injector Dynamic injectors + Full Function Engineering secondary rail

The maybe outdated but legendary HKS T51R Kai

Iphone pic of the T56 Magnum connected to the engine with Chip's adapter kit

Trending Topics

The following users liked this post:
SPIRIT 7 (01-19-20)
 10-18-15, 09:44 PM
#14
Long overdue update
COMPRESSOR:
-Wheel: 56 Trim, 70.3mm Inducer/ 94.0mm Major
-Housing: Anti-Surge 100mm Inlet / 80mm Outlet
TURBINE:
-Wheel: 76 Trim - 82.0mm Major / 71.4mm Exducer
-Housing: 99.1mm V-band Inlet / 115.5mm V-Band downpipe discharge
-A/R: 1.00
Here's a list of the parts I already bought for my dream build...
Engine
6x AEM high output smart coil
Automatic starter
2x Bosch 044 filter sock
2x Bosch 044 Fuel Pump
Chip Motorsports 20B rebuild
CJ Motorsports fuel pump hanger
CR Racing dual high performance fan assembly
CR Racing radiator
Full Function Engineering primary fuel rail
Full Function Engineering secondary fuel rail
HKS GTII wastegate (60mm)
HKS oil cap (red)
HKS super power flow reloaded intake filter (red)
HKS T51R Kai ball bearing turbo
9x Injector Dynamic 1000cc injector
RX-7 Specialties 20B subframe kit
Sakebomb 25 row Setrab oil cooler kit
Sakebomb smart coil mounting kit
Touge Factory pulley kit (red)
Toyota electric power steering pump
Weldon A2040 fuel pressure regulator
Xcessive lower intake manifold (short)
Xtreme Rotaries alternator side mount kit
Xtreme Rotaries billet water pump adapter
Wiggins clamp 3''
Wiggins clamp 3.5"
Meziere electric water pump WP336S
Bell intercooler
Custom exhaust manifold (stainless 316)
Tial blow off valve
Drivetrain
Chip Motorsports transmission adapter and clutch kit
OS Giken super lock 1.5way differential (type S)
Samberg Performance differential mount
Tremec T56 Magnum transmission
ARP flywheel bolts
Energy Suspension transmission mount
Suspension and Wheels
ARP wheel studs
Endless 6 pot inch-up kit 3
Nagisa Auto rear pillow lower arms
Phantom Suspension cup kit
Extreme Rotaries rear trailing arms
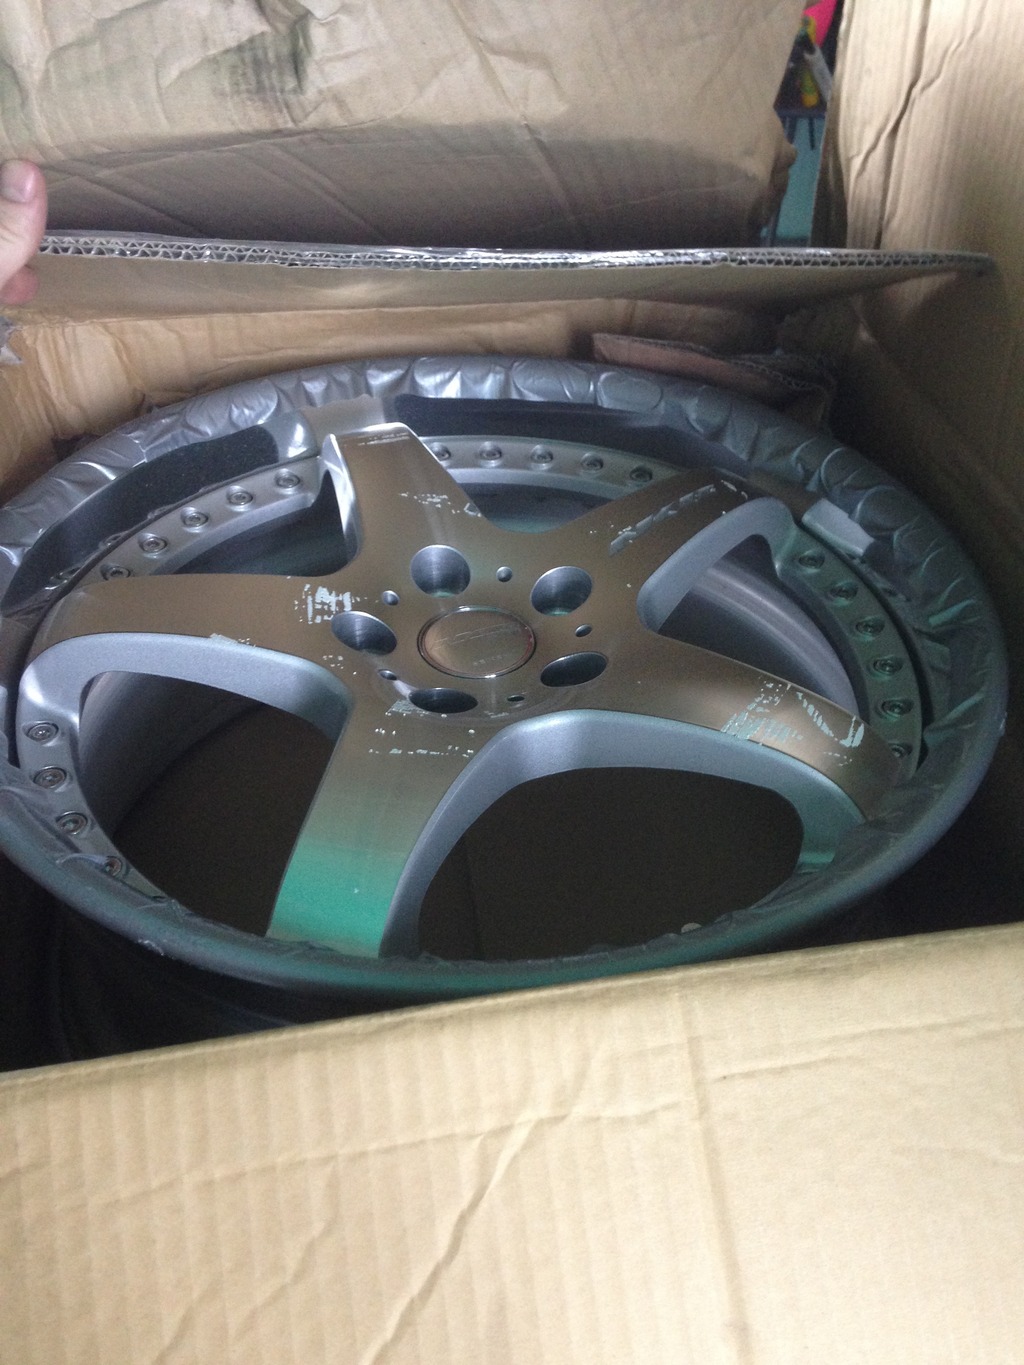
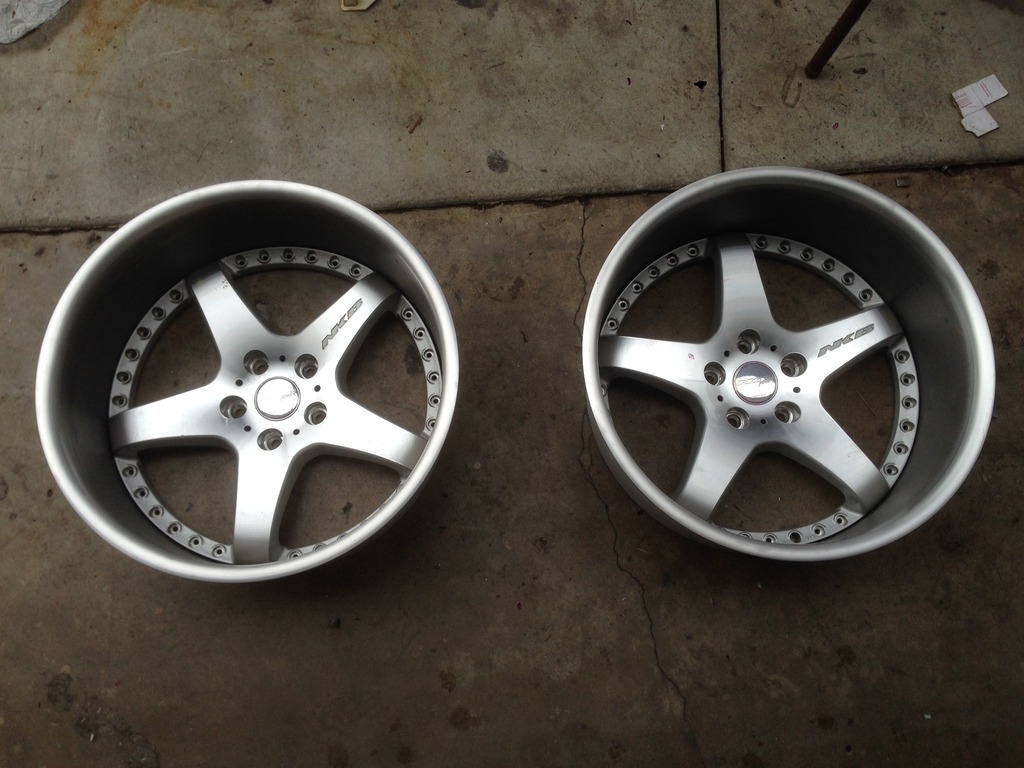
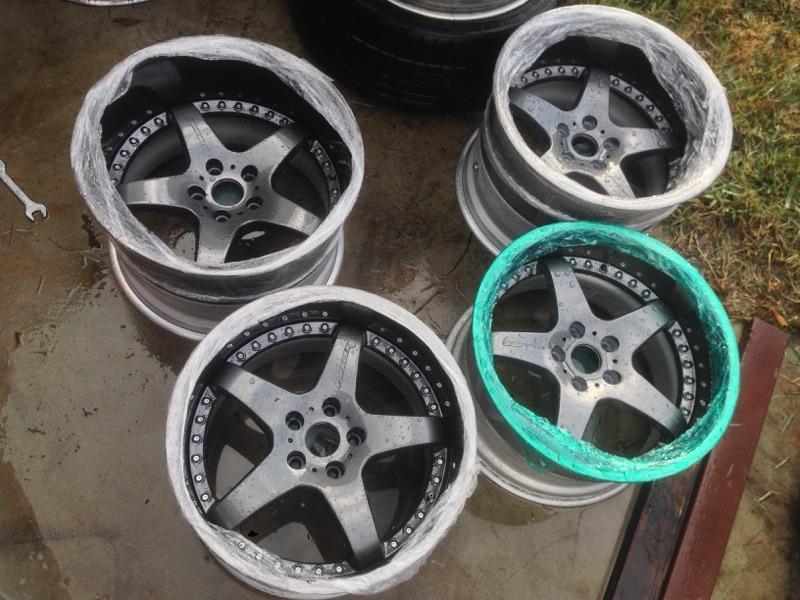
Seiken NKB Cup wheels (18x10.5+5 and 18x12.5-8)
Super Now front lower control arm super camber bushing
Work RS-R lug nuts
Zeal Function A coilovers (16/18kg Swift springs)
Interior
Bride carbon Exas III seat
Bride Zeta (type S) seat
DEFI BF gauges (boost / oil press / oil temp / water temp / exhaust temp)
FEED heavy weight shift ****
FLYRX7 RHD triple gauge pod
Half cage
Nardi deep corn (350mm)
RE-Amemiya 0-300km/h speedo
RE-Amemiya carbon sills
Trust dual pillar gauge panel
Work Bell short hub
Exterior
Chargespeed rear overfenders (flared edges)
DWNSHFT carbon front lip
DWNSHFT carbon rear diffuser
DWNSHFT modified FEED front bumper
DWNSHFT headlights
DWNSHFT side diffusers
DWNSHFT side skirts
DWNSHFT tail lights
FEED acrylic lens covers
FEED carbon hood
FEED front fenders (flared edges)
Ganador carbon mirror
RE-Amemiya carbon door handles
ShineAutoProject carbon low profile spoiler


Finally received my new suspension. They are custom Zeal Function-A coilovers fitted with Phantom Suspension's air cup kit top. These use air pistons so it's possible to drive with air in them unlike the other kits which use bags and are pretty much made only to clear obstacles when needed. Also went with quite aggressive spring rates @ F:16kg and R: 18kg like our Japanese friends, can't wait to test this new setup!


Since I'll be driving extremely low and want a drift alignment (neg camber in the front and 0 in the back) I needed these because it simply couldn't happen with OEM lower rear arms. I was disappointed when I first compared them to the OEM arms, as they were practically the same length all the way closed in. I took them to the machine shop and cut an inch on each black cores. Now I could even reach positive camber if I wanted to, which is perfect


I absolutely hate the hot side piping and end tank design. I really want a setup that will look better than what it currently is.... Also front brackets are temporary, I'm thinking of doing something like LOOKING does on their FDs

Front bash bar needs to be re-done, and rad frame needs to be fixed to look seamless where we filled the hole.

Chargespeed rear over-fender mock-up, they fit incredibly well out of the box!

Please feel free to subscribe and ask questions if you are interested in my build! You can also follow me on instagram @D33SAN Thank you!
Last edited by DeeSan; 10-18-15 at 09:50 PM.

 10-18-15, 10:07 PM
#17
 Thanks! Hopefully it'll look mint like yours when I'm done with it... as it is right now it's just an expensive pill of S***, kind of depressing honestly hahah!
Car's going in for its custom body kit next week, it'll look killer once this is said and done, but I'm keeping this part of the project secret until it's time to unveil the final product
10-18-15, 10:14 PM
#18
Full Member
 Thanks! Hopefully it'll look mint like yours when I'm done with it... as it is right now it's just an expensive pill of S***, kind of depressing honestly hahah!
Car's going in for its custom body kit next week, it'll look killer once this is said and done, but I'm keeping this part of the project secret until it's time to unveil the final product
10-19-15, 08:31 AM
#22
Full Member
iTrader: (3)

Join Date: May 2009
Location: Montreal
Posts: 192
Likes: 0
Received 0 Likes
on
0 Posts
Bought the fenders from Vivid Racing![/QUOTE]
Very Nice build! Only the best parts used on this car! I'm sure when it is all painted and done it will be a dream car!
I am local to you so hopefully I'll get to see it in person! :-)
Very Nice build! Only the best parts used on this car! I'm sure when it is all painted and done it will be a dream car!
I am local to you so hopefully I'll get to see it in person! :-)
10-24-15, 12:58 PM
#24
Slowly coming along 
It was love at first sight! It took over a year and a half to find a set with low/medium disk combo. Here, more pics of them from day 1 to now. Still waiting on red NKB stickers to put over the etched NKB on the spokes to finish them.

Sure thing man and yeah I'm not too worried, I'm sure it'll turn extremely good in the end!
It was love at first sight! It took over a year and a half to find a set with low/medium disk combo. Here, more pics of them from day 1 to now. Still waiting on red NKB stickers to put over the etched NKB on the spokes to finish them.


Sure thing man and yeah I'm not too worried, I'm sure it'll turn extremely good in the end!