When you click on links to various merchants on this site and make a purchase, this can result in this site earning a commission. Affiliate programs and affiliations include, but are not limited to, the eBay Partner Network.
The miles of seam welding and the discoloration from turbo heat is pretty wild!
yeah the heat is crazy and that's what was behind the peeled off the fiberglass stiky mat. C.Wan told me the transmission tunnel was so hot he could feel it through his racing suit when his leg was against it so I'm going to be adding a lot of heat shielding like I did on my car as well. It's going to be fun trying to keep it period correct with how the car was in competition a decade ago and restore it at the same time. I'm finding out that I really like taking things apart and reconditioning them back to their former glory. Like my fully restored 1935-37 14 inch Delta Band Saw.
Calvin Wan�s Drift FD3S Period Correct Refresh By Rotary Extreme
C.Wan FD3S Refresh � Update 04
Update 4 mainly consist of stripping the rest of the interior and making it easy for the body shop to remove the dash bar when they paint the interior. I tried to pack and store everything as safely as possible. With the car life you never know what will happen even if you plan to do something the next day. So my advice is to clean up every day and make sure things are organized and documented. You will thank yourself for it later, in my case a year later trying to do these catch up updates. I am also combining a few things to make it easier for uploading the pics.
01 - Clean, Oil Sensor, Fan Recall
02 - Strip Gauge Cluster
03 - Strip Climate Control
04 - Dash And Apexi Gauge Harness
05 - Dash Bar Out
06 - Dash Bar Cleaned
07 - Interior Cleaned
08 - Dash Bar Grounds
09 - Dash Back In
01 - Clean, Oil Sensor, Fan Recall
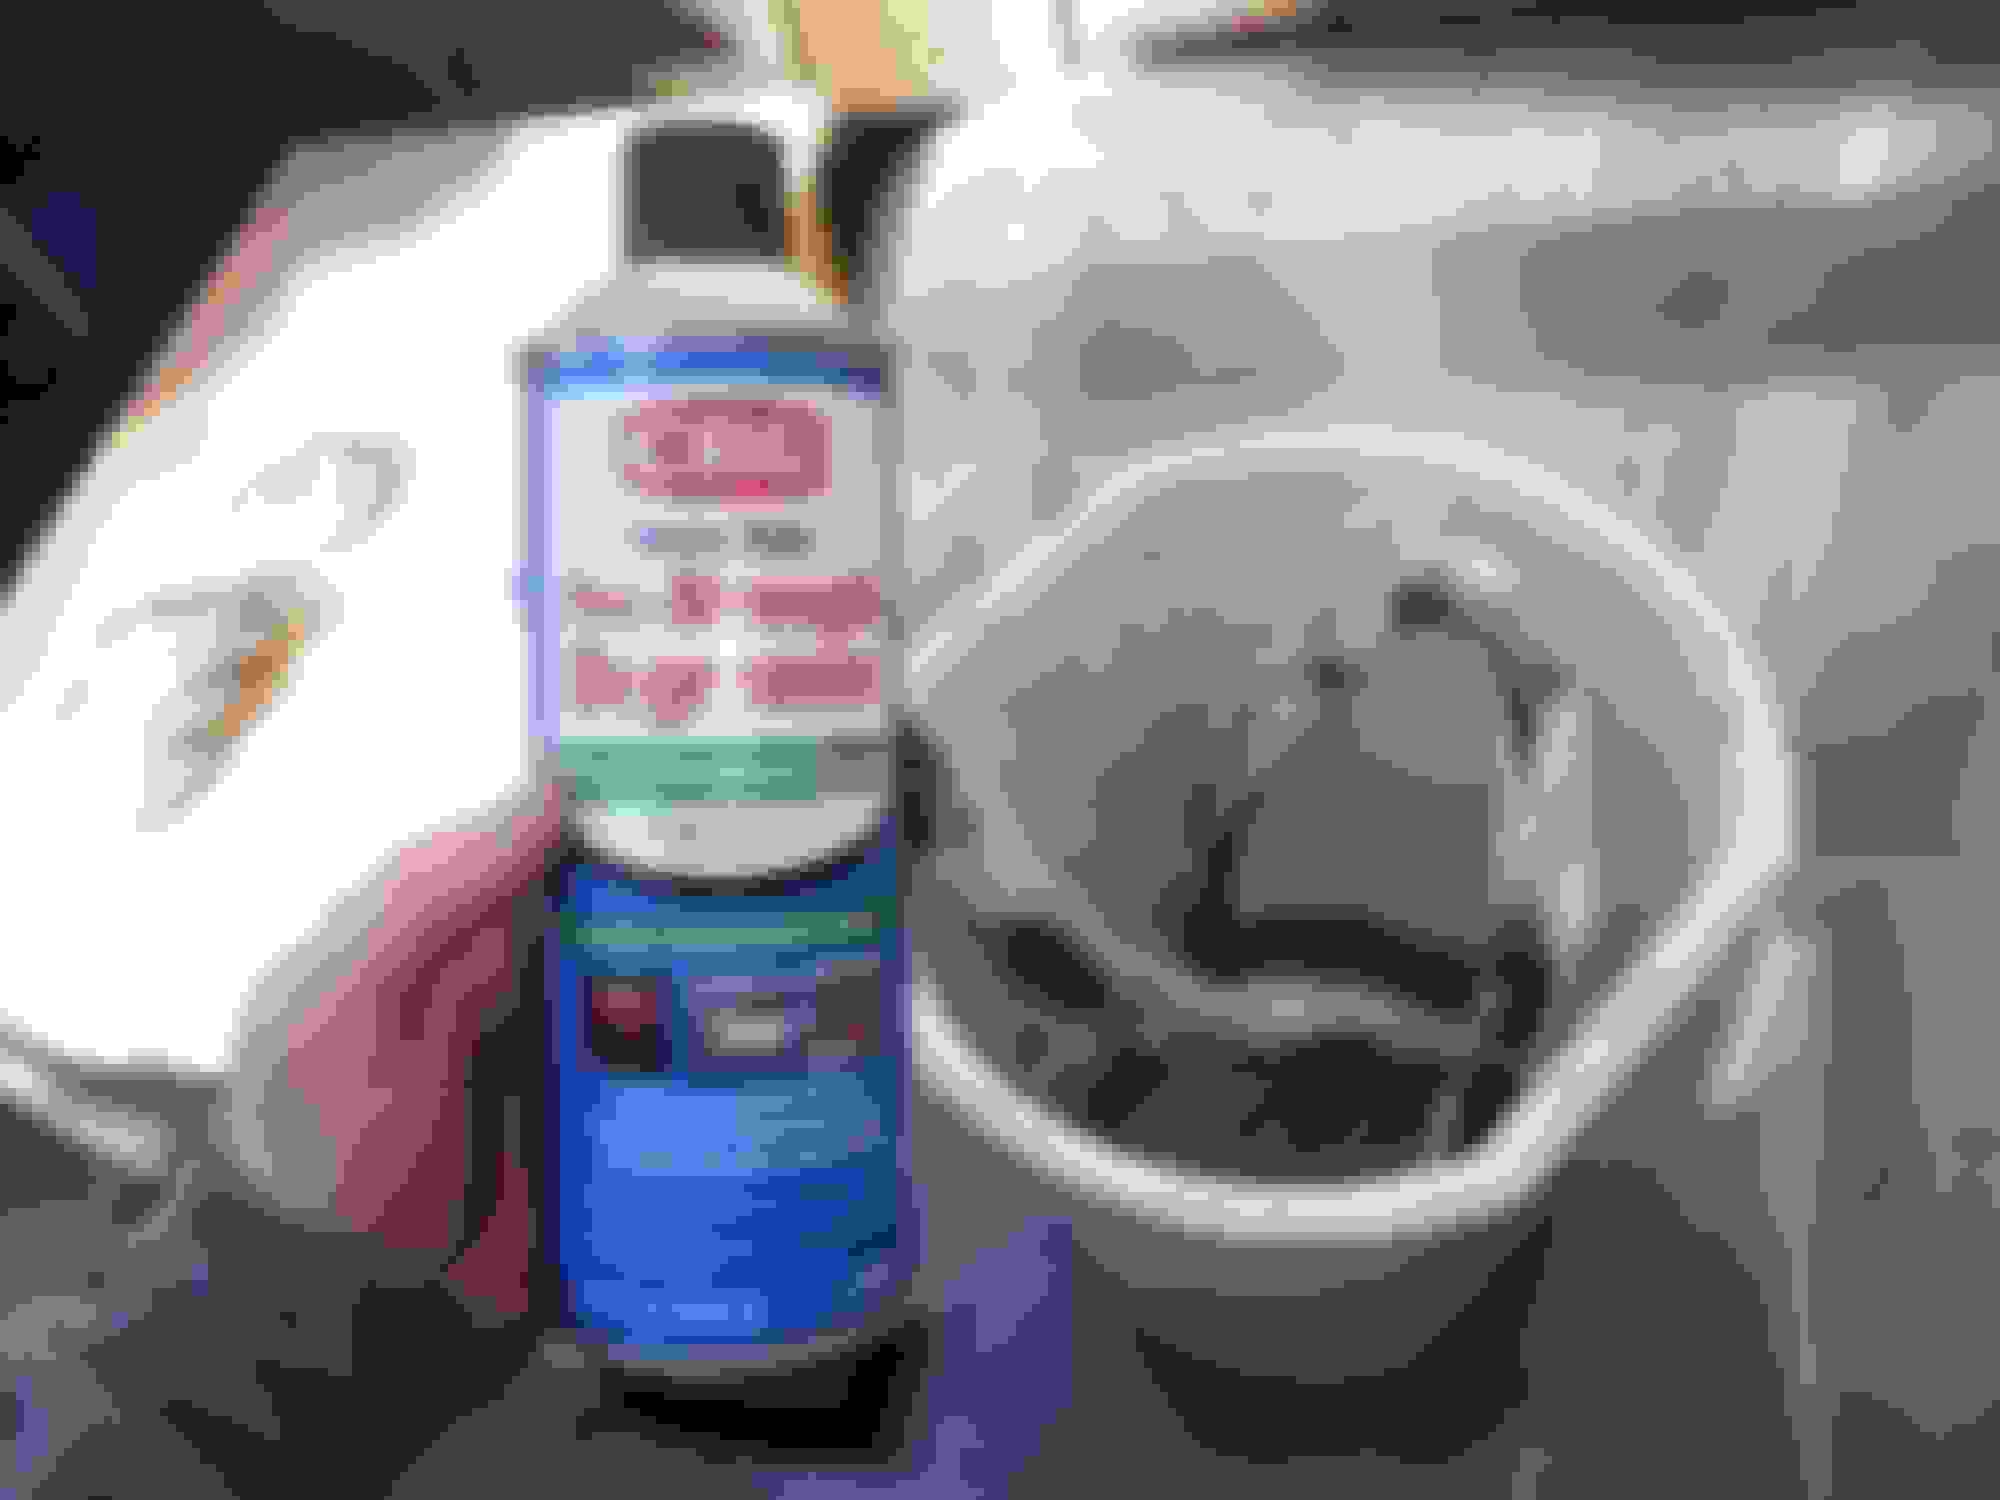
The Harness looms in the engine back were really grimy. I let them soak in some heavy duty engine degreaser and power washed them off. During the harness cleaning I saw a broken connection with the pigtail still plugged into the harness, it was for the oil level sender - ordered a new one. C.Wan's car did have the fan recall done to it at some point, I pulled the harness out and added it to the harness tote.
02 - Strip Gauge Cluster
Stripped the gauge cluster and packed everything safely.
03 - Strip Climate Control
The climate control panel was a little involved. I removed what I could and masked off all the carbon fiber that was glued to the back. I put a bag over the back of the Apexi meter control unit to protect it from cleaning and paint and packed it safely.
04 - Dash And Apexi Gauge Harness
While removing the Apexi Meter Control Unit harness from the dash harness I noticed the main power connector to the control unit had the insulation pulled back a bit. C.Wan did mention that in the past all the gauges went out and he had to have a whole new set installed. I wonder if this had anything to do with that. To protect any shorts I wrapped each wire with kapton tape and then wrapped a piece around all of them. Last I added some mil-spec clear adhesive which is safe for electronics and non-corrosive to hold everything together.
05 - Dash Bar Out
C.Wan has had a few cage updates throughout the years. I don't think getting the harness bar out was considered. You could get the dash bar out if the windshield was out, but it's not. To get the dash bar out I had to cut the ends with a metal cut off wheel to snake it past the front of the roll cage. Once out I cleaned up the cuts and took the dash harness off.
06 - Dash Bar Cleaned
The dash bar had a few sections where the spot welds broke on the mounting brackets, welded them back on - problem solved. Next was to clean the surface rust. I used a wire wheel and a lot of elbow grease to remove the surface rust. This was before I found out about the rustoleum gel coat rust remover. Once the dash bar was cleaned I spray it with some paintable rust protected paint.
07 - Interior Cleaned
I washed as much dust and dirt as I could from inside the car. Most of the holes had aluminum tape to prevent dirt from getting in, I will have to see what else I can do to reduce dust from getting in on the rebuild. You can also see where the role cage was not painted the first time - I hope they get it this time.
08 - Dash Bar Grounds
There are some grounds that are bolted to the dash bar so I made sure that the dash bar had good grounds. I sanded the body side and I removed the tape covering the bare metal on the dash bar. I used metal wire brushes to clean inside the threads.
09 - Dash Back In
I knew that car was going to paint and possibly a car show so I only installed the dash bar without the harness and placed the dash back on top of it. It looks really cool with the black dash bar, I wonder if the body shop will paint it white. I'll obviously update when we cross that bridge.
this is a cool project! i wonder who painted it back in the day?
I'm not too sure but I know the interior and roll cage is aircraft paint believe it or not and it smells like it too. That's why the car's been at the body shop for a while trying to strip all the aircraft paint out to repaint everything.
Calvin Wan�s Drift FD3S Period Correct Refresh By Rotary Extreme
C.Wan FD3S Refresh � Update 05
This one's a doozy !!!
C.Wan's FD was used professionally in Formula Drift and also for exhibition at some major events. C.Wan showed everyone how capable the stock chassis of the FD3S could be. But there comes a point to when your skill set exceeds a stock set-up and the car behaves unpredictable at extreme limits. One main issue C.Wan told me he was having with the FD was that it would it would randomly spin out. I took notes to what he told me and about this set-up during this time. Once I started tearing the car apart, it was obvious why. When the tires were at max steering angle they were hitting the pinch welds where the wheel well meets the unibody, the back part of inside the wheel well, and the front frame behind the oil coolers. Inside the frame behind the fender and even the upper cowl, were pieces of tire, like you take a knife to peel an apple. We were originally going to swap his knuckle for some modified ones to see if it helped, but seeing the real problem we determined his current modified steering set-up should work with the new plan.
01 - What Was Rubbing
02 - Driver Side Cut
03 - Passenger Side Cut
04 - Paper Samples
05 - More Cleaning
06 - Grinding
07 - Weld Lips
08 - Weld Front Panels
09 - Paint For Protection
10 - Car Show Pics
01 - What Was Rubbing
This was definitely a challenge, something I have never done before but I felt confident in doing based on all the damn VM kits I made...lol. I took out the front Apexi Coilovers and started to lift the control arm and tire to see where it was rubbing. I noticed the front of the unibody lift of my floor lift so immediately let the suspension down. I strapped the subframe to the floor lift and continued on. This was the best way to see what was needed to be cut for clearance. **** - A lot. The tire was hitting the outside rear fram pinch weld and the forward frame where the pop-up lights and oil coolers are.
02 - Driver Side Cut
It took a few hours of raising and lowering the tire and cutting away the frame a little bit at a time. I was able to cut enough the clear the tire all the way up and at both max left and right steering angle. I cut the rear pinch weld, the lower back and top part of the pop up head light support, the bottom of the red hood latch bolt, and I had to beat the back of the upper wheel well. When I finished I sat back and thought - "What have I done?!?!?!?!"
03 - Passenger Side Cut
Cutting the passenger side was much easier since I already knew how much material I had to remove. Again I thought - "What have I done?!?!?!?!"
04 - Paper Templates
I used some construction paper to make templates of the new lips I need to weld on. The lips will strengthen the body and prevent the cut metal from digging into the tire. I also made a template for the new pop-up light support panel.
05 - More Cleaning
The car was covered from years of grime and I wanted to clean as much off for the body shop and I. The driver side wheel well shows some previous damage and the sprayed on rock guard came off with the power washer. Now that most of the dirt is off I can prep for welding.
06 - Grinding
I knew I was going to grinding up a storm like a my first time in a strip club. I had my facemask, eye protection, mask, and light - because I always work into the night... smh. I took off all the paint from the areas that were going to be welded and called it a night.
07 - Weld Lips
Before I could weld the new lips I had to weld the loose and gapped sections on the frame. Every section that was cut, I pinch them together with vice grips and spot welded them in place. Next I welded the lips in place using the heat and vice grips to pre-form them as I welded. Each spot weld started in the corner where the 2 metals meet and then I worked my way up and down to make sure I had good penetration on both faces. I sat back and thought - "wow I might really pull this off".. lol
08 - Weld Front Panels
I cut the front panels and formed them to fit to clear the tire. I test fit the pop-up light brackets just to make sure then I continued to weld. I hit up every mating face to make sure it would hold in place. I raised the tire and turned it from right to left and everything cleared. I think it will be fine since I did all this without the coilover and I don't think the coilover will allow this much travel. I sat back and looked at my work and thought - "wow, I did it."
09 - Paint For Protection
After the welding I wiped down all the dust with a micro fiber and immediately painted all the bare metal with the black rustolium rust protection paint. The last thing I need is bay area humidity to play games with me over night.
10 - Car Show Pics
The next day I went to a car show and saw some really nice fabrication work. I have great respect for these guys after what I just went through. I really want to do something like these cars. The Z was bagged and at full height they said it had like a 4 inch gap between the fender and the tires. Siiicckkk!