When you click on links to various merchants on this site and make a purchase, this can result in this site earning a commission. Affiliate programs and affiliations include, but are not limited to, the eBay Partner Network.
Heh, that's my housemate's mill. He runs a small machining business. If it was mine you can bet there'd be a hell of a lot more shiny stuff in my engine bay!
Last edited by XanderCage; Mar 12, 2020 at 07:49 PM.
Okay, here's a super scientific drawing of how I broke the ISC connection. As JhnRx7 pointed out, things aren't exactly as they seem in the wiring diagram. The way they are connected, is more like below:
The rats nest solenoids have their own "branch" off of the wiring harness that looks like you can just cut the whole thing off, insulate the ends of the wires, tuck them away, and move on with your life. However, the wire that provides the constant battery voltage for those solenoids as well as for the ISC is routed from the beginning of the harness, up and SLIGHTLY INTO that rats nest branch before its power is distributed to the ISC. So if you cut the branch off, you're also cutting power to the ISC.
Hope this saves someone else from making the same mistake!
This is some great info, this opens up a can of worms for me. This makes perfect sense why my ISC has never functioned properly with my turbo control plugs cut off. I have no idea how far back mine was cut. Can you give a color of the correct wire where power for the ISC originates, I assume it is just switched 12v? Then the ground I assume is intermittent, and goes straight to ecu pin 4Q I think? So if I test the neg wire and have continuity to 4q, in theory all I need to do is supply 12v to the other pin from somewhere.
The 12v wire is black with a white stripe (for some reason...) and if I read the diagram right, it originates from the blue X-05 connector, the only blue connector on the in-cab side of the harness. The other wire, is pulsed ground and does just go directly to the ECU at pin 4Q.
Yeah, to re-enable mine I just found where the 12v supply line that I cut ended, pulled it back to where the ISC supply was cut, neatly trimmed them both to length and soldered them together. Then you can put some heat-shrink on it, tape it up and you should be ready to roll!
How far back did you have to go to find power at that black/white wire? Fairly close to where the ISC pigtail comes off the main harness, or was it pretty far back, had to unwrap a good bit of harness?
For me it wasn't bad at all. The branches for the ISC and rats nest are fairly close to each other, and all I really needed to unwrap was the roughly 1 inch distance between the two just to get a good look at what was going on.
It's kinda like how I drew it in the "diagram". The supply wire passes by (or overshoots) the ISC branch, so the ISC voltage connector wire is routed out of the ISC branch and forward, into the rats nest branch before making a connection with the main supply wire.
The black/white supply wire is also a bit thicker than the rest as well, which makes it just that much easier to locate. Let me know if that rambling description helps any.
Wish I had stopped for pictures but I just wanted to start the damn car!
Last edited by XanderCage; Mar 12, 2020 at 07:58 PM.
Reason: I like editing
Alright, let's catch up again!
Previously, the car had an M2-style intake airbox which I had hoped to repurpose to house the single turbo's larger air filter. However, while the filter may have squeezed in, the box just left no proximity for any real piping.
So I think I'm just going to route some piping to get the filter into the now vacant opening.
BY THE WAY!
Here's a tip. Always be cognizant of how your ECU outputs behave when the ECU is turned on in its current state.
Here's what I'm getting at- when I installed the coils, I left setting the ECU up for direct-fire as my last step. Problem there is that the ignition signal wire for the new fourth coil was previously used for the ISC. So when I turned the ECU on to connect to it and set up the new config, it immediately started firing the coil for L2! That coil heated up real bad until it made a "click" sound which alerted me to what was going on.
What I should have done was have the foresight to remove power from the coil harness before turning on the ECU. Again, word to the wise from the unwise.
The coil seems to still work (get spark and all...) but I think I may need to order a new one just to be safe.
The INSTANT it was ready to drive, I took it down the block to fill the tank. It didn't even have the hood on yet! I'm not normally "that guy" but after so long, I just needed to drive it.
Later on I buttoned everything up and gave it a much needed wash.
My reward for all this is finally removing the D.O.T's "checkmark of shame" haha!
Folks, let me tell you its a surreal moment when after months of work almost every day you're finally putting away the tools and wiping the oil from the garage floor. "Is this real?" Of course, a car like this is never really done and there's way more I still want to do.
Awesome, dude. Those poor stock section tires won't know what hit them.
Thanks man! HAHA! I know! Wheels & tires are on my short list of nexts but the plan is wait for maybe a month just to get the confidence that nothing's going to blow up! Nothing worse than getting wheels delivered if the unthinkable were to happen.
It's been a while and I've been having fun! Time then for some updates. Firstly, I got a new steering wheel from GoodfellaFD3S and it is such a fantastic item. I have always been somewhat disappointed with how overboosted my FD's steering felt. It really numbed the whole driving experience and gave me a real lack of confidence in the corners. Thanks to the smaller diameter wheel, the over-assisted steering feeling is gone completely and I couldn't be happier with how much sharper the handling feels as a result!
Next, I got a ZPrecision mount for the Haltech. I really like this item because I have the Haltech harness adapter so I could use my current stock wiring harness. This mounting bracket has a place for that, and the recessed mounting means I can still place the kick-panel over it.
Last edited by XanderCage; Jun 13, 2020 at 03:03 PM.
So. Earlier in the thread when I was redoing the fuel lines, I decided to incorporate the stock hardlines into the system. I have since kept thinking about that, and it the thing that just kept bugging me was that the hardline adapters were placed right above the engine in this configuration. So if they were to fail or leak, the gas would dump onto the hot engine and ruin my day. I have a small fire extinguisher in the car, but I doubt it could handle a catastrophe of that sort. It's probably just over-thinking but one less link in the chain I think is a good thing anyways.
So, I decided to remove the hardlines and run rubber hose from the rail to the firewall (that's actually what the FFE kit intends anyways). While I was at it, I installed fuel pressure and oil temp sensors.
Here's the before, you can see the adapters hanging out above the engine.
Lot of clutter in this picture, but there's the after.
It's running well (now that I got some things sorted)! It pulls like a train to redline, and I'm extremely happy to have gone the EFR route. The power is just there when you want it! I'm still "tuning" it, but really just getting AFR's where they should be. Way too scared to touch timing with my knowledge level just yet. I'm just thrilled to get it back on the road.
So, now that I can see fuel pressure I figured it was time to log. And man was I in for a nasty surprise.
The yellow line in the upper graph represents the difference in fuel pressure and manifold pressure. Ideally the pressures should be just about equal, and thus that yellow line would be zero (because of the graph autoscaling, zero for the yellow line is near the upper third of the graph). What this shows, is that as soon as the secondary injectors come on (yellow line in the bottom graph), the fuel pressure plummets, and by the end of the pull I have almost 16PSI of missing fuel pressure! Not good!
Last edited by XanderCage; Jun 13, 2020 at 04:09 PM.
After thinking about the problem a while, I decided to start at the fuel pump. This is actually a part of the car I had never looked at since I bought it, so I was interested in what I'd see.
Here we've got an Aeromotive Stealth 340 as advertised when I bought the car. The sock looked fine and nothing visually struck me as 'bad'.
Electrical connectors were in fine shape, and easily passed the pull test
The only thing I could think of was perhaps fuel was leaking out of the connection between the pump's outlet and the hardline. It still used the plastic adapter with o-ring, and my roommate suggested cutting that off and directly connecting the pump outlet to the hardline with hose.
I actually wasn't expecting this to work; in actuality I thought the problem would turn out to be voltage drop at the pump. I attempted this fix first because it was the easier thing to do, and no harm can come of it. But when I first started the car and saw the fuel pump prime I noticed that whereas before, when the fuel pump would turn off the pressure would rush down to zero, now, the pressure would still drop but only down to ~30PSI (base pressure is 43). So I already had a raised eyebrow about this fix. Went for another log and damn!
Because of the autoscaling of the graph, the line looks similar, but look at the actual value of the worst point in the run- we've gone from a deficit of 16PSI to only about 5! Not perfect but a mammoth improvement!
So we're a sizeable chunk of the way there I think. Last thing I can think of doing is the fuel relay mod so I can be certain I've done all I can to get this fuel pressure as good as it can be.
Last edited by XanderCage; Jun 13, 2020 at 04:15 PM.
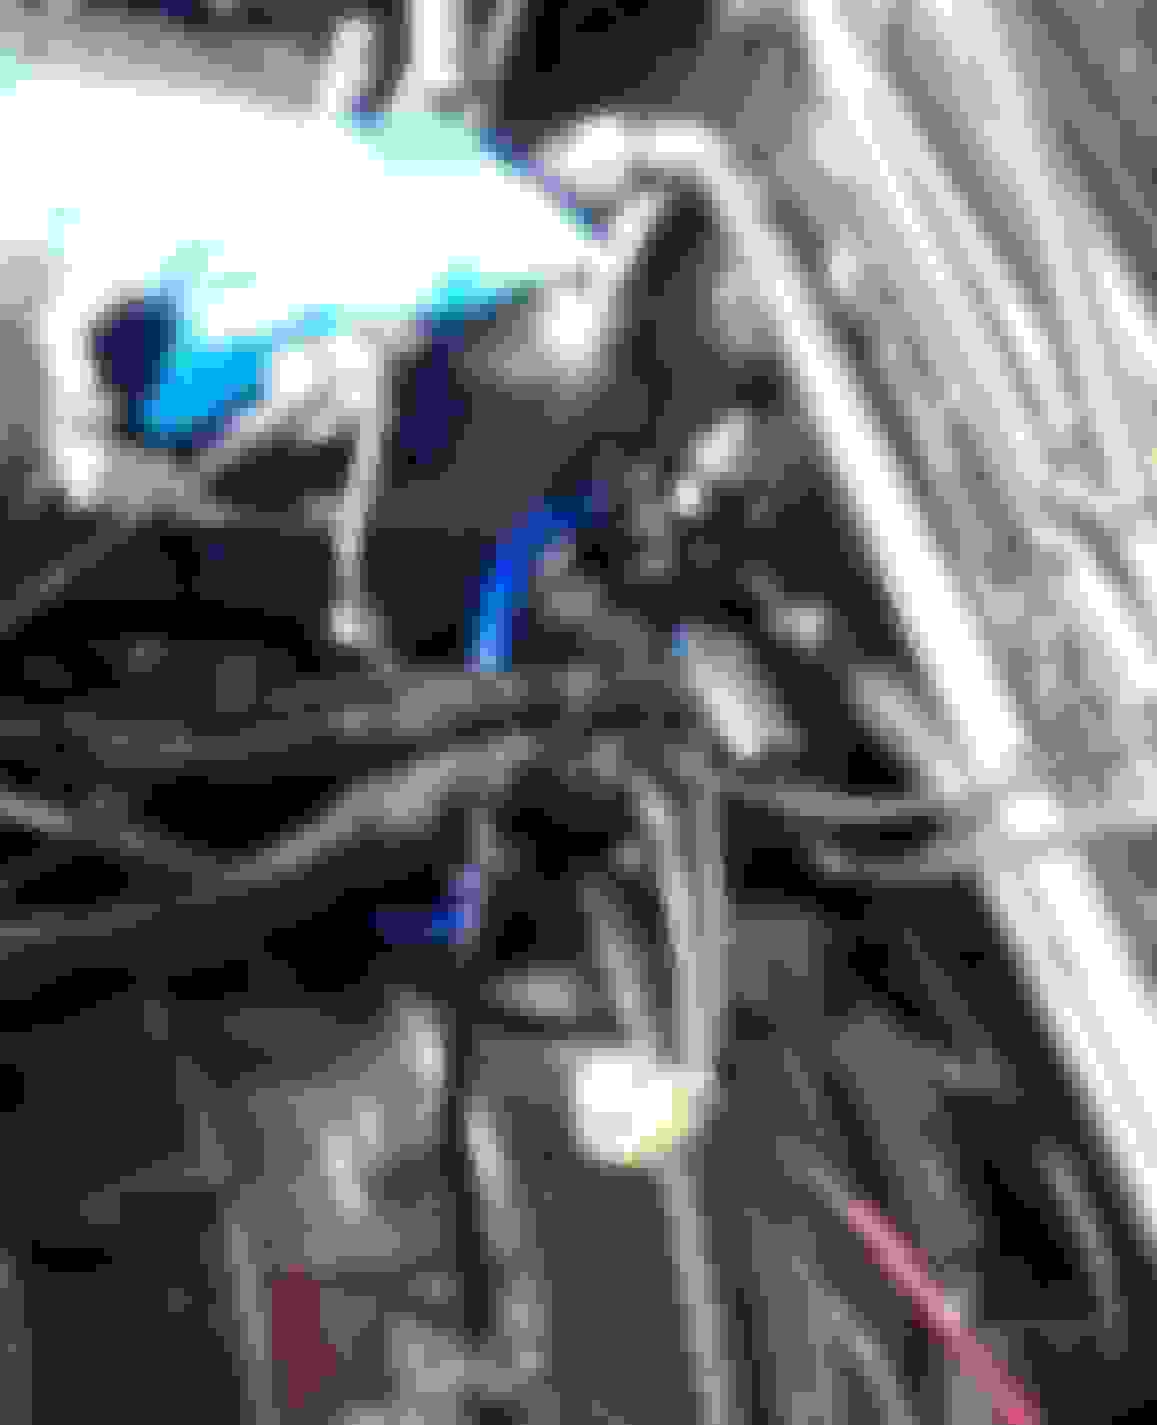
I ran two lengths of 10AWG cable to the rear of the car. One connected straight to battery positive, and the other to the engine block.
Upon examination of the fuel power connector, I didn't really like what I saw. The brown spot I thought might indicate a heat-related burn, which would mean resistance in the connector. The positive connector wire also looked a little discolored, again I wonder if this is heat related.
I decided to bypass that connector and route power around it just to eliminate it as a weak point. I kept the signal wires because they're not high current, so I'm not fixing what's not broke there.
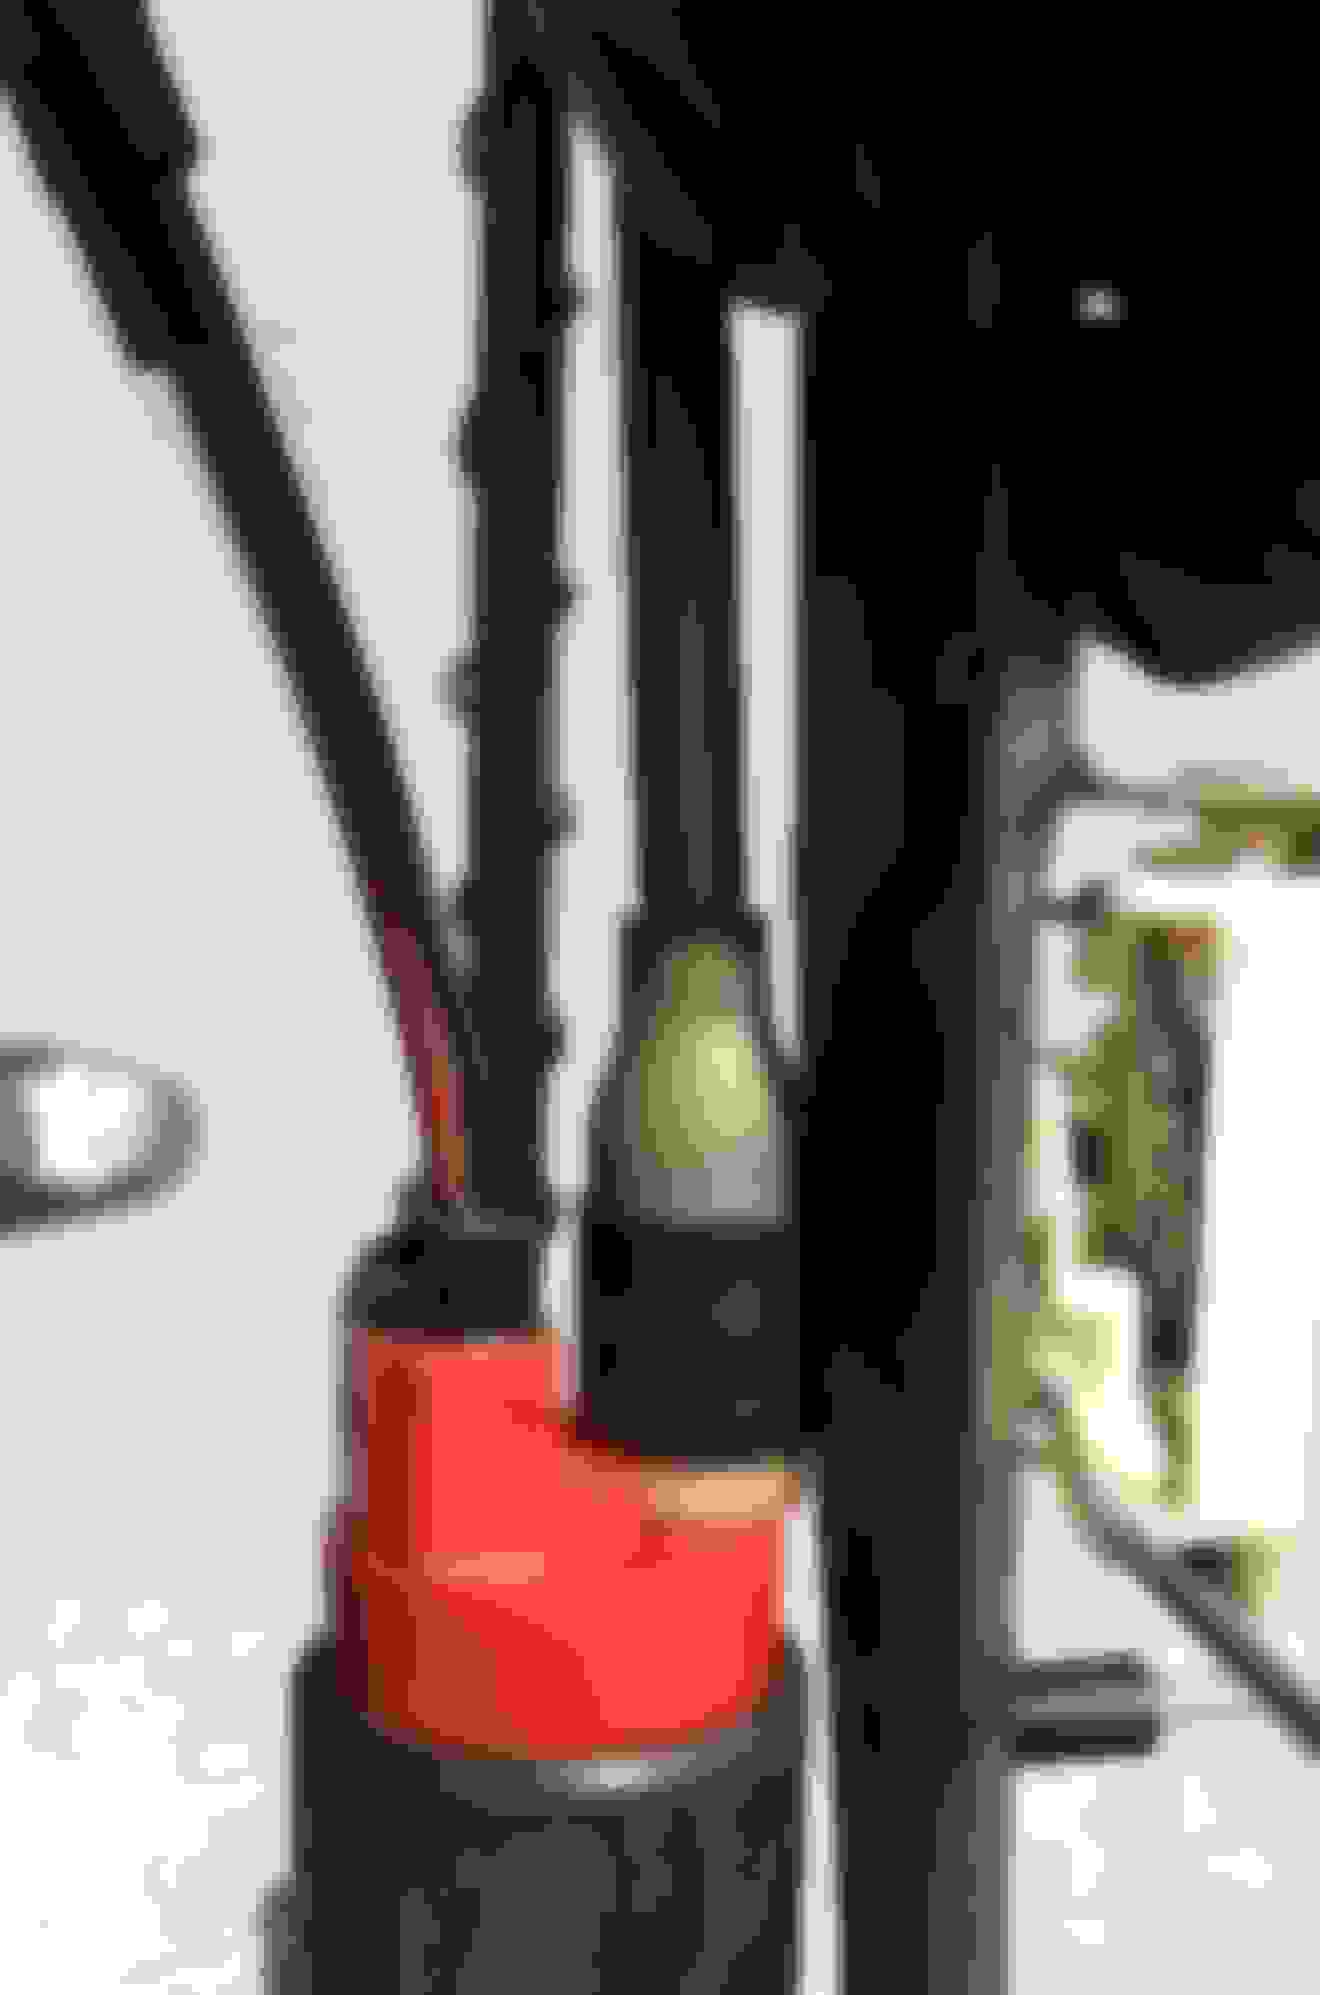
There we go, not the cleanest job but it'll be tucked away behind the trunk plastics anyways. I also got a big diameter heat shrink tube and covered the relay connections with it, just in case of light water ingress.
Still not perfectamundo, but we've gotten another three PSI back. What's more, logs are consistent, meaning fueling shouldn't change if I tune with this setup. Unless someone can tell me there's more I should do, or that this still looks like a disaster waiting to happen, I'm calling it good, and am satisfied things weren't too difficult.
As the end of the day wrapped up I also finally cleaned my old engine parts and laid them out for a nifty pic.
Alright! Finally made it out to autocross with my new setup.
I'm not that great of an autocross driver but I just love to go. It's therapy, pure and simple. I borrowed my friend's wheels/tires and in exchange, we both dual-drove my car. I was a little nervous to see how things would go, this would be the first real HPDE of the new setup and since it's being dual-driven, there wouldn't be much time for the car to rest between runs. Happily, it performed extremely well! I wish I had any action shots, but I forgot to bring a gopro. So here's a couple staging area photos.
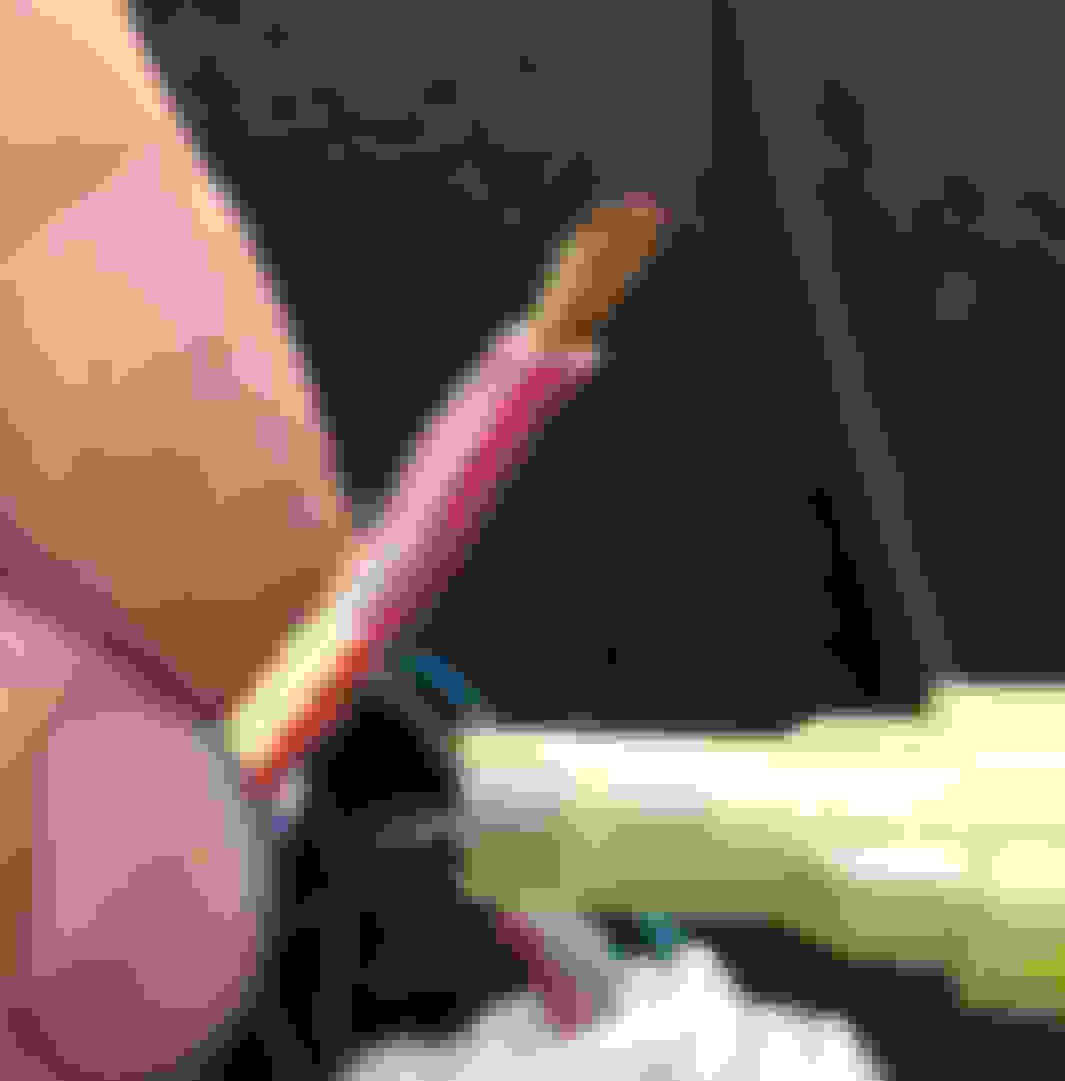
I love seeing the variety of cars that show up to an autocross event, they're just so varied. Huge props to this dude bringing his classic Mini! I can't remember his name but he brings it out to just about every event, and I mean he really DRIVES it. It puts such a smile on your face seeing it weave through cones (owner not pictured, I just wanted someone to stand next to it for scale). As I understand it, that car is actually a left hand drive converted JDM import, and he has to special order the tires from Japan (they are Advans) every time he needs new ones.
One other RX-7 was there too, a race-prepped FC you can just make out the nose of on the far left.
Last edited by XanderCage; Jul 13, 2020 at 11:16 PM.
Oooookay, so. If you read far back enough, you saw that I had my transmission rebuilt by a local shop. I brought it in for a rebuild for a couple reasons- first to second, and second to third shifts were a grindy affair, and there was this weird vibration in the shift **** that was present in 3rd and 4th, but very severe in 5th.
So it still works, it moves the car just fine, but its one of the last things that's detracting from the fun of driving the car. Well, I had a bad feeling when the shop called and said the transmission looked great on the inside, even the synchros. And they didn't see anything that could be causing those problems. What I should have done was listen to them and just look for a new trans. But, I told them to continue with the rebuild (they replaced the synchros and bearings) in the hope that this would just fix the problem.
It didn't. Everything felt exactly the same as before. Harrumph! What a waste of time and money. Anyways, a couple months later I was alerted that someone about 2hrs from me was selling an FD transmission. It was very reasonably priced, so I asked him what it's deal was and he made all the right noises (yes it works, 'bout 76K on it, 5th gear synchro in good shape, selling because I'm going V8 and want a T56).
I could "test" it out by rotating the input shaft and shifting it into all the gears to make sure the output shaft turned appropriately, but there's really no surefire way to know how good it is without putting it in the car. This would be a bit of a gamble but I pulled the trigger and brought it home.
Over the July 4th weekend I performed the swap.
Wrestled the old trans out and gave the clutch a quick look, seems like I overdid the lube on the input shaft and it spun outwards some. Otherwise fine, only has a couple thousand miles on it so wasn't expecting any problems.
Original on the left, transplant on the right.
It was pretty grimy so spent a while cleaning it up.
I don't know why I forgot to take an 'after' pic of it all cleaned up, but I don't have one... Then I wrangled it into place, which I also don't have a picture of... but 'cmon you know what that looks like, just use your imagination.
The result-
All gears do work, it doesn't sound like there are any bad bearings or weirdness. So I didn't just buy a broken piece of junk, the seller had a genuine good transmission and I'm very happy with that. It's not 100%, I still get a bit of grinding from first to second but that goes away once it warms up, which never happened with my old transmission. It also exhibits no **** vibrations and overall just feels 'tighter'. I'm going to play around with fluid variations but I'm already quite pleased with this swap.
Last edited by XanderCage; Jul 14, 2020 at 10:42 AM.