When you click on links to various merchants on this site and make a purchase, this can result in this site earning a commission. Affiliate programs and affiliations include, but are not limited to, the eBay Partner Network.
Let's see, where to start...
How 'bout here! Last known whereabouts
-A little background- That's my FD, had it for over 2 years now. Bought it through the forums and have been thrilled to have it since day 1. I've put a few shiny parts and extra goodies on it, but I'll get to that later. For now, the matter at hand. I was driving through my local tunnels and decided to really rev it out. Brought it up to redline without any drama but when I put the clutch in to shift, the revs dropped faster than normal. I left the clutch in and put the trans in neutral, when to my surprise, the car just died. Still gliding along I tried the key... nothing. So I put on the hazard-lights-of-shame and coasted out of the tunnel and onto the shoulder of the I-90. Not a bad place to break down, at least the view was great.
Got a tow home and noticed immediately (now that I was away from the highway roar) that when I tried the key, the engine would turn over, but way slower than normal. I tried to rotate the engine by wrenching on the front pulley bolt, and found it a lot more difficult than it should be. So, at this point my suspicion was a spun or stuck bearing. Nothing left to do, but take the whole thing apart to try to assess the damage, so here goes.
Last edited by XanderCage; Dec 28, 2019 at 12:17 PM.
Big time gap here. I used Rotary Resurrection's engine removal guide to assist me in disconnecting everything needed to move on. I recommend giving it a read, it was a big help.
Finally ready to tear open the block, lets really dig in here.
Oil pan off.
Can't see anything blocking the oil pickup, that's a good start. Remember, what I'm really on the hunt for is anything that looks like the cause of any oil starvation. The theory of a ruined bearing being the demise of my engine is still just a hunch, but its the best I've got so far. And an oiling problem would be the most probable cause.
Inside the oil pan, the plot thickens. Lots of shiny sparkles. Another sign of bearing failure.
Well well well. Front cover removed and our first piece of hard evidence presents itself!
See a problem? It's easy to miss... Where's the nut that's supposed to hold down the oil pump gear?! It's in the picture believe it or not. You can see it hiding out under the drive chain on the left, juuuuust above the gear itself.
So, according to the Mazdatrix Rotary Rebuild DVD which I'm working off of (highly recommended!!) the washer under the nut is supposed to be 'staked' or have one side folded up to prevent the nut from coming loose (I guess? not really sure how that's supposed to work or if I'm off base as to why they stake it from the factory). Anyways, my washer was just flat, no locking mechanism. Could this have caused the nut to work loose over time? And am I just lucky enough that it didn't get caught in the chain or fall through into the oil pan?
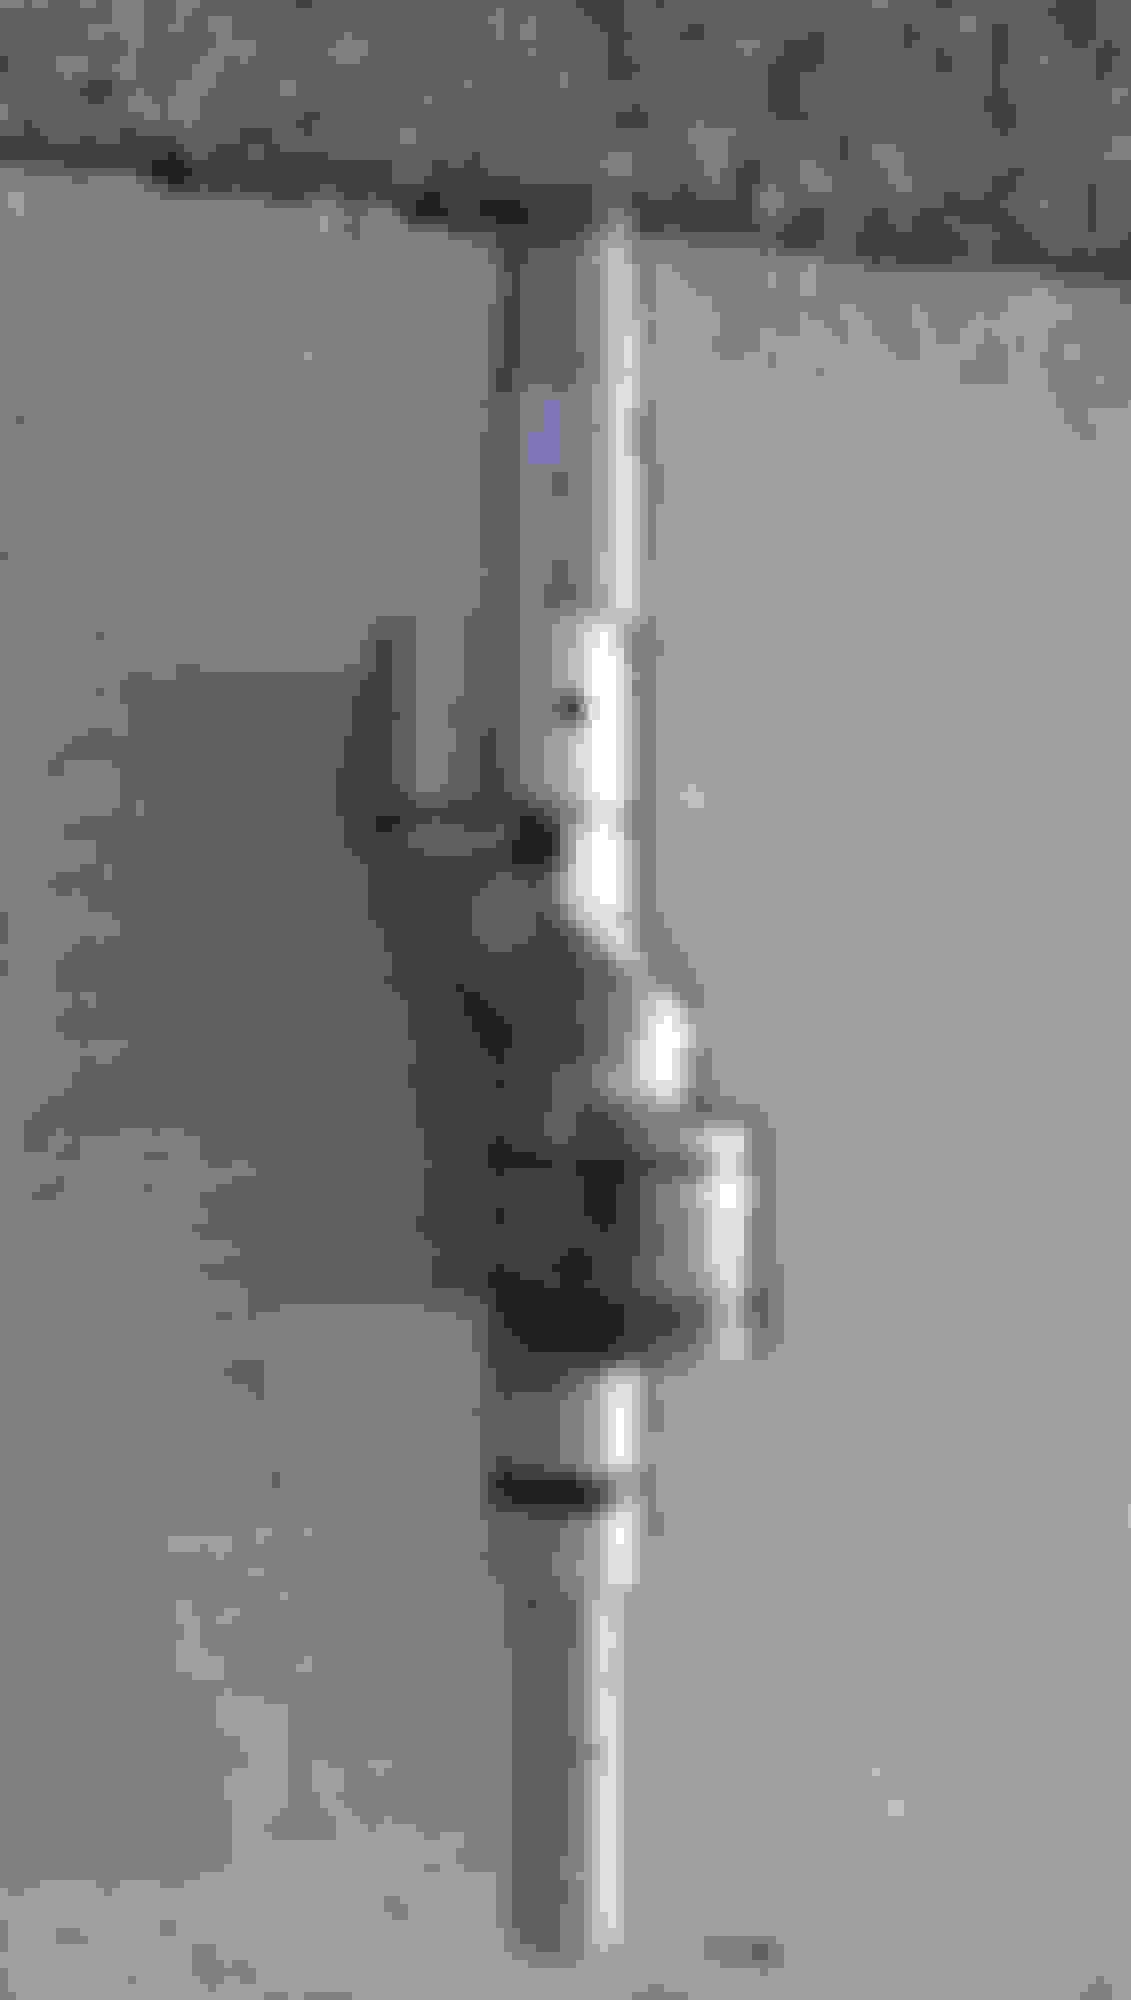
A little blurry in the photo, but look at that Woodruff key! It's totally sheared! With the key in that state I could put the gear on the oil pump and free-spin it without the shaft moving. So there we go! Engine's turning, but no oil is being pumped!
Here's some remnants of the key in the gear itself too.
Okay! So there's the cause of the damage. Feels good to have found it at least, not have it remain a mystery. Still unclear though exactly what went on though. Did the nut come off first, allowing the gear to slide back and forth, wearing away at the key until it snapped? Or did the key go first, allowing the gear to rotate while the shaft was stationary, thus unscrewing the nut? This I don't think I'll ever really know.
Phew. Wish I had more pictures to describe this, but what is supposed to happen at this point, is that I should be able to lift the center iron up, and the eccentric shaft should lift up as well just slightly so that I can get enough room to tilt the center iron and get the eccentric shaft through the center hole of the iron (clear as mud?).
What happened instead, is that I lifted up on the center iron, and it lifted the eccentric shaft and the front rotor with it. This meant that I couldn't tilt the center iron enough to clear the eccentric shaft because it would come into contact with the front rotor. So what I'm left with is this three-piece unit:
Seems like we've found the damage then, that the oil starvation caused. The rotor bearing is fused to the E-shaft! I for the life of me couldn't pull the rotor off. I was going to have my transmission rebuilt (what better time then when it's out right?) and decided to take this thing over there too, and see if they could pry it off with a gear puller. They chuckled and said they'd give it a shot!
Last edited by XanderCage; Dec 28, 2019 at 03:30 PM.
Got the trans and engine parts back from the shop, they separated the rotor from the shaft with no problems. Looking at them in the light tells the whole story.
You can see the discoloration on the front lobe of the shaft.
And here's the rotor bearing that bore the brunt of the damage
There we go, mystery solved autopsy complete. My plan for this engine is to take a closer look at all the parts and determine what's usable and if its worth a rebuild, or part-out. Until then, I've bought a new 13B block and am eagerly awaiting its arrival!
Glad you found the issue and got a new engine. This is a good car. I remember Jacob putting it together.
Thanks Johnny! Jacob did a good job and I hope to keep it on the road as long as I can. I'll admit I was a bit worried when I bought it, just because it was "two cars into one" as he put it, but it really has been bulletproof for over two years until this freak occurrence! All that uptime allowed me to get to know the car and the platform and do more 'wrenching for fun and to learn' rather than 'wrenching because something broke'.
Wow. Small world. That was originally my BB roller that he used to transplant the other parts into. Man, if the body of that car could talk. Tough luck on the engine failure. Awesome that you're going for a new engine to breathe new life into it. Sub'd for updates.
I've torn down some motors like that that ate a bearing. That stinks!
You may be able to re-sell some of the parts from that motor to help recoup some cost.
I would strongly advise having the oil cooler (or coolers) professionally flushed and cleaned. When you chew a bearing up that will get all EVERYWHERE in the oiling system. You don't want to start the new engine and have it immediately eat a ton of metal debris from the oil cooler. Search on the forum, people have found some good shops that do a good job of flushing and refurbing oil coolers.
The gear on the oil pump is held on with a washer that has a small tang that fits down in the hole where the key goes. Once the nut is tighened onto the washer the side of the washer is flattened up against the nut to keep it from working its way loose. It looks like in this case this is exactly what happened - that washer wasn't crimped and it eventually spun loose.
Things like this suck but it's also a good opportunity to go through there and get everything tip top.
Hey, thanks for the encouragement, all. It's been a while and progress has been made.
Motor unboxed!
And onto the stand. I had read that Mazda tests the coolant passages with plain water which will rust somewhat. When I tipped the engine forward a bunch came out of the front coolant inlet, which is the brown you see on the main pulley. Going to flush it with distilled water a few times once its in the car to wash the gunk out before finally filling it with coolant.
Time then for a tough decision. I've always had an inkling to go single turbo, and no better time than now. This was a hard choice because I really didn't have any issues with the twins. They're good '99s that spool very quickly and add a lot of character to the driving feel IMO. I didn't even really have a problem with the control system. Granted it was simplified, but it was still running sequentially and I never found troubleshooting it overly difficult. However, I guess I just had too much time to think about it, because eventually a box arrived.
I had bought a Rotary Performance fuel rail and Bosch 2200's ages ago but never got around to installing it. No time like the present. Looks good, I say.
Nice! That is the turbo the car would've gotten if I'd kept it. New REW and EFR. Love the direction you're going.
Thanks! Again, it was just too hard to think that after all the work is said and done, I'd still be roughly at the power level I was before (if I had just stuck the twins back on). It's hard to say no to the 8374 when it has so much praise behind it.
Also, I almost missed it, this was your roller long ago? Dang, that's cool! That's one of the things I like best about this forum and the RX7 community, it's so tight-knit that you can track the lineage of your car from owner to owner!
It sure was. Got my feet wet in the rotary money pit, ahem, community. Since you mentioned the car's family tree... Car was sold to a doctor or lawyer or something in Charlotte, sold to a young guy in Birmingham, I bought it, then sold it to LS Swap here on the forum in Charleston, SC, he immediately sold it to I think Tomsn16, who soon, sold it to Cartmill. Car has been mostly in good hands, well except for me, haha.
Just the right size shiny nuts and bolts to install various parts. I got the kits to reinstall the water pump, LIM, pulleys, and alternator. I just really like the fact that I didn't have to hunt down specific size hardware, then be forced to order things in packs of 20 from McMaster or re-use my old rusty bolts from the prior engine.
Here's the water pump kit installed. It definitely wouldn't hurt if I got the housing cleaned, but the super zoom-up shot doesn't do it any favors and it doesn't look quite so bad in person. I'll probably at least hit it with a soft wire brush later.
And here's just some of the crusty bolts I don't have to re-use.