
The adventures of Danny Mac and Pirate Hooker


Joined: Mar 2001
Posts: 30,818
Likes: 656
From: FL-->NJ/NYC again!


 you got it!
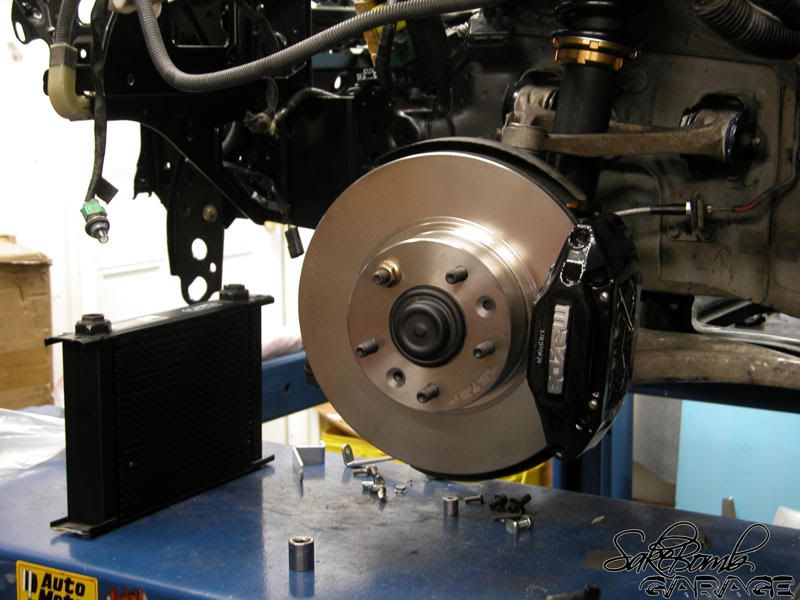
Refreshing the brakes!
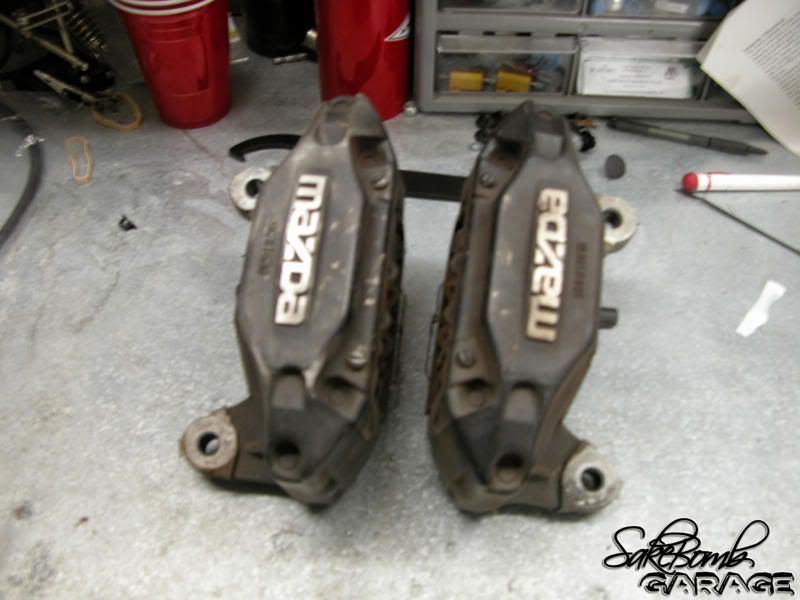
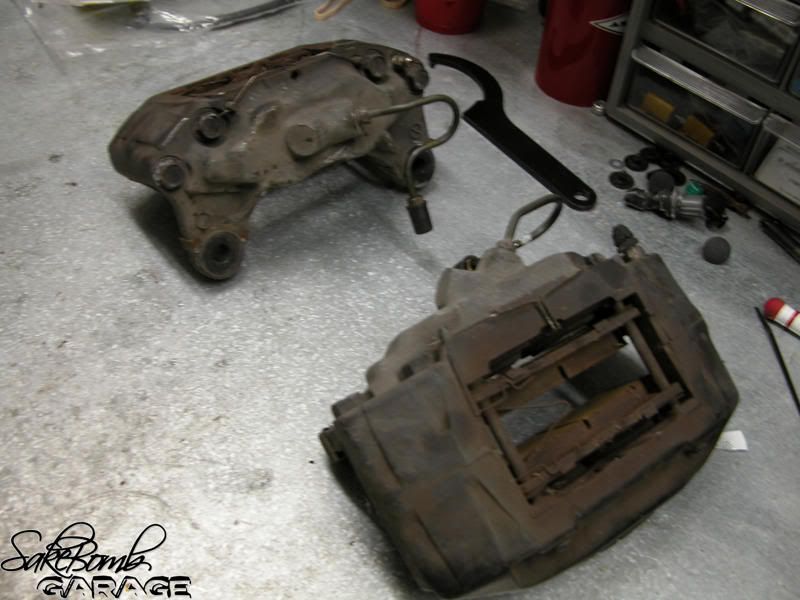
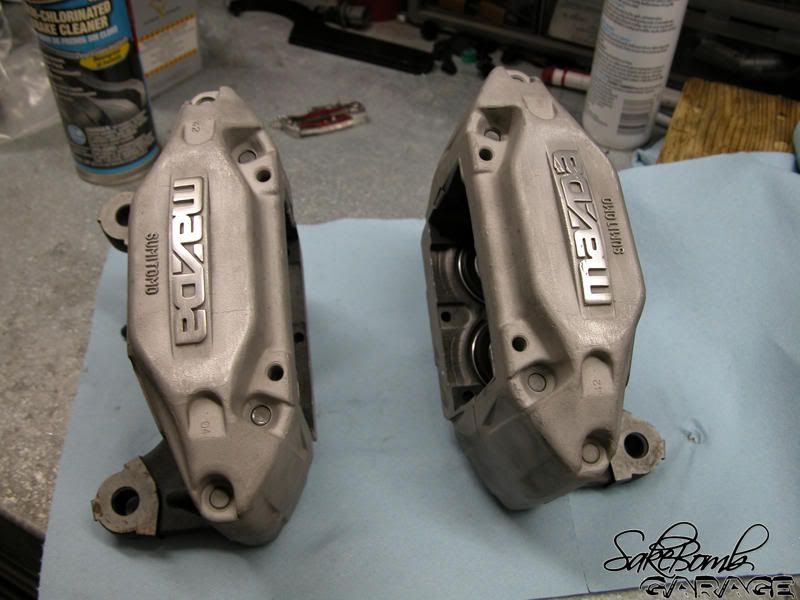
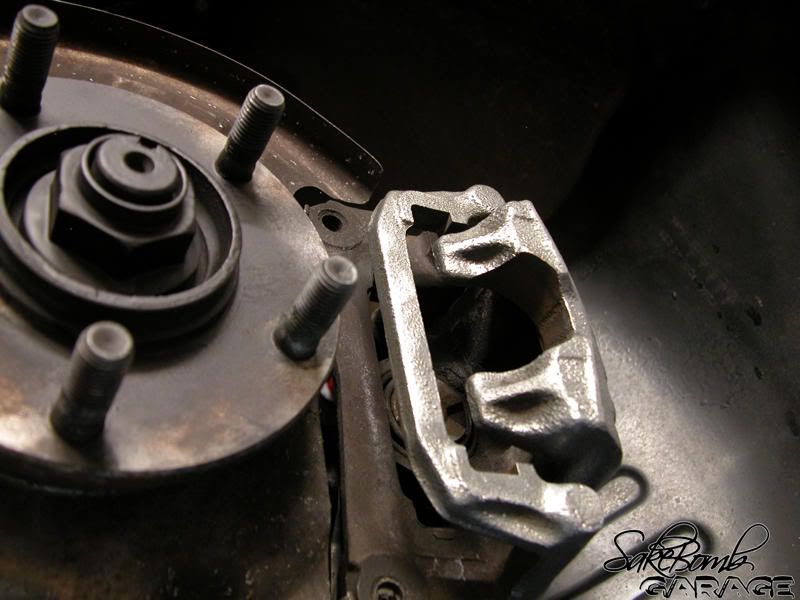
While I was in the area of the suspension, I figured it would be a good time to refresh the brakes, because the rotors were rusted hardcore, and the calipers needed some attention. I ordered a caliper rebuild kit for the front from Ray at Malloy, some Axxis unlimited pads, titanium front shims, new rotors and G2 caliper paint. After removing the front calipers, I took them to my friends shop and had them media blasted to clean the surface before paint. Rebuilding the calipers is pretty straight forward. I used an air gun and a piece of wood between the calipers to remove the pistons. Using the air gun worked ok, and there is actually a tool you can buy to remove the pistons. I used parts cleaner to clean the pistons as well as brake parts cleaner inside the caliper, then metal polish to buff them…The pistons were not in bad shape, so I didn’t spend much time on them. Once you reinstall the pistons (use brake fluid as lube) it’s time to install the dust cover and retaining ring, again pretty straight forward. Make sure all brake parts cleaner and liquid is out of the caliper before reassembly. Boom bam, caliper rebuild complete.
Calipers fresh off the car
After a little cleaning and media blasting it was time to paint. I took a super sweet picture of all the products I used.
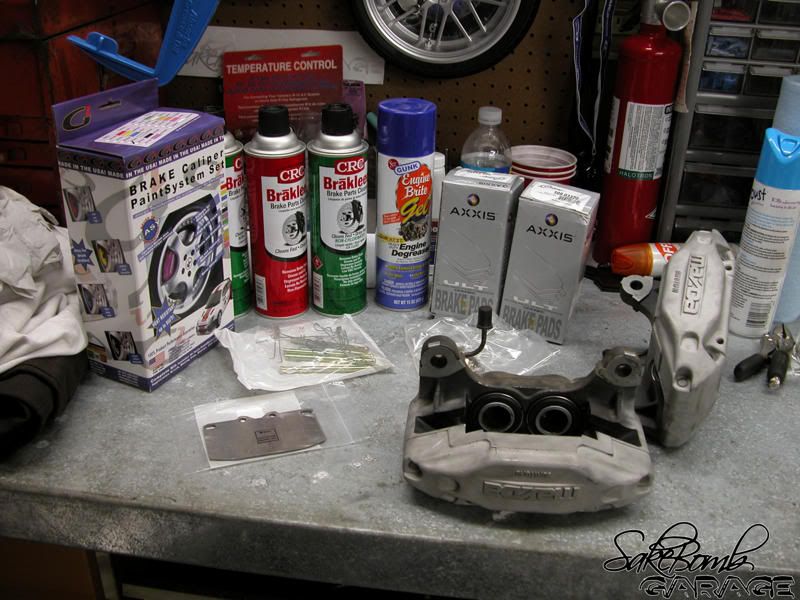
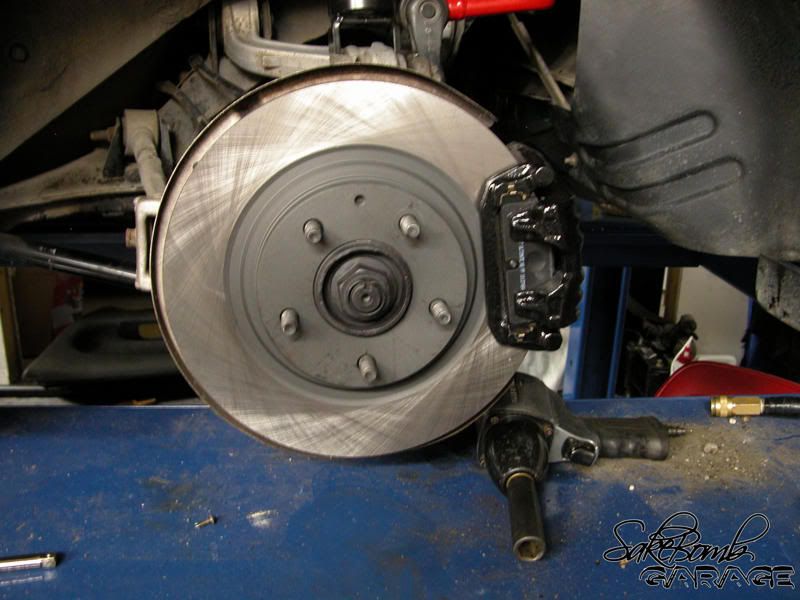
Now it was time to paint the calipers….
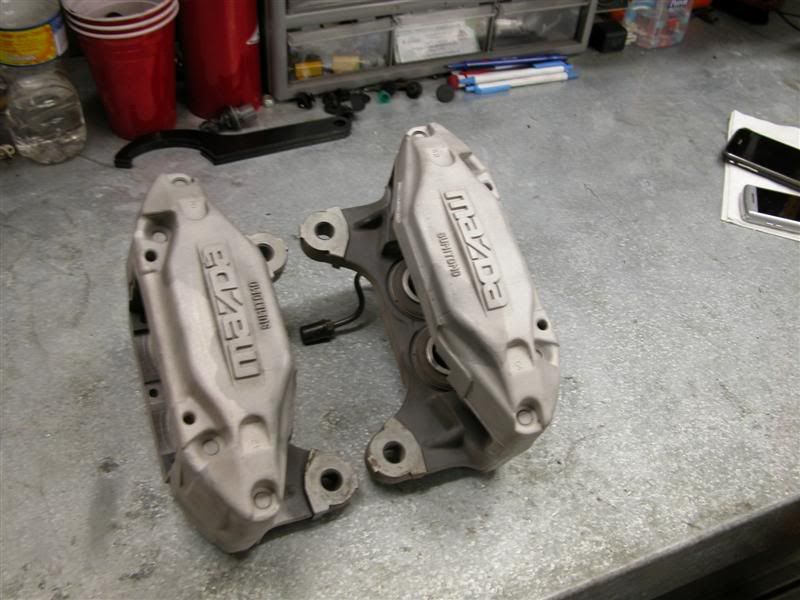
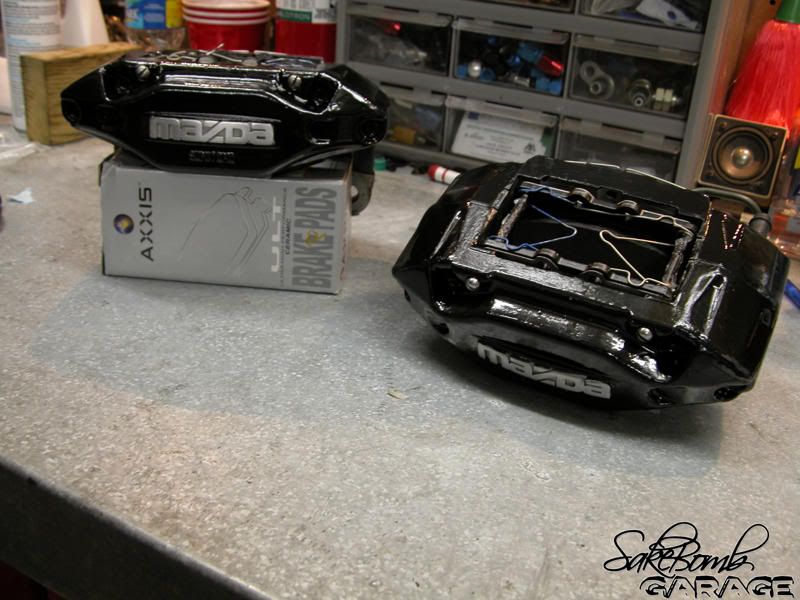
I choose black G2 caliper paint and have had good results in the past. To prep the calipers I used a wire wheel and some brake parts cleaner to insure the surface was clean. Before painting I decided to give the Mazda symbol a brushed look and polished the retaining pins for the pads. Painting the calipers was straight-forward, all you need to do is follow the instructions. I applied 2-3 coats on both front and rear calipers. Be advised that the first coat probably will look kind of funny, but the second coat will lay flat while drying. Below you’ll see the before and after pictures.
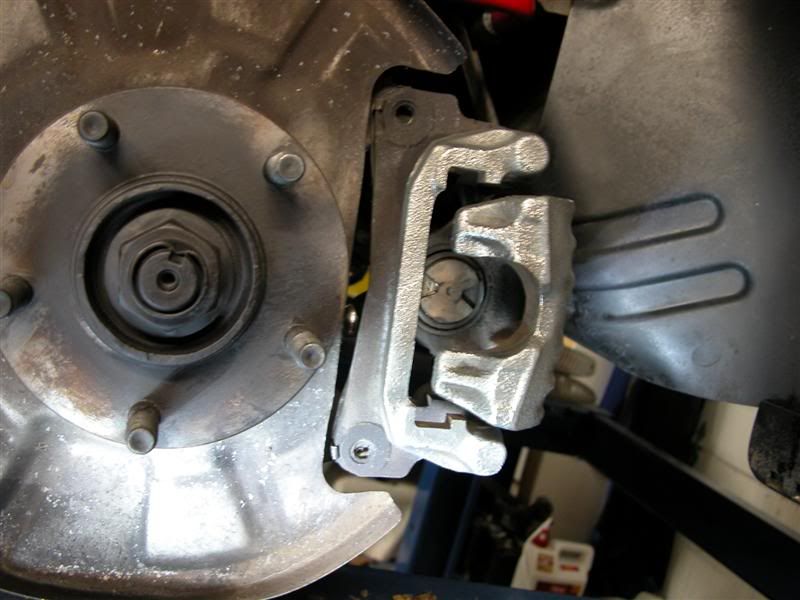
Before paint:
Rear caliper:
mmmmhmmmm

Stay tuned for more updates!
While I was in the area of the suspension, I figured it would be a good time to refresh the brakes, because the rotors were rusted hardcore, and the calipers needed some attention. I ordered a caliper rebuild kit for the front from Ray at Malloy, some Axxis unlimited pads, titanium front shims, new rotors and G2 caliper paint. After removing the front calipers, I took them to my friends shop and had them media blasted to clean the surface before paint. Rebuilding the calipers is pretty straight forward. I used an air gun and a piece of wood between the calipers to remove the pistons. Using the air gun worked ok, and there is actually a tool you can buy to remove the pistons. I used parts cleaner to clean the pistons as well as brake parts cleaner inside the caliper, then metal polish to buff them…The pistons were not in bad shape, so I didn’t spend much time on them. Once you reinstall the pistons (use brake fluid as lube) it’s time to install the dust cover and retaining ring, again pretty straight forward. Make sure all brake parts cleaner and liquid is out of the caliper before reassembly. Boom bam, caliper rebuild complete.
Calipers fresh off the car
After a little cleaning and media blasting it was time to paint. I took a super sweet picture of all the products I used.
Now it was time to paint the calipers….
I choose black G2 caliper paint and have had good results in the past. To prep the calipers I used a wire wheel and some brake parts cleaner to insure the surface was clean. Before painting I decided to give the Mazda symbol a brushed look and polished the retaining pins for the pads. Painting the calipers was straight-forward, all you need to do is follow the instructions. I applied 2-3 coats on both front and rear calipers. Be advised that the first coat probably will look kind of funny, but the second coat will lay flat while drying. Below you’ll see the before and after pictures.
Before paint:
Rear caliper:
mmmmhmmmm
Stay tuned for more updates!

On the fasttrack!
iTrader: (22)
Joined: Oct 2006
Posts: 2,494
Likes: 2
From: virginia beach, virginia
yup. good side note, but.........why didnt you just have them powdercoated? all you would have to do is rebuild them, which i dont see the problem with, specially after 100k miles.
idk, my 2cents. i love powdercoat, and ive done calipers, so, idk.
car looks DAMN good, and i completly envy your shop
Lloyd
idk, my 2cents. i love powdercoat, and ive done calipers, so, idk.
car looks DAMN good, and i completly envy your shop
Lloyd
Rolling fenders!
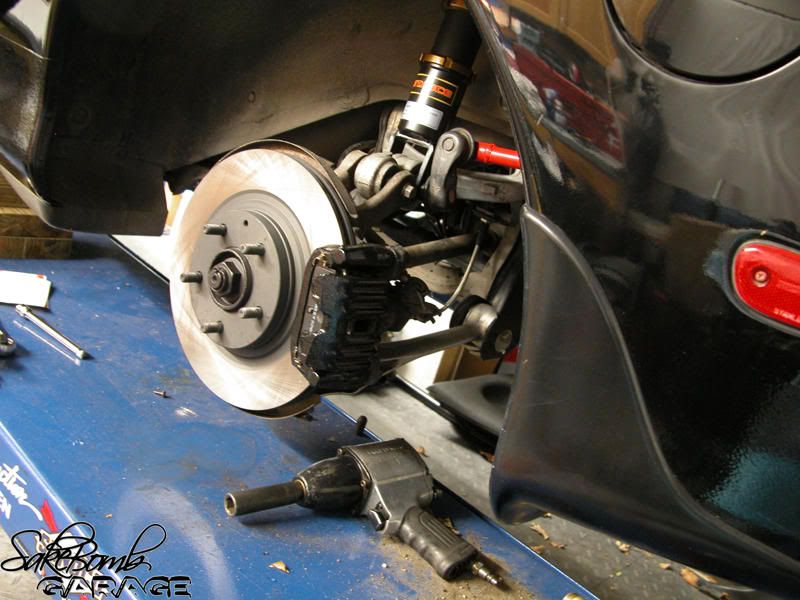
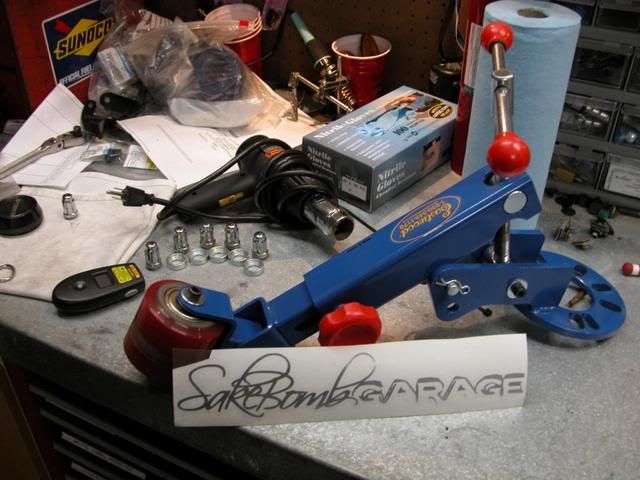
I wanted to maximize clearance in the wheels well so I purchased a Eastwood co. fender roller and got to work. I used a heat gun and a laser thermo sensor to warm the area I would be rolling to around 125 degrees F. To start off I set the angle and positioned the roller so it barely made contact with the fender lip. Roll slowly clockwise while making sure the area you are working in is properly heated. While rolling your fenders it’s best to enlist a friend to operate the heat gun, while you take care of rolling. Once the fender roller rolls freely, tighten the lever about a half turn. Again, roll slowly from one side to the other until the roller moves across with ease, then tighten again. I managed to get the lip flat against the inner fender without cracking the paint. This was my first time rolling fenders, so one turned out a little rough. I have to go back to the driver side and flatten the metal a bit more. Again, attached are some pictures of the tools I used and the lip after. I have a set of Spirit R type A wheels, which I’m considering having widened. If I don’t use the Spirit R wheels, I have a few other sets I can test fit. Whatever wheels I decide to go with, rest assured it’ll be done right
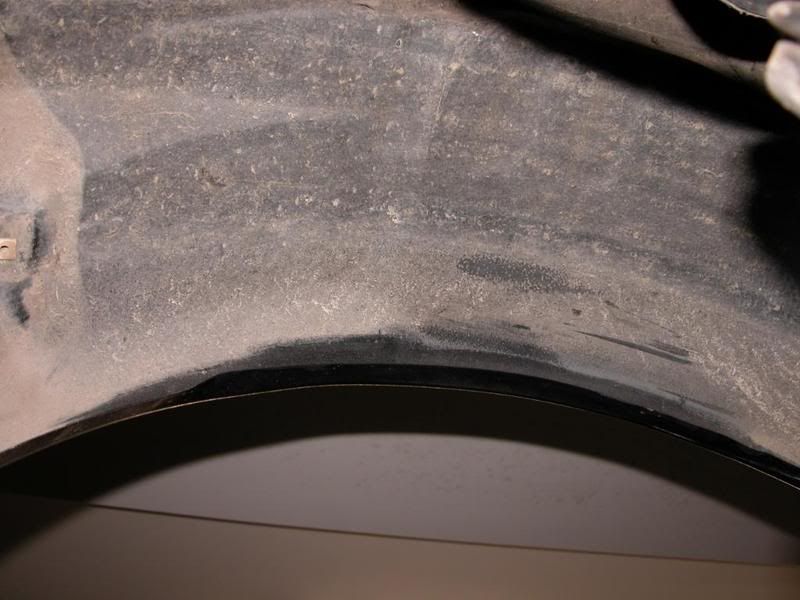
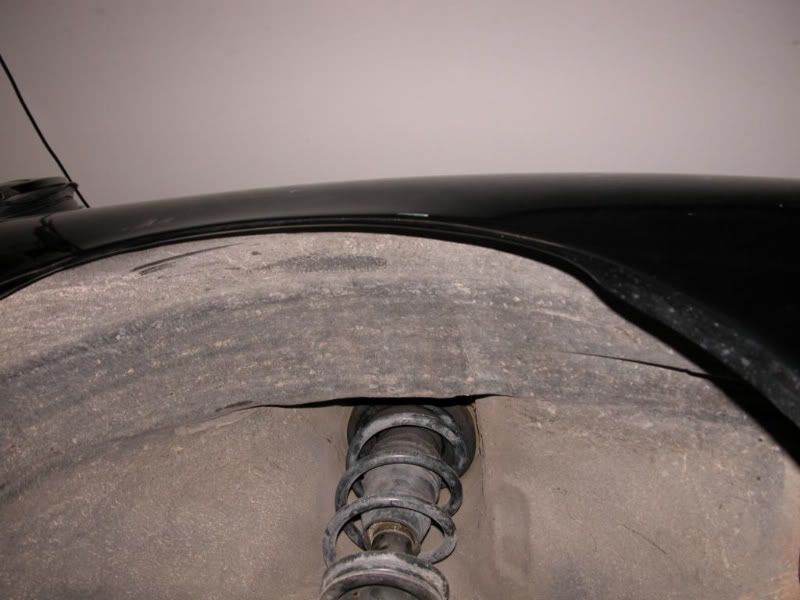
Rear lip rolled nice and flush, might actually have a little pull to it. I have to go back and continue the roll a bit more. Rich take notes, this is how your fenders should look Yes I'm going out of order...this was done before the suspension as you'll notice....
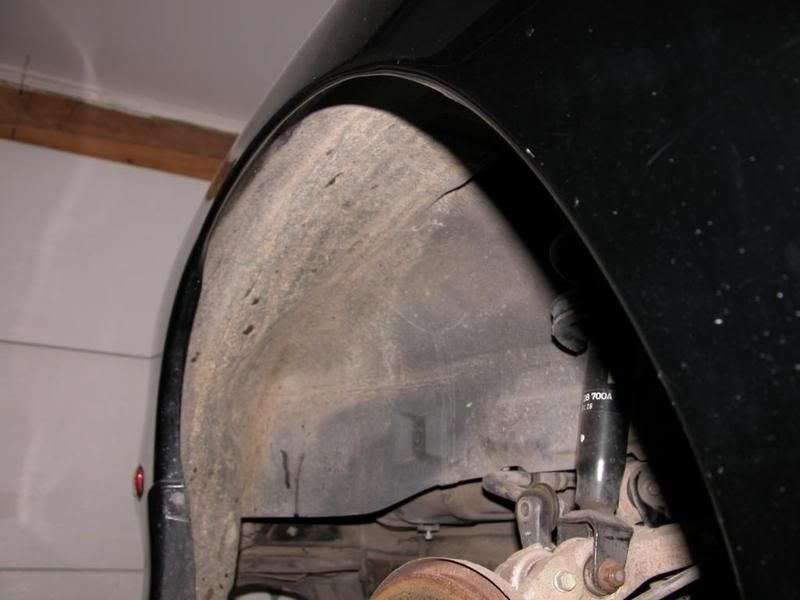
Inside the wheel well
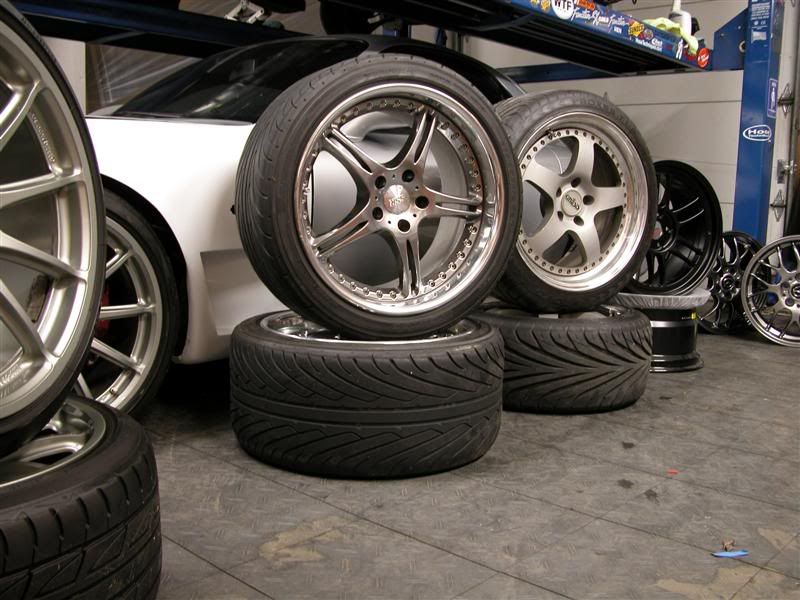
This is an old pic (The Kinesis are gone) but the other wheels are still options....Or I had a few other ideas I was tossing around. The RPF1's are Charlies, before he posts something about me whoring out his wheels.
-Dan
I wasn't sure how the powder would hold up to the heat and this stuff works just fine. The calipers probably would have come out a bit better if I had them coated, but I'm not sweating it. If you look through you'll notice I've had a ton of parts coated on this car. Thanks for the compliment Cabaynes and I share the shop.
I wanted to maximize clearance in the wheels well so I purchased a Eastwood co. fender roller and got to work. I used a heat gun and a laser thermo sensor to warm the area I would be rolling to around 125 degrees F. To start off I set the angle and positioned the roller so it barely made contact with the fender lip. Roll slowly clockwise while making sure the area you are working in is properly heated. While rolling your fenders it’s best to enlist a friend to operate the heat gun, while you take care of rolling. Once the fender roller rolls freely, tighten the lever about a half turn. Again, roll slowly from one side to the other until the roller moves across with ease, then tighten again. I managed to get the lip flat against the inner fender without cracking the paint. This was my first time rolling fenders, so one turned out a little rough. I have to go back to the driver side and flatten the metal a bit more. Again, attached are some pictures of the tools I used and the lip after. I have a set of Spirit R type A wheels, which I’m considering having widened. If I don’t use the Spirit R wheels, I have a few other sets I can test fit. Whatever wheels I decide to go with, rest assured it’ll be done right
Rear lip rolled nice and flush, might actually have a little pull to it. I have to go back and continue the roll a bit more. Rich take notes, this is how your fenders should look
Yes I'm going out of order...this was done before the suspension as you'll notice....Inside the wheel well
This is an old pic (The Kinesis are gone) but the other wheels are still options....Or I had a few other ideas I was tossing around. The RPF1's are Charlies, before he posts something about me whoring out his wheels.
-Dan
yup. good side note, but.........why didnt you just have them powdercoated? all you would have to do is rebuild them, which i dont see the problem with, specially after 100k miles.
idk, my 2cents. i love powdercoat, and ive done calipers, so, idk.
car looks DAMN good, and i completly envy your shop
Lloyd
idk, my 2cents. i love powdercoat, and ive done calipers, so, idk.
car looks DAMN good, and i completly envy your shop
Lloyd
I wasn't sure how the powder would hold up to the heat and this stuff works just fine. The calipers probably would have come out a bit better if I had them coated, but I'm not sweating it. If you look through you'll notice I've had a ton of parts coated on this car. Thanks for the compliment
Cabaynes and I share the shop.
Joined: Mar 2001
Posts: 30,818
Likes: 656
From: FL-->NJ/NYC again!
Take notes huh? You obviously missed the class where the professor was espousing the virtues of big brake kits 
Oh and here--- I'll save ya the trouble
http://dictionary.reference.com/browse/espousing
Oh and here--- I'll save ya the trouble
http://dictionary.reference.com/browse/espousing
That's what I was going to say when I saw the pictures. I painted my calipers and then used a sanding block to remove the paint from the "MAZDA". Then hit it with a bit of steel wool to give it the brushed look.
Take notes huh? You obviously missed the class where the professor was espousing the virtues of big brake kits
Oh and here--- I'll save ya the trouble
http://dictionary.reference.com/browse/espousing
Oh and here--- I'll save ya the trouble
http://dictionary.reference.com/browse/espousing

Thanks Phil!
Andy, I'm still undecided on selling the wheels but if I do I'll keep you in mind.
haha thanks man thats all I ask.
bc I'm getting mine painted as well. Thats an interesting idea but won't the mazda look dirtier if its brushed or at least look dirtier fast?
bc I'm getting mine painted as well. Thats an interesting idea but won't the mazda look dirtier if its brushed or at least look dirtier fast?
On the fasttrack!
iTrader: (22)
Joined: Oct 2006
Posts: 2,494
Likes: 2
From: virginia beach, virginia
oh trust me, the powder will hold up just fine. if it takes almost 400 degrees just to cook, i highly doubt that the calipers even get close to that temperature. and as long as the caliper doesnt take any direct shots from a hammer, you will never have to do anything more than wipe the brake dust off of them.
dont you just love the look of freshly powdercoated stuff? and also knowing that you cant really **** any of it up, unlike paint.
Lloyd
dont you just love the look of freshly powdercoated stuff? and also knowing that you cant really **** any of it up, unlike paint.
Lloyd
Gotta say...I'm loving this build! The thread title threw me off so I didn't even check this out till now lol. I'm also sound-deadening my car, but was wondering whether it's worthwhile to coat the entire under-body with sound deadening?
No idea if the logo will get dirty fast. They probably will, but I don't really care lol.