When you click on links to various merchants on this site and make a purchase, this can result in this site earning a commission. Affiliate programs and affiliations include, but are not limited to, the eBay Partner Network.
Once I attacked that white stuff it sharded off like snakeskin.
Sounds like you are being careful with the connectors.
Menawhile make sure you know where to get replacement connectors just in case.
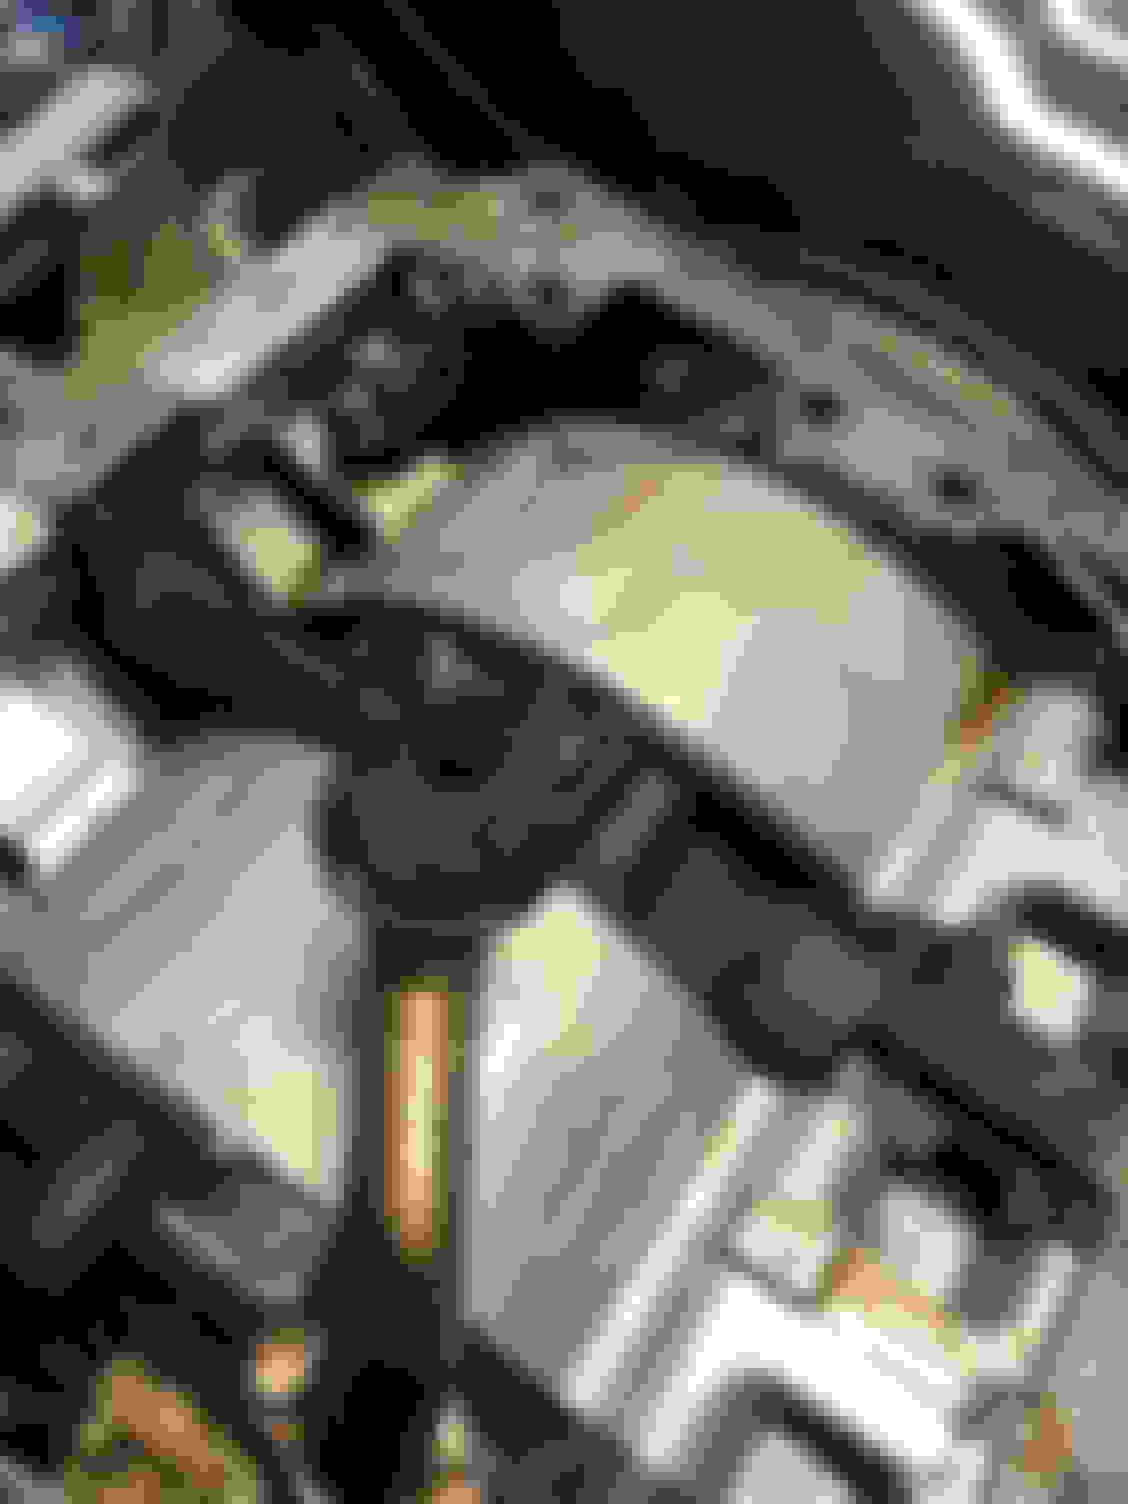
It seems there are a lot of discarded Emission Harnesses about.
But the one you want to be most careful with is the gigantic "Front Harness".
Also weirdly, there is an offshoot from the emissions harness that runs back to four plugs on the transmission.
I see that strand cut off quite often , to others future puzzlement.
Very good idea to get a hold of the "Wiring Diagram" manuals.
Thank you for all the info. I have the manuals in pdf format but I�d like to have a paper copy at some point. I�ve been pretty careful with the connectors but I�m sure I�ll have to replace a few. A lot of the harness was brittle and flakey but the white/grey portion is gummy.
Really depend on how much time you want to spend on the harness, a new RHD one from Japan is about $900 shipped.
While that�s not crazy expensive for a brand new harness, I currently have a lot more time than money. Being a student has its pros and it�s cons lol. I have next week off school (reading week) so I�ll take my time going through the harness and repairing I think
It's basically a silicone goop, used to suppose the harness beneath the firewall boot.
I've stripped and rebuilt a couple of these harnesses in the past. It's a messy job, and lots of brake cleaner is required to remove all the old electrical tape stickness / gunk. But, they're a pretty simple harness in the scheme of things, so totally dooable to ressurrect an old one, provided that the wire isn't too brittle from heat cycles. If you're needing to cut more than an inch off the end to get back to non-brittle insulation, might be time to think about building from scratch / buying another.
While that�s not crazy expensive for a brand new harness, I currently have a lot more time than money. Being a student has its pros and it�s cons lol. I have next week off school (reading week) so I�ll take my time going through the harness and repairing I think
Some times it is about the experience too, if you have the time and enjoy doing it then there's nothing wrong with that
I am once again proving how bad I am at updating this, lol. First, the matter of my harness. I ended up doing the single turbo conversion myself. I had to buy about six connectors to fix old ones and I learned how to solder to replace old brittle and cracked harness wires. I wrapped the harness in 3M super 88 so hopefully, she lasts. Unfortunately, I fell down the rabbit hole a little and ended up purchasing an ign-1a smart coil kit, banzai trans and diff brace, and a few other small things. I replaced my swaybar mounts because my radiator doesn't fit so I thought they were bent. Turns out they were bent, but not enough to fix my issue. Starting to get a bit confusing but I'll figure it out. The trans brace went in smooth but I had to adjust the PPF to install the diff brace so that was a little annoying but not too bad. I also replaced a few sensors and the fuel door my dad snapped off while I was adding fuel stabilizer. I rolled her out of the garage after all my new changes, an oil change, and a bottle of octane booster. It took me an entire day to figure out why it would start because of a blown ign fuse. After changing the fuse, she fired right up and idled perfectly. I apologize for the lack of photos. I like threads with lots of pictures but when I get working I don't wanna stop for pictures. I'll figure it out one of these days. The next order of business is giving her a good wash and testing the new coils and stuff with my new map. I will try to update this more, but you know how that goes. Picture from summer 2021 I re-wired my fuel pump and fans as well as added a button
After^ Before v Finished product My engine bay is so dirty Hopefully the button works
I have been battling hot start issues and my car has felt down on power recently. Last week my car struggle to start and then after driving for about 30 minutes of driving began to overheat for no apparent reason. Thankfully I was close to home so I made it home and got the car parked and off before the temps went above 110�F. I shut off my car and checked the cooling system. It was it good shape. I then tried to start my car and it wouldn�t start. I decided to compression check the engine and got about 60psi on all 3 faces of both rotors. I�m assuming this means I will need a rebuild but if anyone else thinks otherwise let me know
So back in May I decided to rebuild my engine as it was down on compression. Today I took it one the first drive
I wanted to learn how to rebuild engines and when mine was low on compression I took it as an opportunity to learn. I picked up a pineapple racing rebuild kit and omp delete. I also picked up some RA Super seals. Once I pulled the engine and cracked it open I found that I cracked all of the corner seals and the irons looked pretty rough but everything else looked okay. I re stacked the engine with some new seals and some old parts before picking up a single turbo kit and dropping the engine back in. I struggled to get it started for a bit due to the vacuum leaks and leading coils being hooked up backwards but she now idles and drives. It�s been a lot of up and downs but I�m hoping this break in goes smoothly and gives me some decent compression
Complete engine bay (minus strut tower brace) measuring side seals and packing rotors The average corner seal from my engine found thing after taking off the oil pan before
Today I went to start my car to take the final drive before hitting boost but she would not start. It would crack but had sounded like there was no spark so I checked the car and my ignition fuse blew. I replaced the fuse and put the key to the on position (without cranking) and checked the fuse to find it blew again. I began inspecting my electrical system and found that my ecu was wet. Upon further inspection I have found that my windshield leaks a small amount and that water makes its way to the ecu. I have opened up the ecu and found water and corrosion. I am going to try and clean/dry out the ecu but I�m not sure if it will help. If anyone has any tips or ideas let me know
small amount of corrosion here ecu just after opening how i suspect water got in
Interesting to see the power FC internals. Looks more modern that the stock ecu. Hope your drying technic works. Maybe try the bury in uncooked rice method used for soggy smartphones.
Michael Gagne is a wizard with gauge circuit boards, not sure if he looks at ecu.
Also "Zacman" in New Zealand.
He is repairing gauge clusters. Not sure if he tackles ecu.
After cleaning and drying the ecu I tested it and it is still blowing the ignition fuse. I think the corrosion damage on the circuit board is beyond repair. I will try and see if a professional can repair it but I will also be looking into a new ecu
Find out from the apexi site which is the proper Power FC for your model car. Then search that model number on Yahoo Japan (hint: set up a Buyee account).
Quick update. After receiving a working power fc and installing it into my car, my ignition fuse stopped blowing, but I still got no start. I found that I was getting no spark, so I decided to test the stock coils as I run IGN-1A coils. My stock coils have no spark either, so now I am going to see if a coil signal is being sent. I've been busy with school, so progress is slow but I hope to hear my engine run again before winter
For future reference, please note that the position of the coils for Version 4 (and up) cars, was switched. Hooking up the leads for such cars based on USDM manual, may have a catastrophic effect. (Cost me a corner seal, haha).
Your car is a 92 so likely a version one (1) and therefore, this particular concern might not be a concern.
A number of local guys have had stock coil issues lately.
Maybe their time is up.
When you say no spark, do you mean no current detected when you test the coil itself for resistance?
Perhaps check the FSM for expected resistances.
.
Thank you for the heads up, I was not aware of that coil specification. I swapped to IGN-1A coils last winter and they were working fine then and for my first drive or two after my rebuild they seemed to work well. After my ign fuse blew when putting the key to �on� I investigated and found my ecu full of water. Now that I put in an undamaged ecu I can not get spark from the ign-1a coils so I reinstalled the stock coils to test with the same results. I�m going to check resistance and coil signal next but school and hockey have me busy
Another quick update After having my car up in the air and doing a bit more inspection it appears a crank sensor plug has a loose wire. I will be pulling my harness to give it look over as it is very possible a mistake was made during my harness simplification. Probably won�t run again before the end of the season tho :/