
1993 CYM R1 Street/Track/Time Attack Build


Thread Starter

Joined: Jan 2004
Posts: 247
Likes: 1
From: Kadena AFB, Japan
Thread Starter
Joined: Jan 2004
Posts: 247
Likes: 1
From: Kadena AFB, Japan
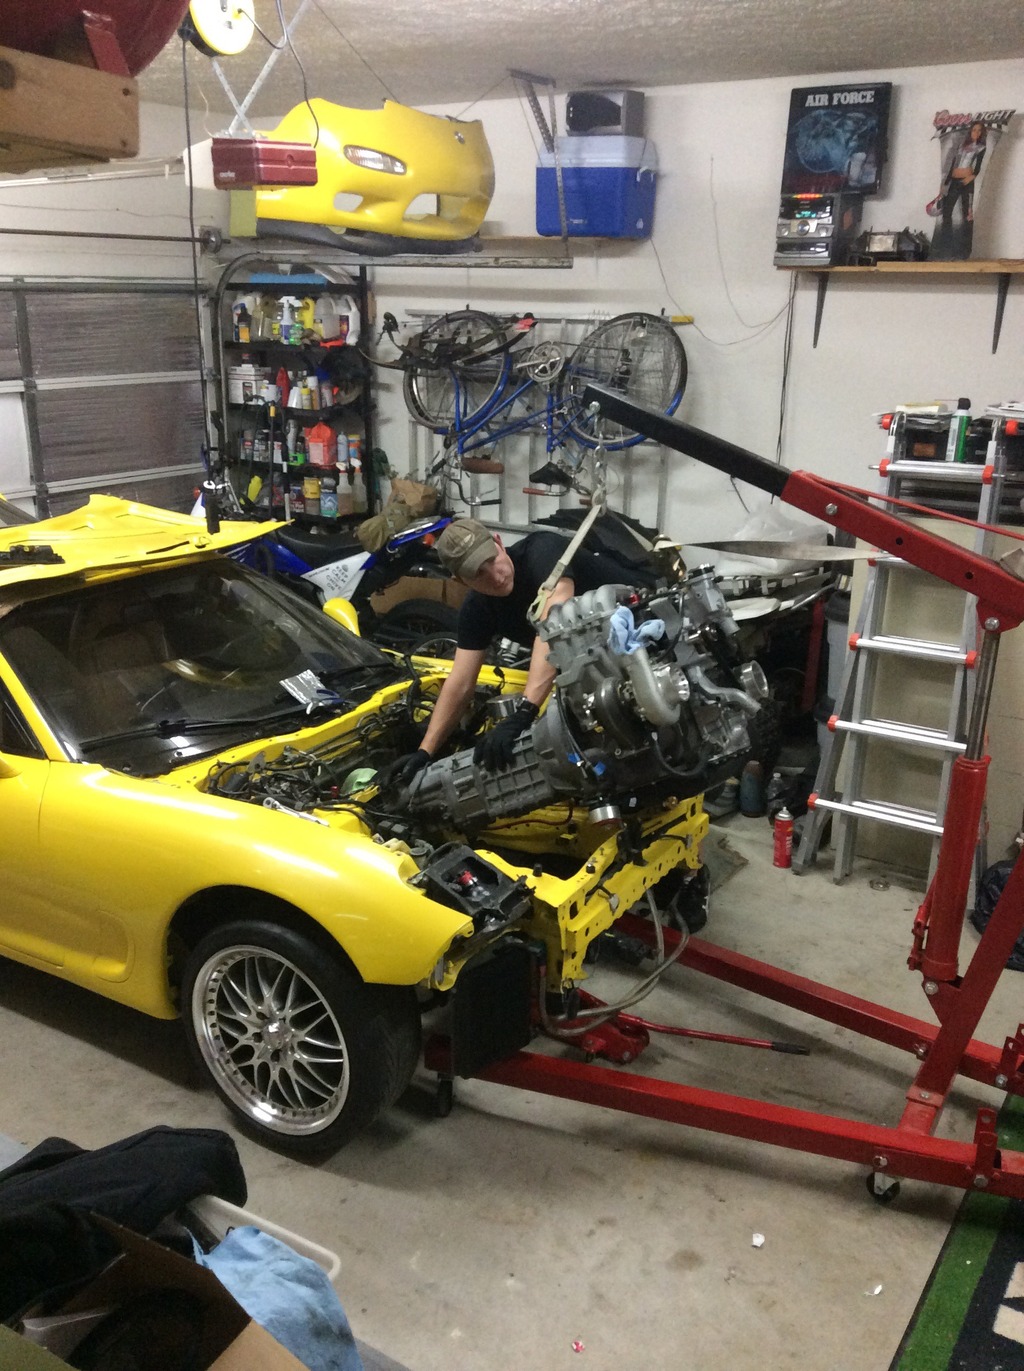
I finally got some progress done! Engine and transmission is in and I'll start hooking things up soon!
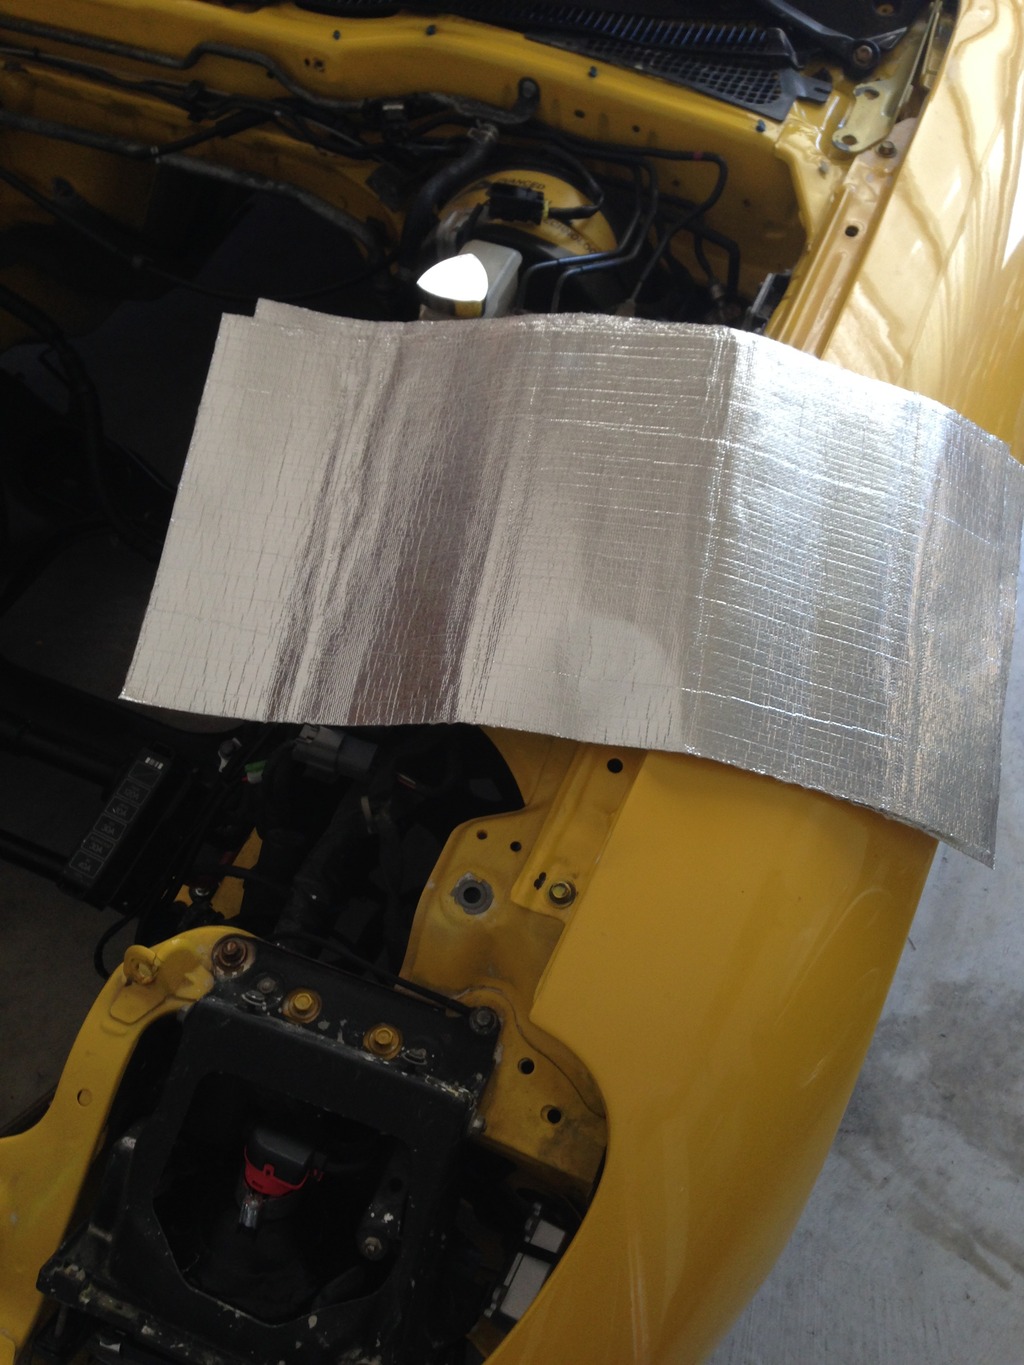
Thermo-tec two sheets of 12x24 heat barrier, sticks very well!
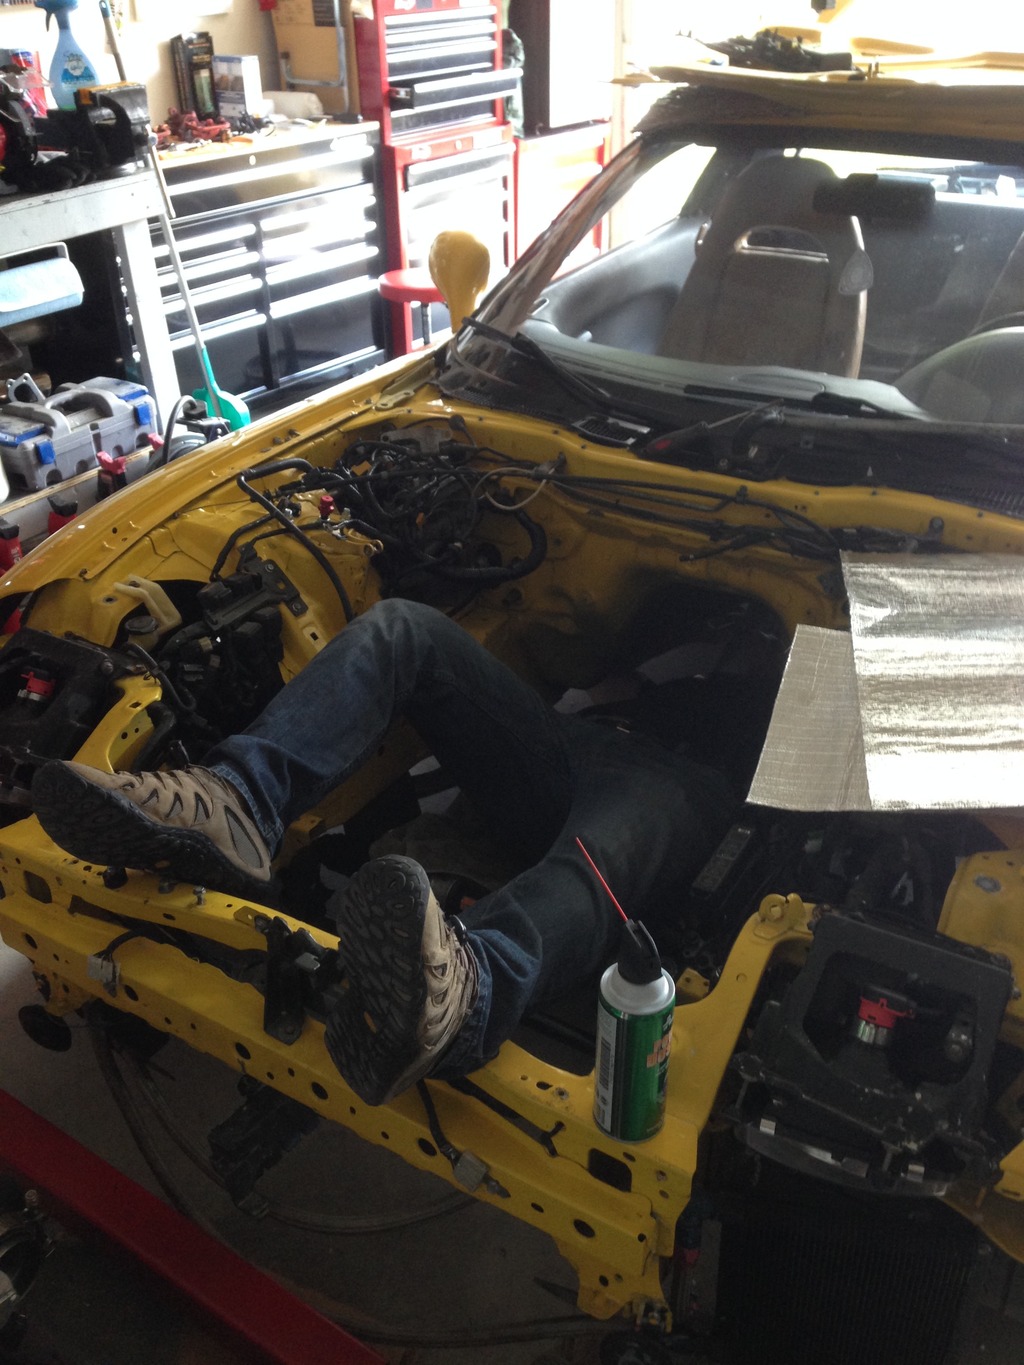
It's a pain to clean the underside!
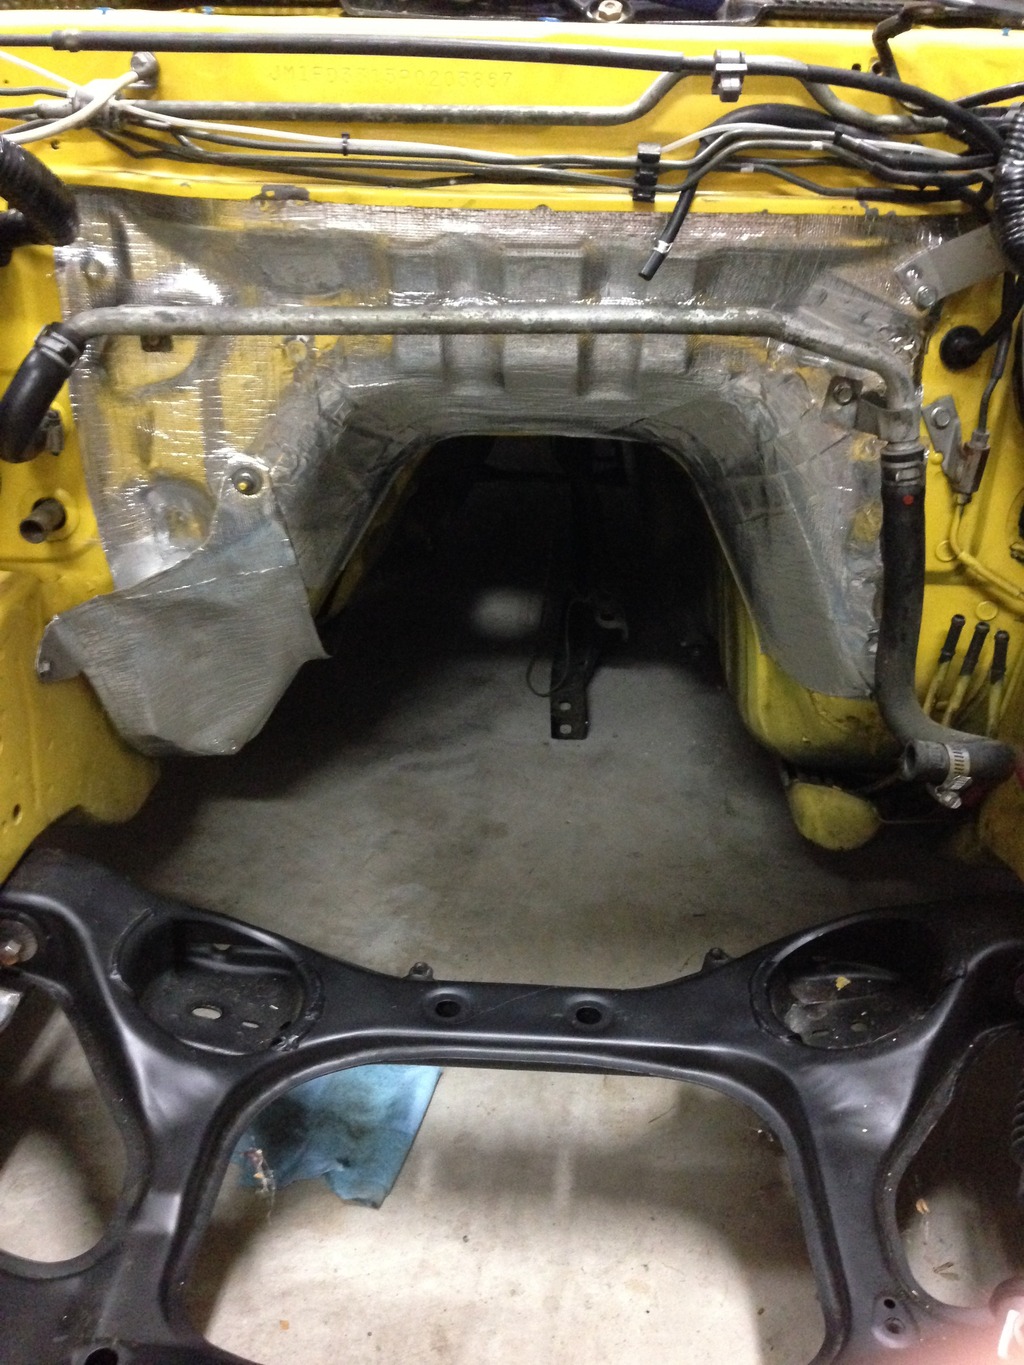
Finished product, I may use a roll on coating for the rest of the tunnel once I figure out how much this helps.
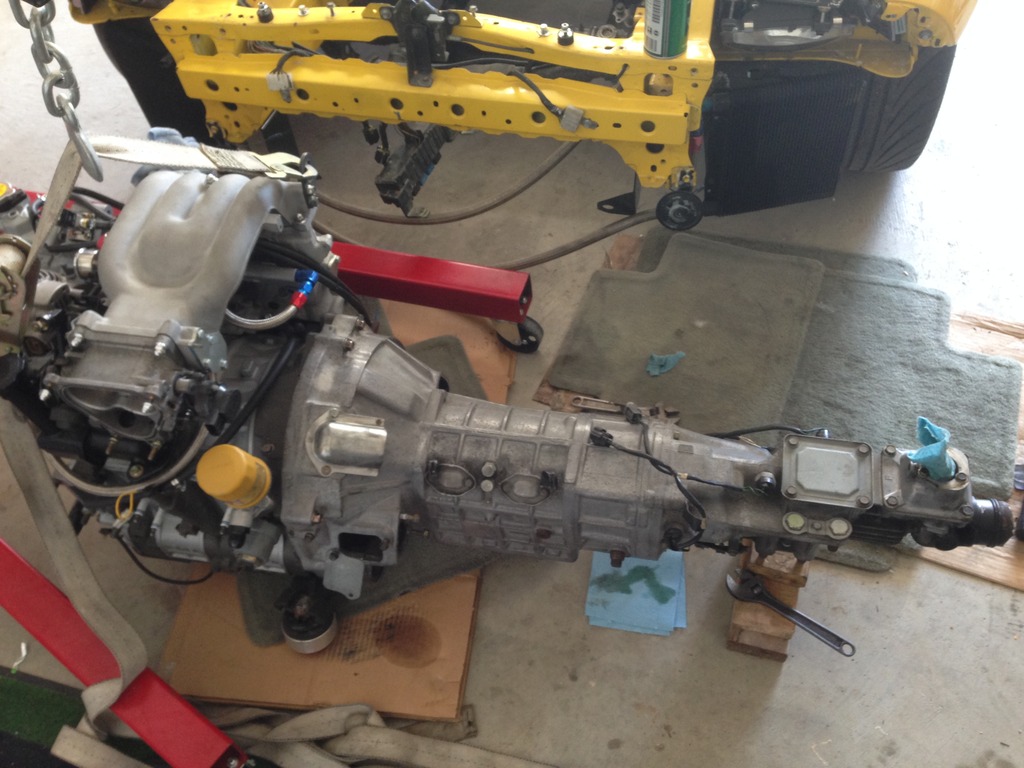
Trains is filled with oil and ready to go in. The HKS twin disc clutch is a pain to get the release bearing out of. You have to remove the first plate of the clutch to get it out!
This thing is a pain to put in by myself with the wife assisting lol
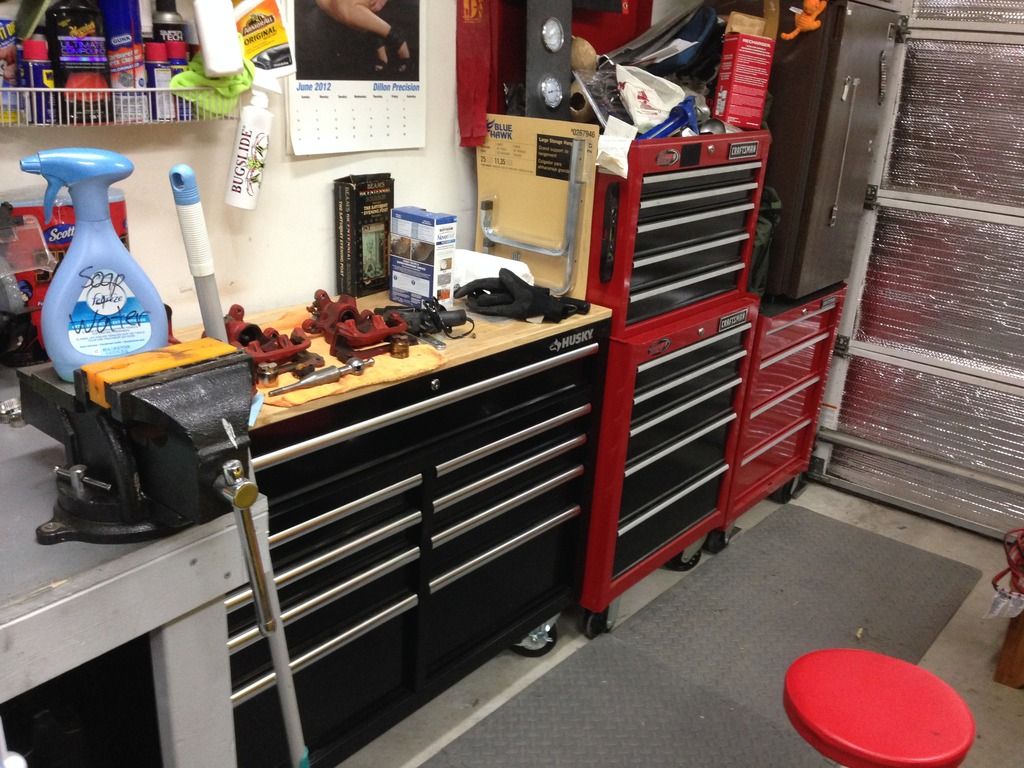
New workbench with my next project waiting. I think I have enough toolboxes now!
Thermo-tec two sheets of 12x24 heat barrier, sticks very well!

It's a pain to clean the underside!

Finished product, I may use a roll on coating for the rest of the tunnel once I figure out how much this helps.

Trains is filled with oil and ready to go in. The HKS twin disc clutch is a pain to get the release bearing out of. You have to remove the first plate of the clutch to get it out!

This thing is a pain to put in by myself with the wife assisting lol

New workbench with my next project waiting. I think I have enough toolboxes now!

i've done one track event on them and they were fine.
i have the fronts set to about 50% "stiff" and the rears almost full "soft".
i alos drive the car about 1/2 the time split with my old lexus DD. for street driving i set them at full soft all around and they're fine.
Thread Starter
Joined: Jan 2004
Posts: 247
Likes: 1
From: Kadena AFB, Japan
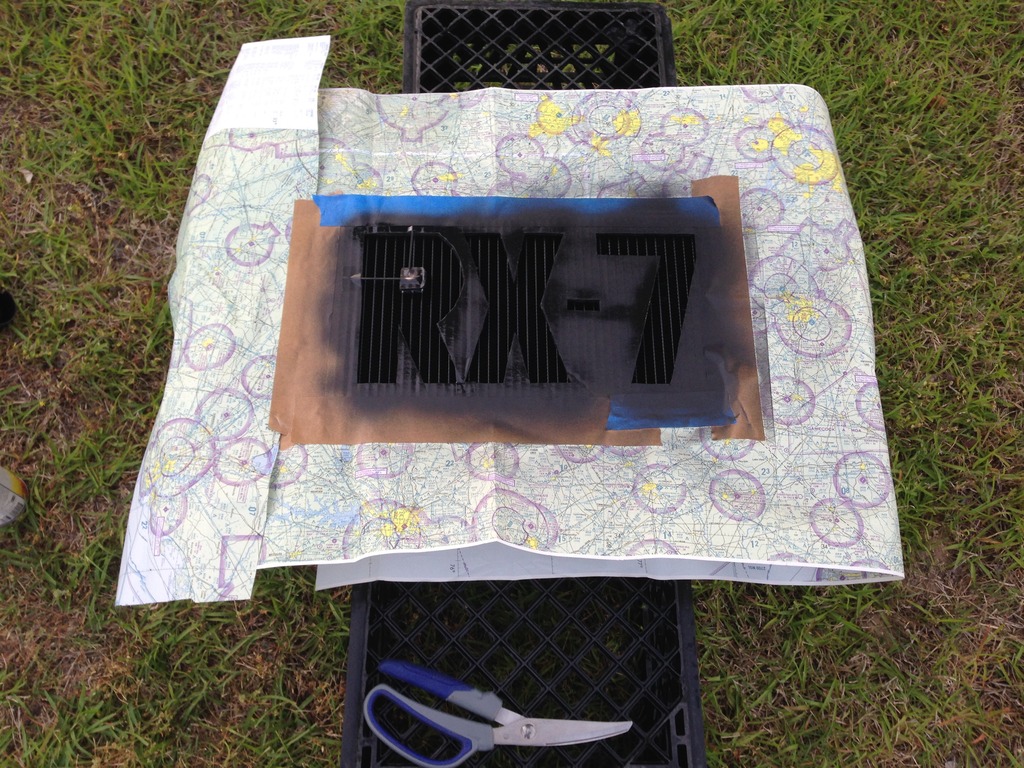
Decided I would strip the Koyorad paint off the radiator as best I could and repaint it with this! I stenciled out the design in cardboard and then sprayed away with high temp paint.
Still is still a little bit of the old paint on there but it looks good.
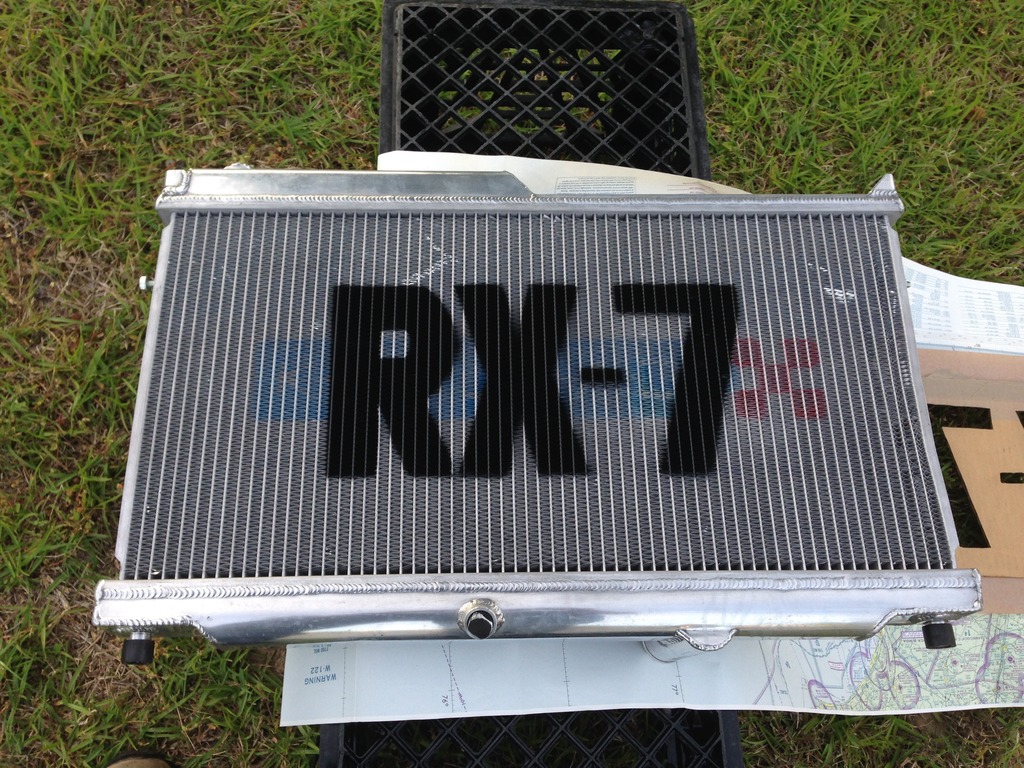
Once I figure out the front wiring harness the V-mount will be in. Had to extend the stock fan motor harness a little bit and put some some new tape on there.

Still is still a little bit of the old paint on there but it looks good.

Once I figure out the front wiring harness the V-mount will be in. Had to extend the stock fan motor harness a little bit and put some some new tape on there.


Thread Starter
Joined: Jan 2004
Posts: 247
Likes: 1
From: Kadena AFB, Japan
Had a few weeks to get some work done! Added a new horn from my Tundra lol
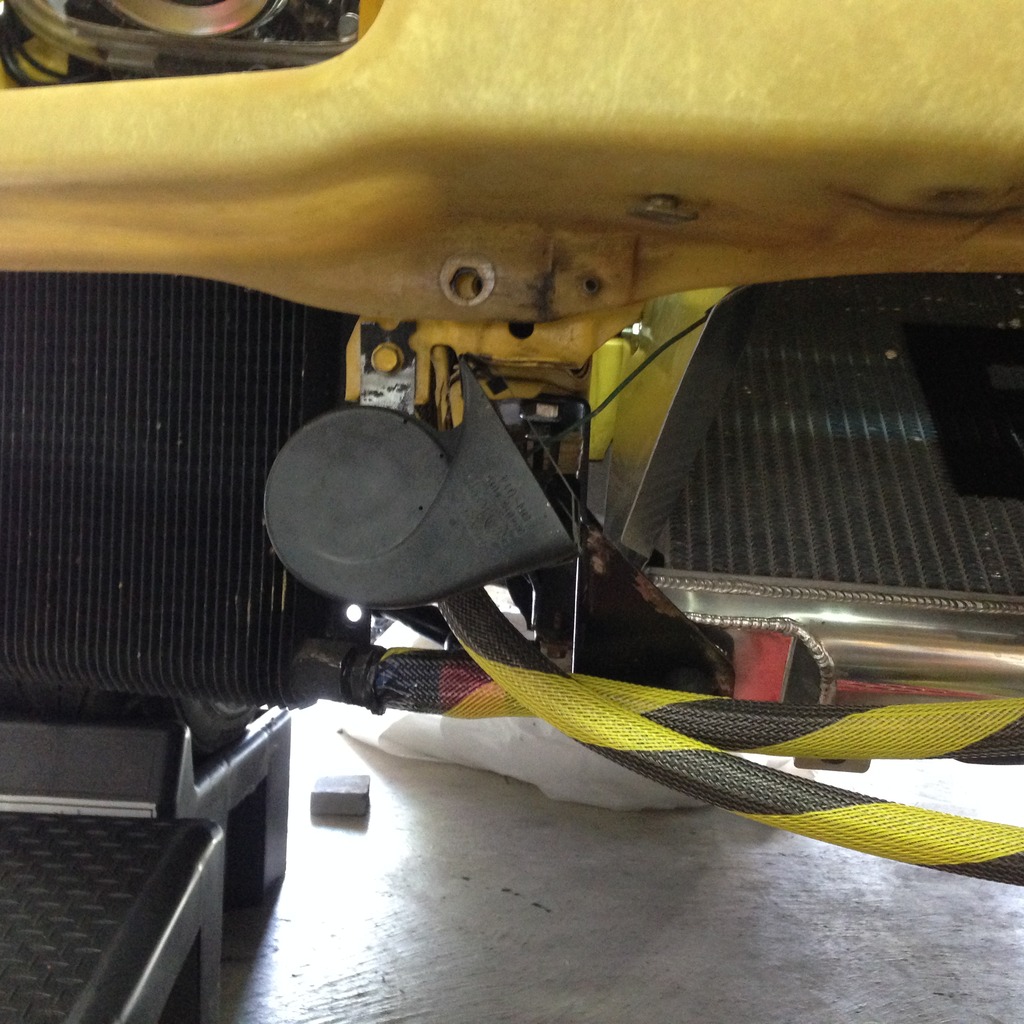
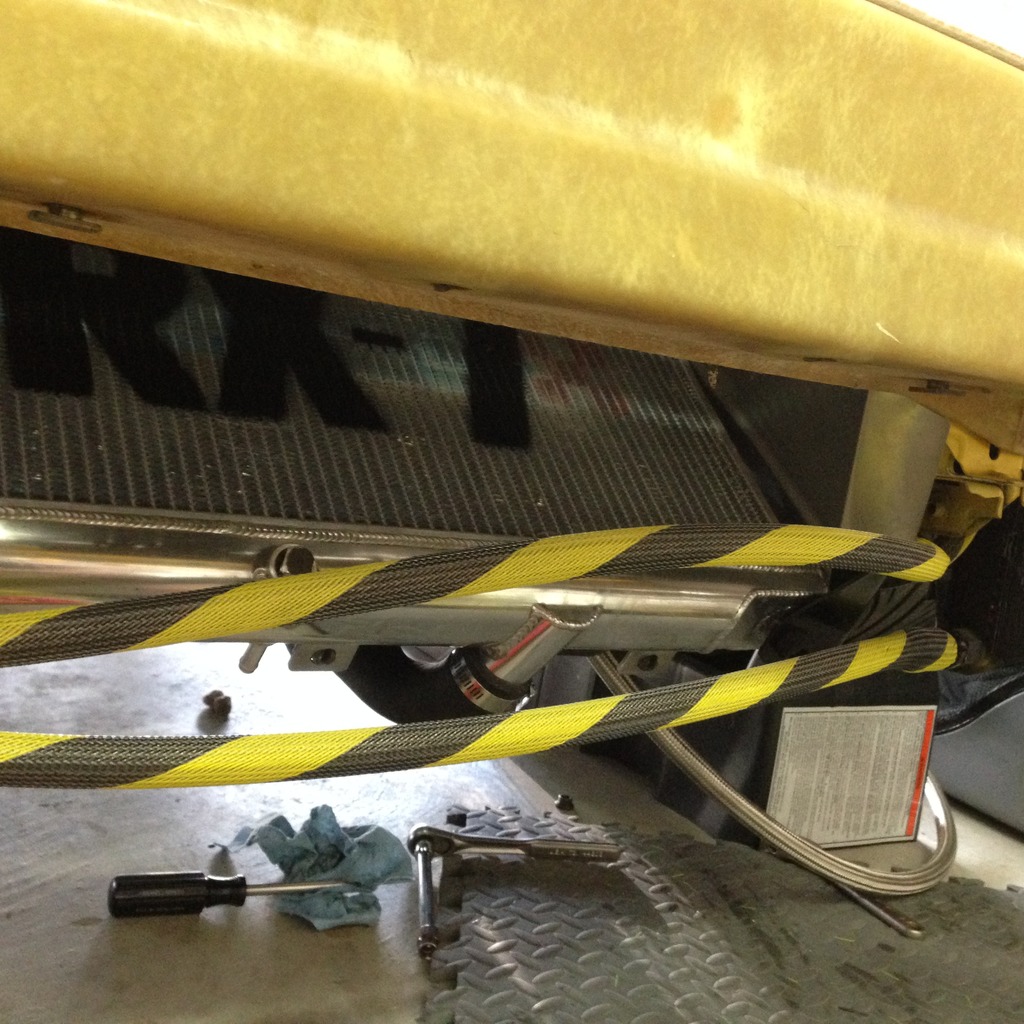
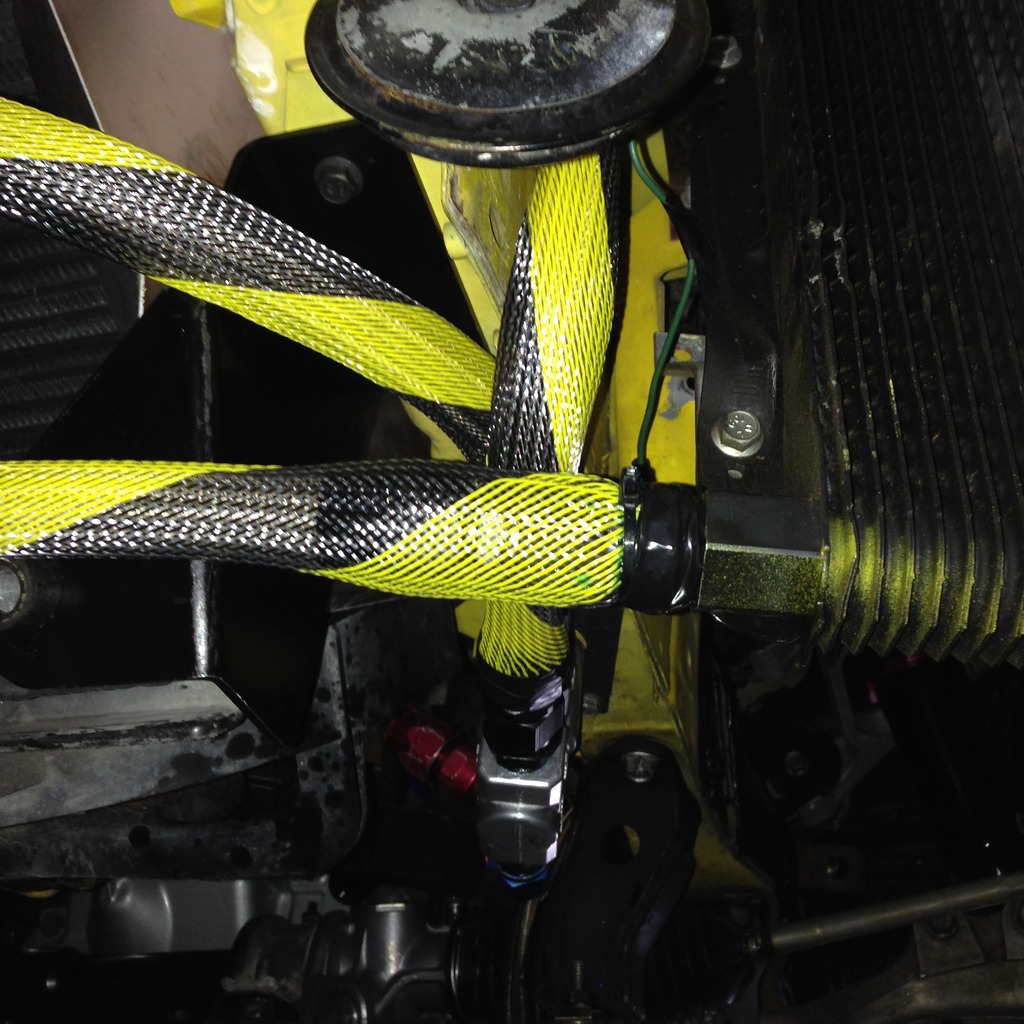
Finished my oil lines and added some sheathing.
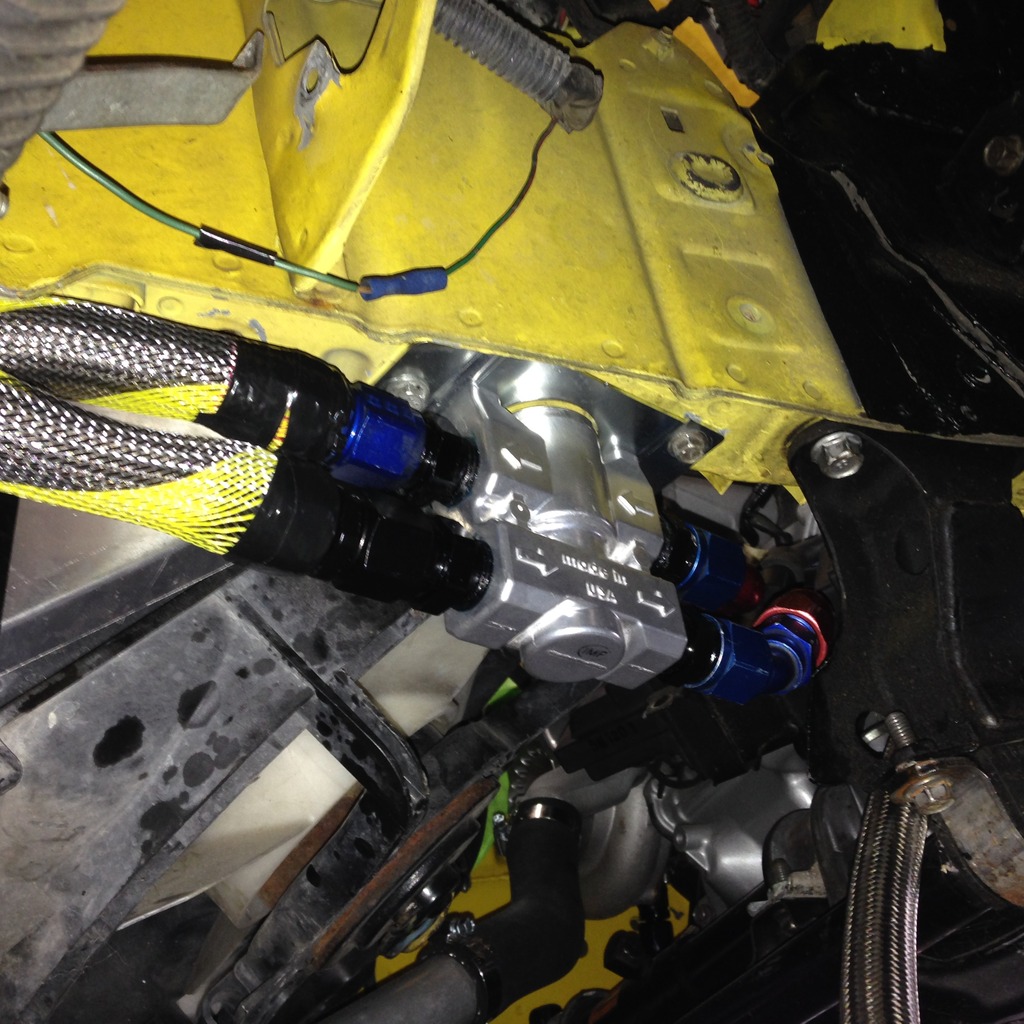
Finally found a spot for the oil cooler thermostat!
This picture gives no justice on how different the color is, or how a PITA it is to paint calipers yellow.
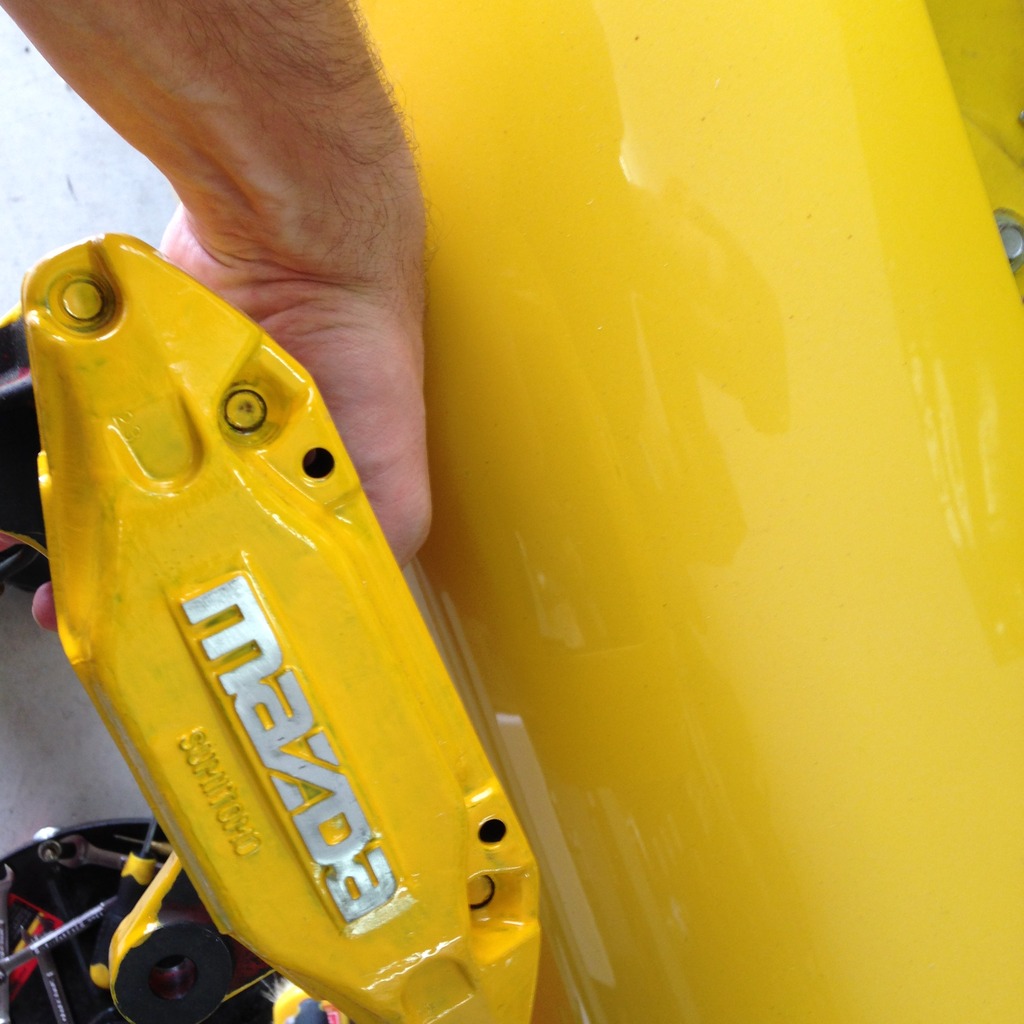
This is after five coats, notice the green-ish look where it is thin.
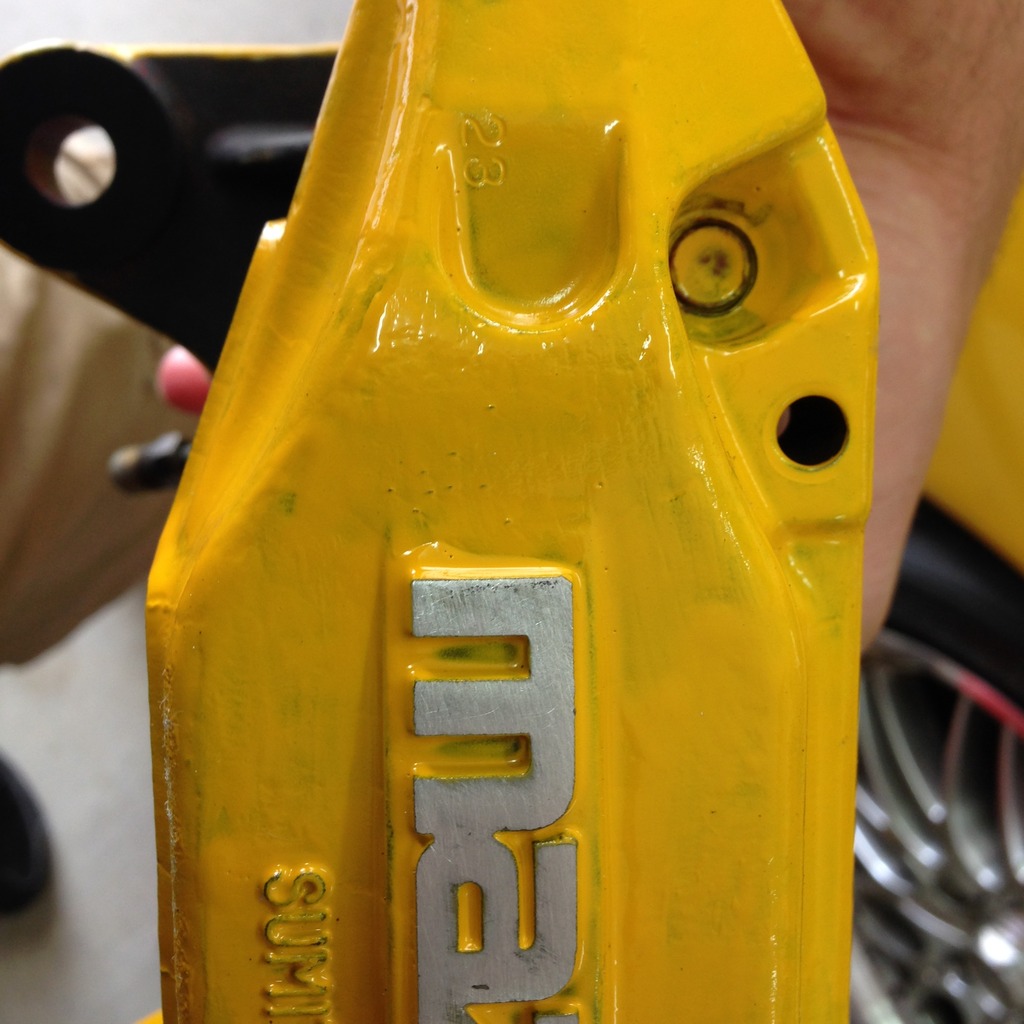
Not even close to the color of the car or the box color...
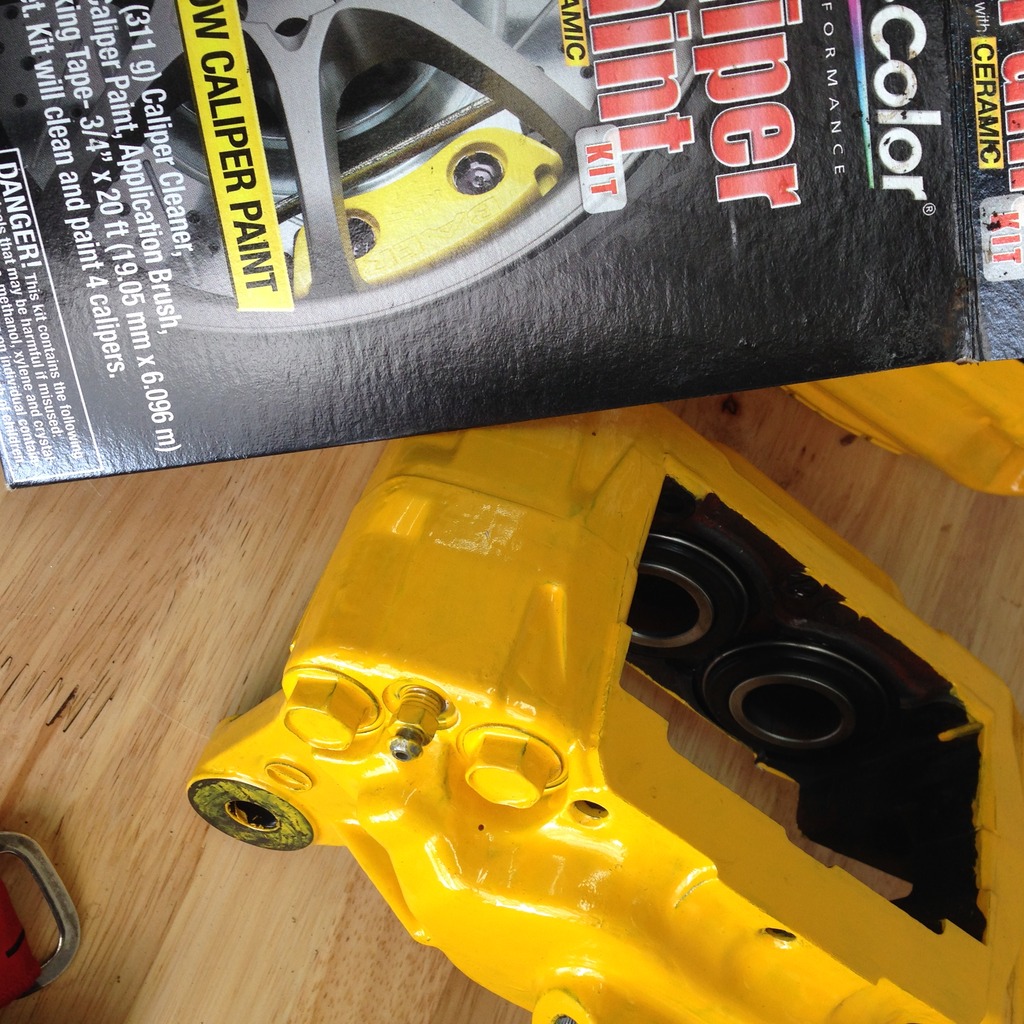
The color difference after they were put on, not quite the same. once I figure out the long term plan for my brakes I will powdercoat them, until then this will be ok.

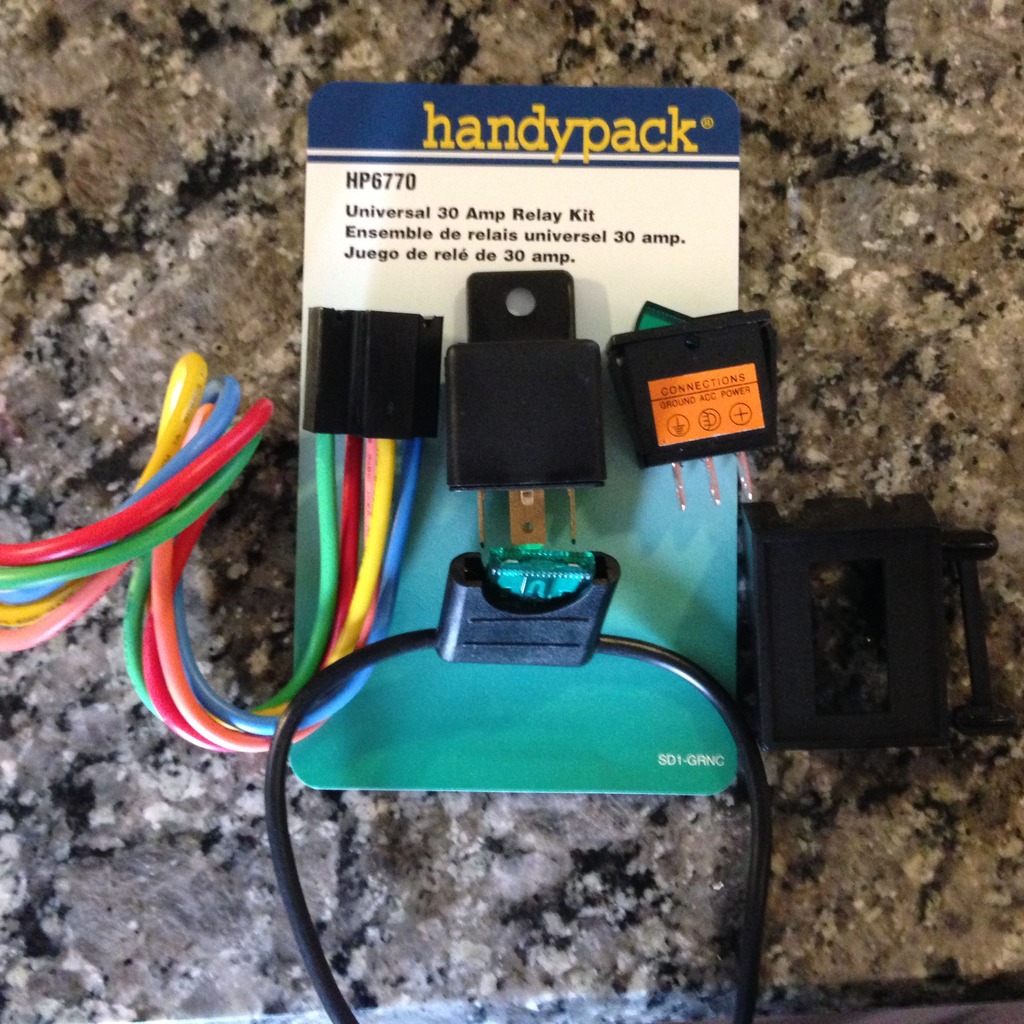
I found this nifty kit at my local auto parts store for $10. going to use it for re-wiring my fuel pump!
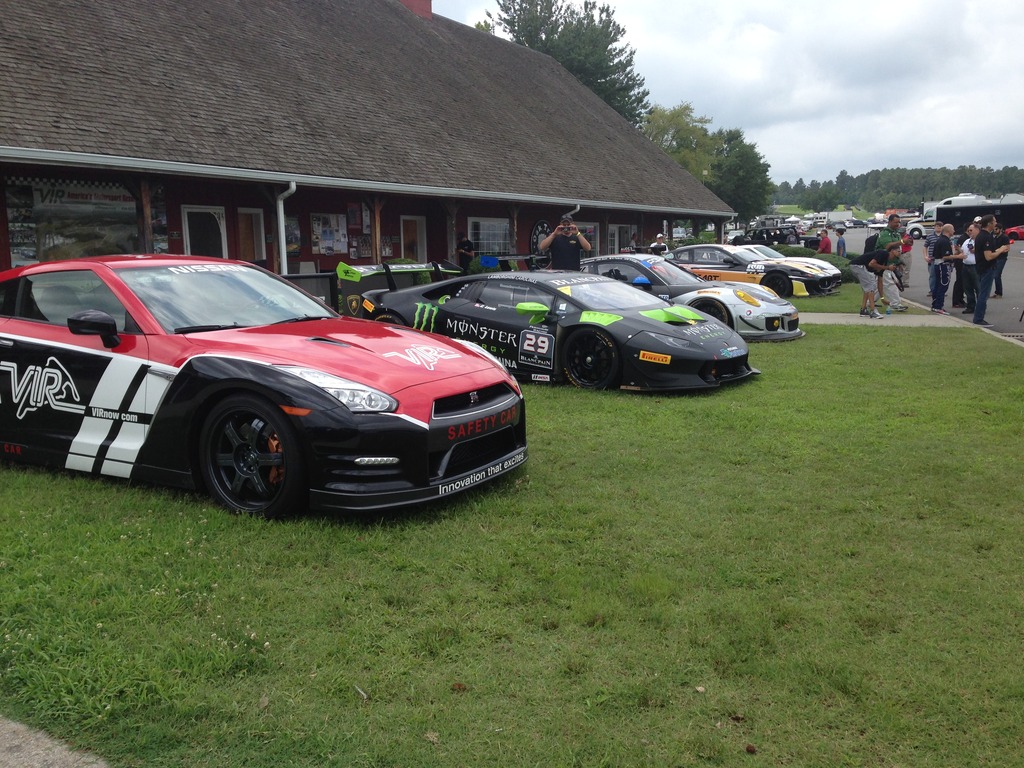
Also spent the weekend at VIR for the UTCC! The wife and I had a blast and we met a lot of good people, just no rotary's the entire weekend.
Re-installed the main power wire that was running under the car, through to the inside. Much cleaner install, also need to install the power shut off and 150amp fuse at the battery.
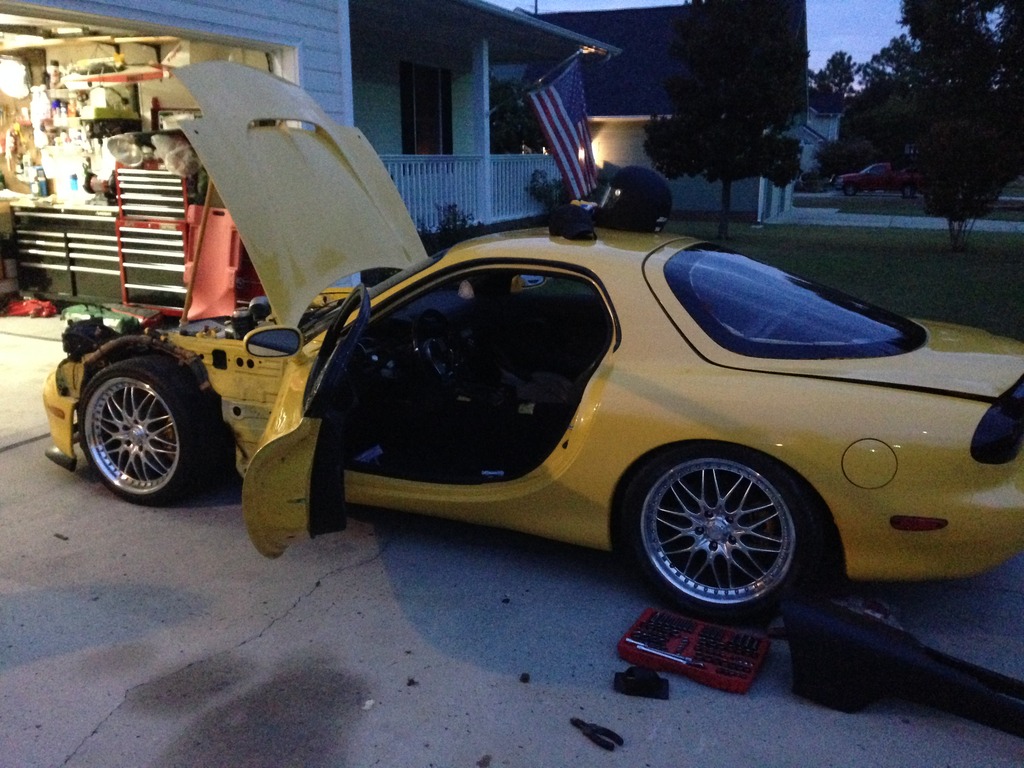

Finished my oil lines and added some sheathing.


Finally found a spot for the oil cooler thermostat!

This picture gives no justice on how different the color is, or how a PITA it is to paint calipers yellow.

This is after five coats, notice the green-ish look where it is thin.

Not even close to the color of the car or the box color...

The color difference after they were put on, not quite the same. once I figure out the long term plan for my brakes I will powdercoat them, until then this will be ok.

I found this nifty kit at my local auto parts store for $10. going to use it for re-wiring my fuel pump!

Also spent the weekend at VIR for the UTCC! The wife and I had a blast and we met a lot of good people, just no rotary's the entire weekend.

Re-installed the main power wire that was running under the car, through to the inside. Much cleaner install, also need to install the power shut off and 150amp fuse at the battery.


Thread
Thread Starter
Forum
Replies
Last Post