
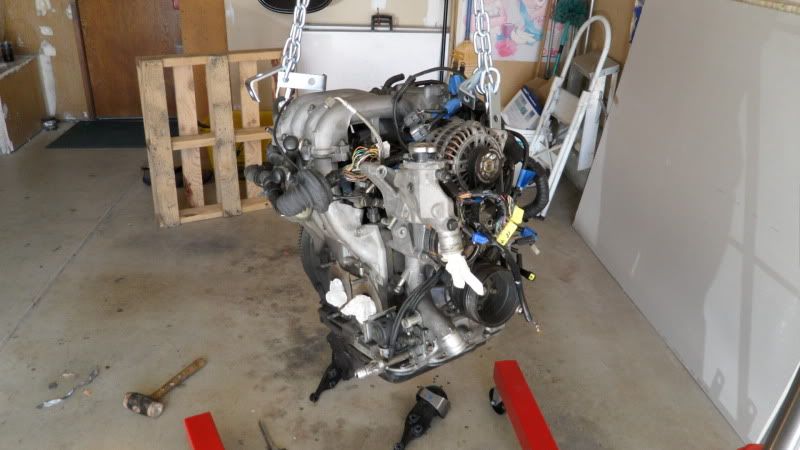
Starting off the new year with an engine pull!


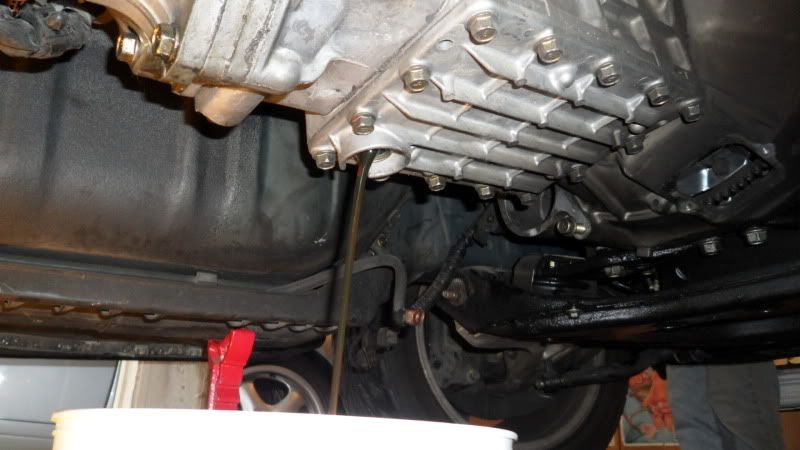
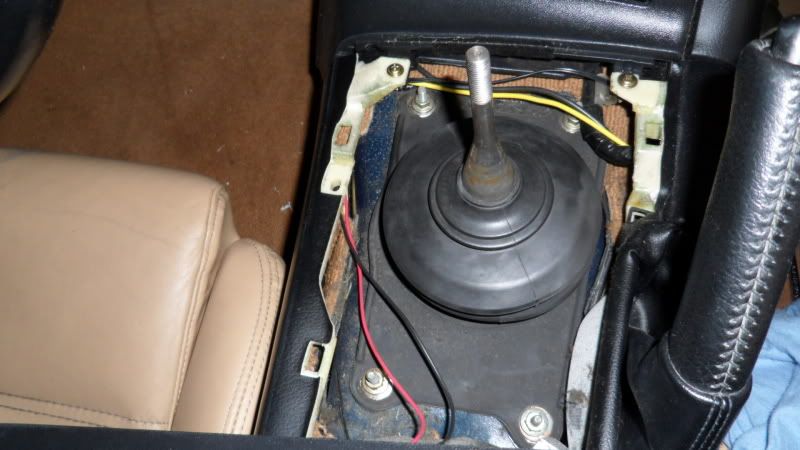
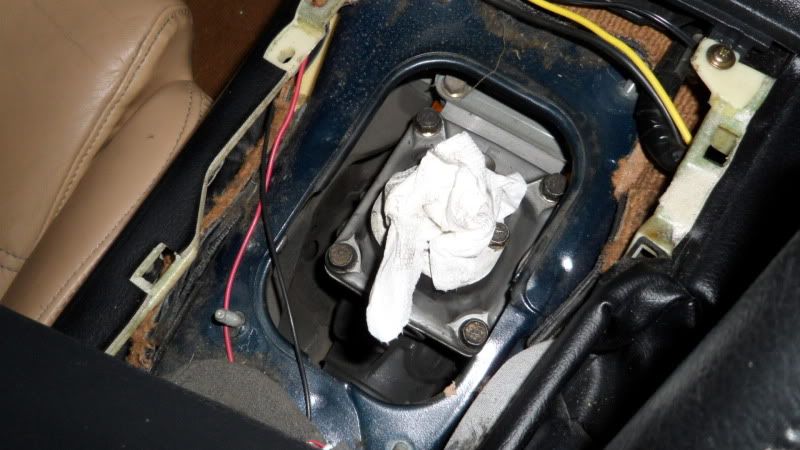
Well Day 4 has come and it was a great day. From going into thinking I was going to pull the engine with the tranny, I ended up draining the tranny fluid, removing the shifter, etc, all to then decide, that I'm just going to pull the engine haha, what a waste of time but oh well.
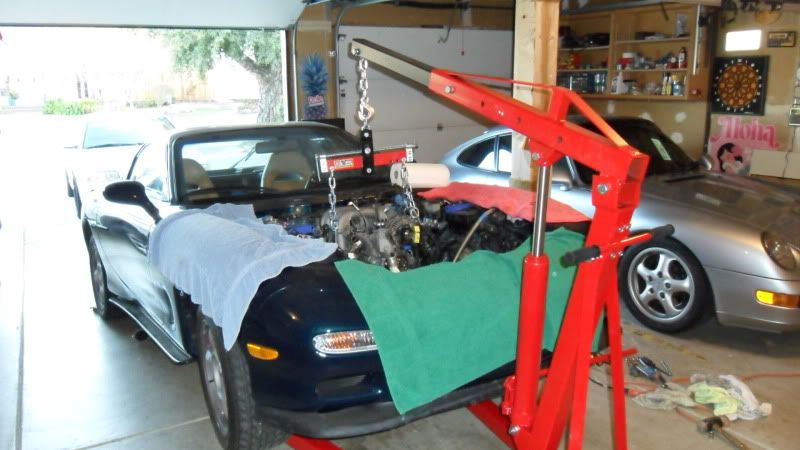
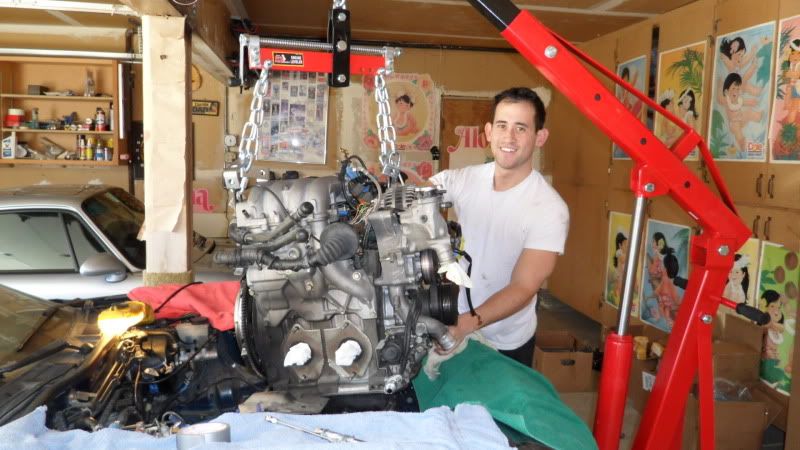
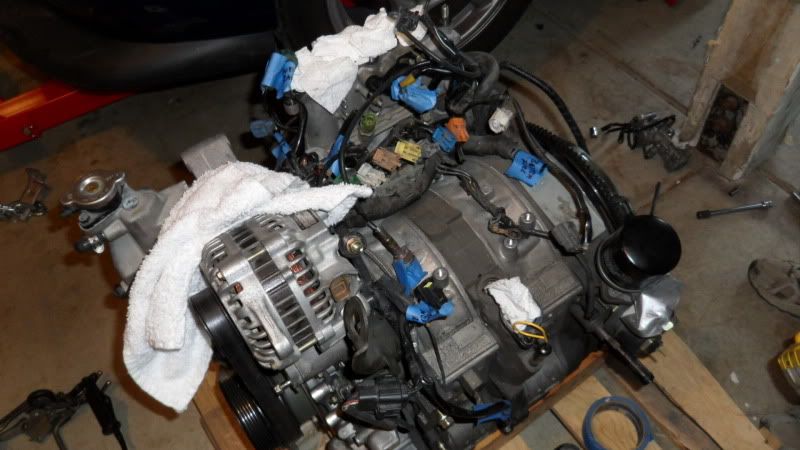
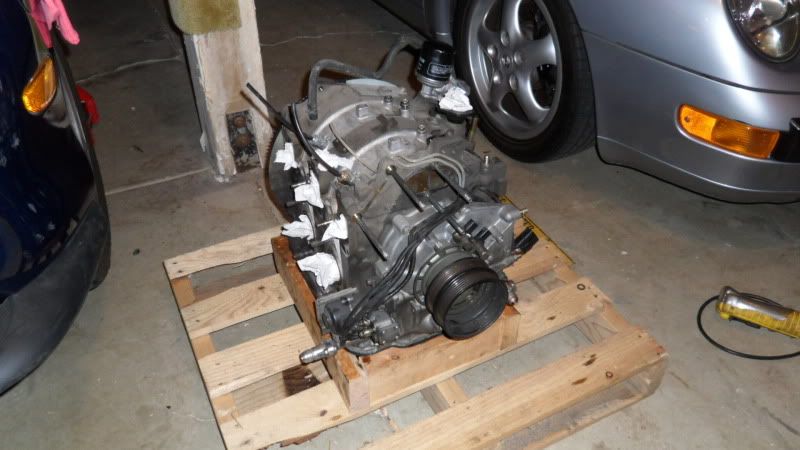
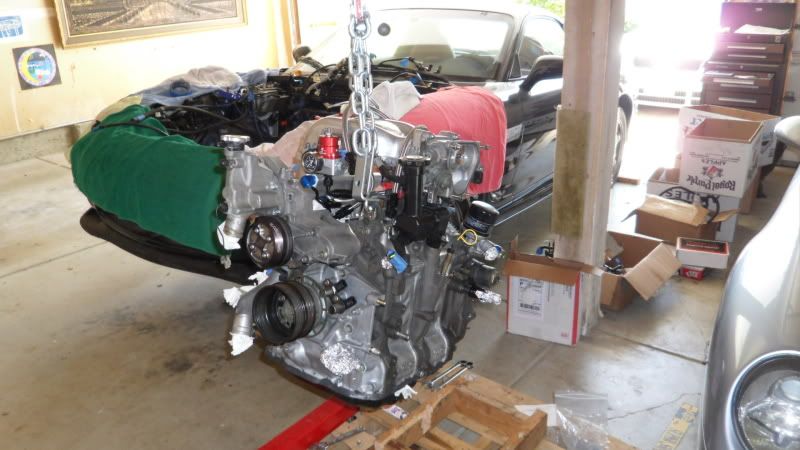
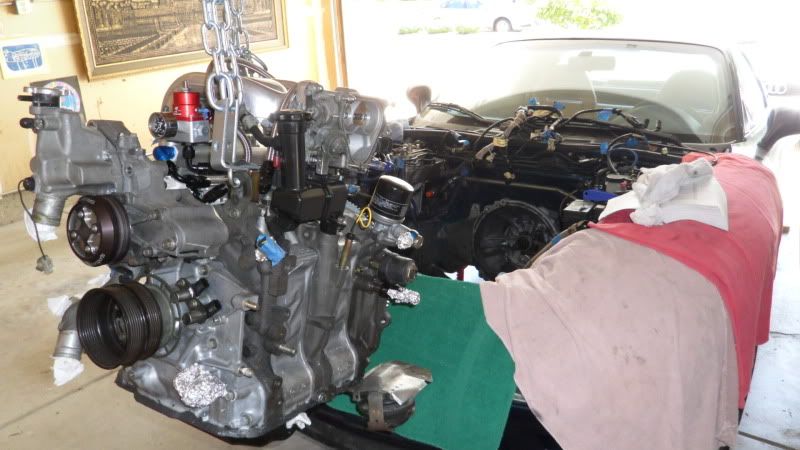
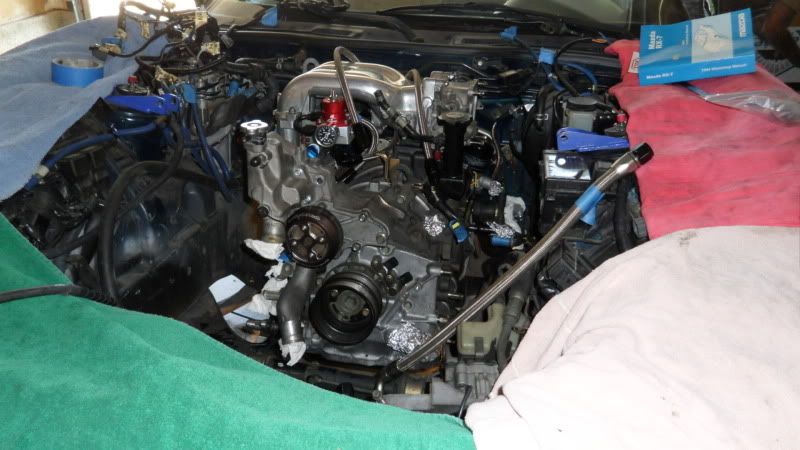
Anyway, all bell housing bolts are loose (I was able to get those two at the top from coming from under the car) releasing the tranny from the engine was easy, used the clutch fork and then just popped it off. Went and bought a engine hoist with leveler and well, I am ready to pull.
Going to hook up the engine to the hoist, lift the engine a little in order to unbolt the motor mounts and then if everything goes to plan (when does this ever happen though) then I should be able to just slide the motor out and lift it up!
I'm definitely excited, just sucks that work has prevented me for being able to work on the car a lot.
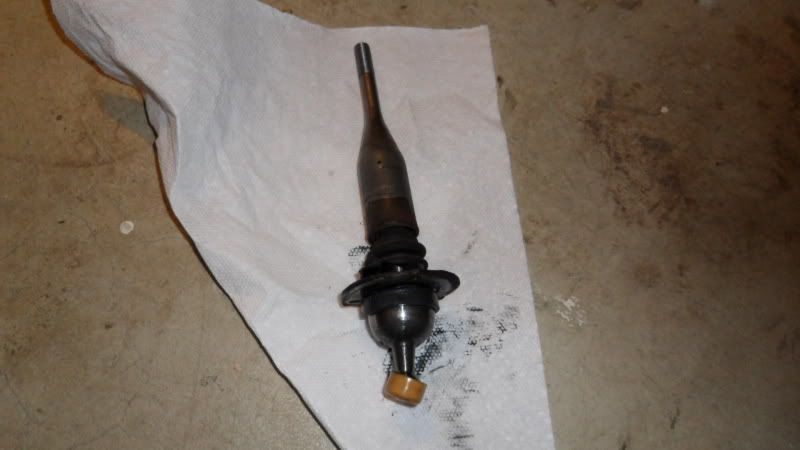
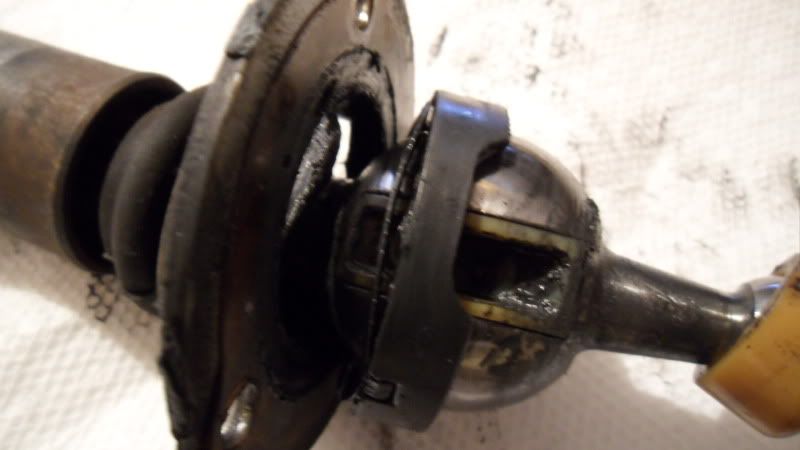
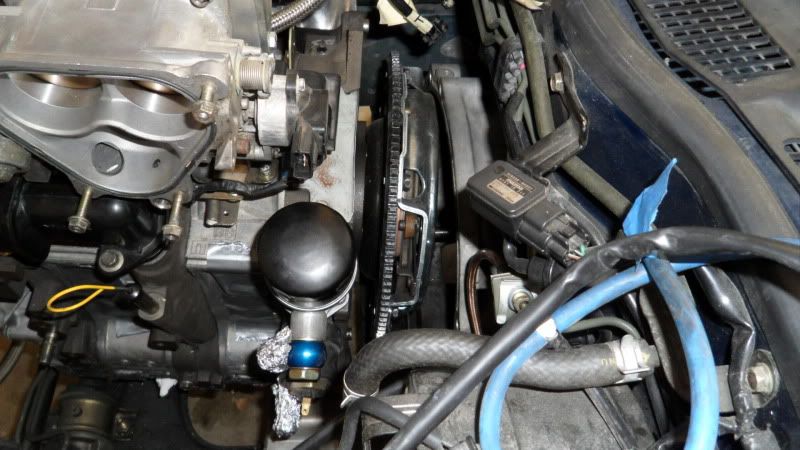
P.S. Is this a stock shifter? When I drove the car, it definitely didn't feel like my old FD's shifter. The throw seemed a lot shorter, but it could be all in my head.
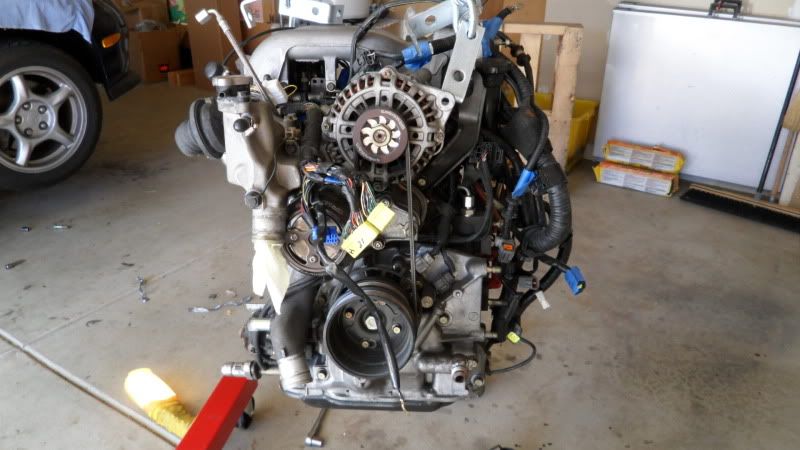
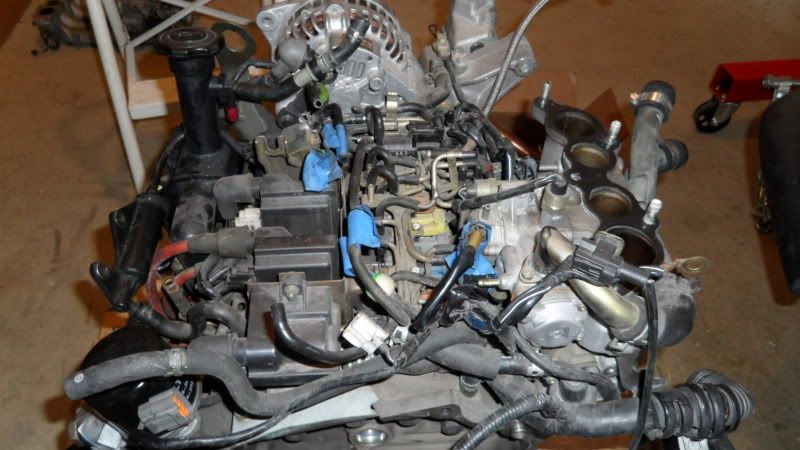
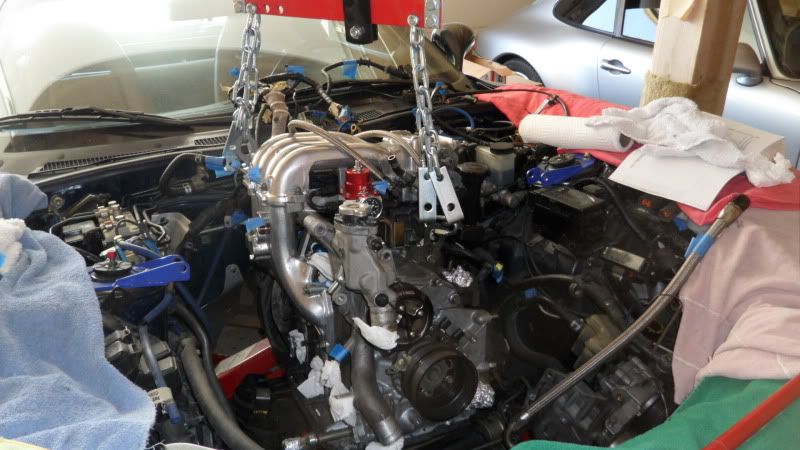
Where it is at now!
Anyway, all bell housing bolts are loose (I was able to get those two at the top from coming from under the car) releasing the tranny from the engine was easy, used the clutch fork and then just popped it off. Went and bought a engine hoist with leveler and well, I am ready to pull.
Going to hook up the engine to the hoist, lift the engine a little in order to unbolt the motor mounts and then if everything goes to plan (when does this ever happen though) then I should be able to just slide the motor out and lift it up!
I'm definitely excited, just sucks that work has prevented me for being able to work on the car a lot.
P.S. Is this a stock shifter? When I drove the car, it definitely didn't feel like my old FD's shifter. The throw seemed a lot shorter, but it could be all in my head.
Where it is at now!
You should seriously consider doing a water injection as a safety measure. I am spraying 300cc per minute starting at 7 psi. Under boost the knock sensor drops down to nothing and the engine runs smoother. As the boost climbs, torque comes on strongly. I feel alot safer running this with the 91 octane goat **** that we have in the People's Republic of California. The water injection is a pain in the *** to install, taking about a whole day.


I must be missing something. The engine will role backward after it comes off the tranny if it's hooked up at the front. There should be a hoist hook on the firewall/passenger side.


Joined: Oct 2001
Posts: 6,279
Likes: 728
From: Florence, Alabama
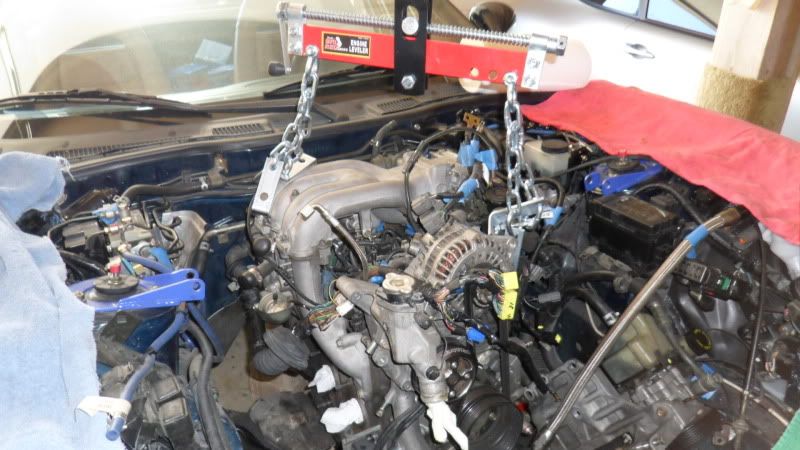
millennm is correct. generally the engine leveler is mated to the motor longitudinally. that's because most pull the motor/trans together and you need to tilt it down and then eventually level it to clear the tunnel. since you are just pulling the motor you don't need much in the way of longitudinal adjustments and you can use the leveler to do latitudinal. since you appear to have hooked it to the front of the motor you probably need another link to hold the motor level front to rear.
the shifter appears stock.
hang in there... you are riding a major learning curve and it will be much easier going forward.
howard
the shifter appears stock.
hang in there... you are riding a major learning curve and it will be much easier going forward.
howard
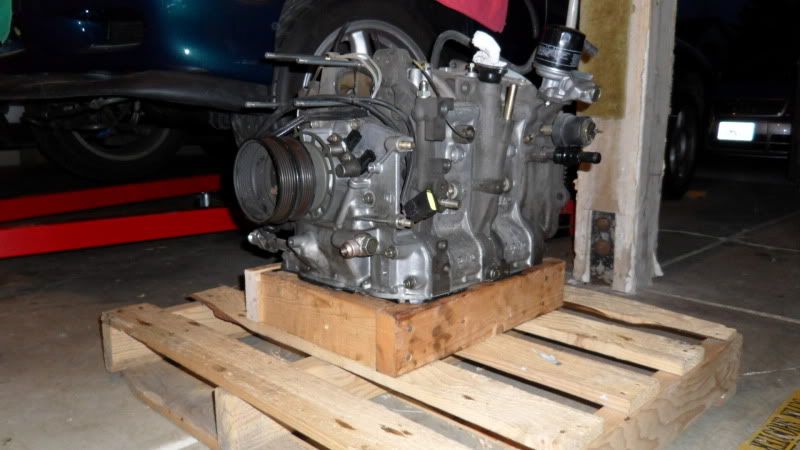
Oh, the hoist isn't hooked up to the engine yet, I just have the chains sitting there. I didn't have any clips so nothing is connected to the engine. I know that you're supposed to hook it onto the front right (by the alternator) and the rear left hooks (by the firewall/UIM). Sorry I guess the picture isn't big enough to show that.
Hopefully I don't have to work this weekend and I will go out to a hardware store to buy some clips in order to hook it up to the engine and work on pulling it.
Very steep learning curve but I know a lot more about the car that I never knew about and it's a lot of fun even though there are some frustrating times.
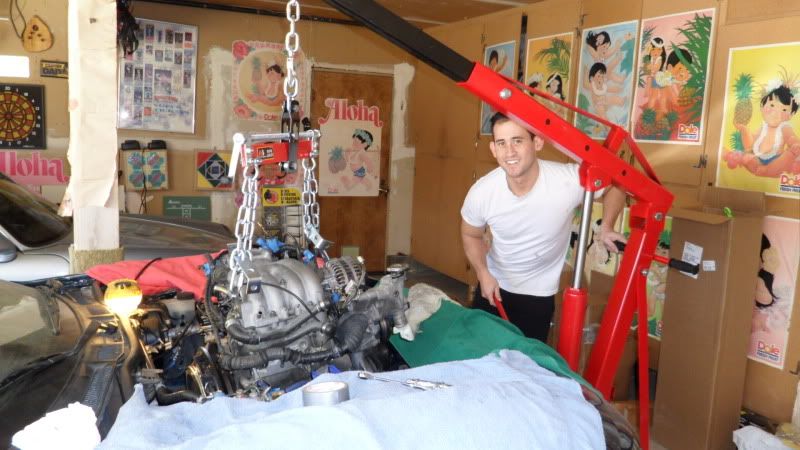
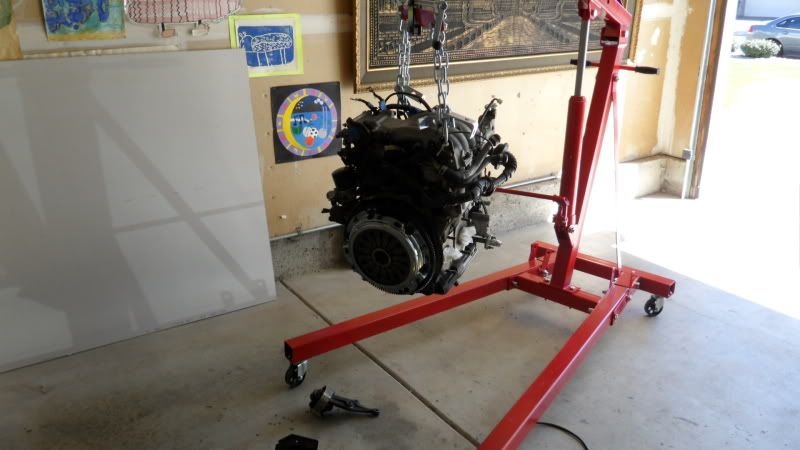
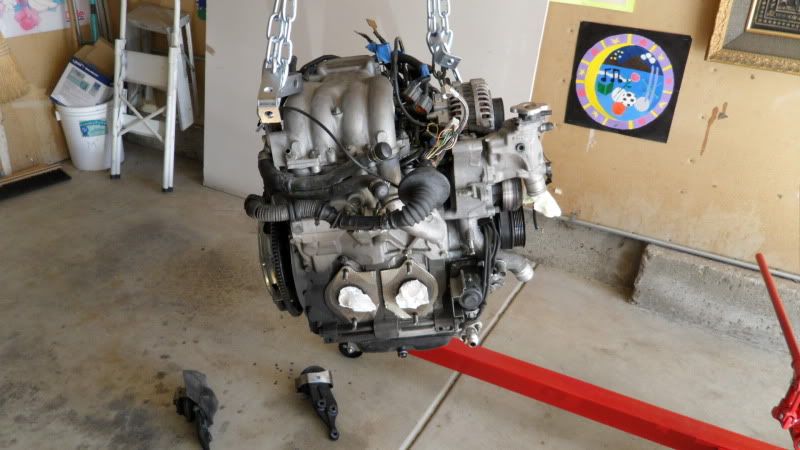
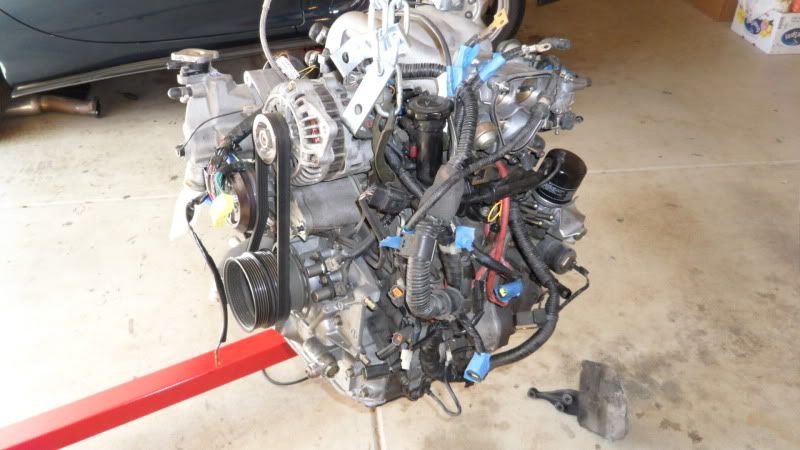
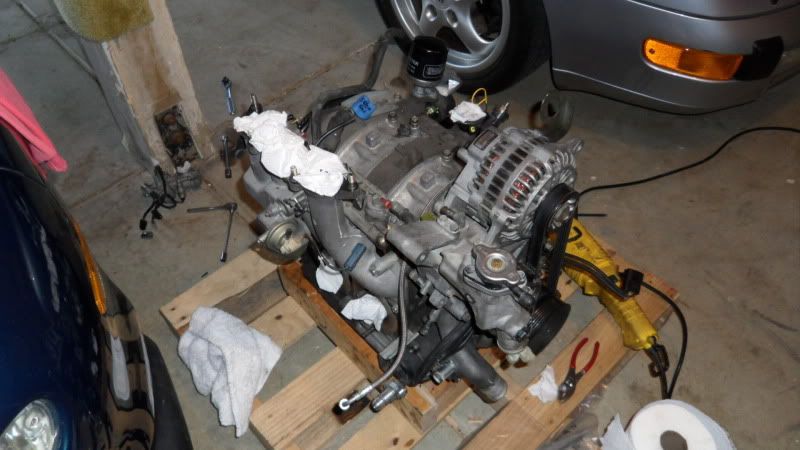
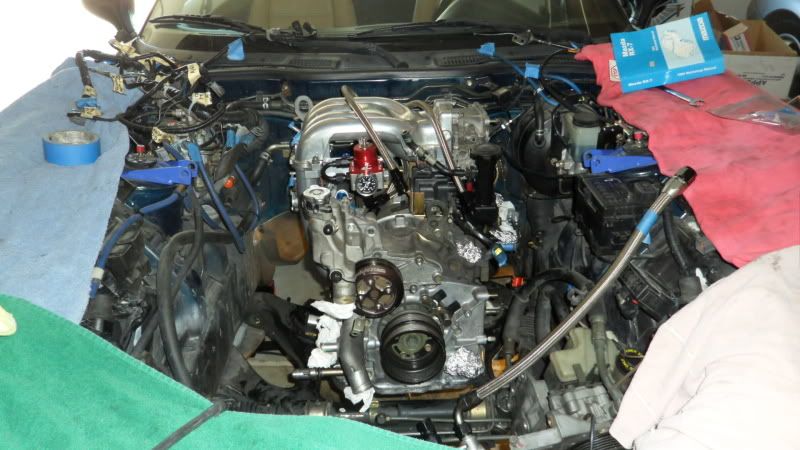
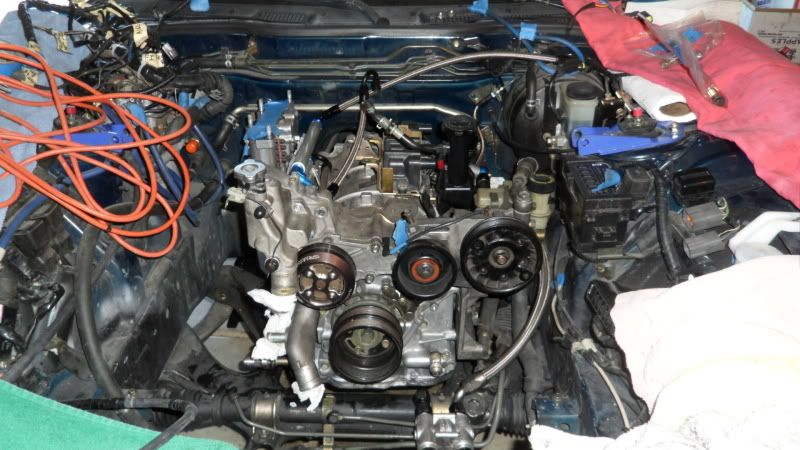
Finally a weekend where I am not working. Today I was able to finally get the engine pulled It's been a long journey and it felt so good to finally have it out of the car. Now I will be doing some miscellaneous stuff while the engine is out cleaning it up, ceramic coating/polishing, fuel system, block off plates, removing rats nest and so forth. Any other suggestions?
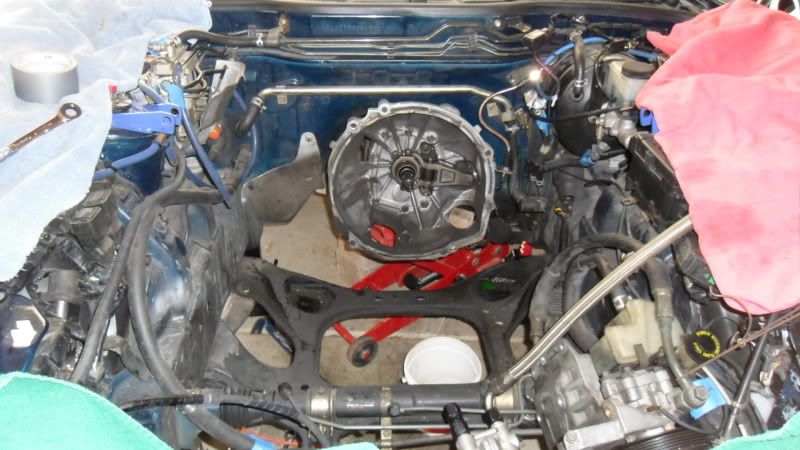

So glad you left the trans in the car.  You'll find you can lower the trans down onto the subframe and wont need the jack there to hold it up if you don't want to.
~S~
You'll find you can lower the trans down onto the subframe and wont need the jack there to hold it up if you don't want to. ~S~
I'd bag and label your bolts.
I hope you're gonna use an engine stand too.
Pineapple sells a great an engine stand adapter.
I rehearsed putting the removed parts back onto the engine block about 10 times.
So when I had to actually put everything back on the engine, things went really smooth.
But I did forget to tighten the belt tension pulley bolt.
Good Luck!
In my progress to simplify the engine bay, I purchased a set of block-off plates from Banzai so I am awaiting those probably the end of this week I'll get them hopefully.
Second thing is the elimination of the rats nest and modifying the wiring harness for single turbo. I went through today removing the harness as well as the rats nest.
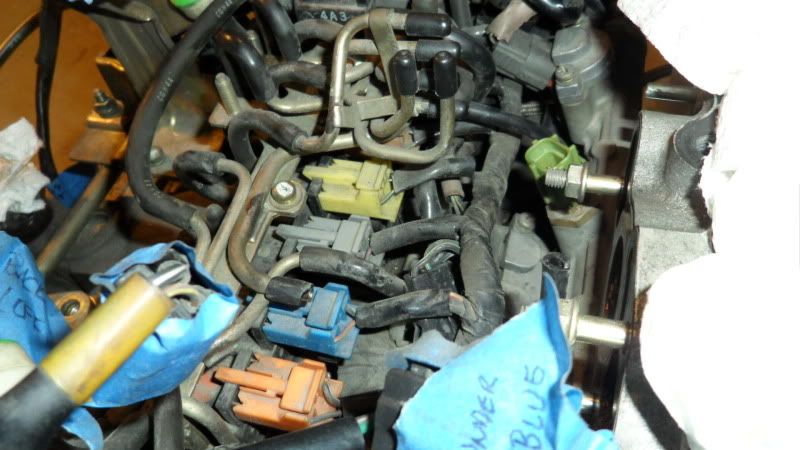
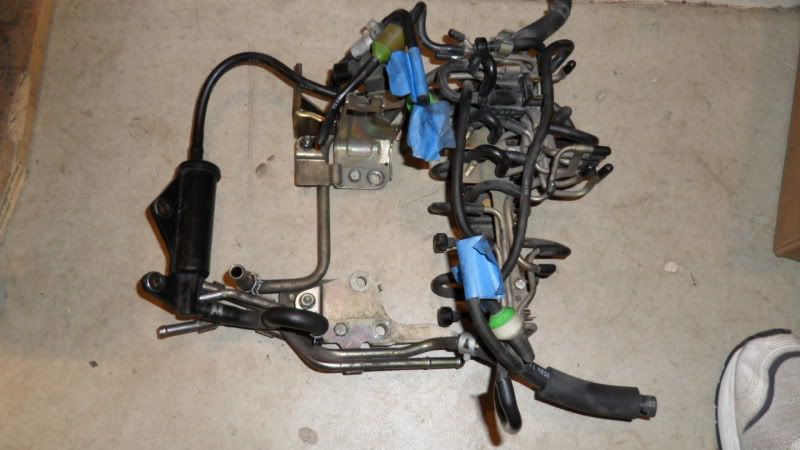
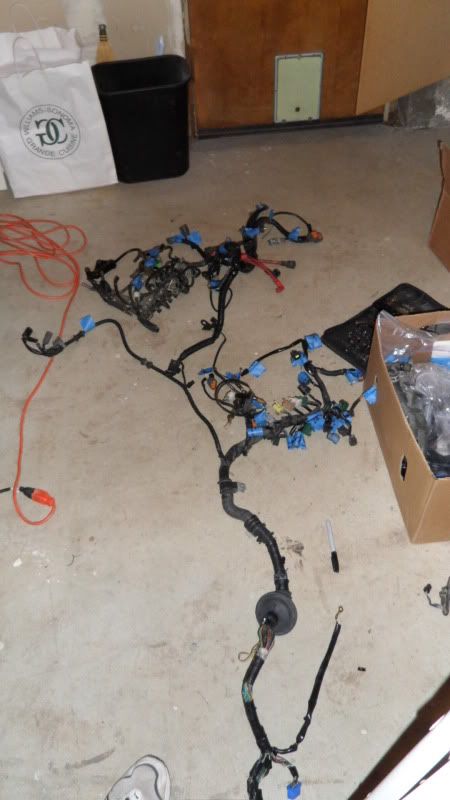

Second thing is the elimination of the rats nest and modifying the wiring harness for single turbo. I went through today removing the harness as well as the rats nest.

Your thread and your videos have been great help, thank you!
So this week has been bitter sweet with the gf and I breaking up but my engine was shipped out yesterday to my builder. I would like to formally introduce you all to the man taking on my engine build and tuning...Howard Coleman at http://colemanprecisionrotaries.com
Howard has been a crutial part of this build process helping me step by step with any problems I have come up with during my tear down. I wanted to find a builder who had experience and has great knowledge of the rotary engine and I'm sure if you've read any of his posts, Howard is the perfect example of this. We both share the same goals of wanting to "bullet proof" the engine as much as we can.
The engine should be to Howard by next week and he will be giving the details/breakdown of what went wrong with my engine as well as supplying pictures/documentation. Porting and all of that will be kept secret and will not be released
OMP will be deleted, block off plates are ordered and ready to be installed when the engine gets back, water to TB is blocked off, oil passages modified, etc. I am doing this right the first time around.
Things still need to be done:
Ceramic coat/polish engine parts
Installation of all gauges (when engine gets back)
Installation of water injection kit
Order fueling kit
Order datalogit for PFC
I will keep you all updated!
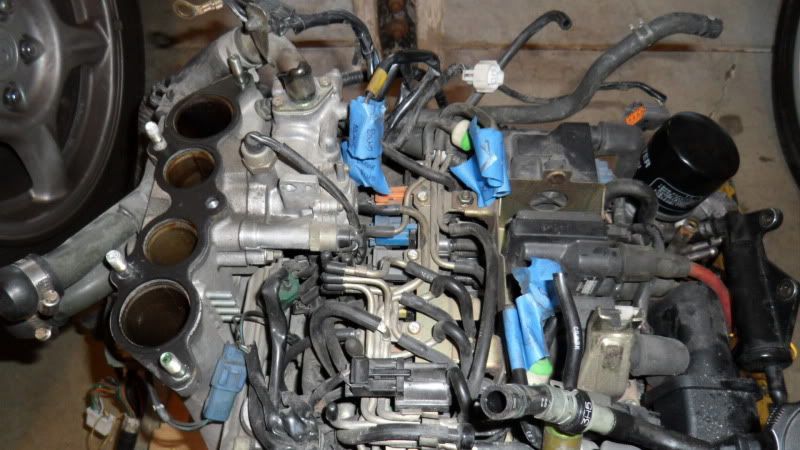
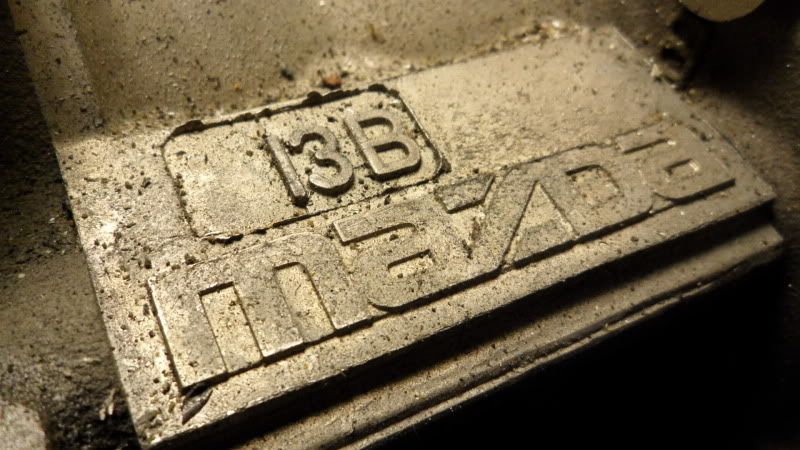
Well good news! The engine is with Howard and he has done a brief evaluation of the engine to try and figure out what my problem(s) is/are. Here are some findings by Howard:
Irons: All 3 irons are in good shape. They were modestly ported. Your ports will be much upgraded. The middle iron has a supportive to the oil control ring ledge ported away. A wrong move. It won’t cost you hp or reliability but it should cause the motor to smoke at cold startup just a little.
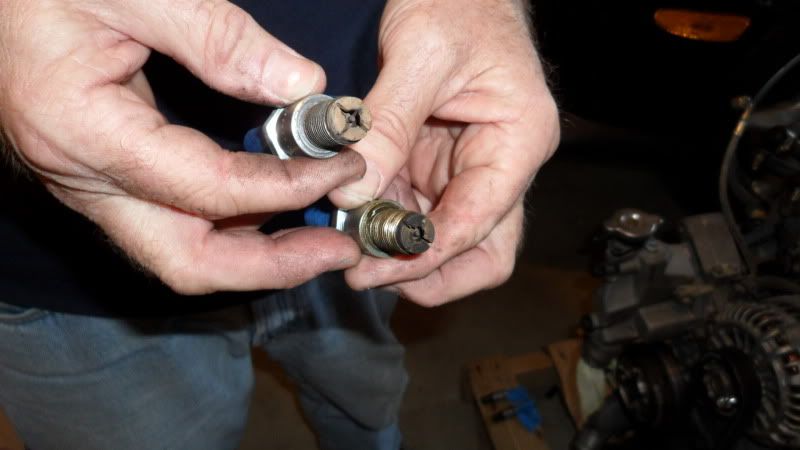
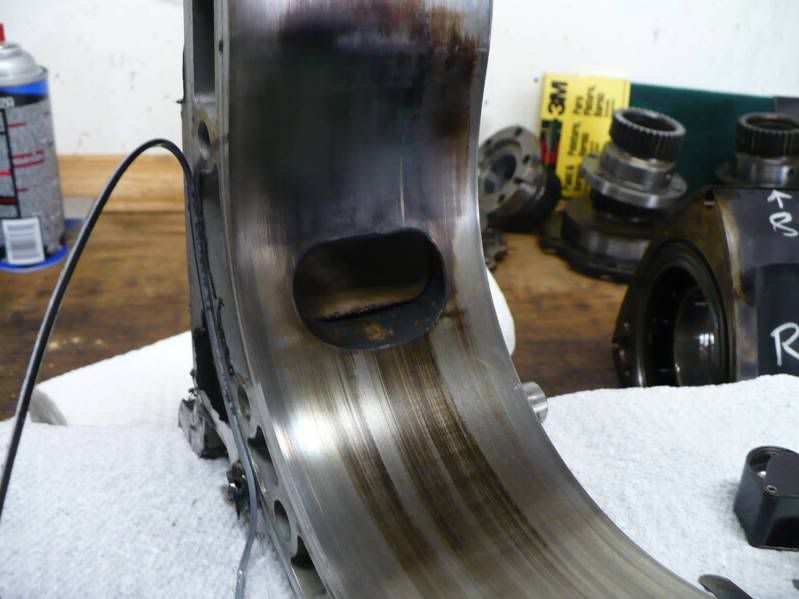
Housings: The rotor housings are fine and, again, you will greatly benefit from my different shaped ports. The carbon just after the exhaust port indicates warped apex seals. And indeed they were. You were losing compression. So the rotor housings are fine after cleanup.
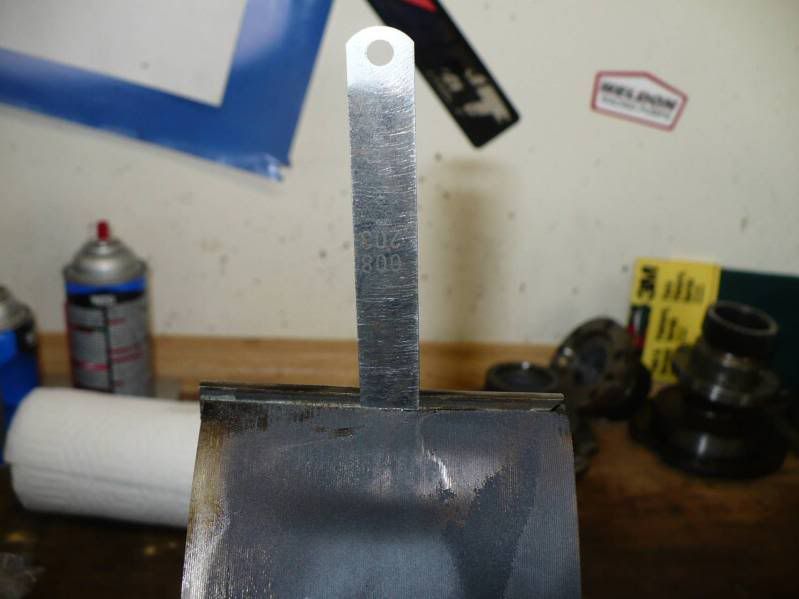
Rotors: The rotors are the problem. Apex seal to groove clearance should be 2 thousandths of an inch. One of the grooves of your rear rotor is 8 thou. When you have excessive clearance a number of things occur, none good. The hot exhaust penetrates between the seal and the rotor and gets behind the seal and torches the apex seal spring. It loses strength and the apex seal chatters against the rotor housing wrecking it in short order. The apex seal also is free to assume a wrong angle in the groove and it develops a flat surface on what is supposed to be a rounded crown. Your side seals were so loose they were almost rattling around. You want them tight. Note a 14 thou gap here! This is miles from being right. Bad bad bad. One of your rotors is good. One is not serviceable. There is no way to tighten up the groove.
Crank shaft: Your crank is dead straight. Zero runout as in zero thou of an inch.
So here is the dilemma. I can either ditch the 3mm rotors and go with 2mm rotors or find another 3mm rotor and keep running 3mm. My initial thought is to go with 2mm because it seems as though most engines are running upgraded 2mm seals. I believe the kit I will be going with will be Atkins seals. At least nothing else was damaged in the process (irons, housings, etc)
Here are some pictures:

Irons: All 3 irons are in good shape. They were modestly ported. Your ports will be much upgraded. The middle iron has a supportive to the oil control ring ledge ported away. A wrong move. It won’t cost you hp or reliability but it should cause the motor to smoke at cold startup just a little.
Housings: The rotor housings are fine and, again, you will greatly benefit from my different shaped ports. The carbon just after the exhaust port indicates warped apex seals. And indeed they were. You were losing compression. So the rotor housings are fine after cleanup.
Rotors: The rotors are the problem. Apex seal to groove clearance should be 2 thousandths of an inch. One of the grooves of your rear rotor is 8 thou. When you have excessive clearance a number of things occur, none good. The hot exhaust penetrates between the seal and the rotor and gets behind the seal and torches the apex seal spring. It loses strength and the apex seal chatters against the rotor housing wrecking it in short order. The apex seal also is free to assume a wrong angle in the groove and it develops a flat surface on what is supposed to be a rounded crown. Your side seals were so loose they were almost rattling around. You want them tight. Note a 14 thou gap here! This is miles from being right. Bad bad bad. One of your rotors is good. One is not serviceable. There is no way to tighten up the groove.
Crank shaft: Your crank is dead straight. Zero runout as in zero thou of an inch.
So here is the dilemma. I can either ditch the 3mm rotors and go with 2mm rotors or find another 3mm rotor and keep running 3mm. My initial thought is to go with 2mm because it seems as though most engines are running upgraded 2mm seals. I believe the kit I will be going with will be Atkins seals. At least nothing else was damaged in the process (irons, housings, etc)
Here are some pictures:
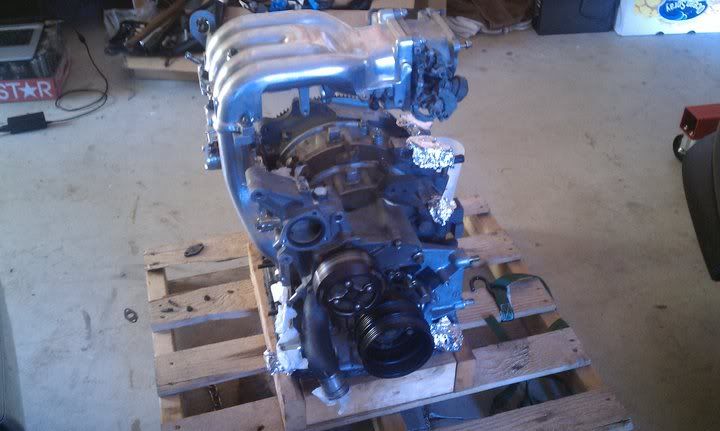
So after a ton of people asked me about my FD project at the meet today, I thought I'd go ahead and update this thread. Last I updated as you can see, the motor was torn apart and being rebuilt. Well, it's back together again and here is how it sits now. Got block off plates to simplify the engine bay, converted the wire harness to single turbo harness which eliminates a lot of the wiring not used, ceramic coated my upper and lower intake manifolds. All I'm waiting on is my fuel system. Ordered upgraded primary and secondary fuel rails, fuel pressure regulator, resistors, and top feed 850cc primary injectors and 1680cc secondary injectors, -6AN fittings/lines.
So far here is how it sits, once the fuel system comes in, I'll get the fuel rails on and then start dropping the engine back into the car.
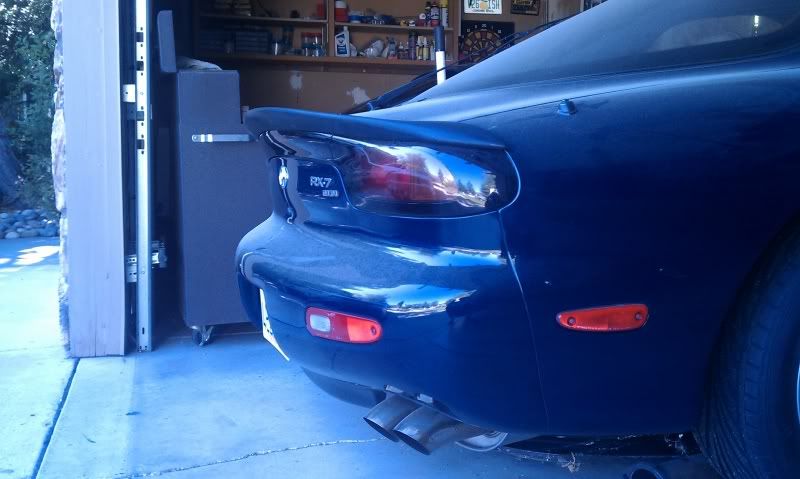
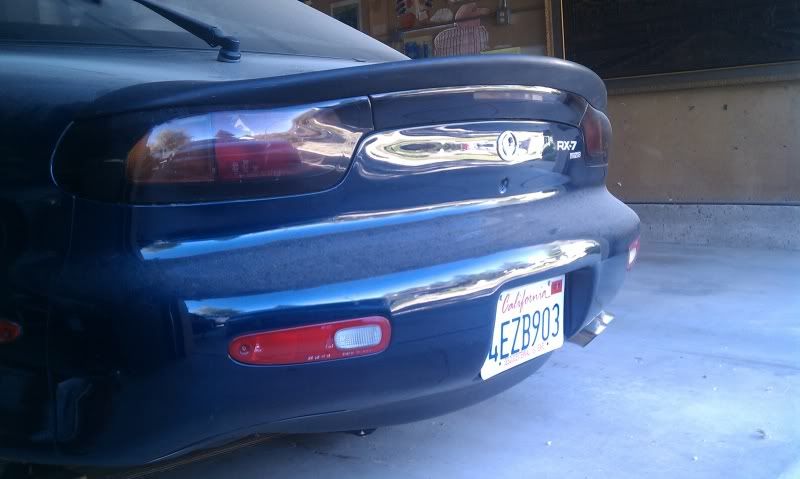
I also picked up a rare low-profile spoiler, looks stock but still noticeable. Wasn't going to start doing body/exterior modifications until I'm finish with the engine and got the car running, but I couldn't resist. Don't mind how dirty/cob-webs on the car, it's been sitting for a while lol.
So far here is how it sits, once the fuel system comes in, I'll get the fuel rails on and then start dropping the engine back into the car.
I also picked up a rare low-profile spoiler, looks stock but still noticeable. Wasn't going to start doing body/exterior modifications until I'm finish with the engine and got the car running, but I couldn't resist. Don't mind how dirty/cob-webs on the car, it's been sitting for a while lol.
So it has been a really long time since I have gotten time to work on the car. Well, today, I was able to finally work on it and I got the engine back into the car! I'm waiting on ID725/ID2000 injectors but other than that, all parts are in. All I need to do now is just putting everything back in and putting it all back together and then hopefully it'll be time to turn the key!

my 2 cents, put the seconary rail and injectors on the LIM with the damn thing of, the motor is now in the car and you have no further need for it to remain there until you really start bolting things together.