
Pics and install info of Blitz FMIC and Koyo N-Flow!

Being from Arizona I was looking for a better cooling set-up for my FD, after a lot of research and talking to people, I decided to go with the Blitz FMIC, Koyo N-Flow and Sard 75C thermostat.
The FMIC kit has everything needed for the install, you will however need to purchase a smaller battery. I think you will also have to replace the stock intake, my car already had the Apexi intake system which fit perfectly. The new Koyo N-Flow is very different from my old Koyo radiator. The air flow fins are much larger and there is a bleeder plug on the top end tank which made adding and bleeding the cooling system so much easier.
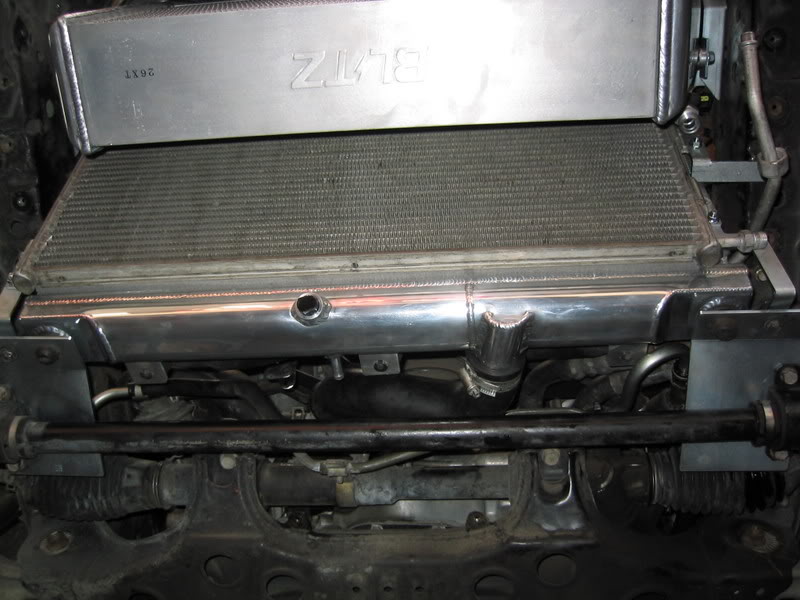
The install took me about 10 hours at my shop. The instructions are in Japanese with decent pictures. Some of the included brackets didn't fit and will require some mods to fit, one was not used at all. I didn't like the installed angle of the kit, this angle had the intercooler, condensor and radiator touching each other. I modified the installed angle of the radiator to move towards the engine about two inches, the condensor now mounts against the radiator with enough room for a foam seal and is about a 1/2 inch away from the intercooler. This angle will also require you to cut two notches on the metal cross bracket to holds the AC, power steering and cooling lines to clear the cooling fans. The amount of room for the battery is greatly reduced and will require something like my setup.
Before this setup, my coolant temps where always at around 90C and up depending on ambient temps and with the AC on 100C was normal. This pass Sunday we where at 97F ambient, my coolant temps never got passed 75C with normal driving with the AC on! When driven hard I saw no hotter than 83C! I can now actually touch the lower tank at on the driver side (where the lower radiator hose is at) when at operating temp, it is cool to the touch!
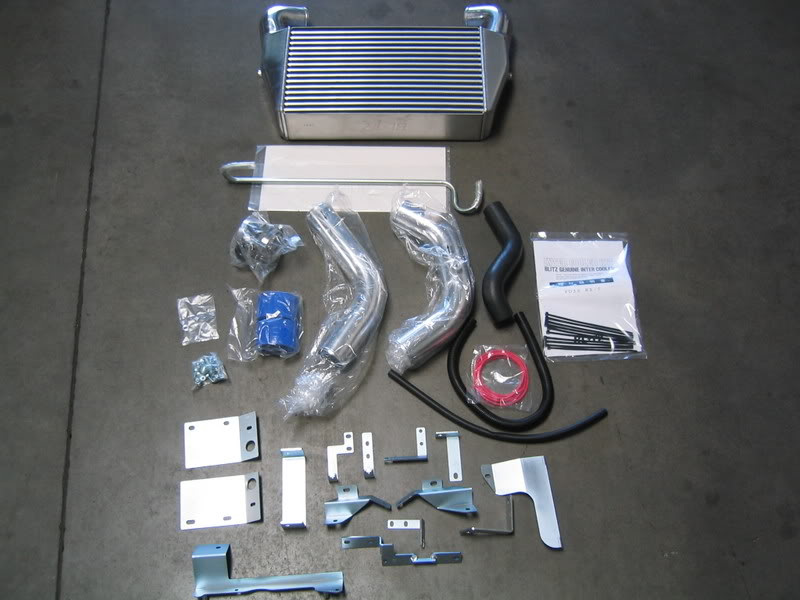
The kit...

The brackets...
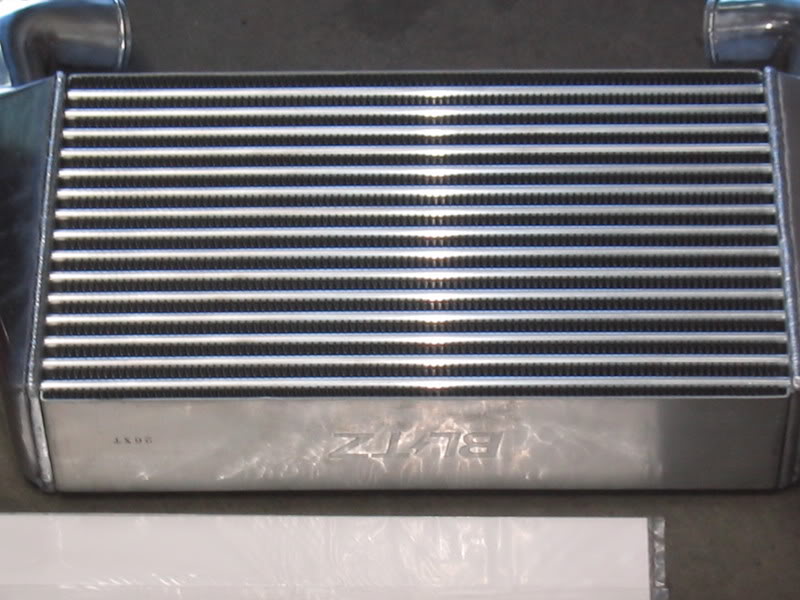
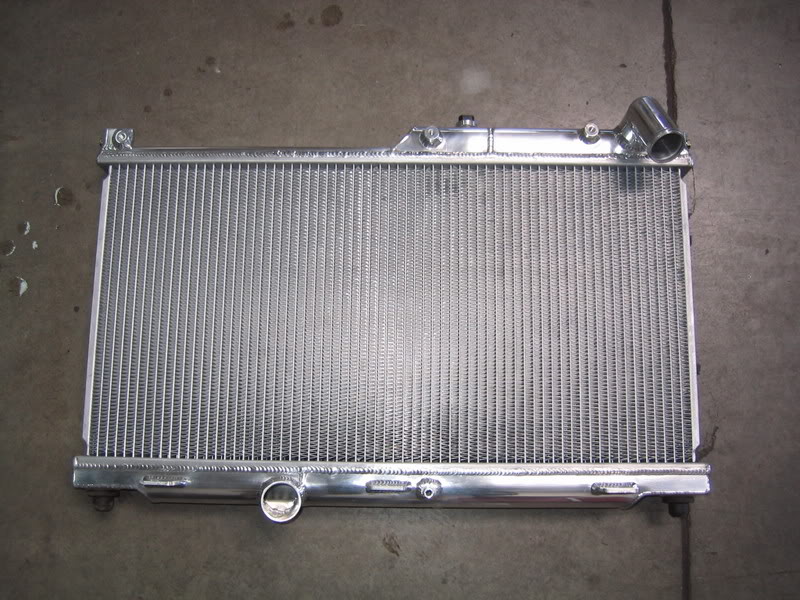
Koyo N-Flow, worth every penny!

Tear down, old Koyo.
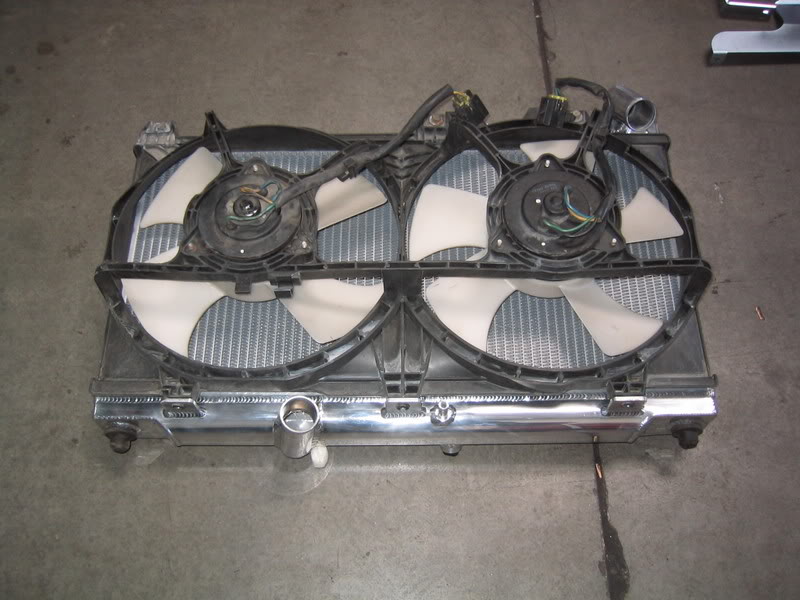
Fans installed on new N-Flow.

One of the intercooler brakets.
Modified condensor braket.
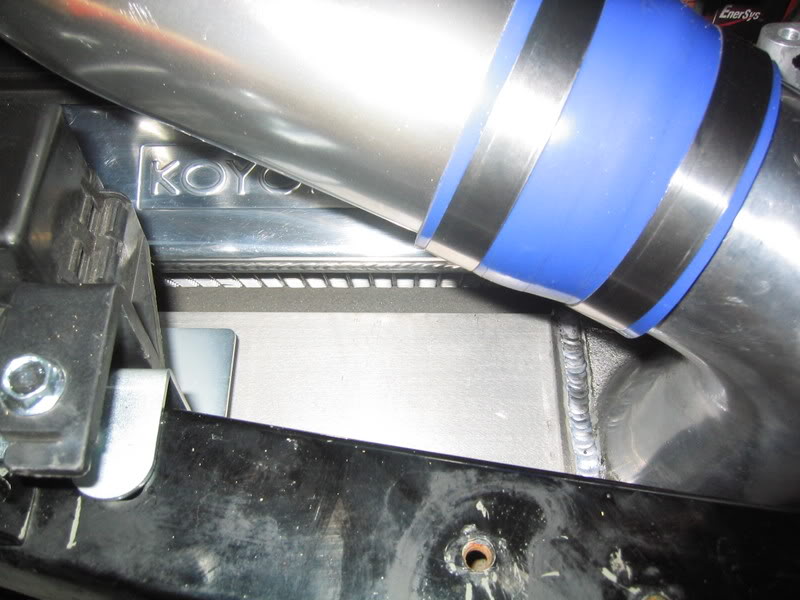
Condensor mounted with enough room for proper air flow and for foam seal.
Another shot of seal.
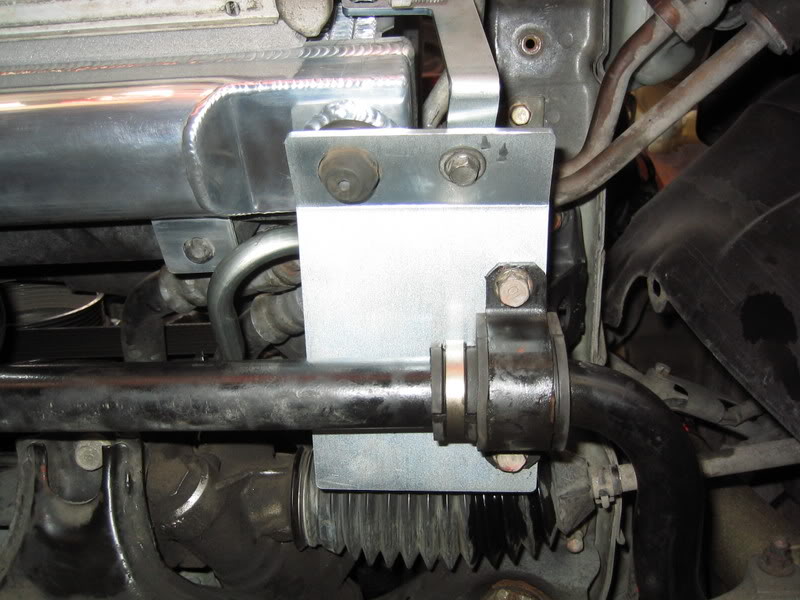
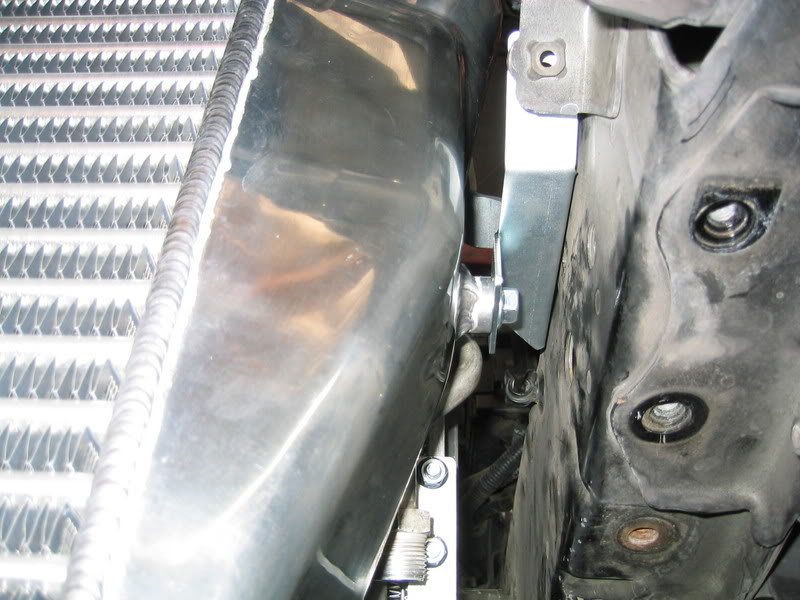
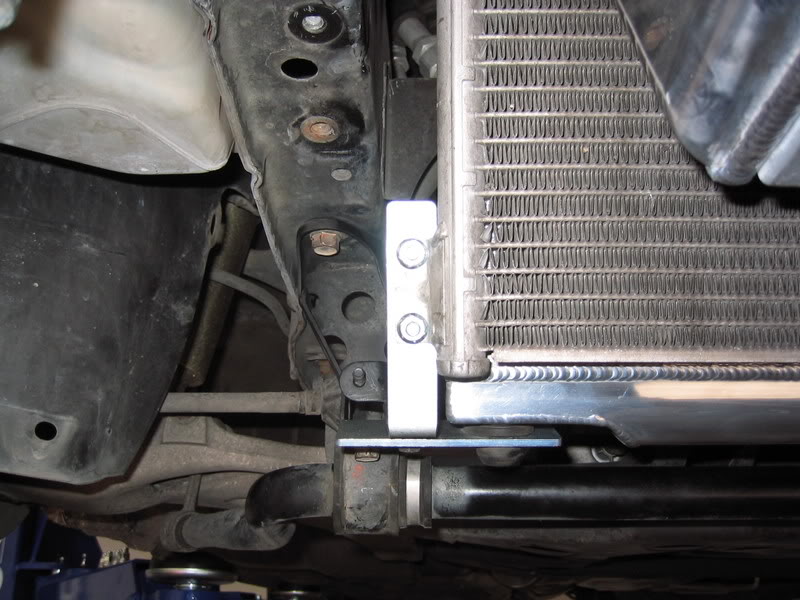
Supplied lower radiator bracket, stock swaybar bracket will need cutting.
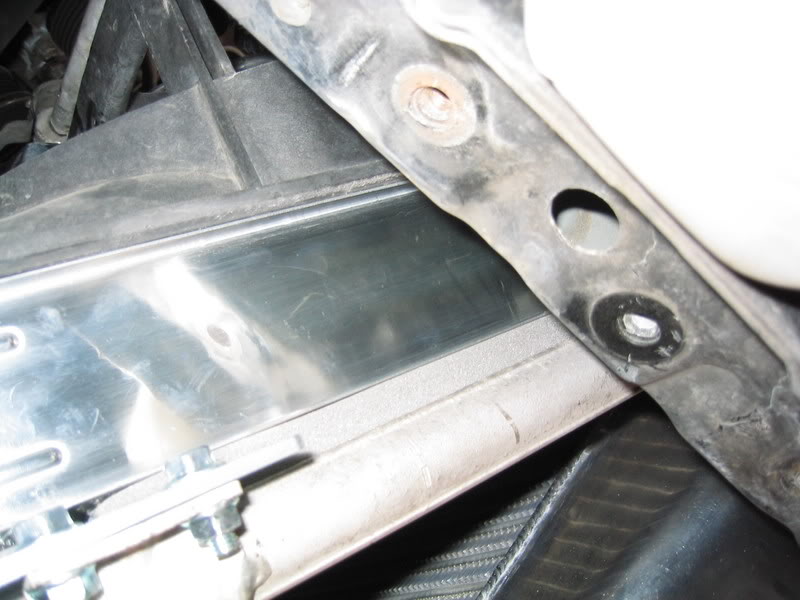
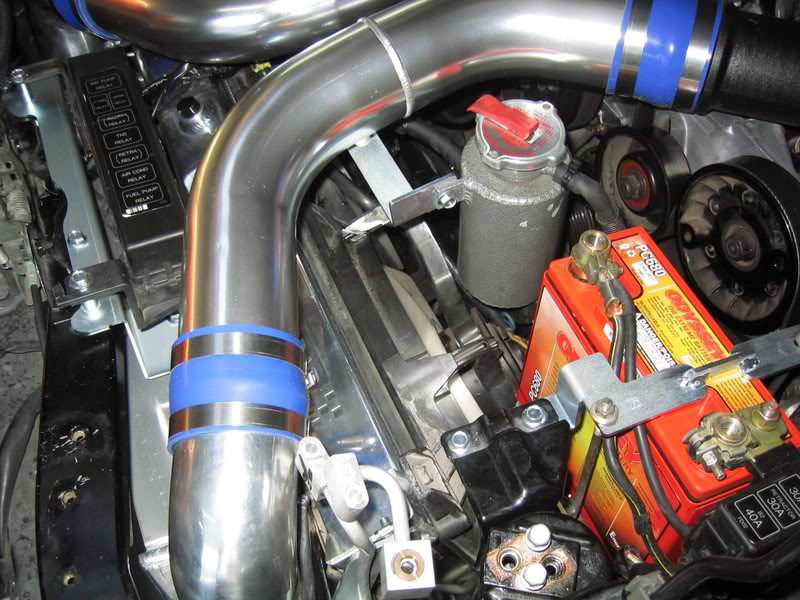
Modified metal bracket for fan motor clearance.
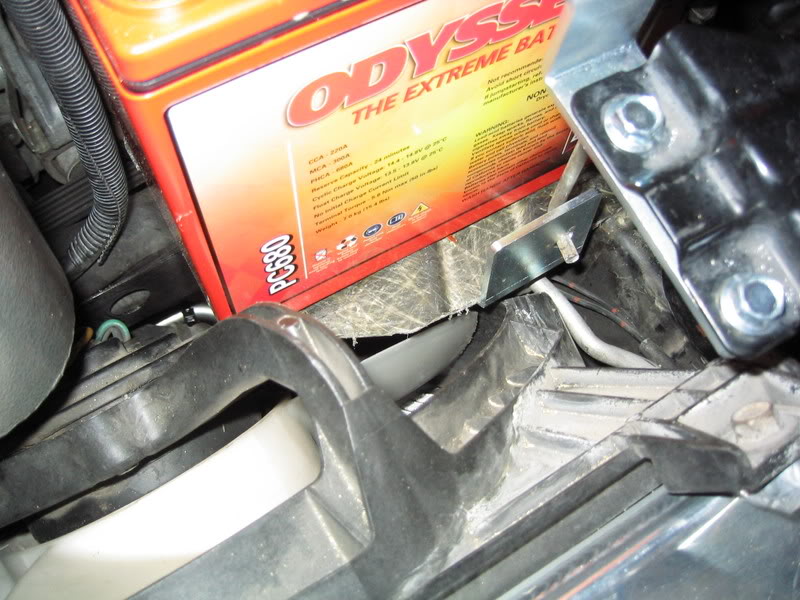
Cut down battery tray, supplied battery hold down and AC dryer brackets.
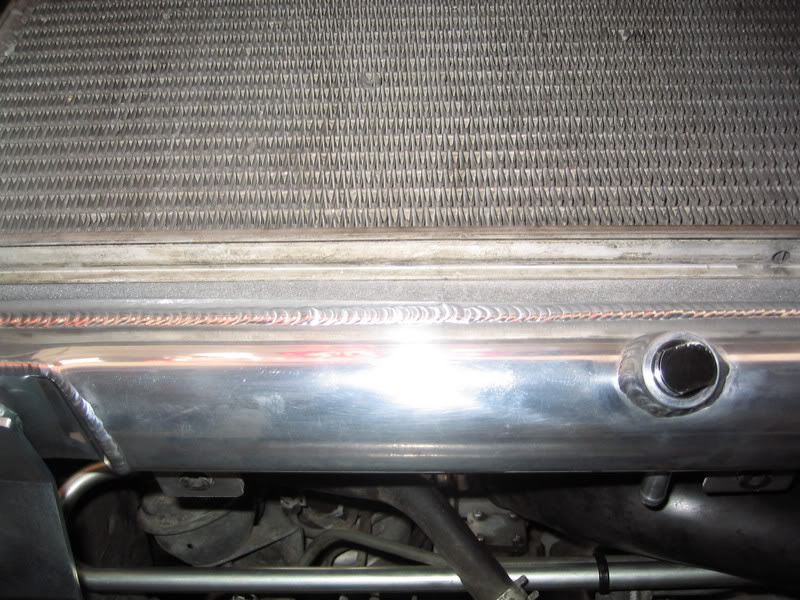
Bleeder valve, THE best thing about the N-Flow.
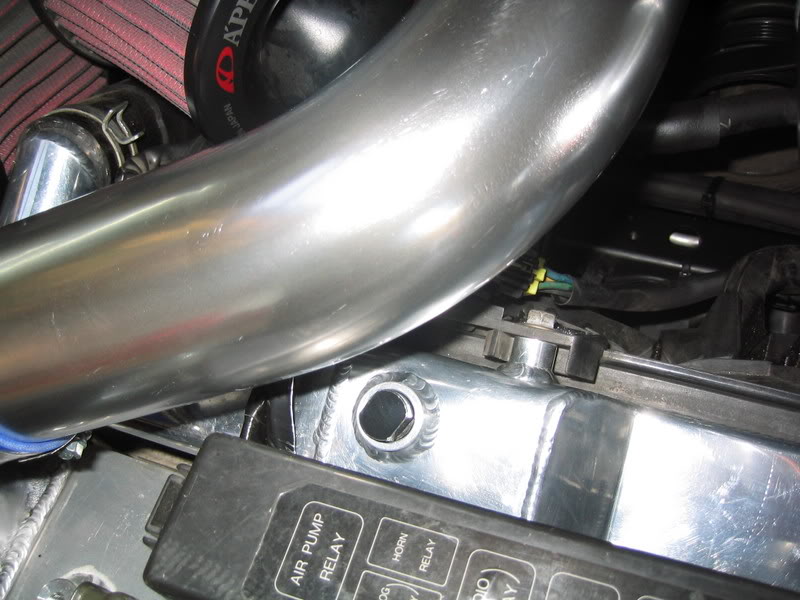
Installed seal for radiator and intercooler.
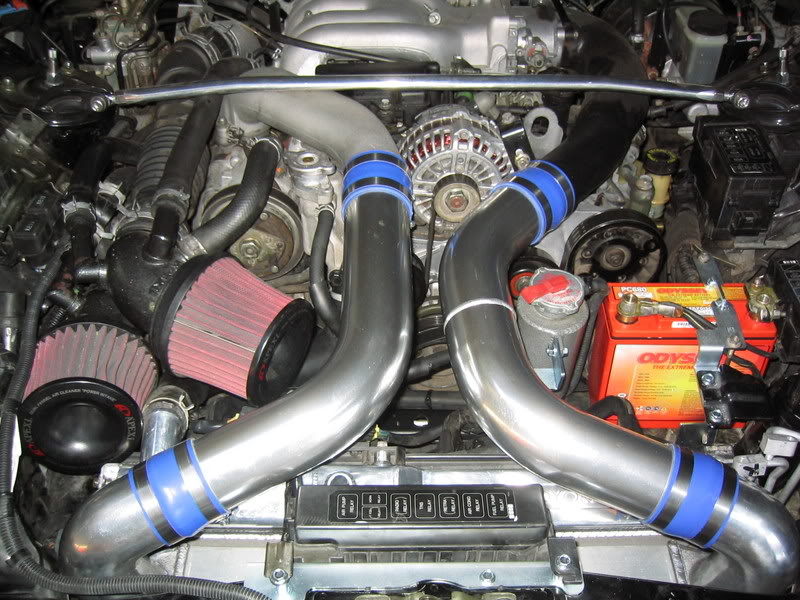
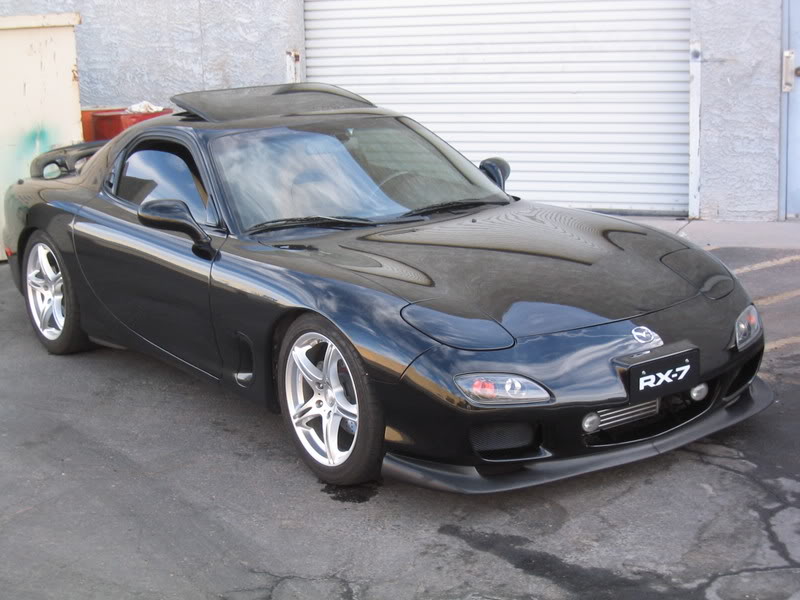
Completed install. Nice!

The FMIC kit has everything needed for the install, you will however need to purchase a smaller battery. I think you will also have to replace the stock intake, my car already had the Apexi intake system which fit perfectly. The new Koyo N-Flow is very different from my old Koyo radiator. The air flow fins are much larger and there is a bleeder plug on the top end tank which made adding and bleeding the cooling system so much easier.
The install took me about 10 hours at my shop. The instructions are in Japanese with decent pictures. Some of the included brackets didn't fit and will require some mods to fit, one was not used at all. I didn't like the installed angle of the kit, this angle had the intercooler, condensor and radiator touching each other. I modified the installed angle of the radiator to move towards the engine about two inches, the condensor now mounts against the radiator with enough room for a foam seal and is about a 1/2 inch away from the intercooler. This angle will also require you to cut two notches on the metal cross bracket to holds the AC, power steering and cooling lines to clear the cooling fans. The amount of room for the battery is greatly reduced and will require something like my setup.
Before this setup, my coolant temps where always at around 90C and up depending on ambient temps and with the AC on 100C was normal. This pass Sunday we where at 97F ambient, my coolant temps never got passed 75C with normal driving with the AC on! When driven hard I saw no hotter than 83C! I can now actually touch the lower tank at on the driver side (where the lower radiator hose is at) when at operating temp, it is cool to the touch!
The kit...
The brackets...
Koyo N-Flow, worth every penny!
Tear down, old Koyo.
Fans installed on new N-Flow.
One of the intercooler brakets.
Modified condensor braket.
Condensor mounted with enough room for proper air flow and for foam seal.
Another shot of seal.
Supplied lower radiator bracket, stock swaybar bracket will need cutting.
Modified metal bracket for fan motor clearance.
Cut down battery tray, supplied battery hold down and AC dryer brackets.
Bleeder valve, THE best thing about the N-Flow.
Installed seal for radiator and intercooler.
Completed install. Nice!
Last edited by redlinewins; Oct 30, 2007 at 12:10 AM.
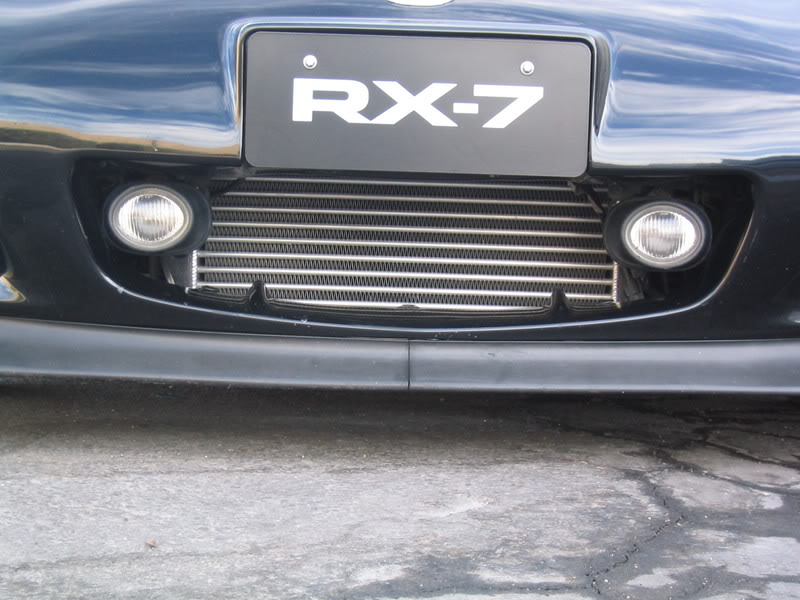
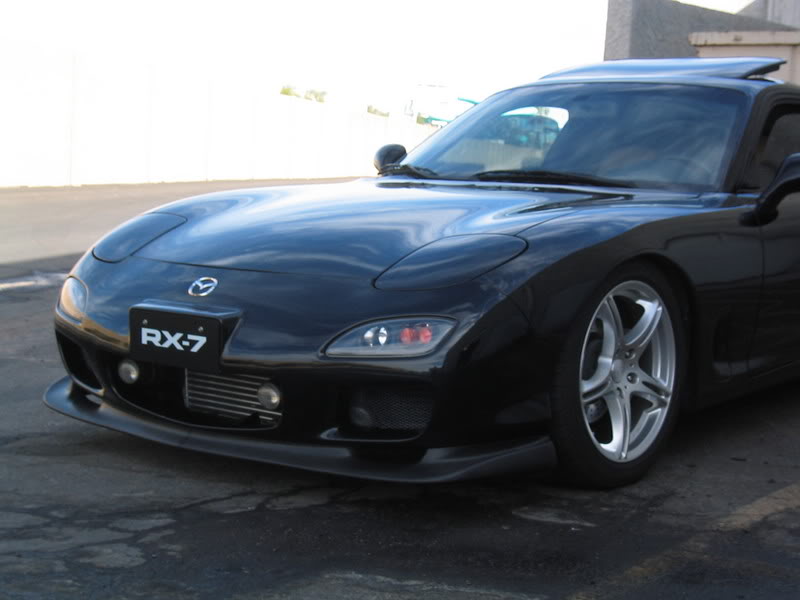

When I bought the kit, I thought the IC would sit much further foward. I was ready to lose my fog lamps but was surprised how far back it actually sits. I like the location much more than other FMIC kits.


Trending Topics
I believe the biggest difference is due to much lower intake temps, more natural installed angle of the radiator and opened space in front of the radiator fans for improved heat transfer and air flow.
With the stock setup, even with mine having a Blitz SMIC and older type Koyo, just couldn't cool all the heat that was caused by blocked airflow. With the stock setup you could barely feel the airflow from the four blade fan because all of it was blocked by the huge stock battery and by the IC location.
Big Daddy!!!
Joined: Jul 2002
Posts: 1,194
Likes: 0
From: Edmonton, Alberta, Canada
Its one of the only intercoolers that you don't need to take the front bumper off it install it. I did it on my car and it works excellent, even with my gt35r single turbo.
R.K.
R.K.

Joined: Sep 2003
Posts: 3,067
Likes: 7
From: Home of the Rolex 24
Beautiful install. I purchased a blitz core a while ago and had some custom pipes fabbed for it. Here are a cuople shots from another old thread of mine. https://www.rx7club.com/showthread.p...t=vanity+plate


Junior Member
Joined: Aug 2007
Posts: 15
Likes: 0
From: Canada

We will be dyno tuning her next week. I run about 13 to 15 psi. I will post hp soon.
My current power mods are: Apexi intake, efini y-pipe, PFC, Bonez down pipe and cat, RB cat-back, Greddy EBC, 1300cc secs, fuel pump and FMIC.
Junior Member
Joined: Aug 2007
Posts: 15
Likes: 0
From: Canada
Do you need to remake your engine to drive ur car on 13 to 15 psi? or the engine can take it?
http://redge81.monchar.com/ look his video from his car. It is better to get a Corvette engine or boost your car with parts. Im talking about money and hp whats better ?
http://redge81.monchar.com/ look his video from his car. It is better to get a Corvette engine or boost your car with parts. Im talking about money and hp whats better ?
Thanks for this thread. It was helpful with my install.
My condenser is different than the Japanese directions, so I have nowhere to mount one of the brackets. meh.
Is the PC680 the only battery that will fit in that spot?
My condenser is different than the Japanese directions, so I have nowhere to mount one of the brackets. meh.
Is the PC680 the only battery that will fit in that spot?

Thread
Thread Starter
Forum
Replies
Last Post
blitz, fit, flow, fmic, front, frontmount, install, installing, intercooler, koyo, lexus, mount, rx7, rx7club, sc300