
OEM Seat Cover Replacement How-To DIY

OEM Seat Cover Replacement How-To DIY
After changing my mind on the interior theme in my car, I purchased another set of covers to replace the ones that have been on my car for less than 2 years. I'd grown tired of the gray in the centers. The covers I purchased from the same source as the other set, a seller on Ebay. This is not meant to be a review of this brand or anything of the sort. This is meant to help people replace their own seat covers, no matter where you purchase them, the process is the same or very close.
I prefer to use Imgur over photobucket so sorry if that bugs you for any reason.
Old style:

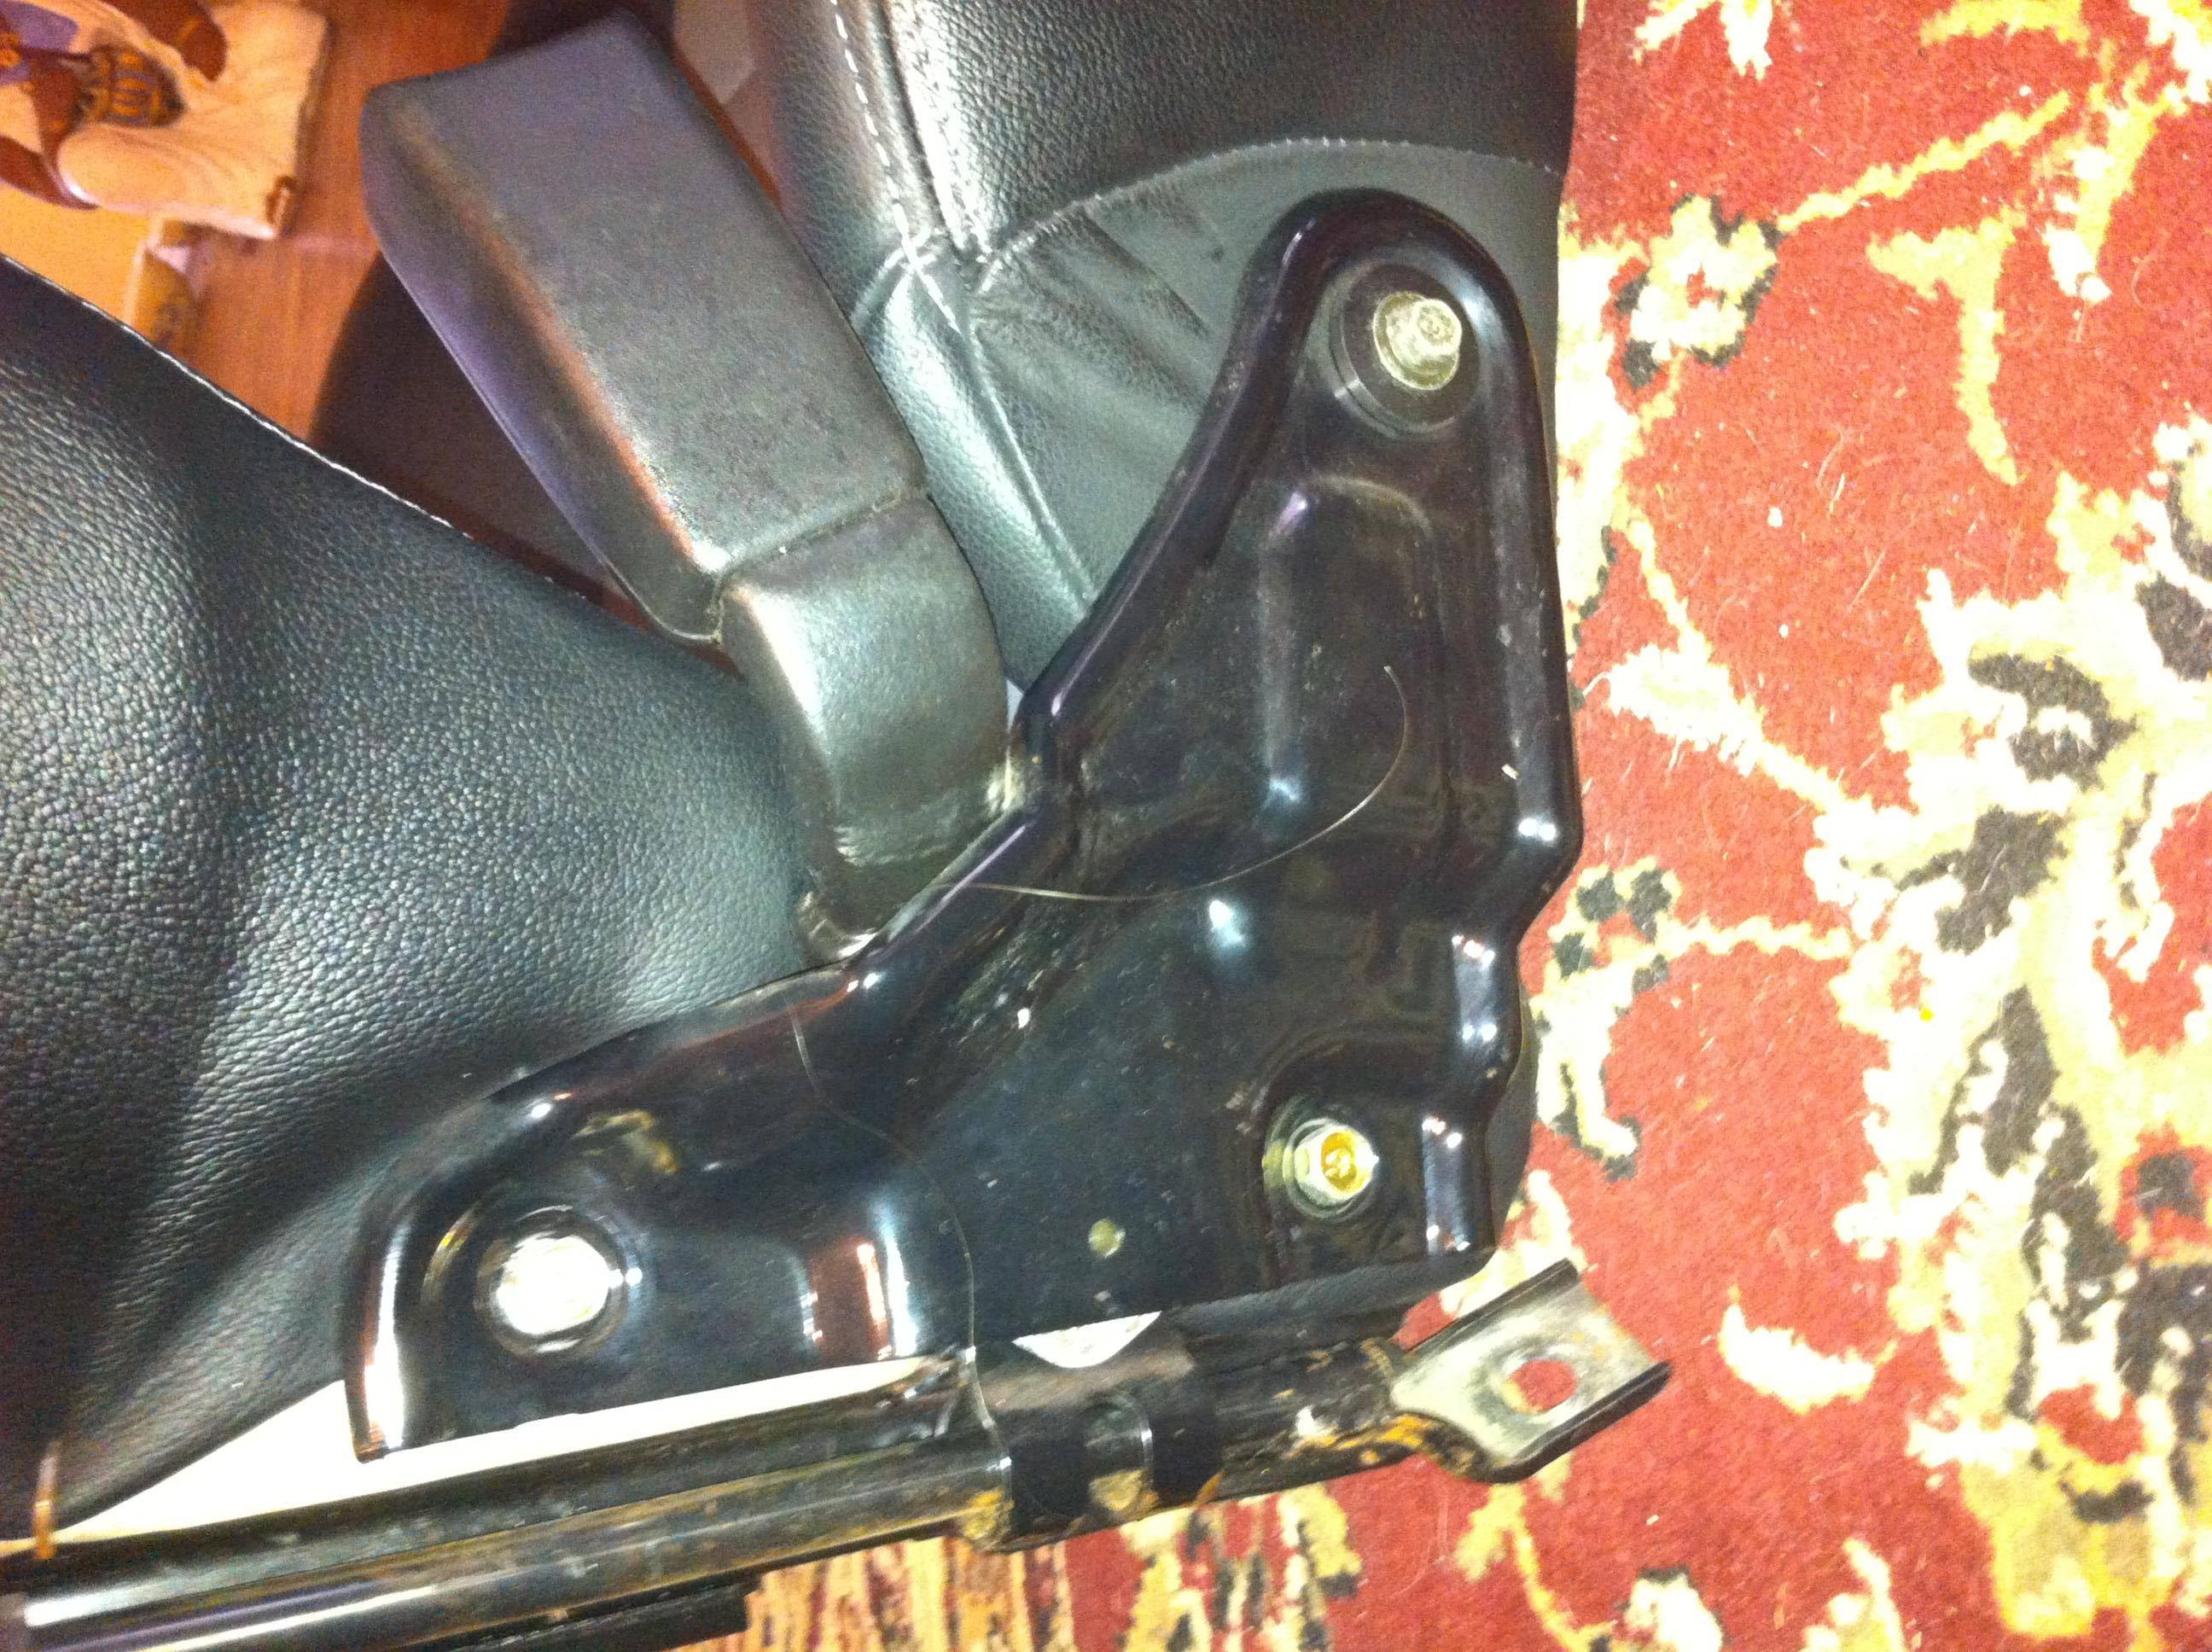
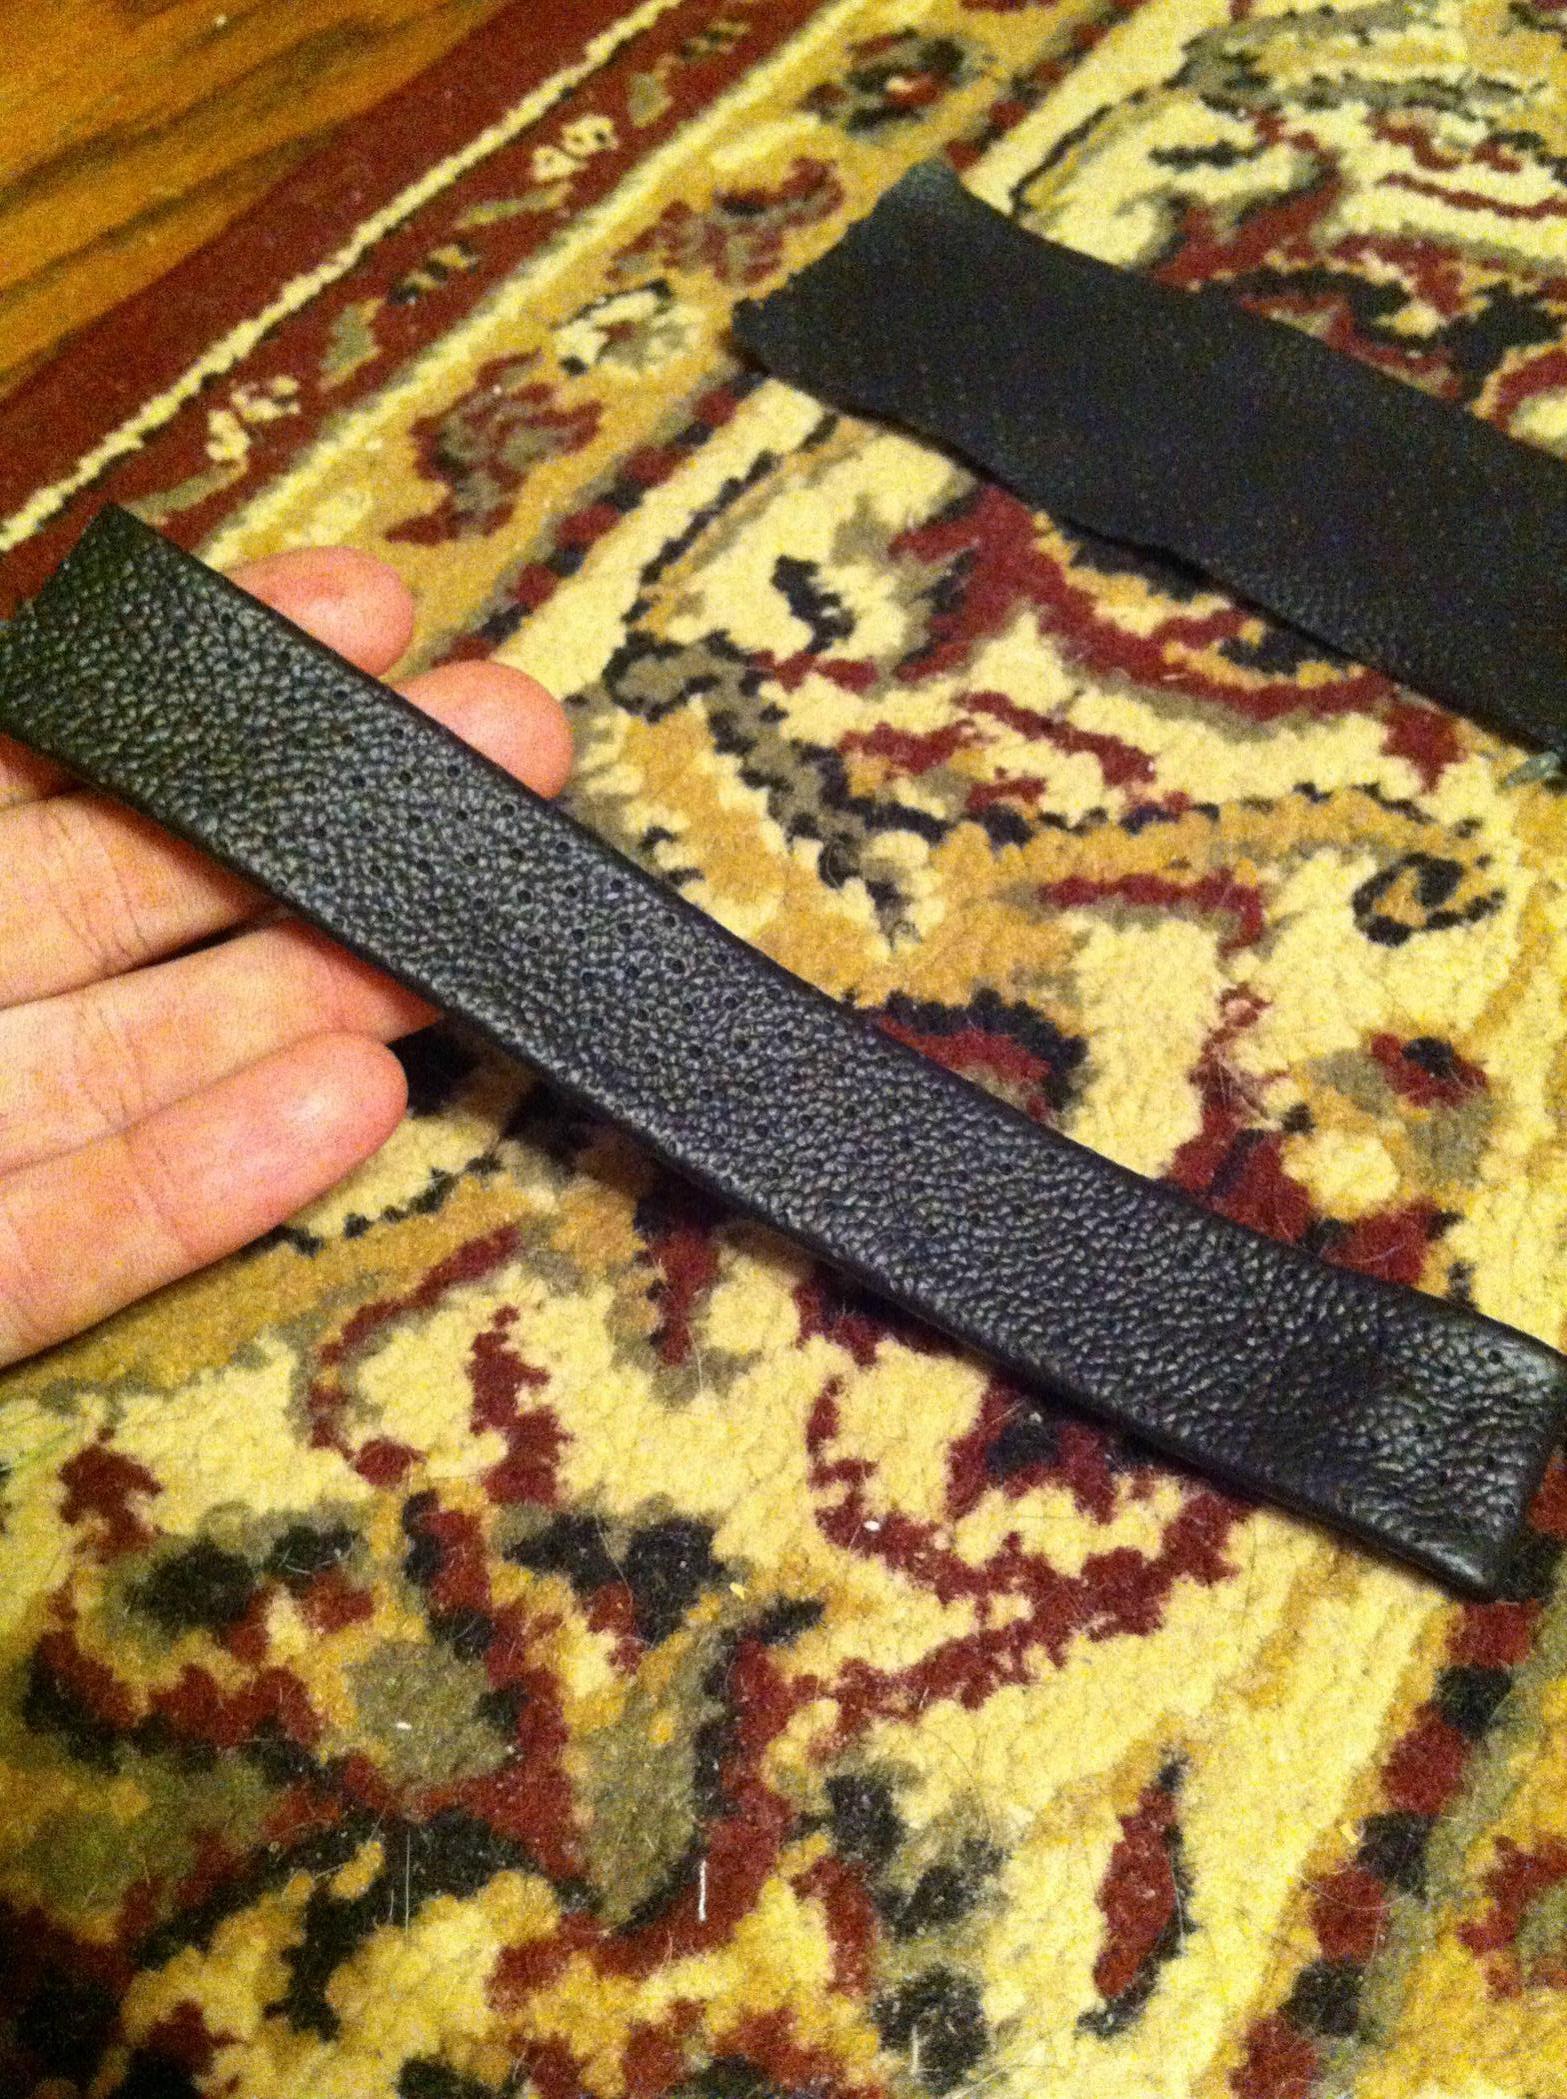
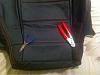
Here are my old custom seatbelt guides made from nylon web straps and sewn-on snaps:
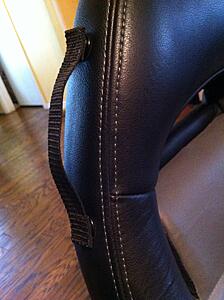

I will be making new custom seatbelt guides because my original guides are red.
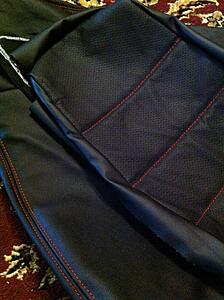
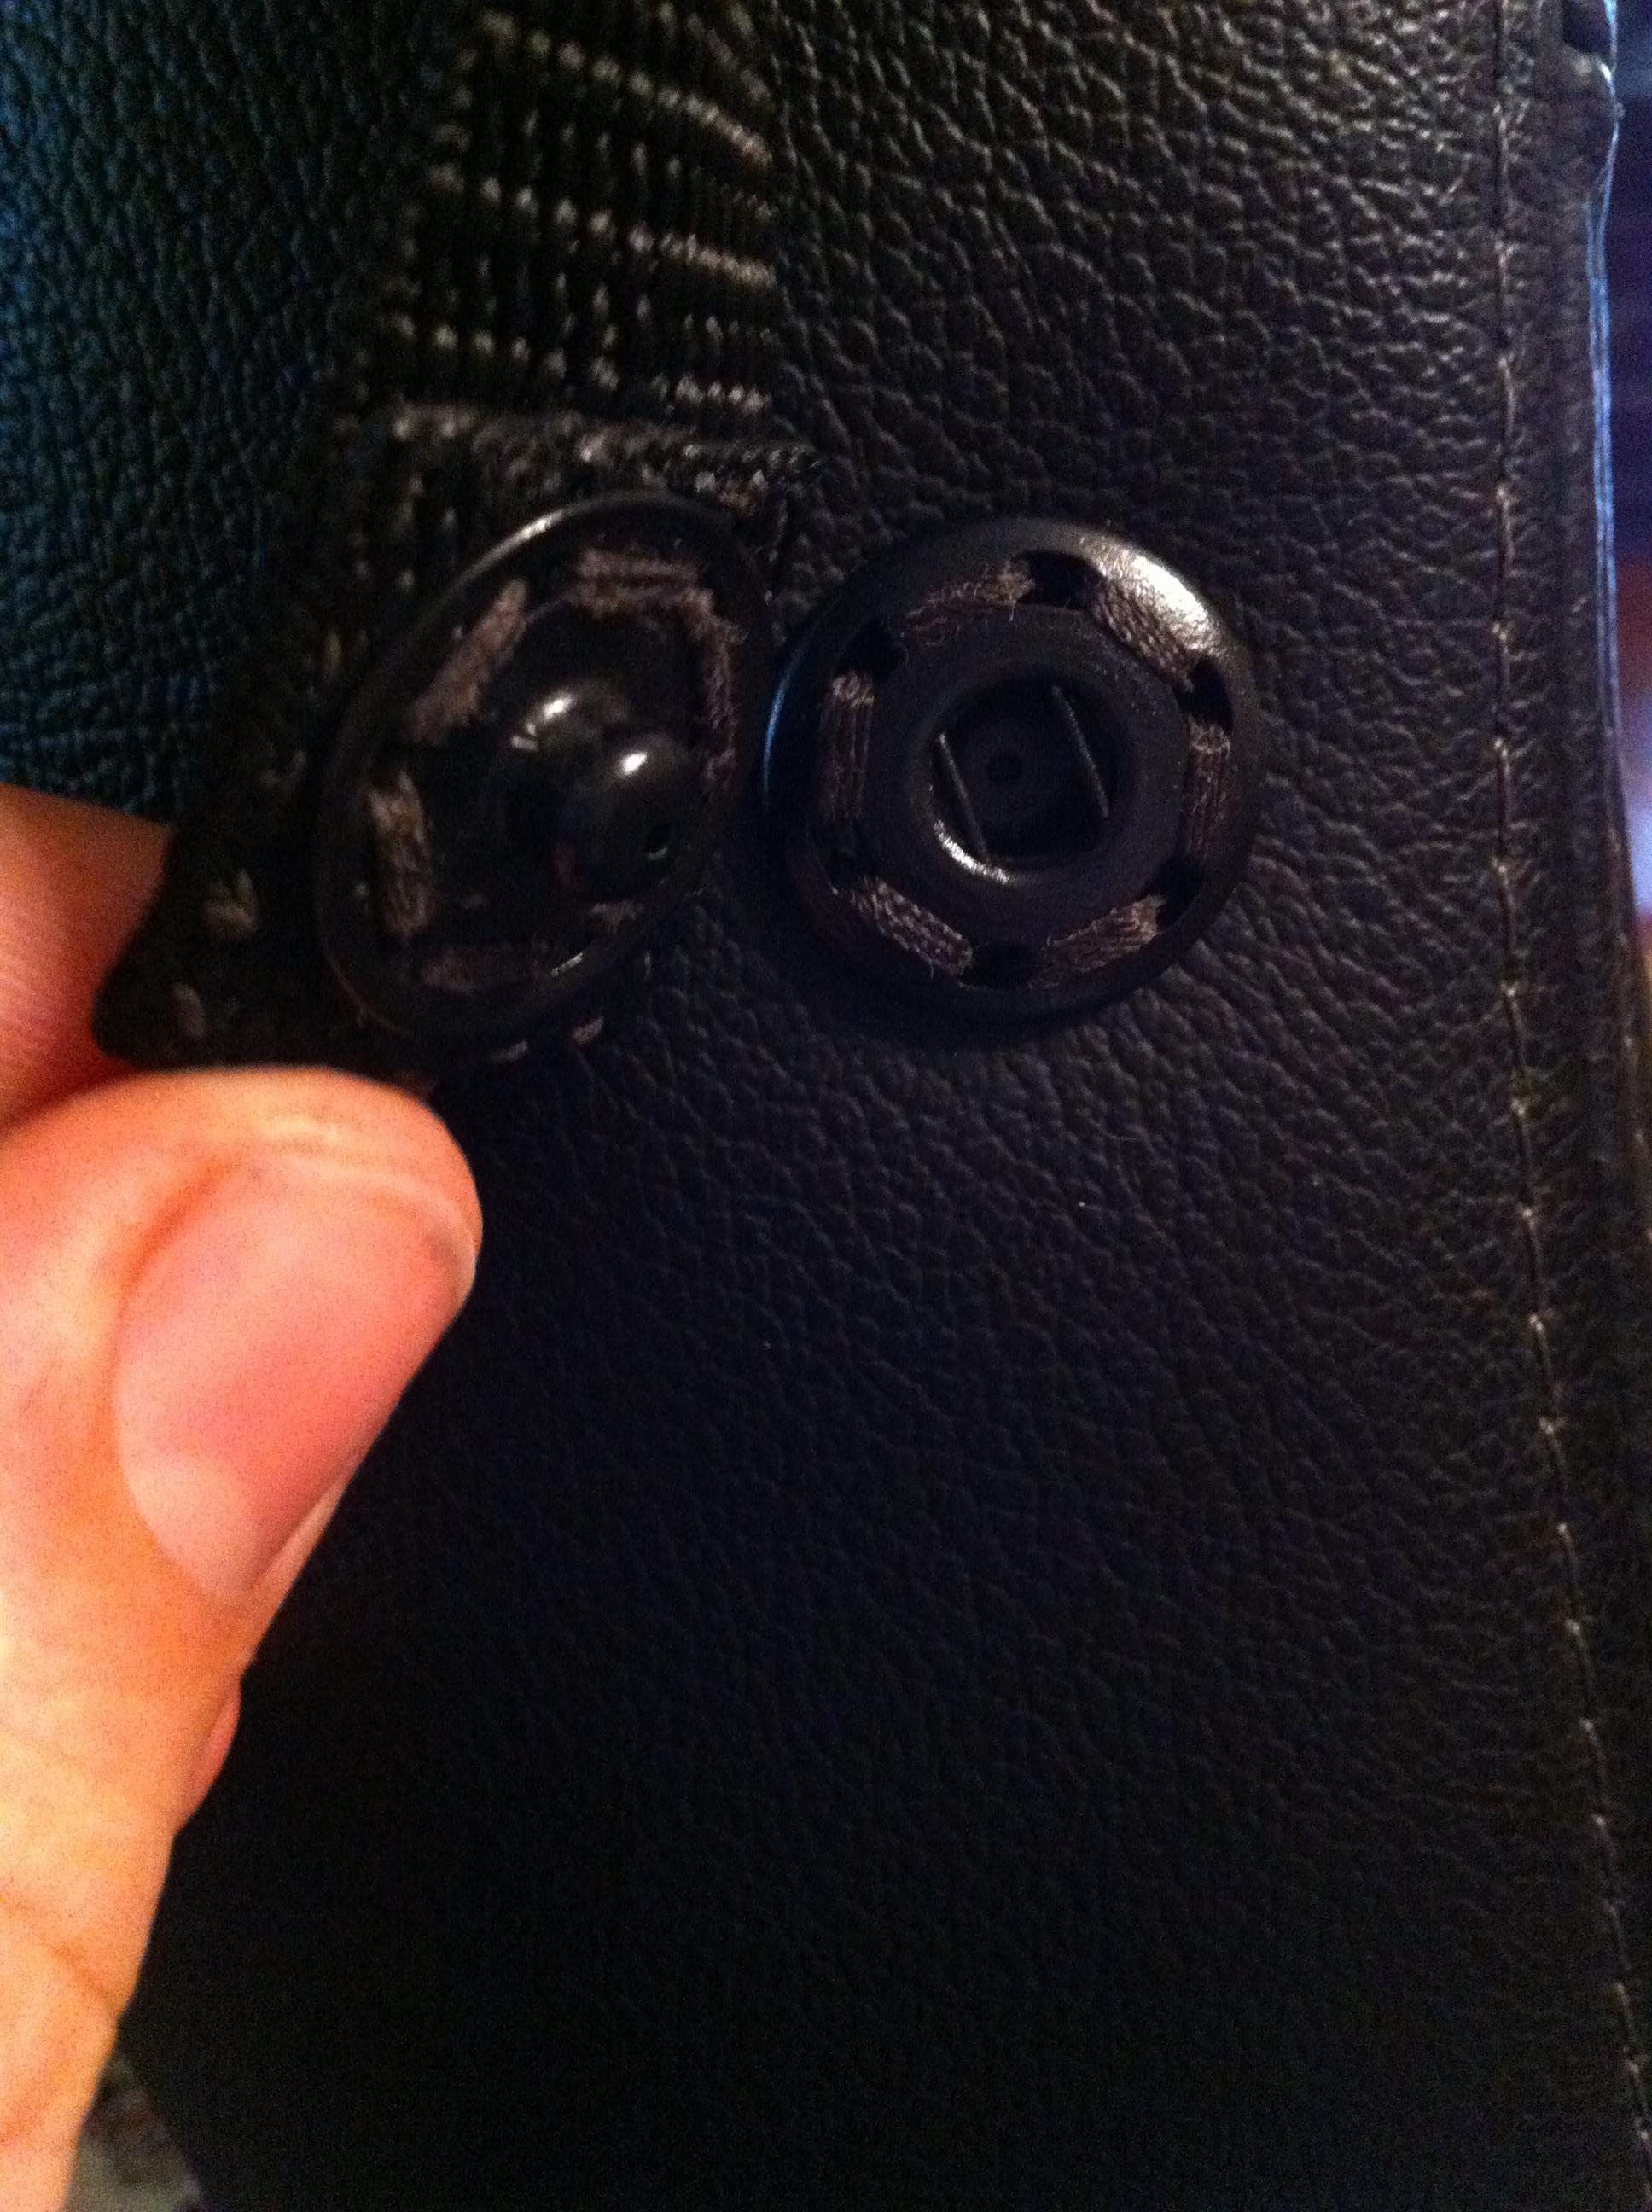
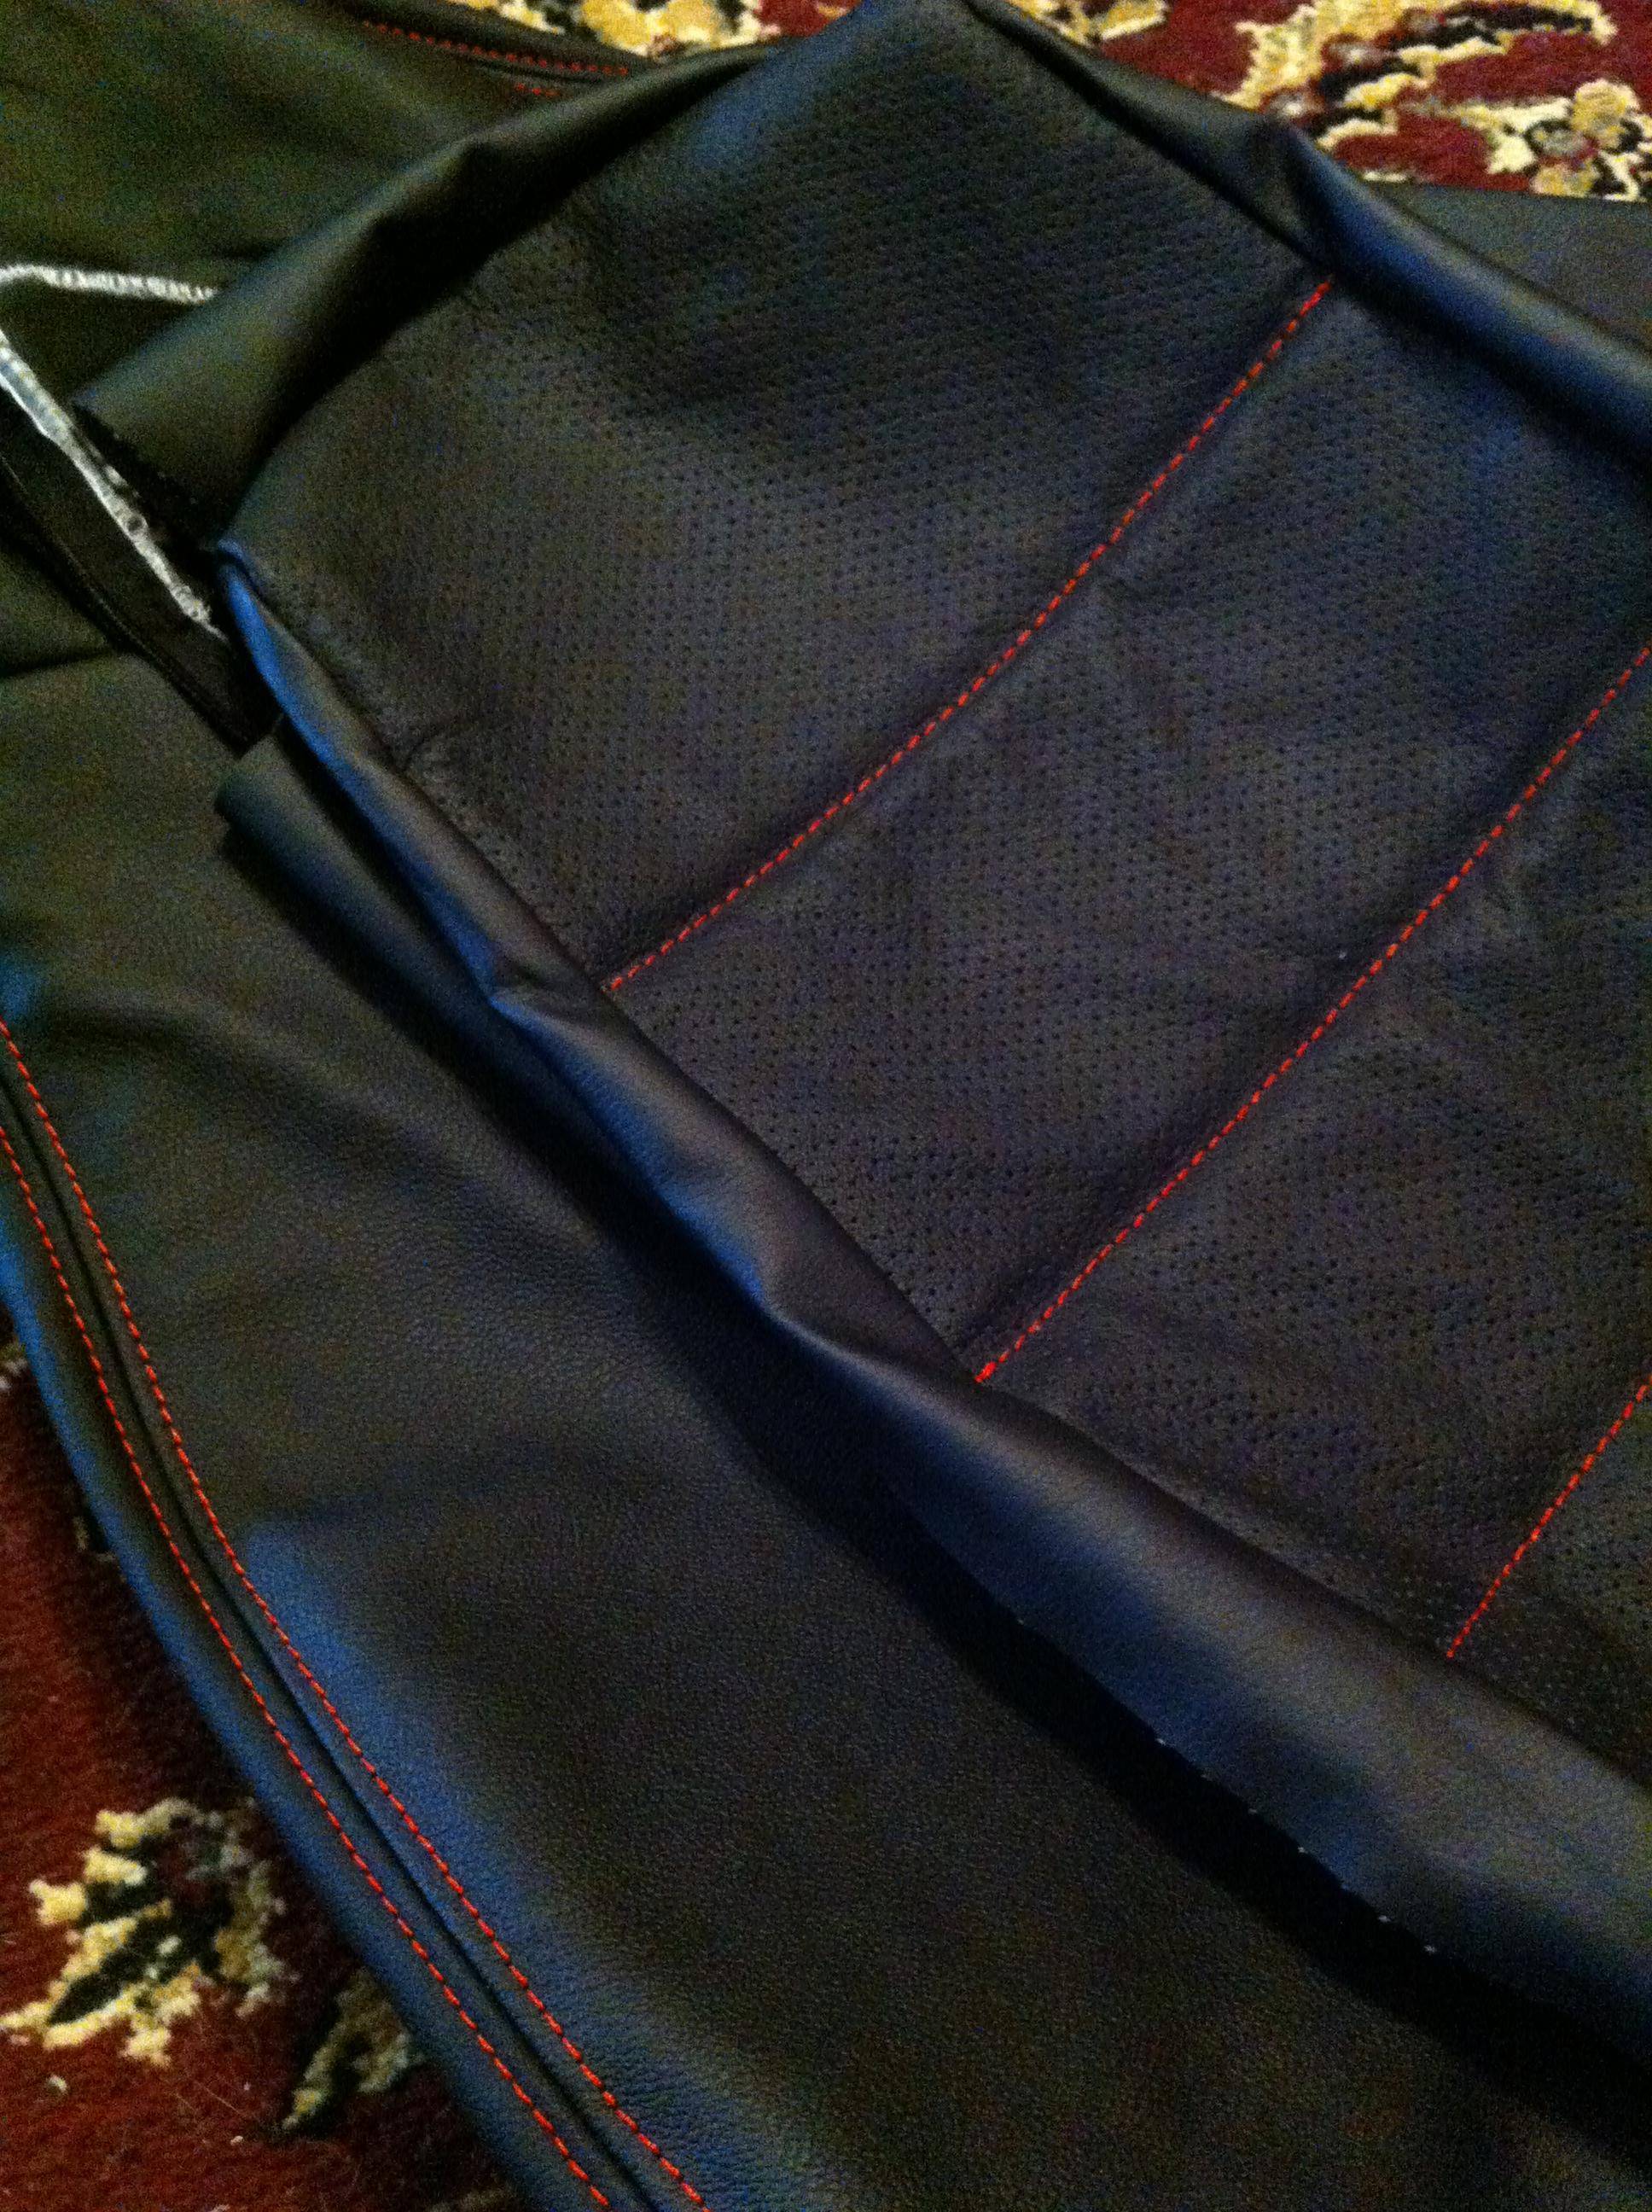
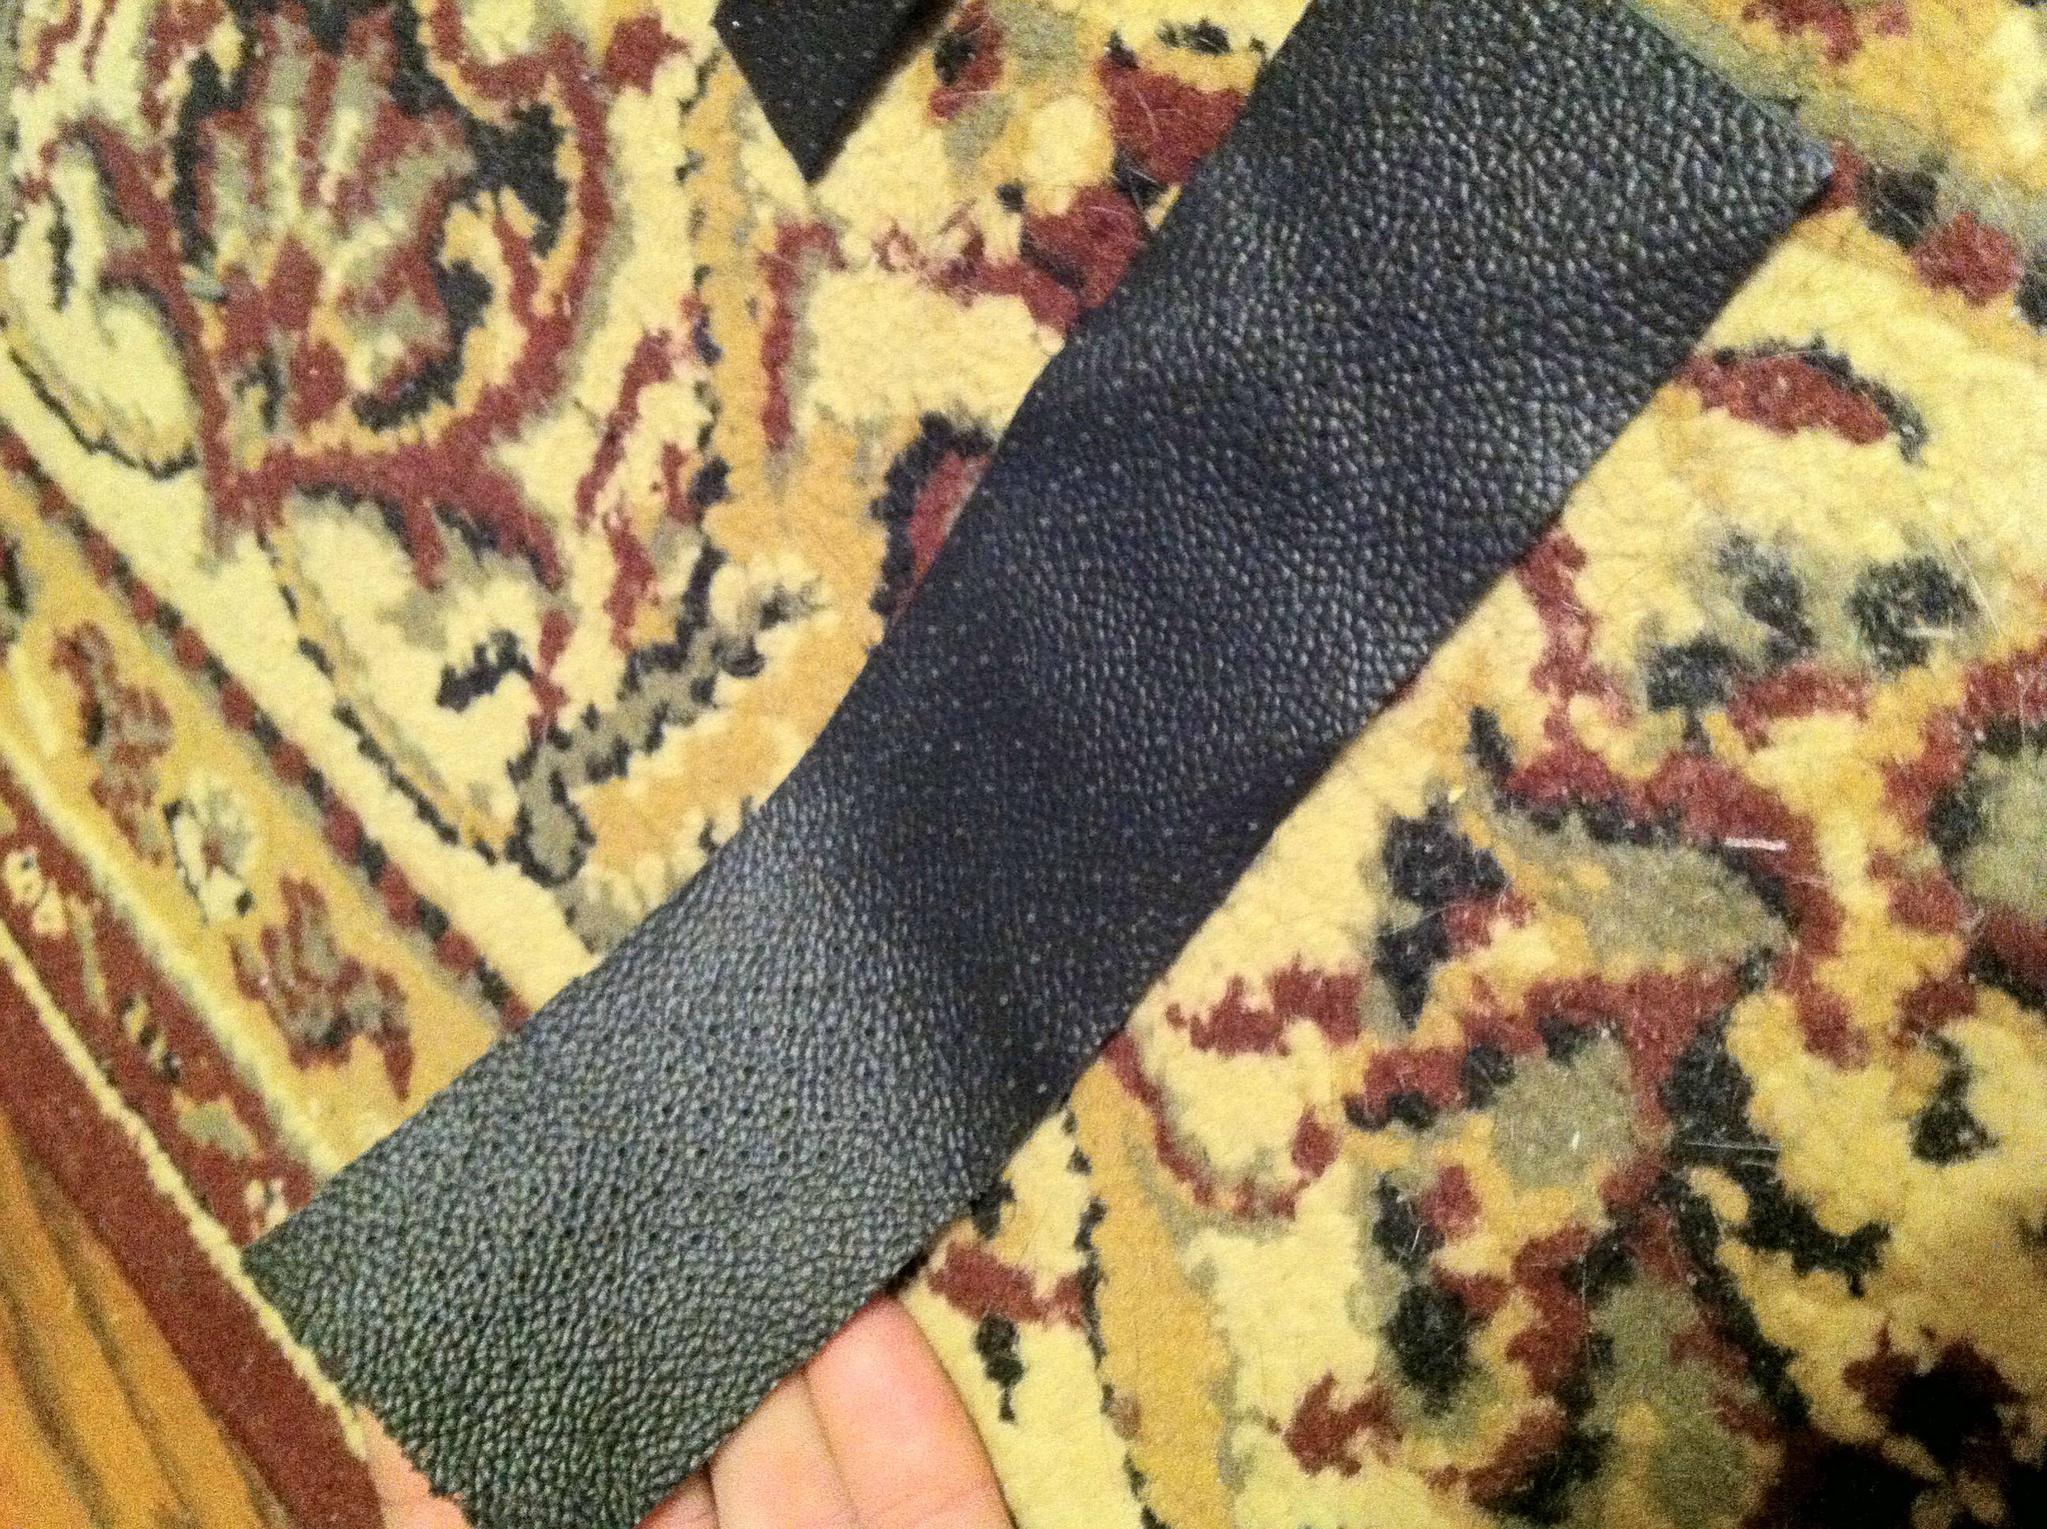
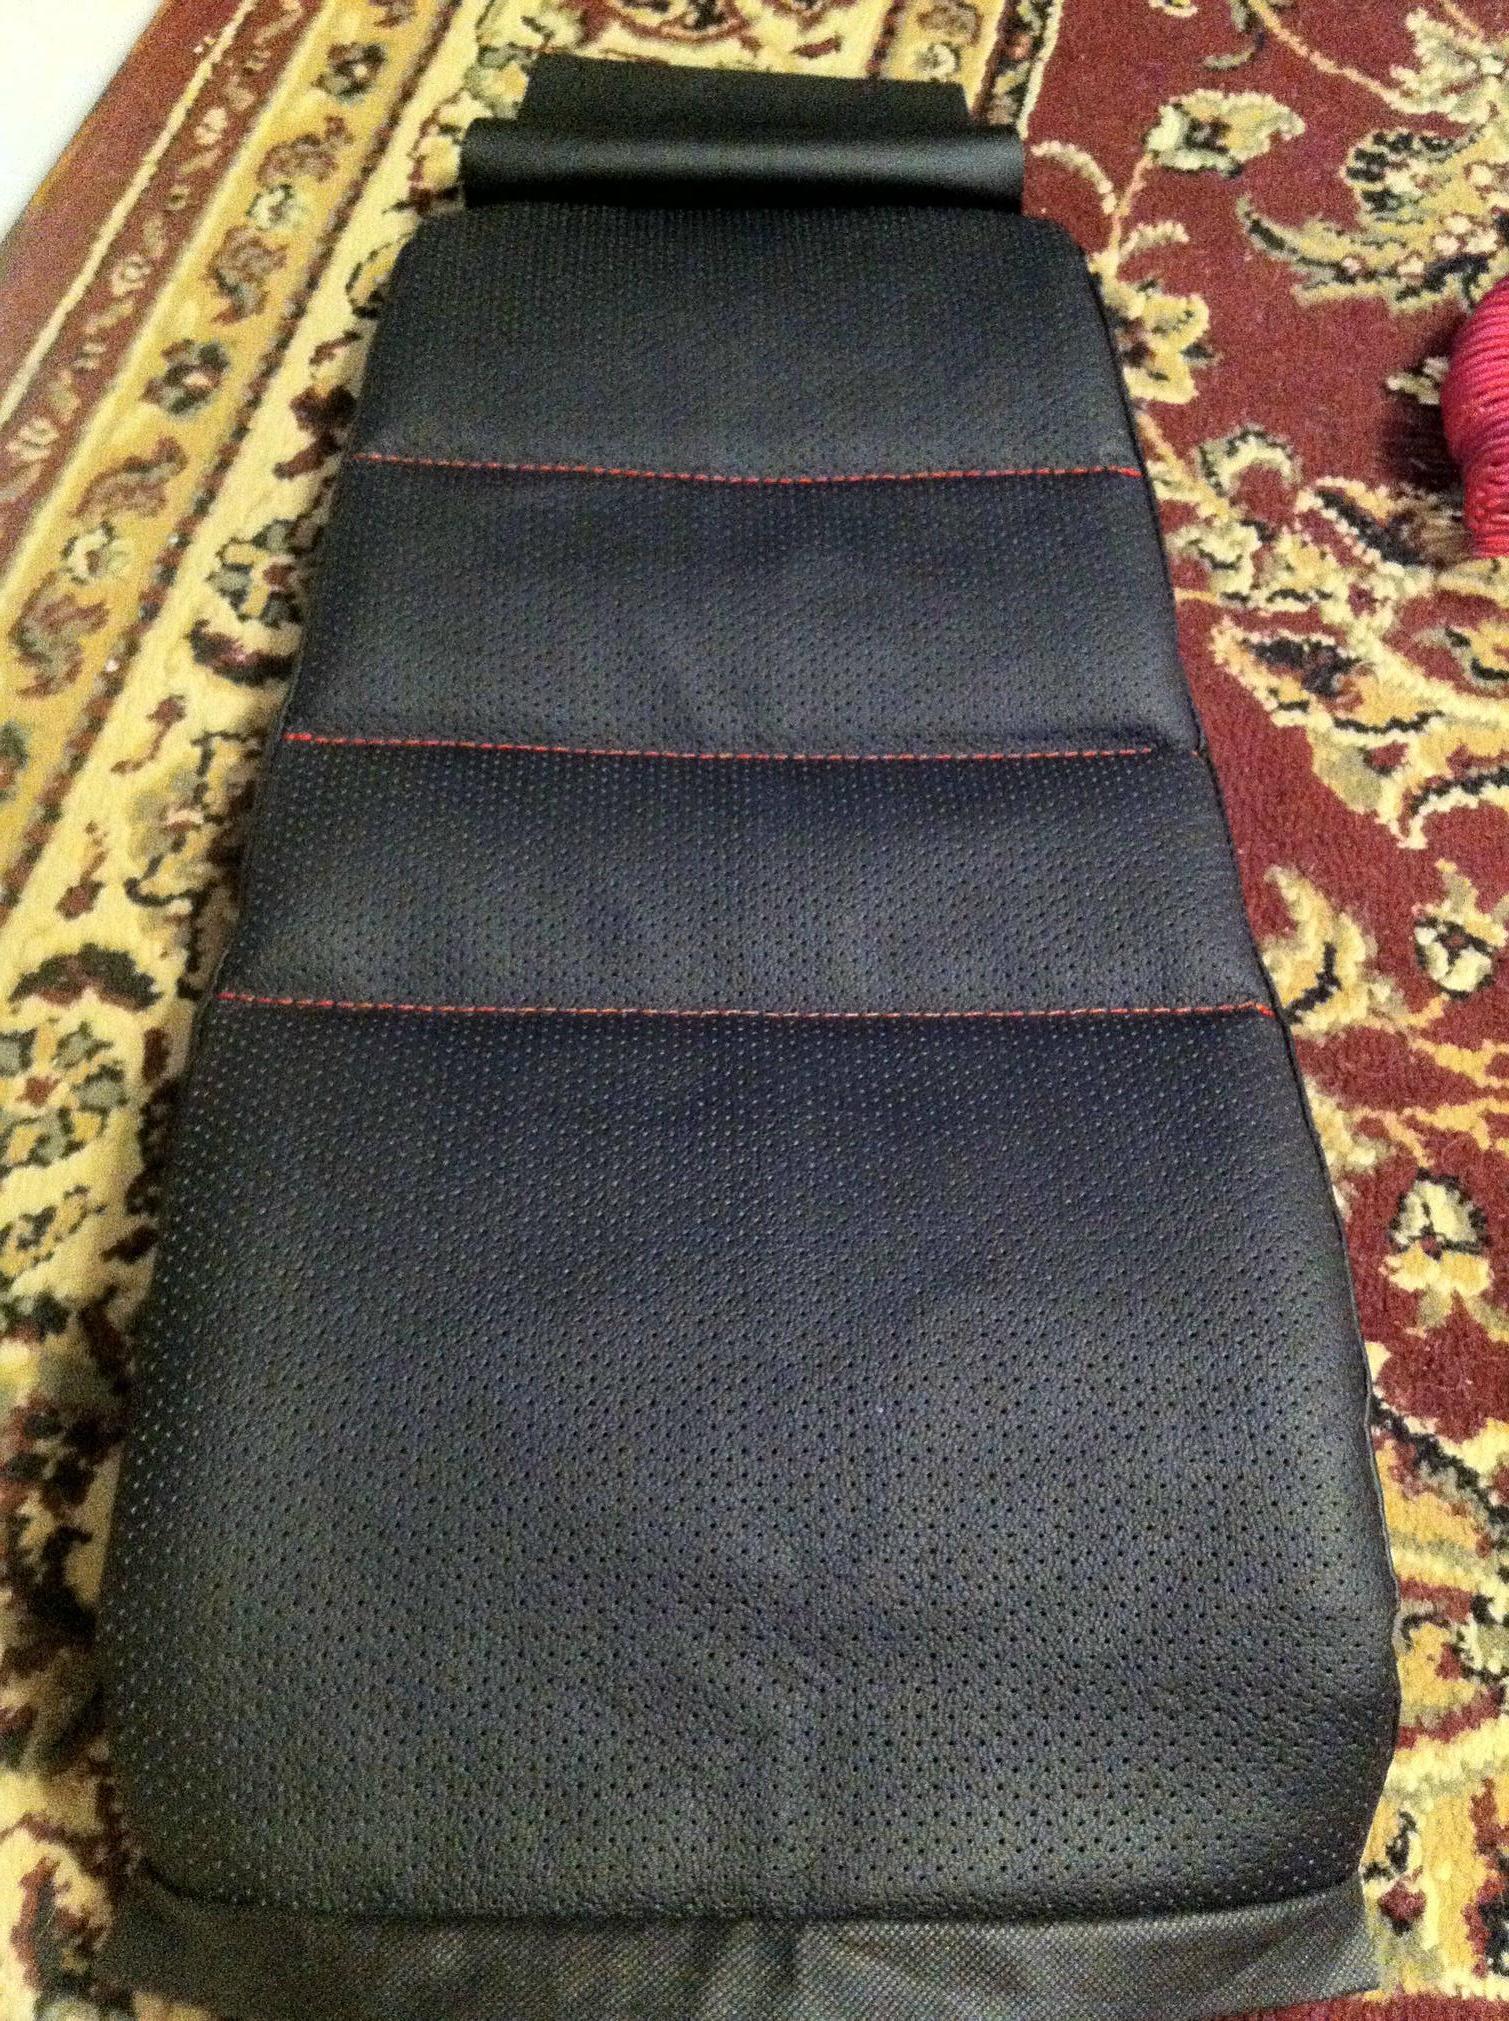
New material is black perforated center section with red stitching:
Begin by removing the seat from the car. Remove front bolt covers, two 14mm head bolts, slide seat forward, remove THREE 14mm bolts at rear of seat. Slide seat back half way, fold seat all the way forward, and CAREFULLY lift it out of the car. Take it inside to your air conditioned upholstery shop(living room).
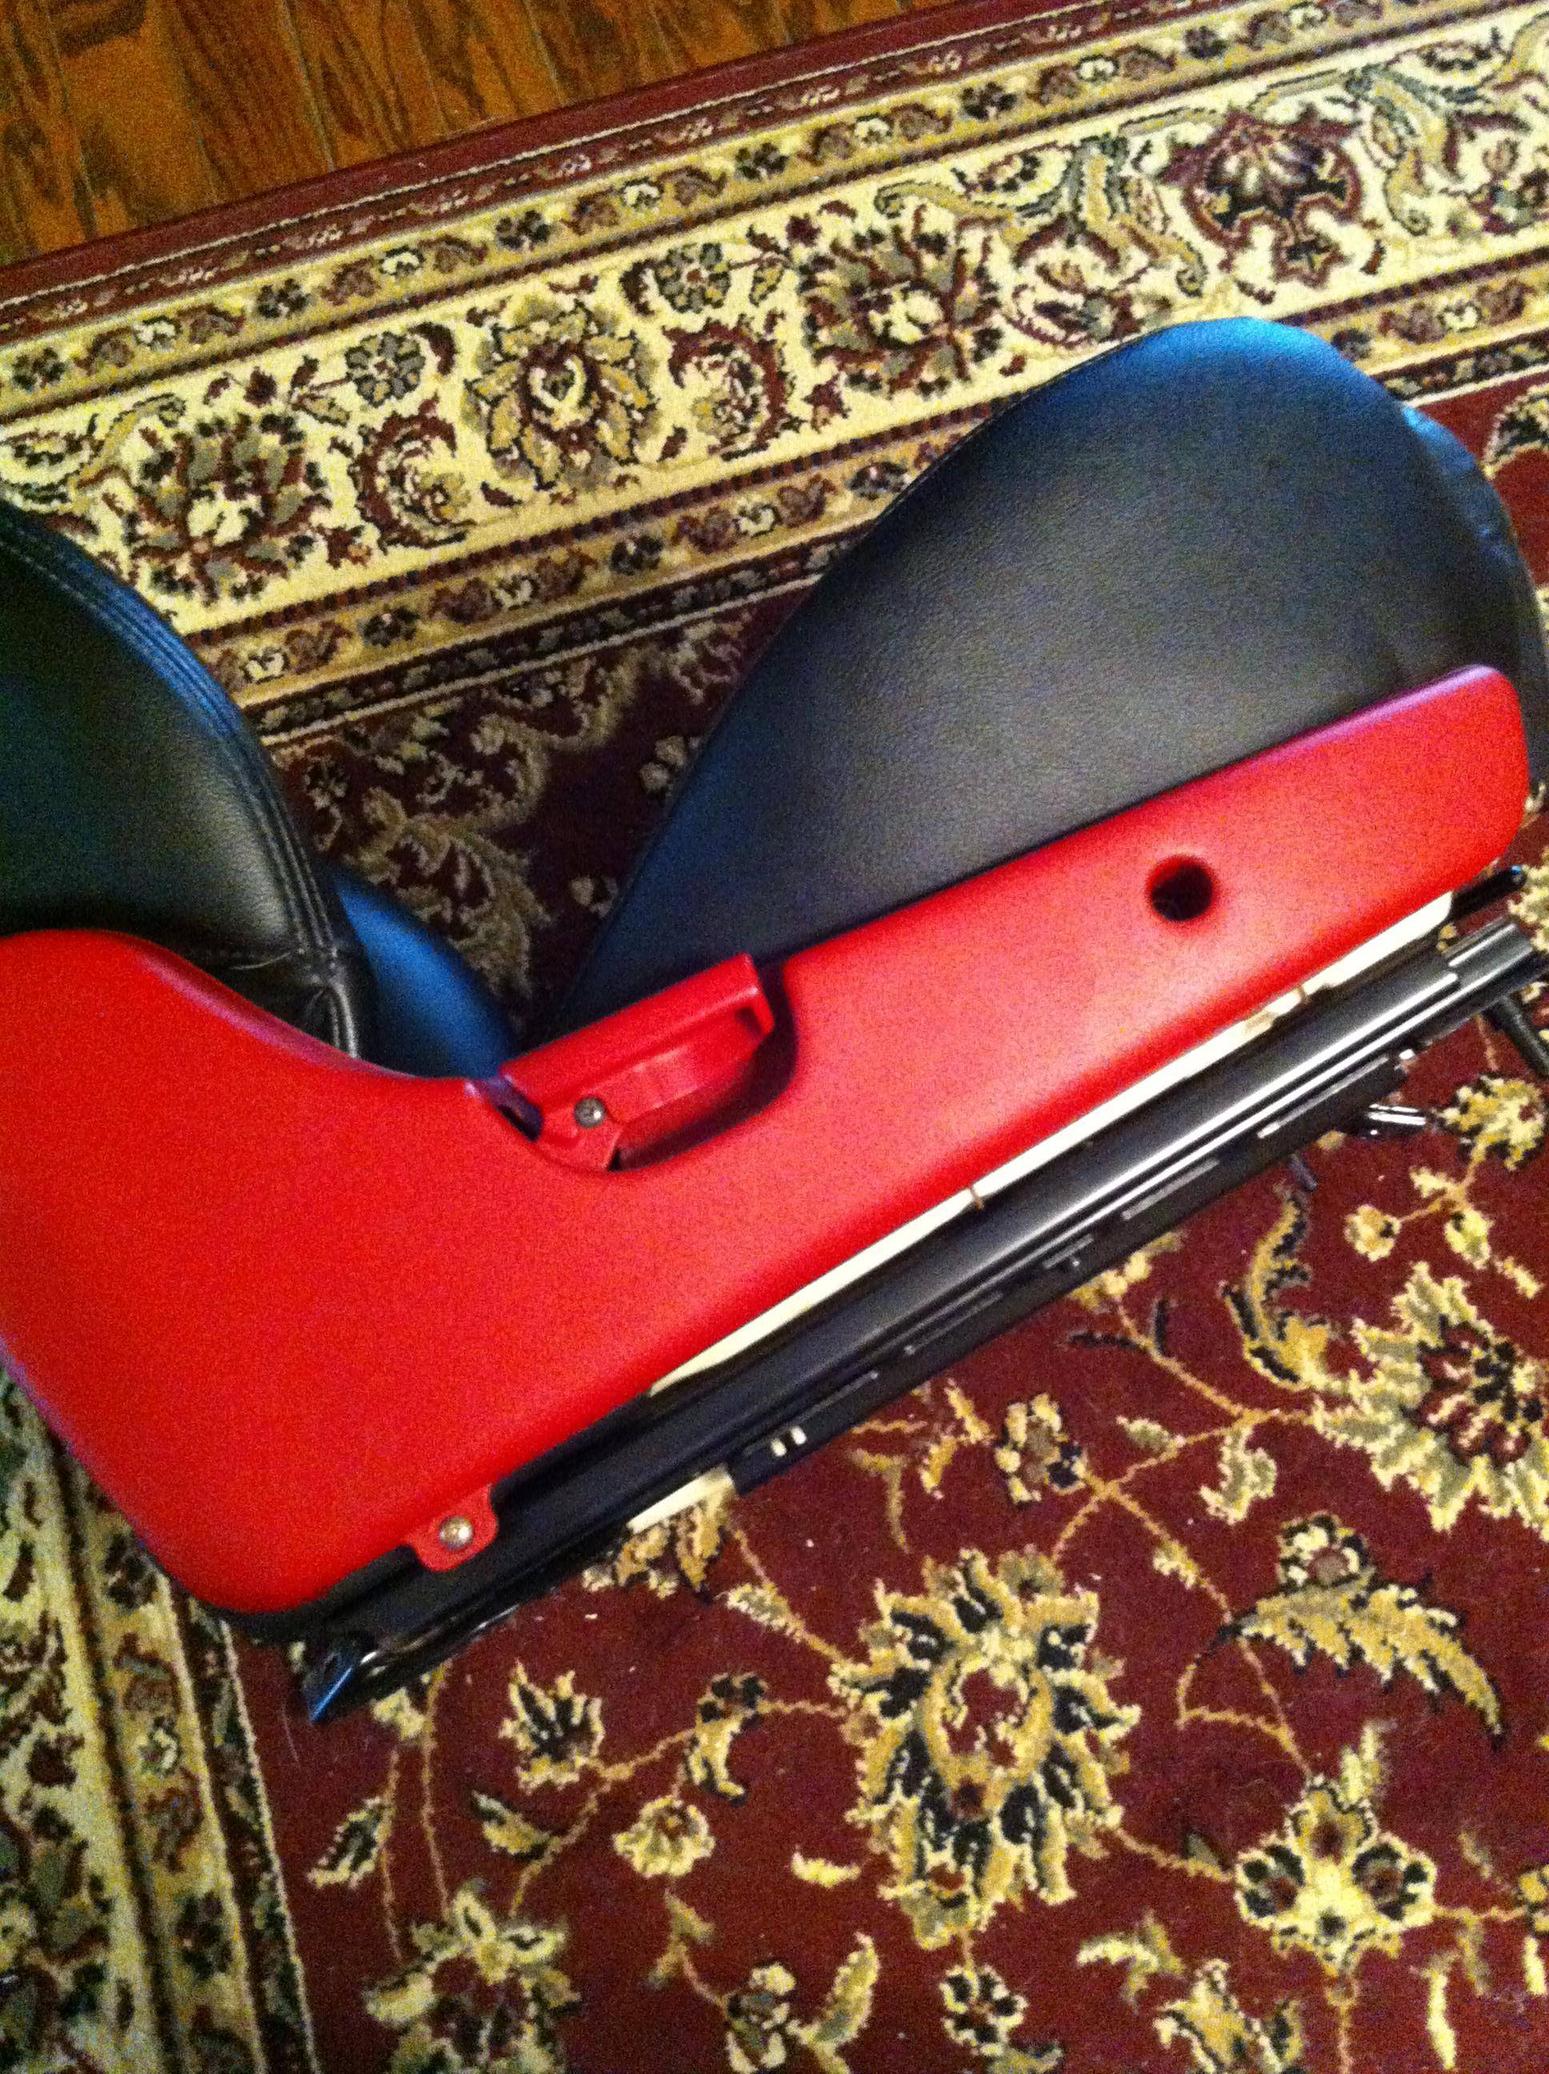
Remove recline handle (one phillips screw) and then 2 screws for the side bezel.
The rear of the bezel has a tab that lifts off the seat spring.
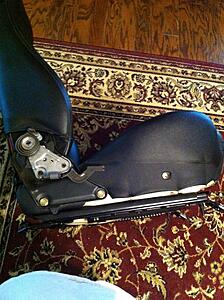
Remove two 14mm bolts on the recline lever side of the seat:

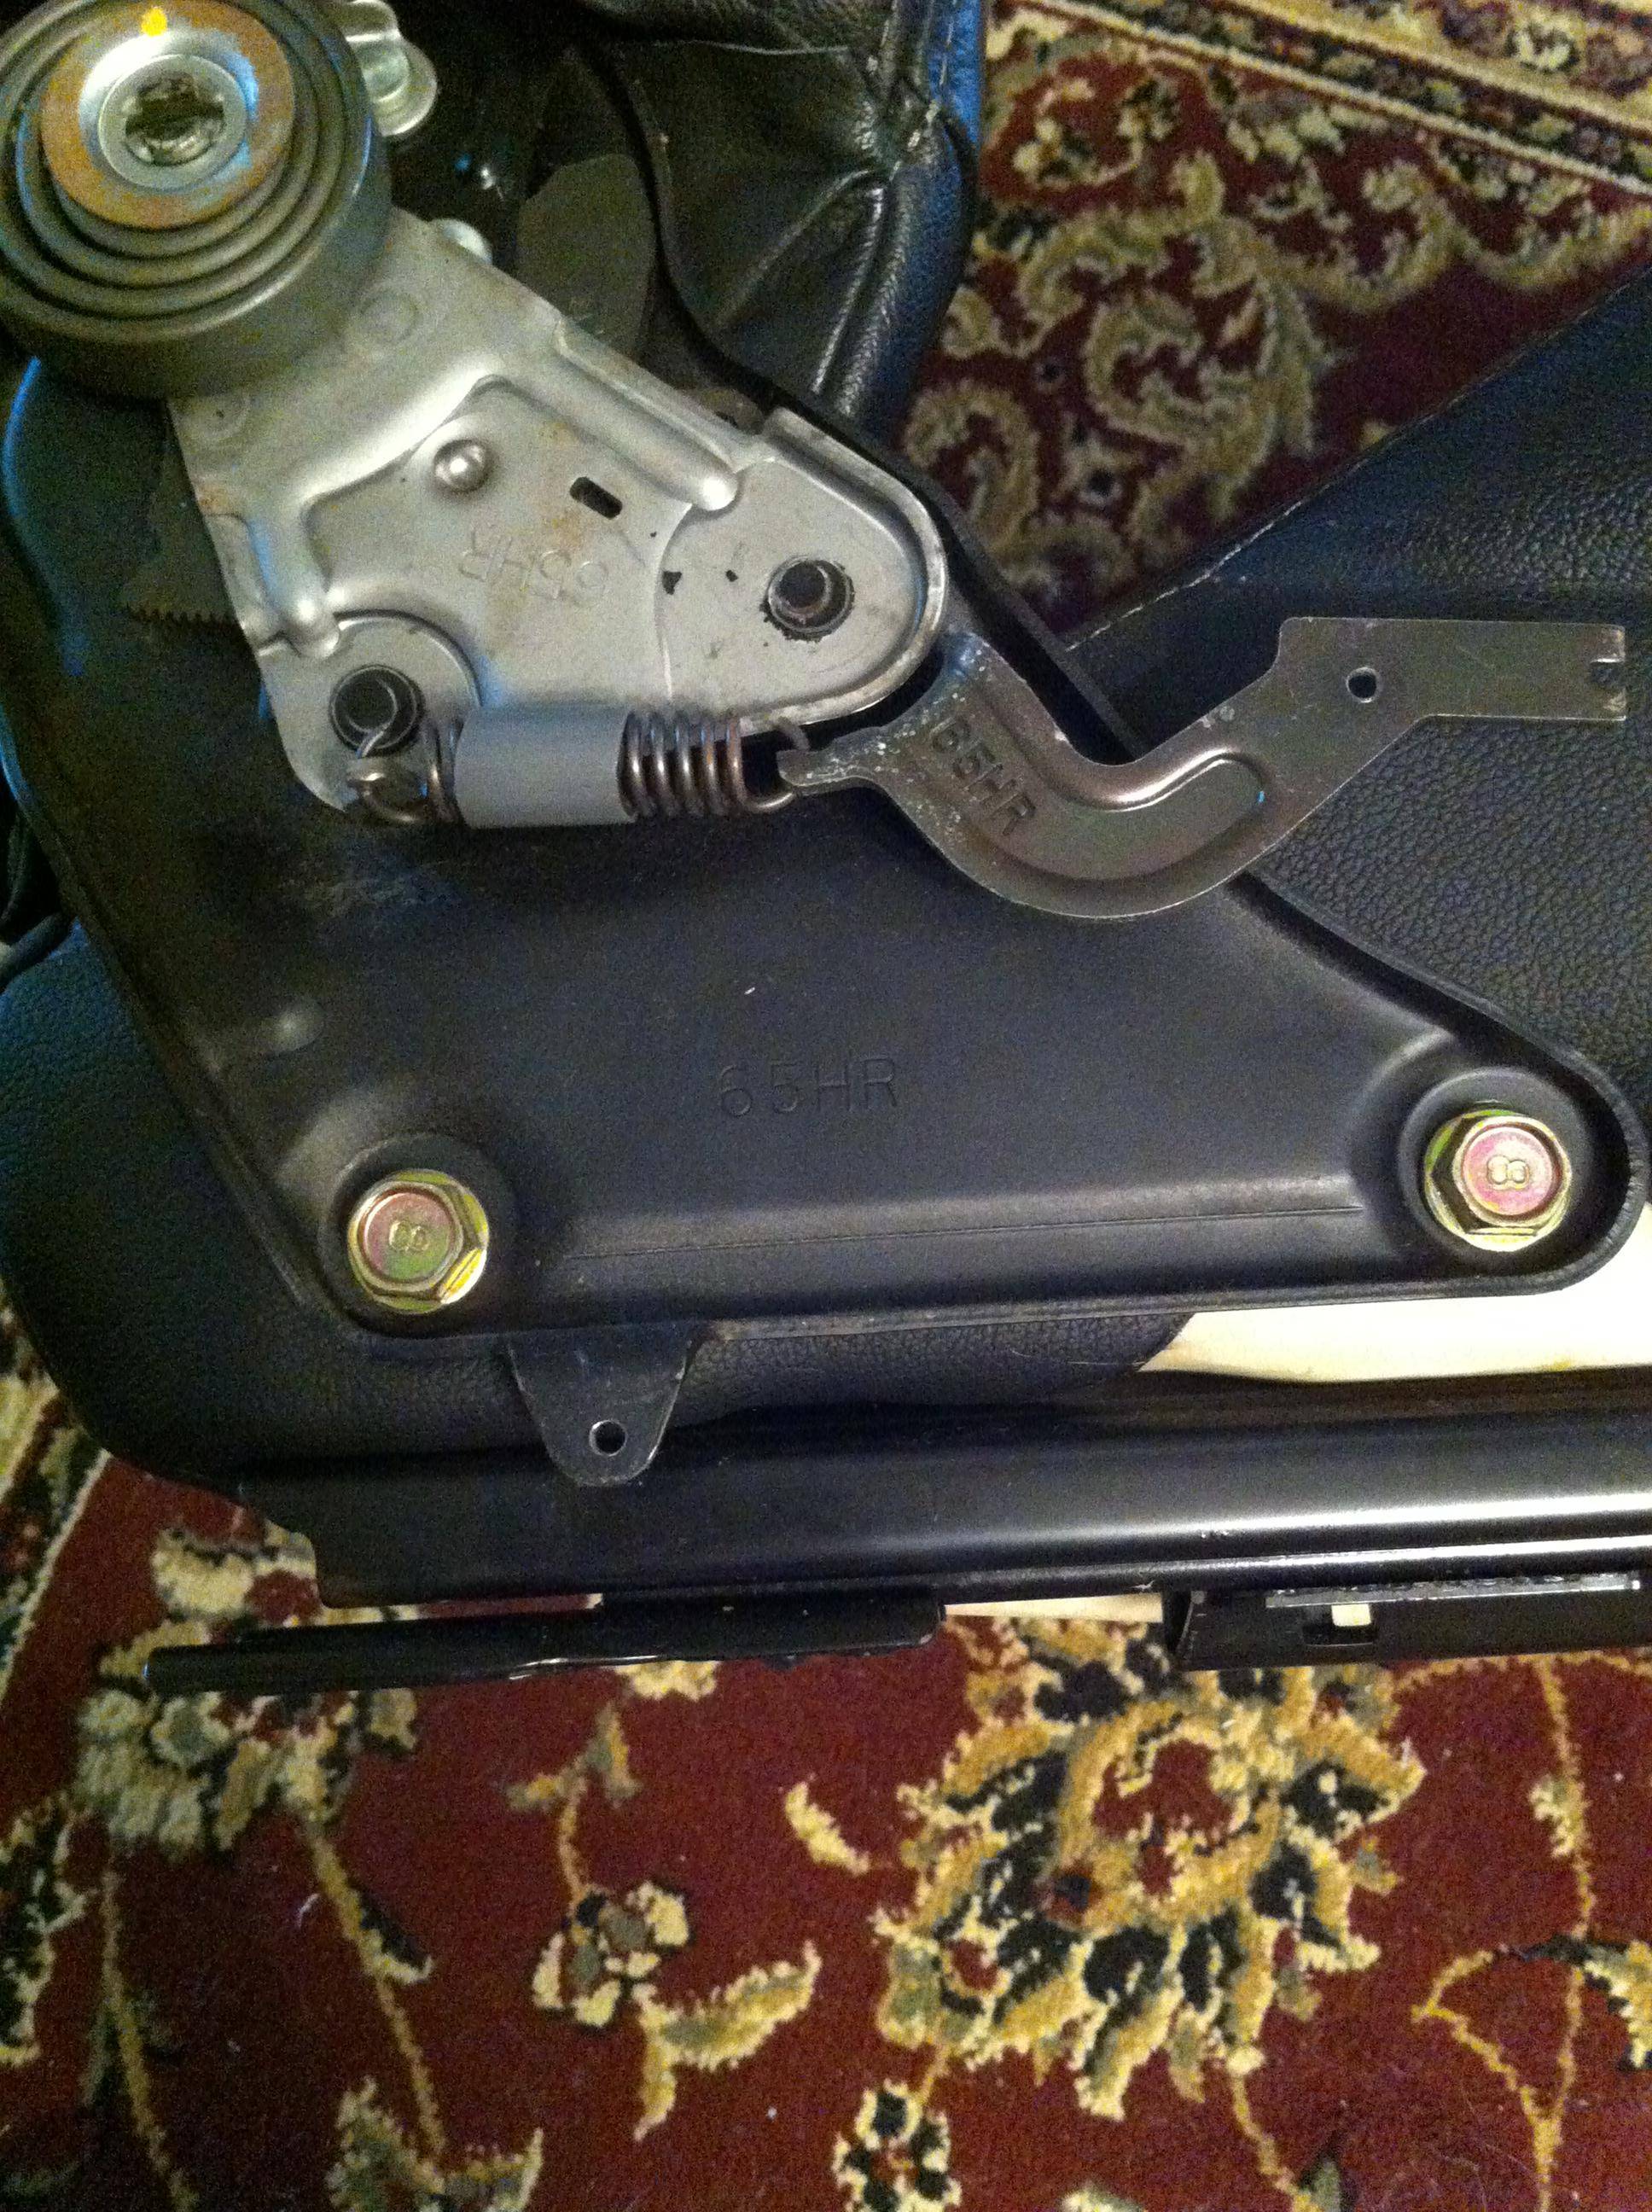
On the other hinge remove the lower two 12mm bolts:
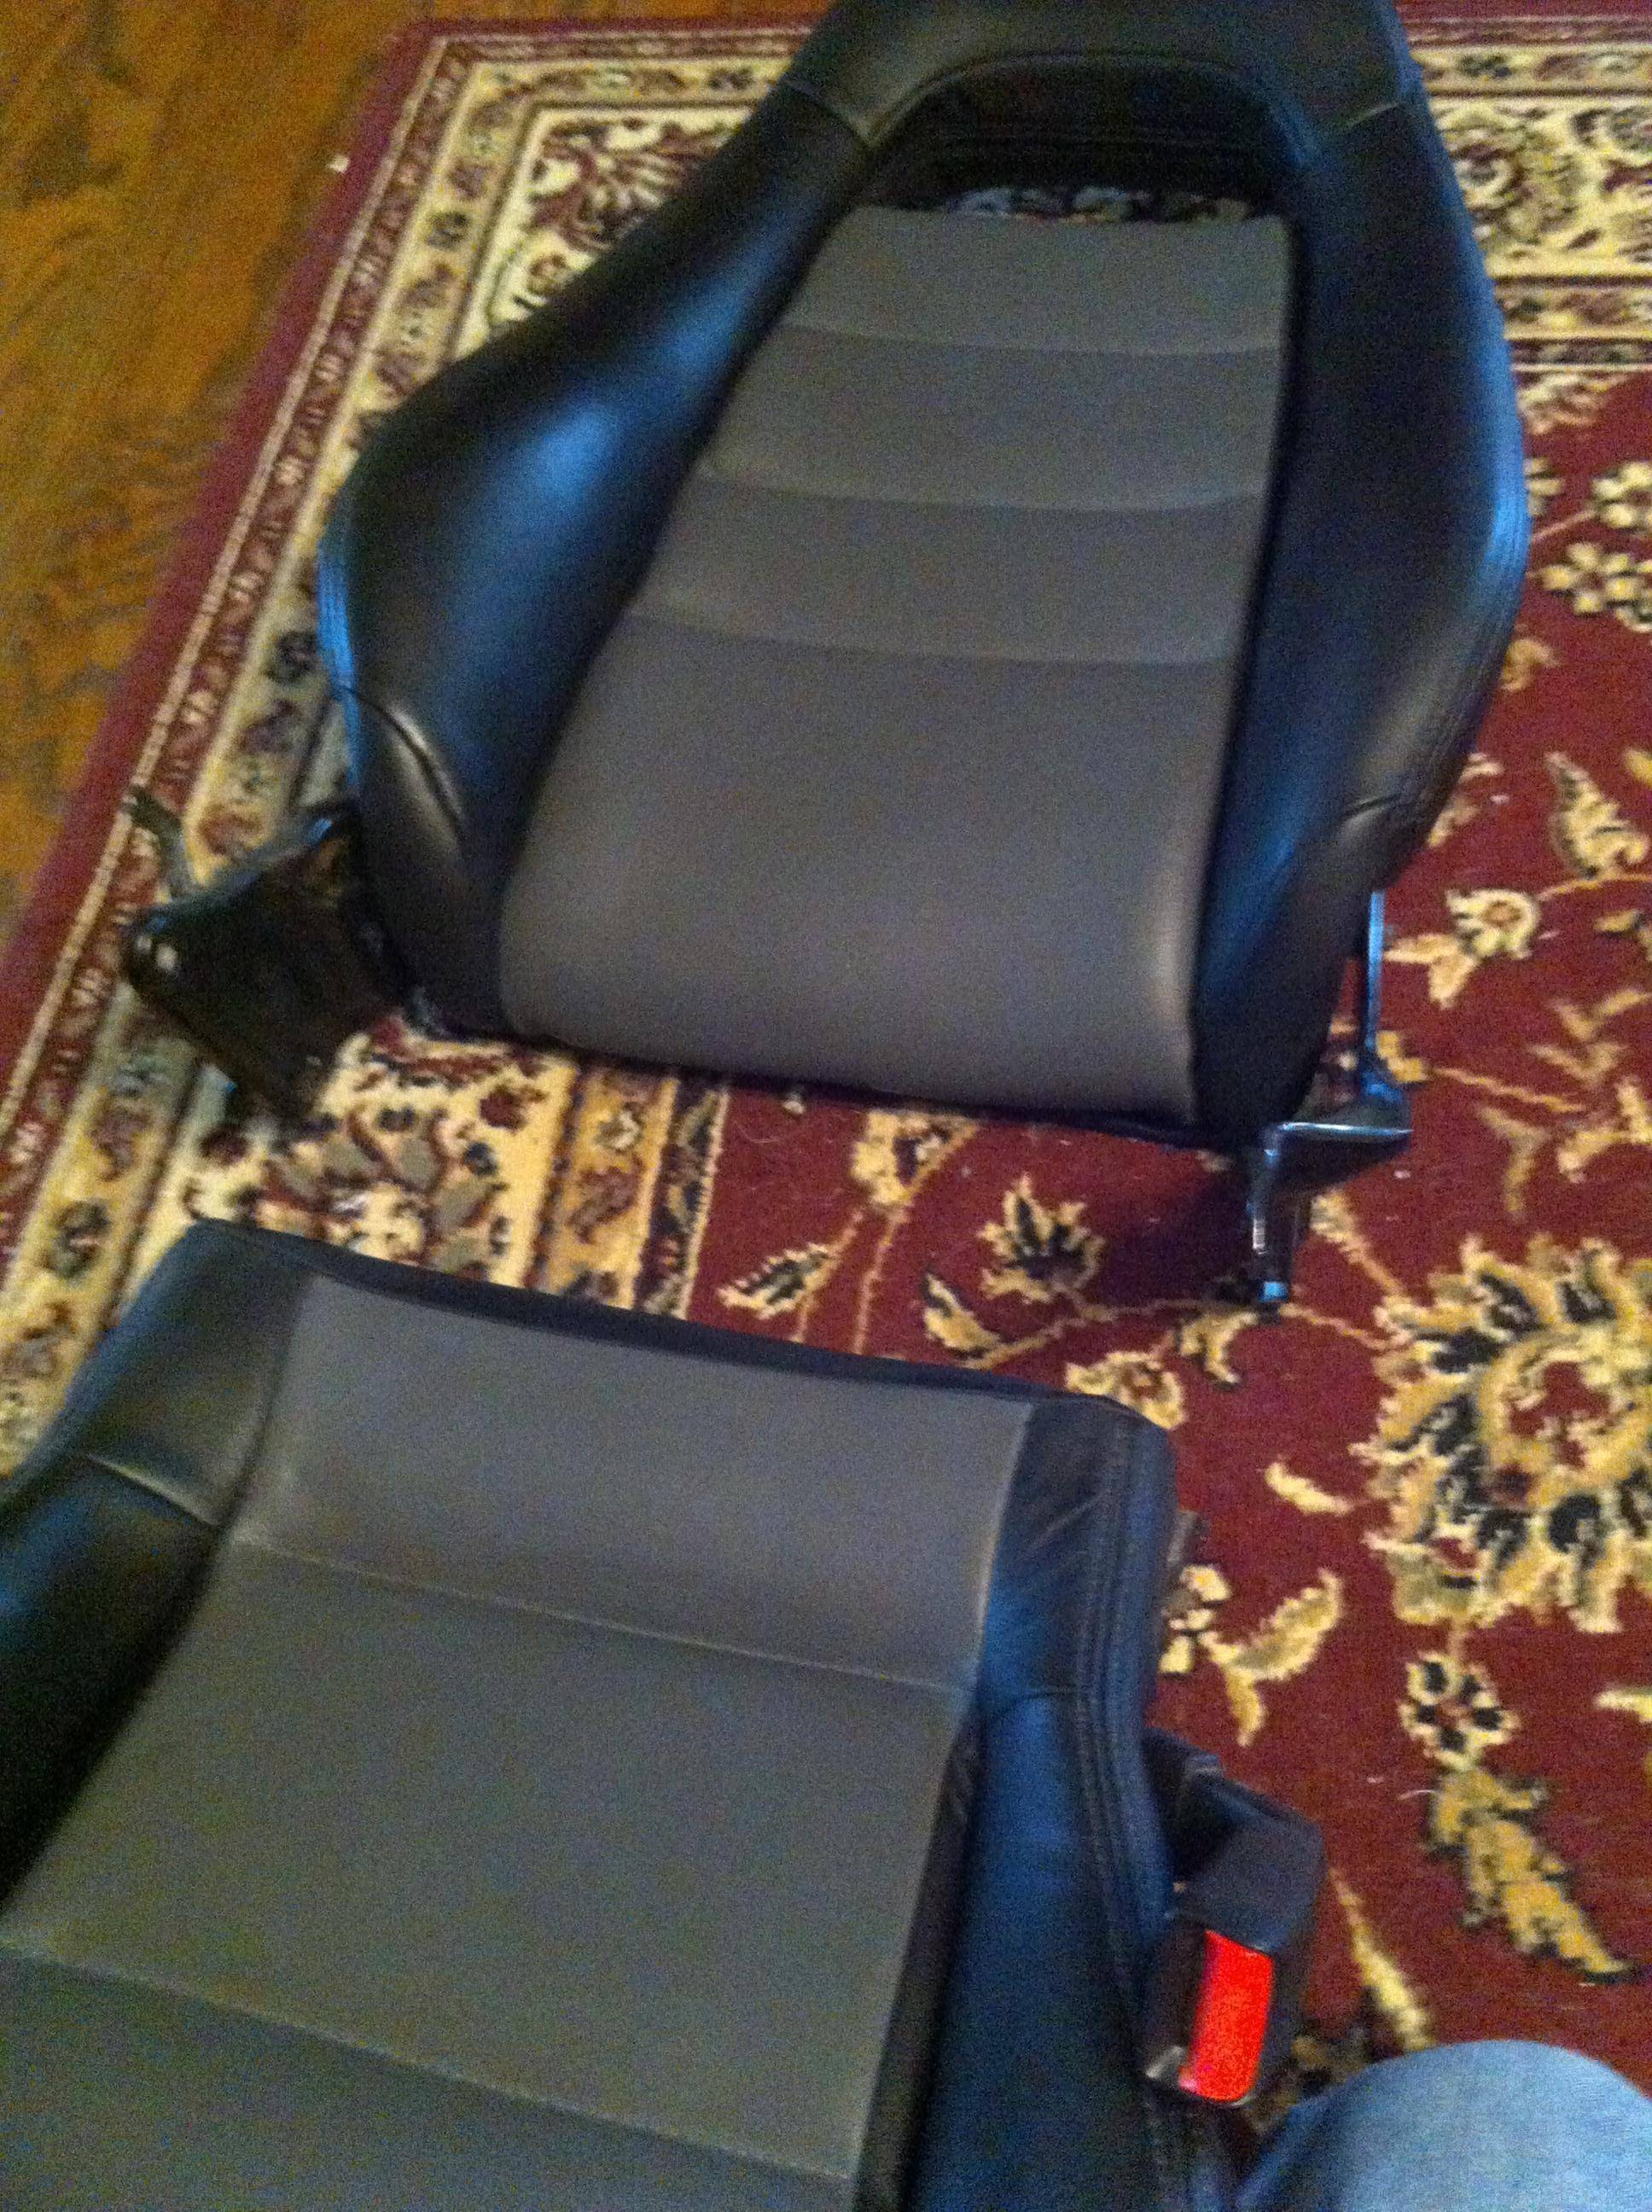
The back and bottom of the seats will come apart now:

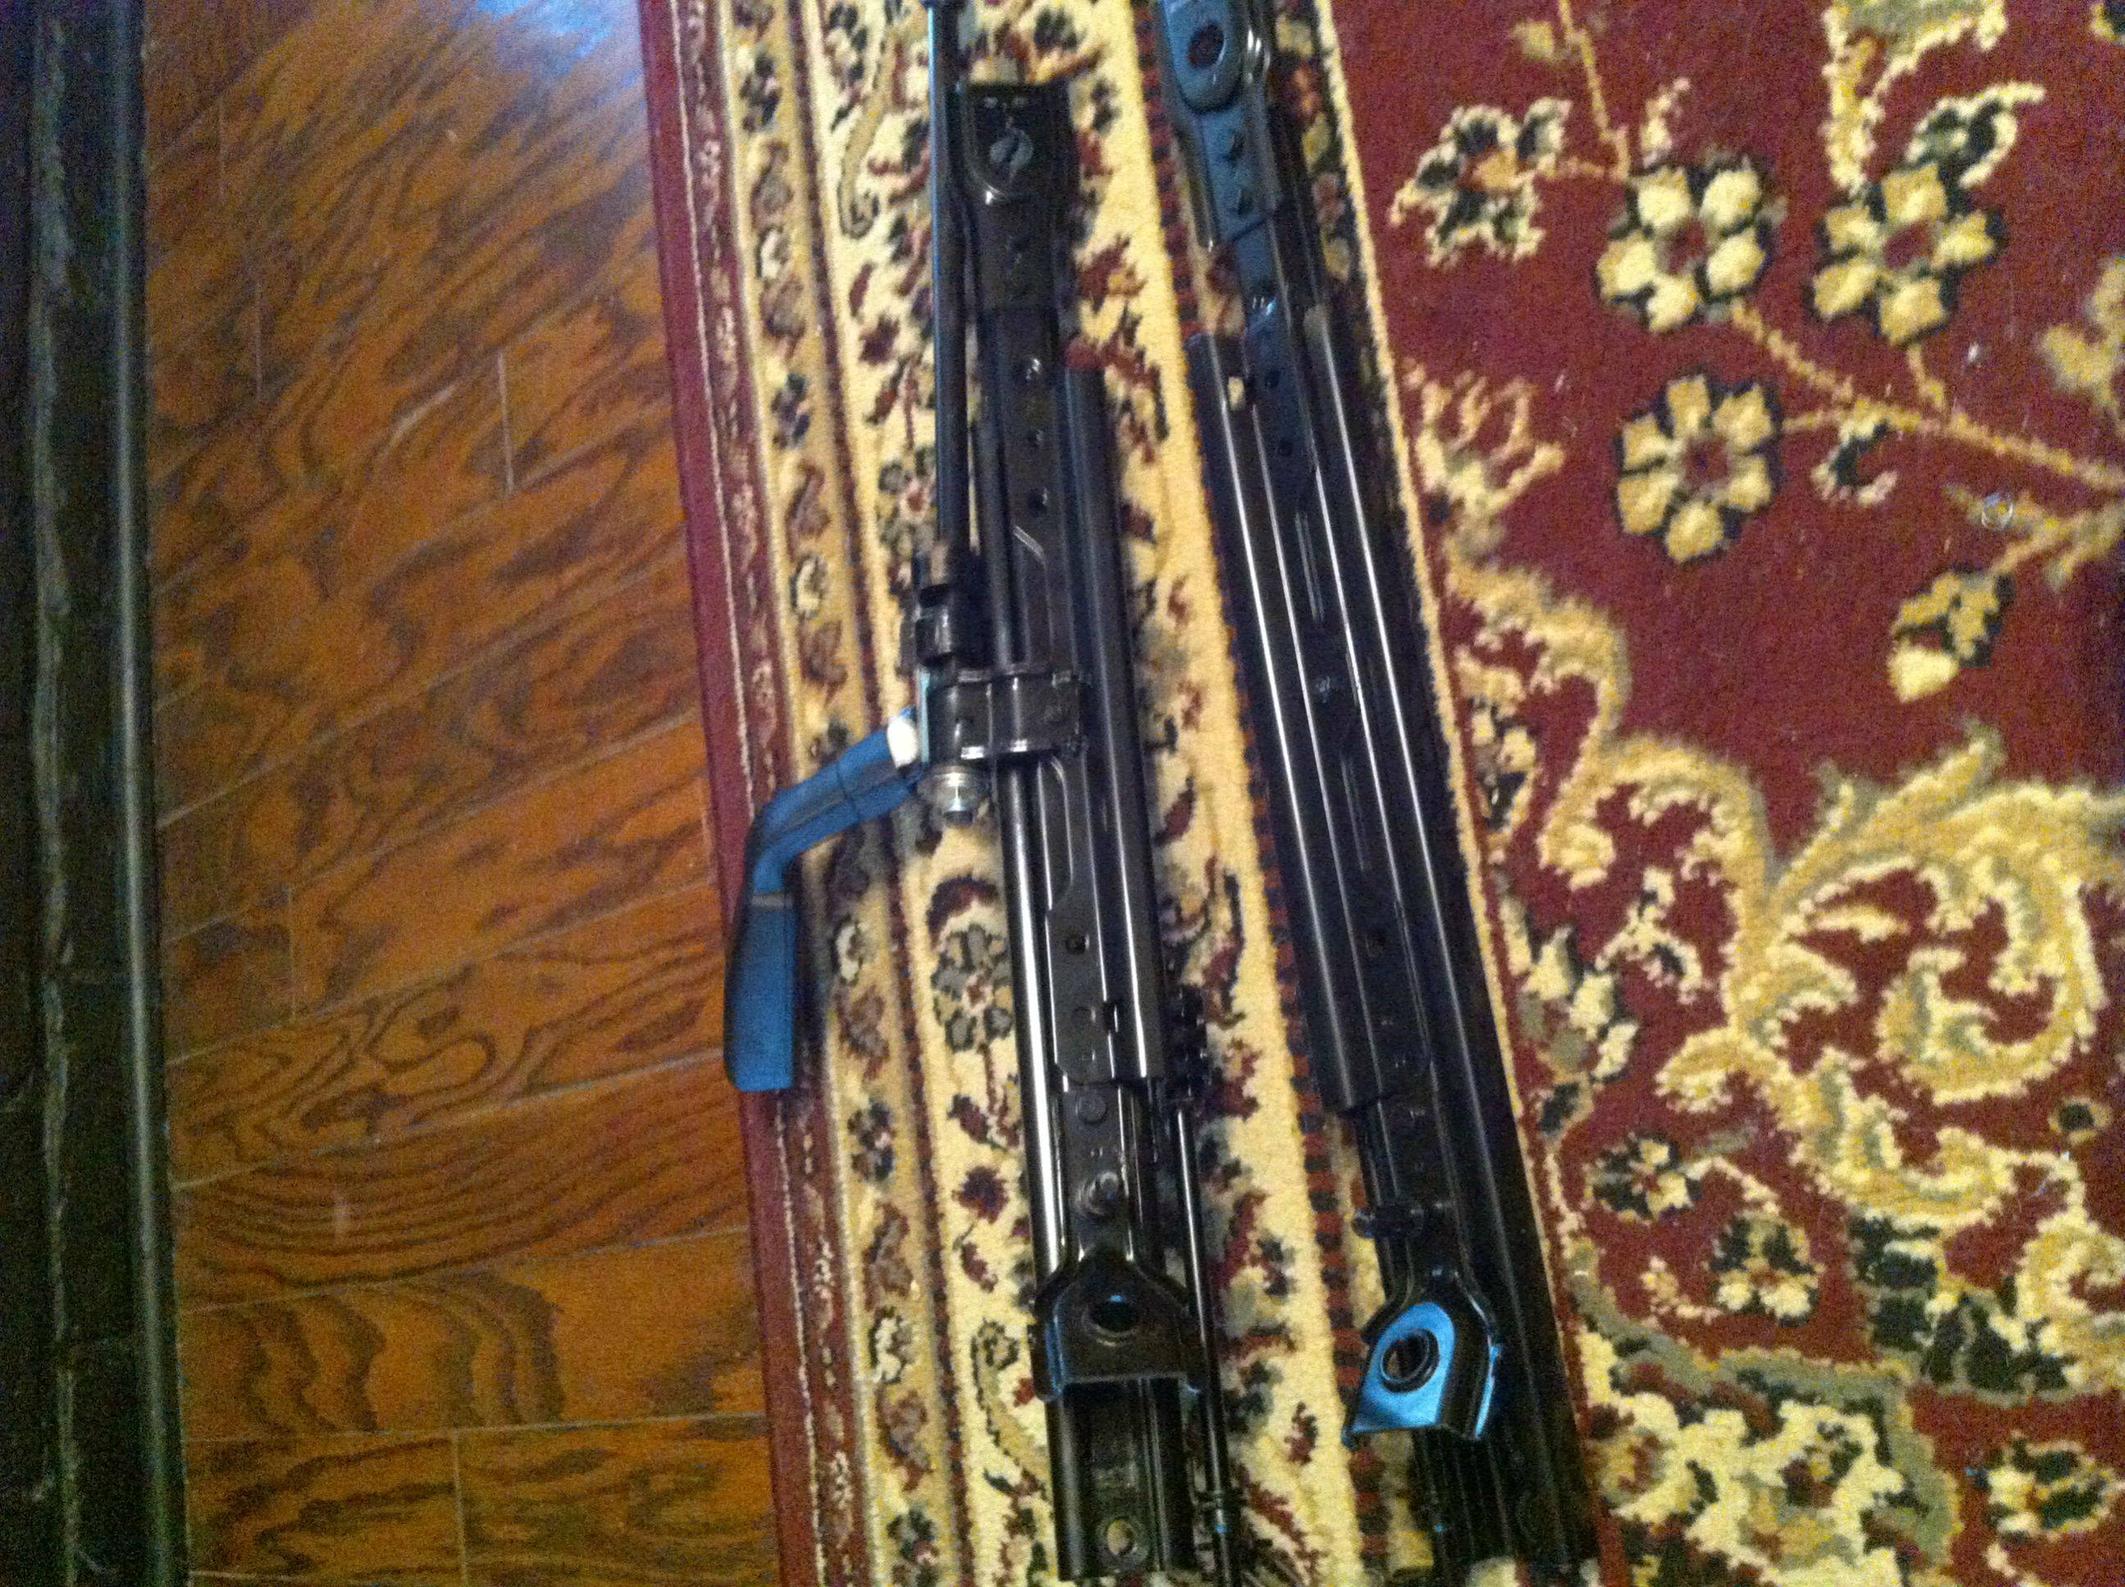
Get to the underside of the bottom of the seat. Slide the rails forward and remove the two 12mm bolts.

Slide the rails rearward to remove the two 12mm bolts in front:

I prefer to use Imgur over photobucket so sorry if that bugs you for any reason.
Old style:

Here are my old custom seatbelt guides made from nylon web straps and sewn-on snaps:

I will be making new custom seatbelt guides because my original guides are red.
New material is black perforated center section with red stitching:
Begin by removing the seat from the car. Remove front bolt covers, two 14mm head bolts, slide seat forward, remove THREE 14mm bolts at rear of seat. Slide seat back half way, fold seat all the way forward, and CAREFULLY lift it out of the car. Take it inside to your air conditioned upholstery shop(living room).
Remove recline handle (one phillips screw) and then 2 screws for the side bezel.
The rear of the bezel has a tab that lifts off the seat spring.


Remove two 14mm bolts on the recline lever side of the seat:
On the other hinge remove the lower two 12mm bolts:
The back and bottom of the seats will come apart now:
Get to the underside of the bottom of the seat. Slide the rails forward and remove the two 12mm bolts.
Slide the rails rearward to remove the two 12mm bolts in front:

Unhook the link for the slide mechanism and remove both rails:


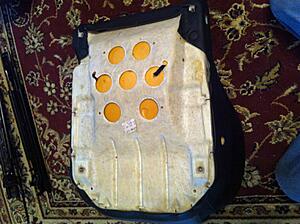
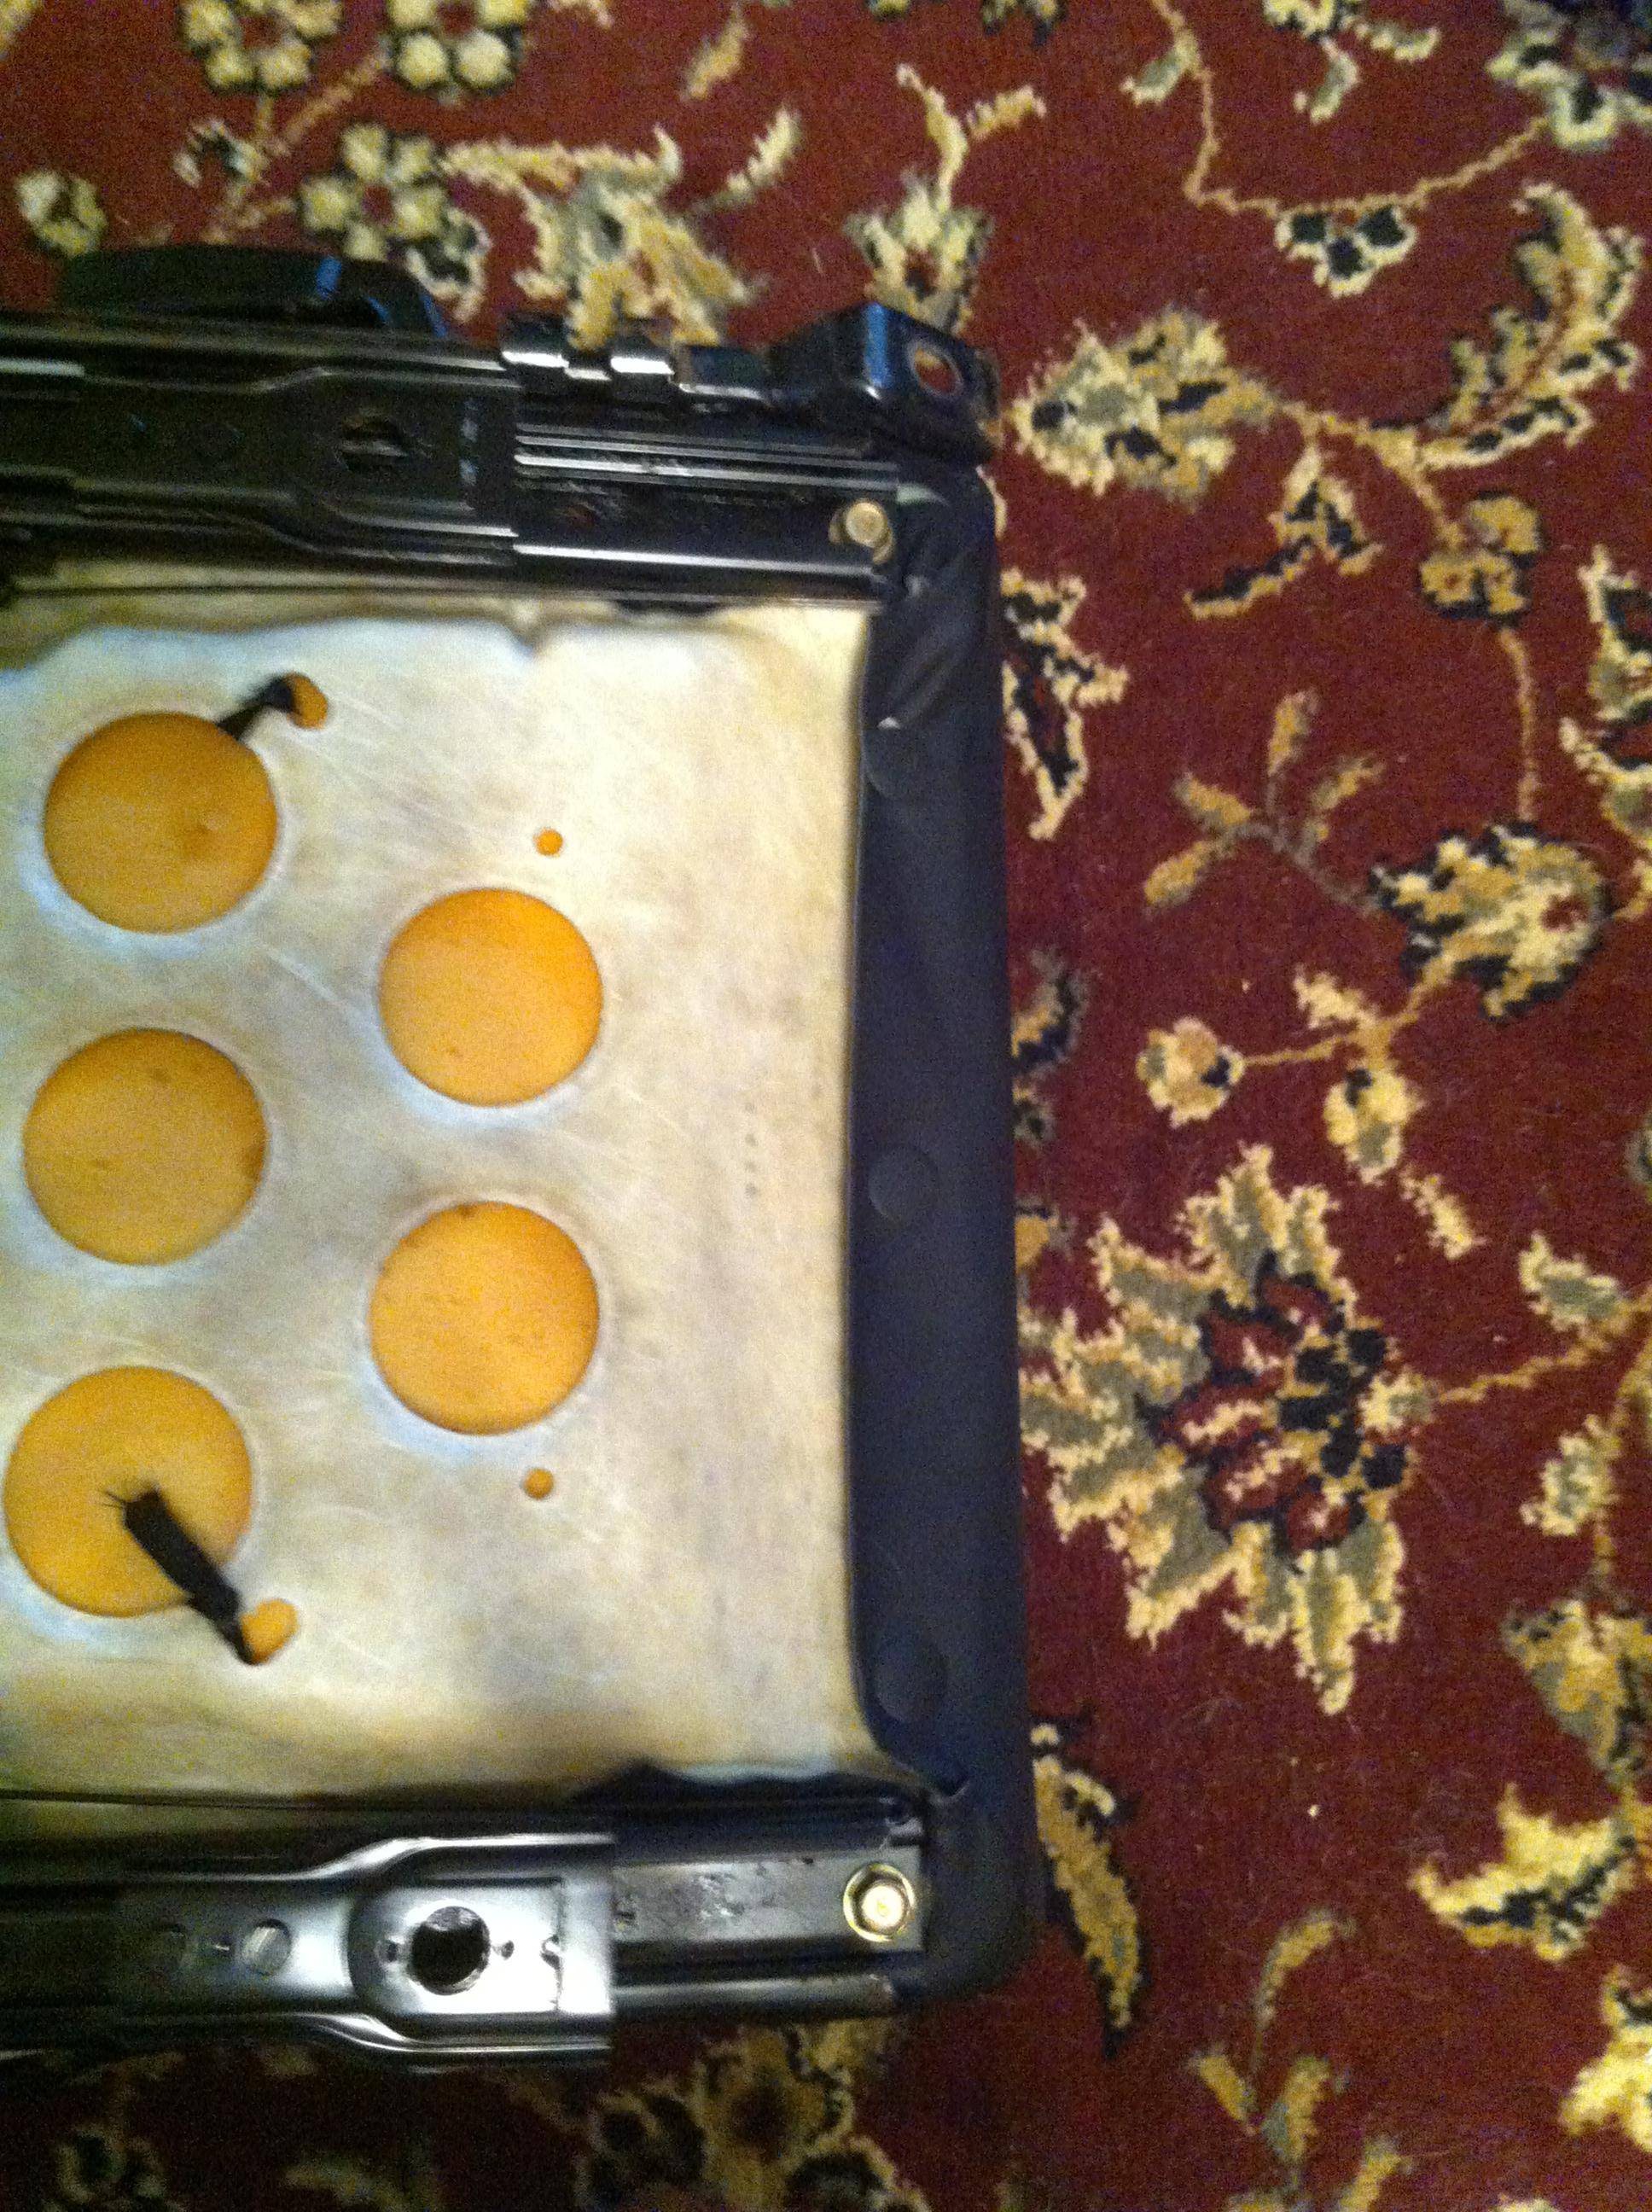
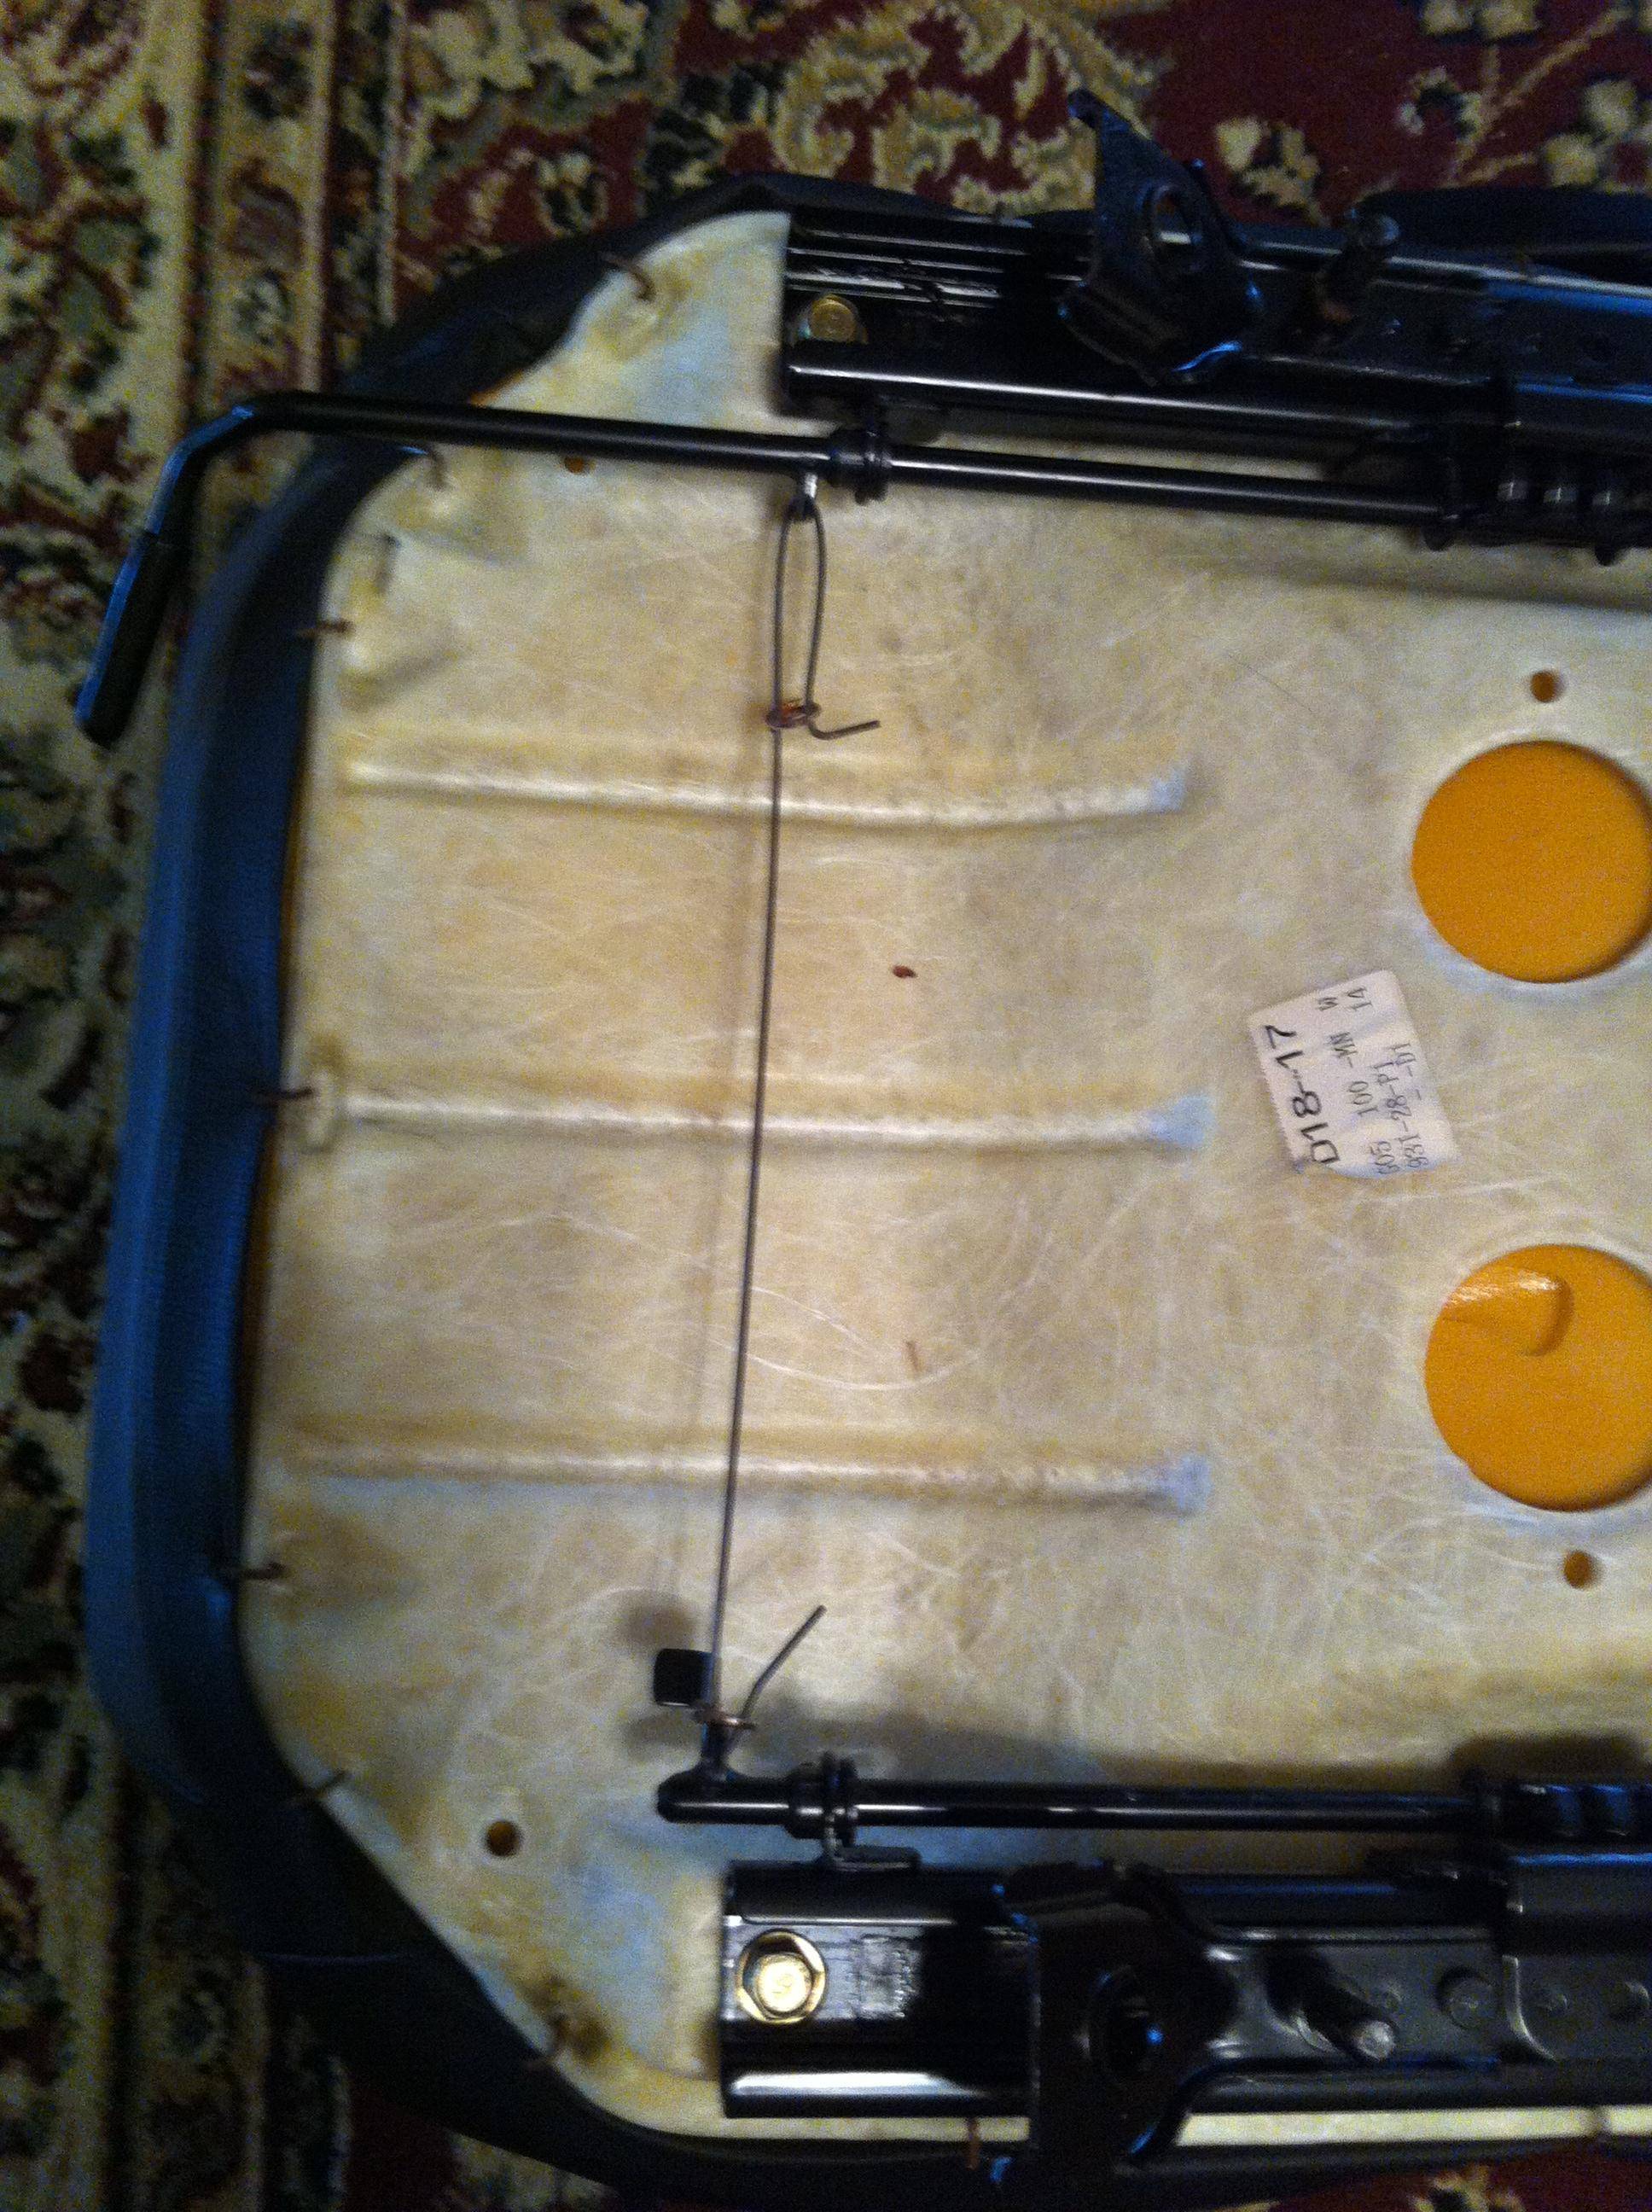
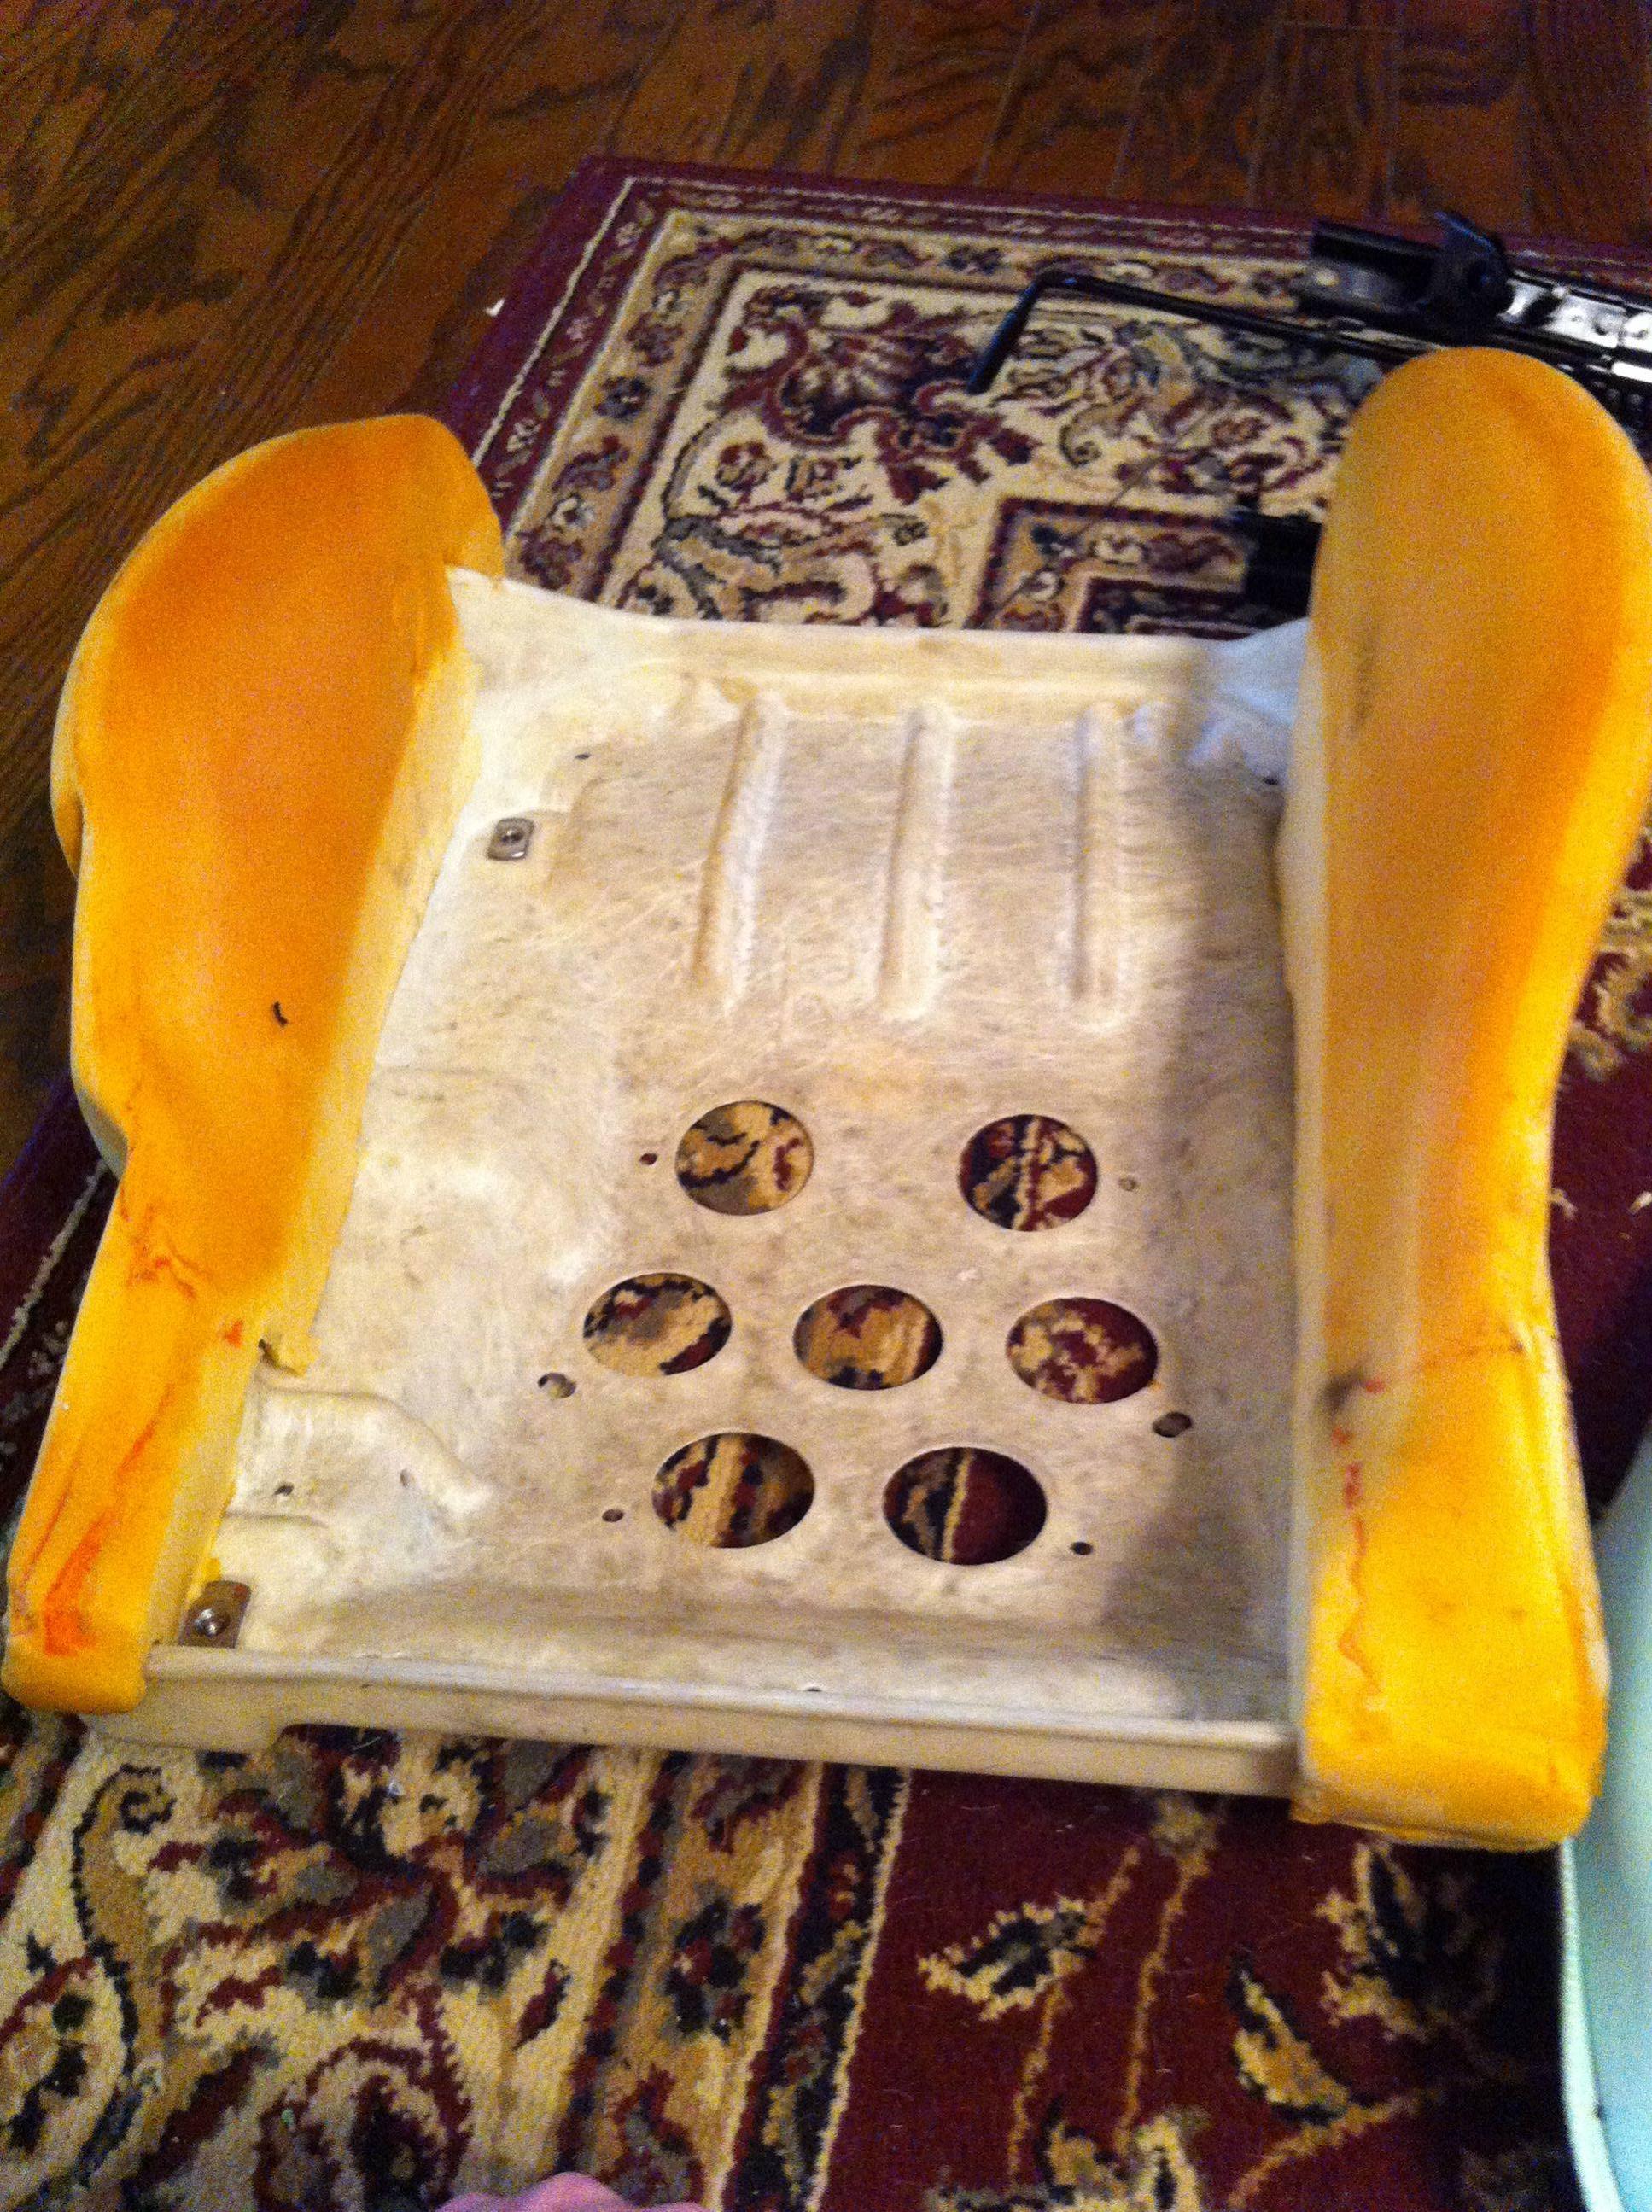
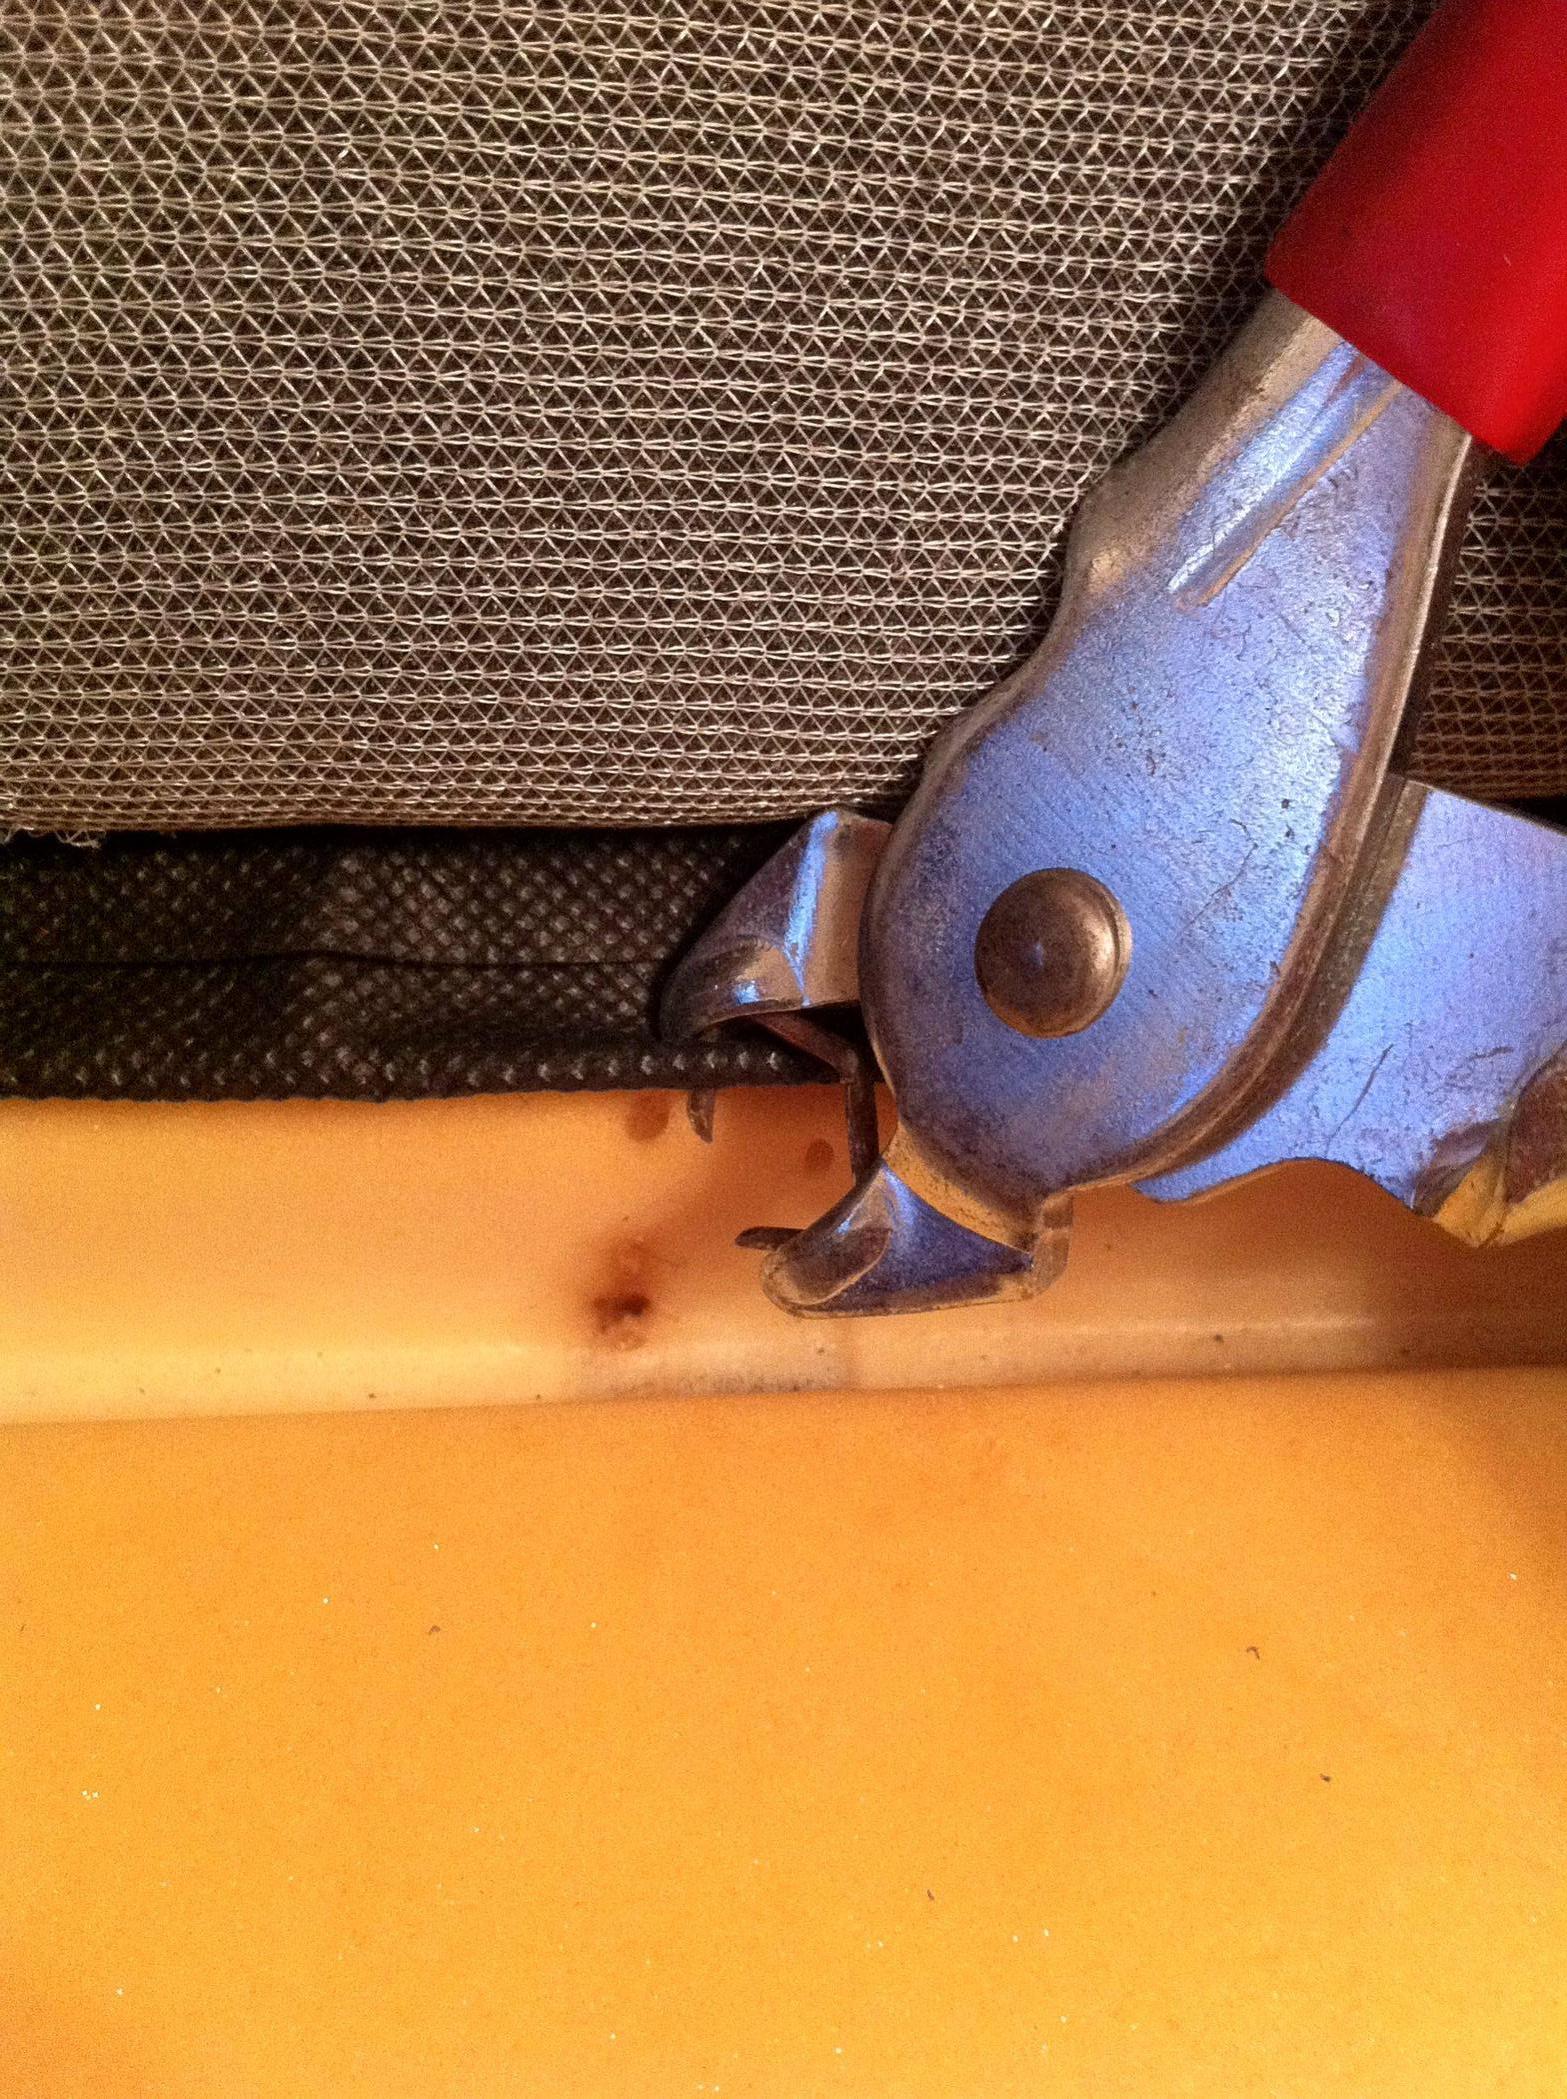
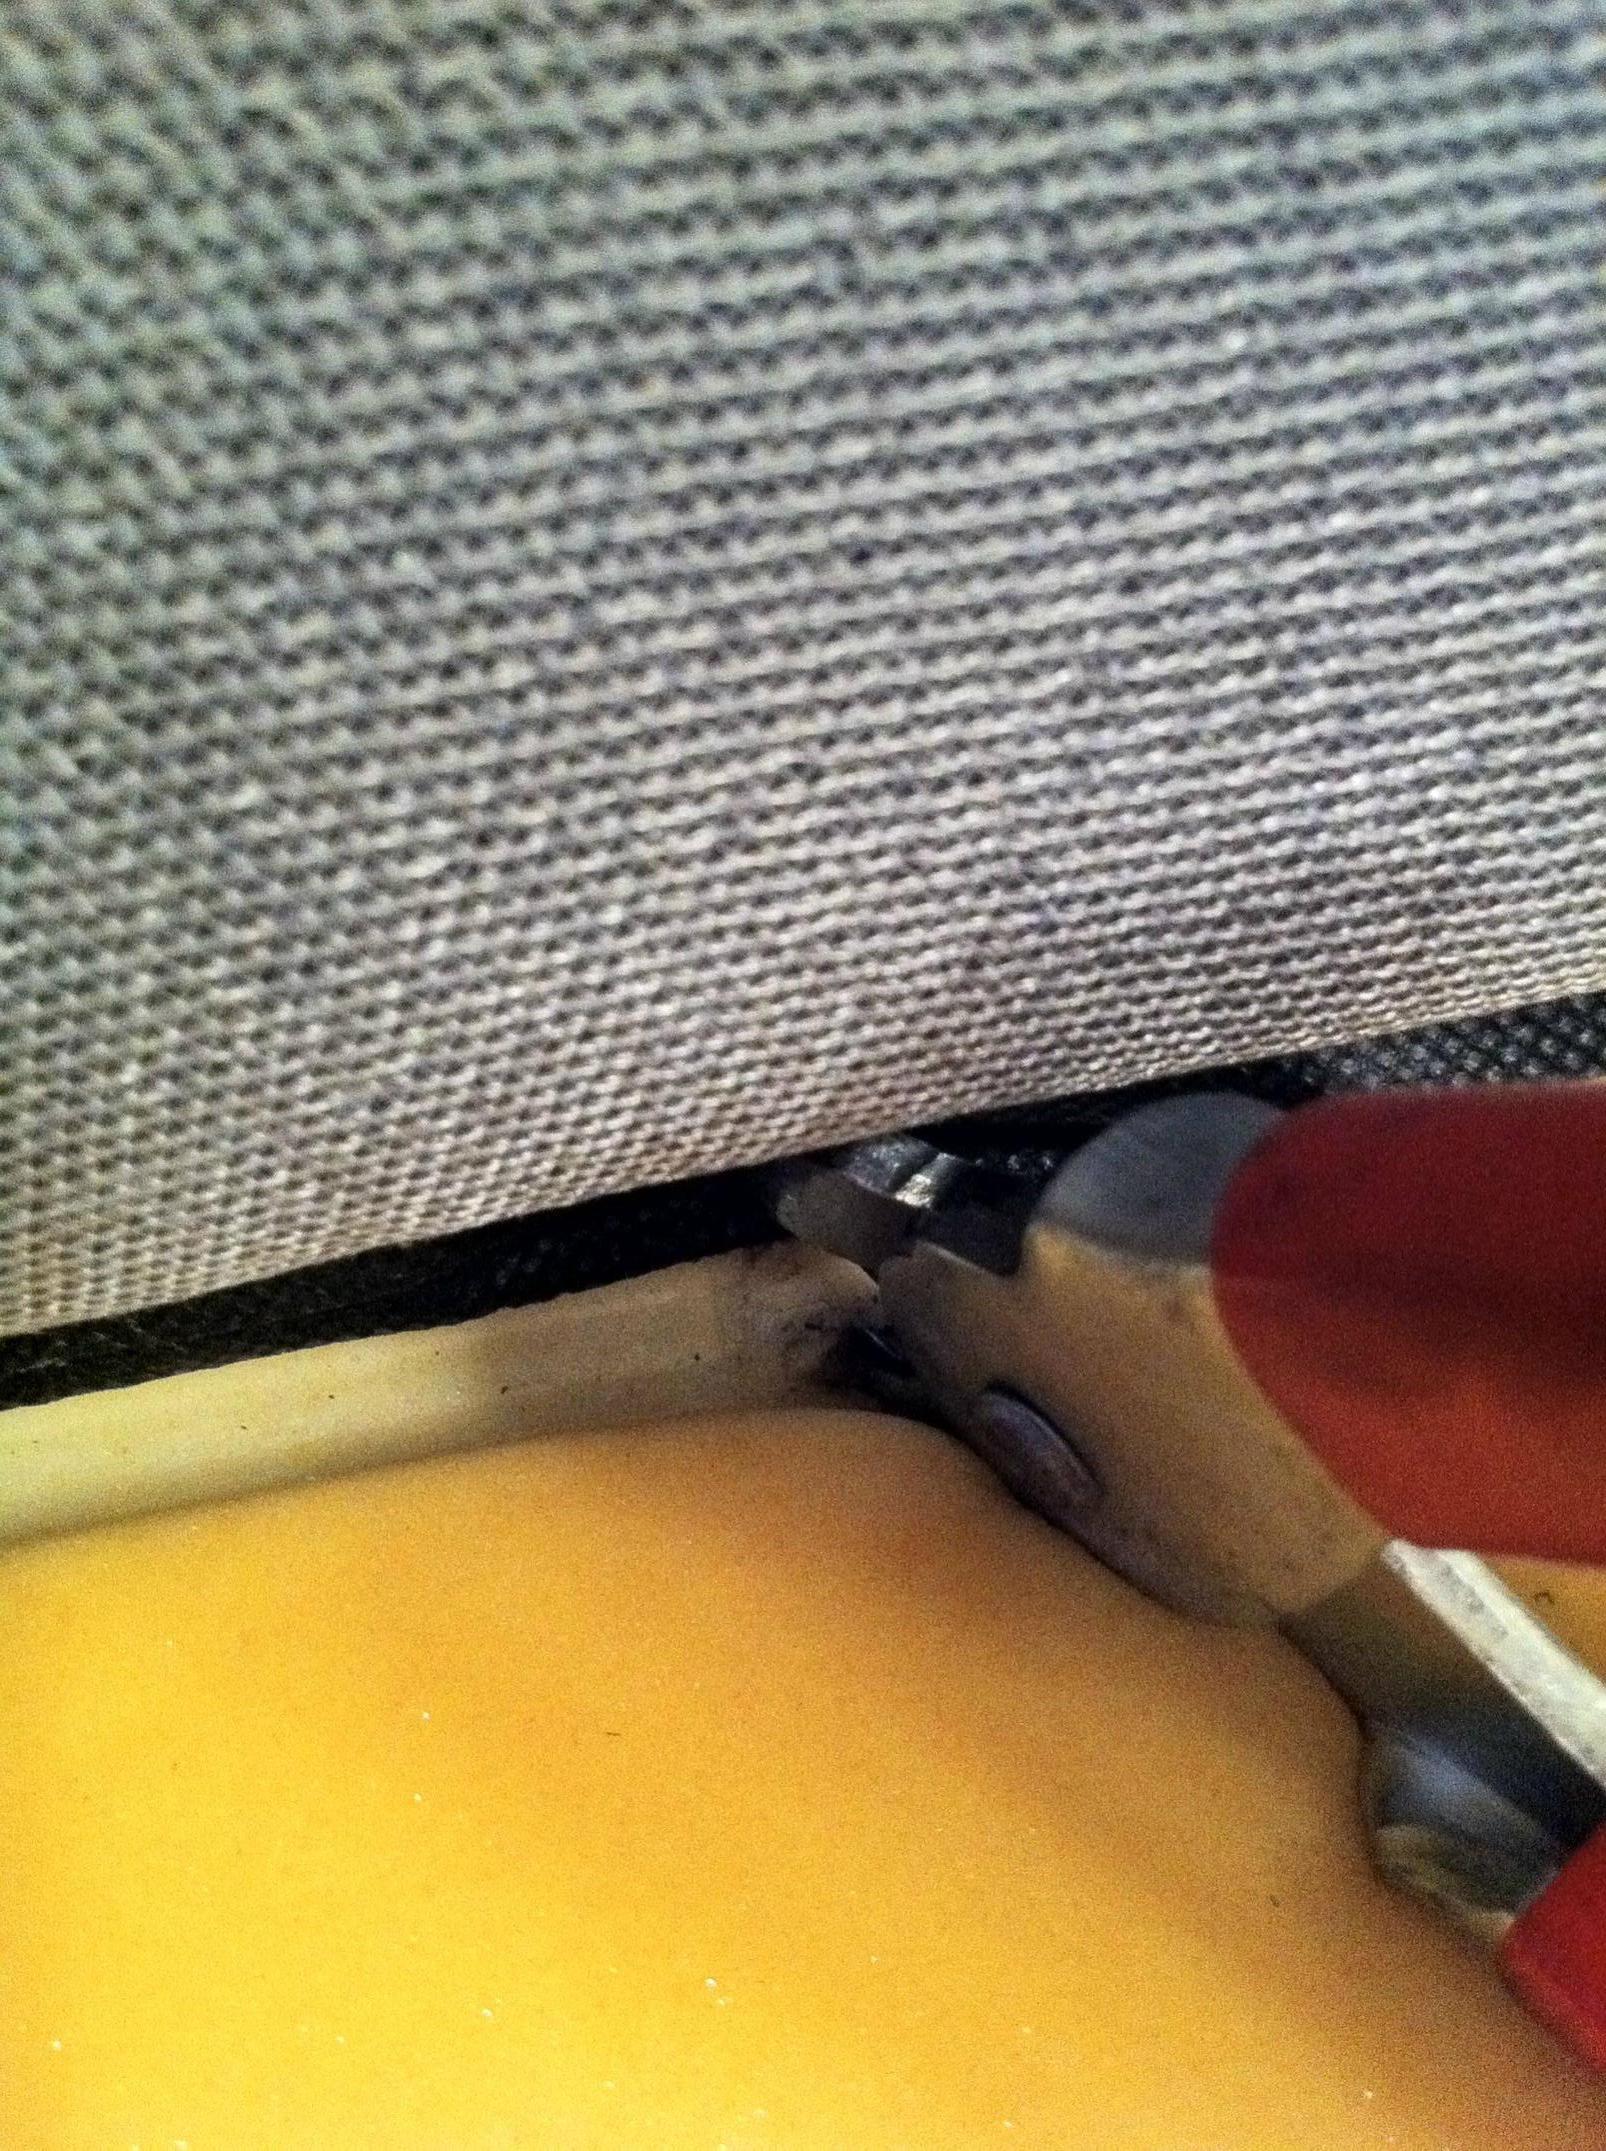
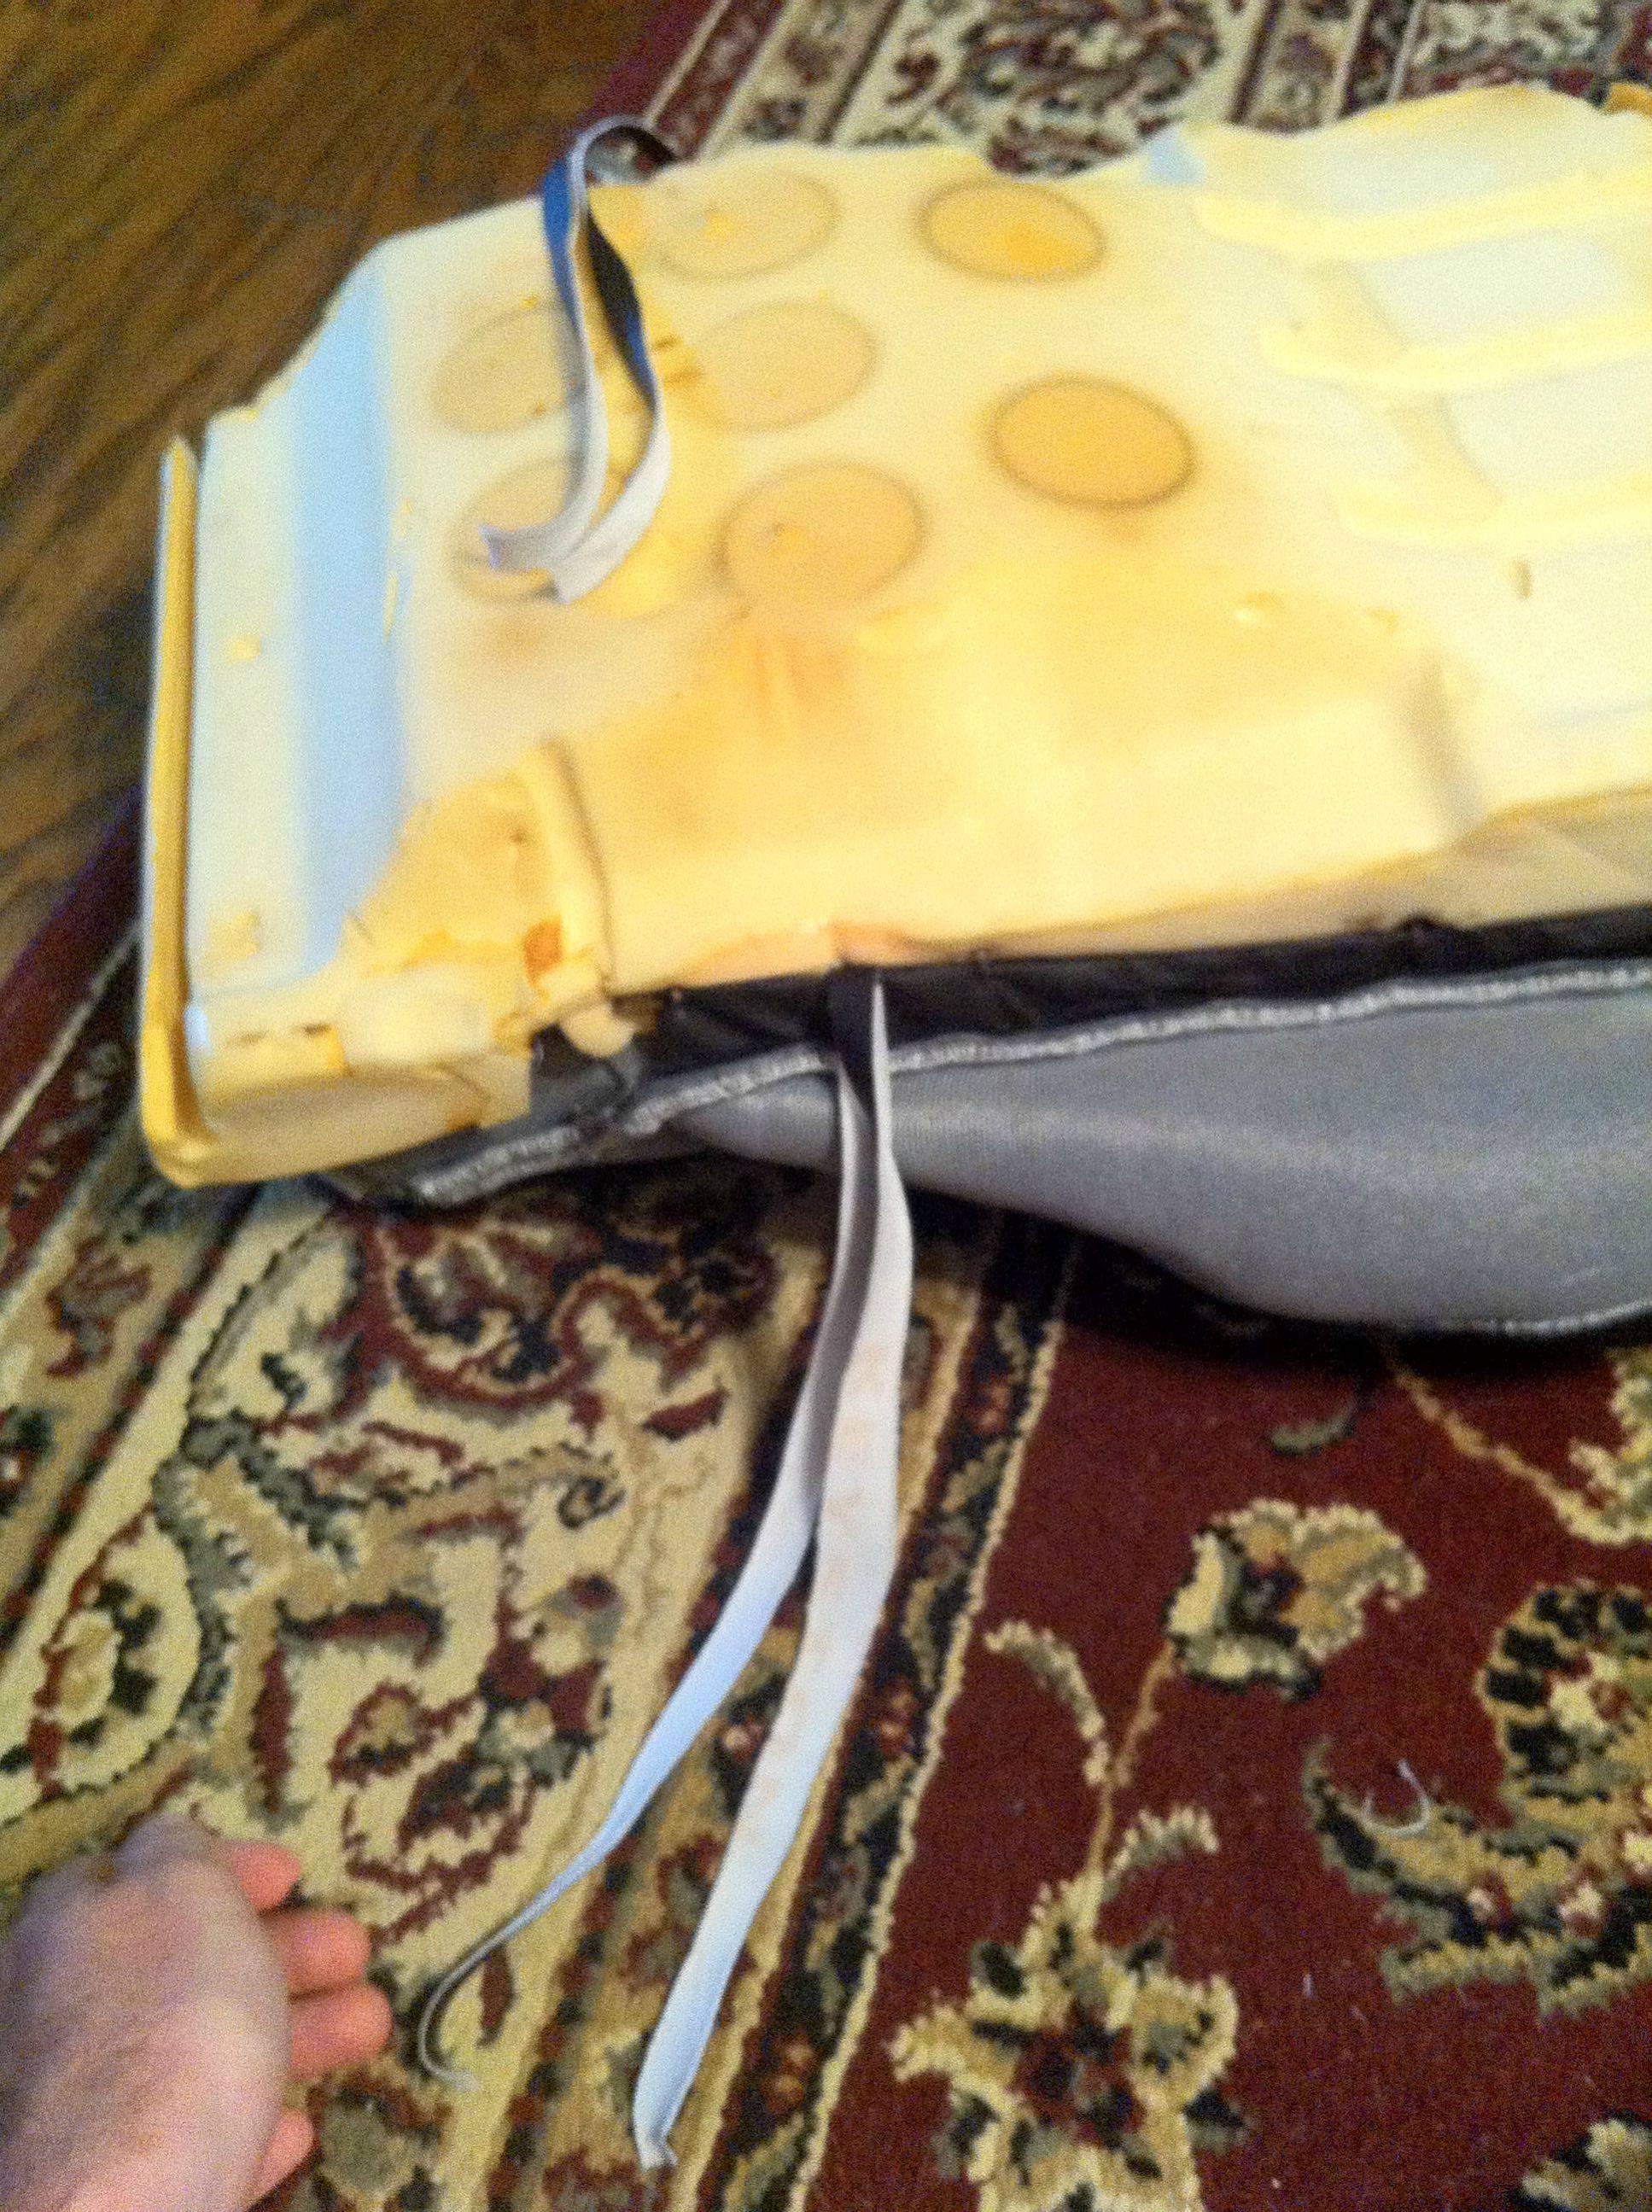
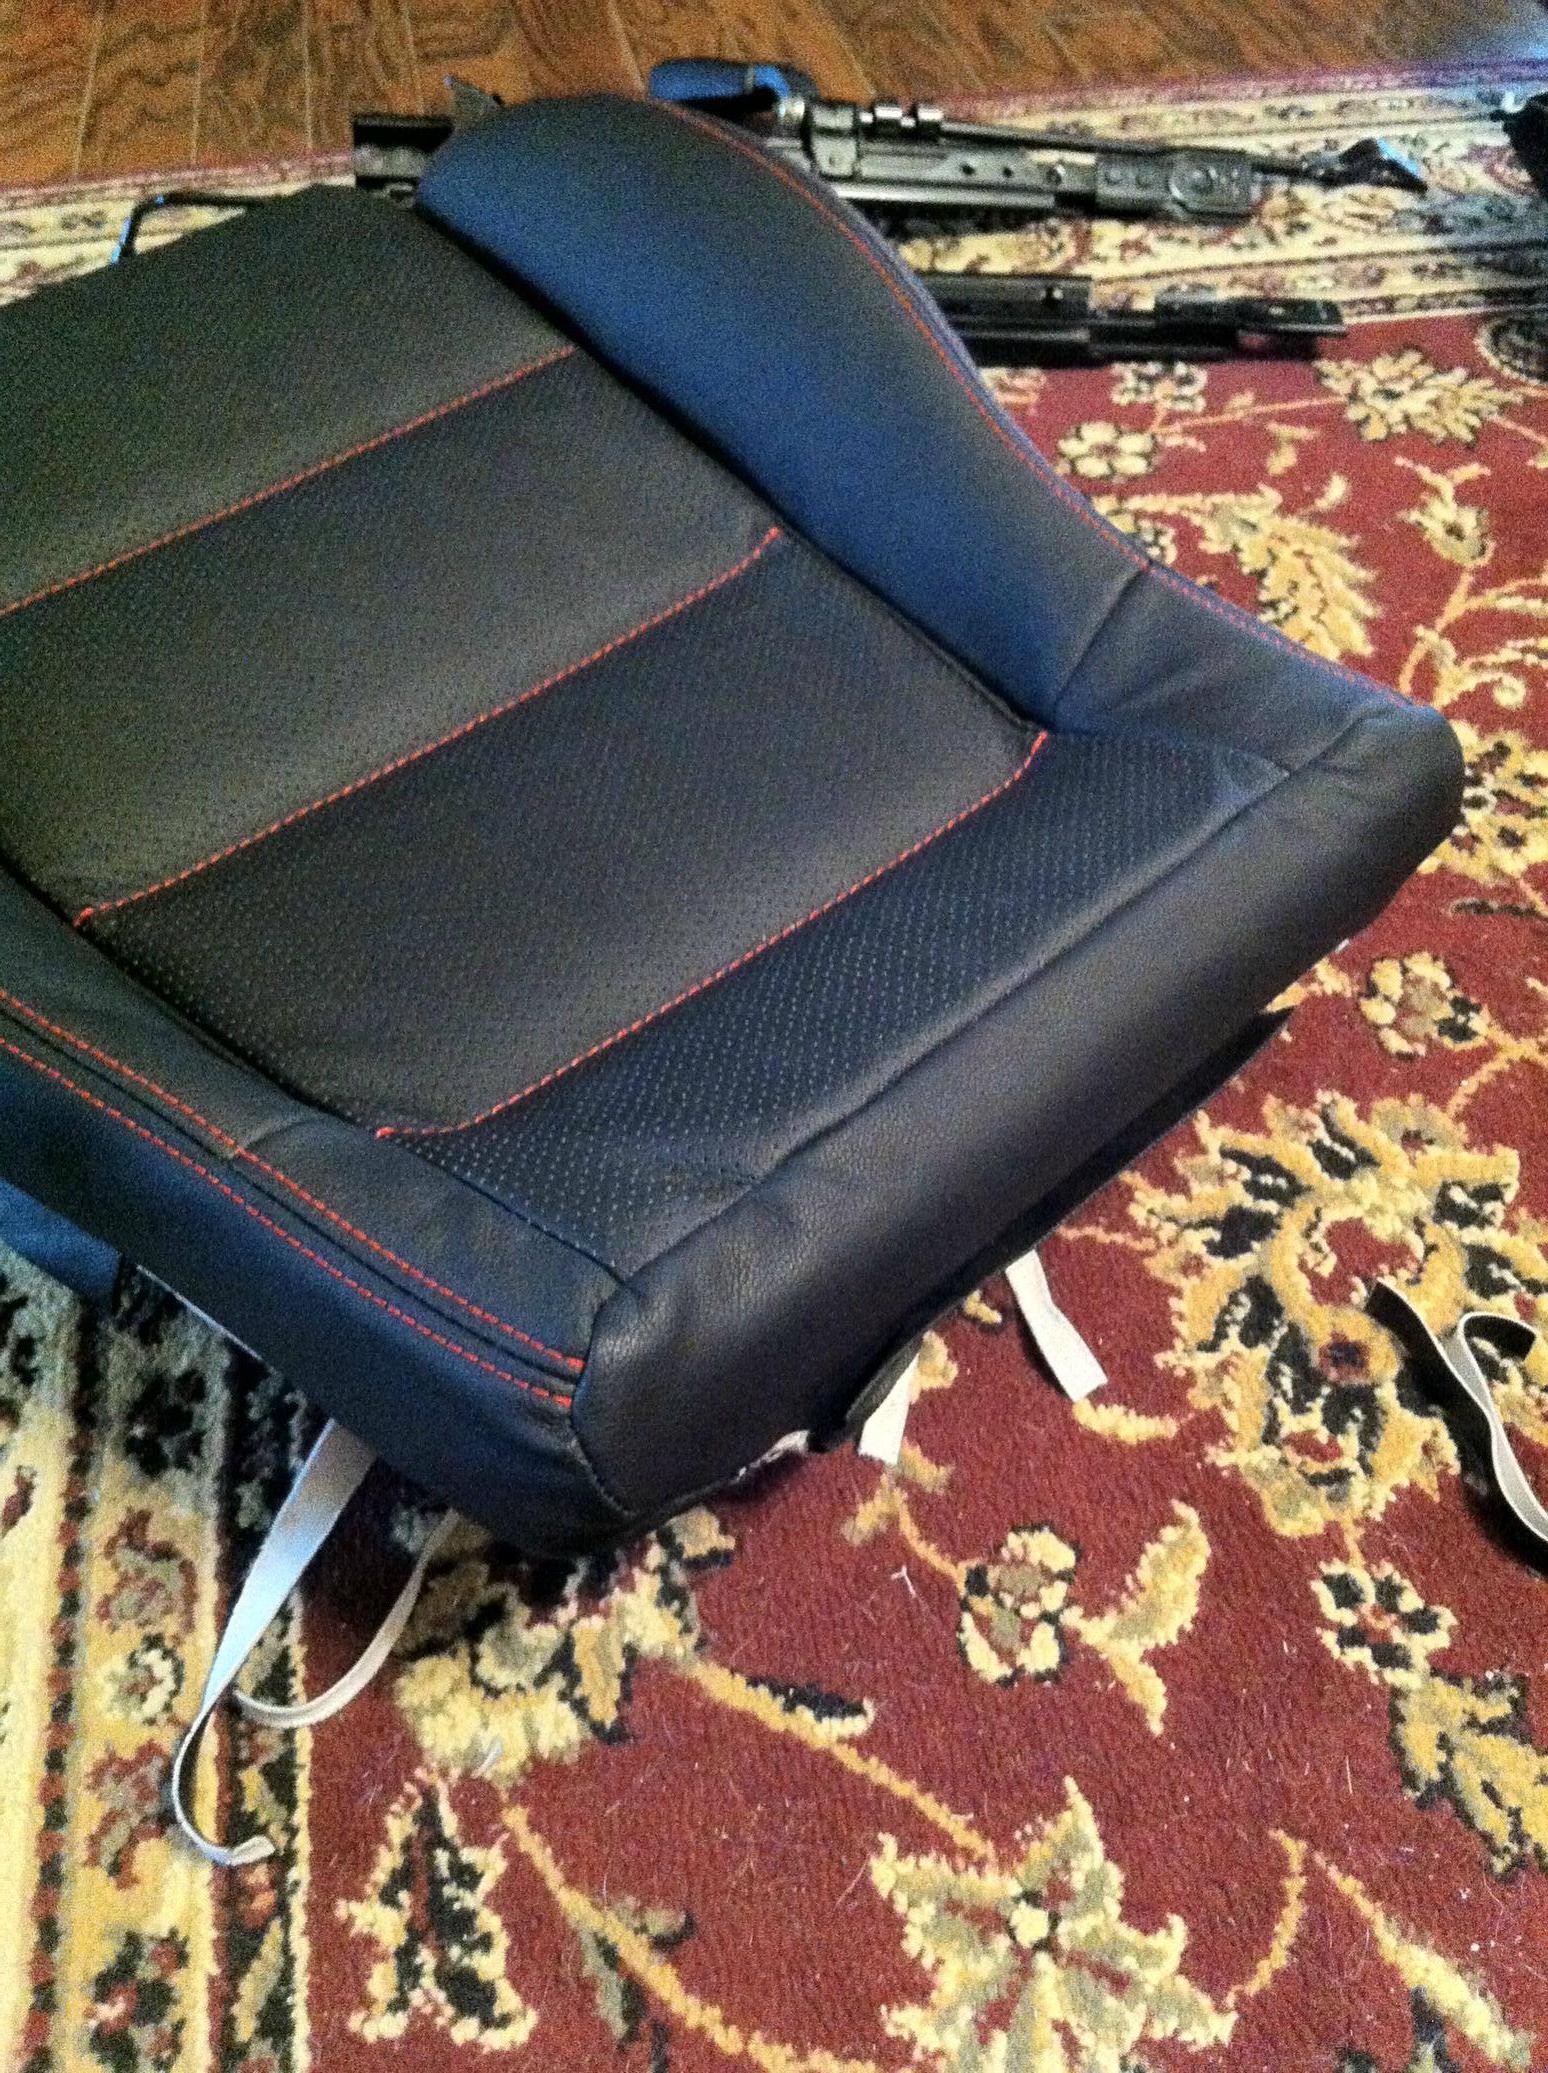
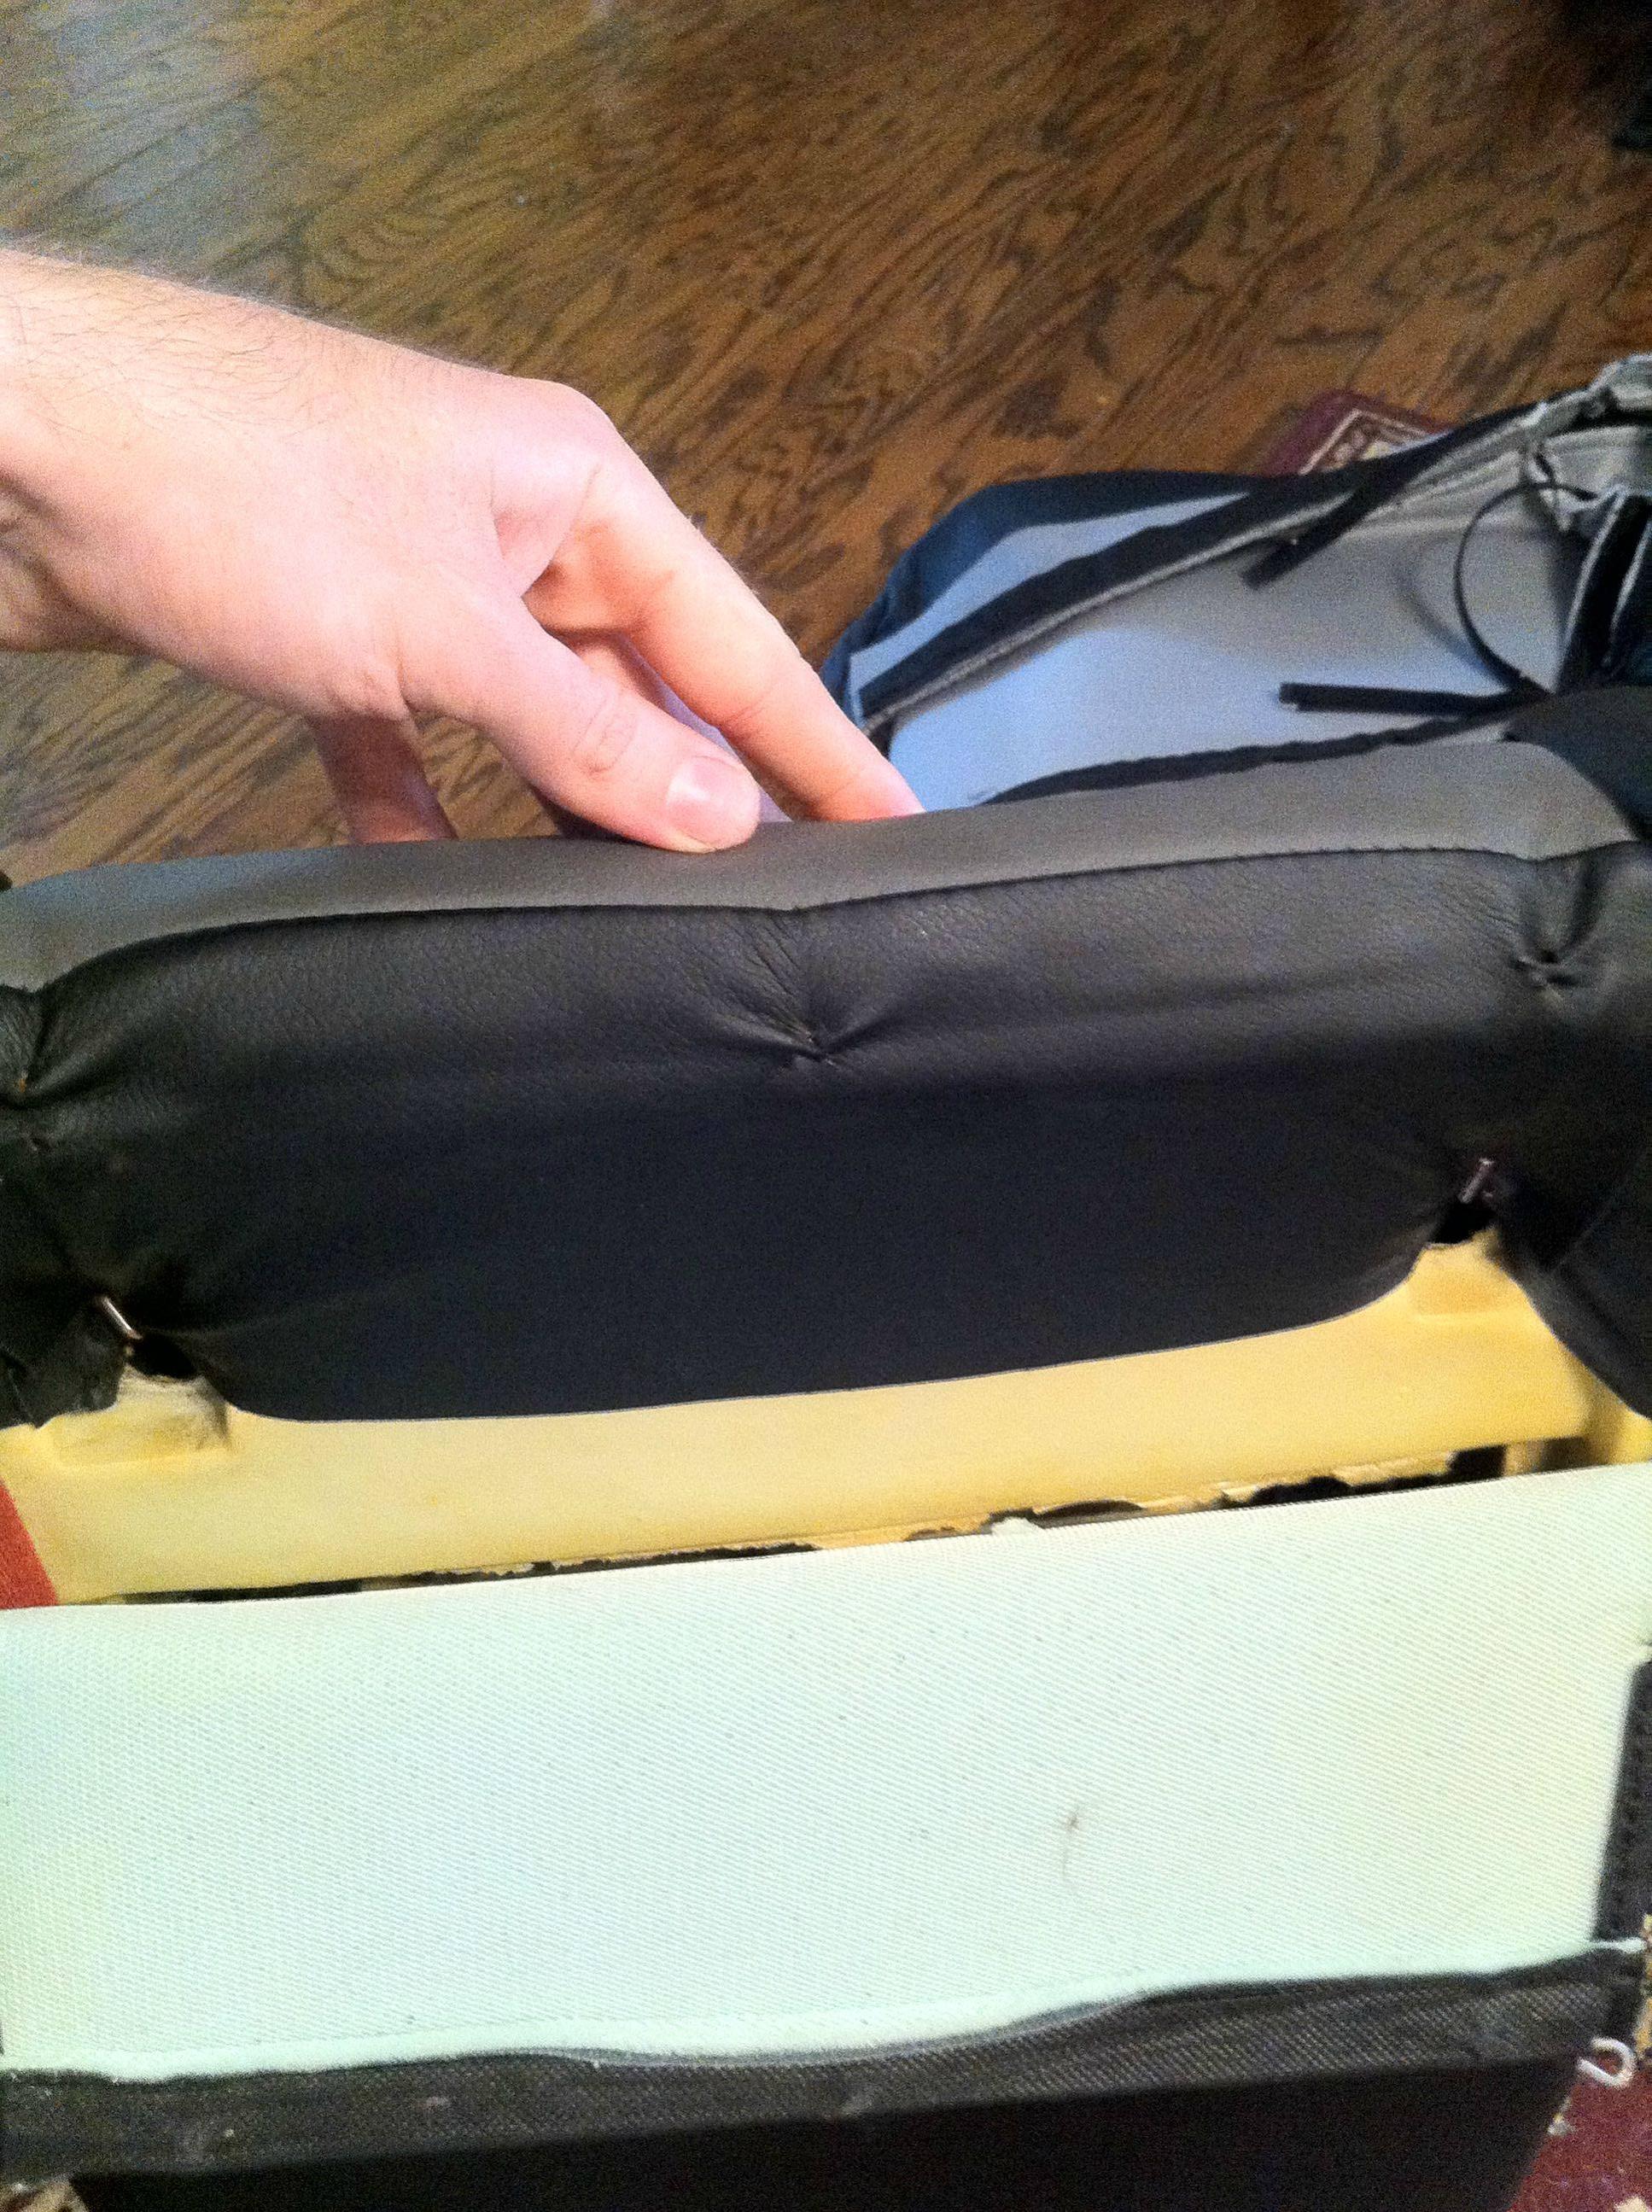
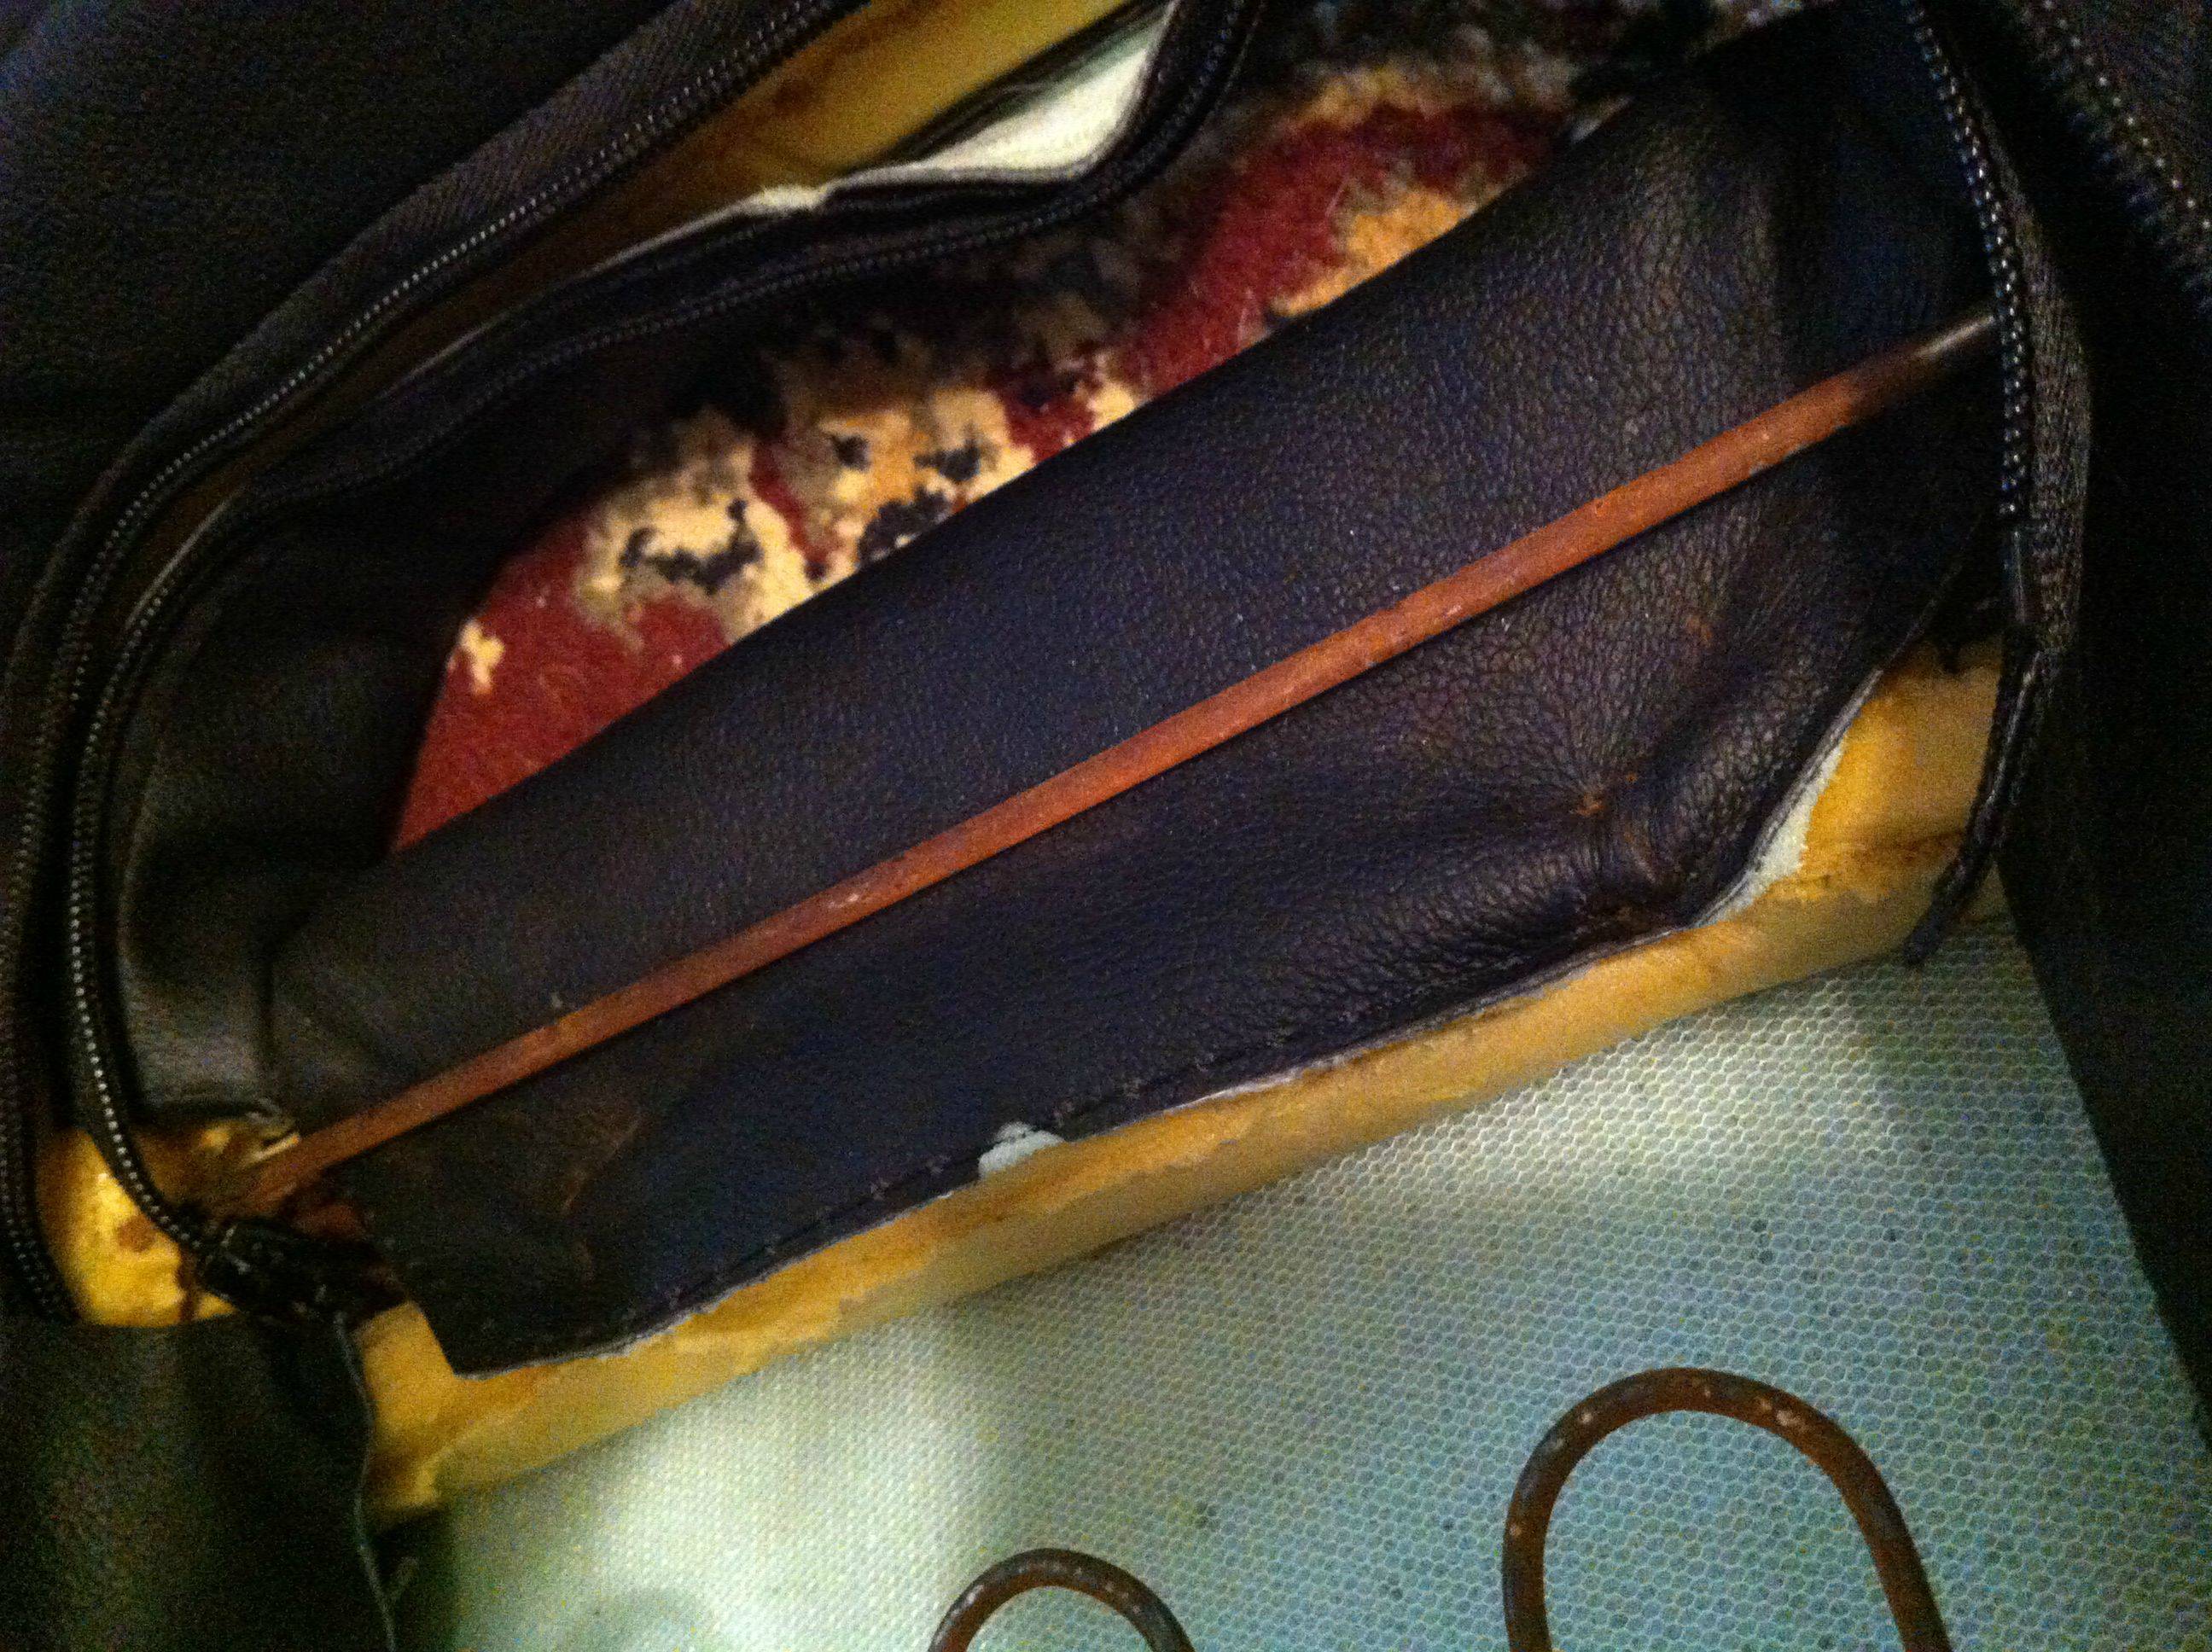
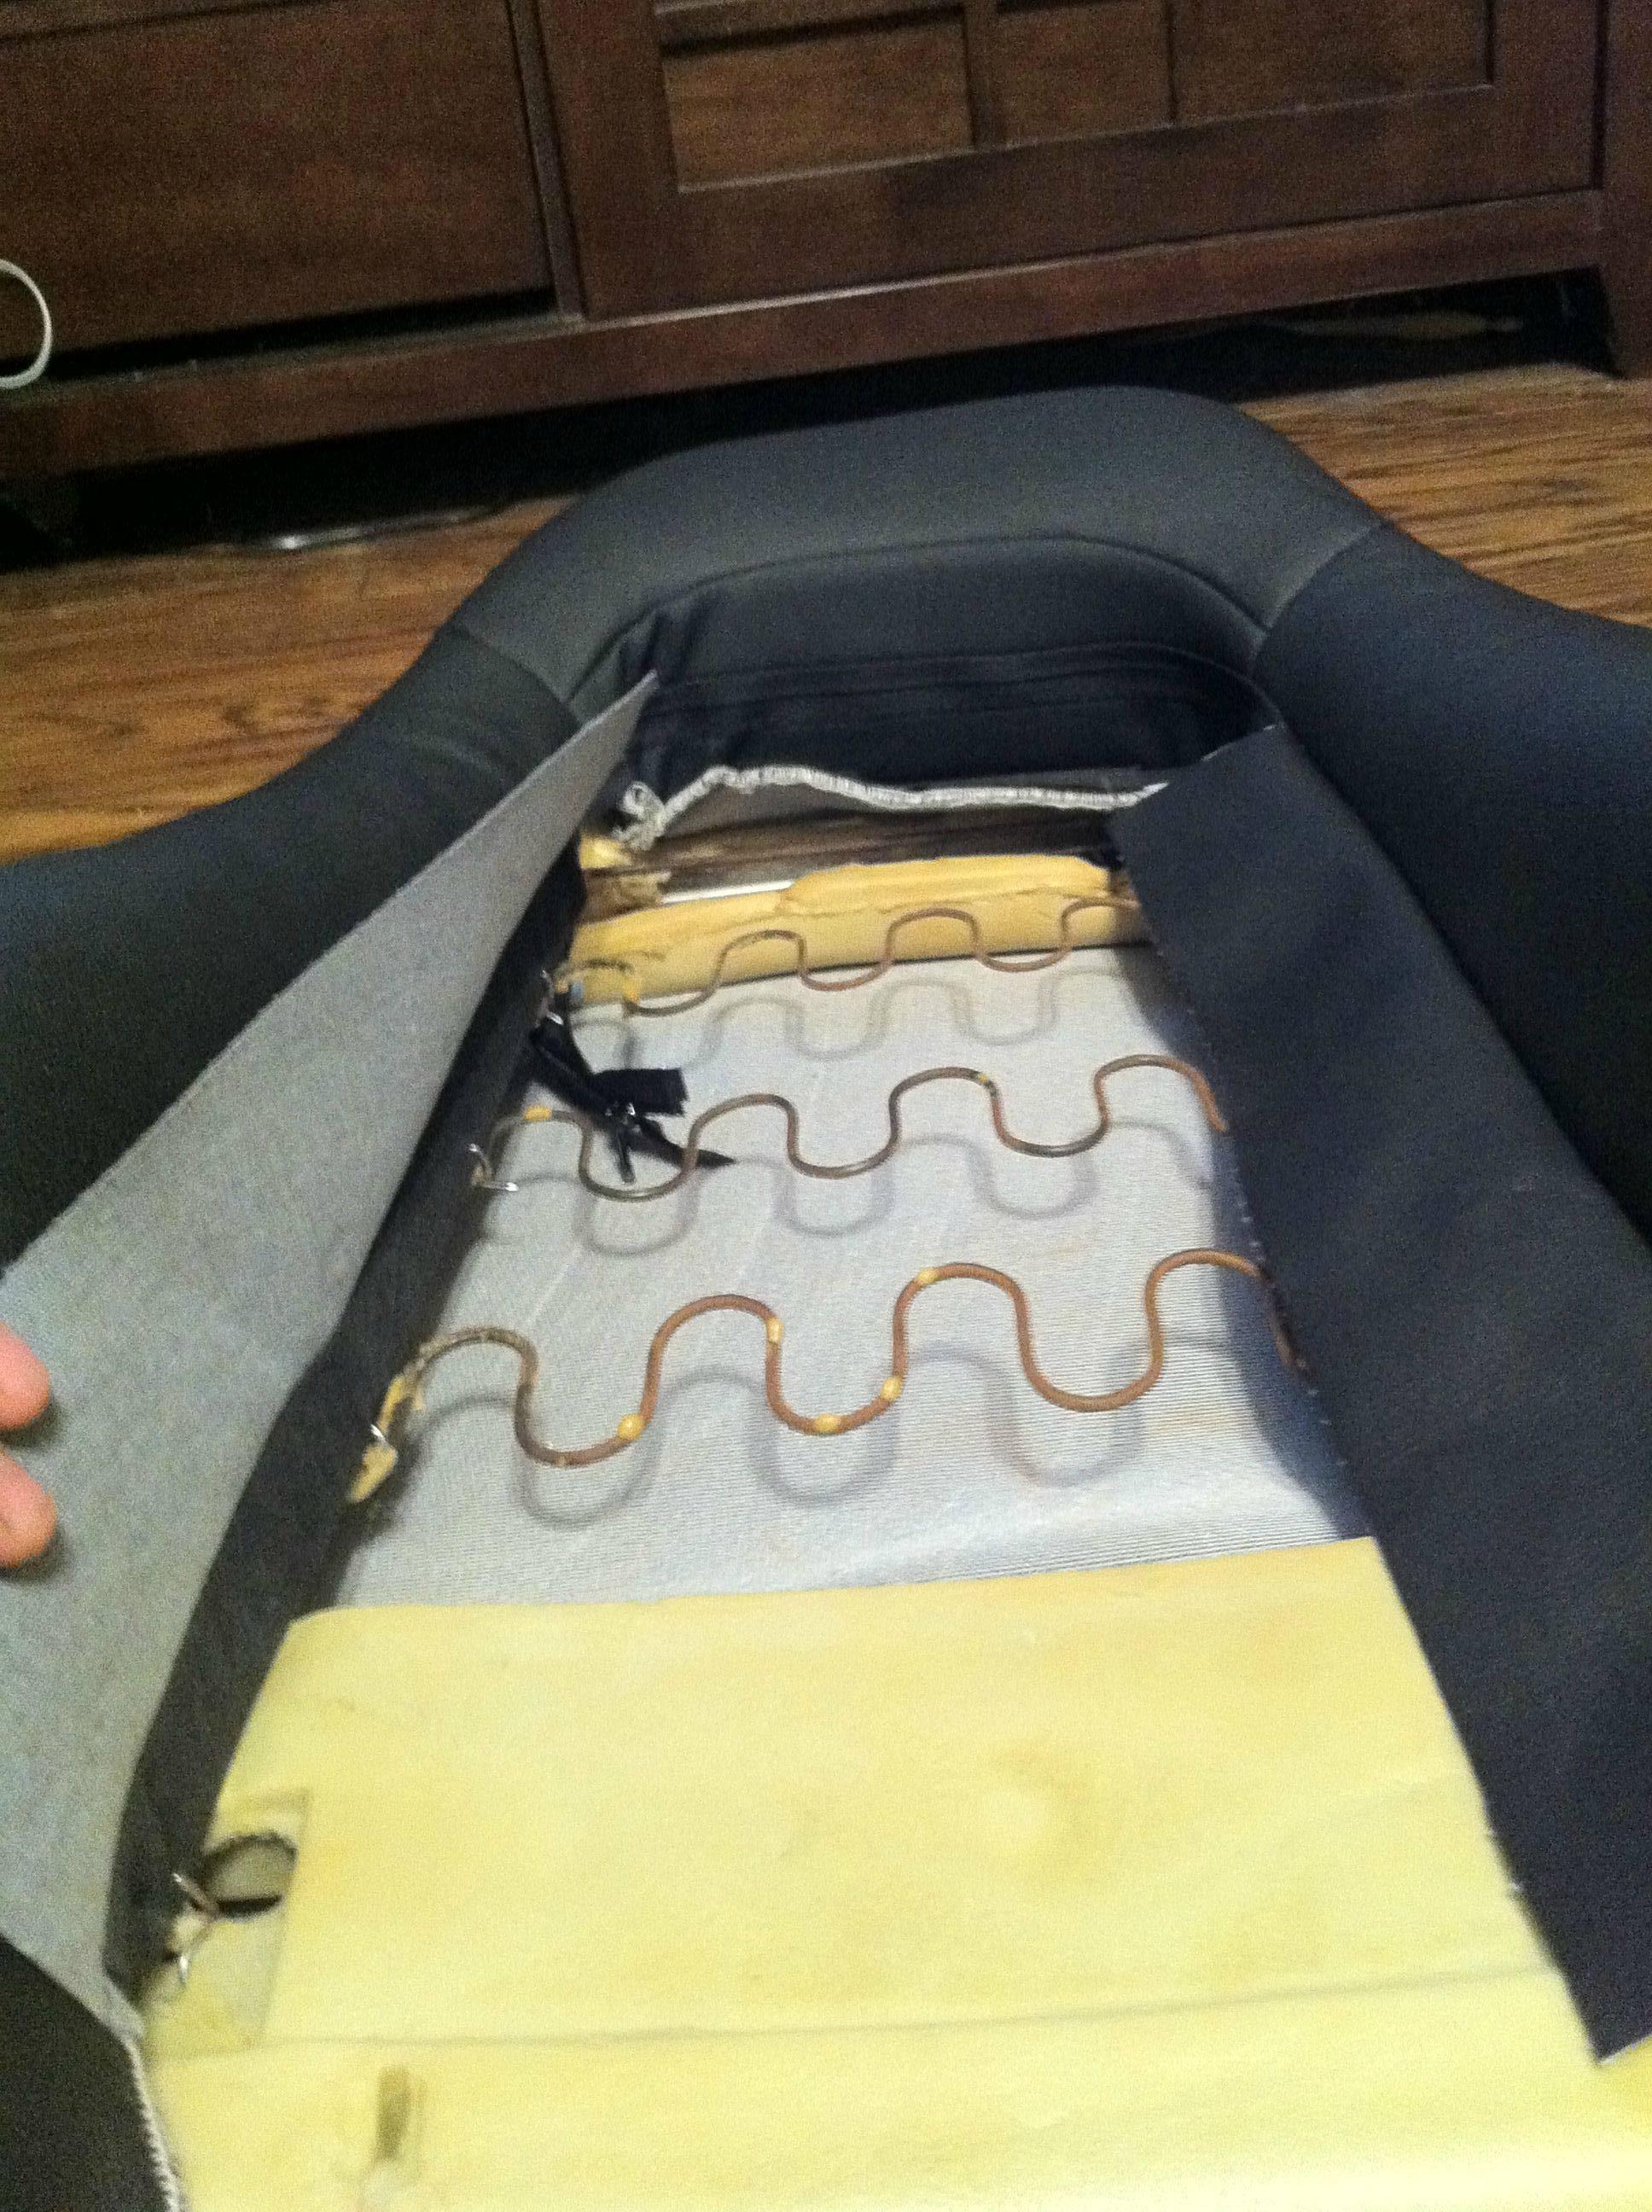
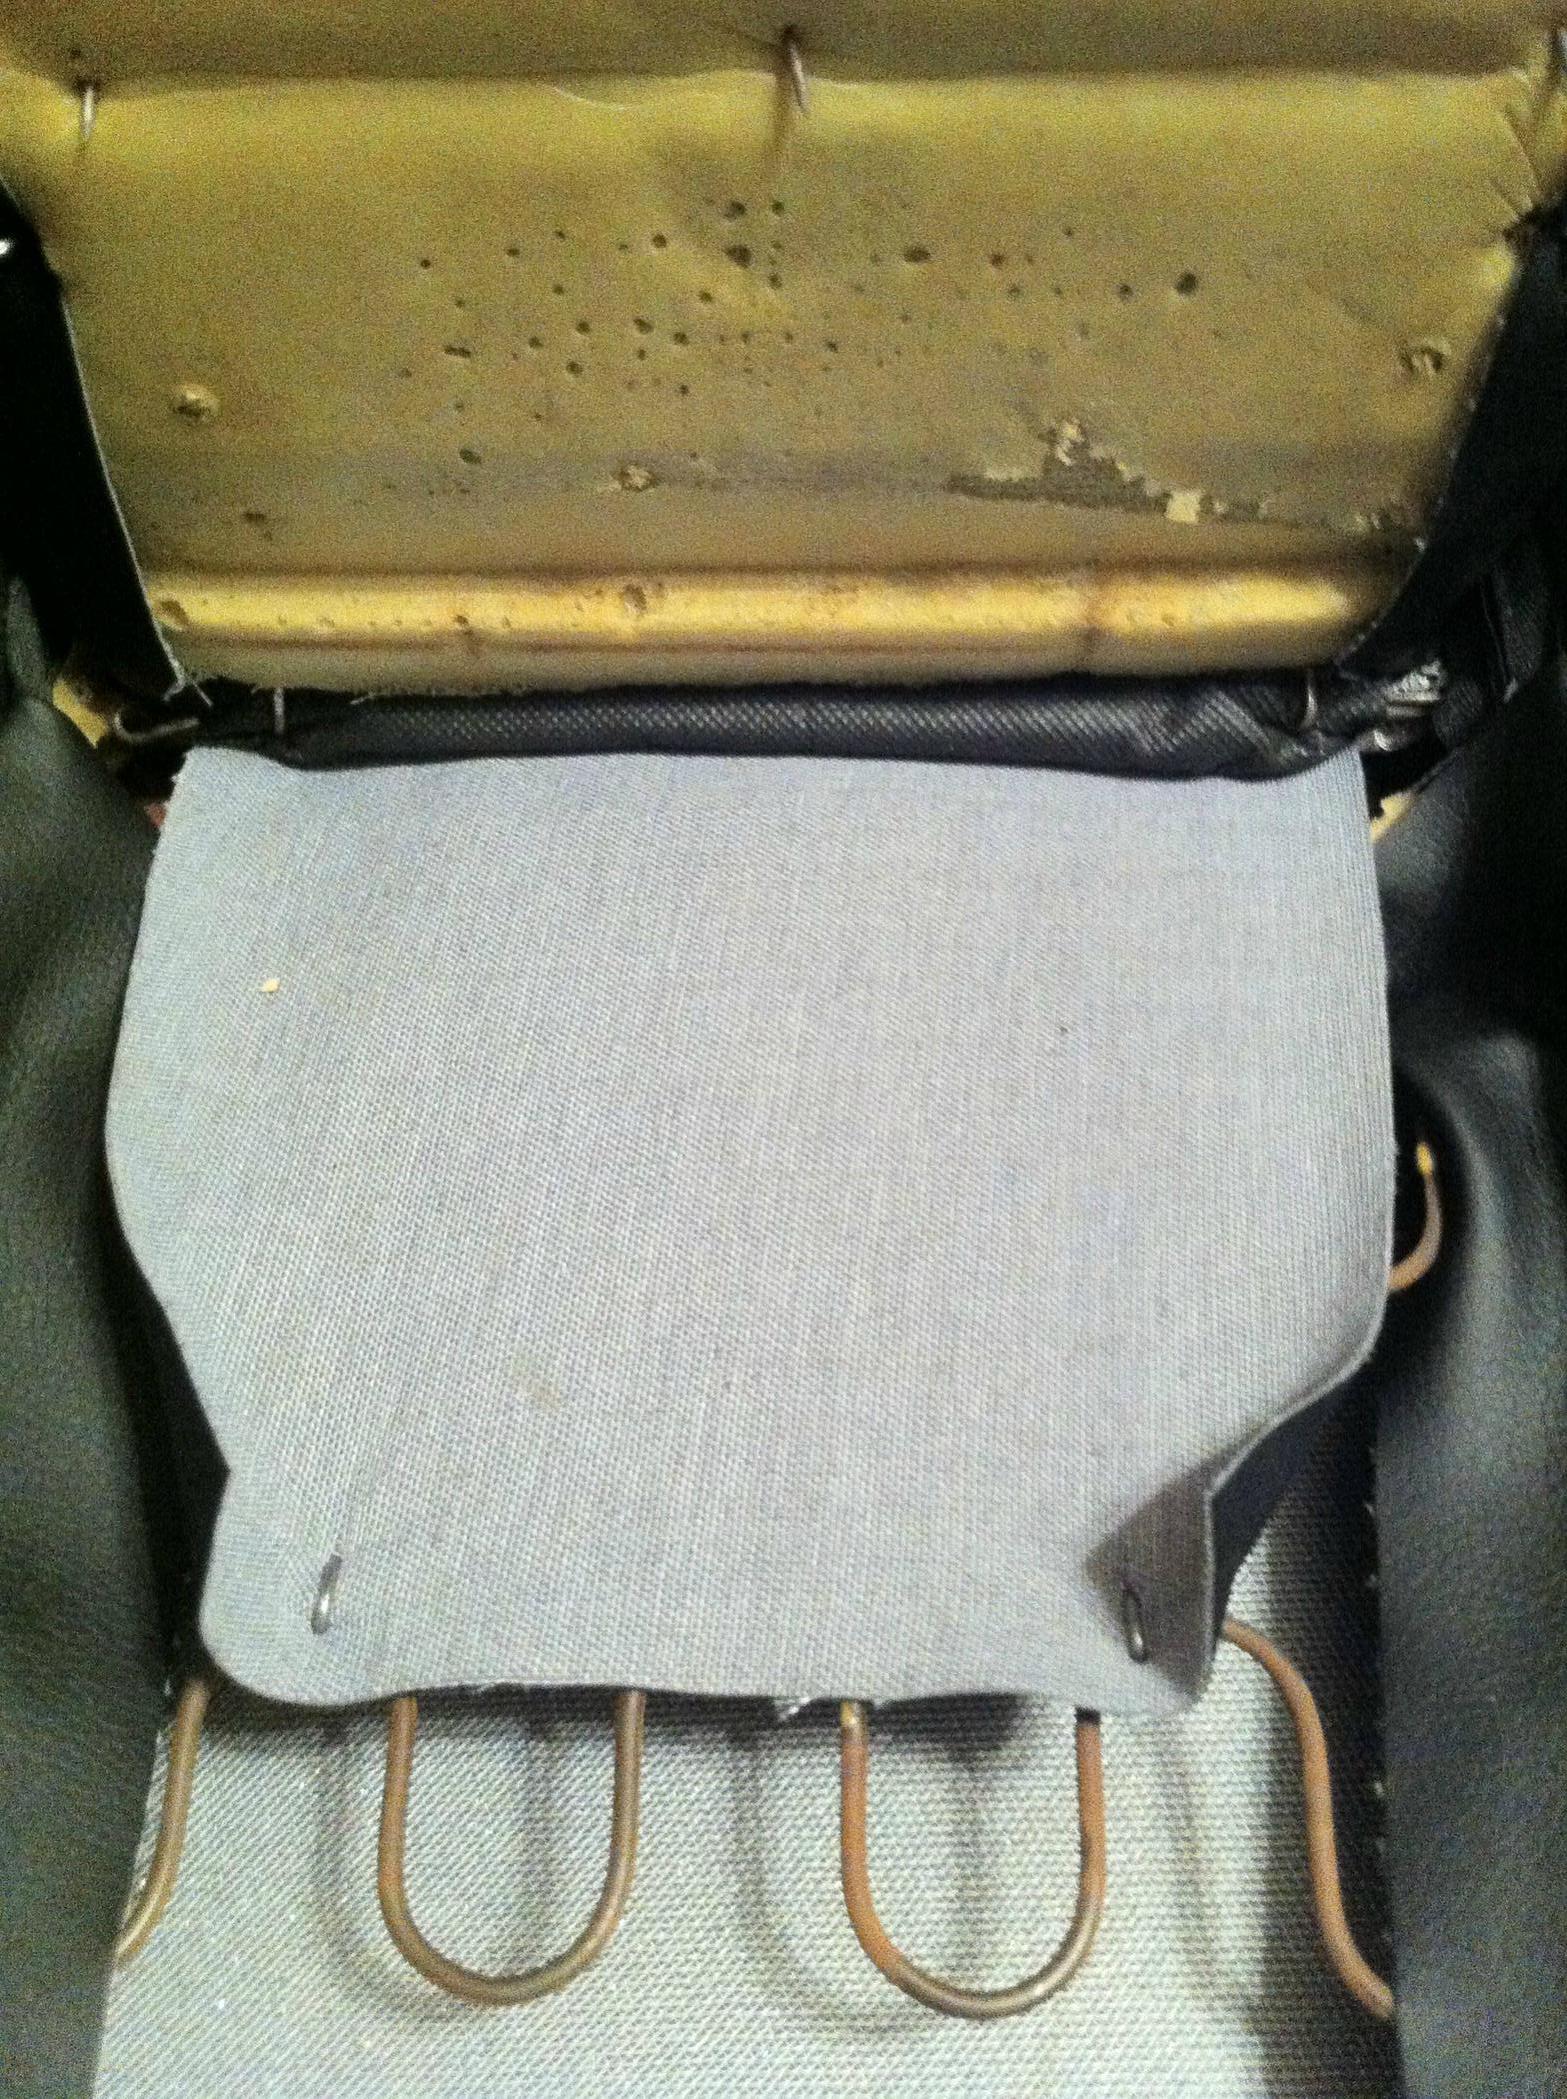
Now you're ready to start removing the cover. take a look at how the cover is fastened around the edges of the fiberglass seat pan. Remove the push pins carefully so you can re-use them. Use needlenose pliers to open up the hogrings and remove them or you can just snip them with wire cutters:
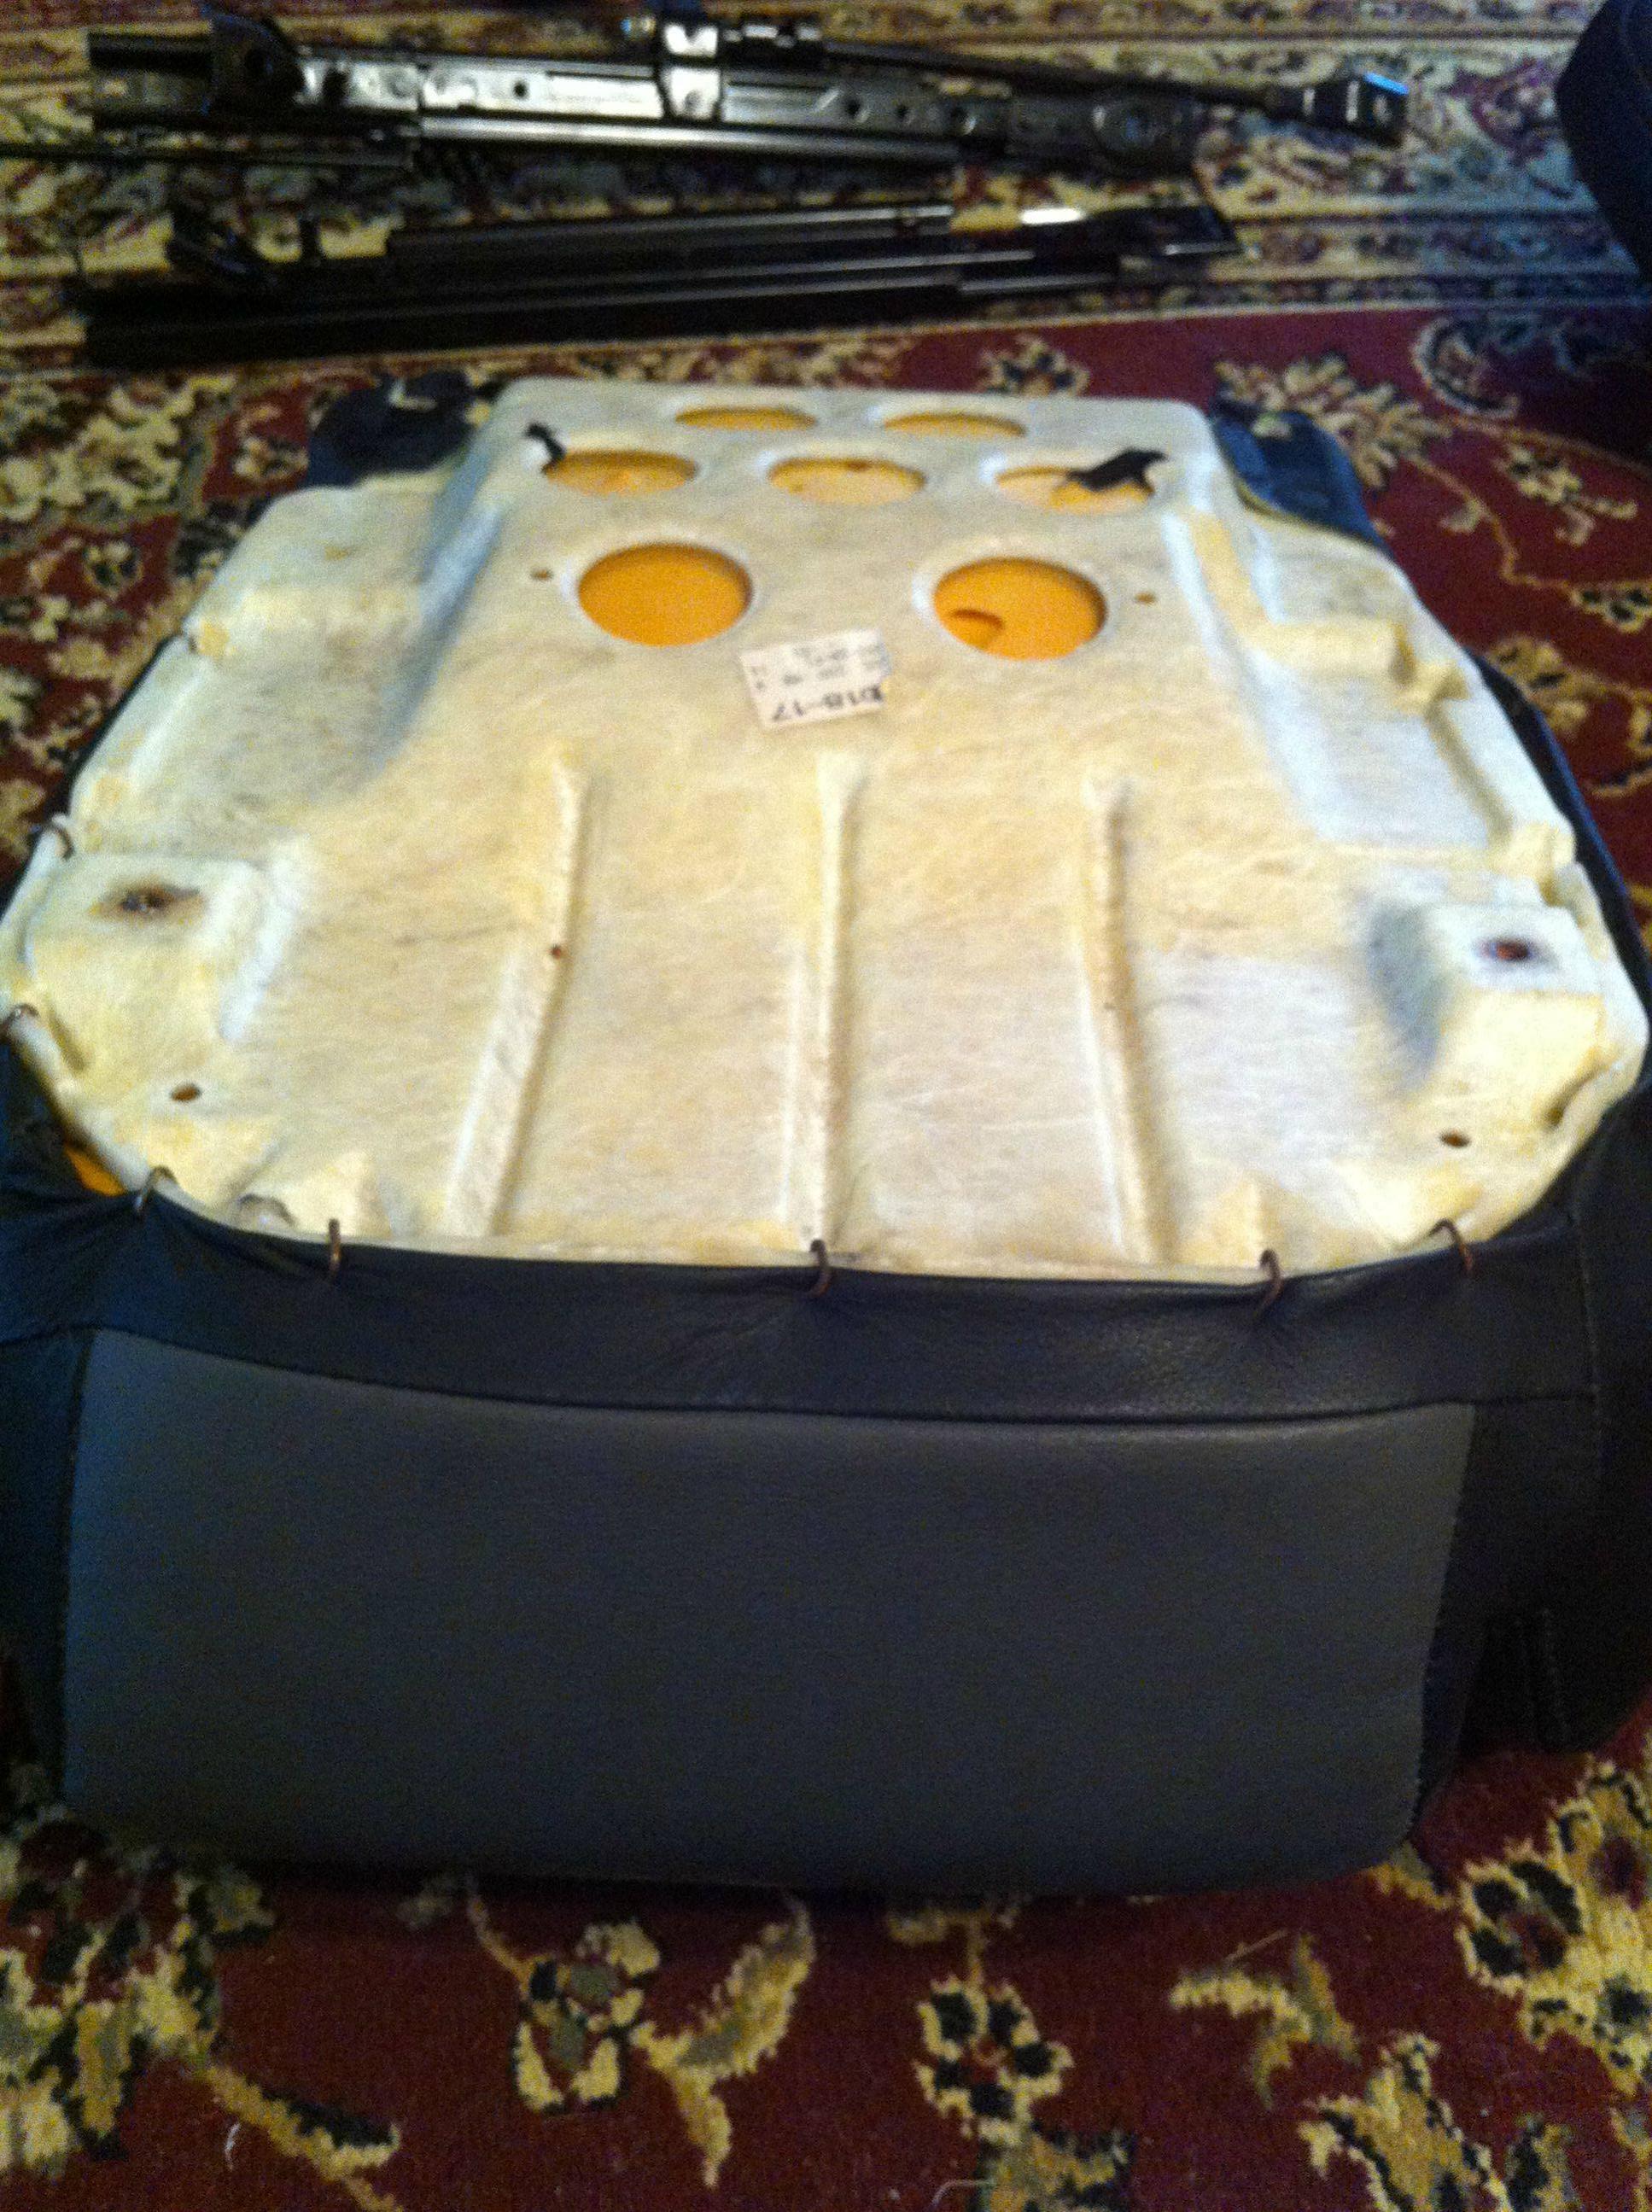

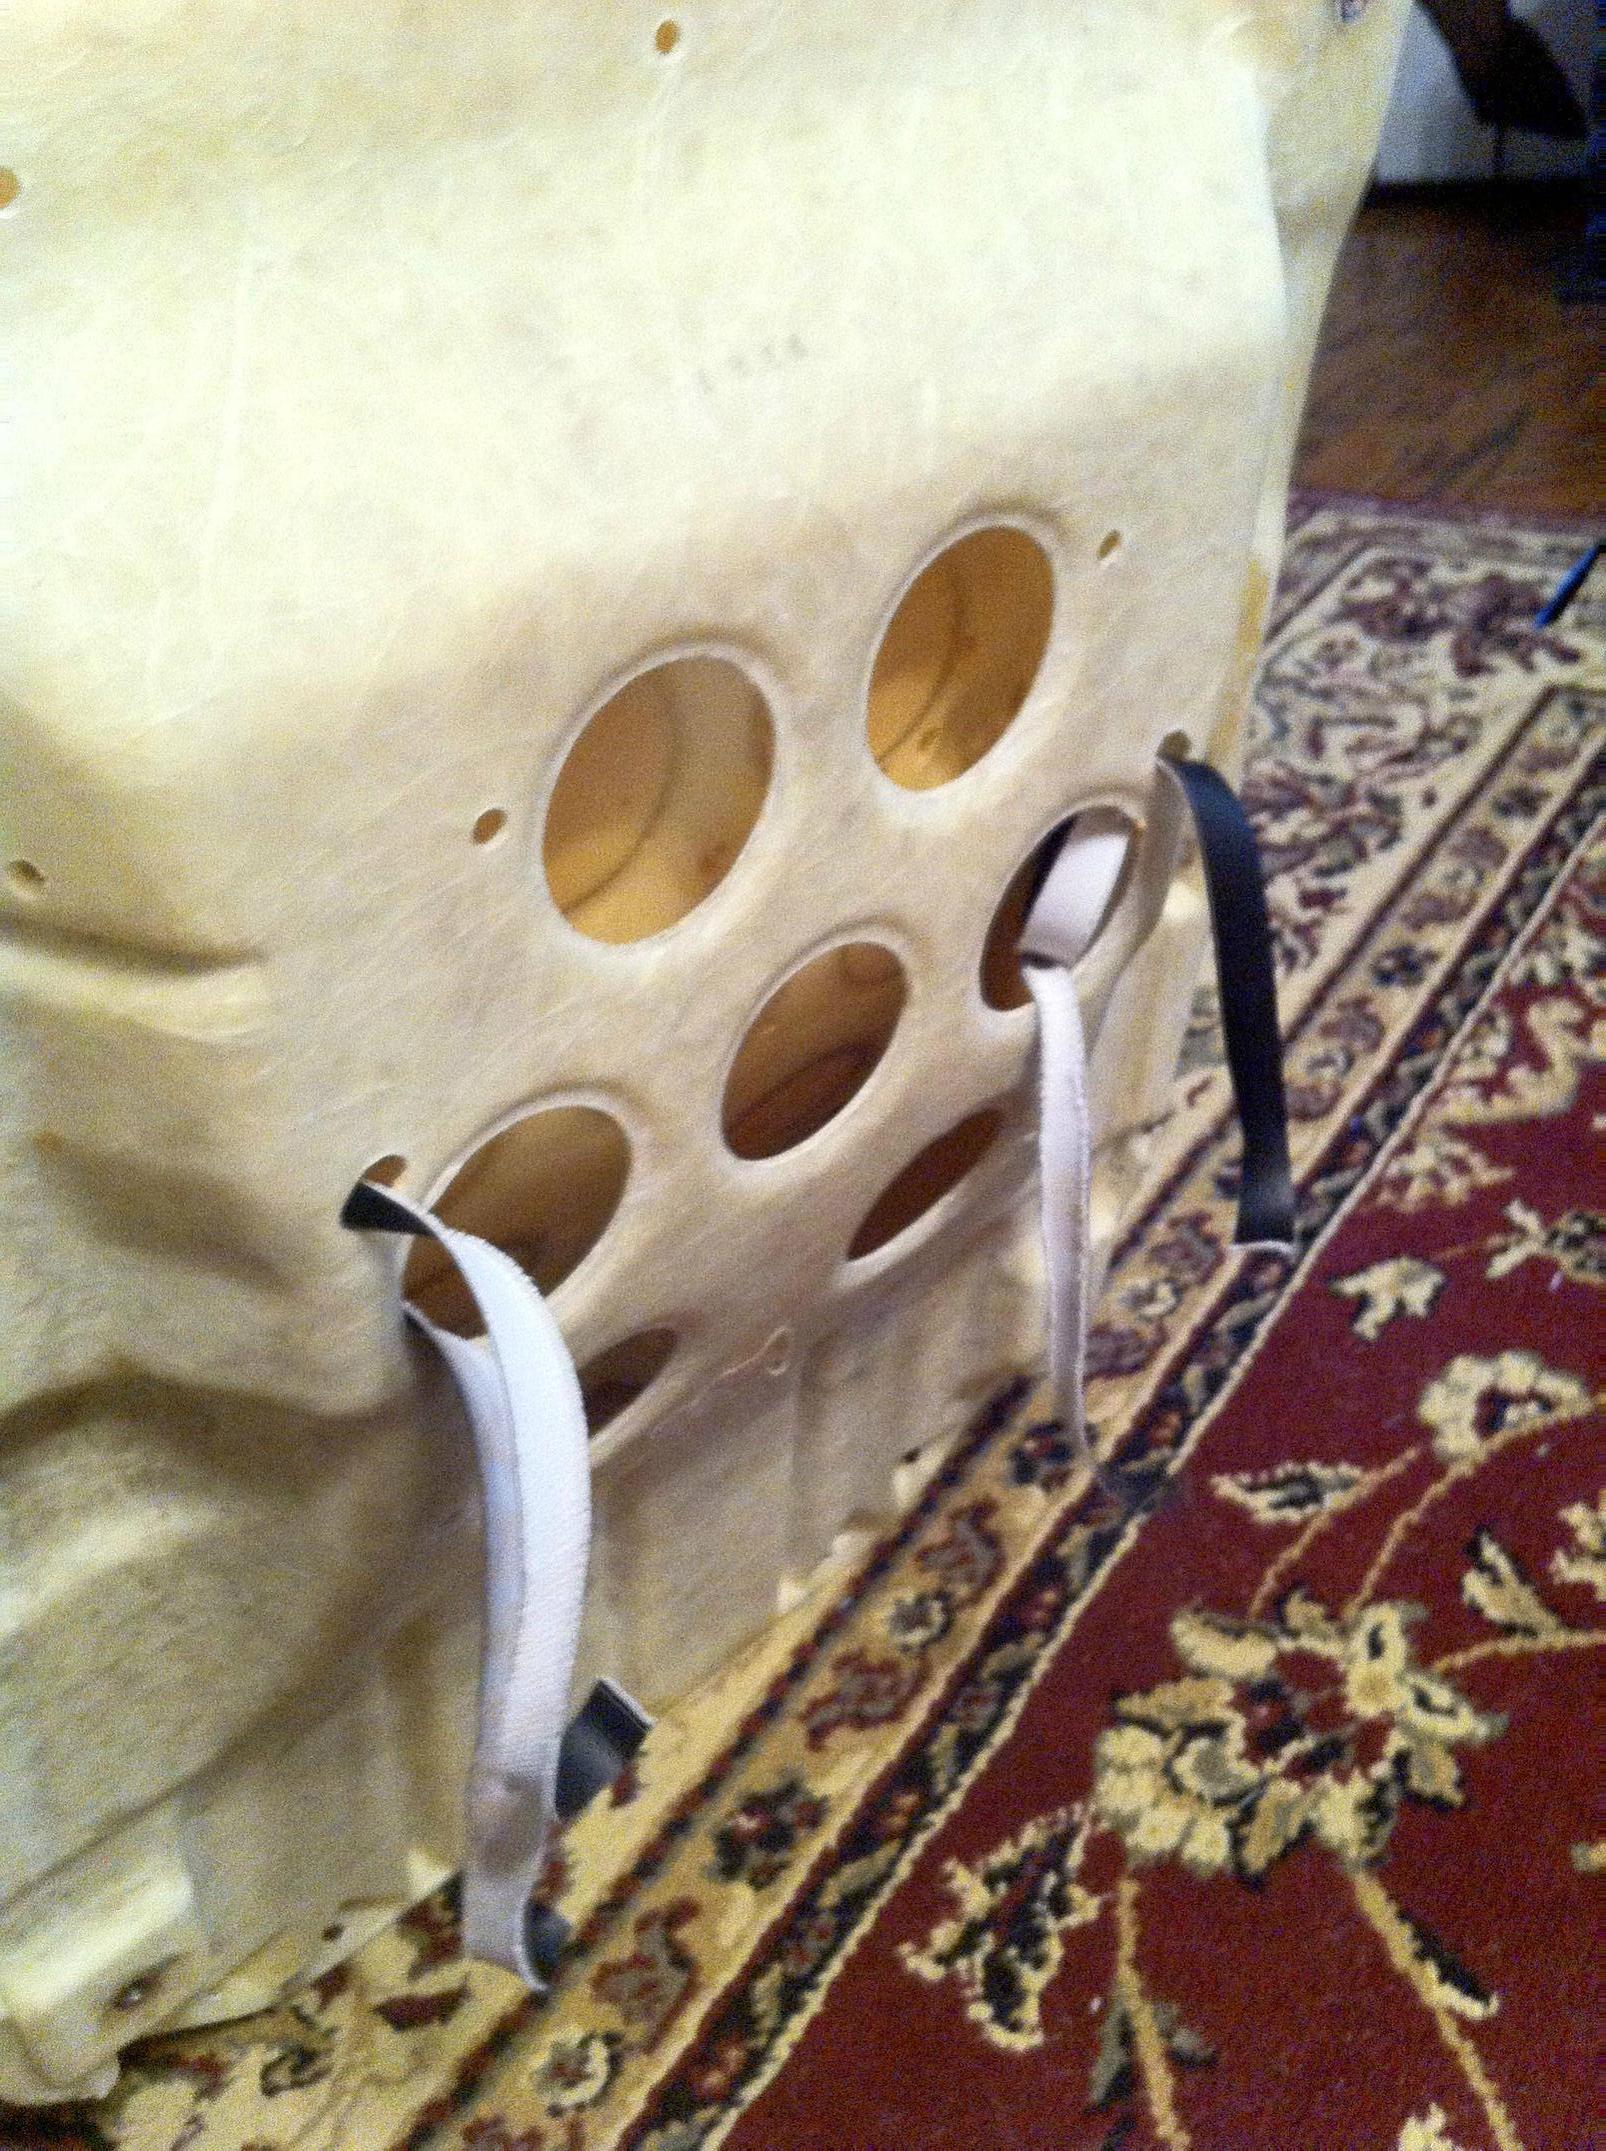
Cut the straps that are tied through the holes in the bottom of the pan:
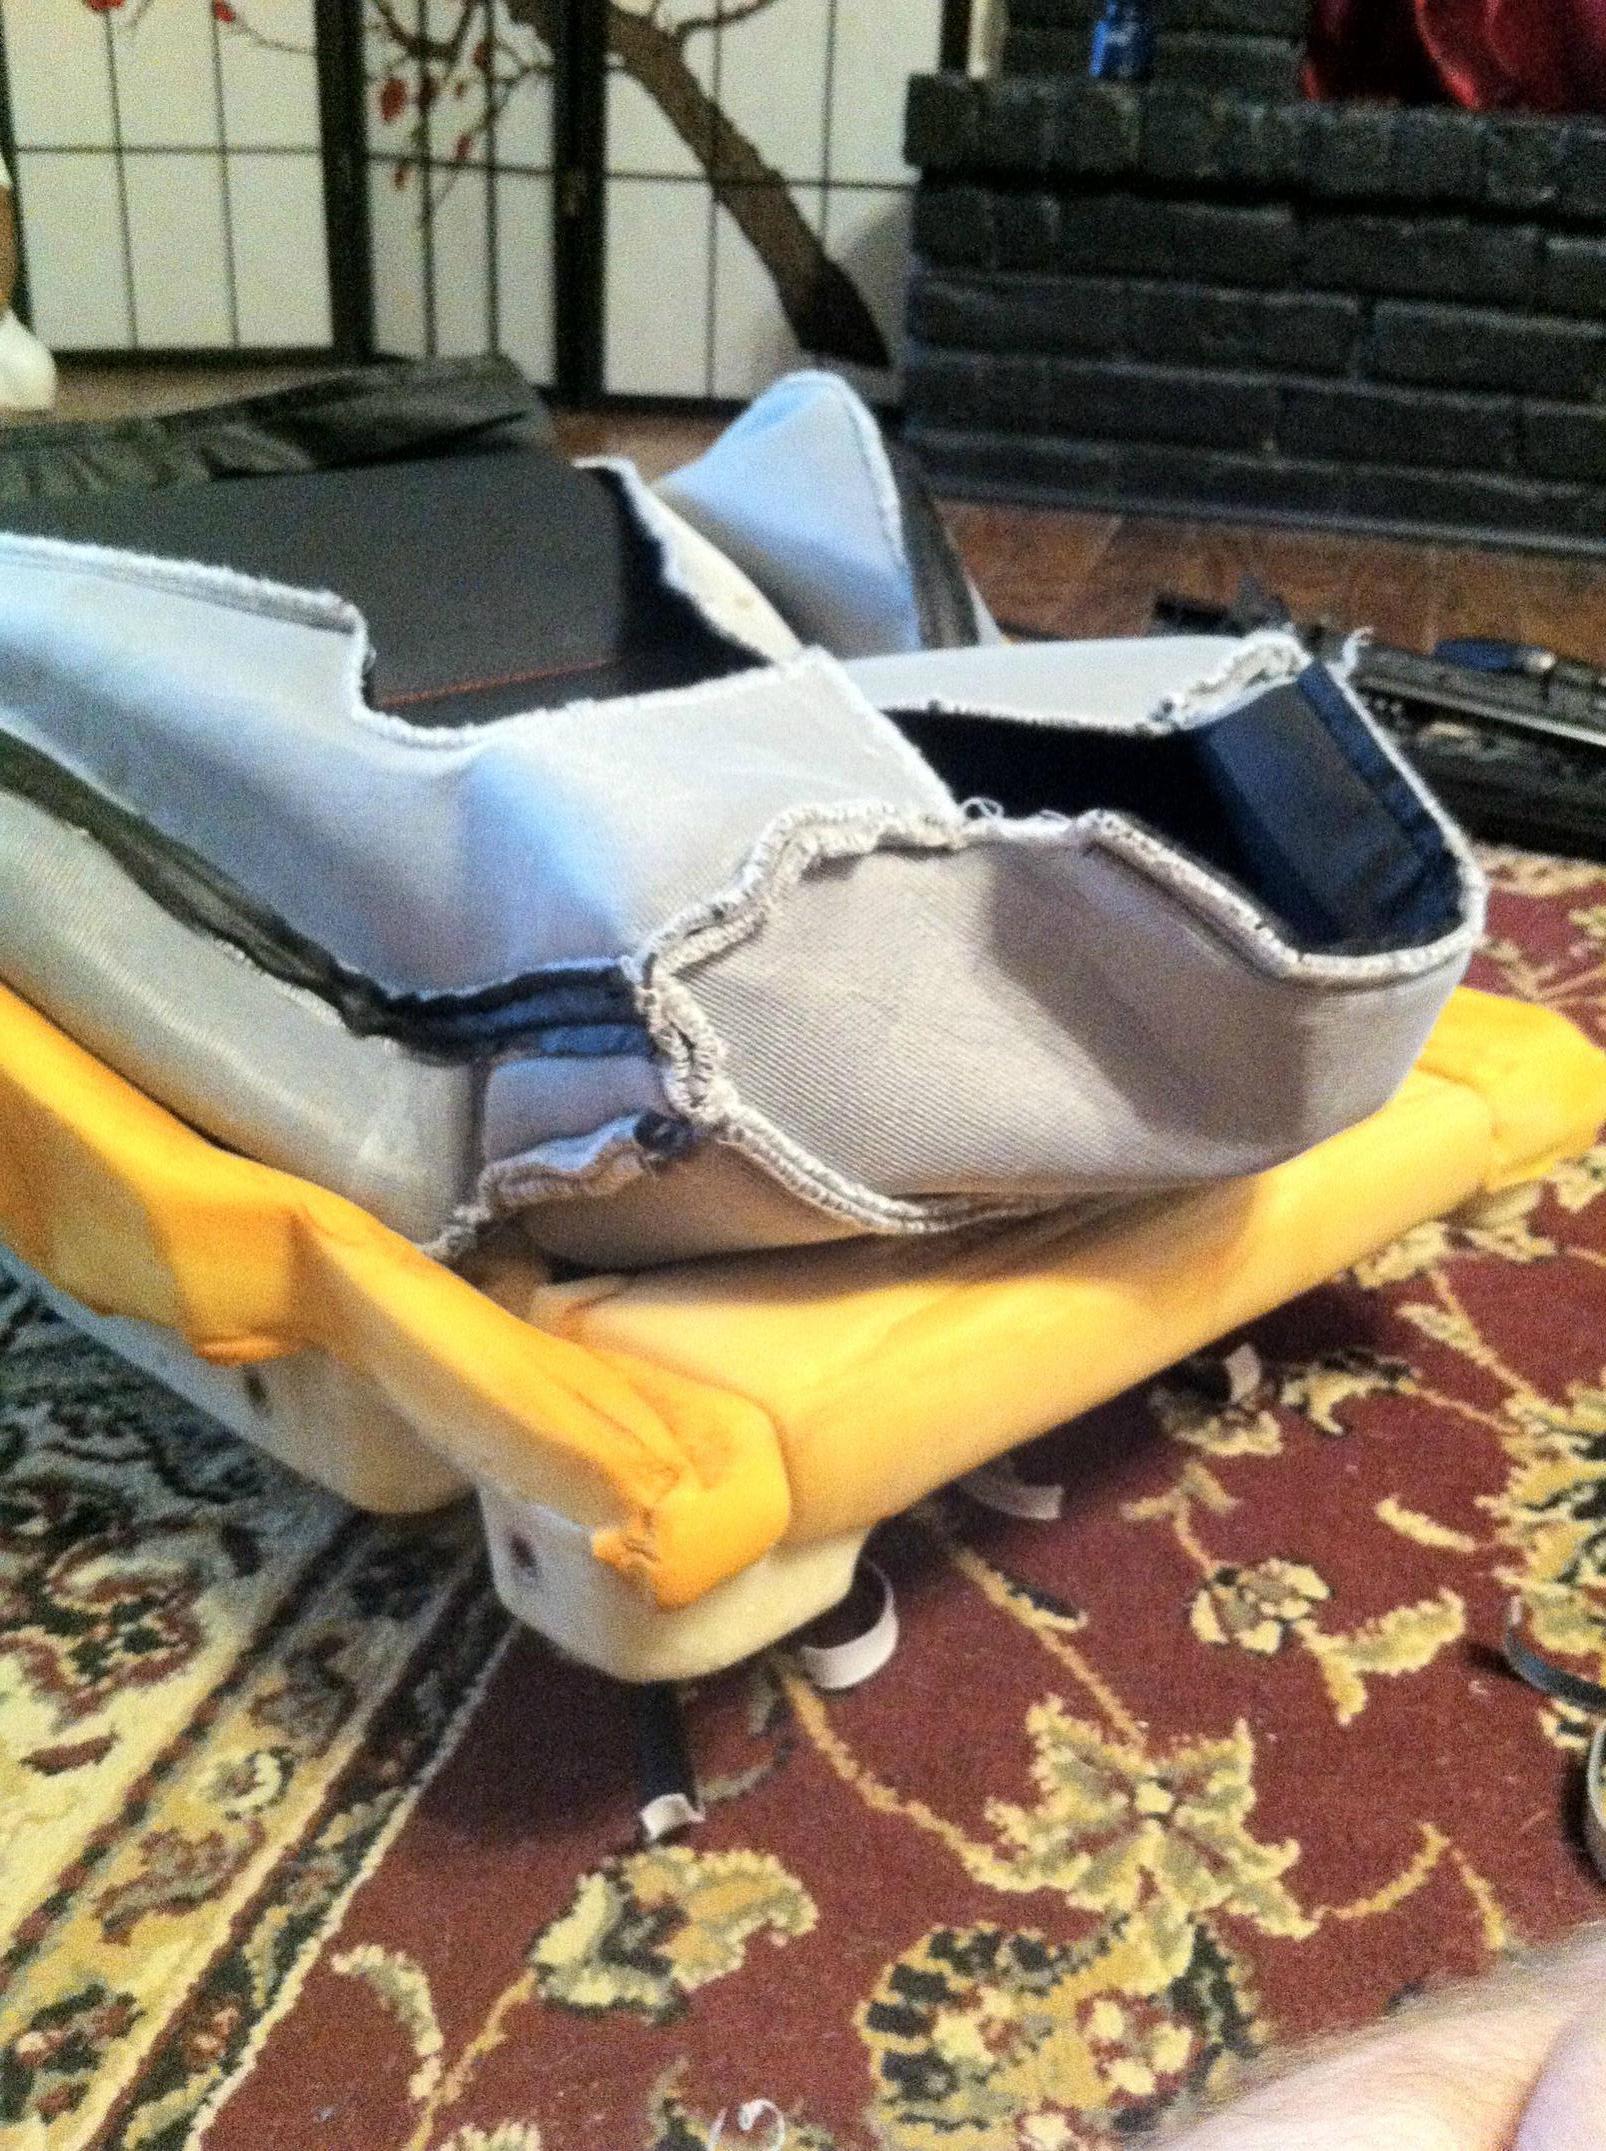
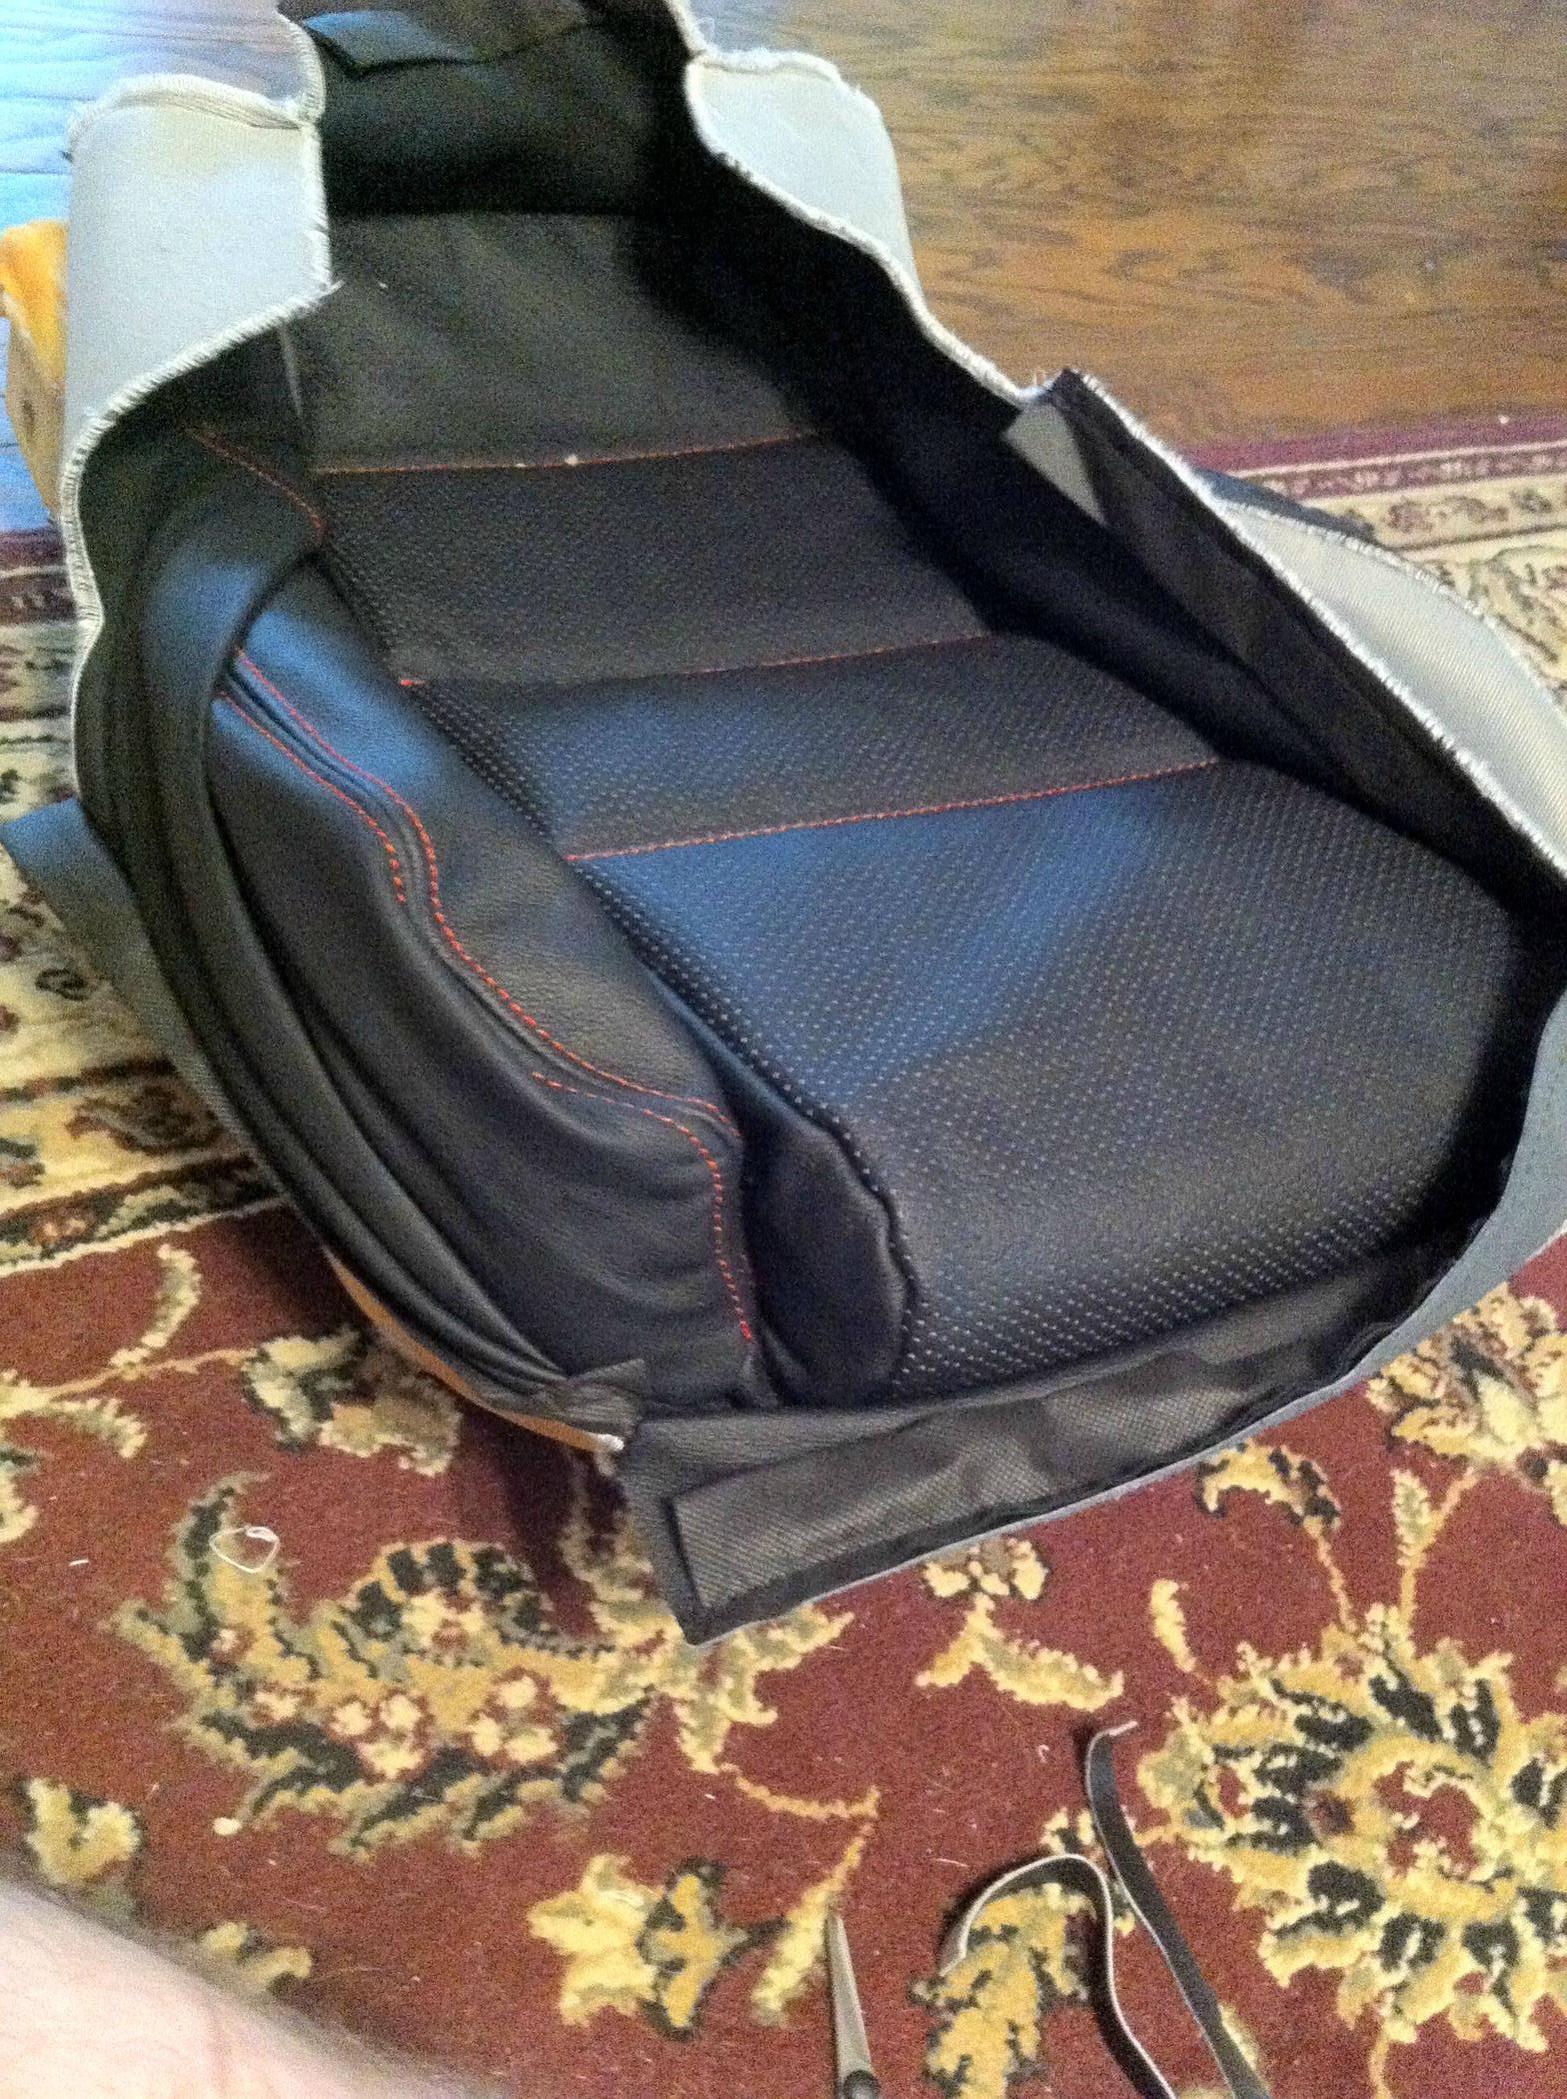
Starting at the rear, one corner at a time, fold up the cover to an inside-out position:
Do the same at the front, the cover is very tight here:

Now you're ready to start removing the cover. take a look at how the cover is fastened around the edges of the fiberglass seat pan. Remove the push pins carefully so you can re-use them. Use needlenose pliers to open up the hogrings and remove them or you can just snip them with wire cutters:

Cut the straps that are tied through the holes in the bottom of the pan:
Starting at the rear, one corner at a time, fold up the cover to an inside-out position:
Do the same at the front, the cover is very tight here:
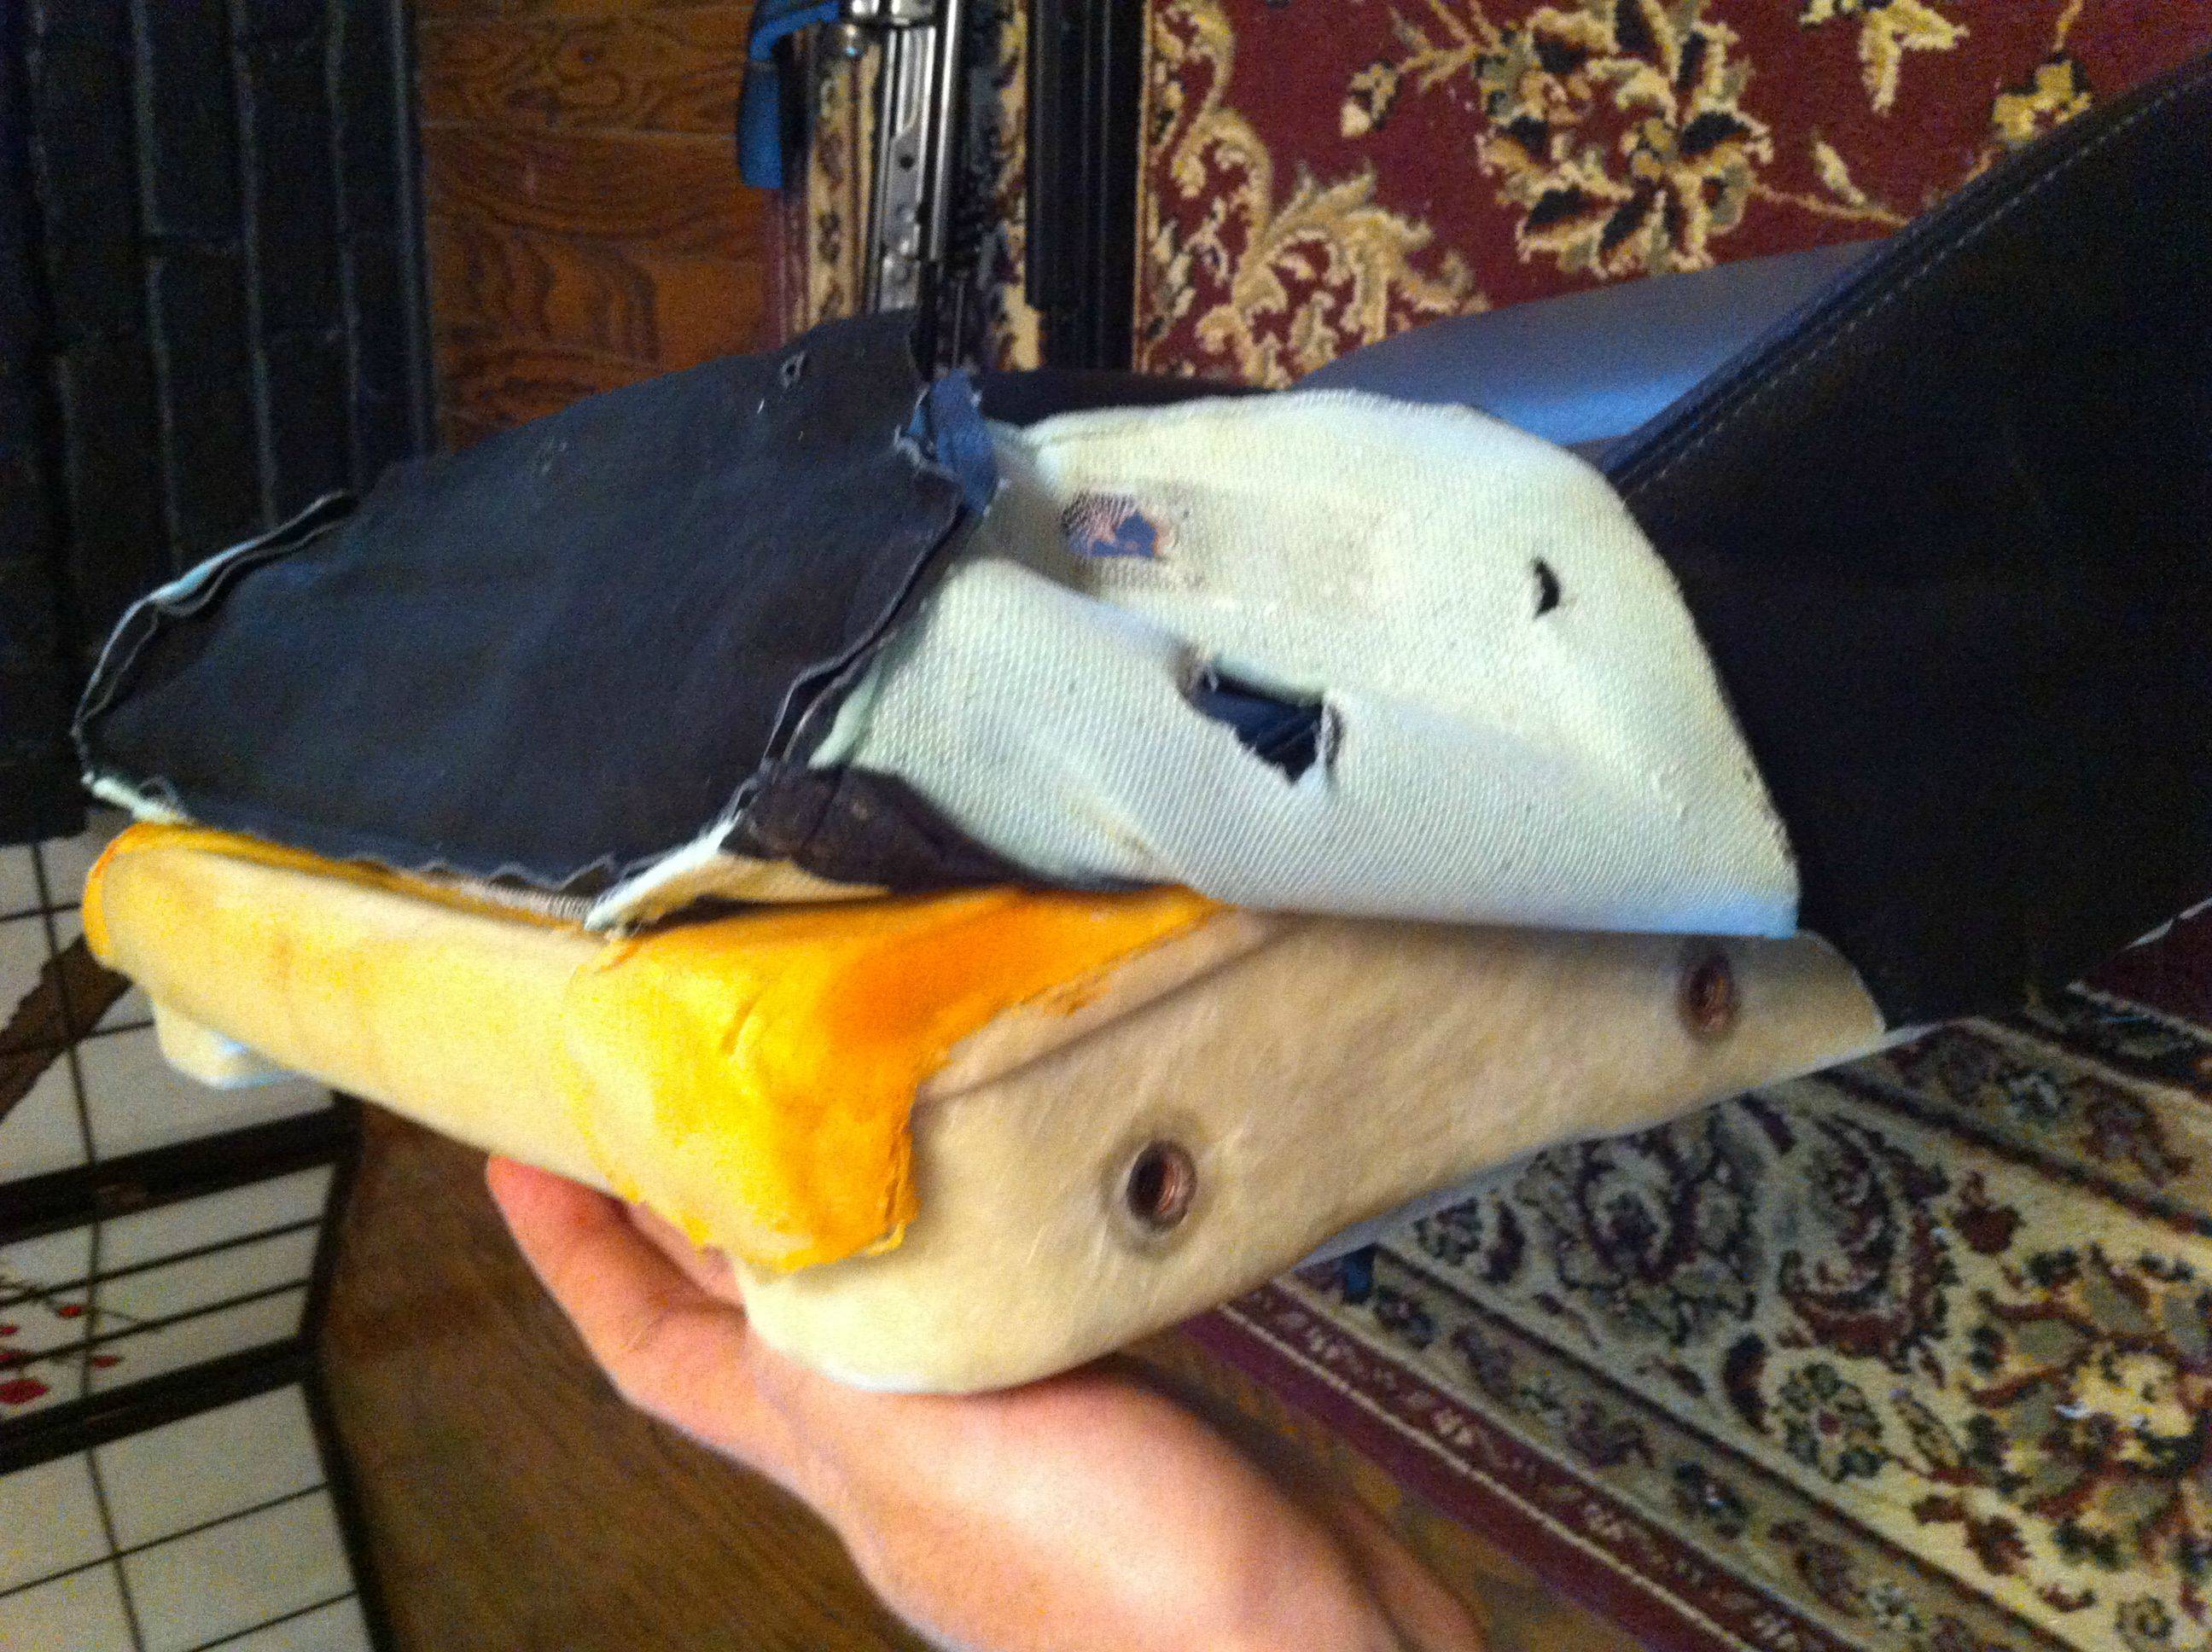
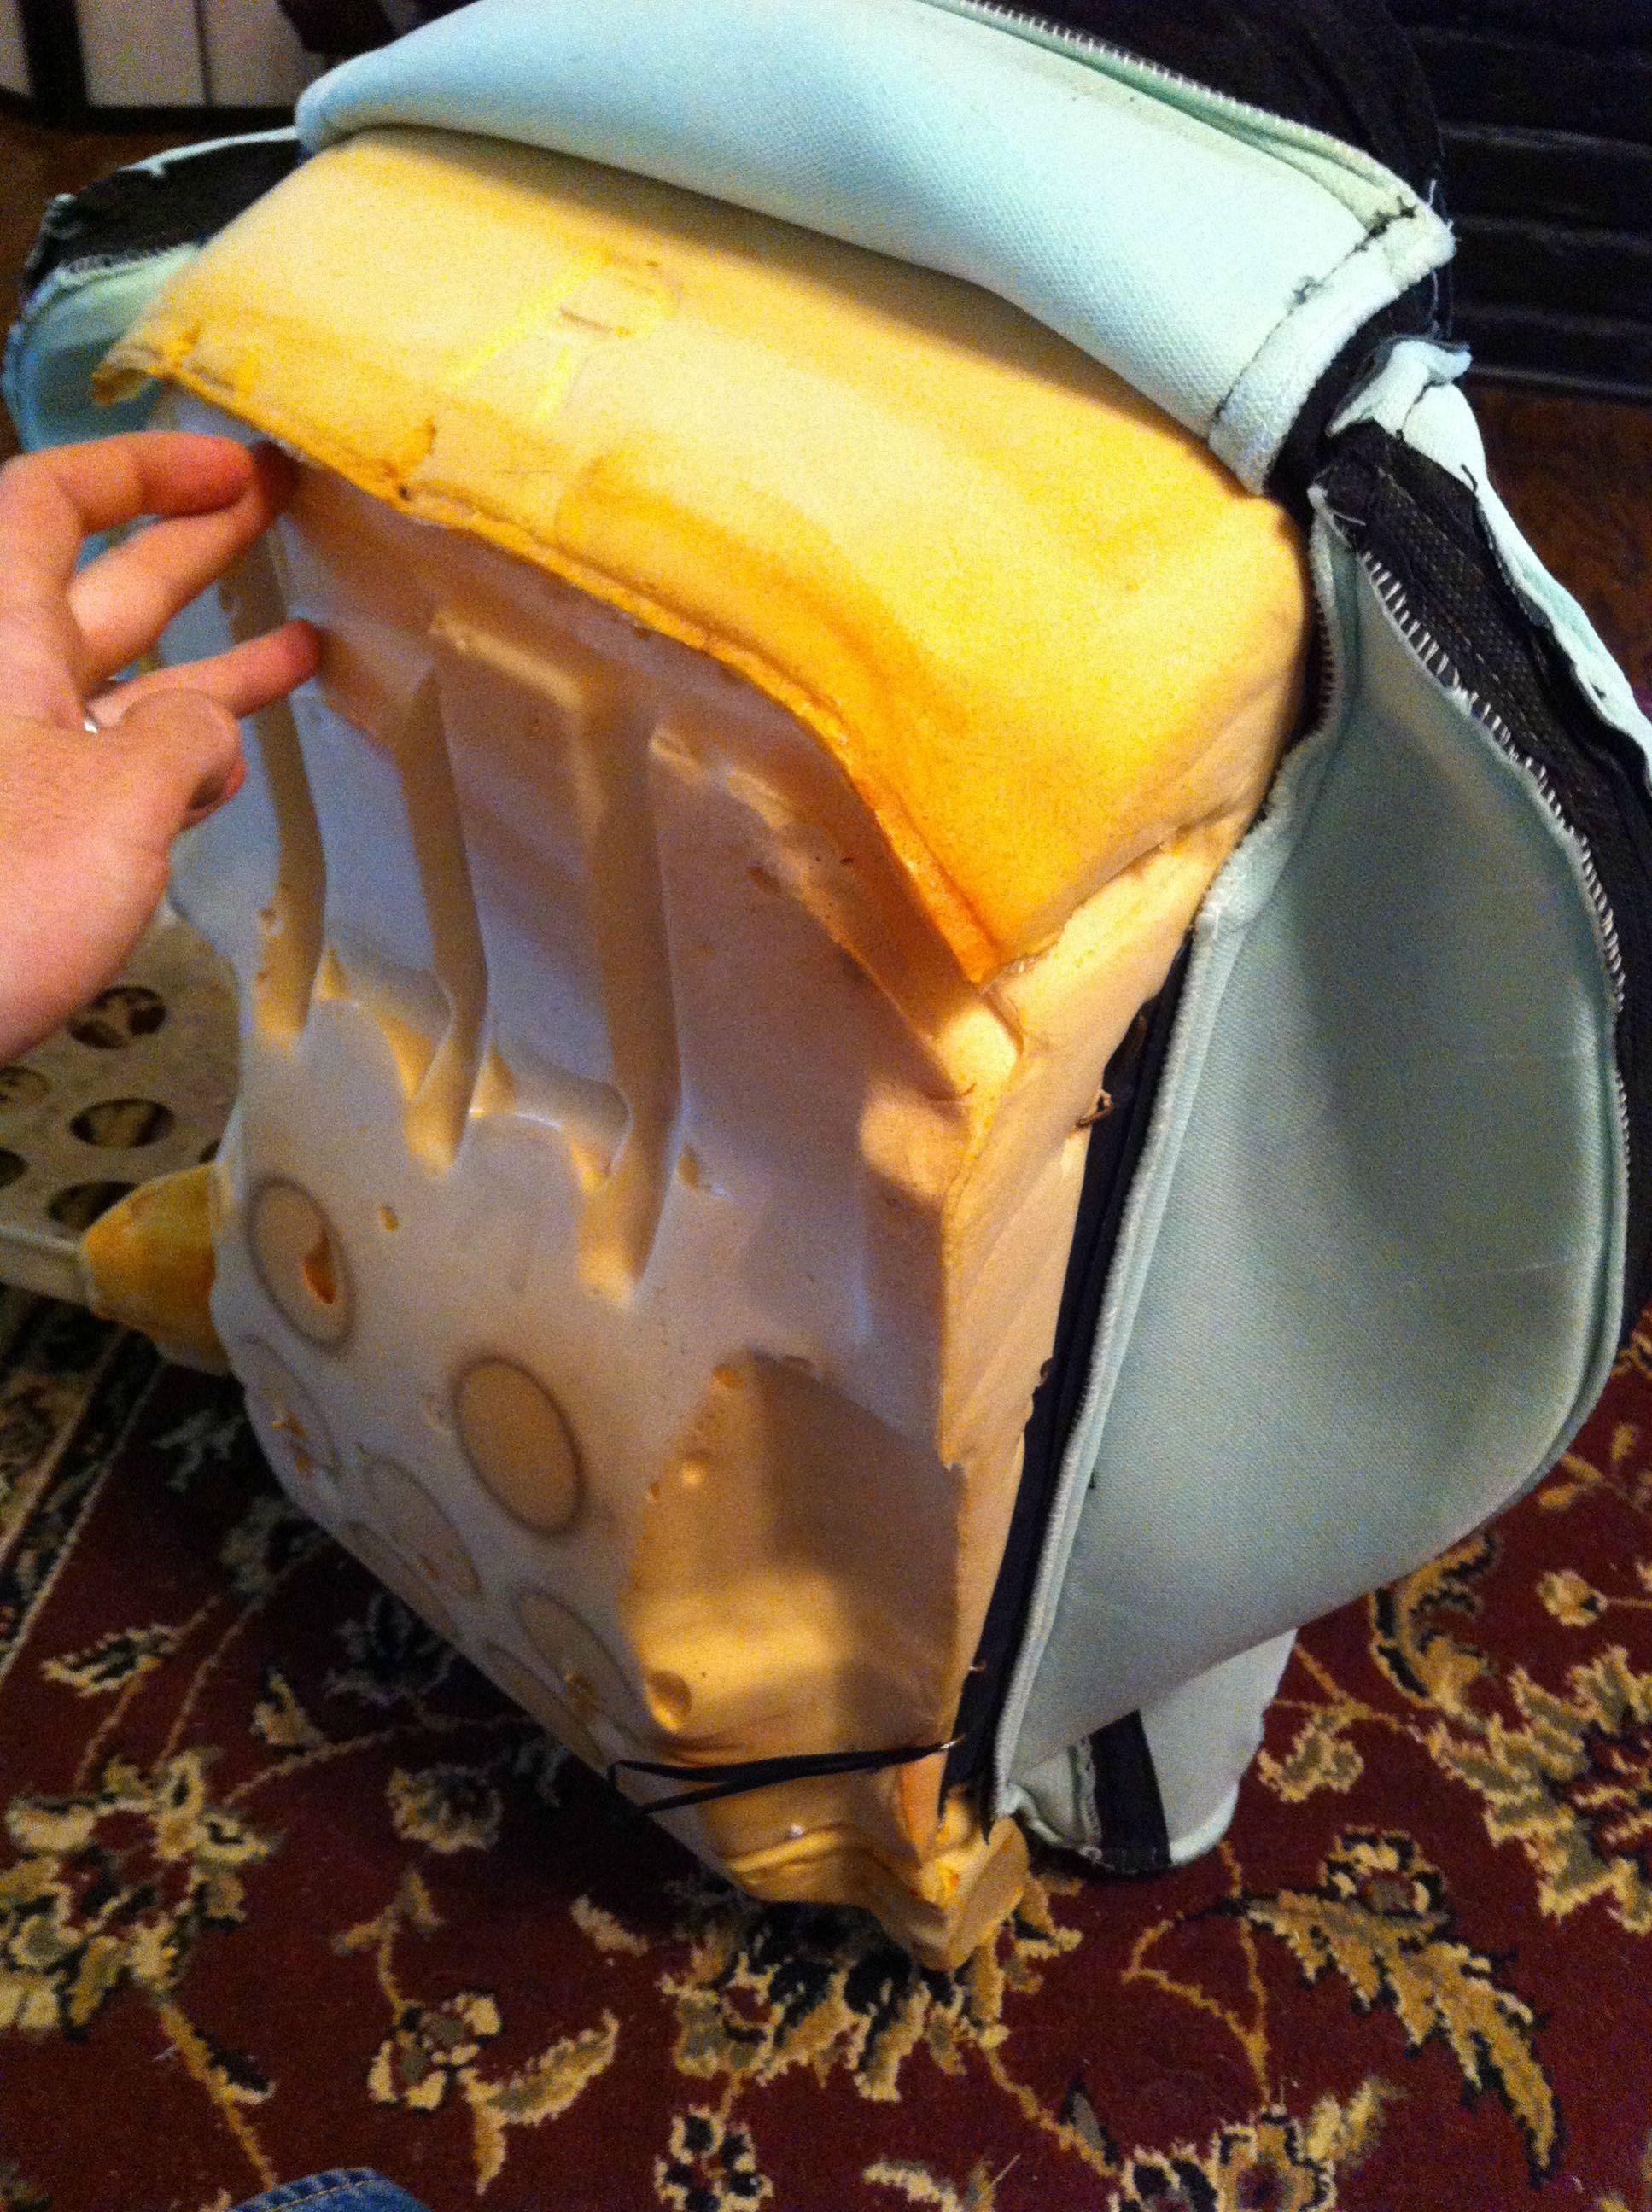
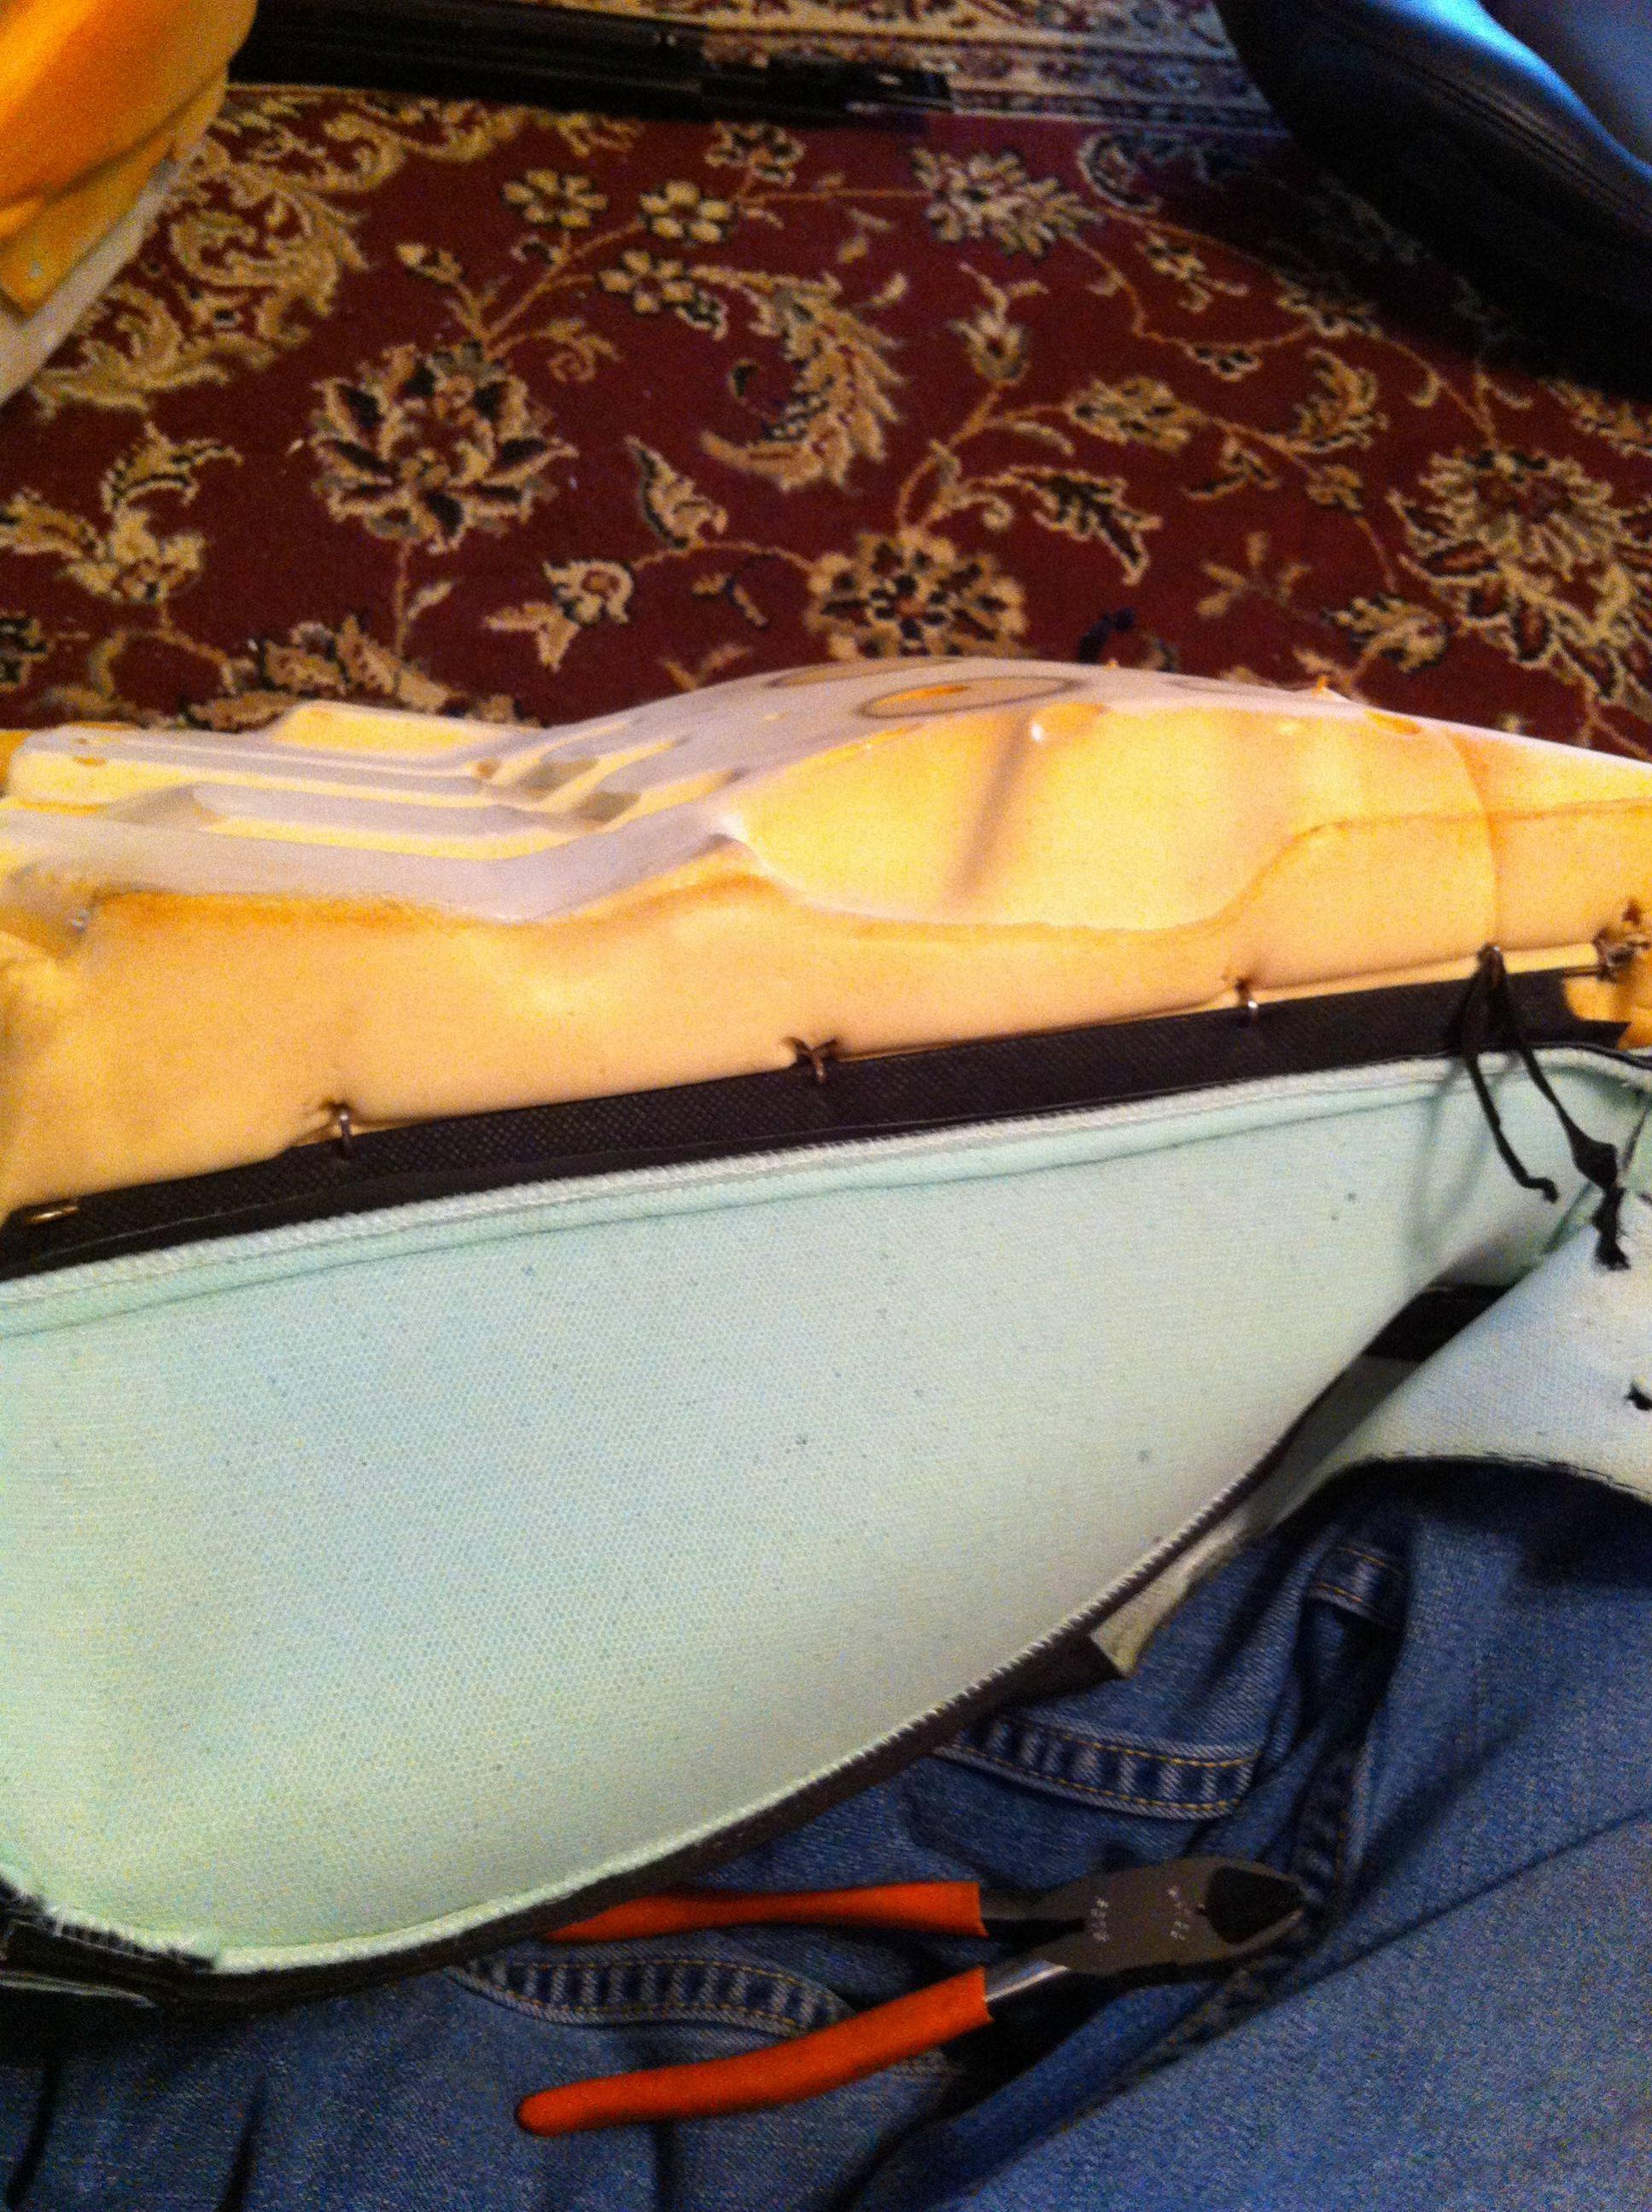
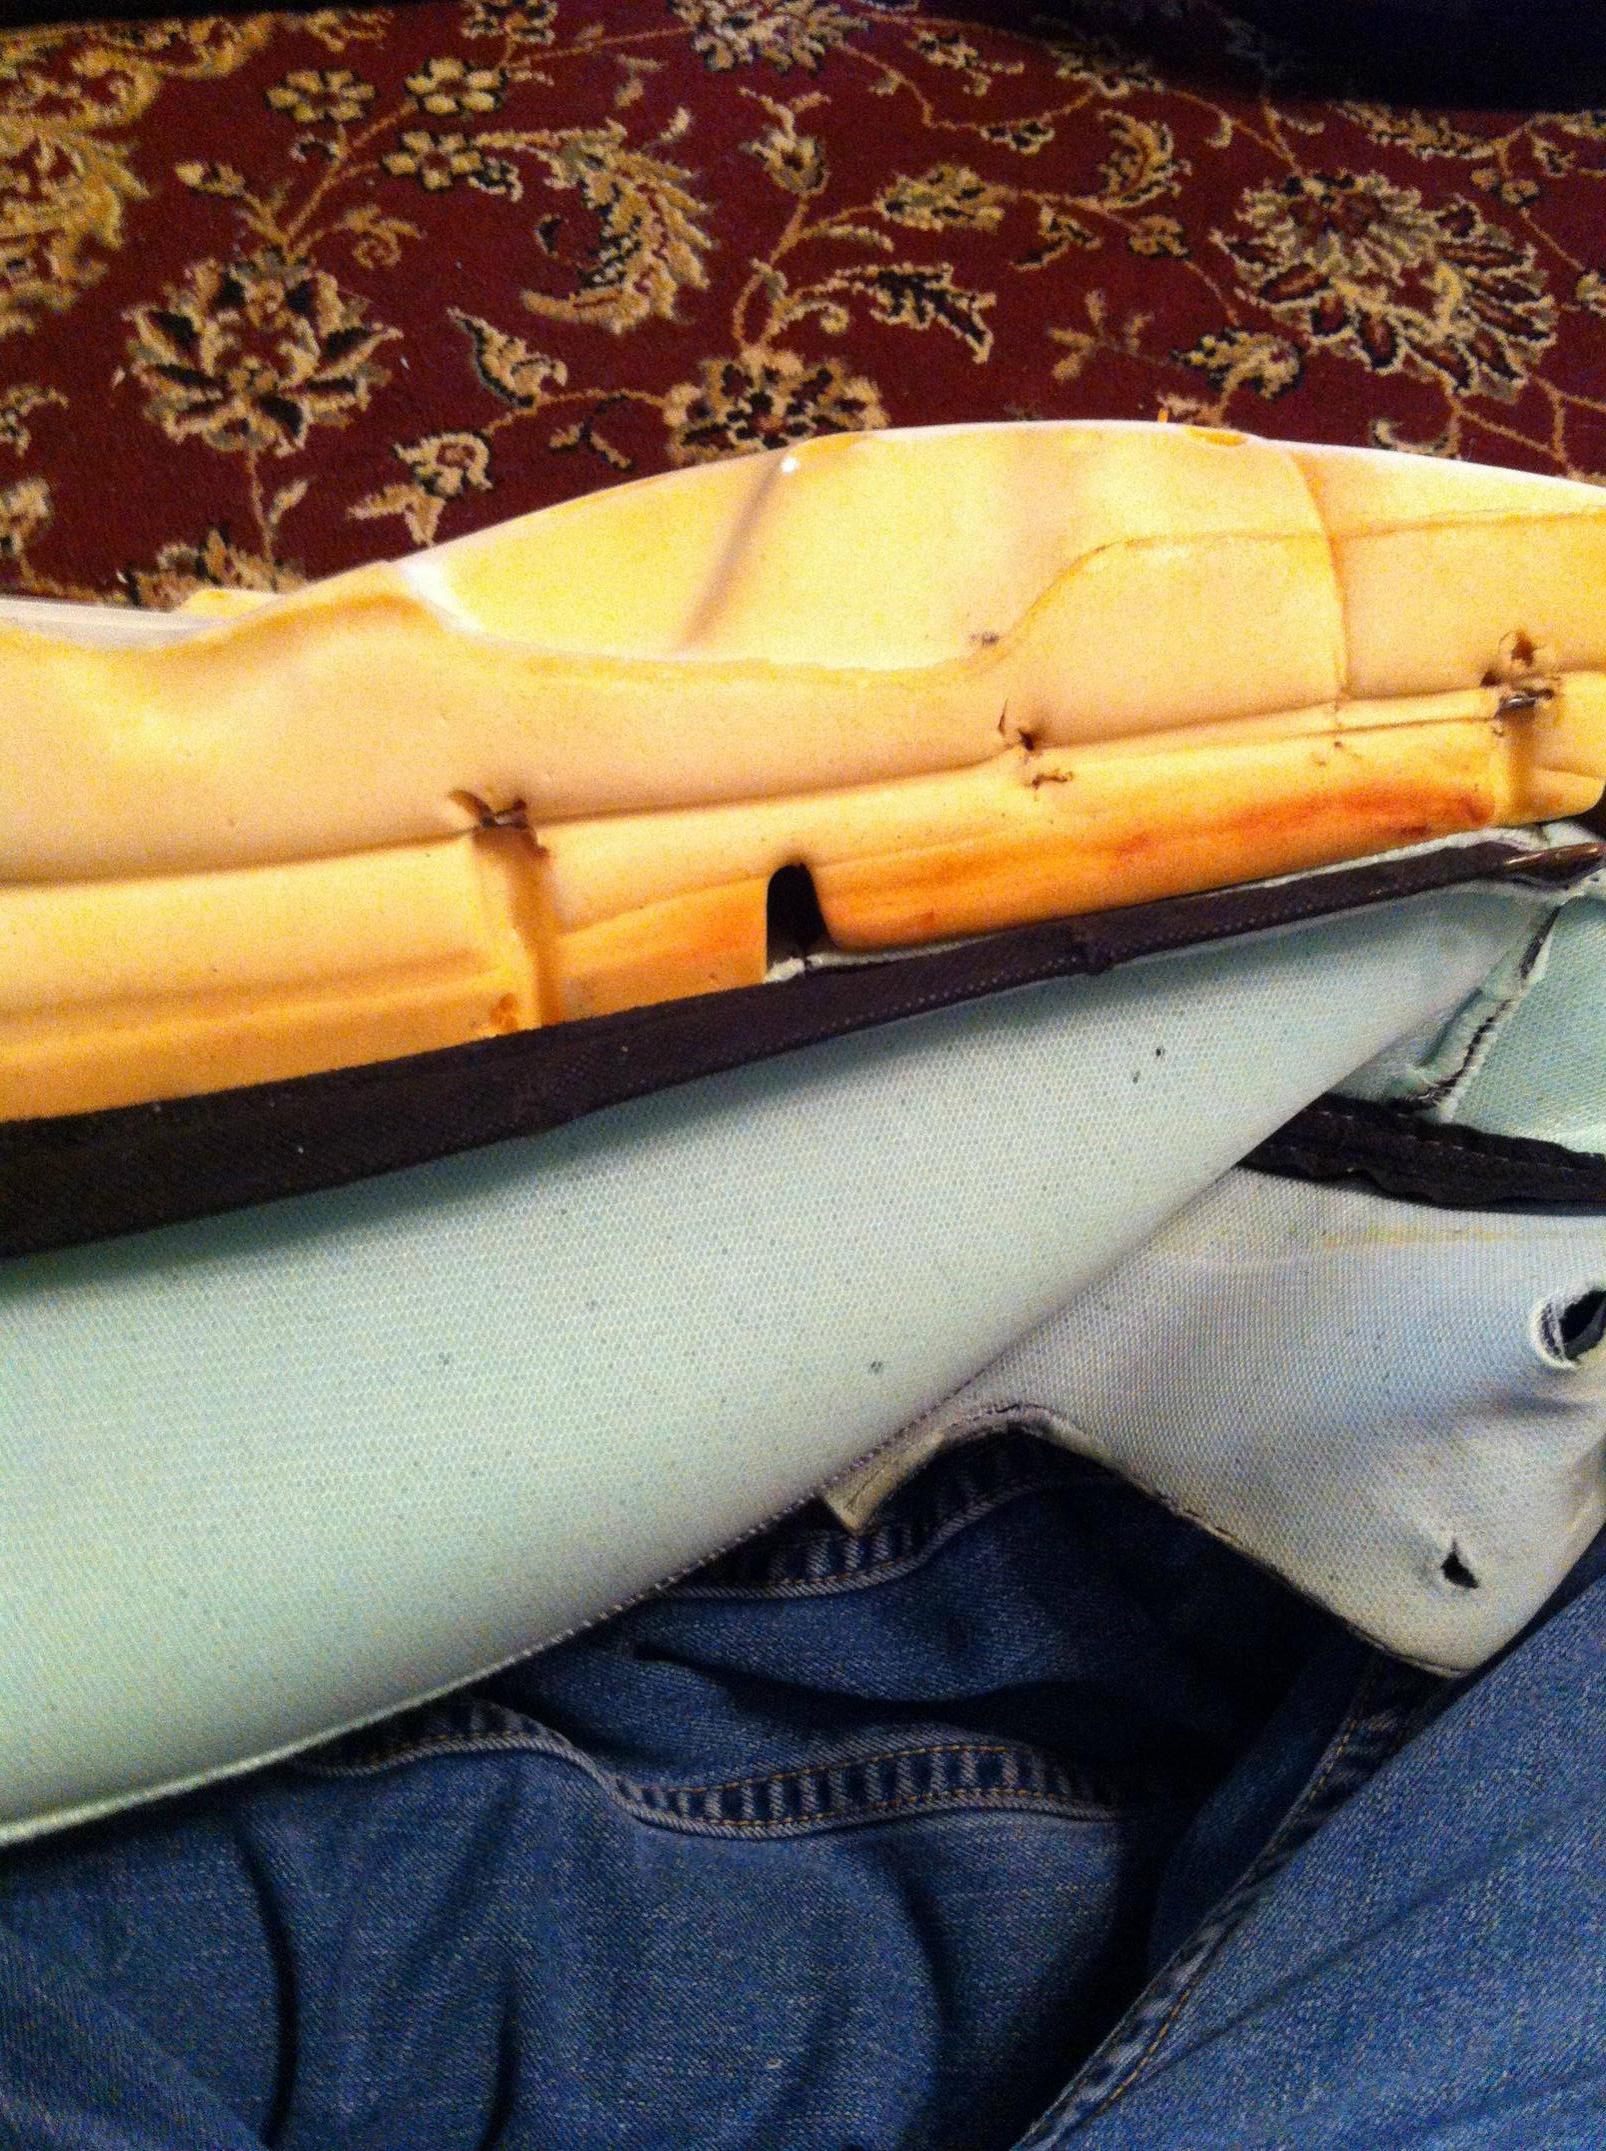
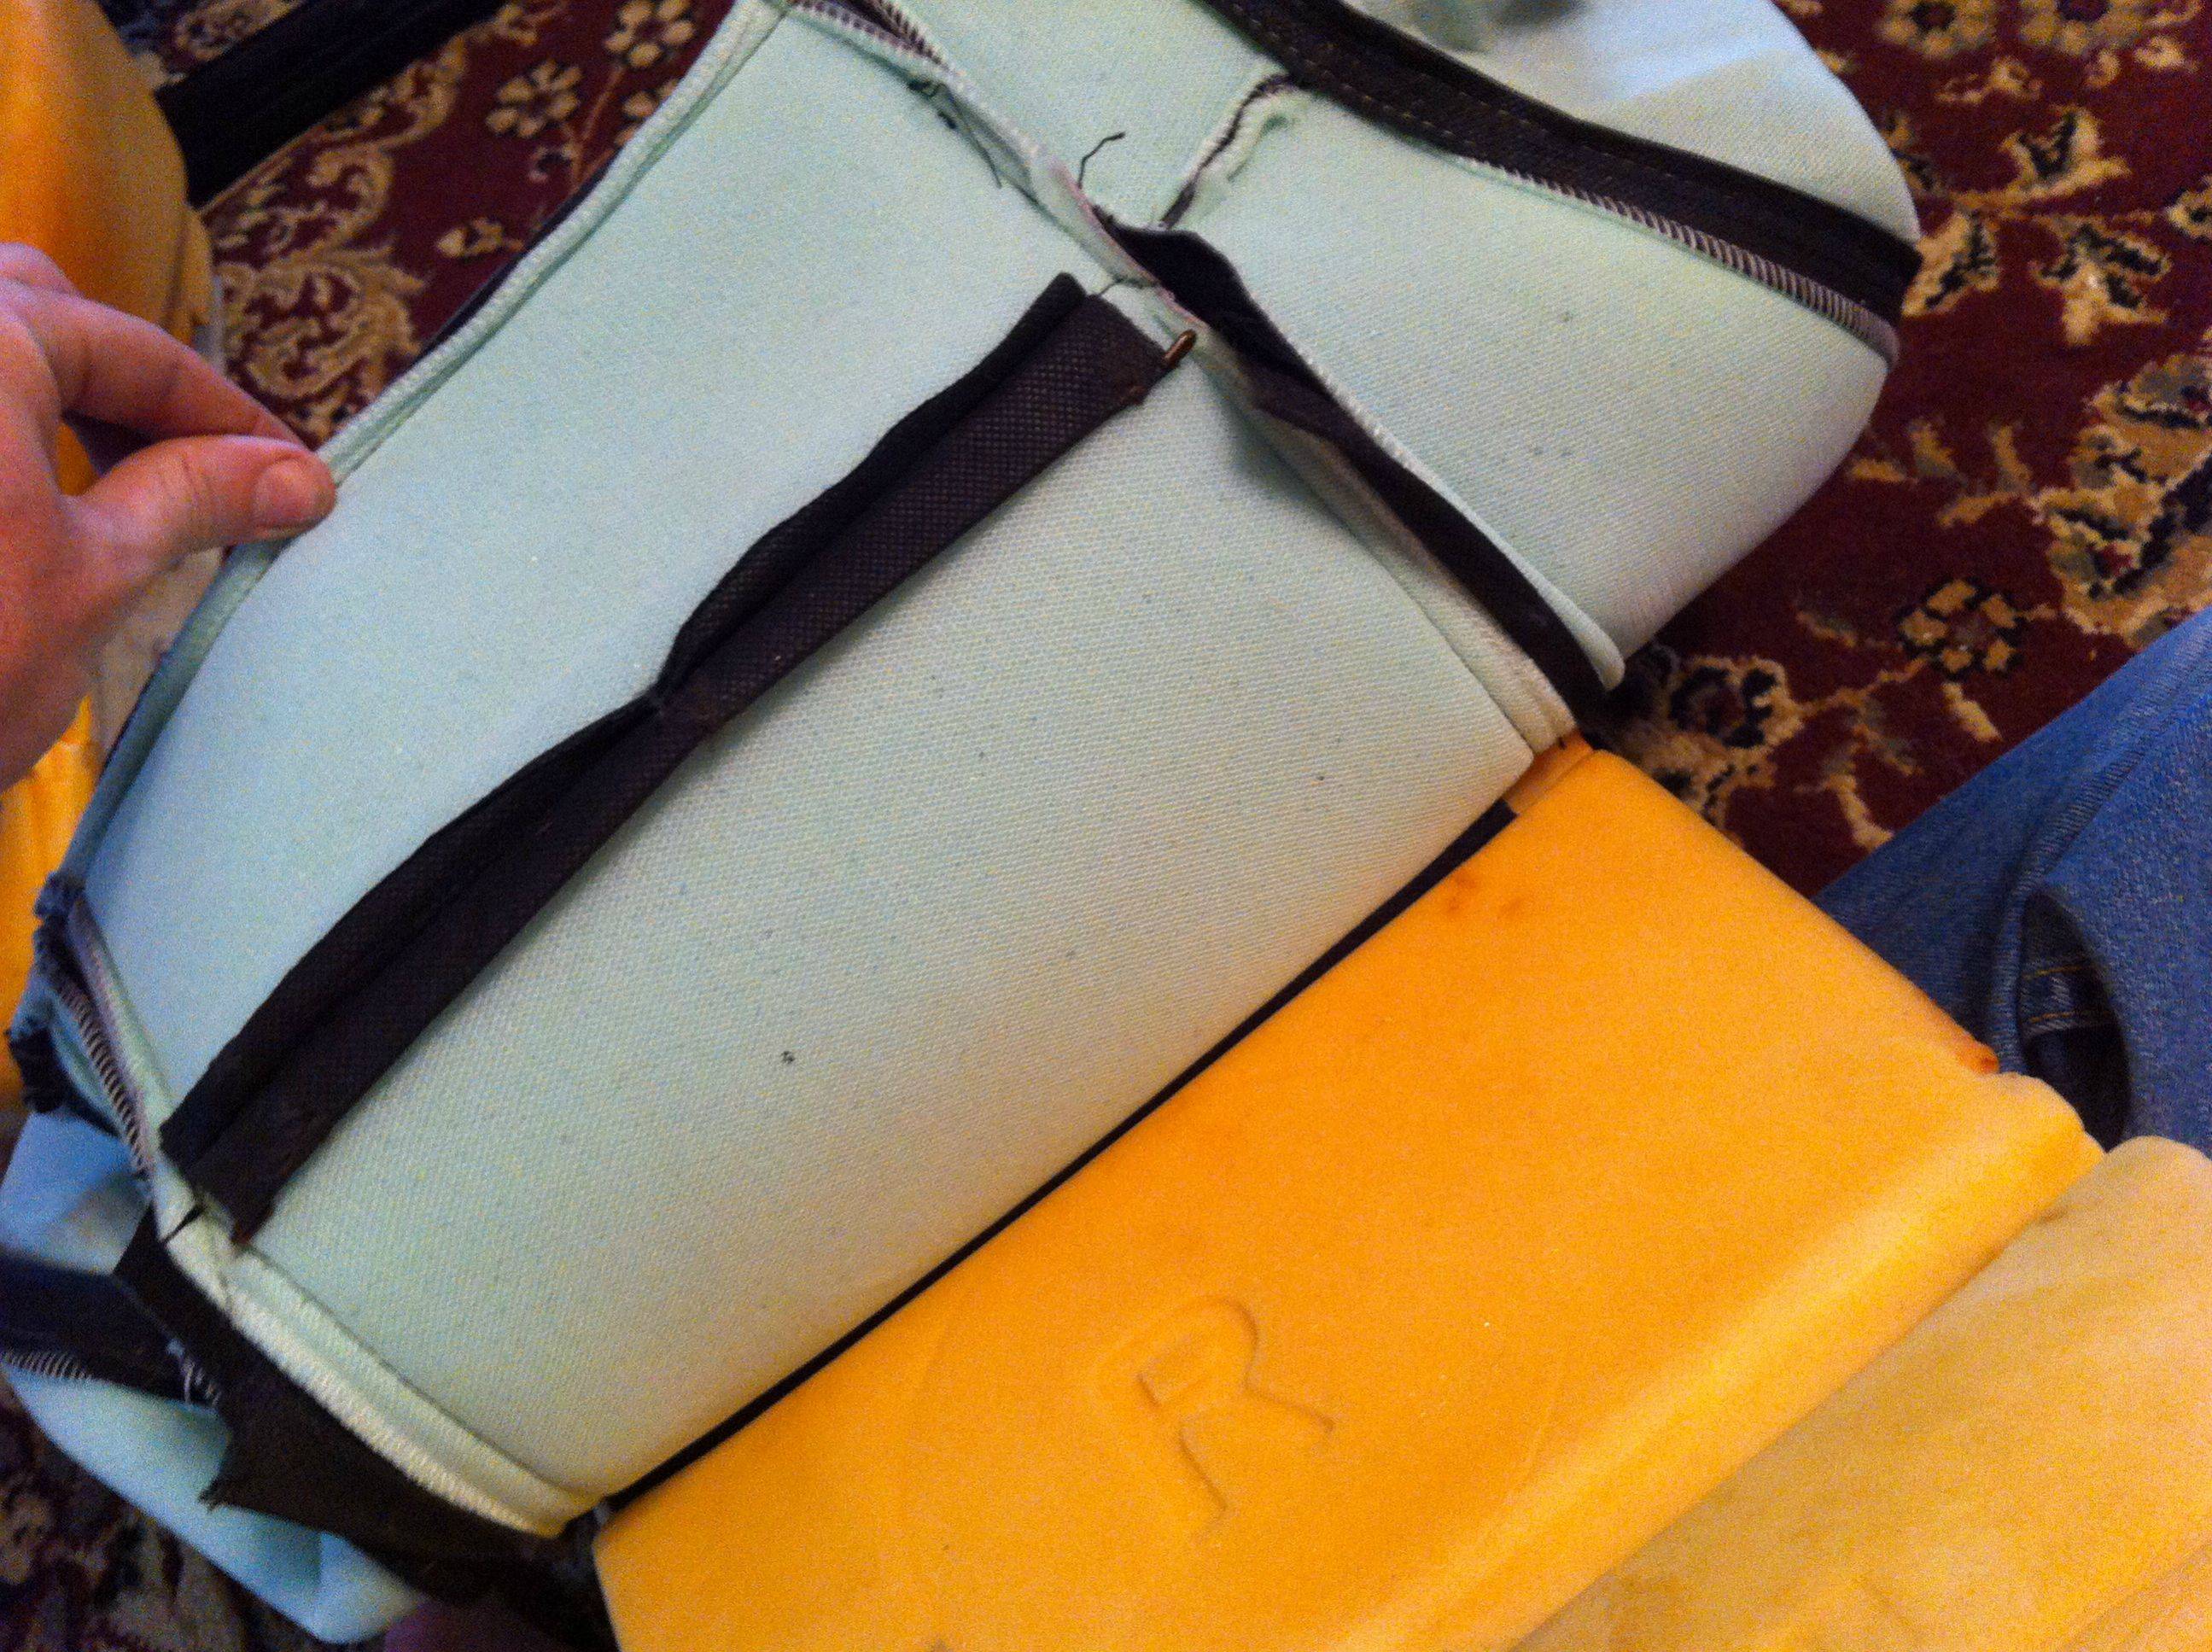
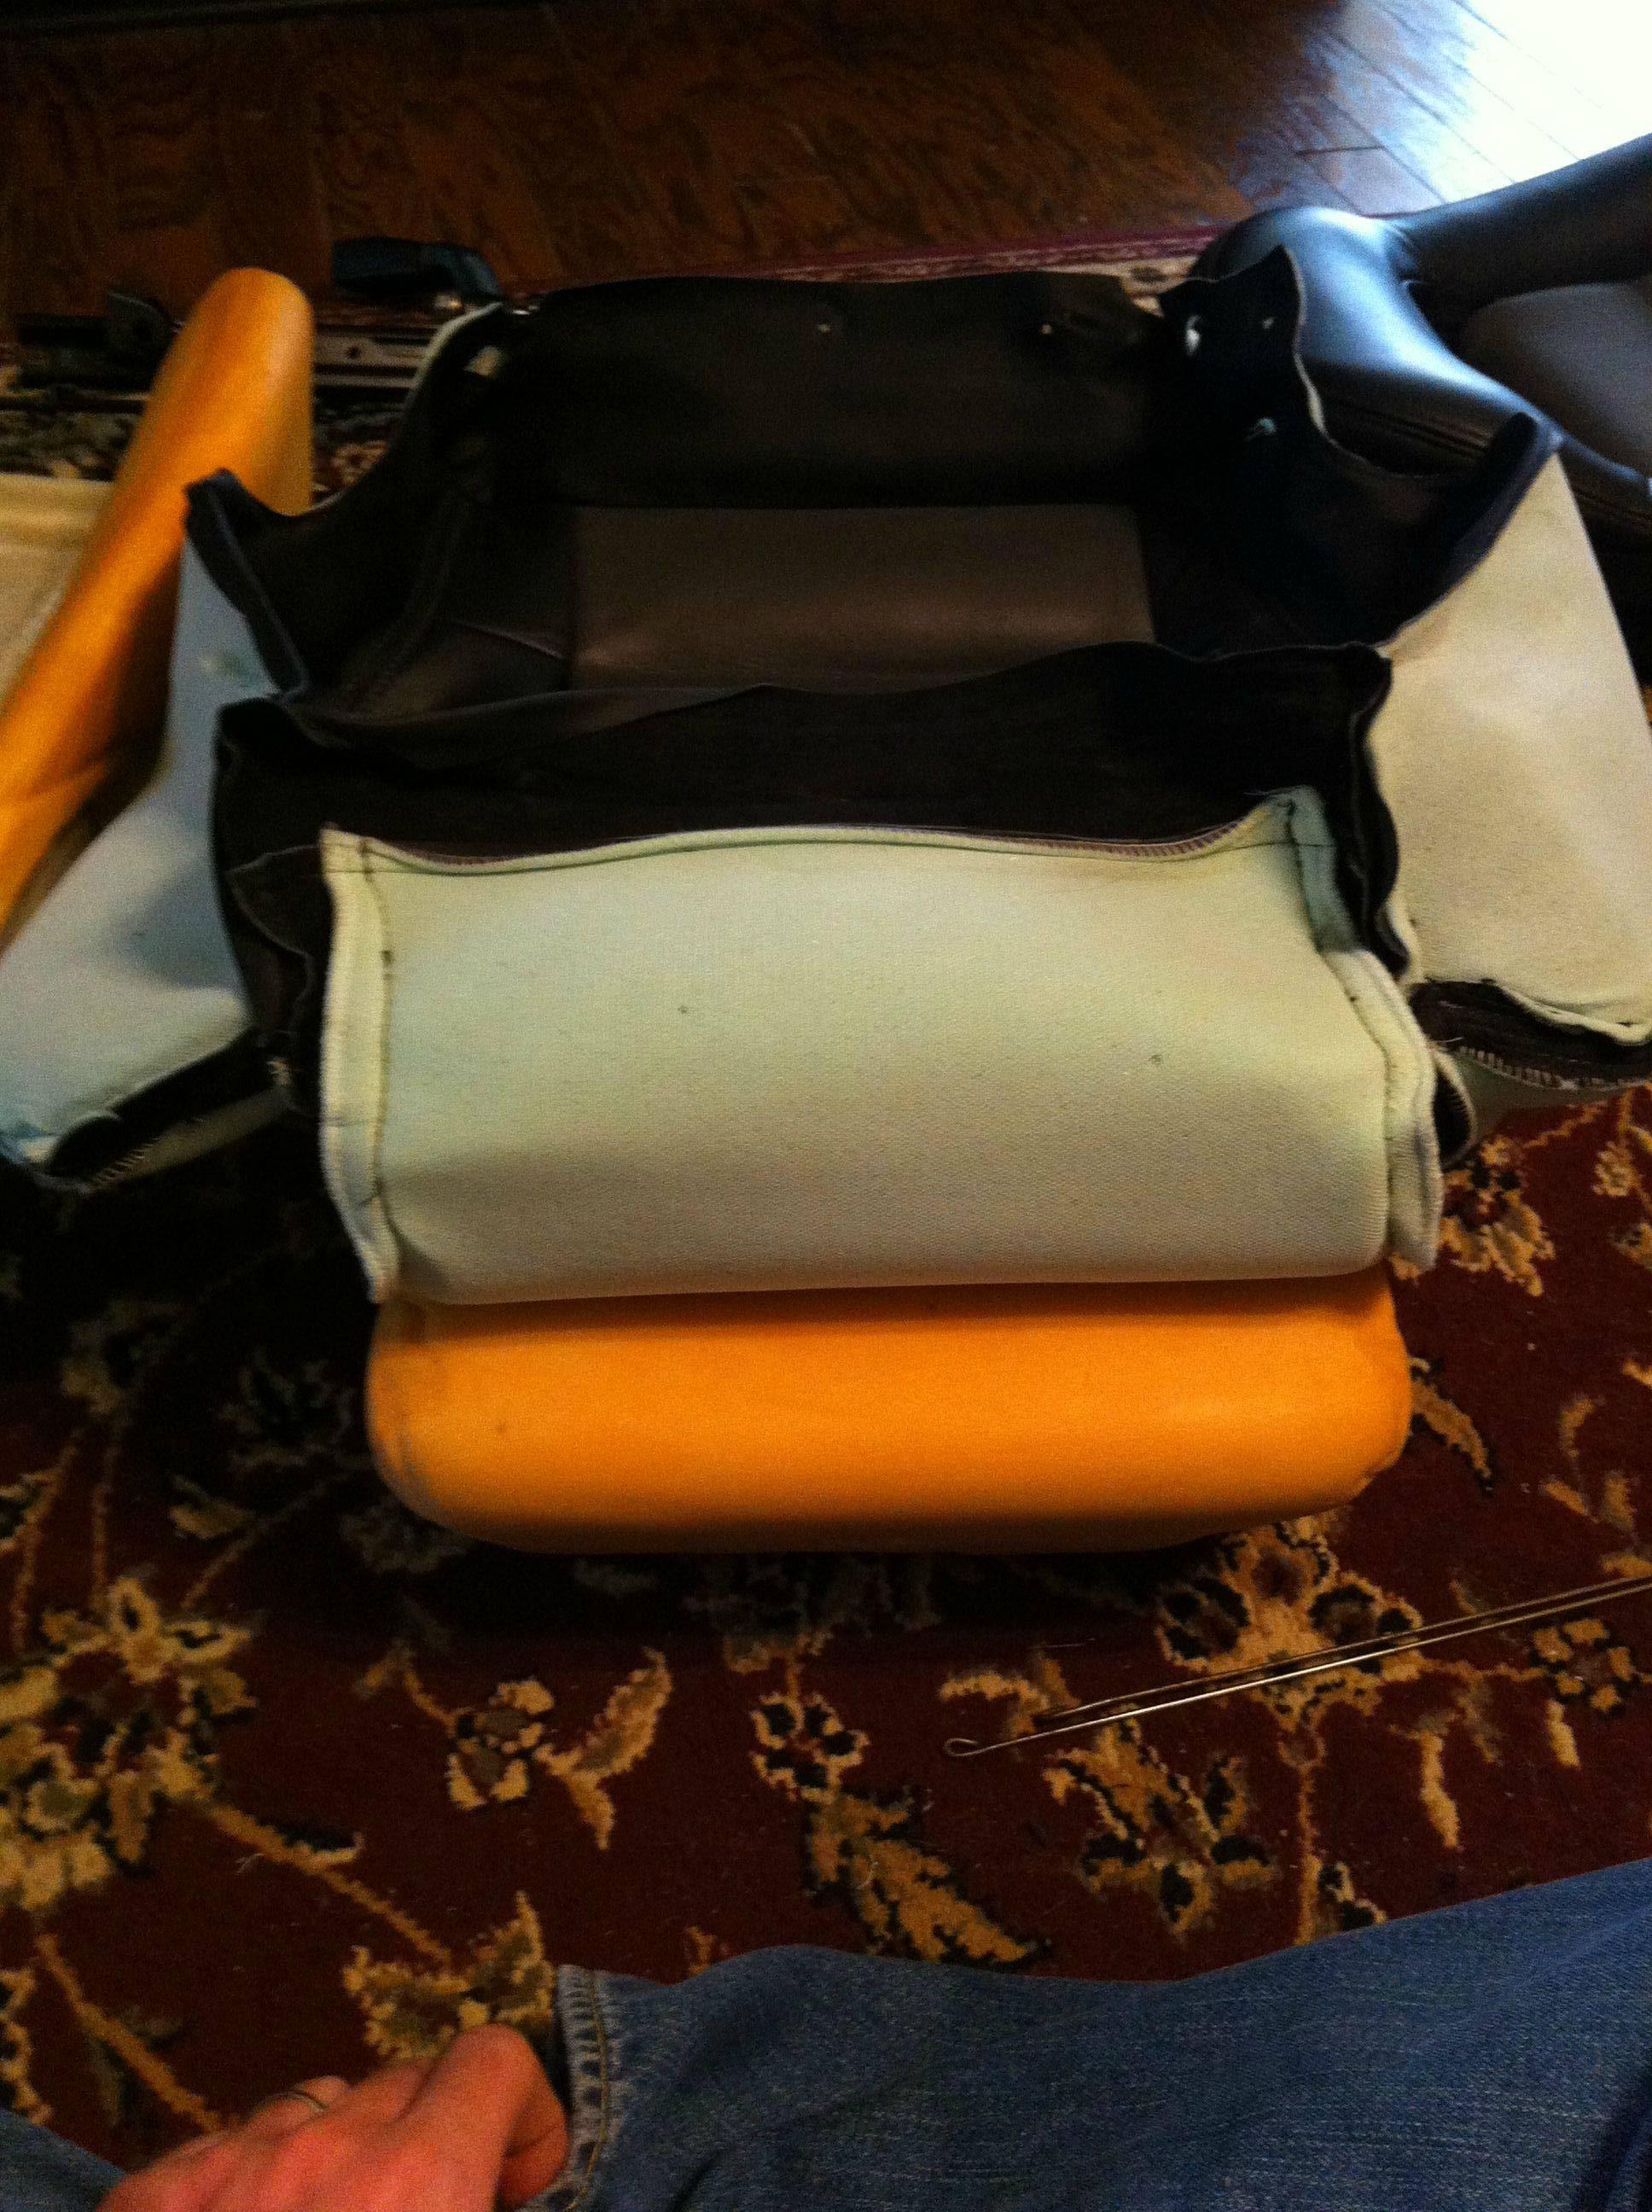
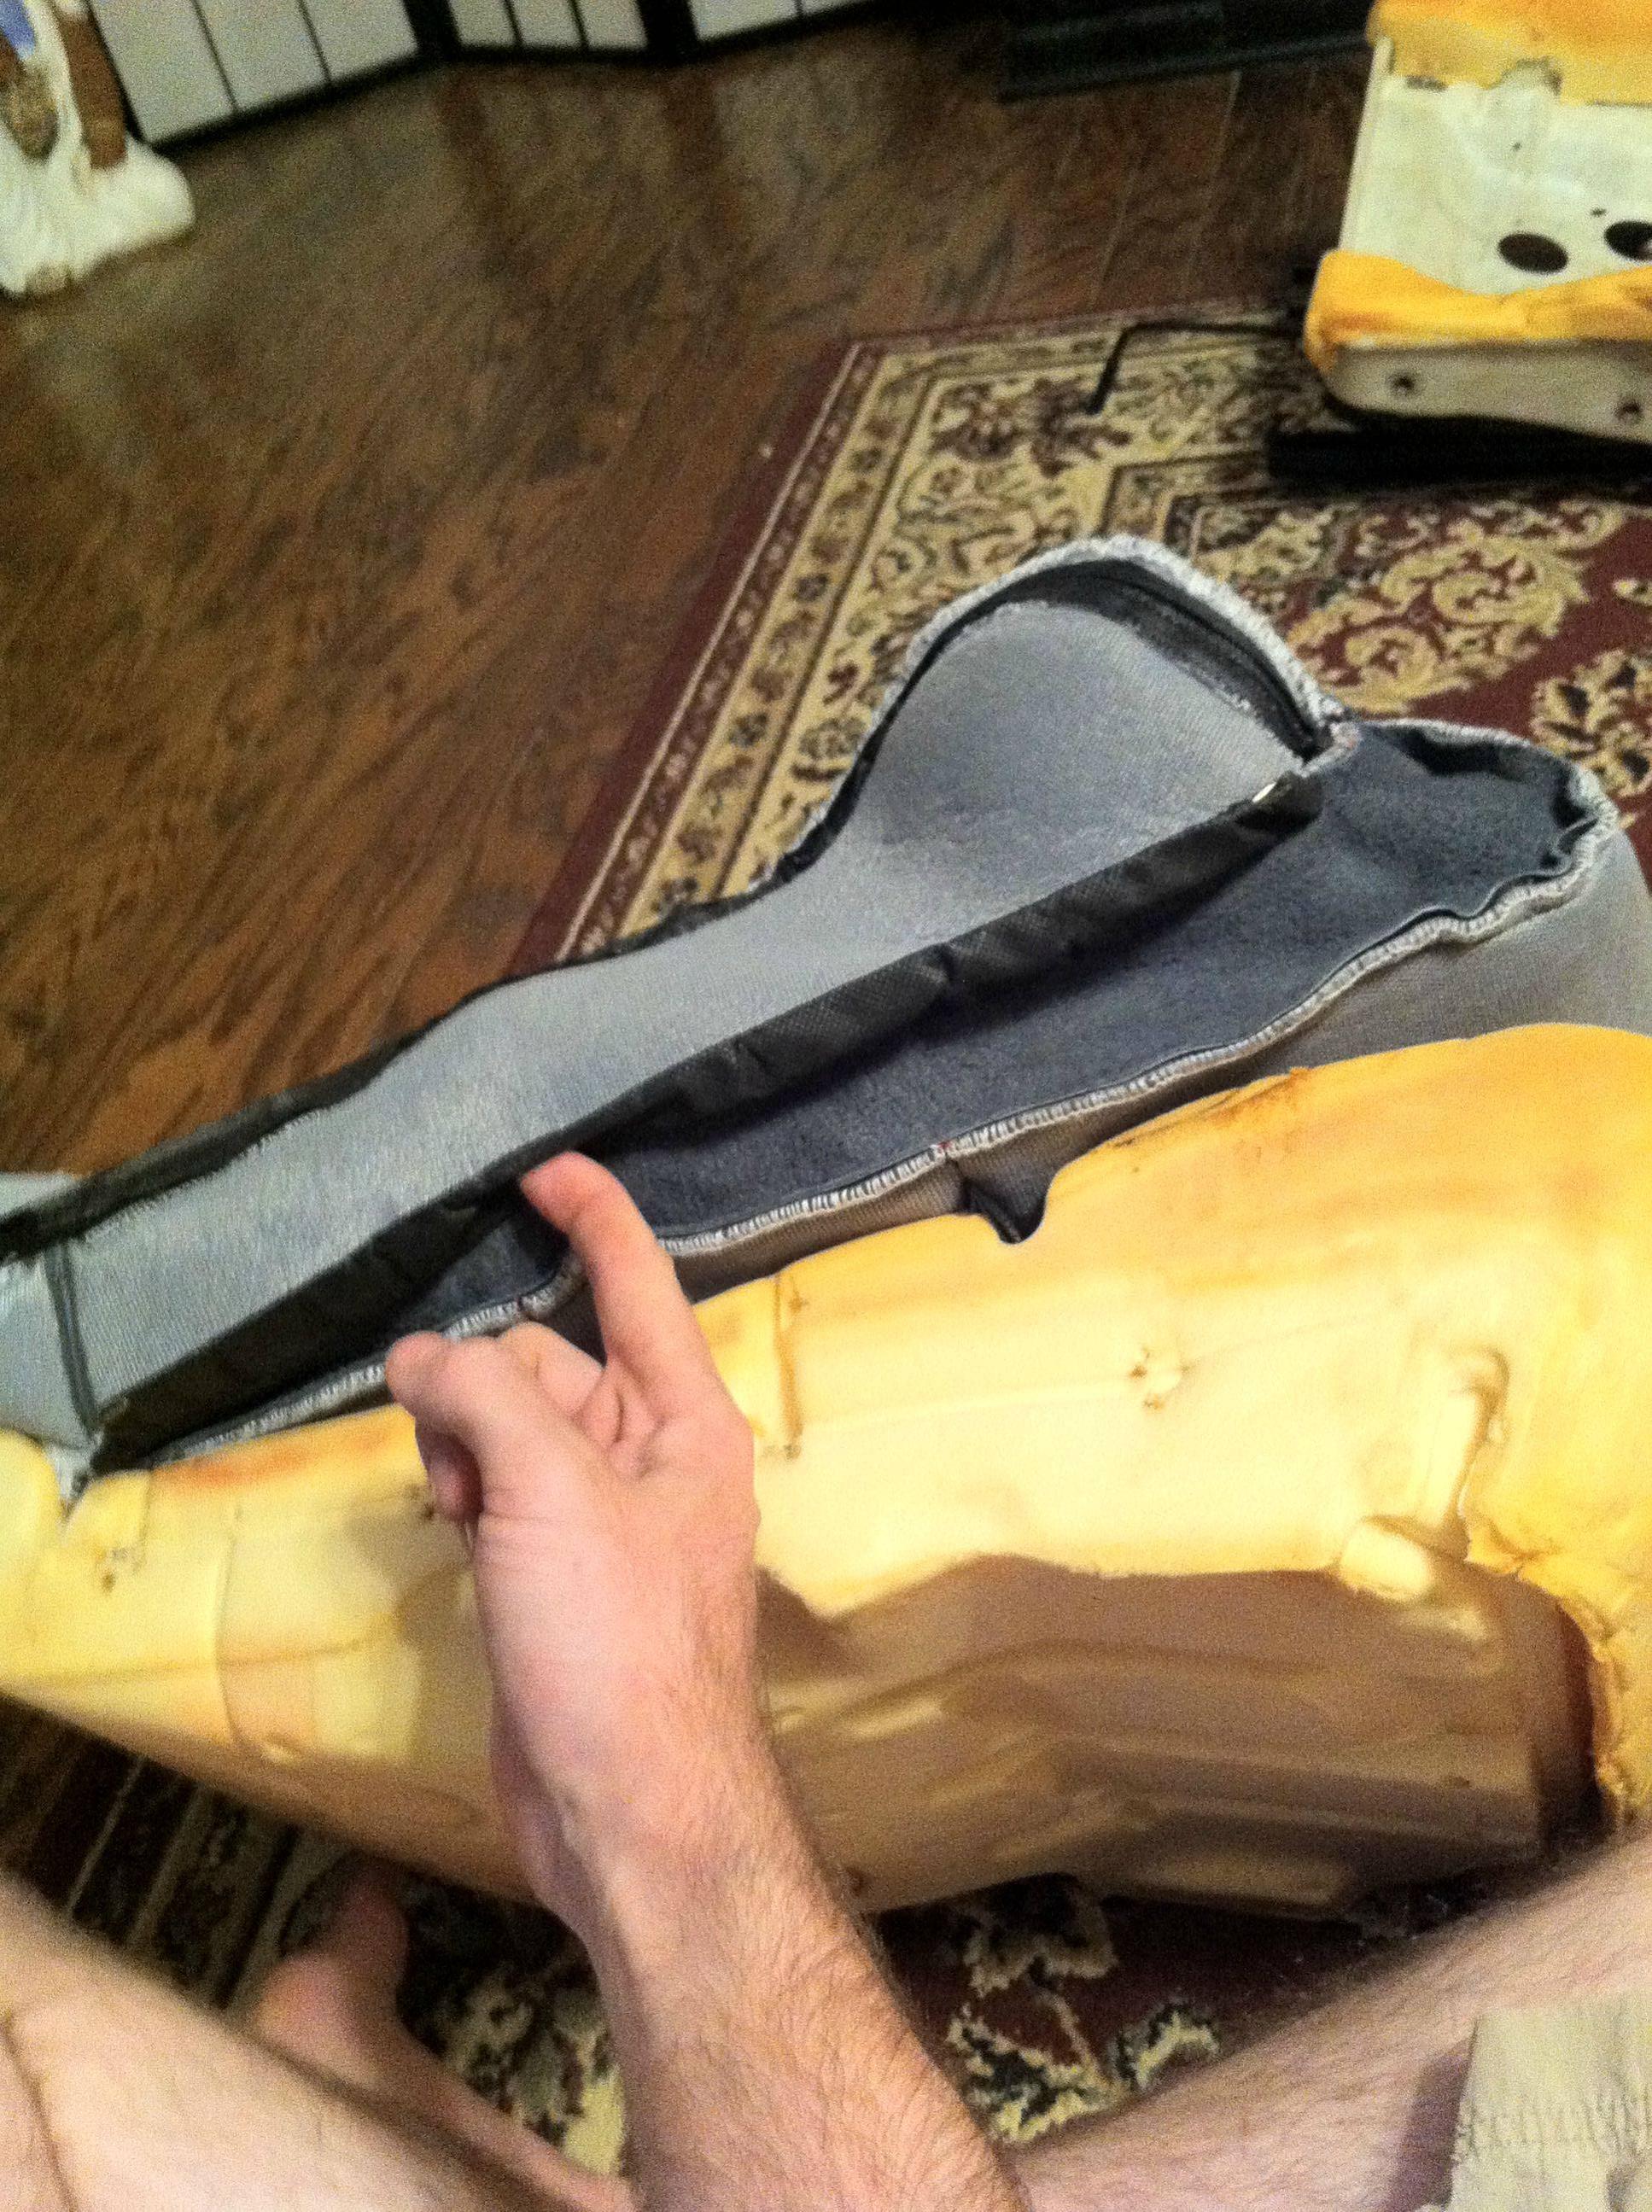
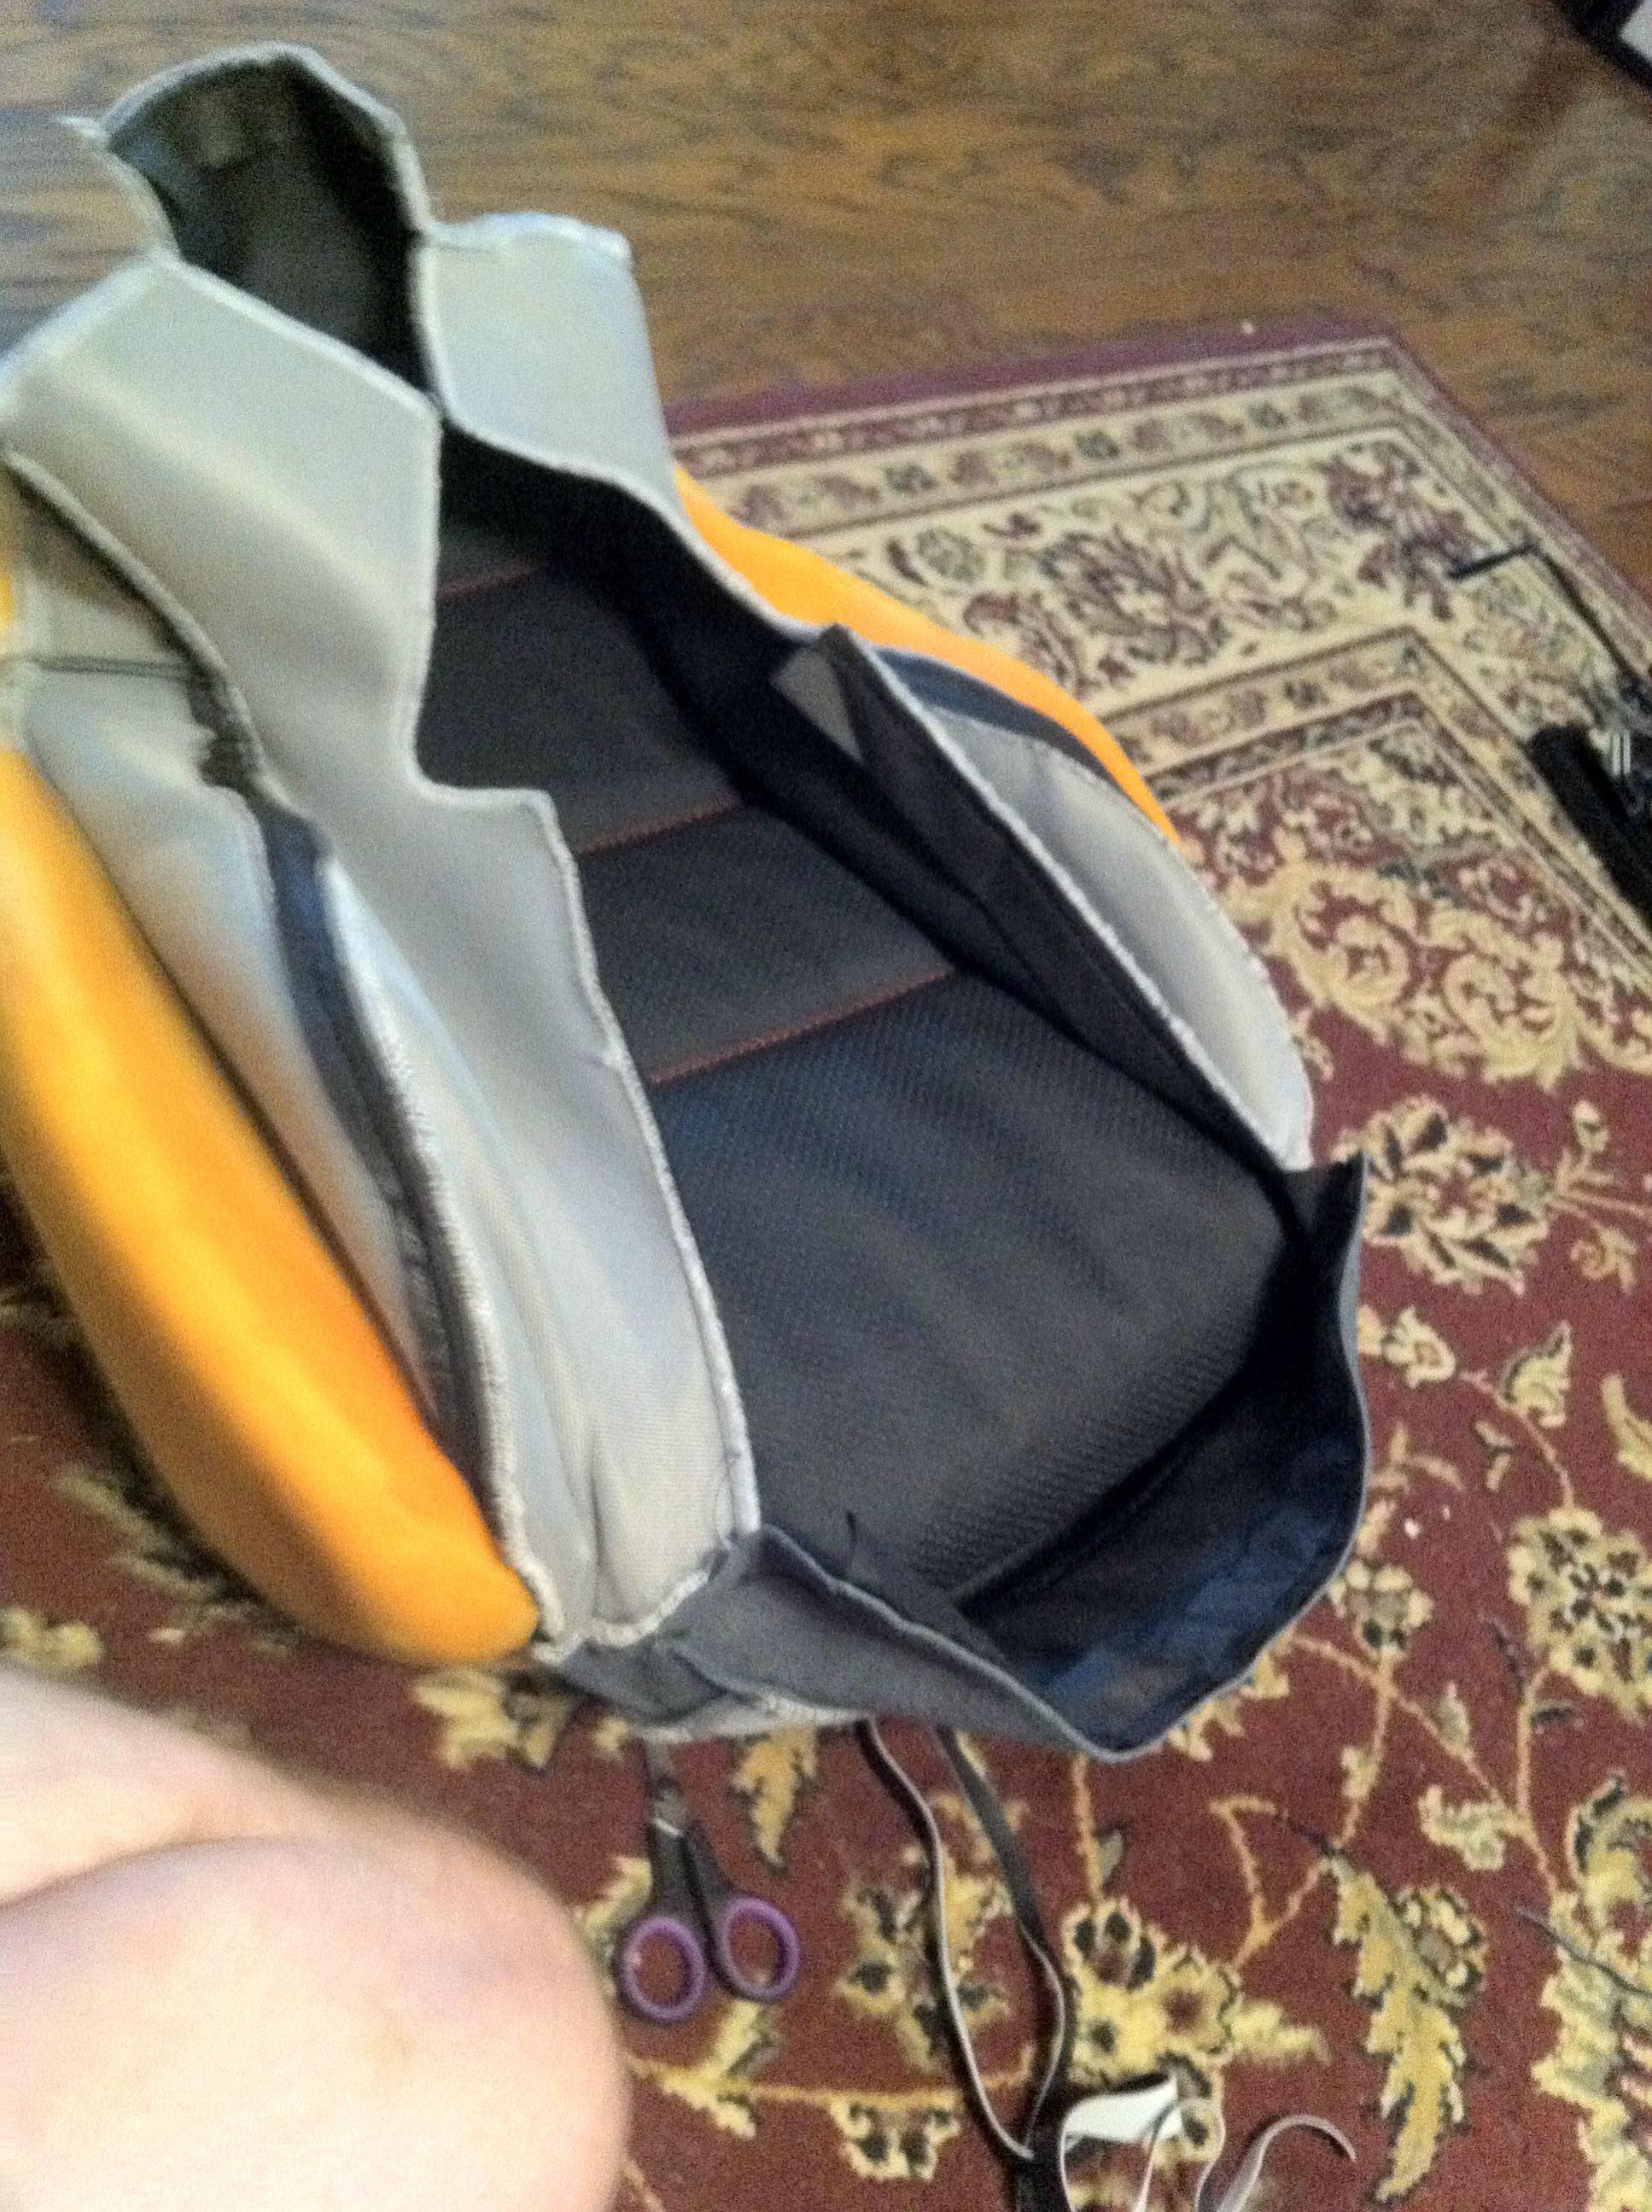
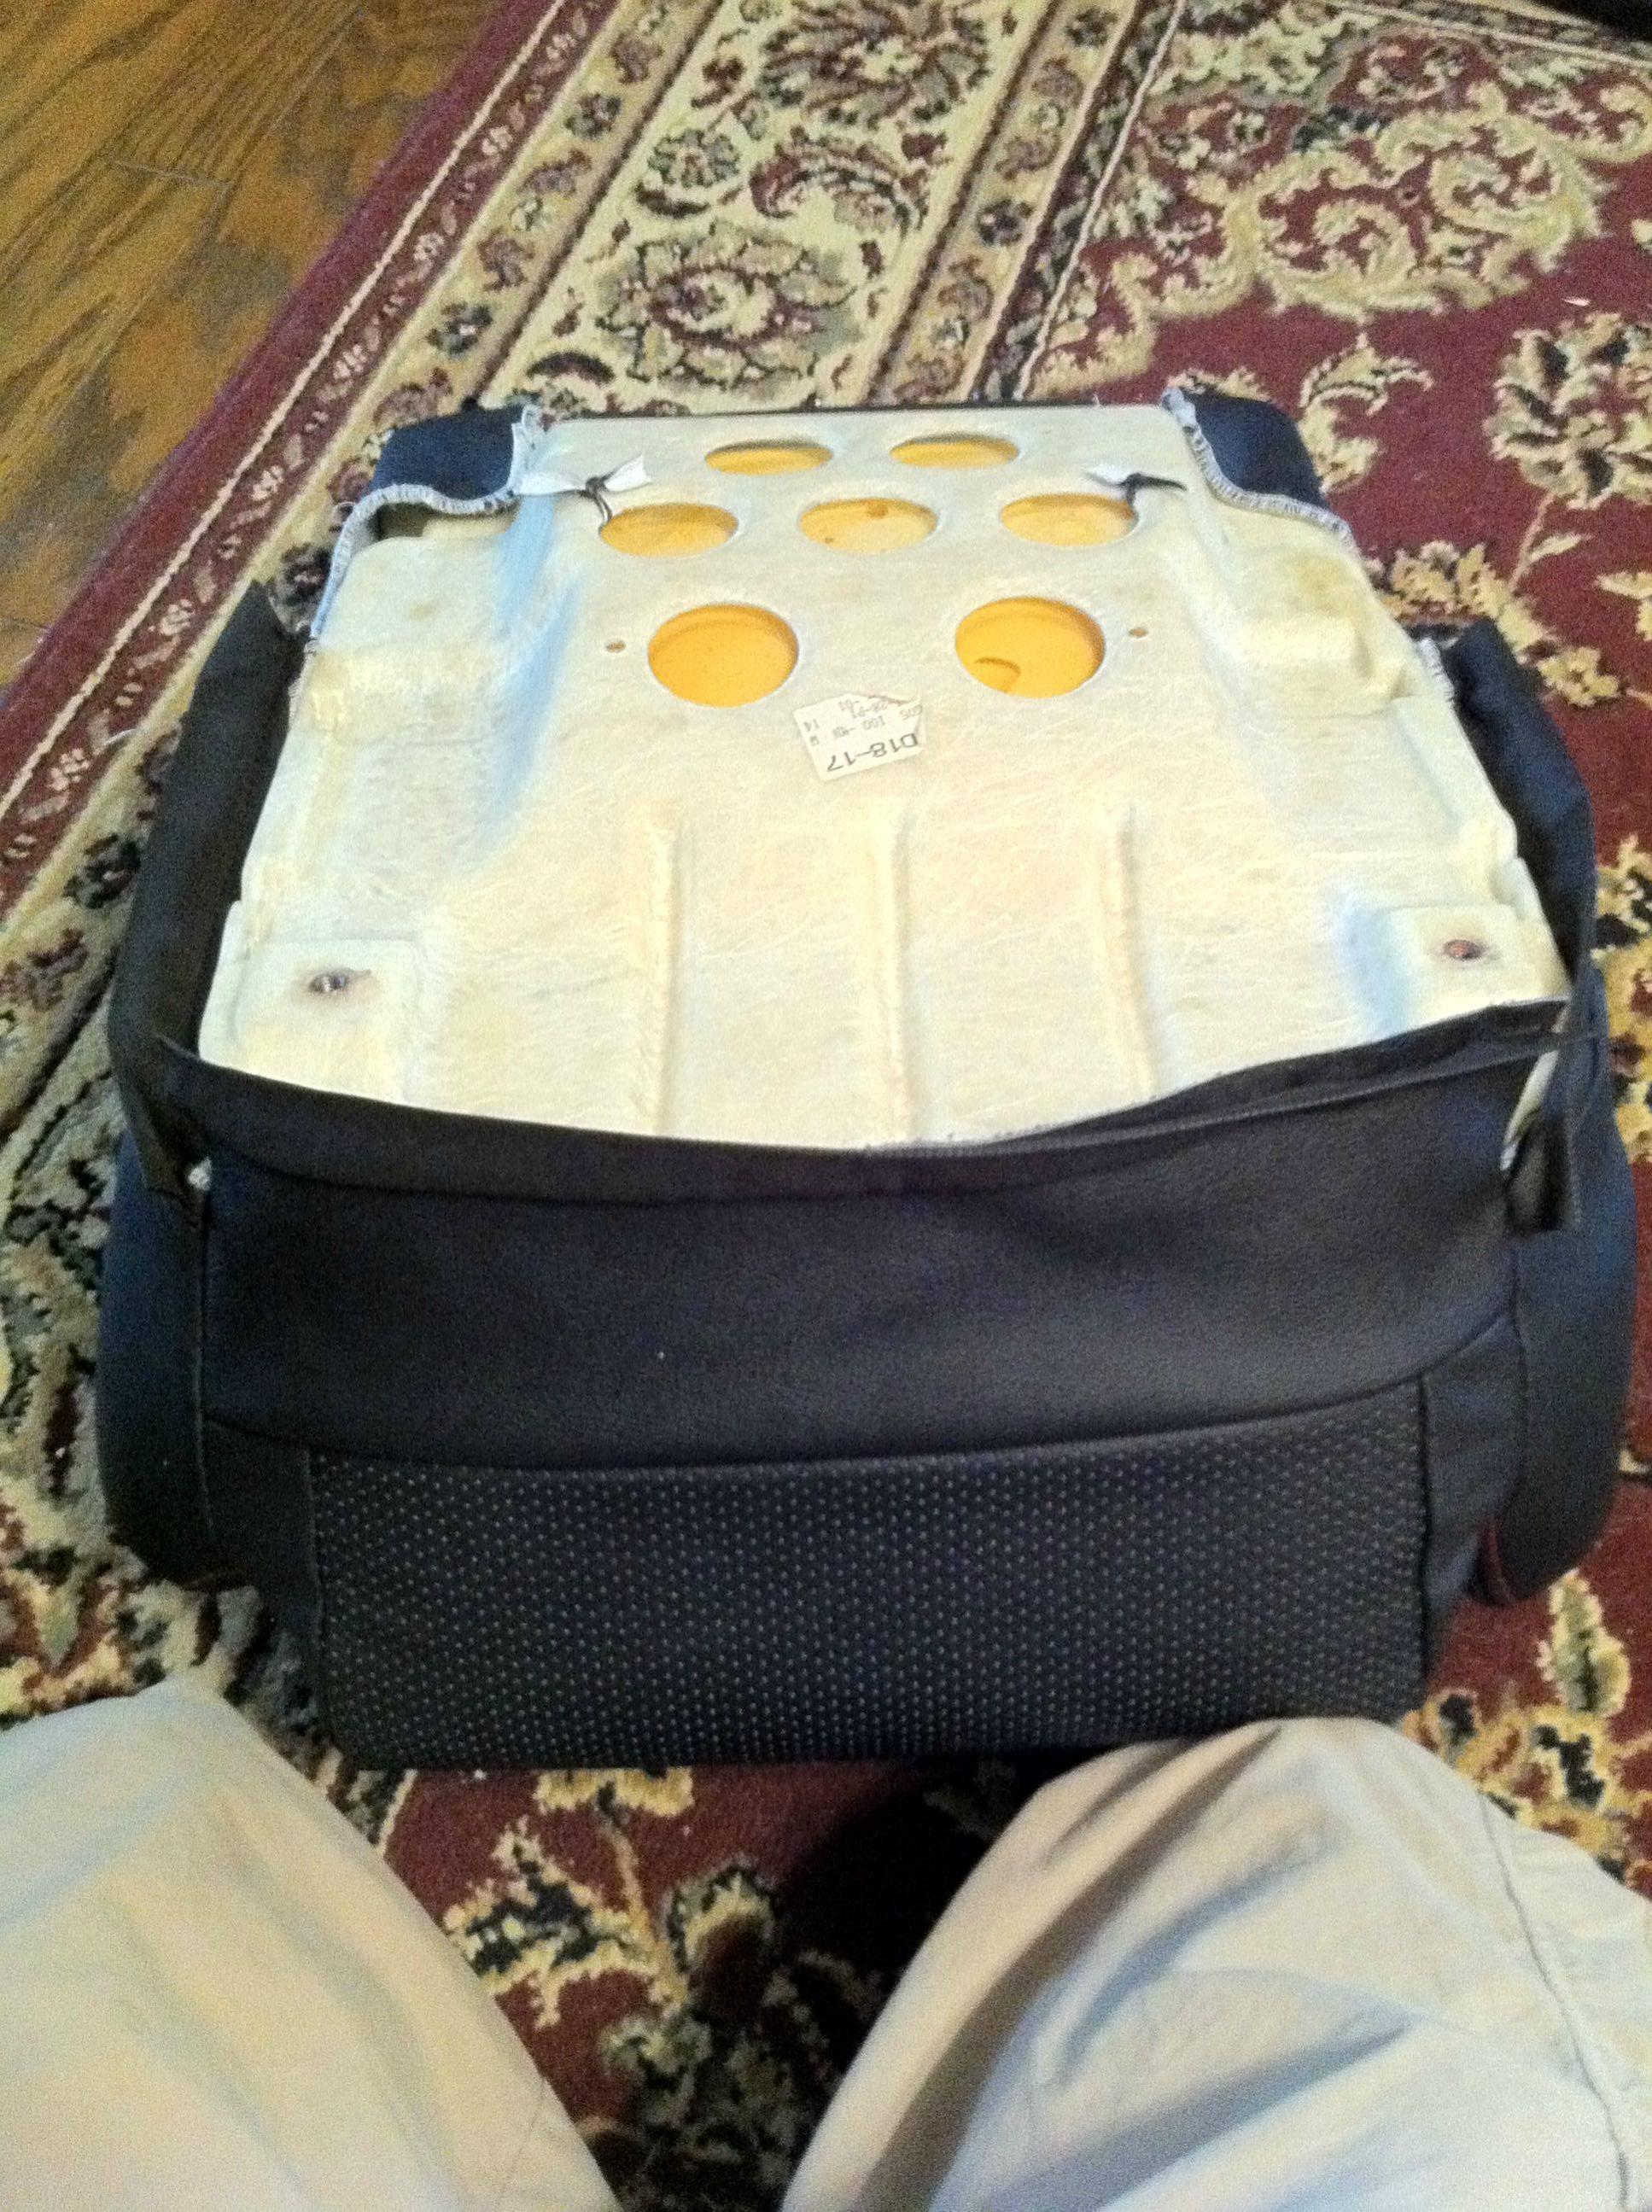
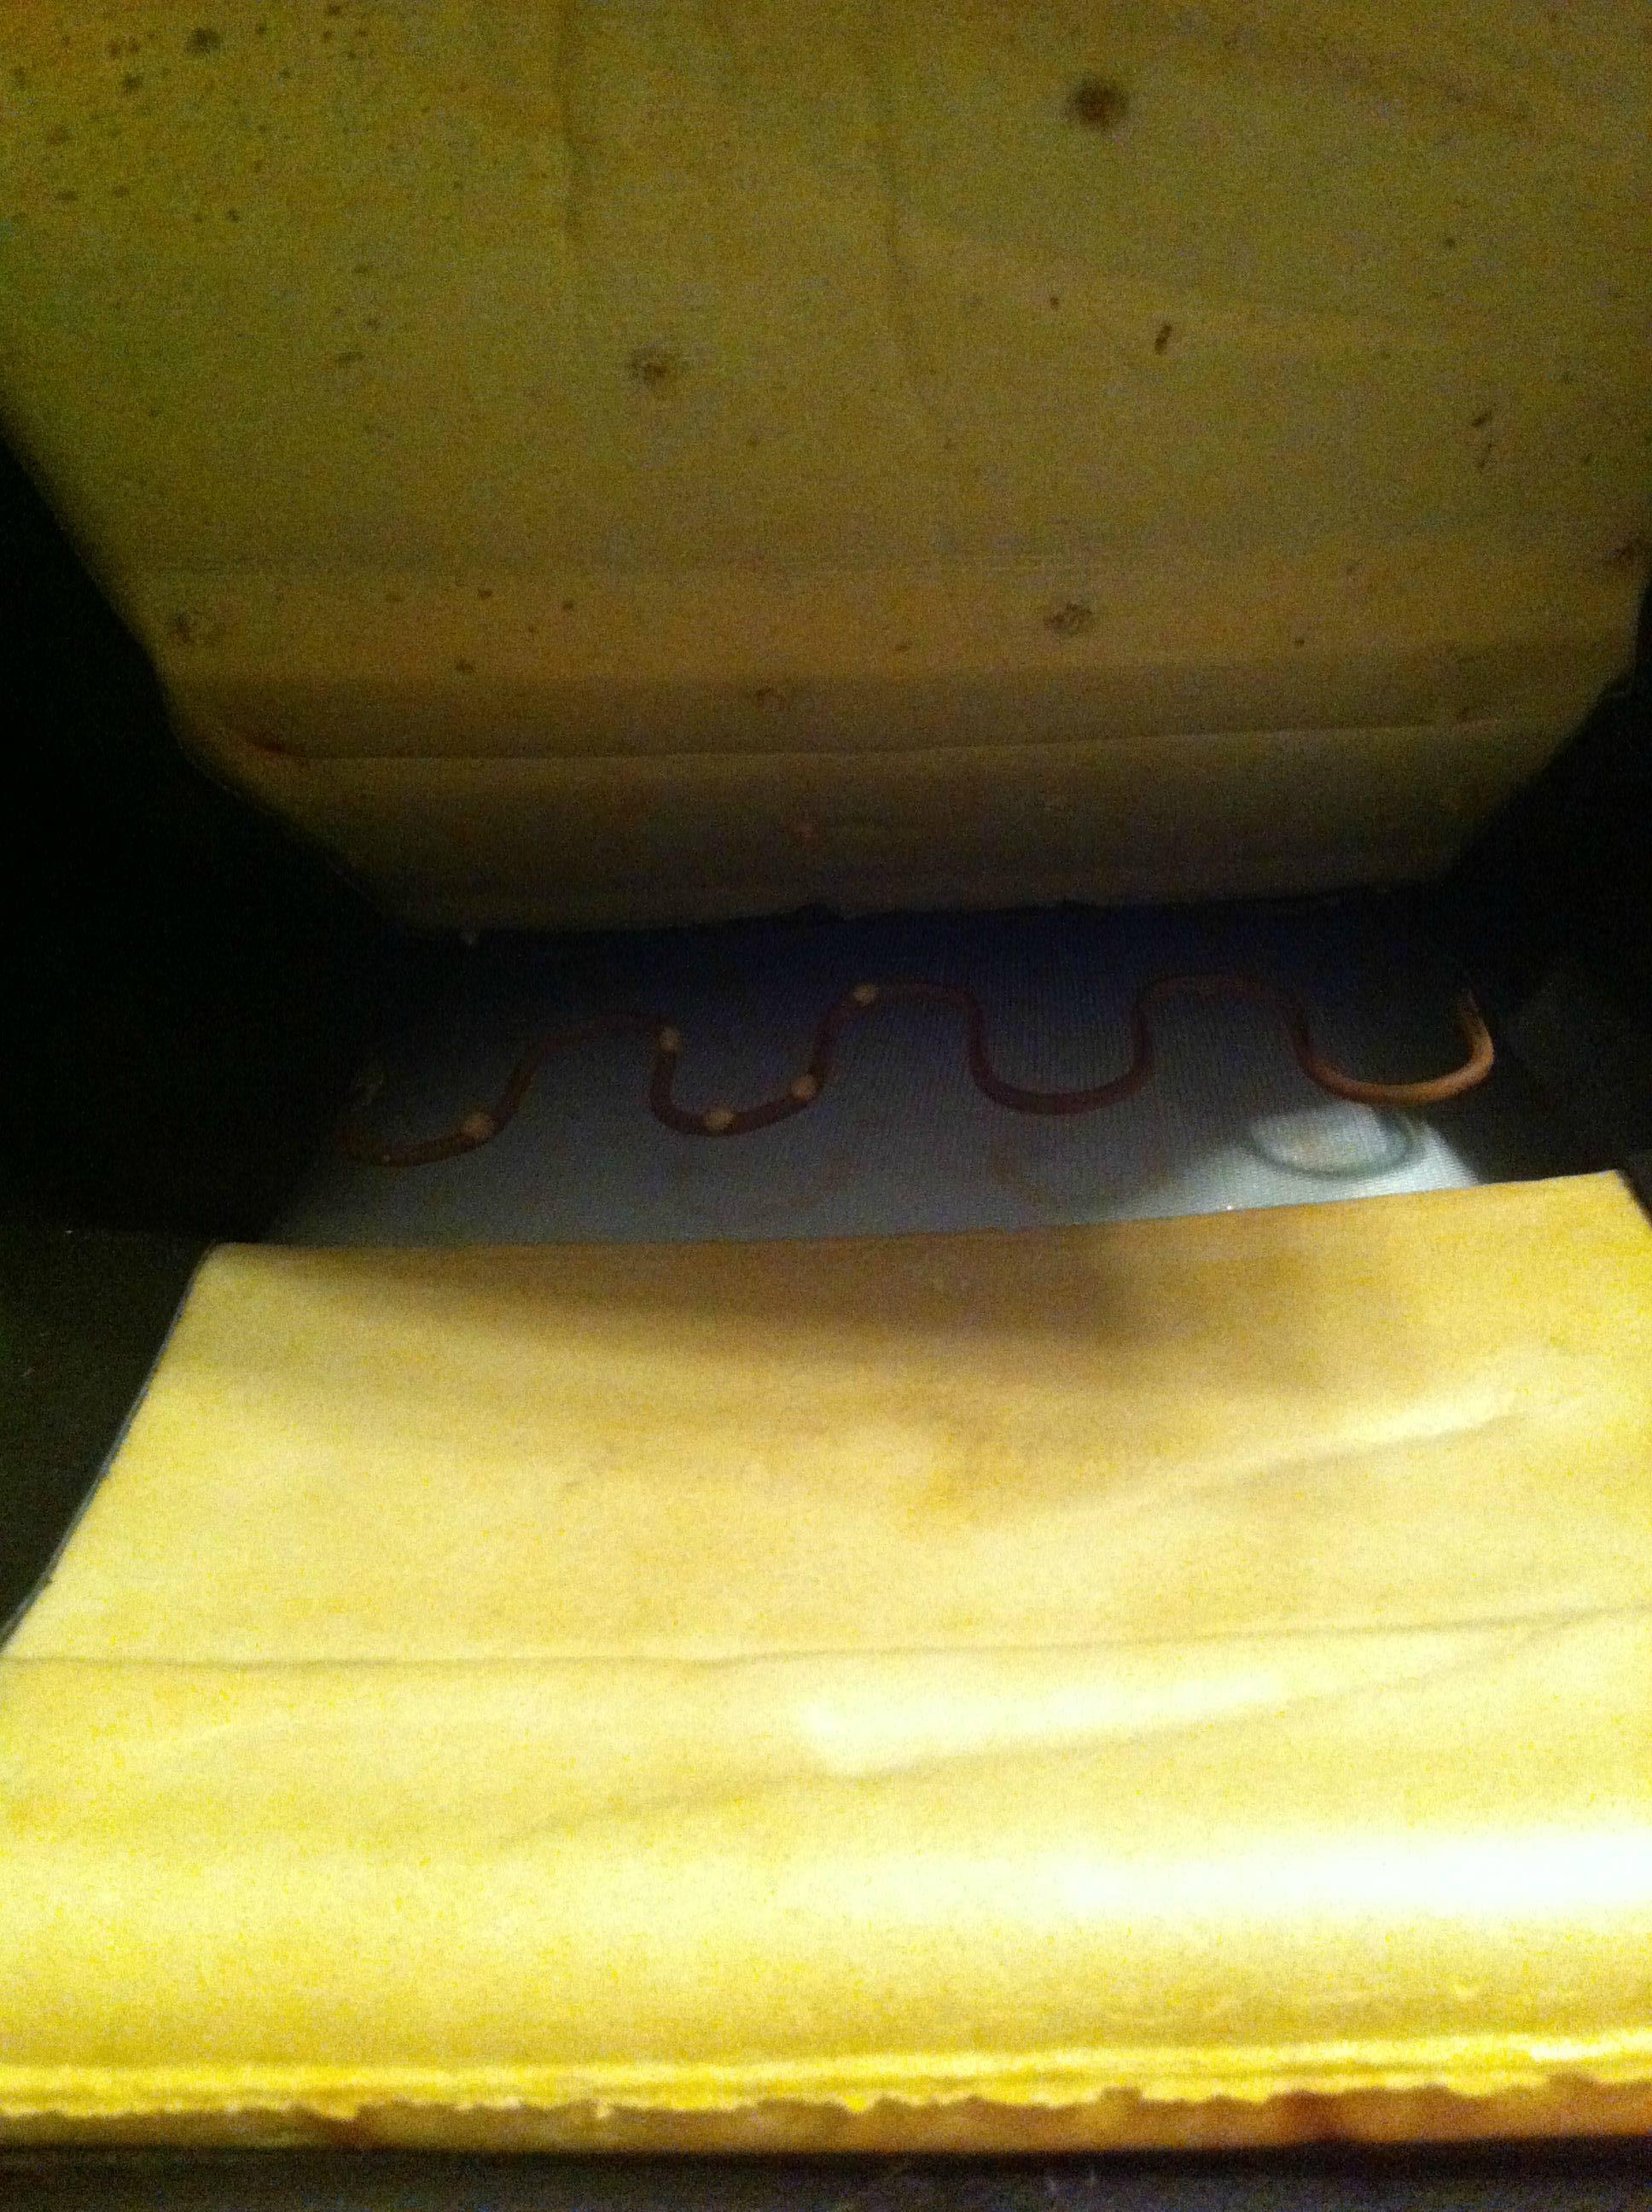
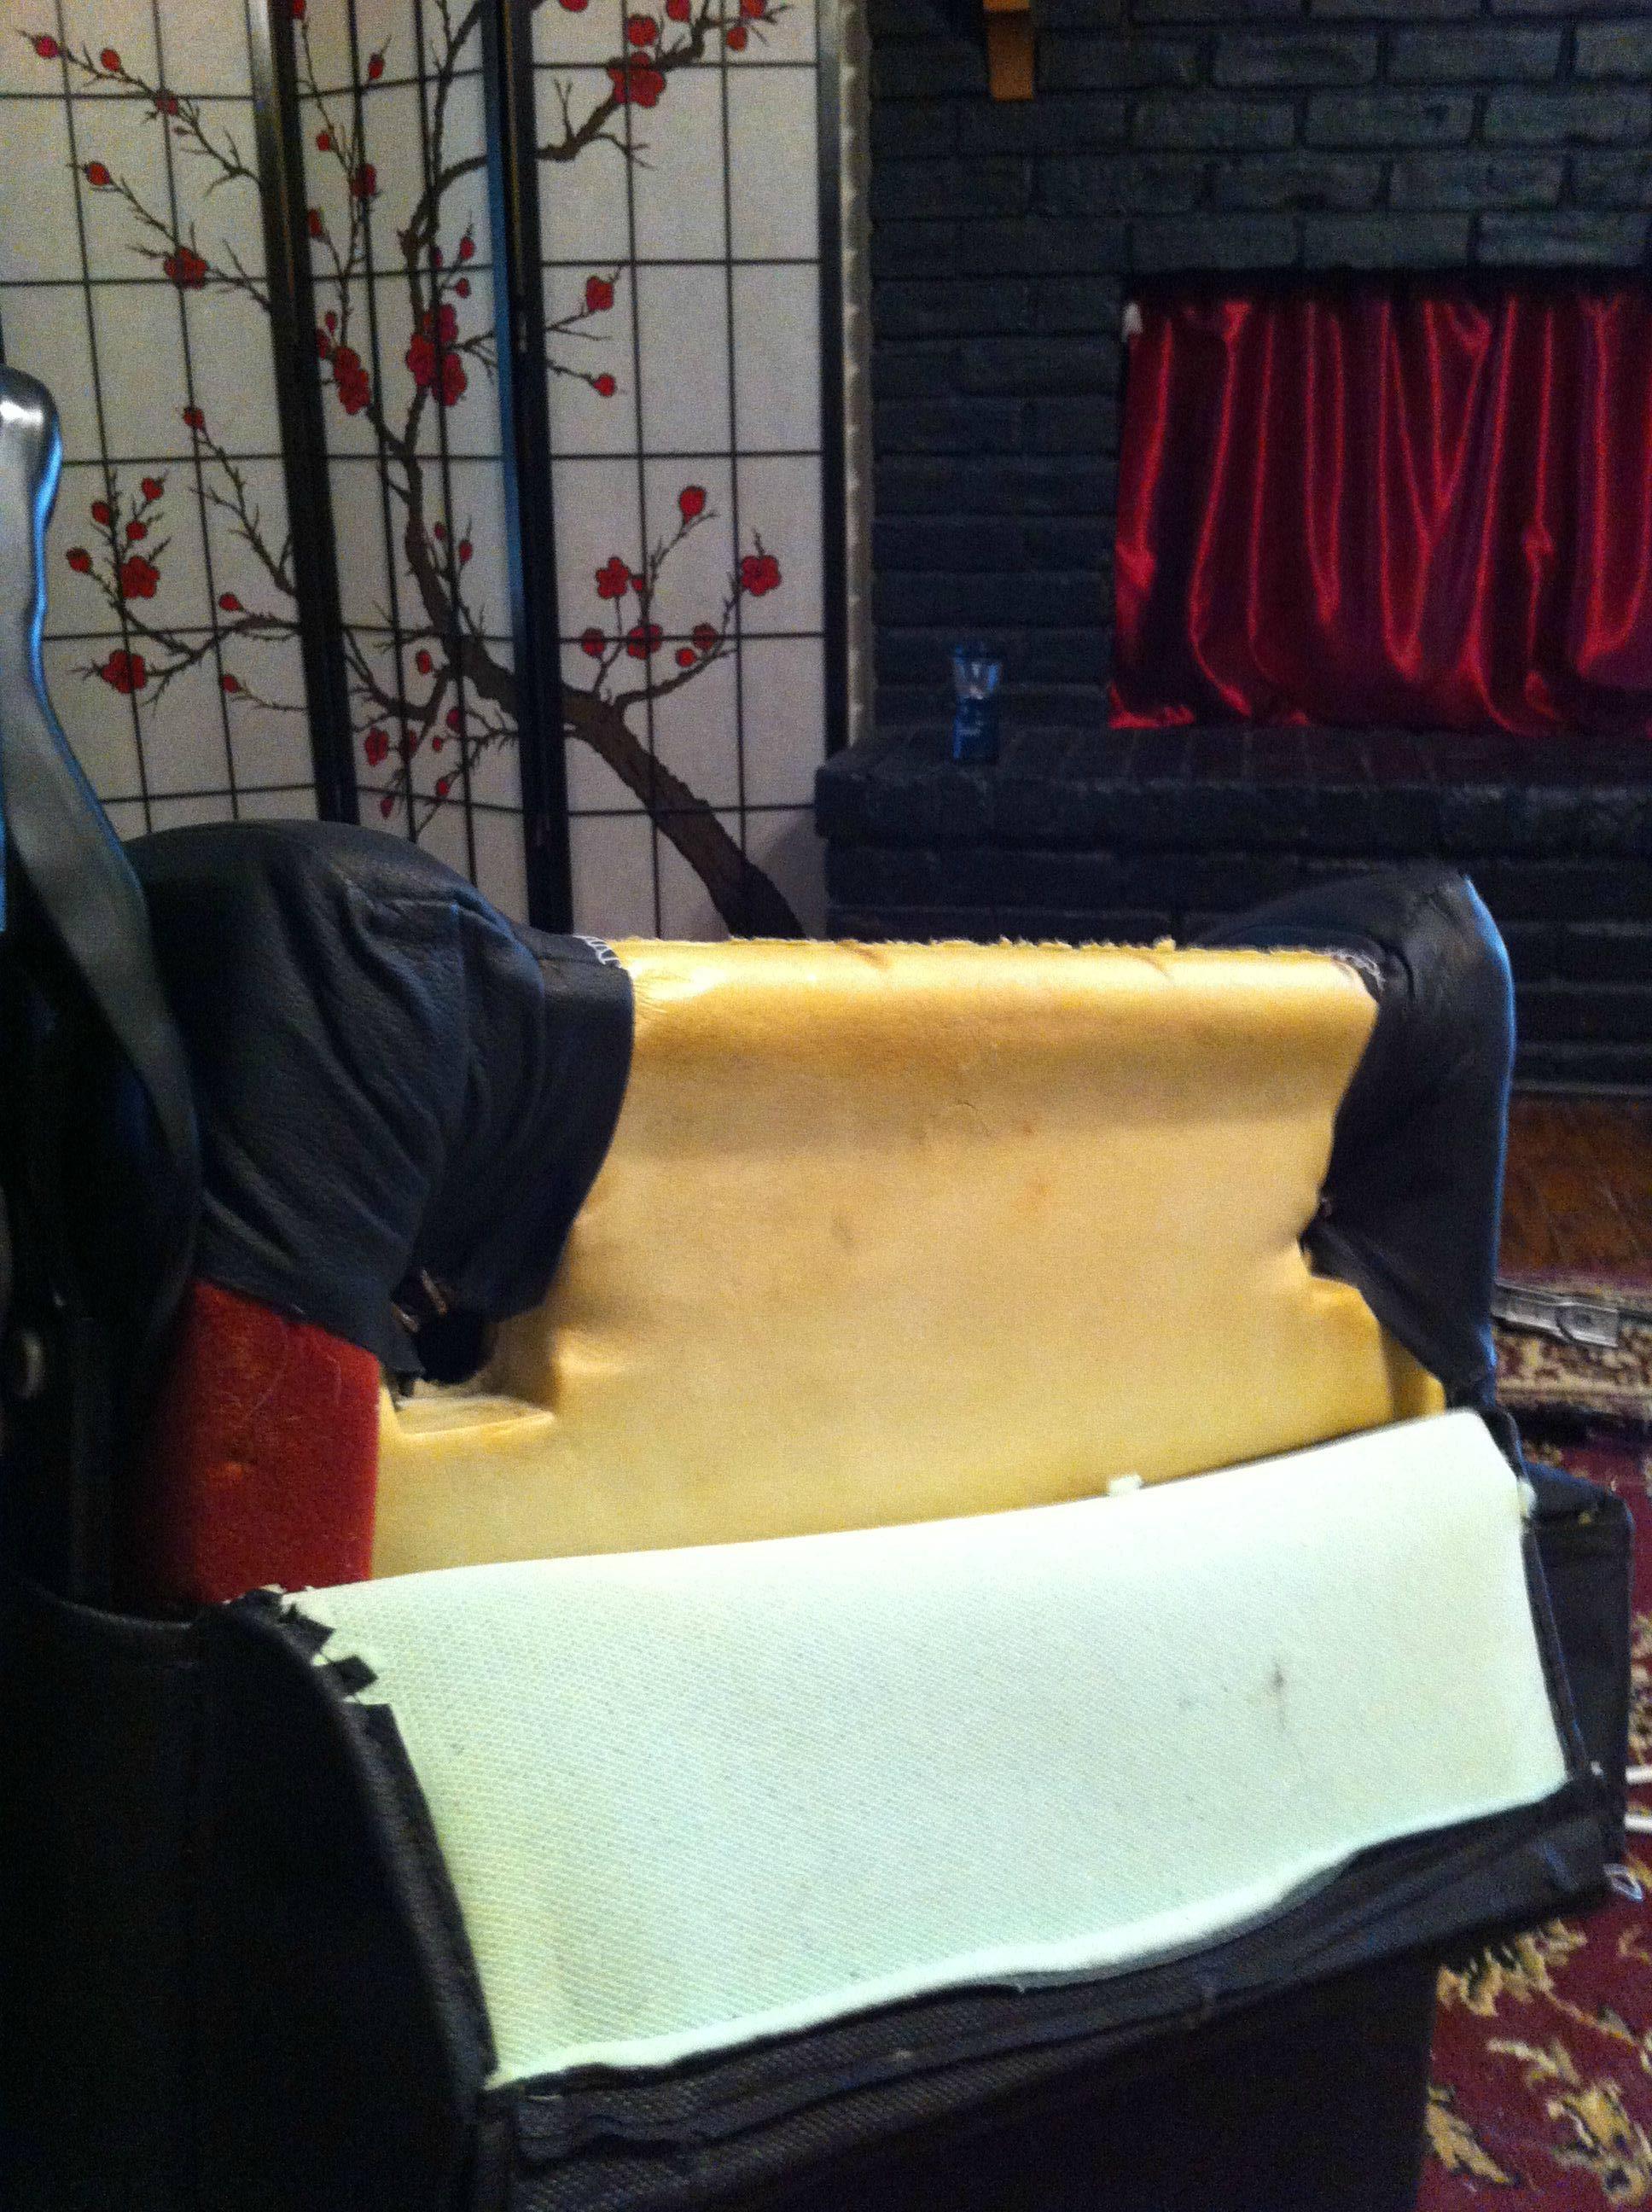
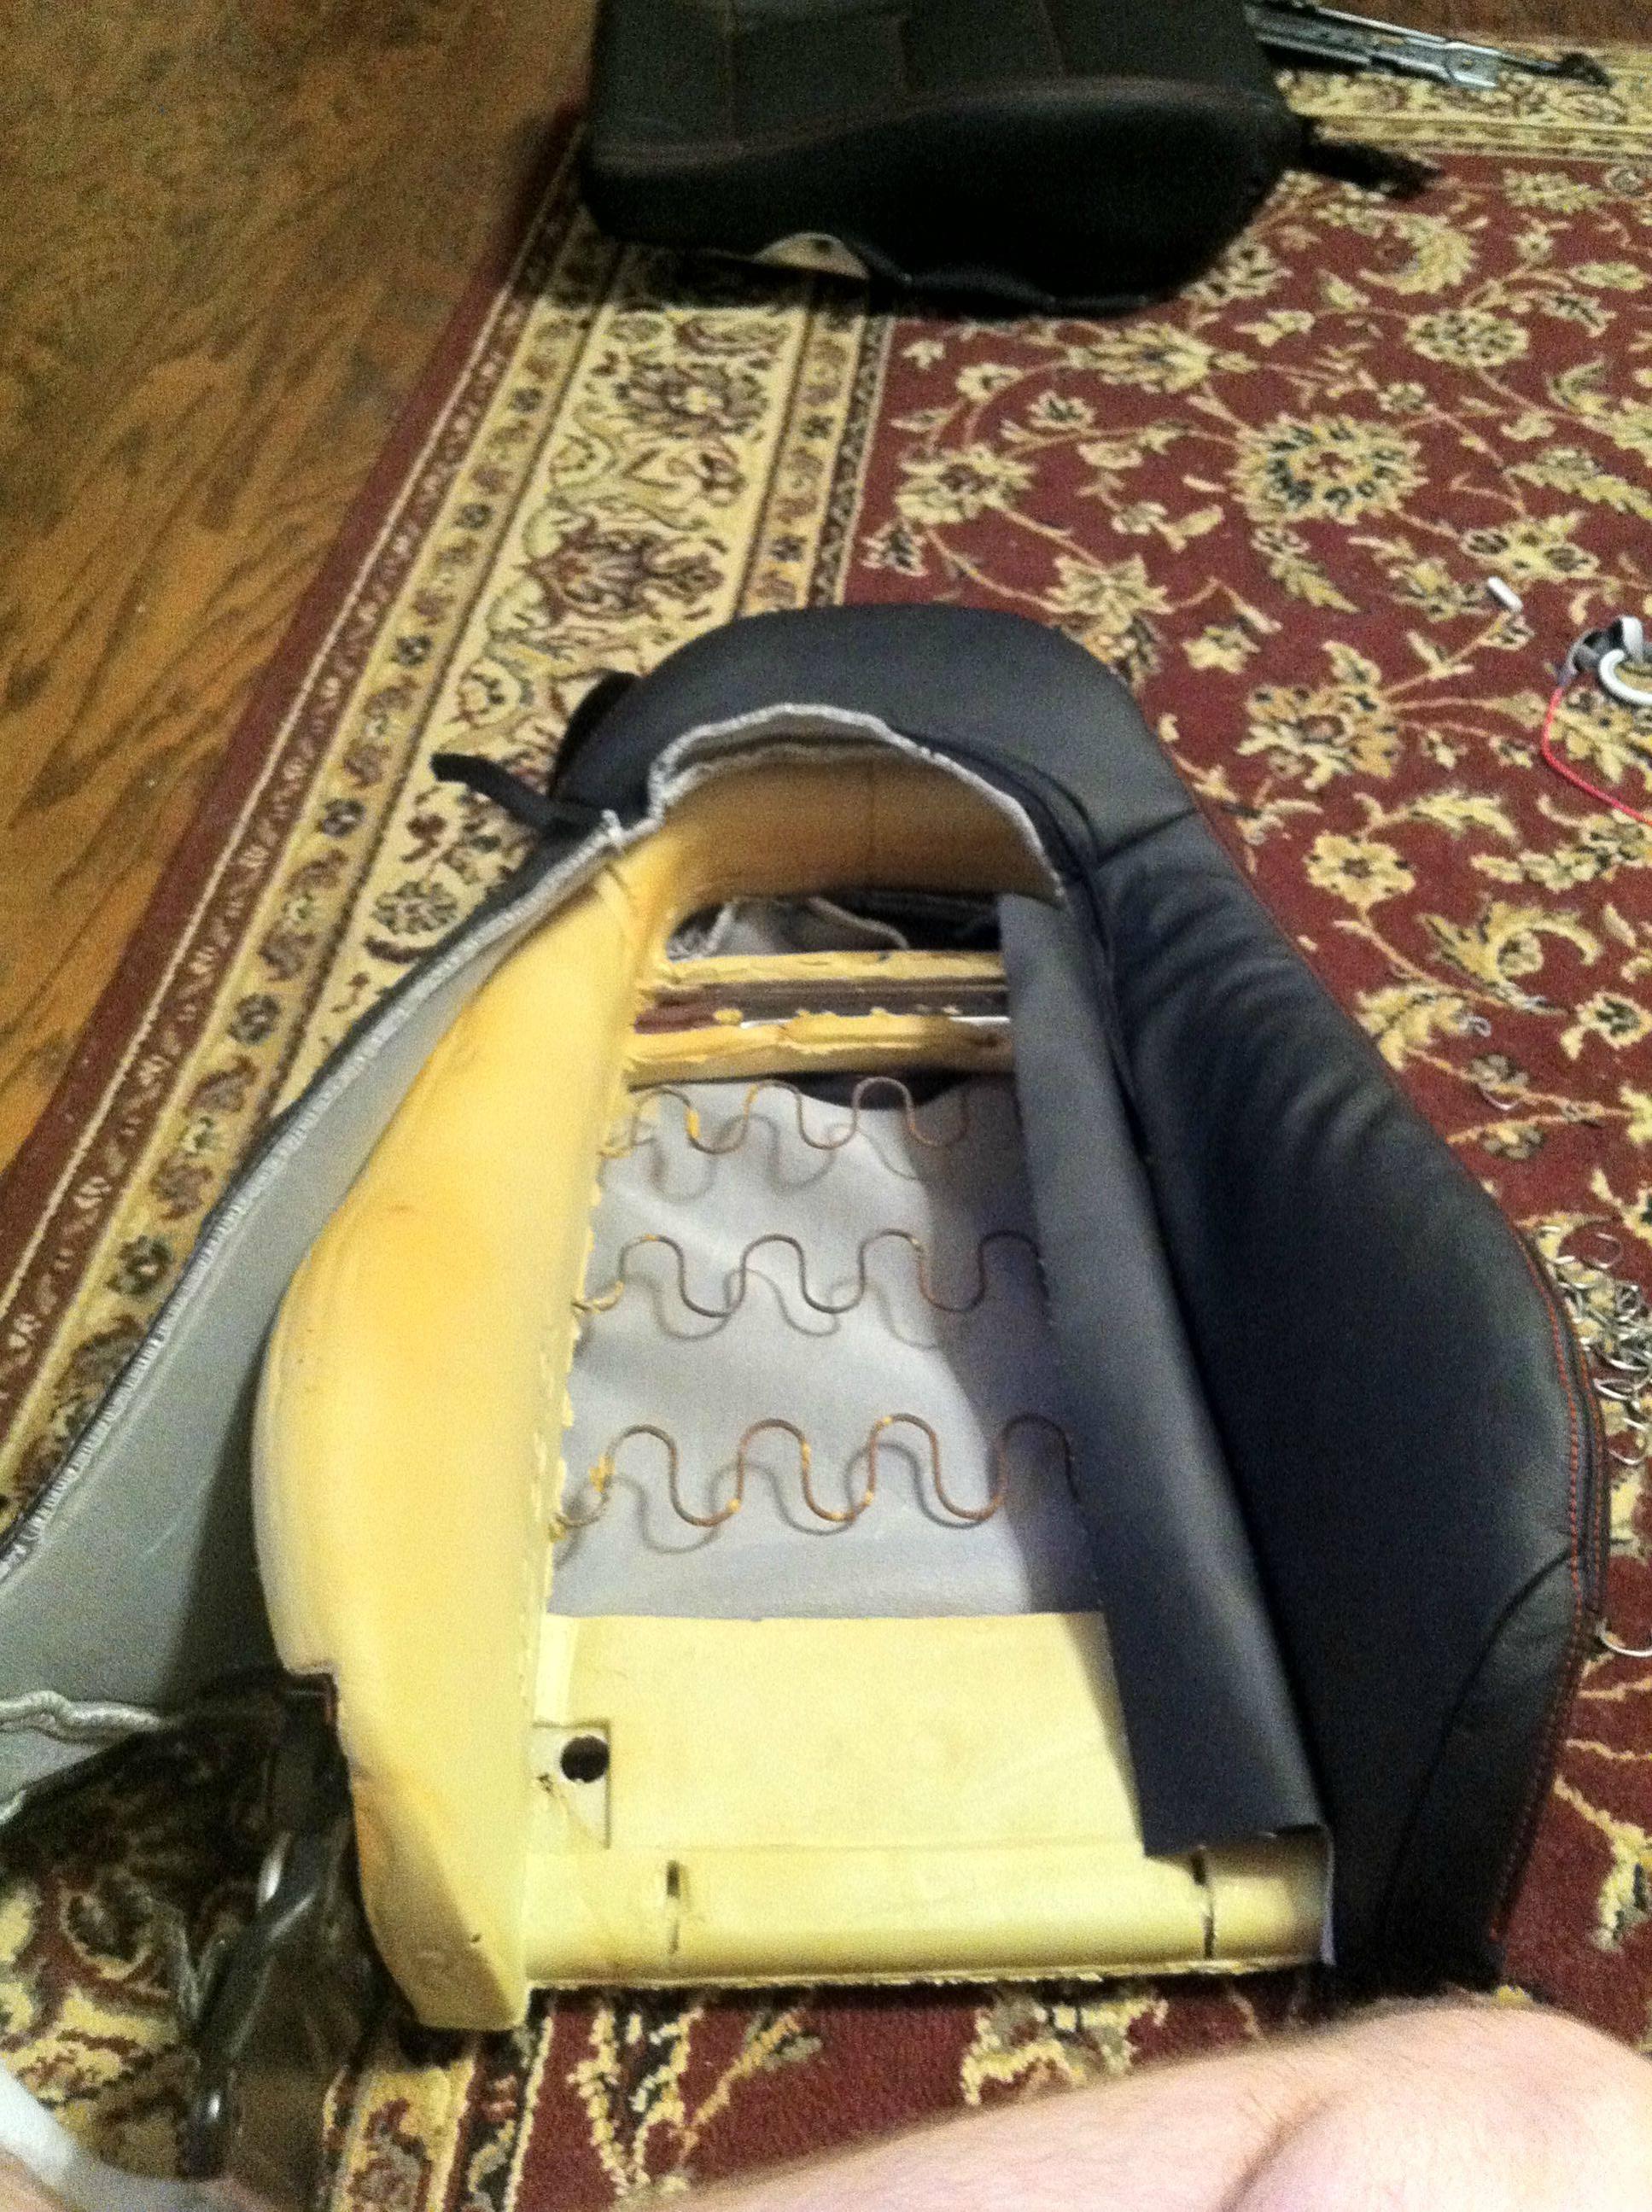
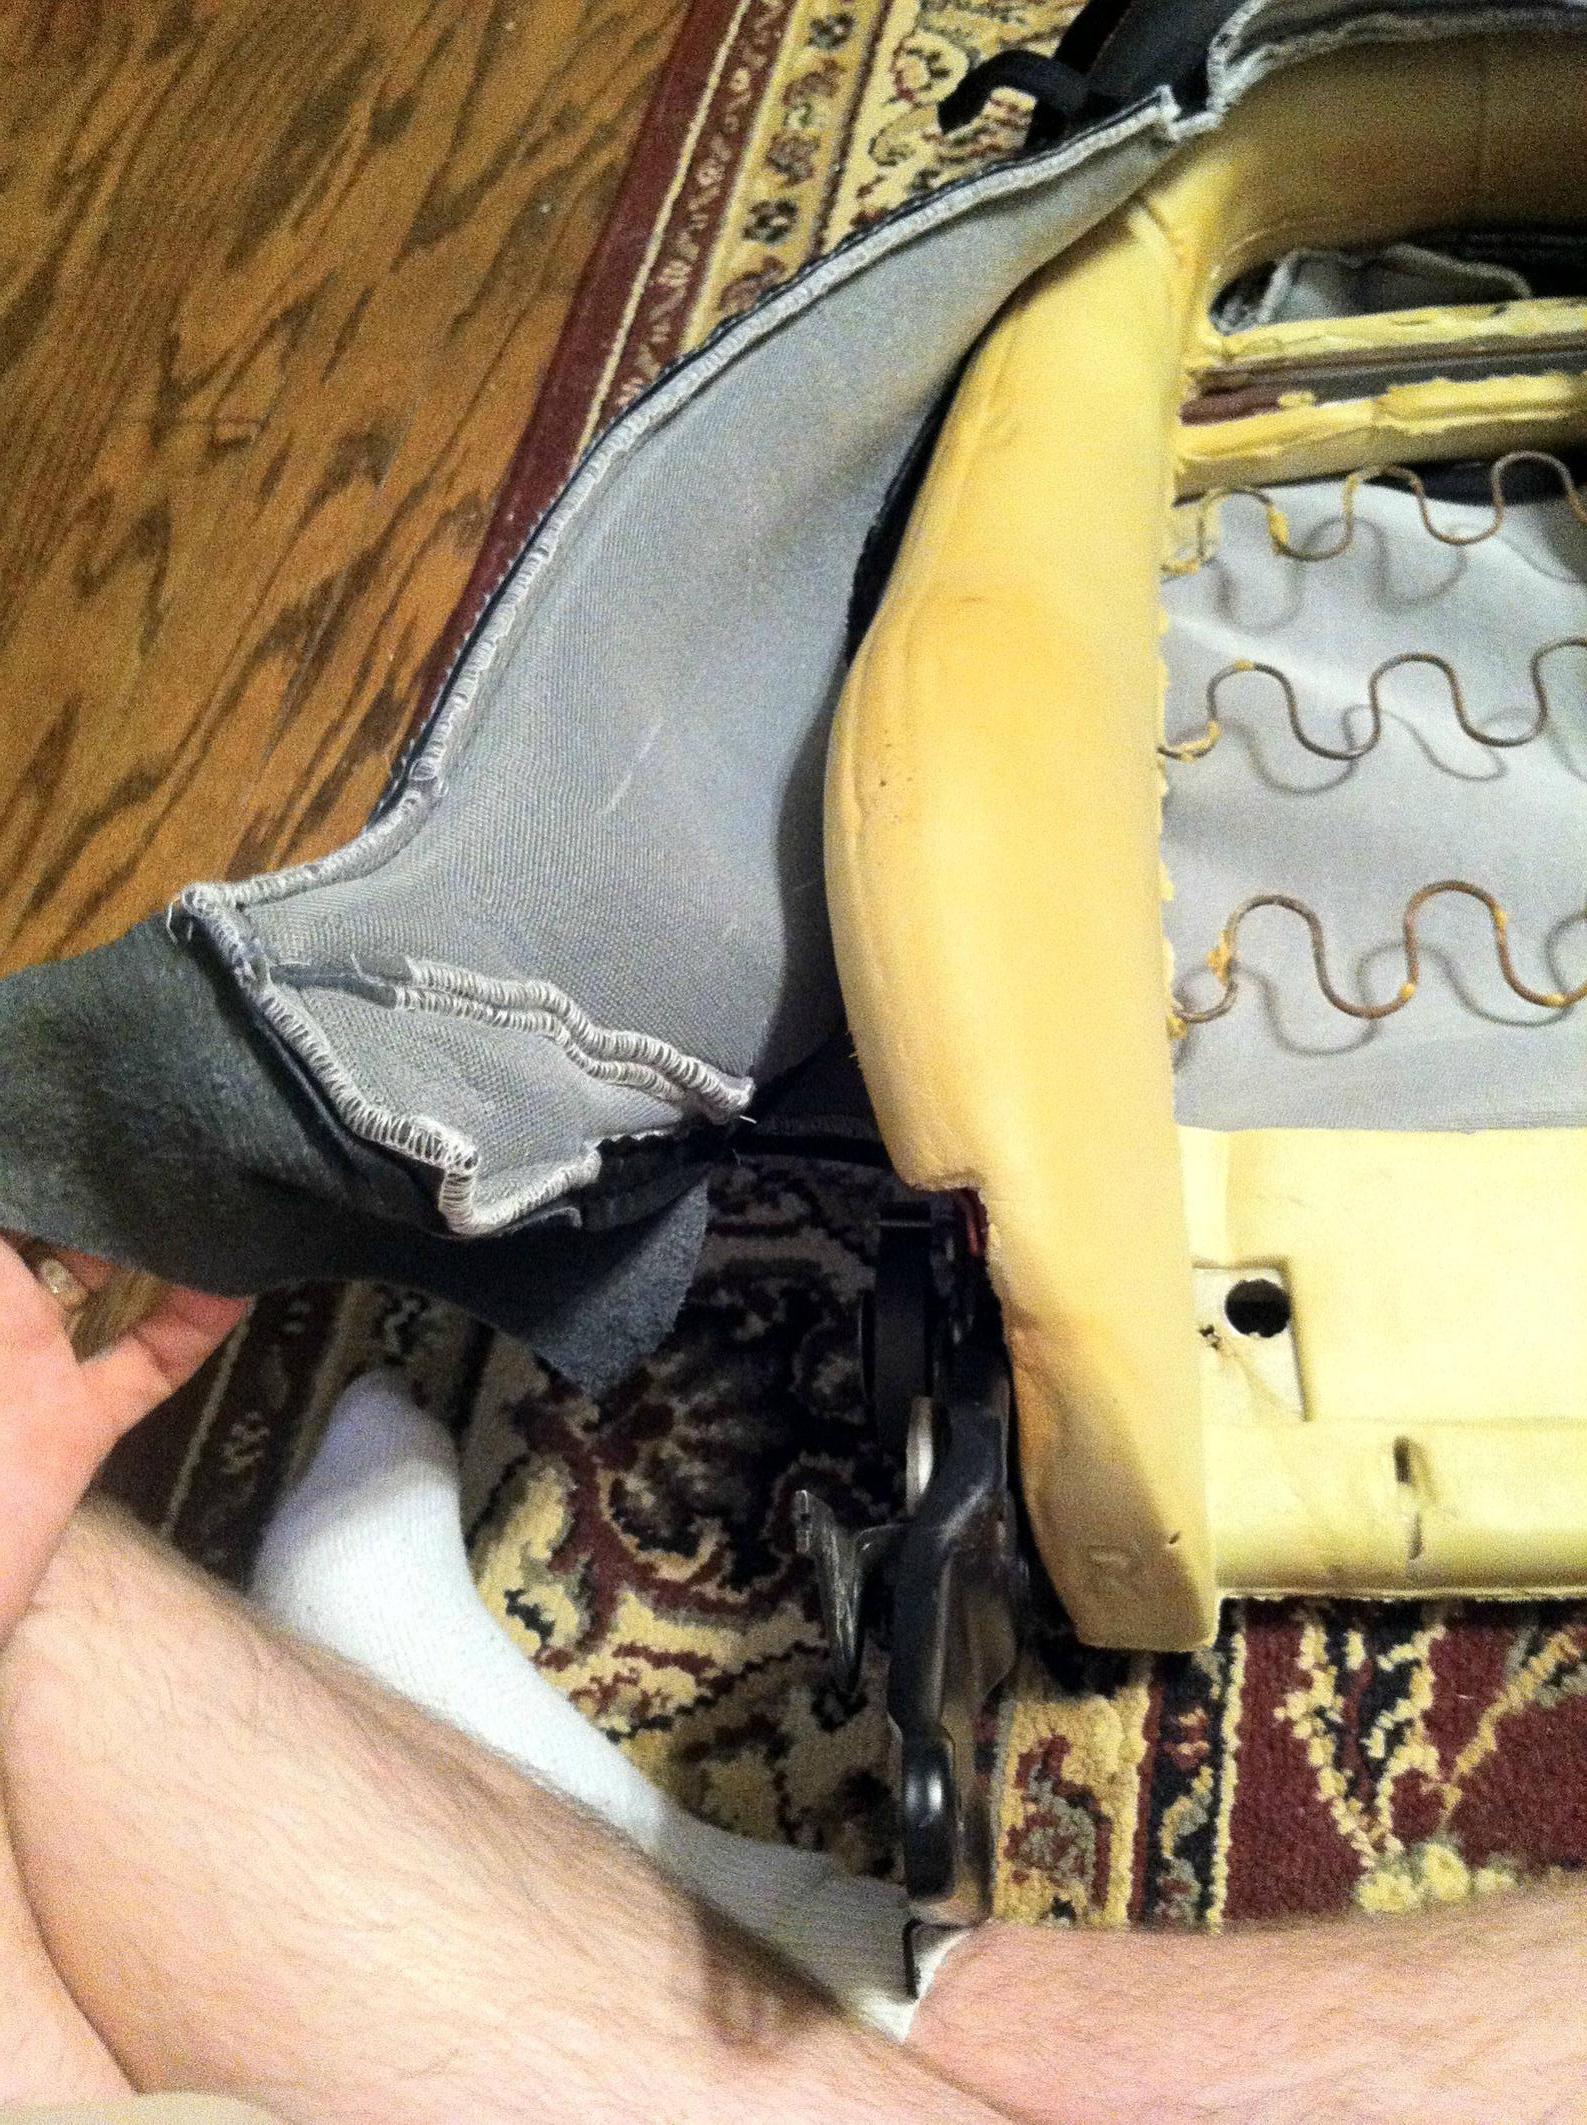
Once you've lifted the cover all the way around, the cover and the center foam will come out of the seat pan:
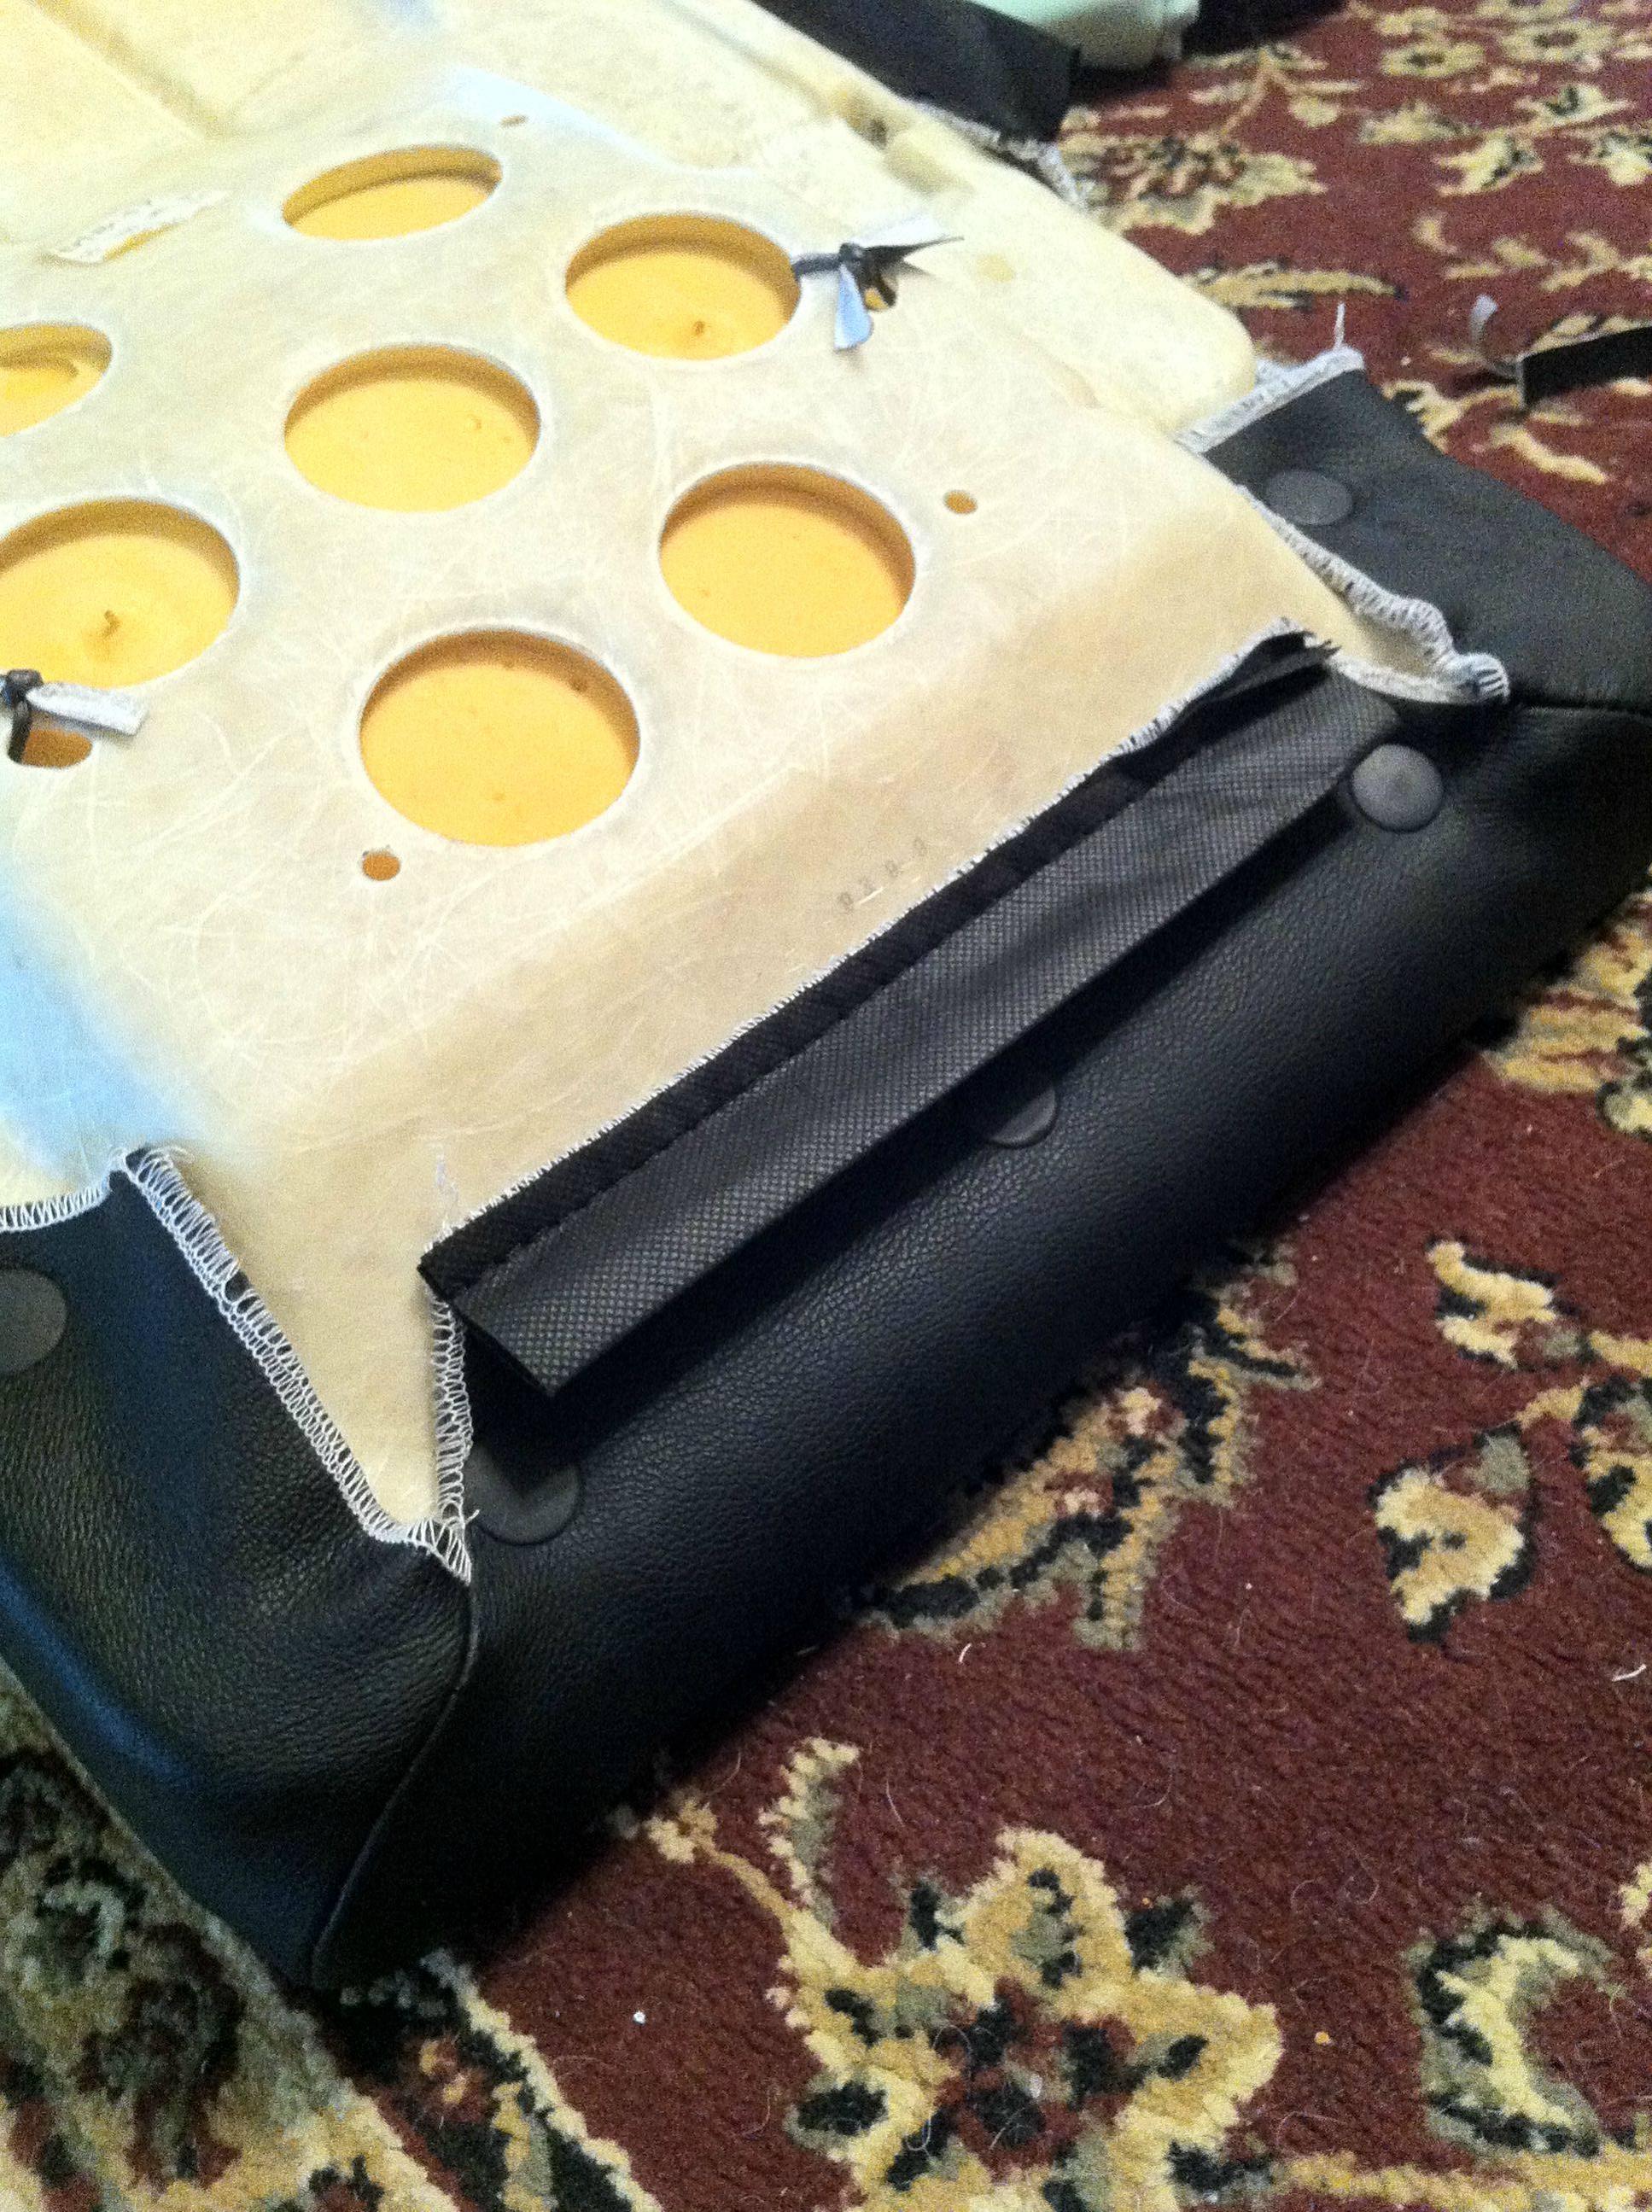
Look at how the cover is attached to the center foam on the sides. Remove the hog rings on both sides:
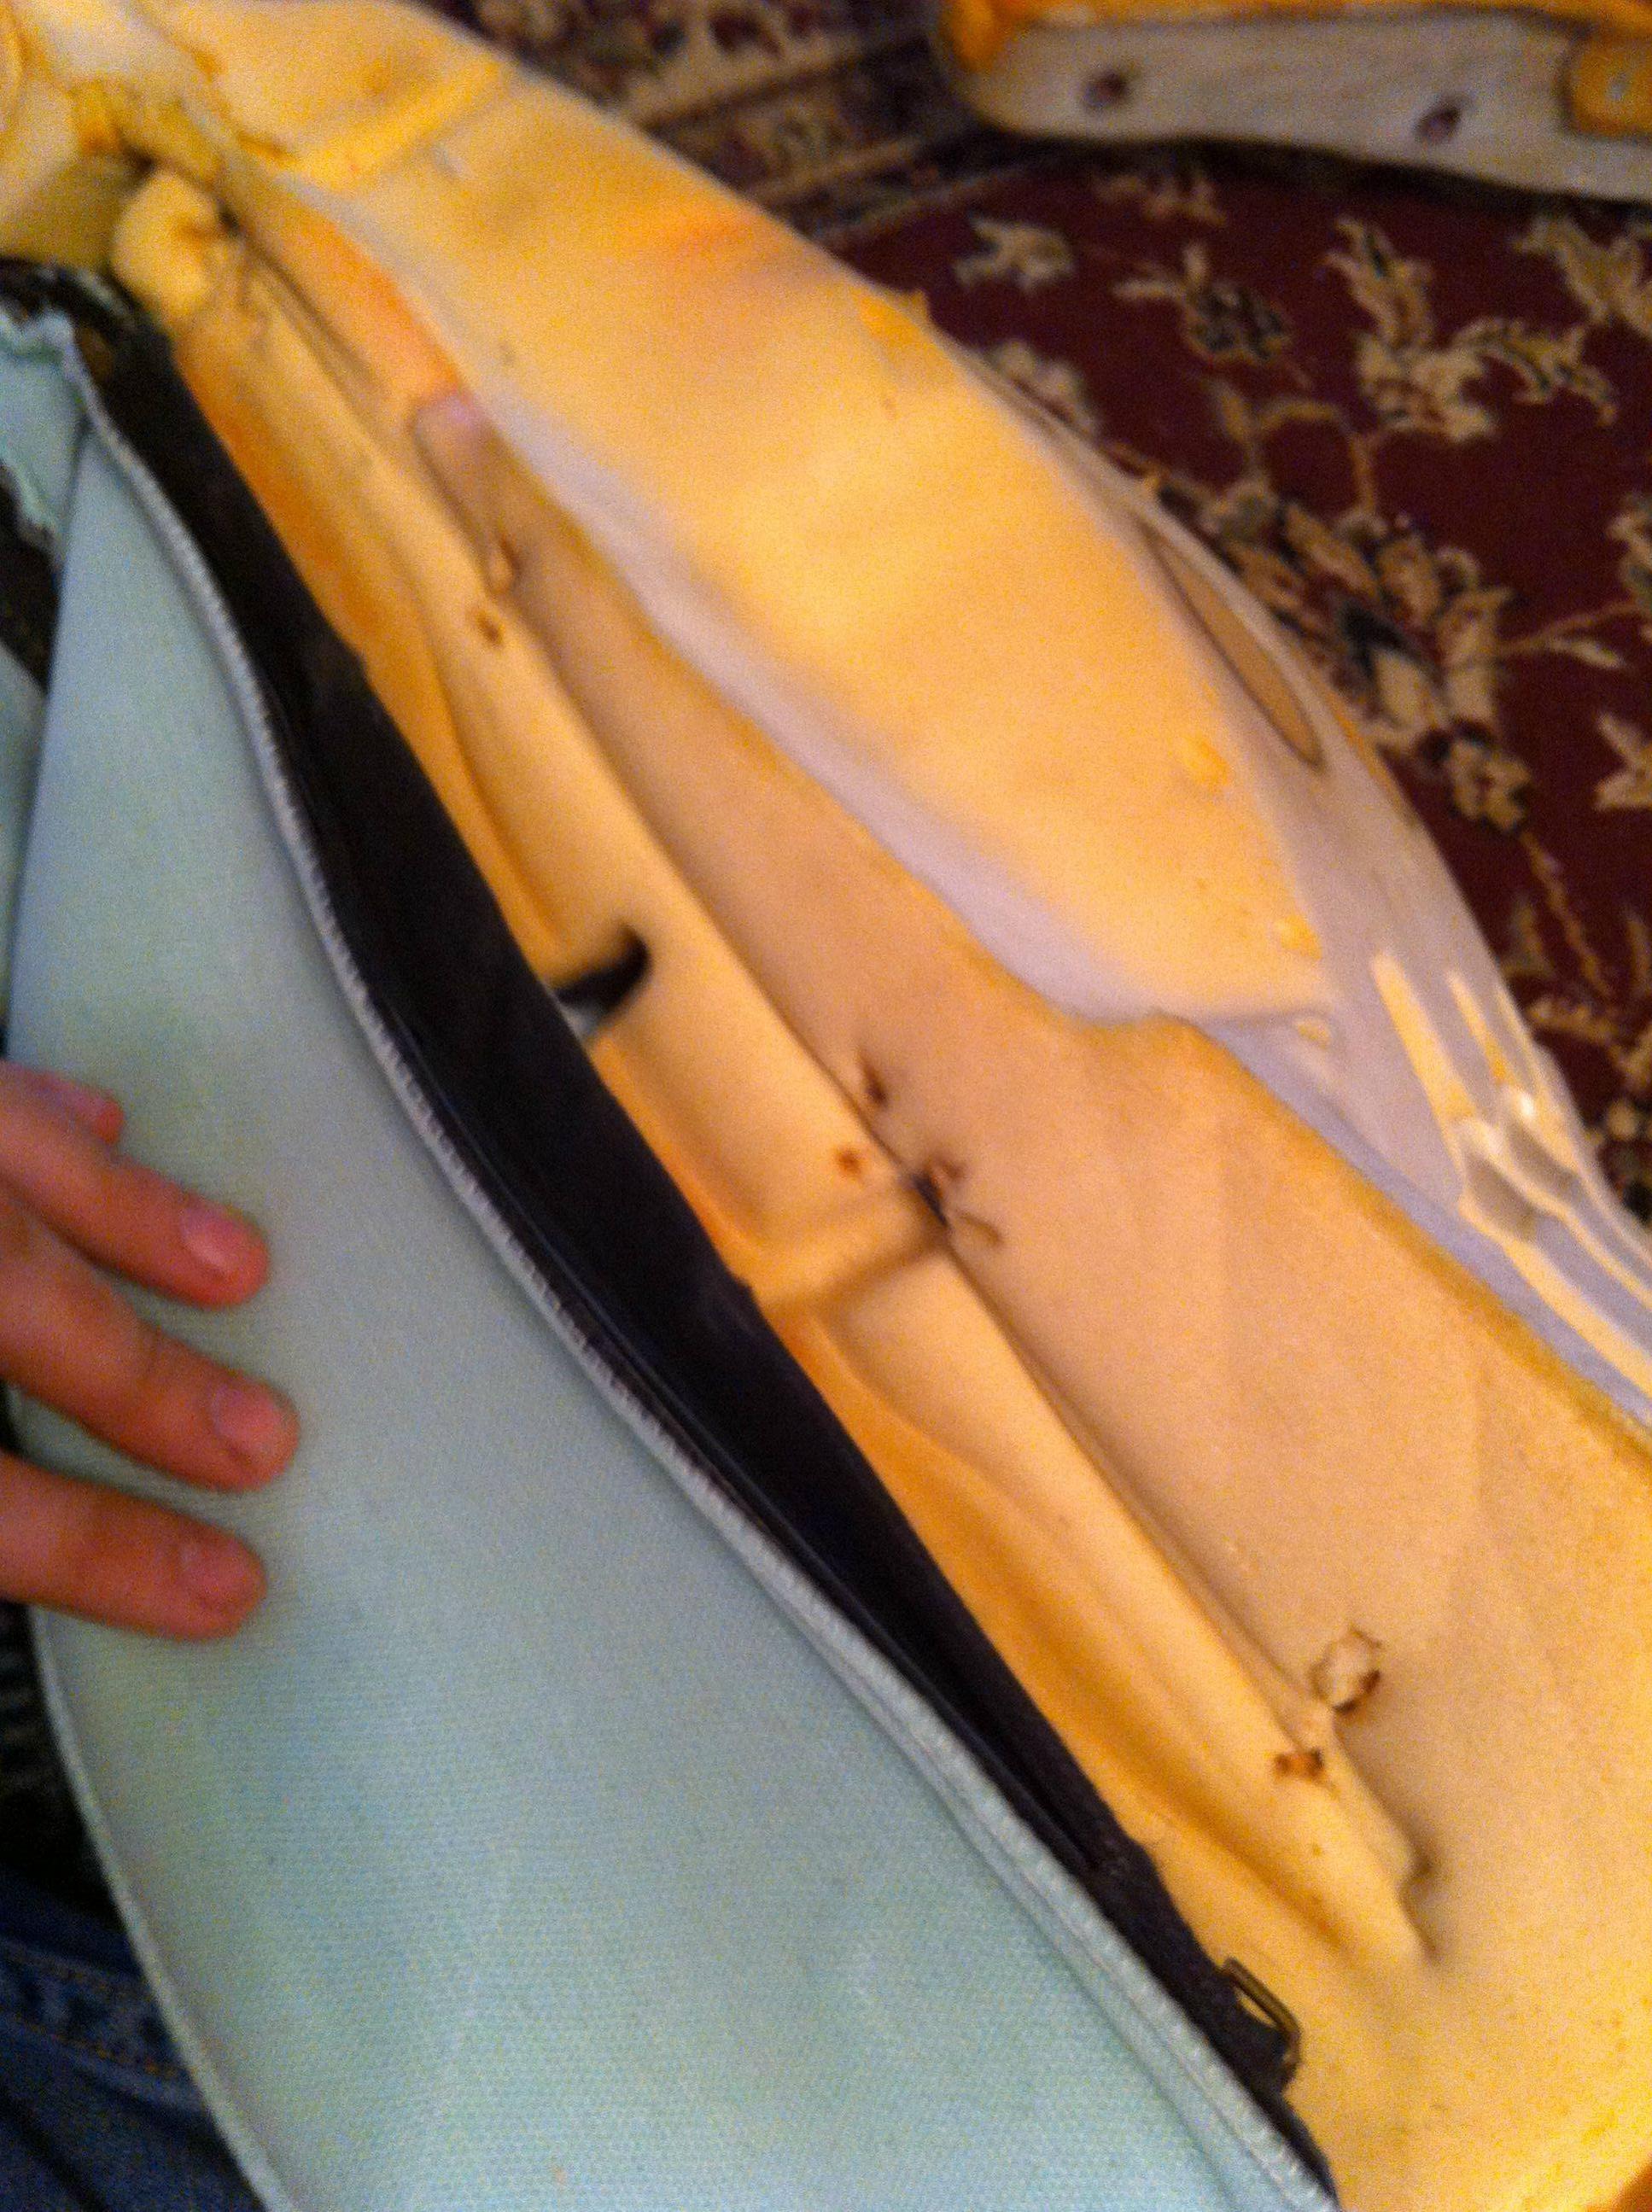
Put the seat right side up. The remaining hogrings are down inside the channels in the foam of the top of the cushion:


Remove the hogrings one row at a time:
Front row:
Done:
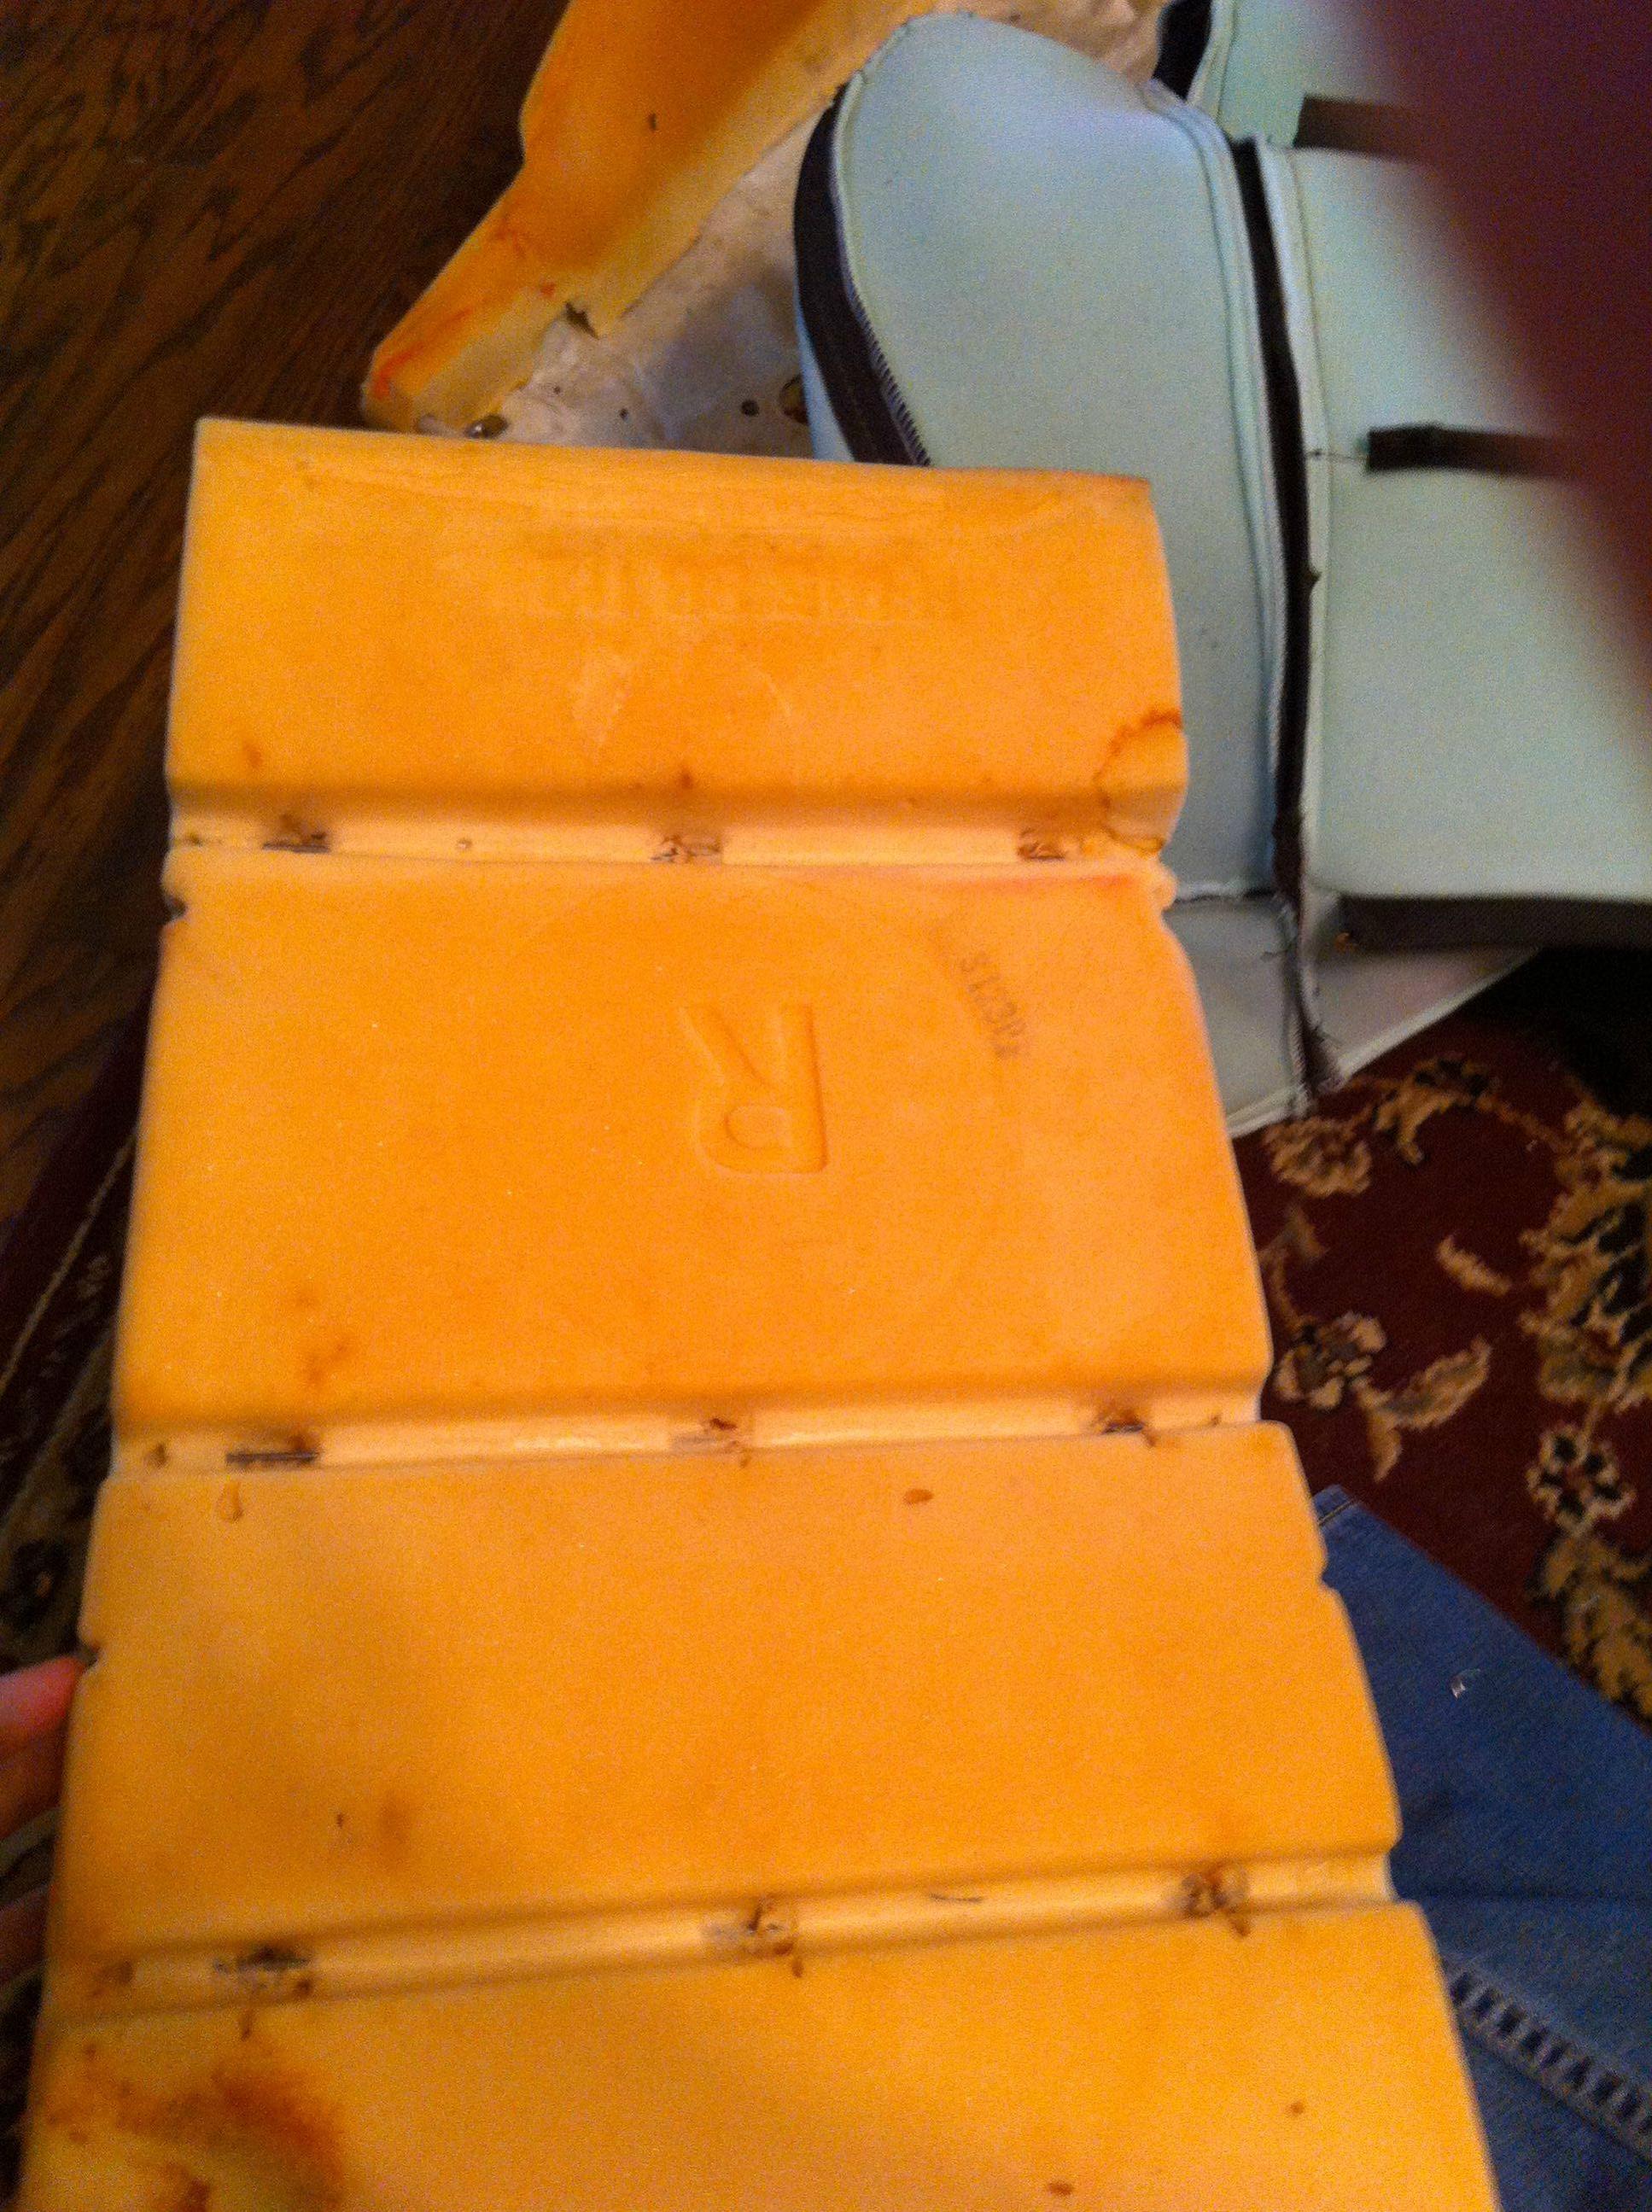
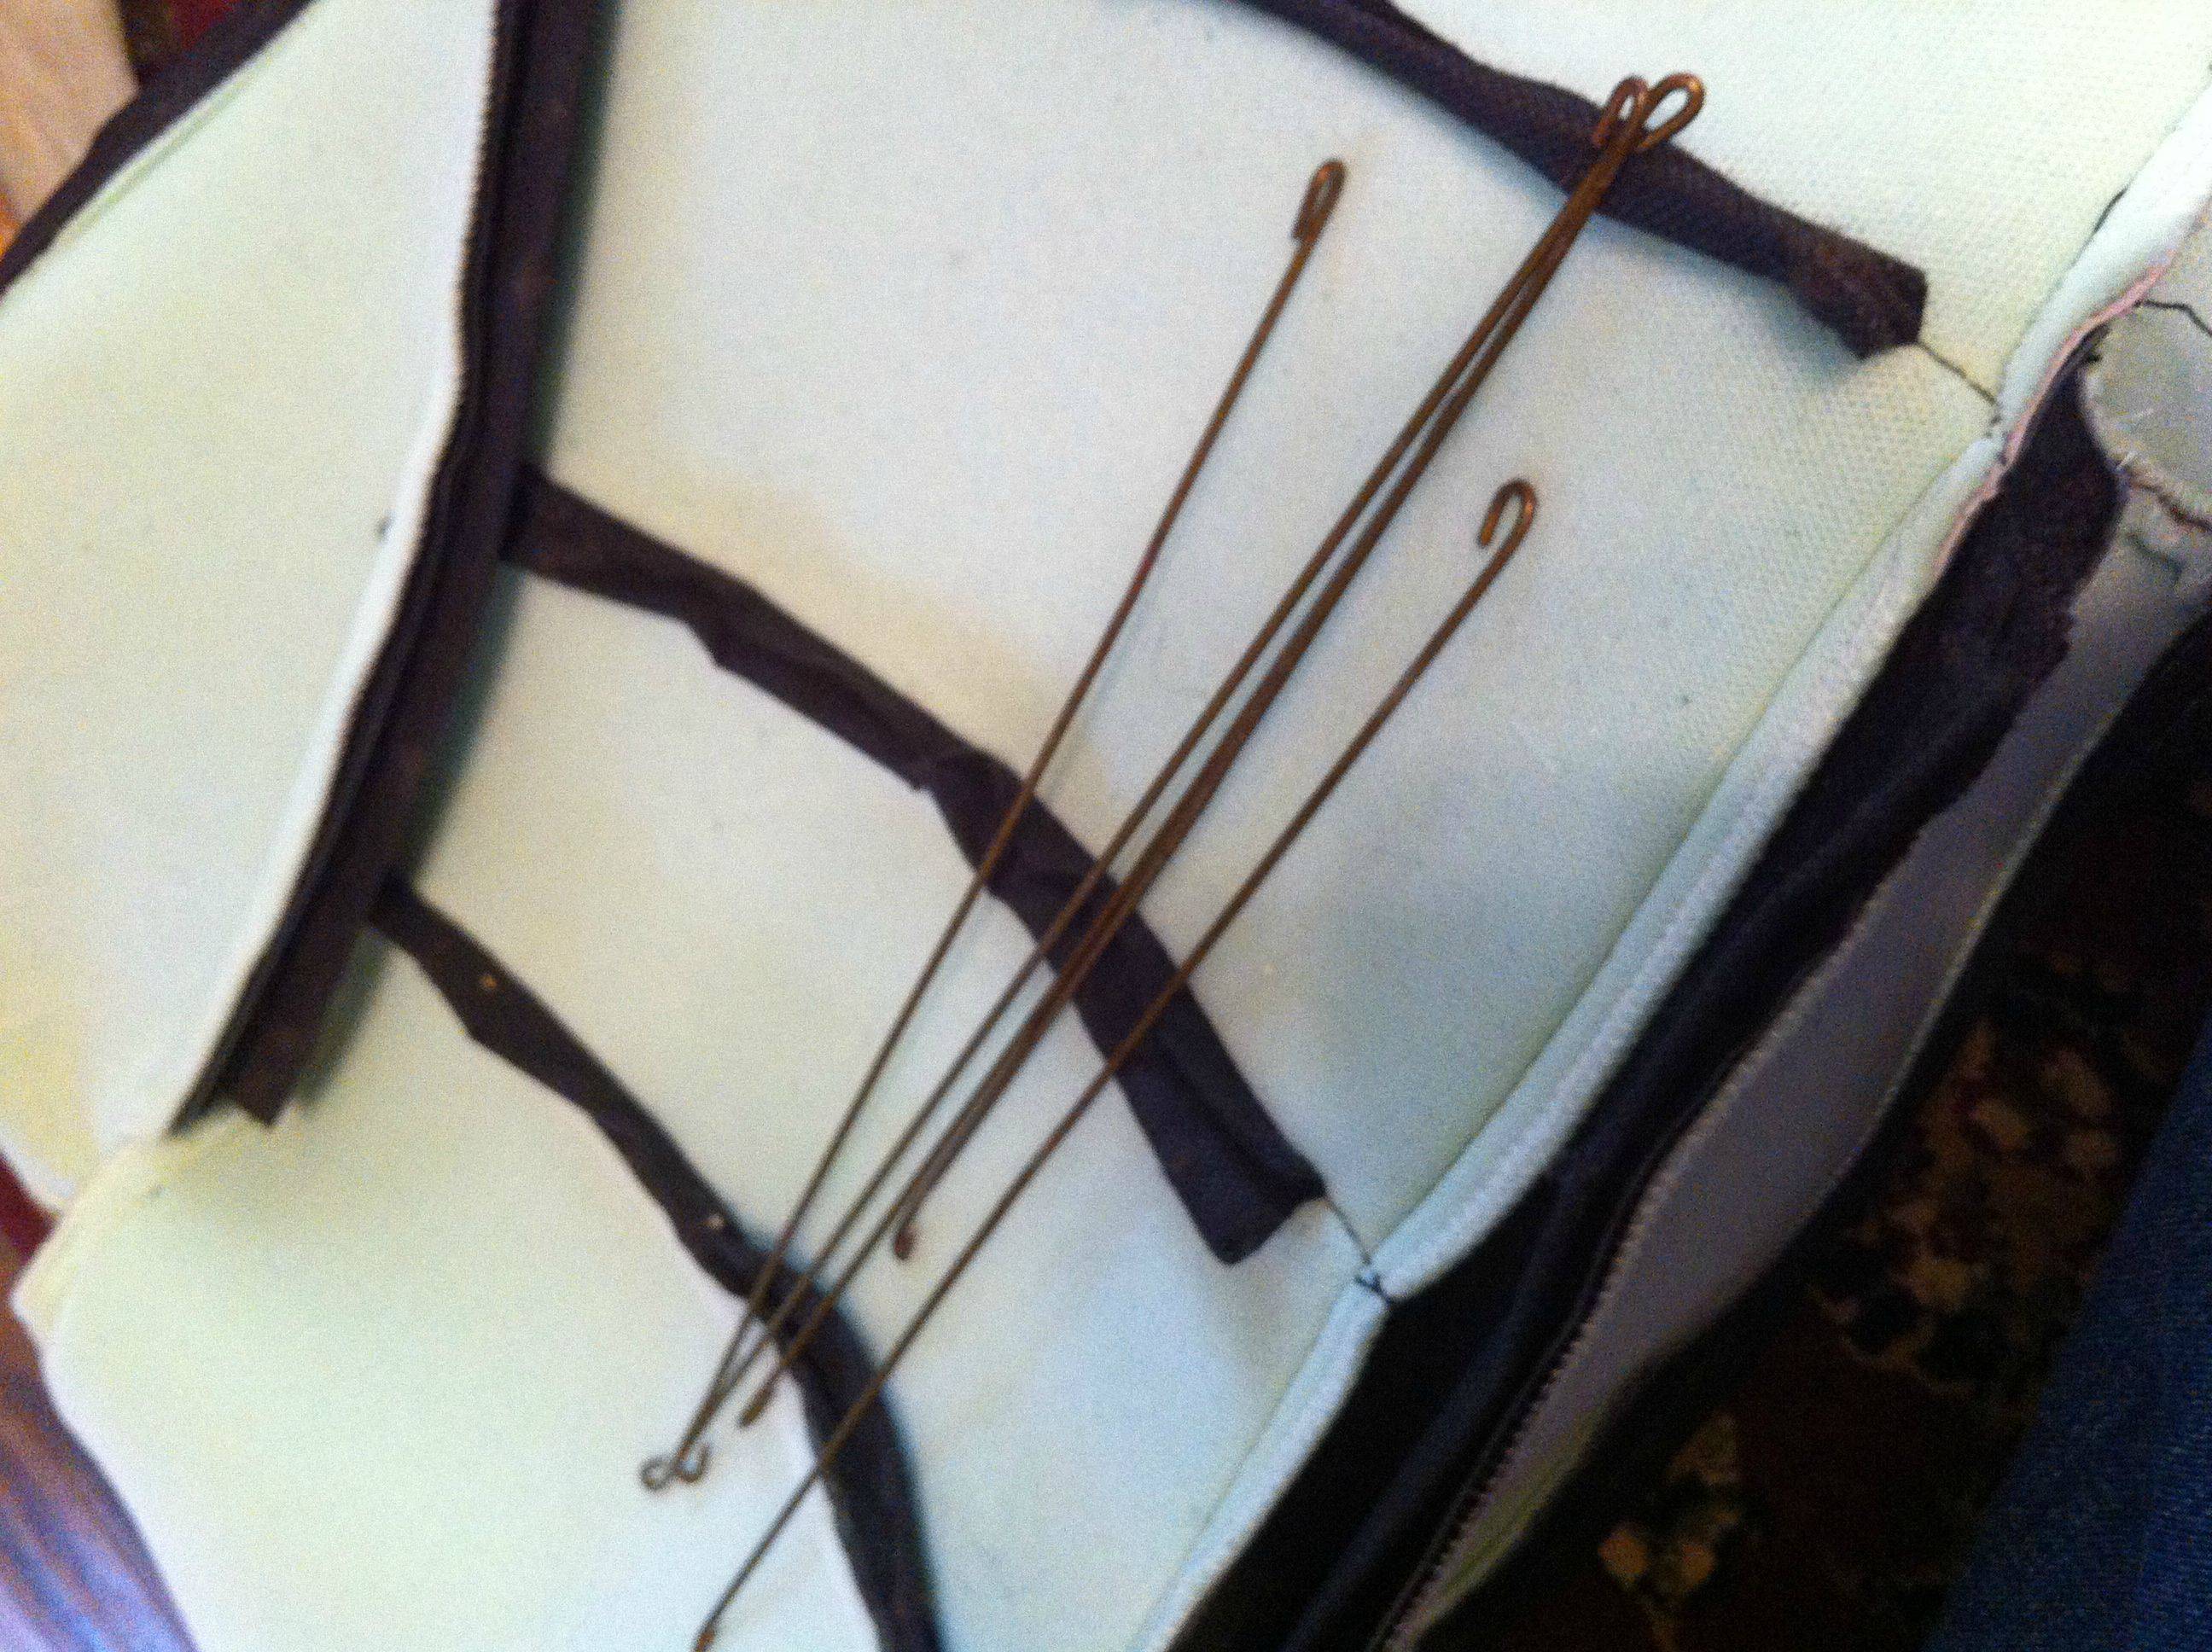
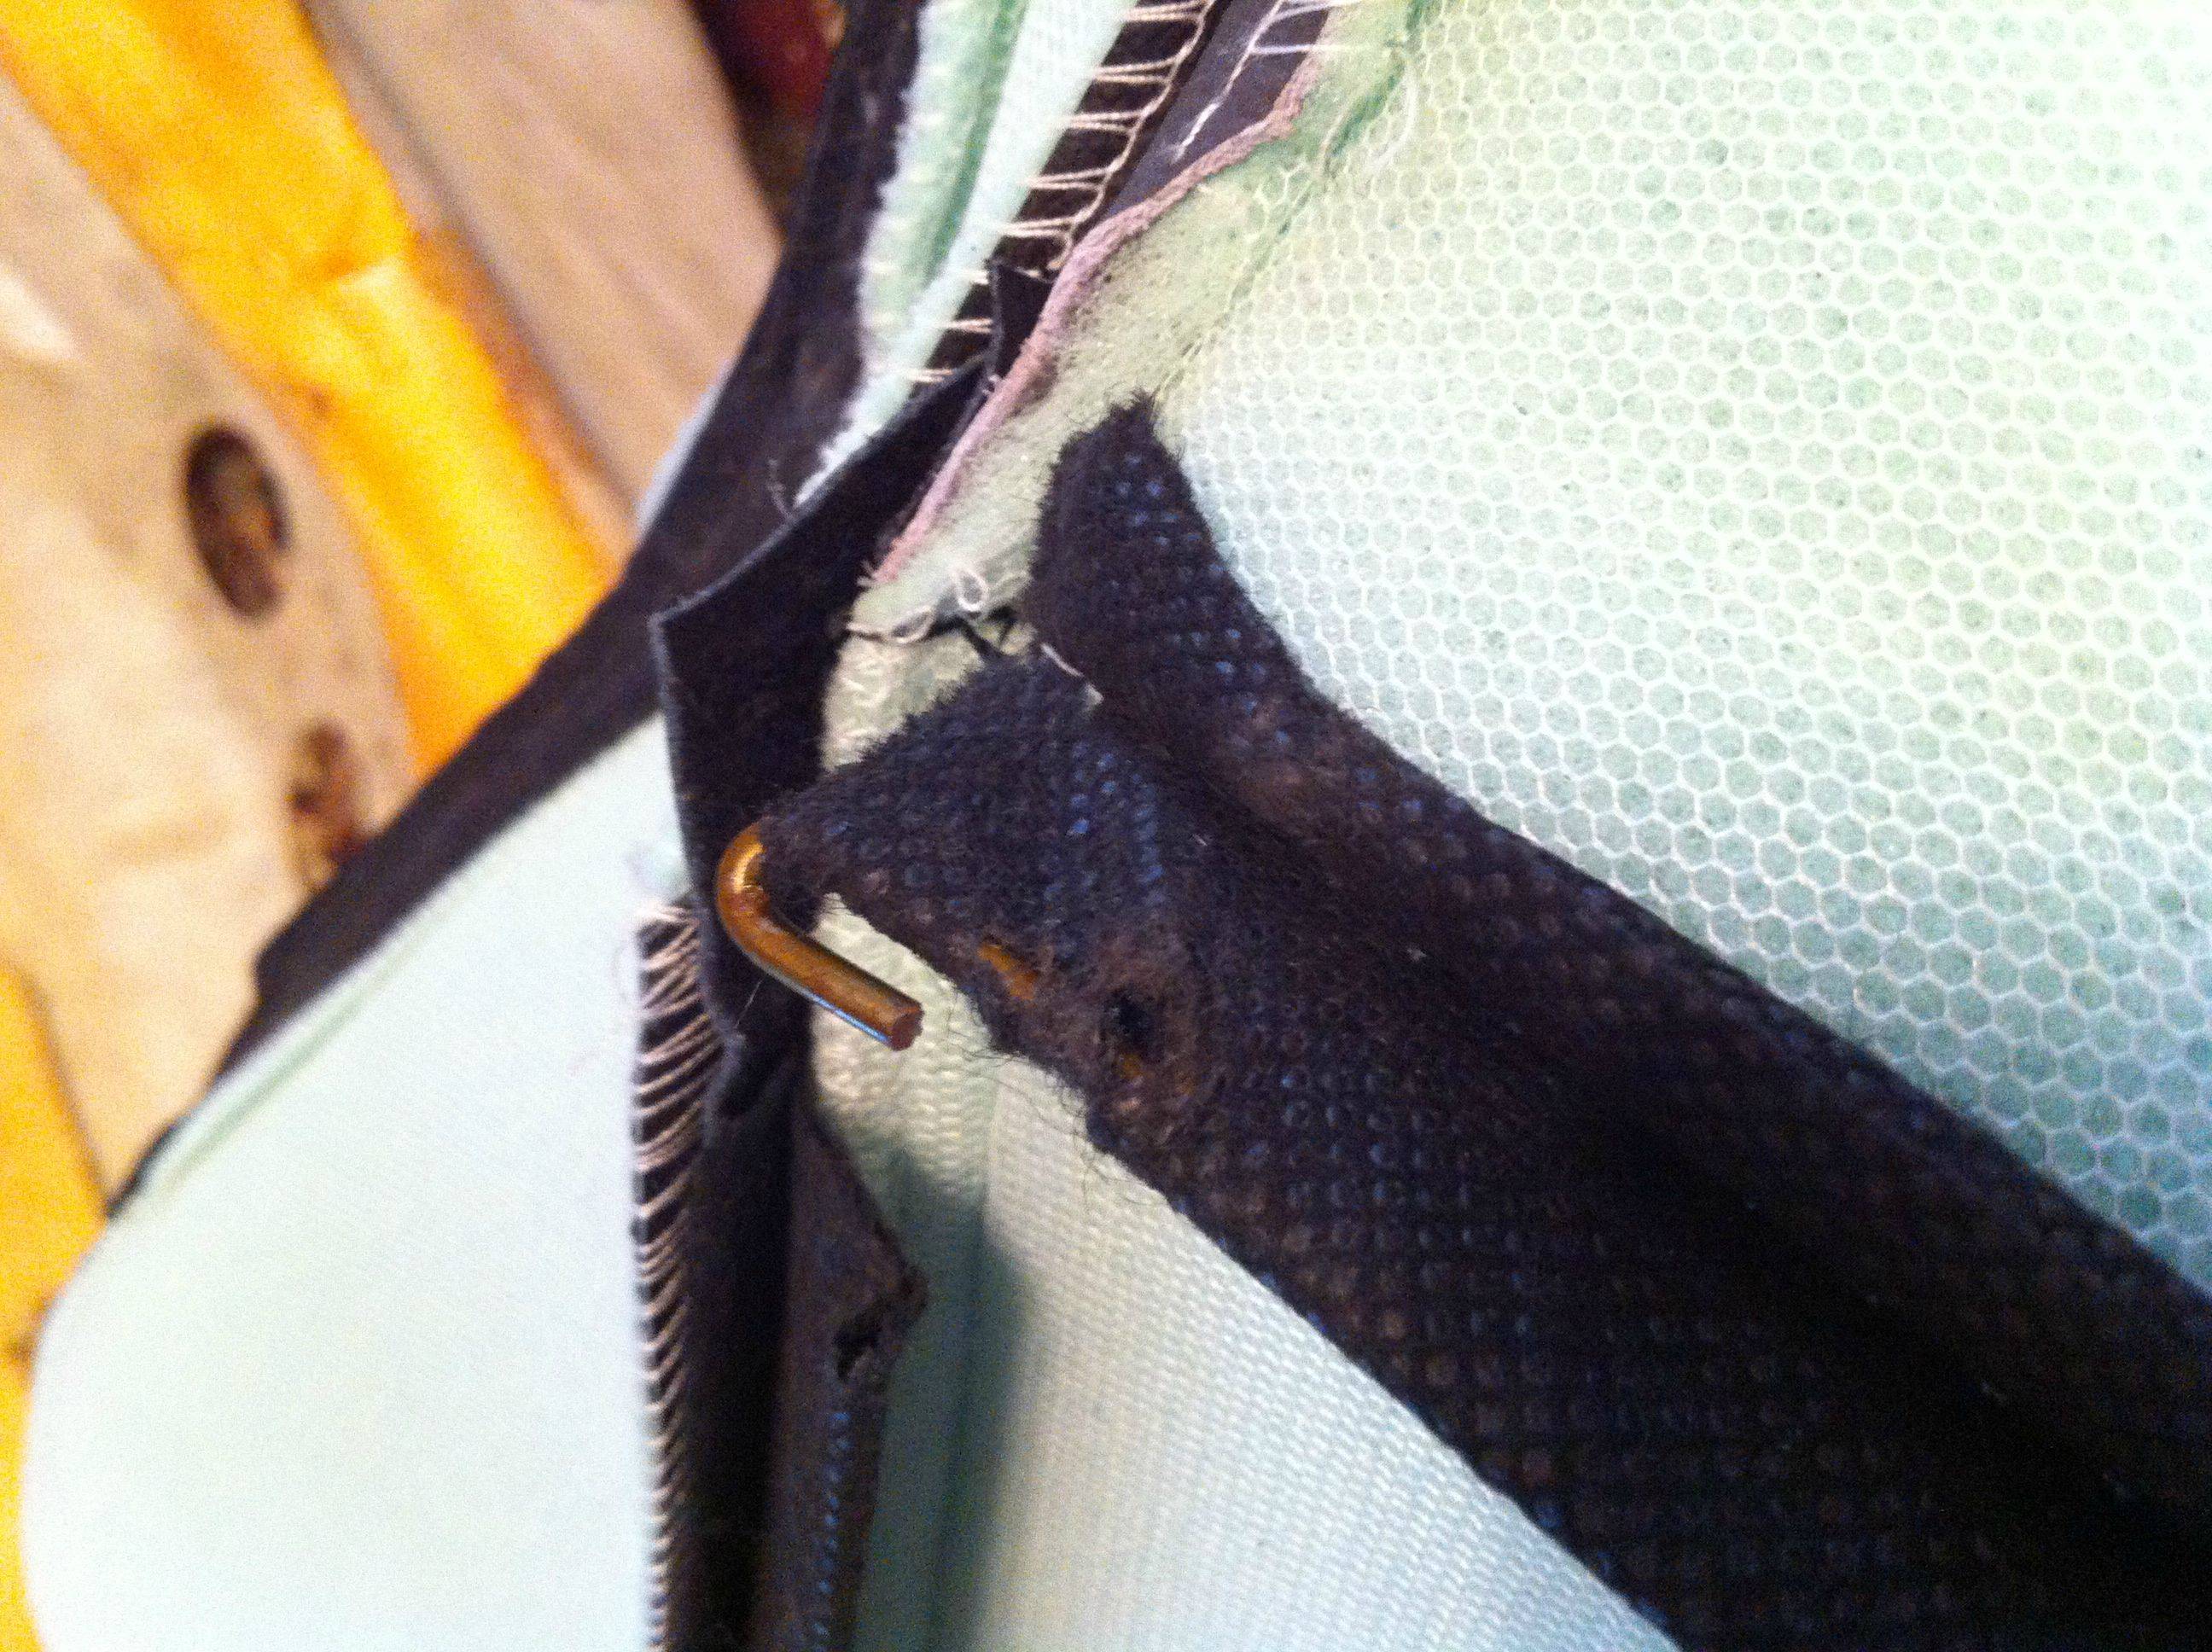
I'll take a moment to talk about the listing rods you will need to make. The OEM covers I believe have some plastic strips sewn into the seats that the hogrings attach to. The aftermarket covers have fabric sleeves called listings sewn into the attachment points. These sleeves must have something rigid inserted in them that helps distribute the load/tension from the hogring attachment points. I found that thick wire clothes hangers make good listing rods. Cut each one to length to fit each listing, and I like to have a loop bent into each end so it cannot come out of the listing:

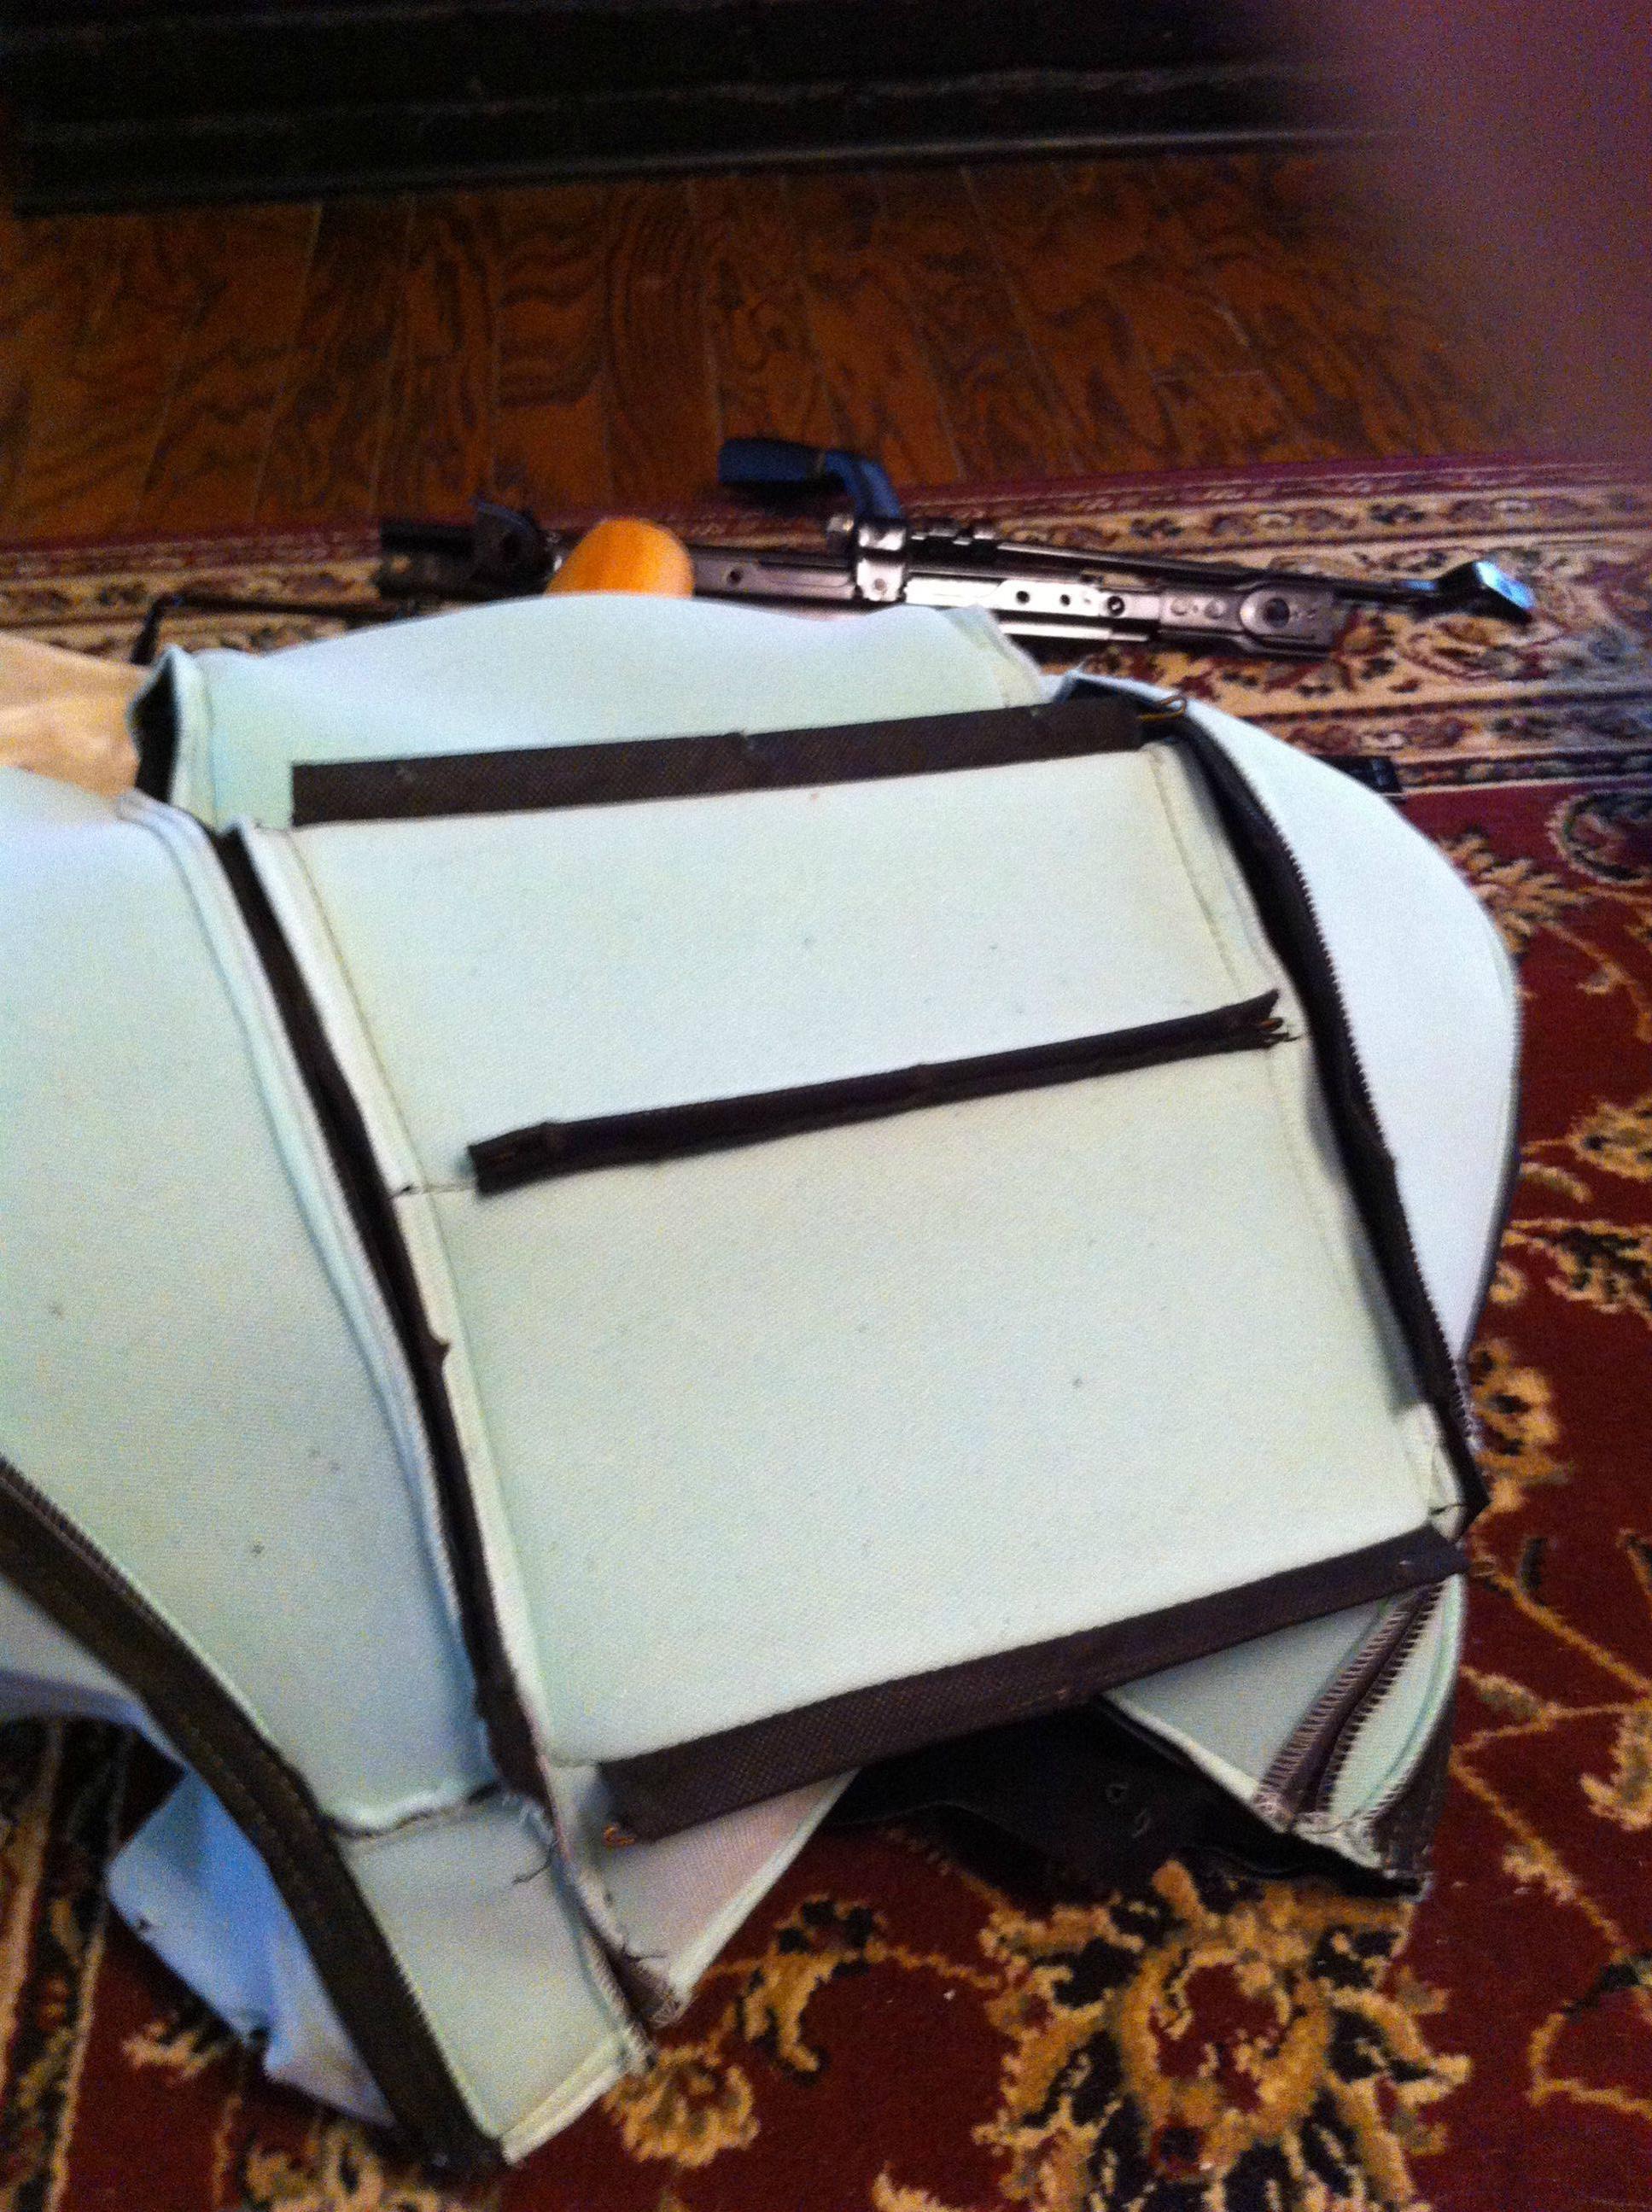
Insert three rods into the center listings:
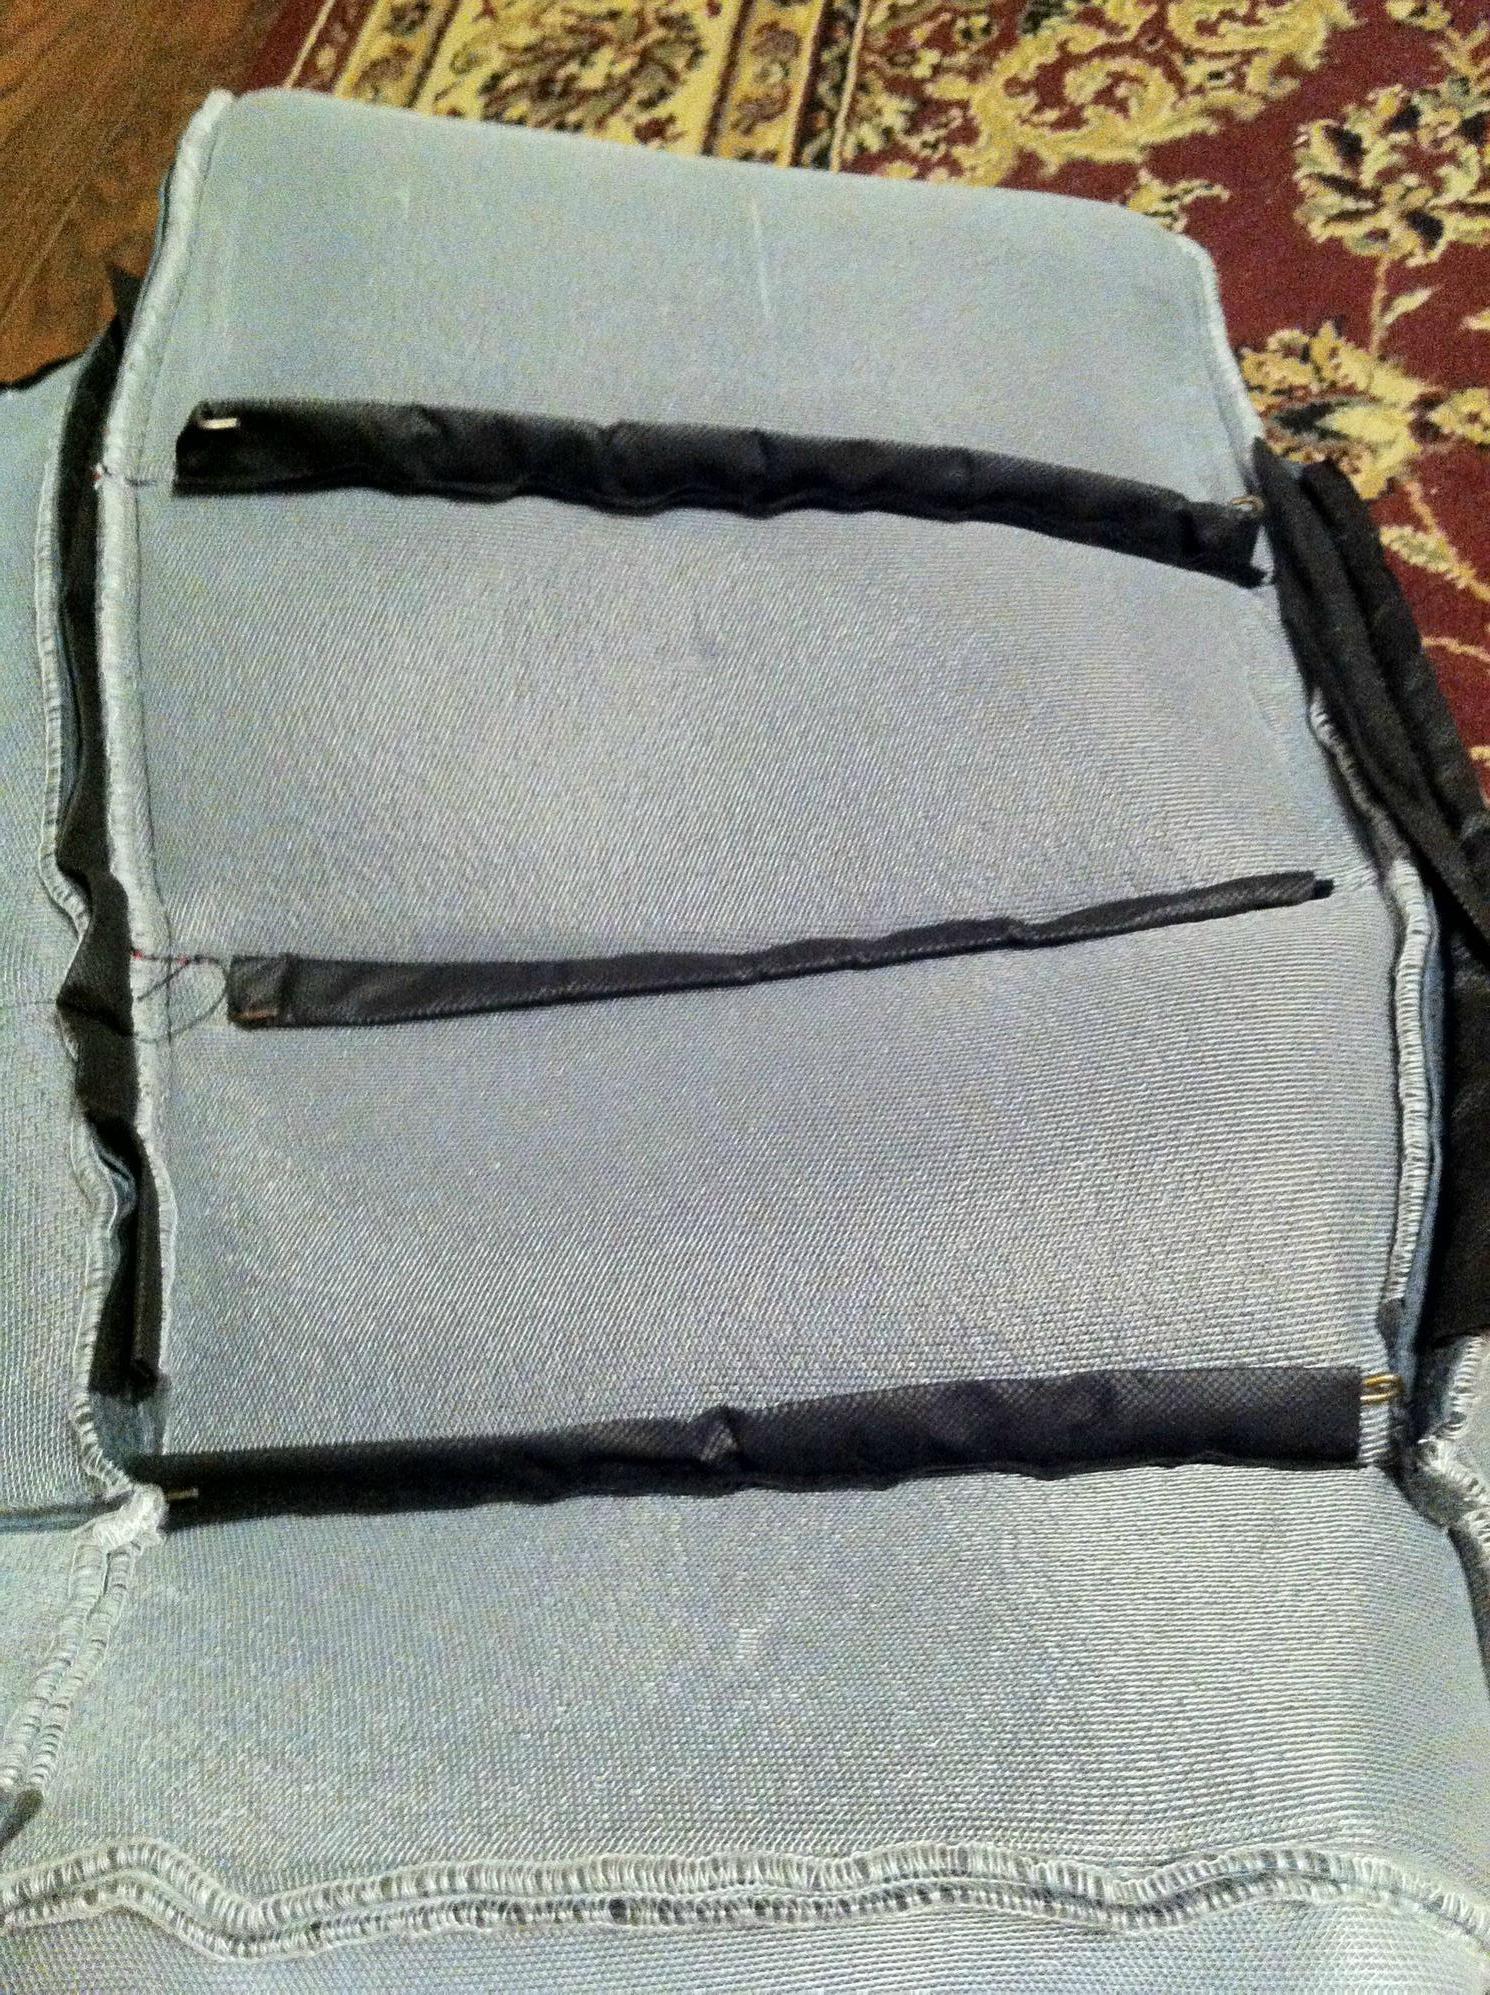
Make sure the cover is centered over the foam with the corners turned inside out.
Starting in the center channel, attach the cover to the frame inside the seat foam using hogrings:

Repeat procedure for all three top channels.
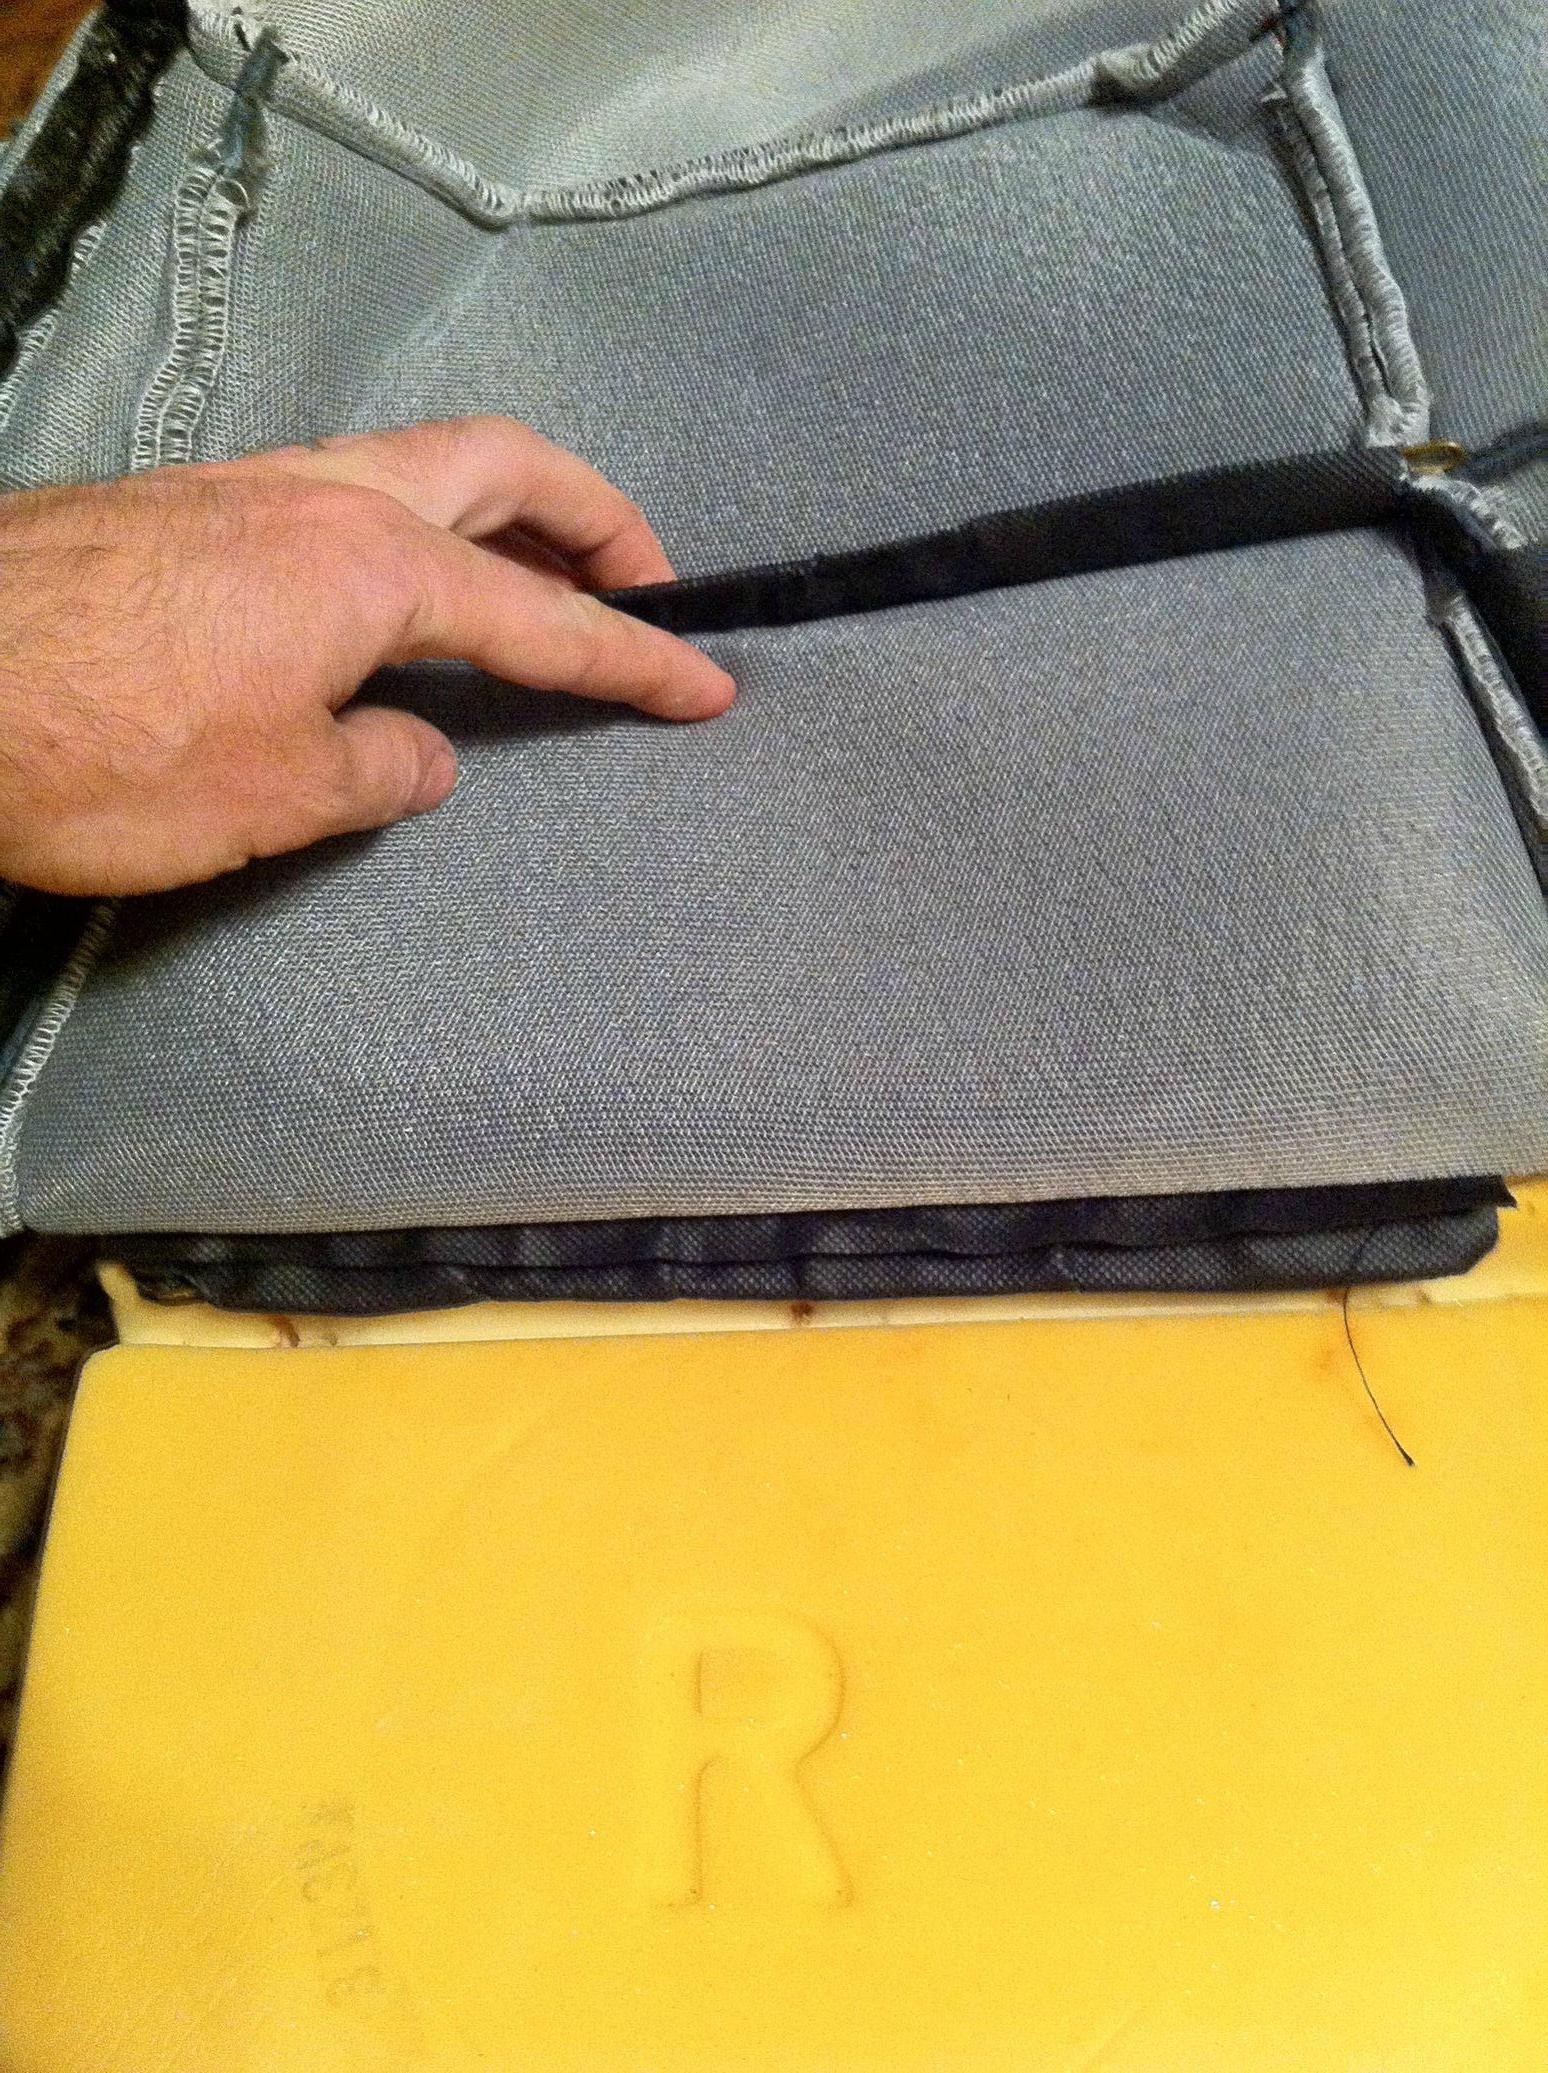
Insert rods into listings in side of cover:
Pull the front of the cover over the cushion:
After you have hogringed both sides to the center foam, you need to attach new straps of some sort to the side listings where they were attached before. You can use whatever sturdy material you have handy. It will need to be pulled pretty tight though. I used some strips of vinyl material I had lying around. You could use some boot laces if they are long enough. Cut a small slit in the side listing and thread them through:
Set the cover and the center foam back into the seat pan, and thread the straps through the holes in the pan:
Starting at the front bolsters, fold the covers over one side at a time:
Massage/ beat the cover into place:

Fold over the rear corners:
Repeat the seat cover whooping till the cover sits nice and centered and even.
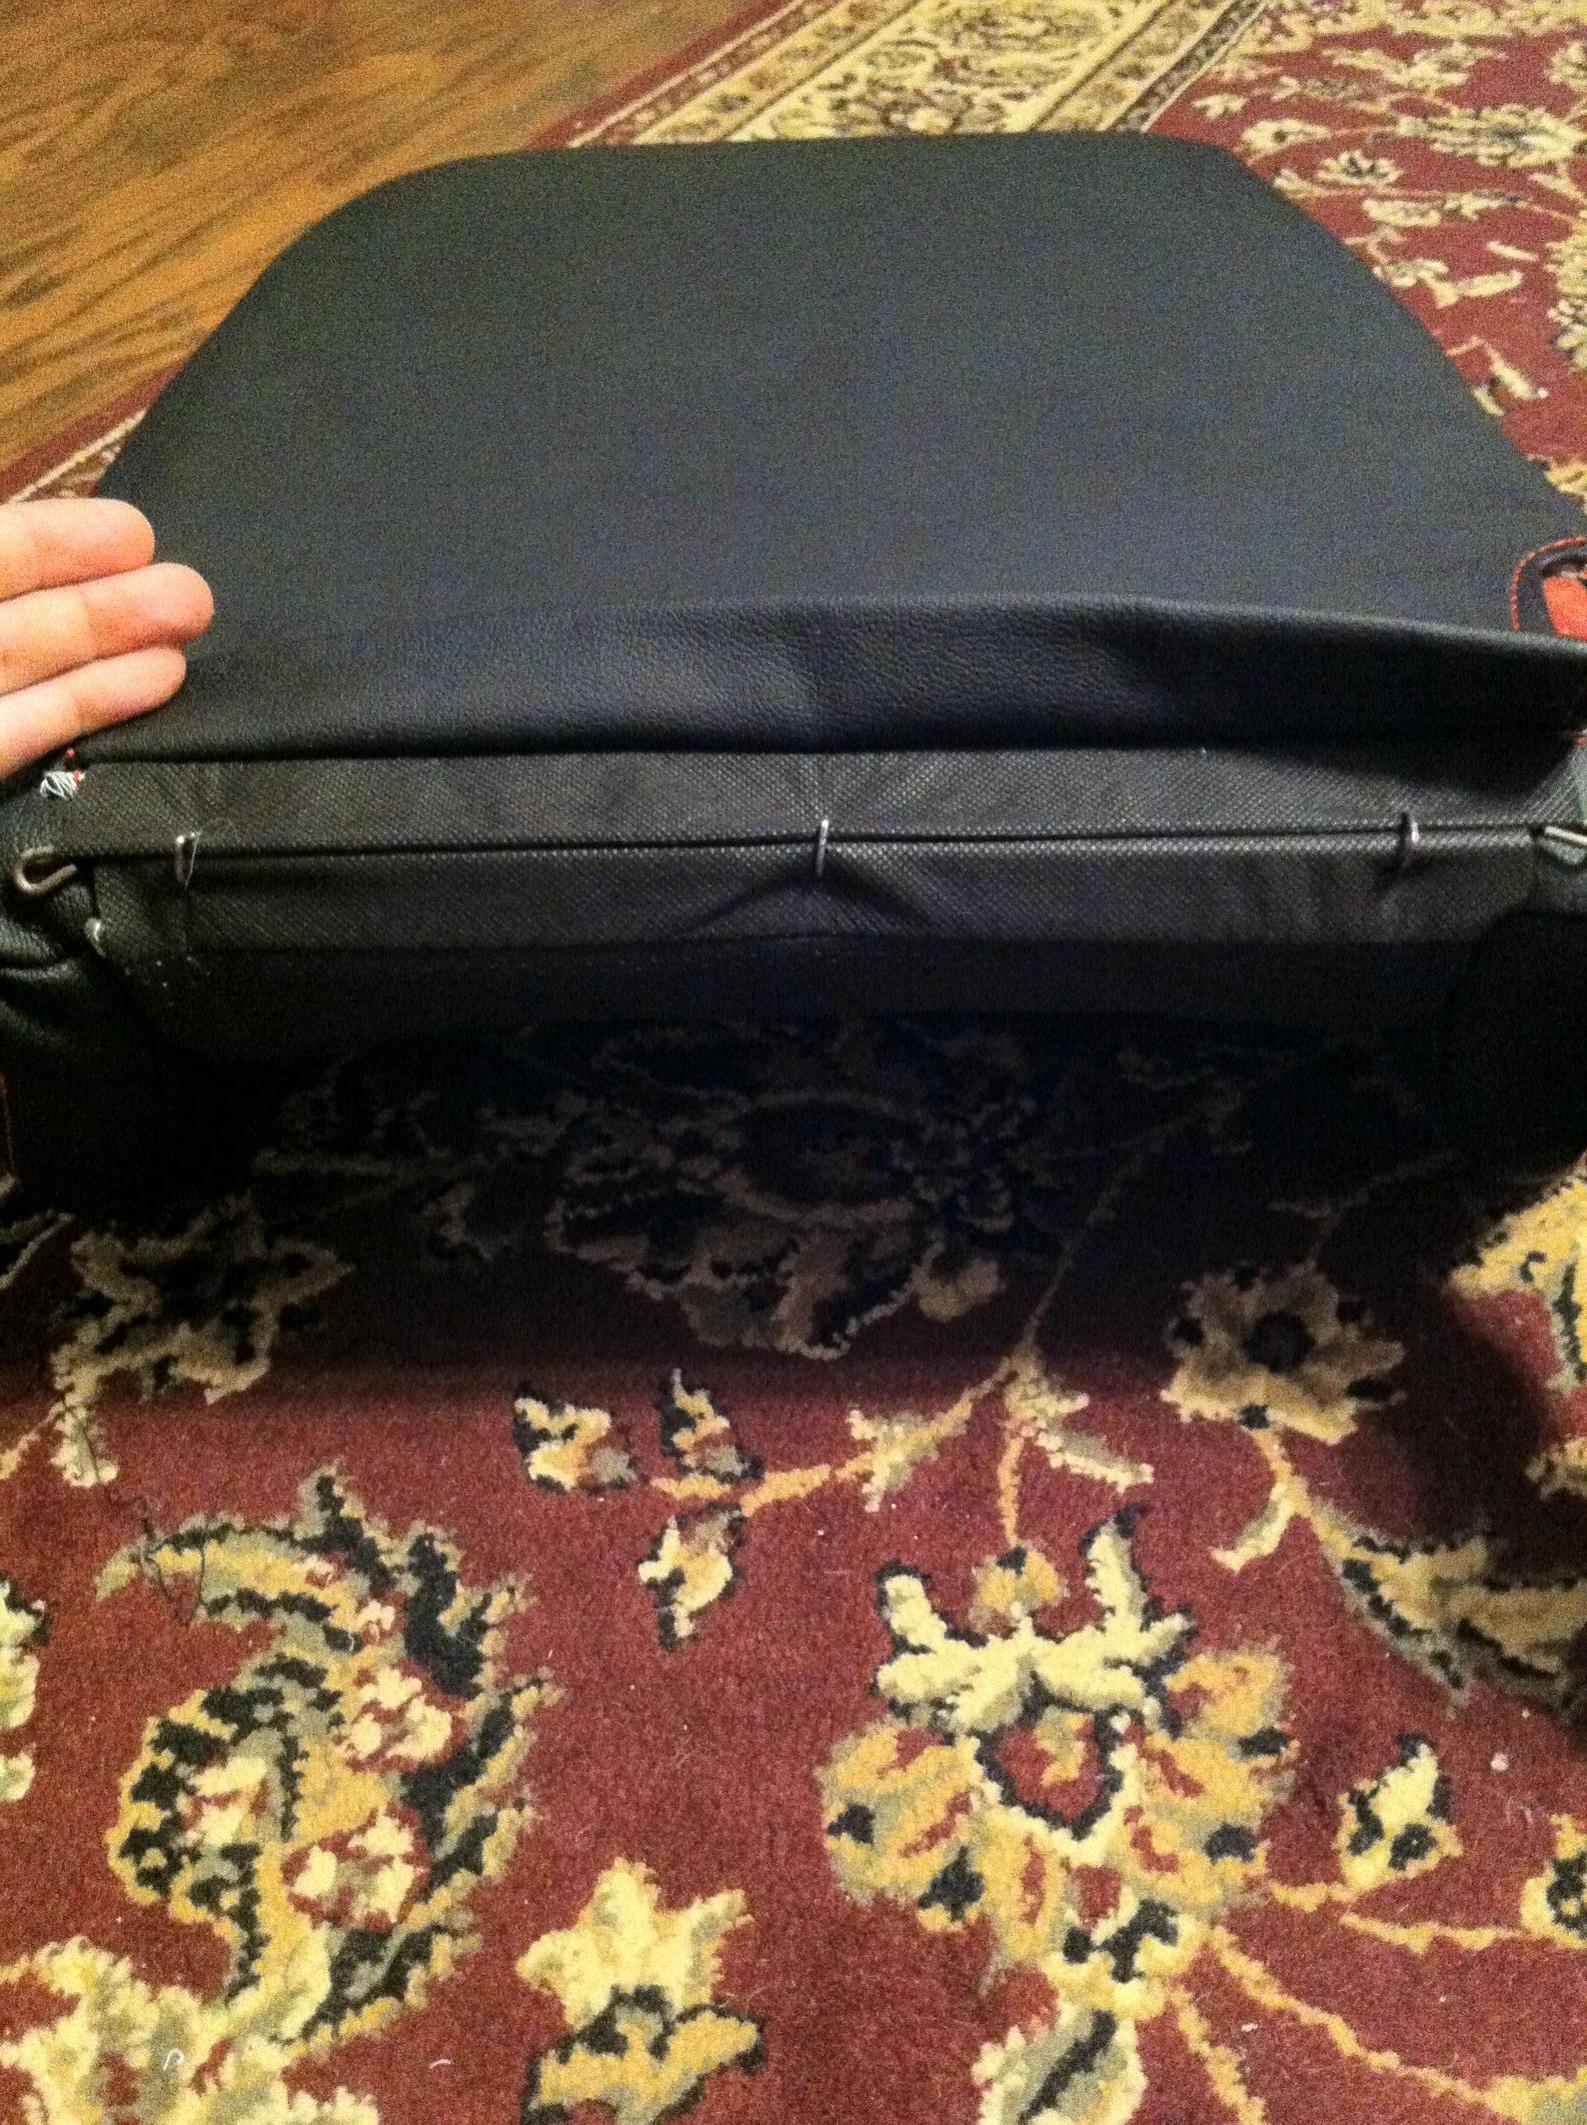
Flip it over and assess the bottom attachments:
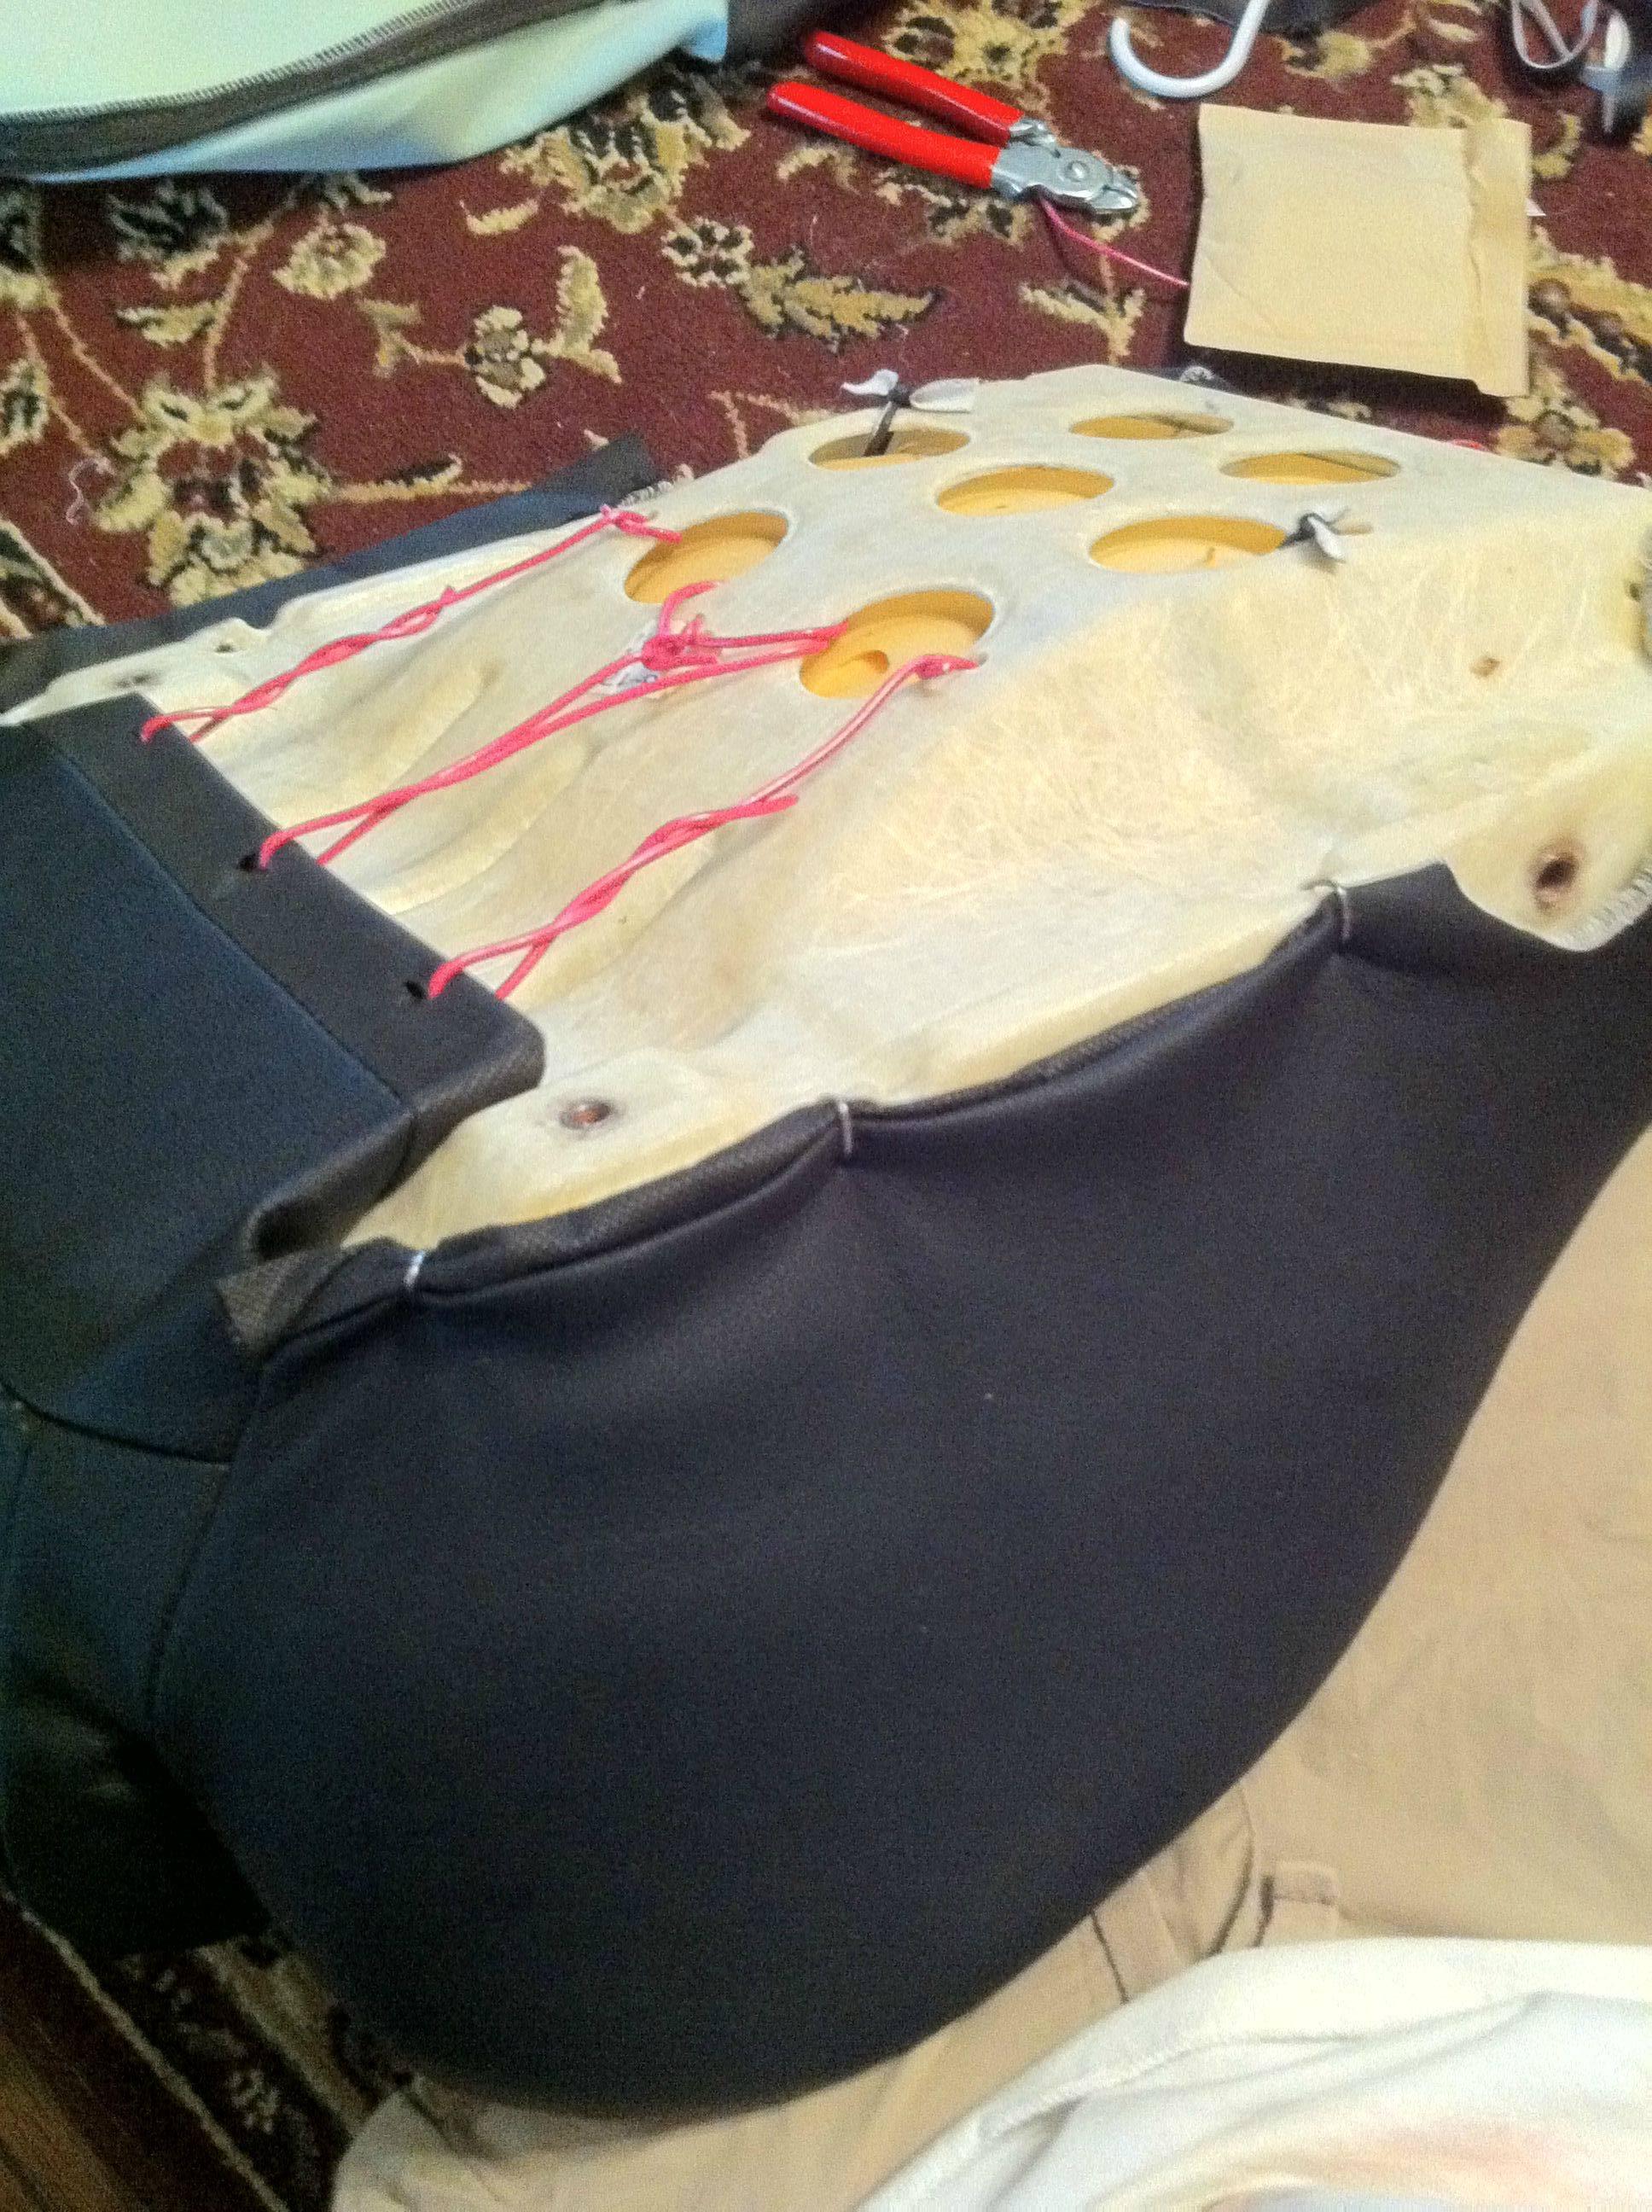
Pull the straps tight and tie them. Stretch the cover tight and slit some small holes for the push pins to go through. Keep checking the top of the seat to make sure you are not introducing any tension wrinkles:
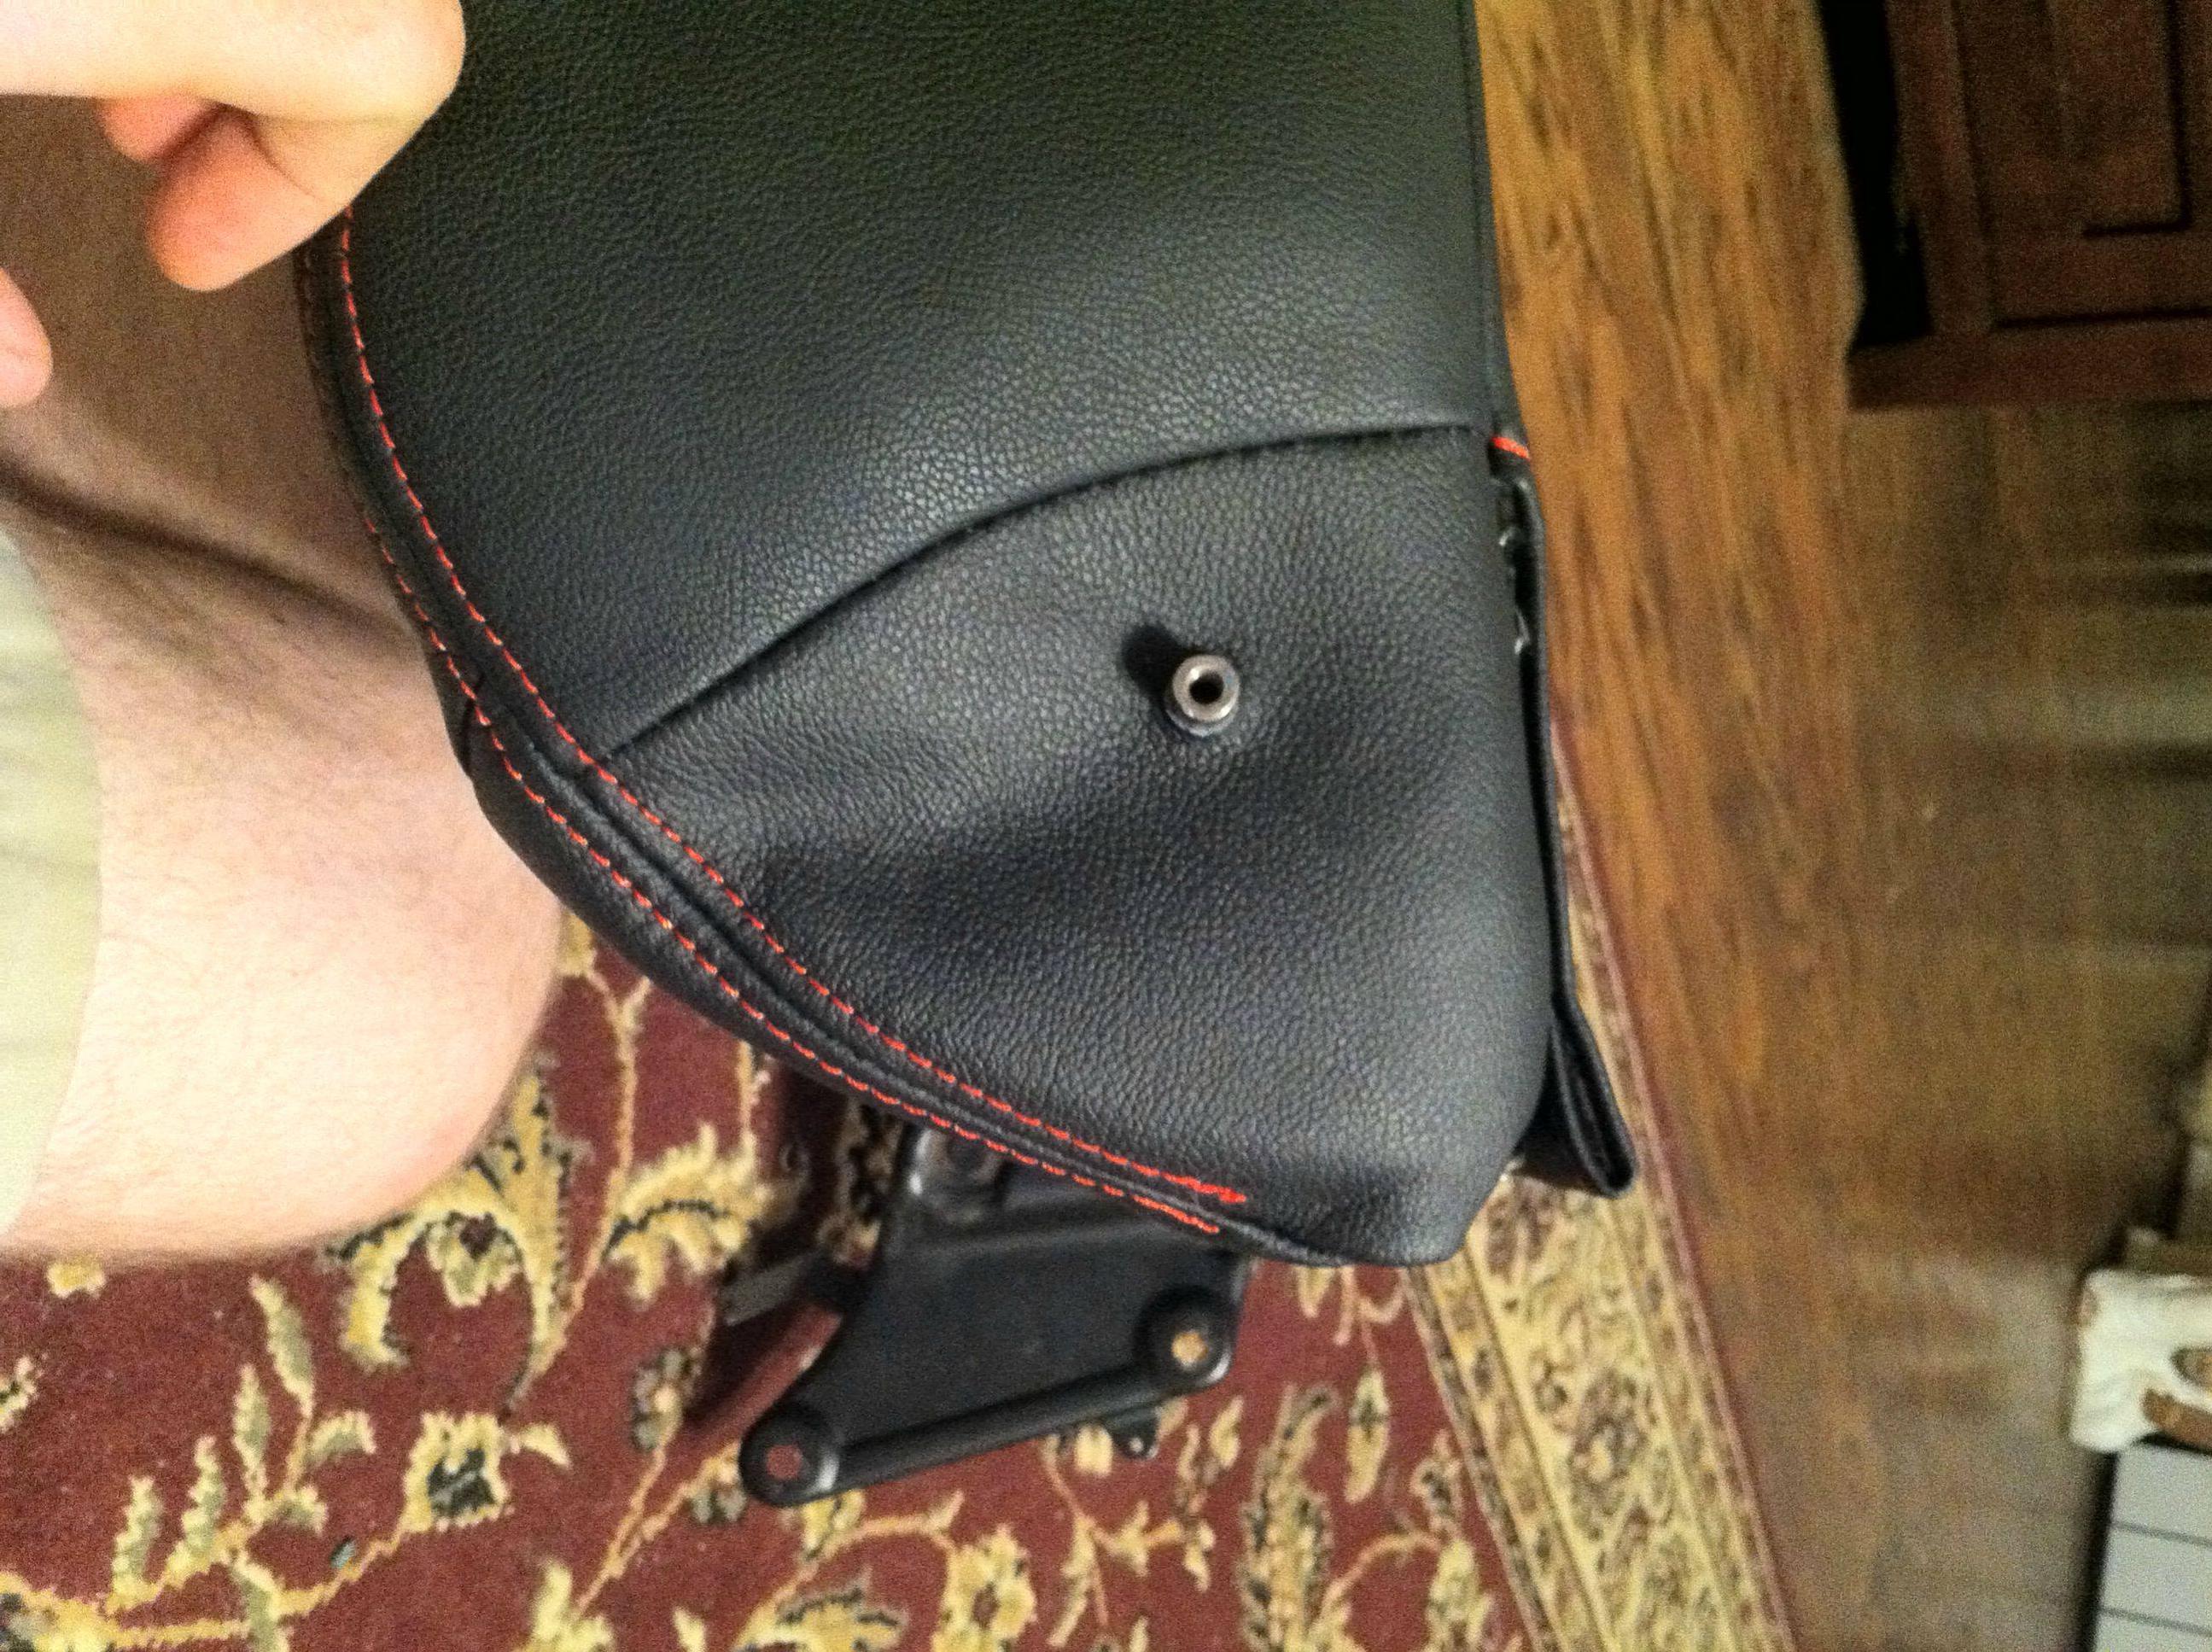
Ignore the pink wire in this pic it was only temporary. Hogring the edges into place, folding any loose material back under itself:
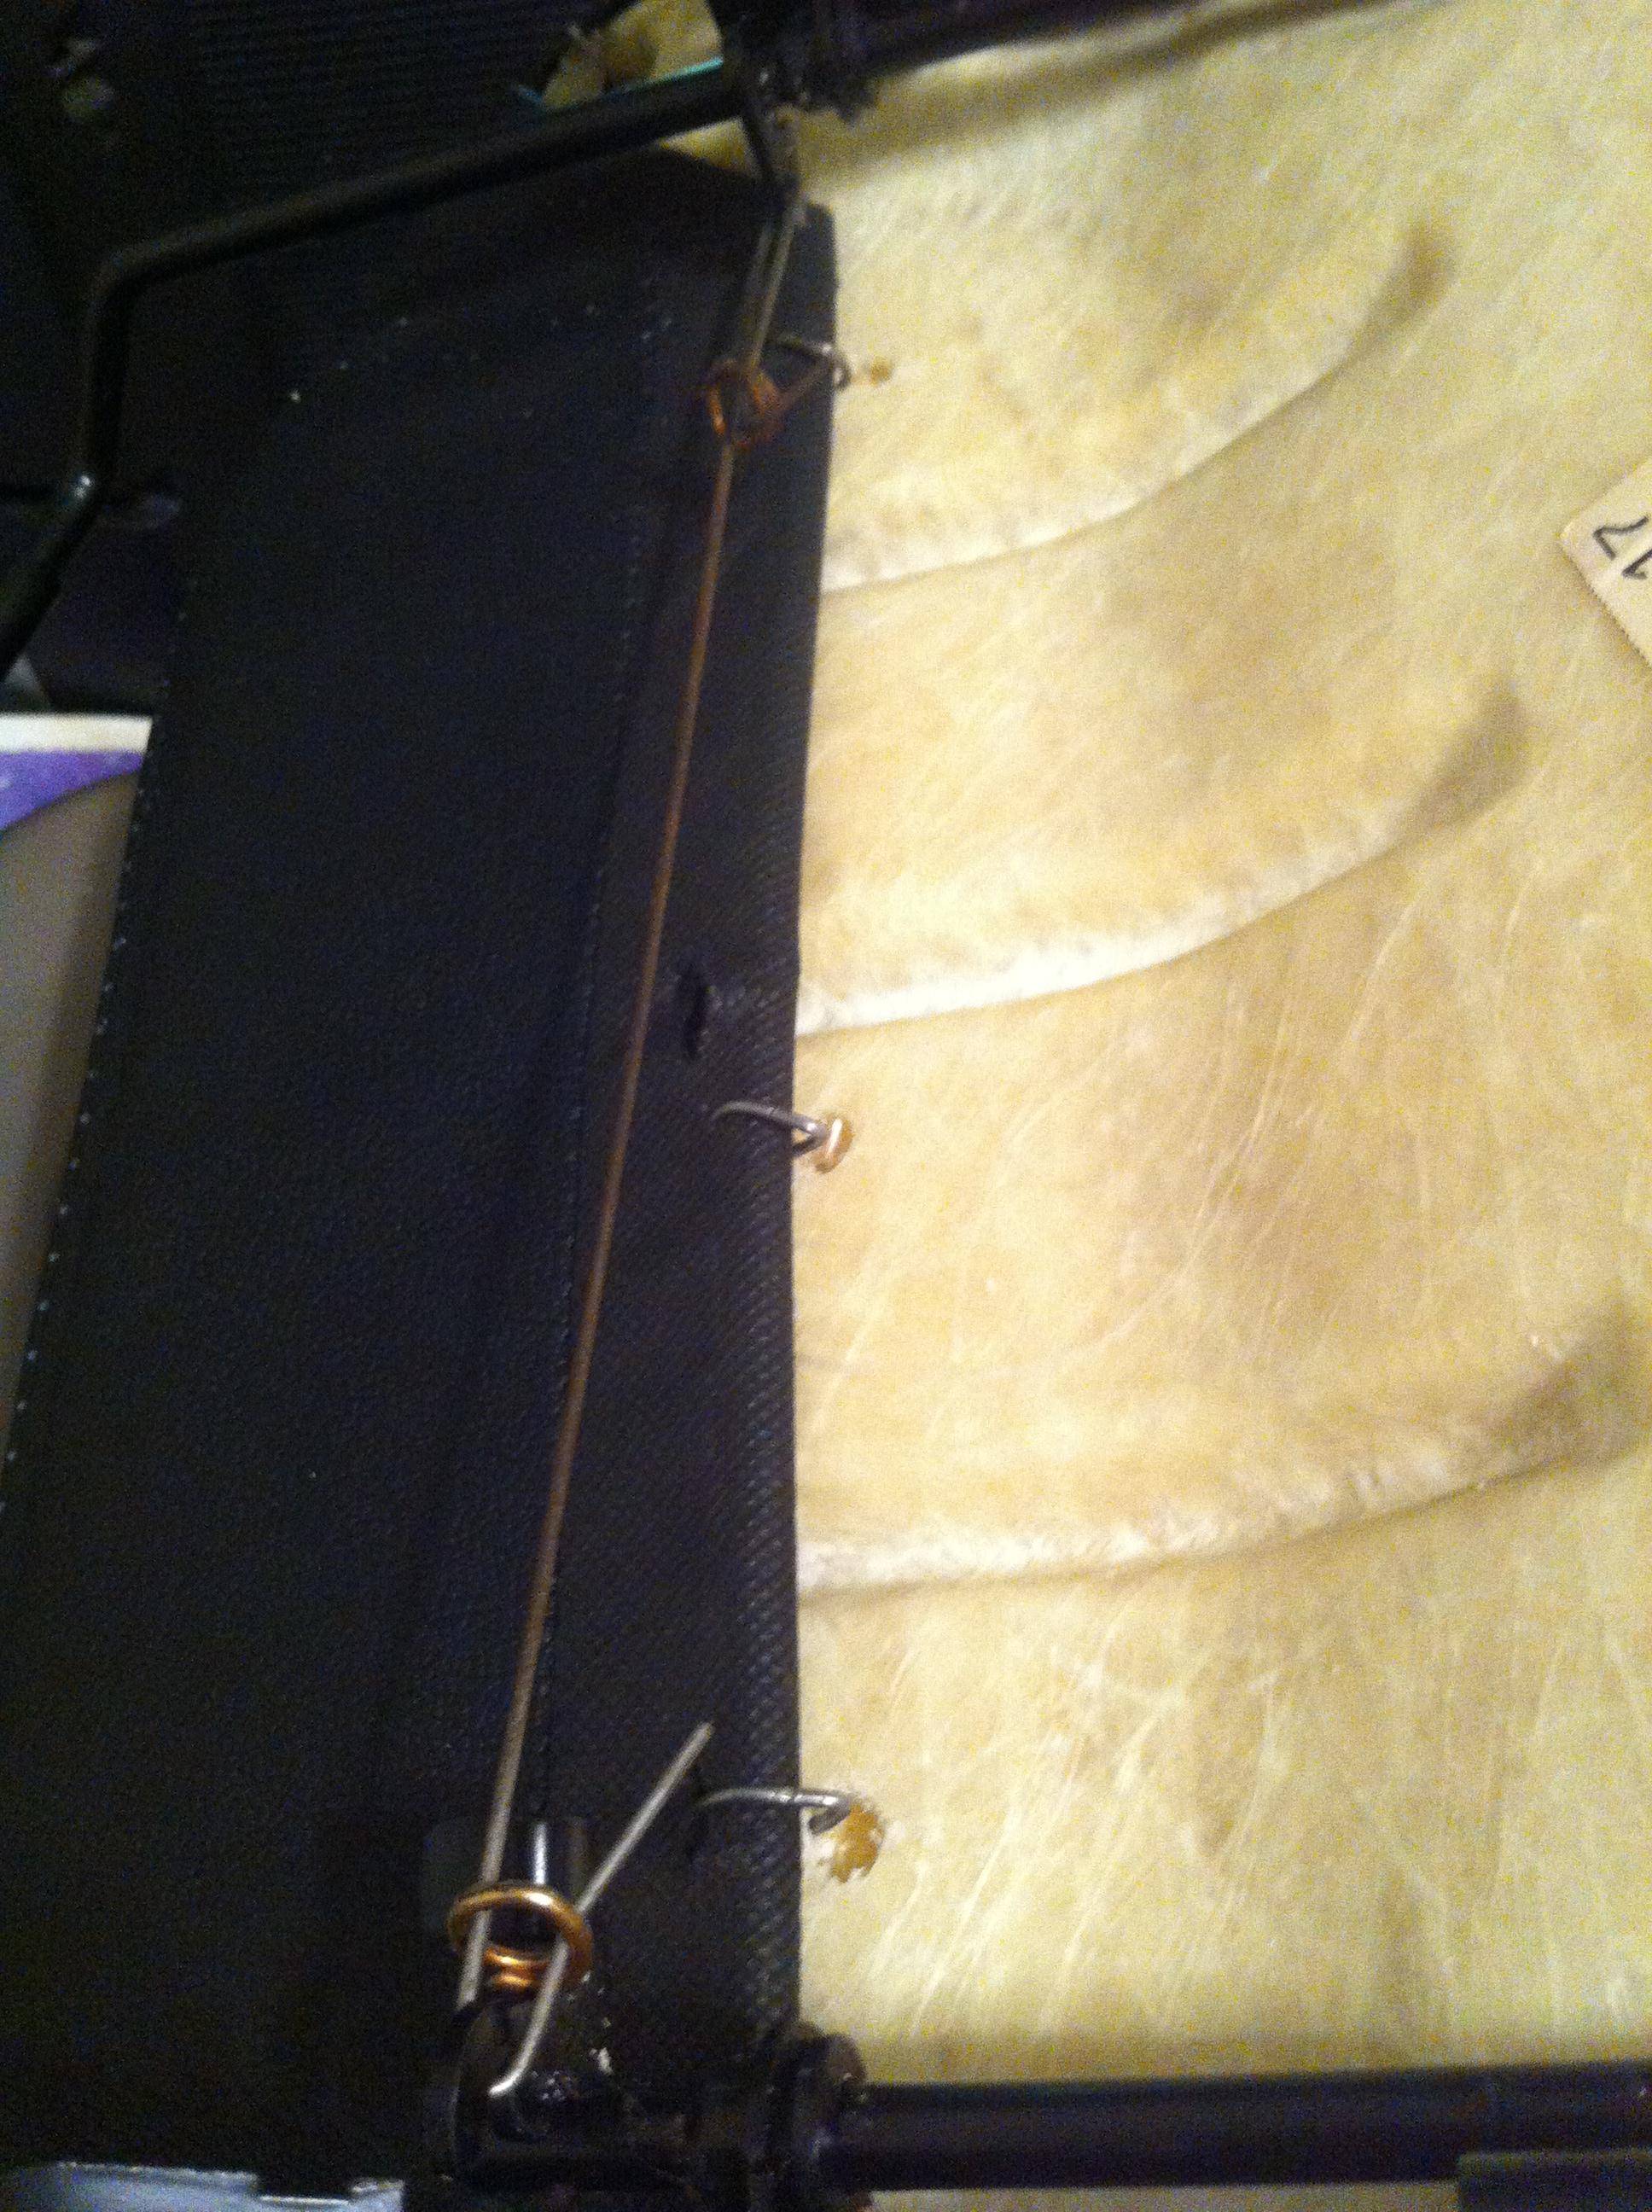
Here is how I attached the front edge because this cover was made differently than the last one (ignore the seat rails)

Starting at the front bolsters, fold the covers over one side at a time:
Massage/ beat the cover into place:
Fold over the rear corners:
Repeat the seat cover whooping till the cover sits nice and centered and even.
Flip it over and assess the bottom attachments:
Pull the straps tight and tie them. Stretch the cover tight and slit some small holes for the push pins to go through. Keep checking the top of the seat to make sure you are not introducing any tension wrinkles:
Ignore the pink wire in this pic it was only temporary. Hogring the edges into place, folding any loose material back under itself:
Here is how I attached the front edge because this cover was made differently than the last one (ignore the seat rails)
Last edited by Andre The Giant; Jul 21, 2013 at 04:28 PM.
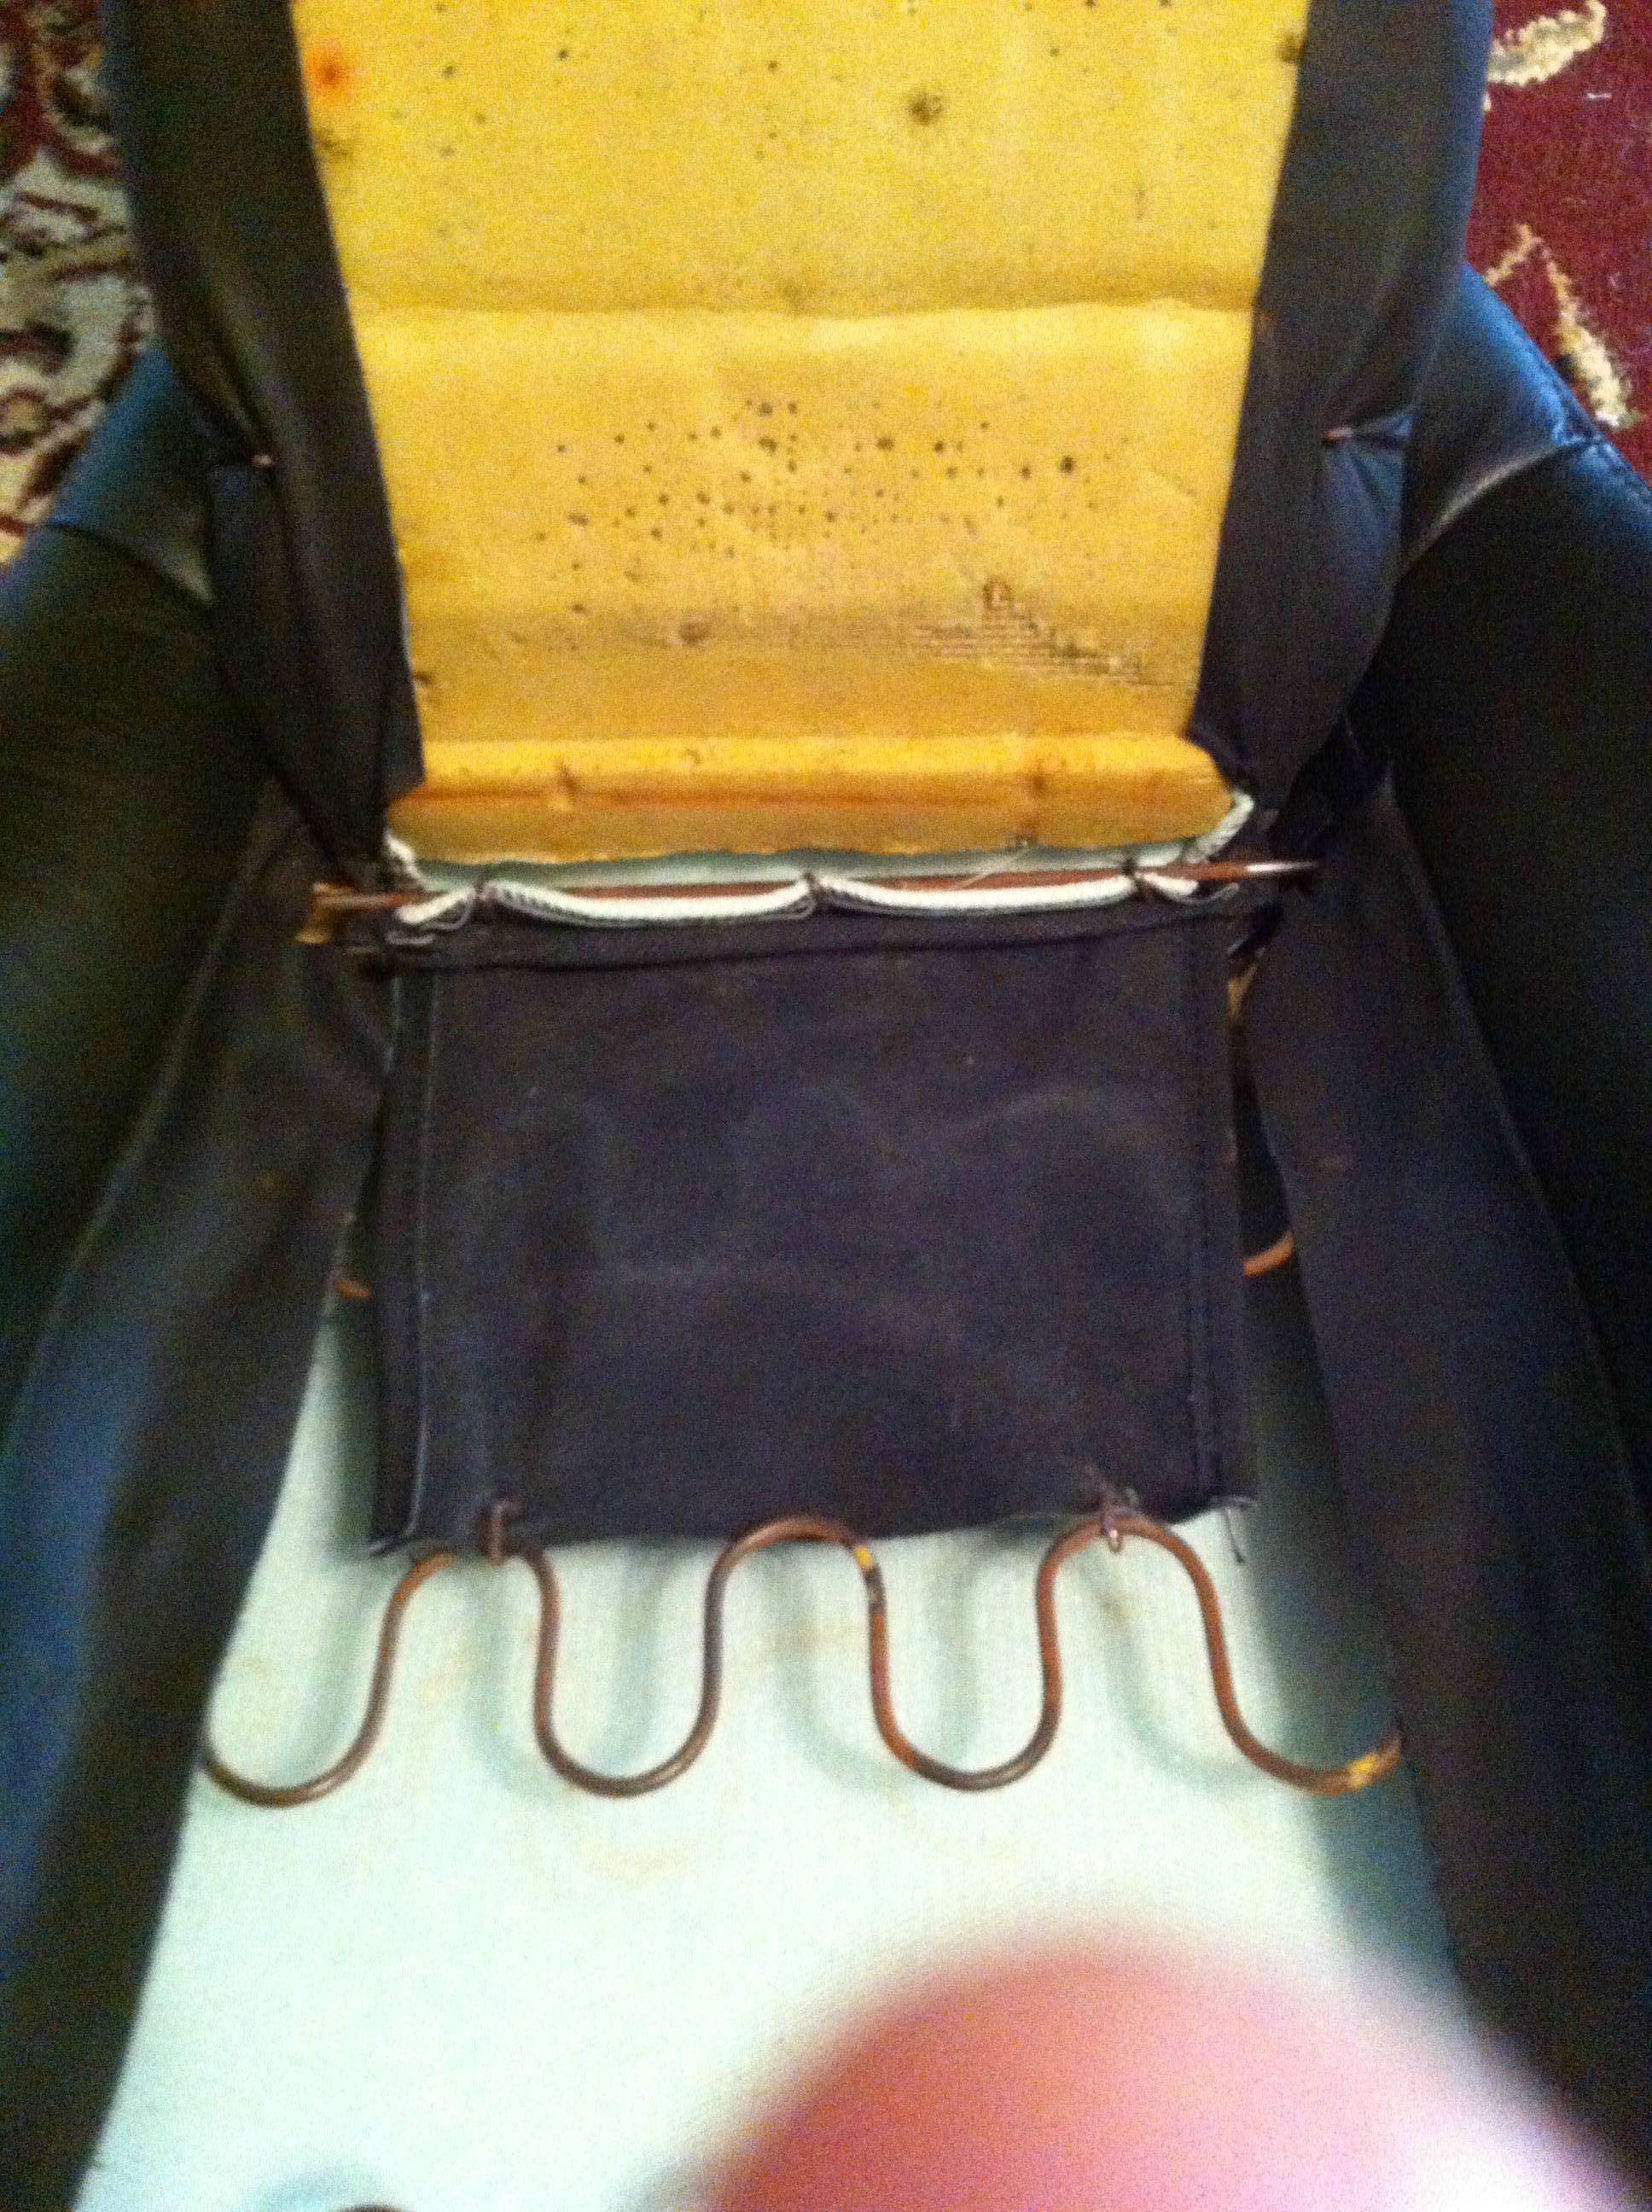
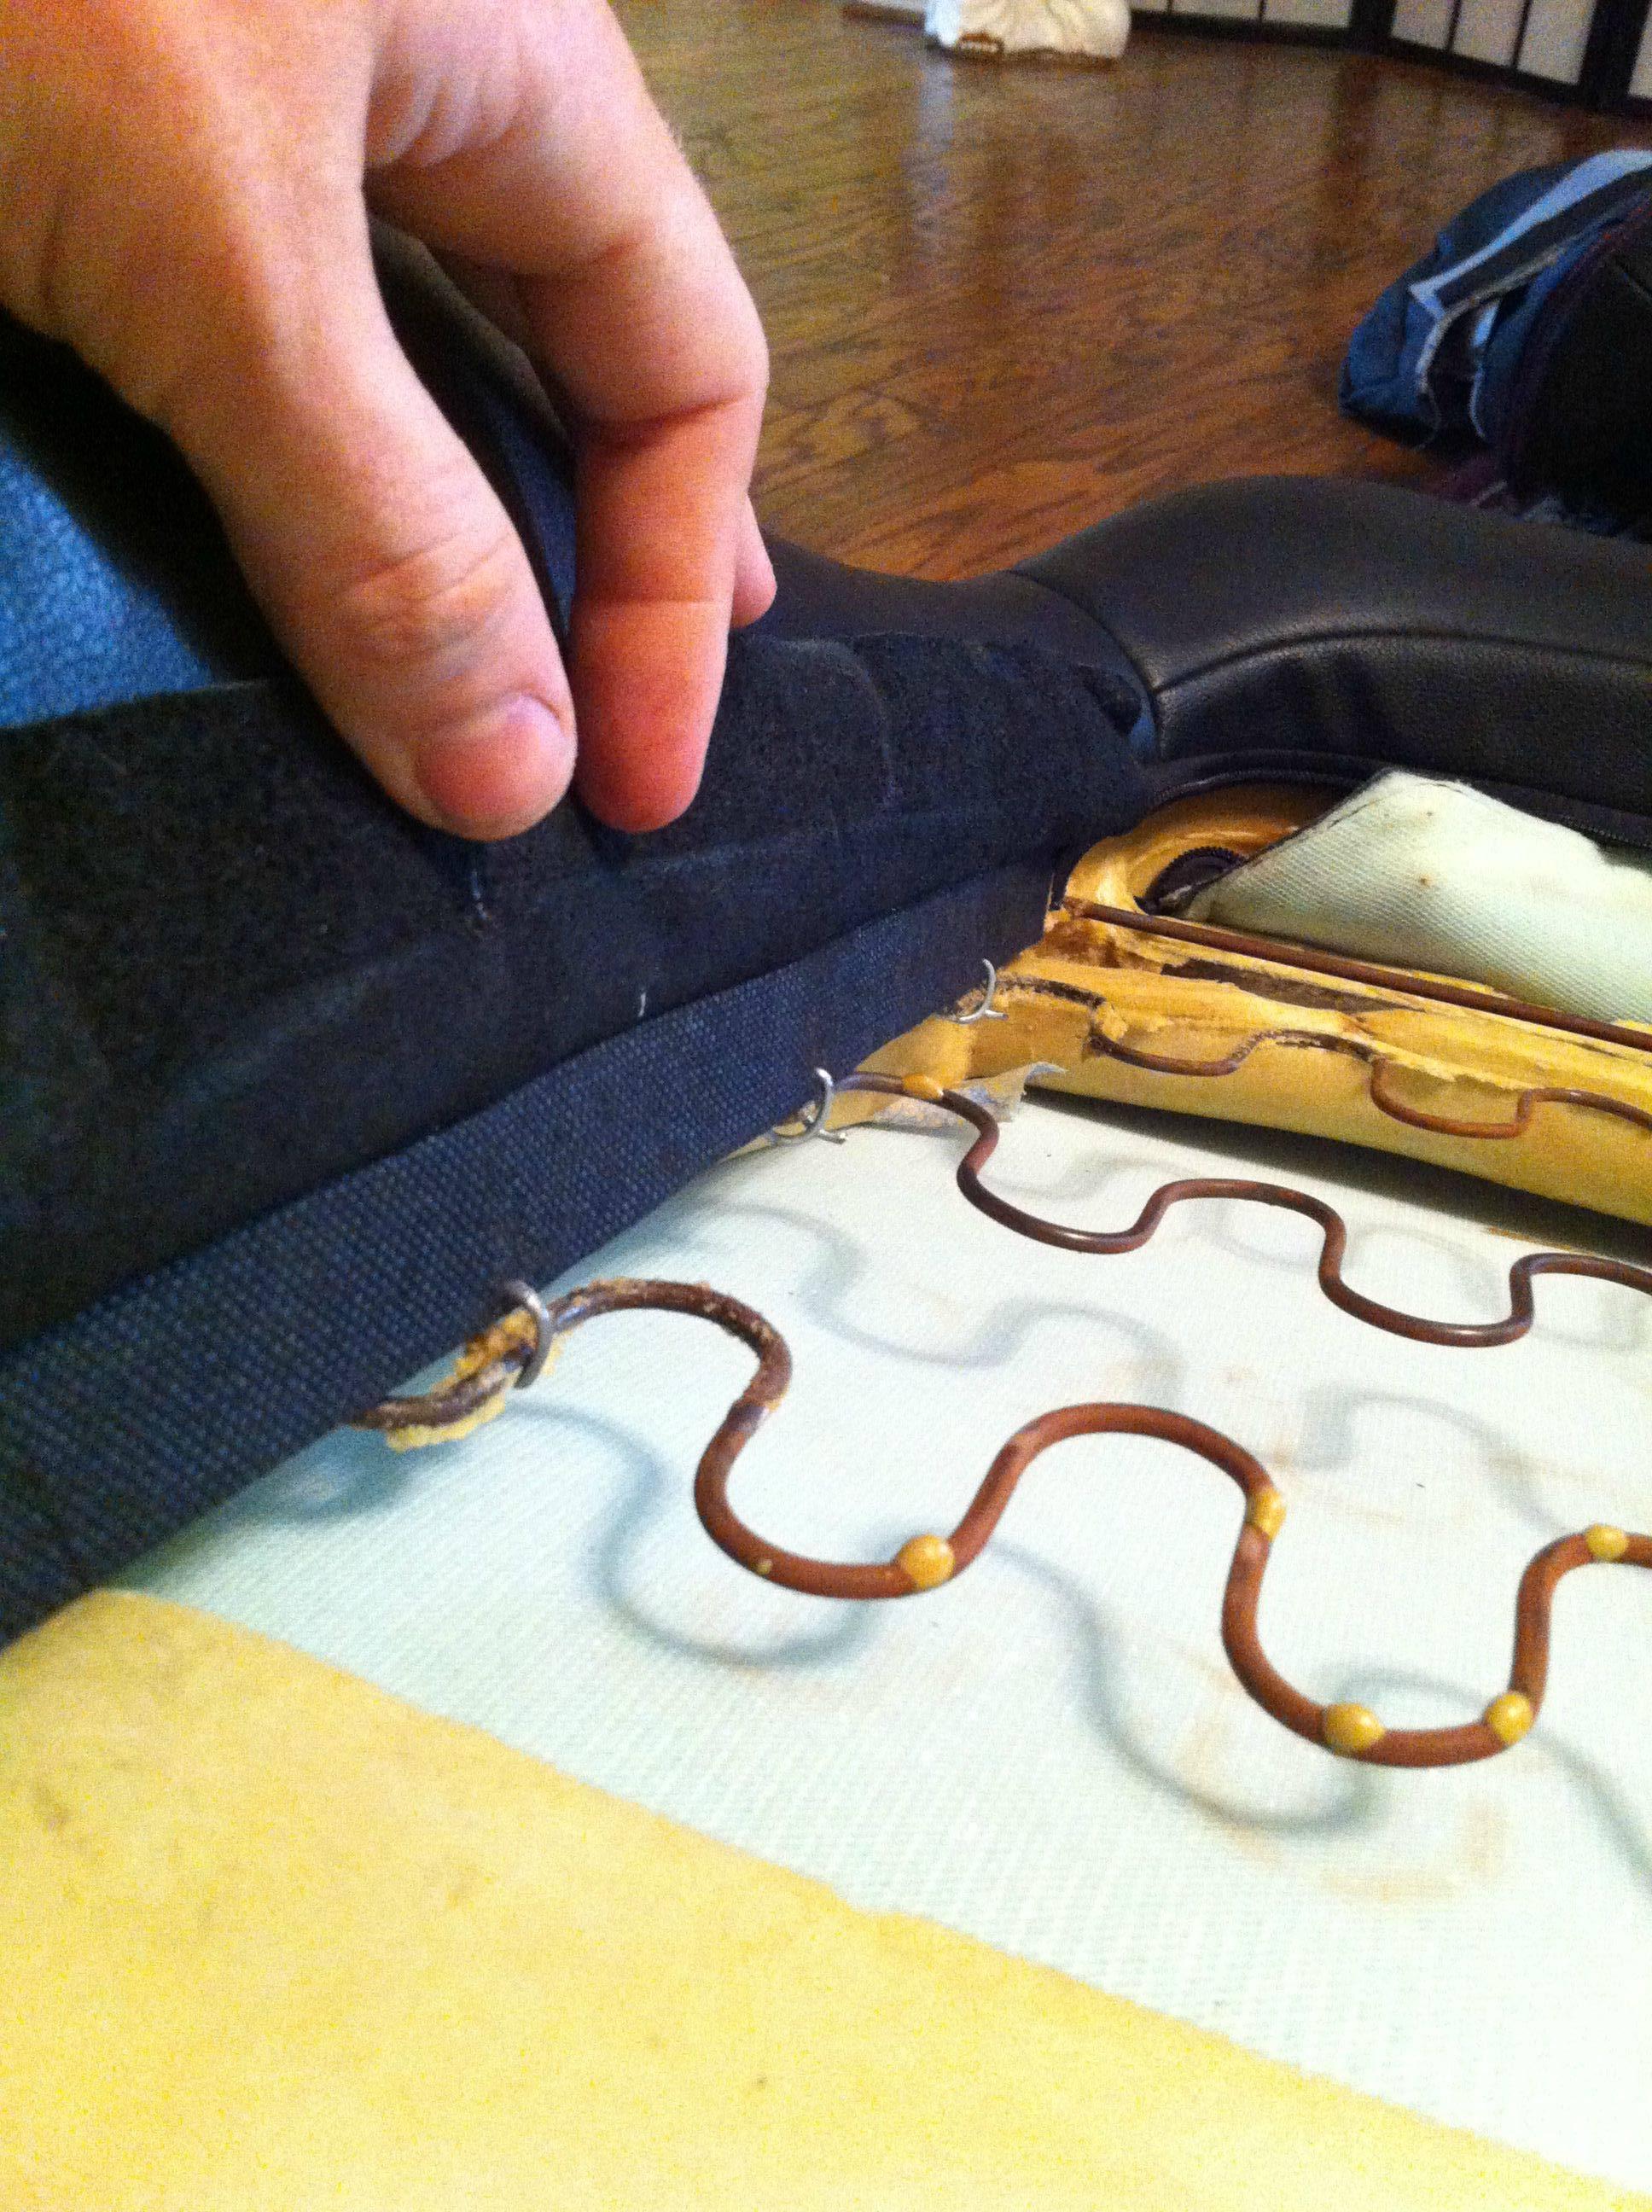
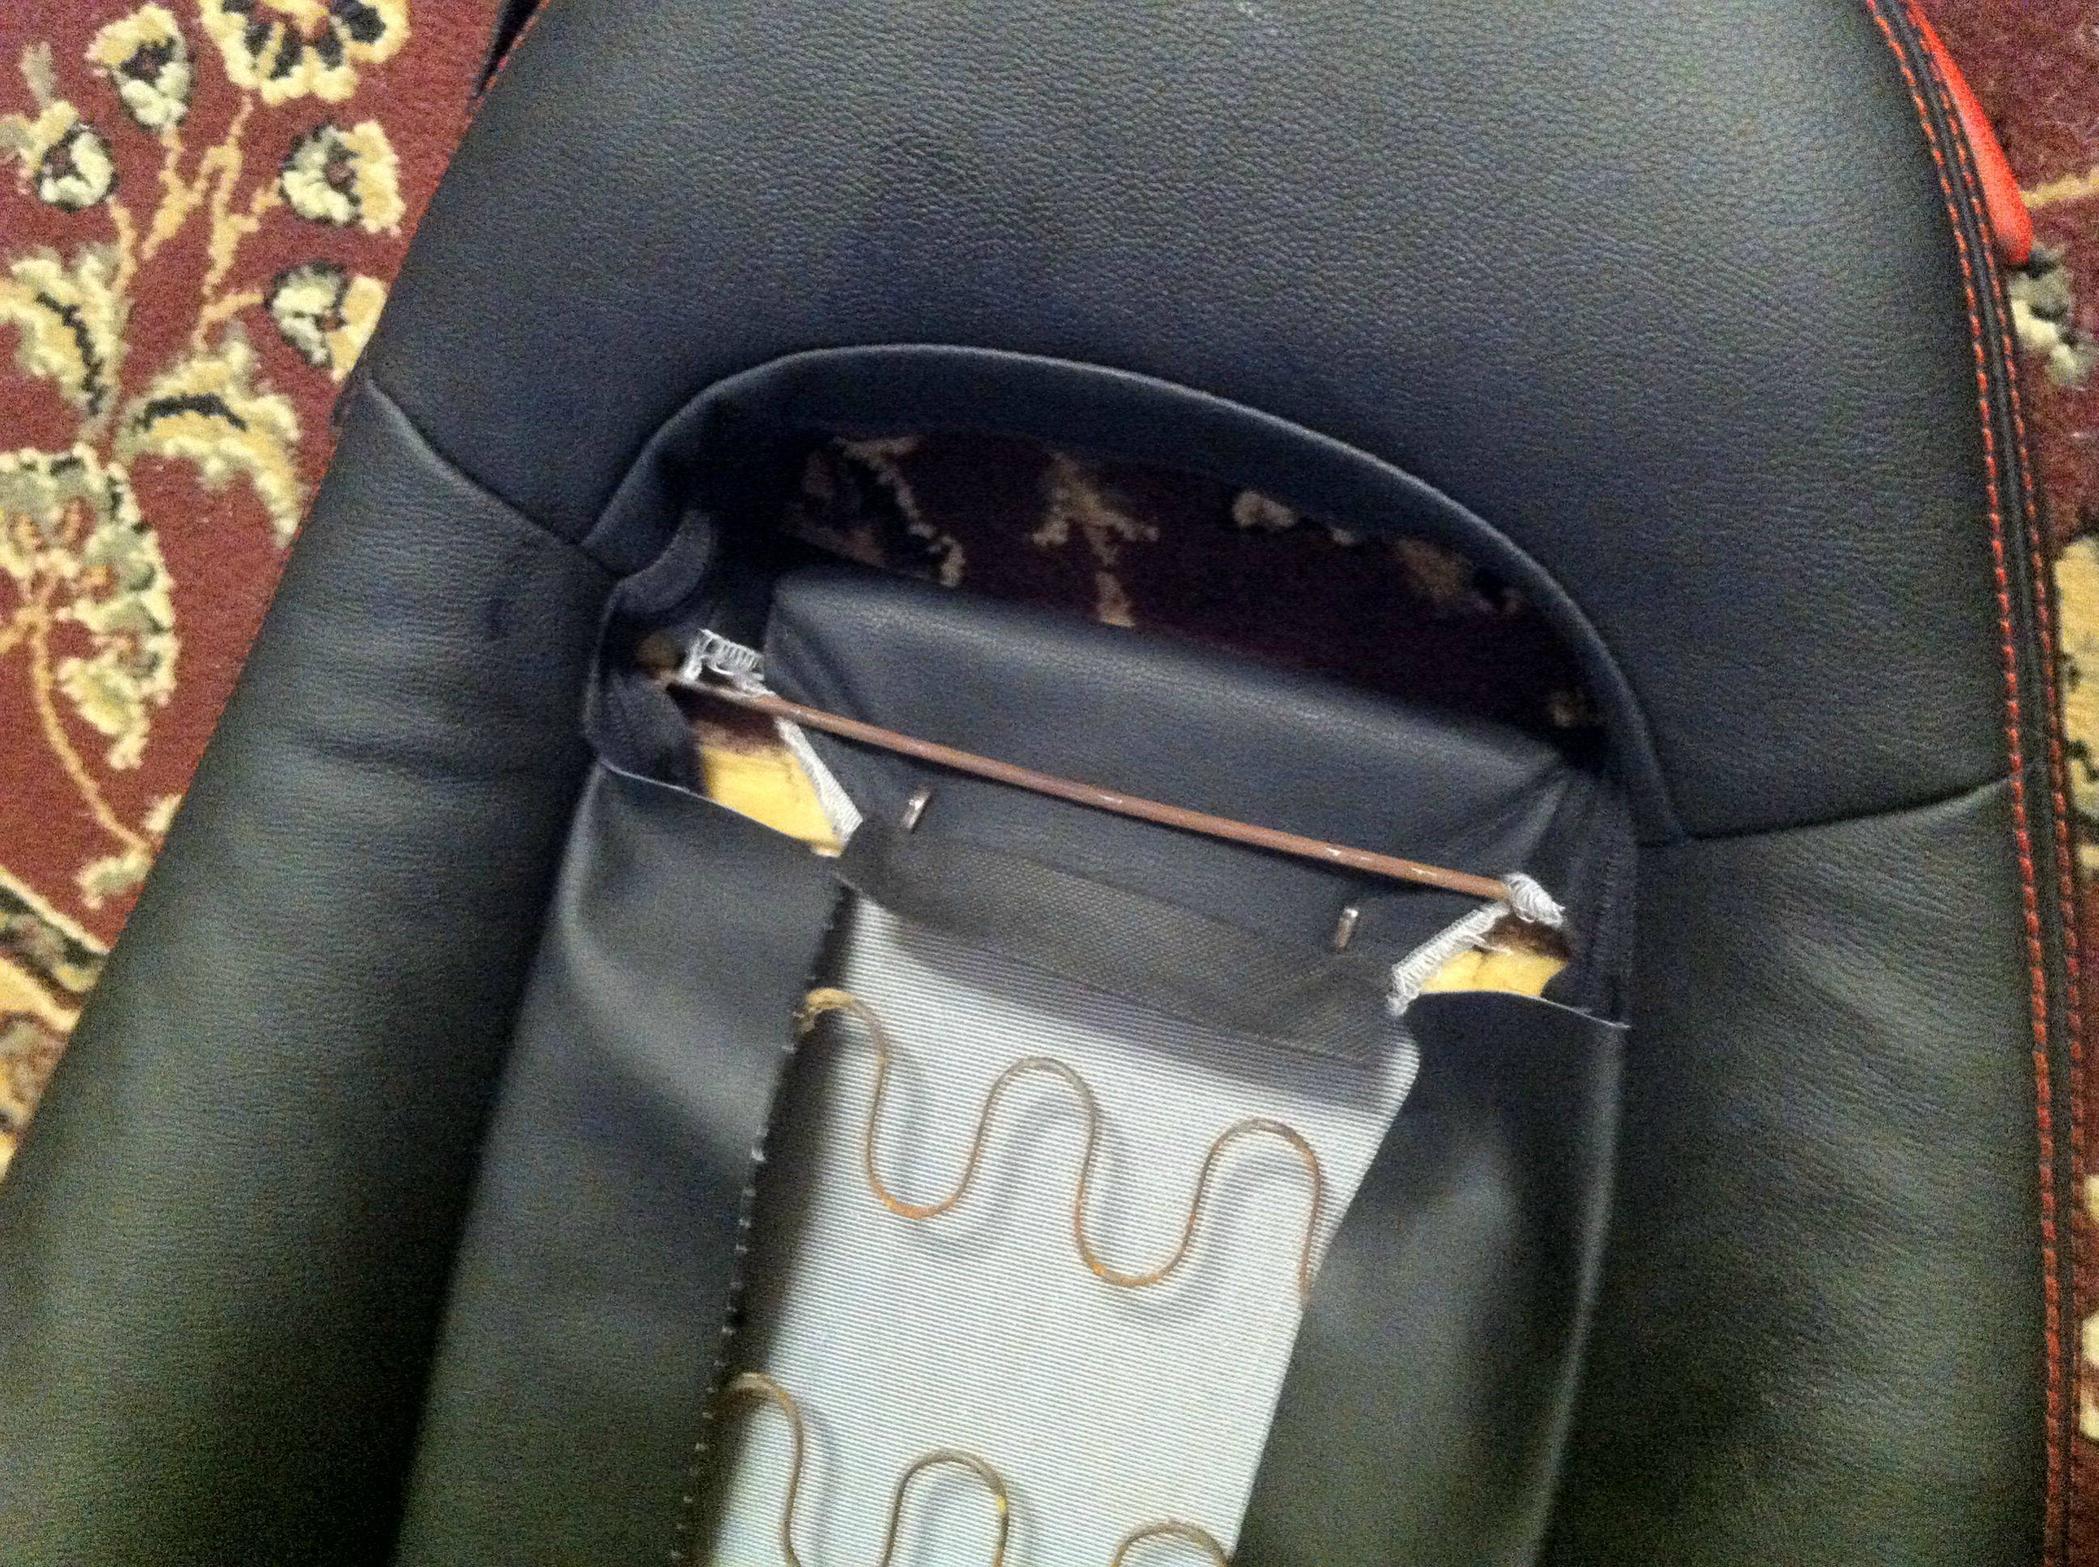
You're just about done with the seat bottom so well move onto the seat back. Remove one 10mm bolt on the side of the hinge and keep track of the spacer that comes out. The hinge that has the recline mechanism stays attached to the seat so leave it alone
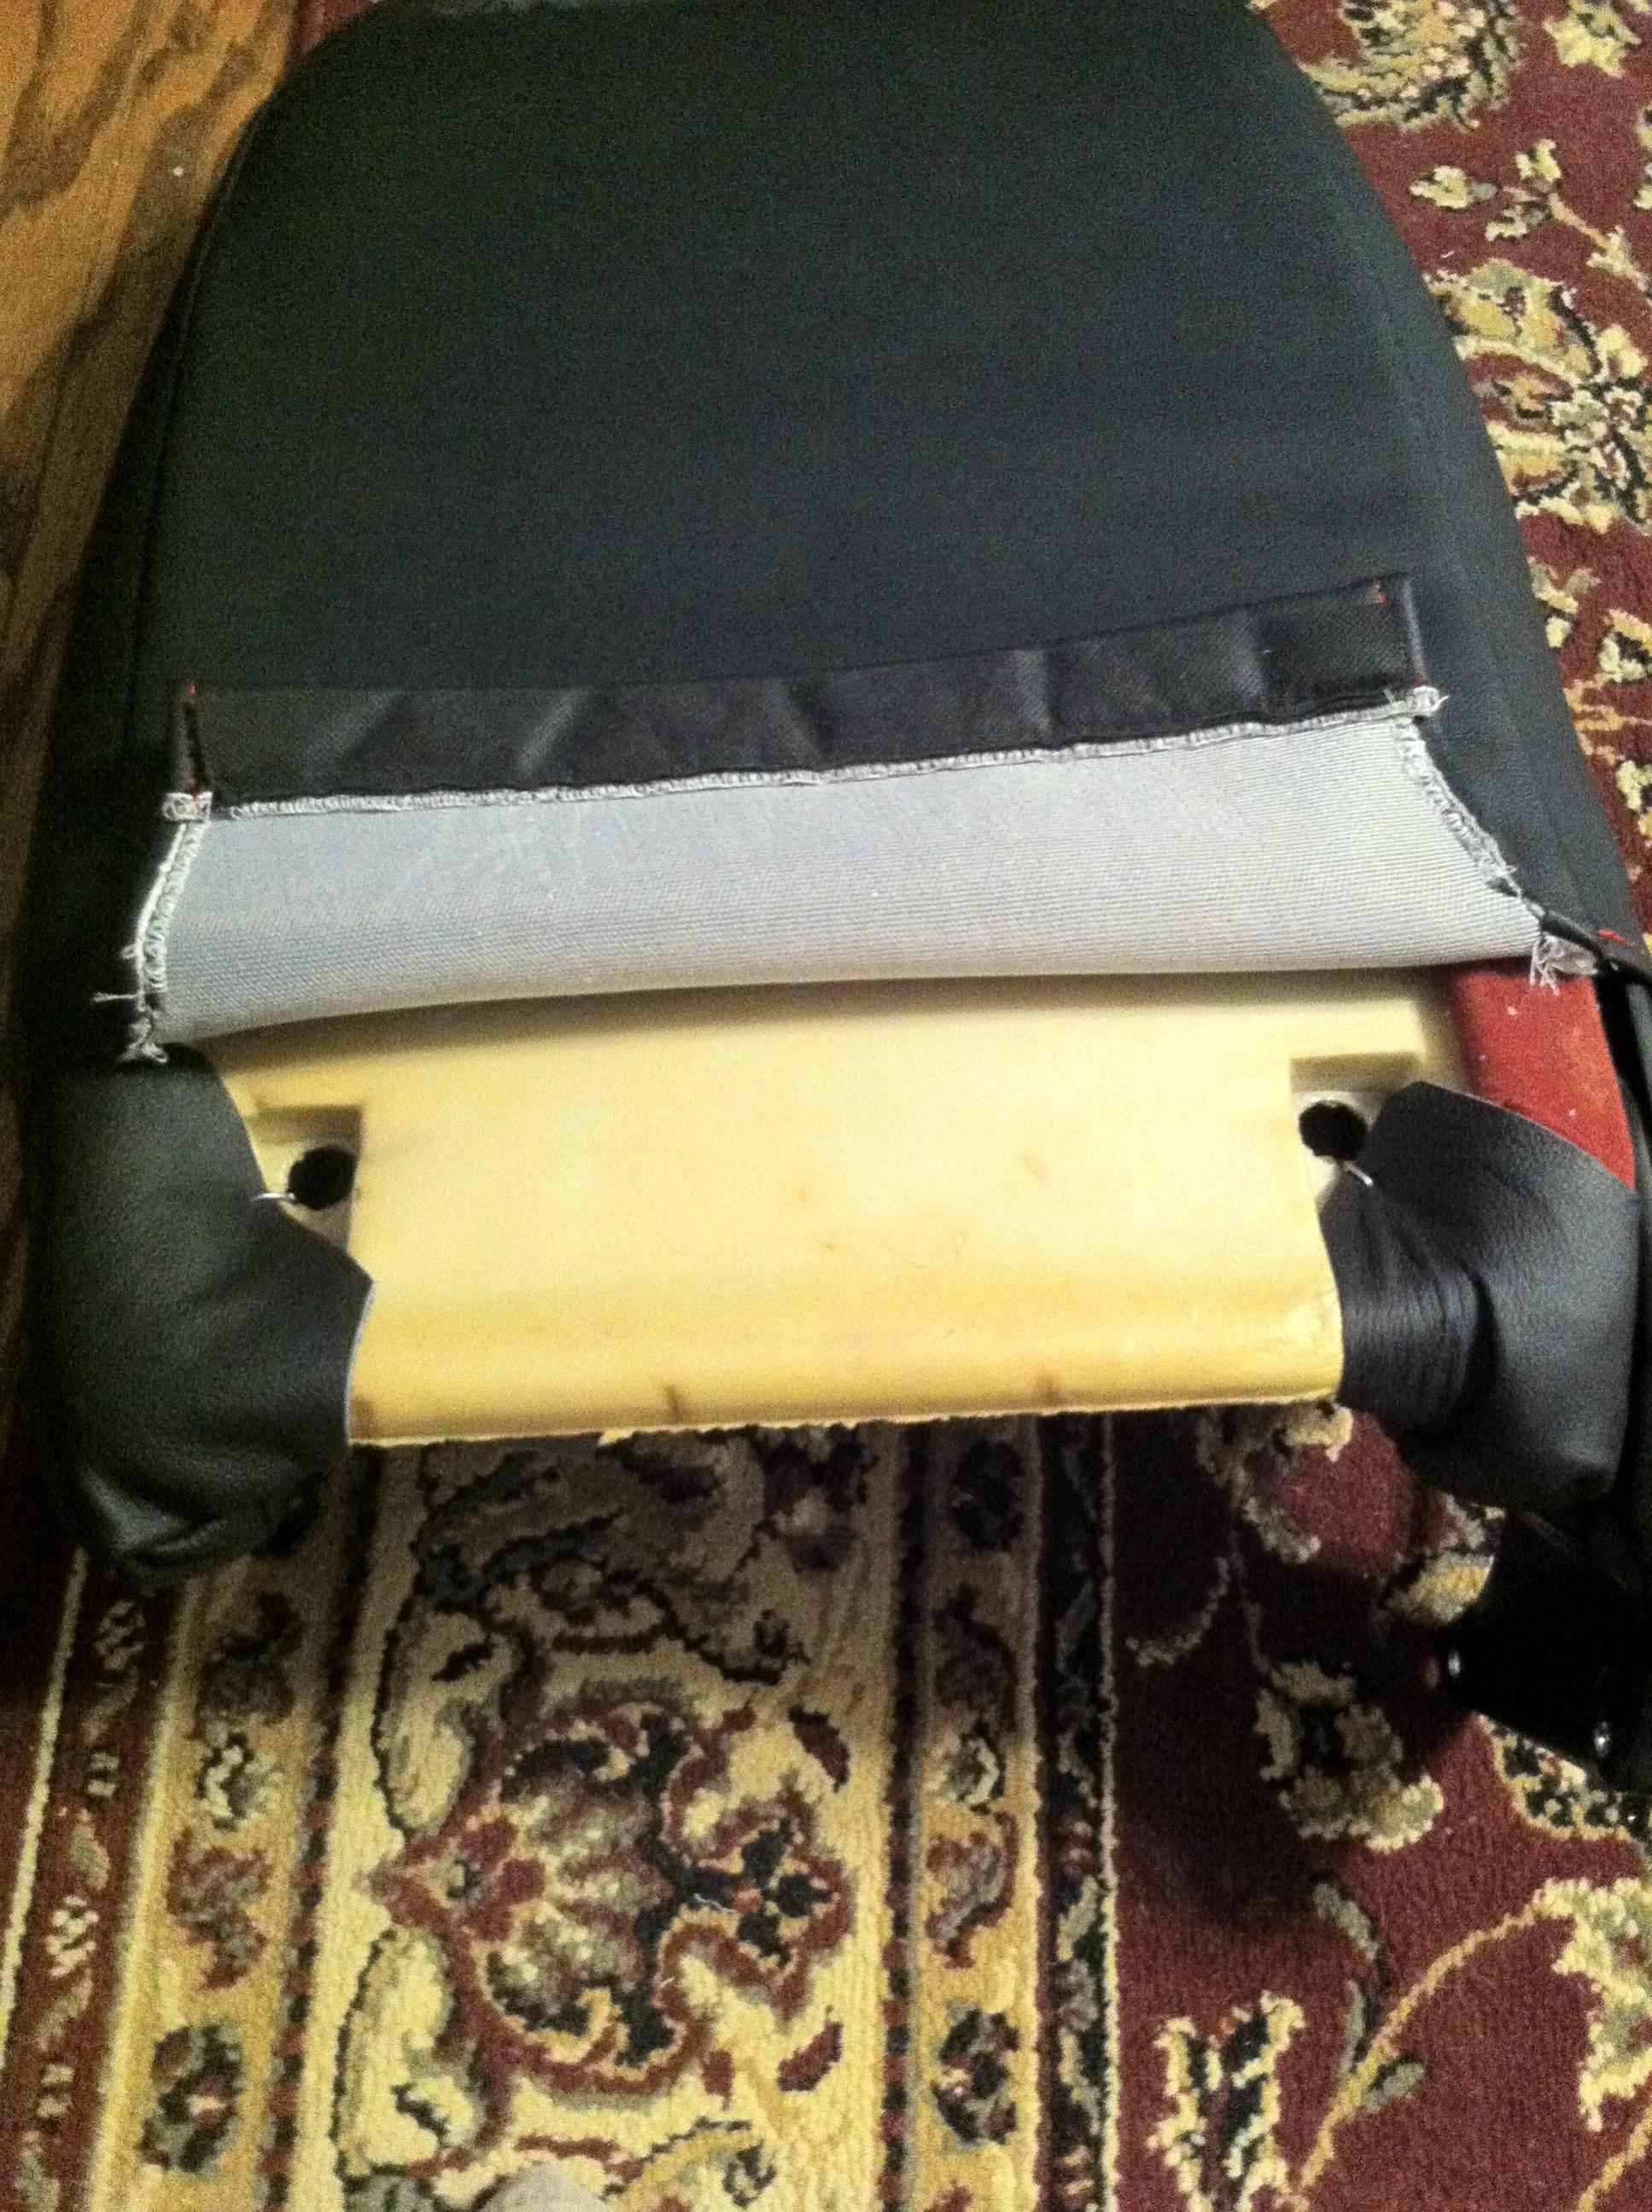
Remove three hogrings at the bottom of the seat:
Remove two hogrings on the back that hold down this flap:
This will loosen the bottom of the center cushion, lift it up and there will be two more hidden hogrings in there:
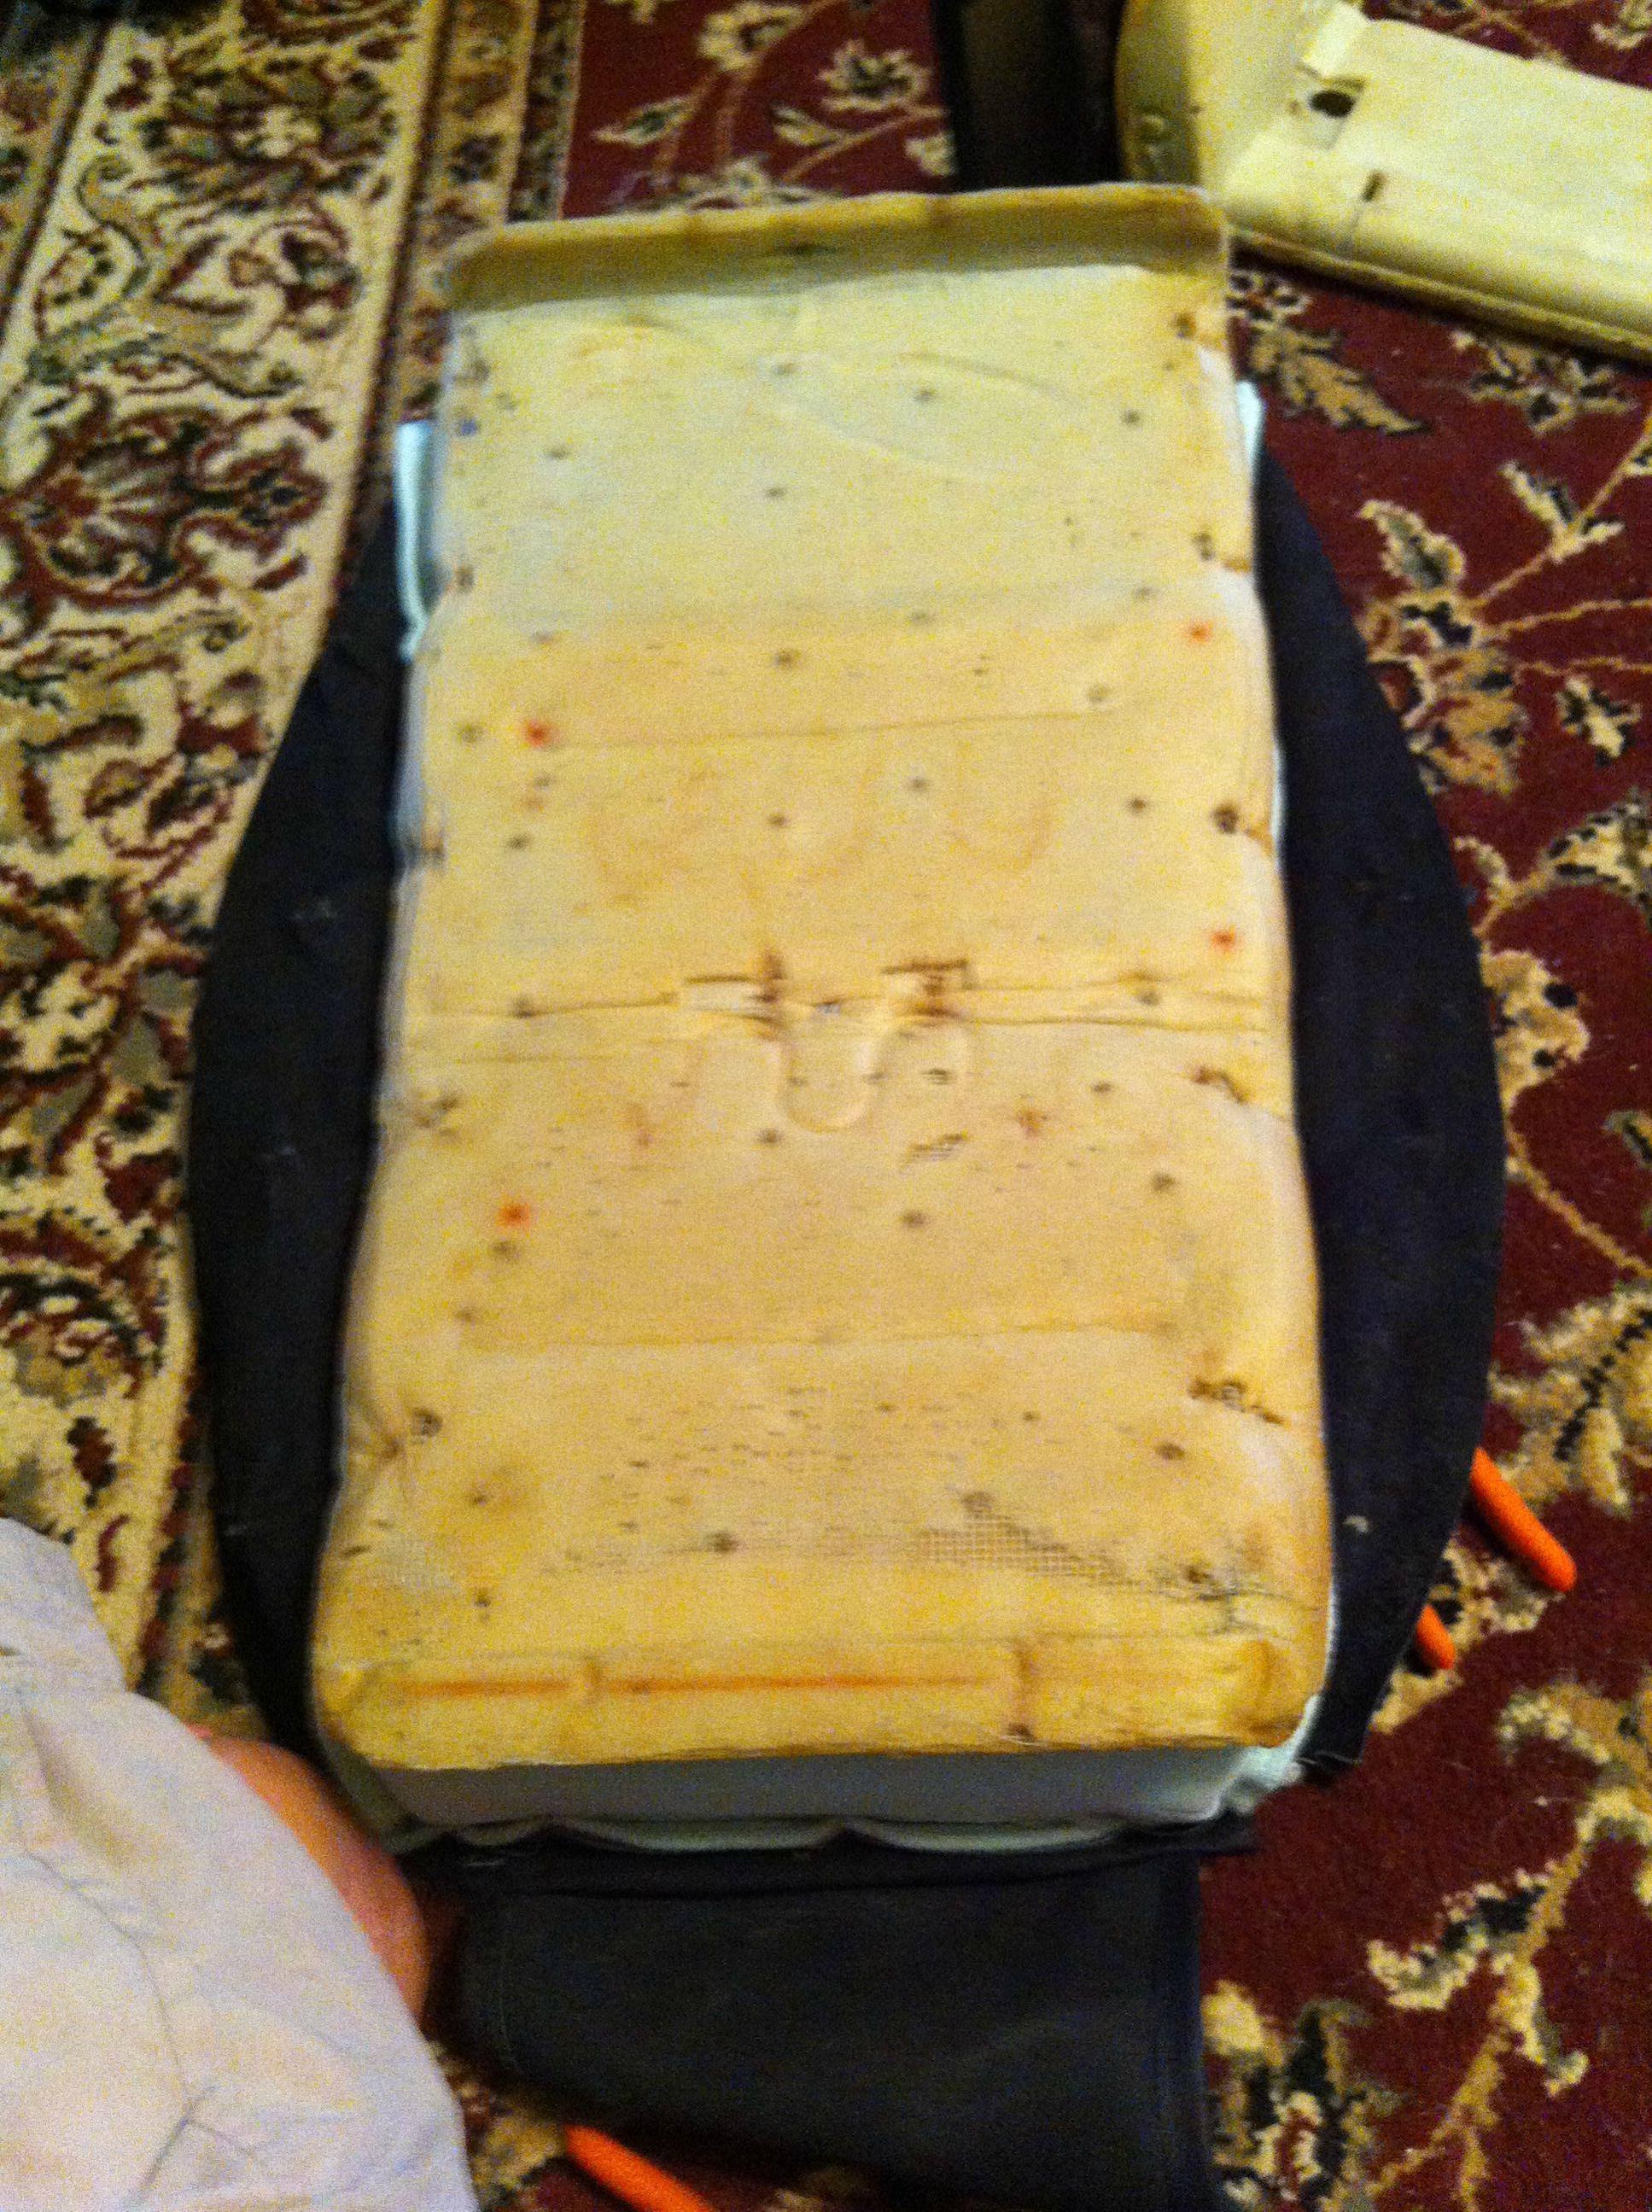
Lift the cushion up and you can see the rest of the hogrings to be removed:
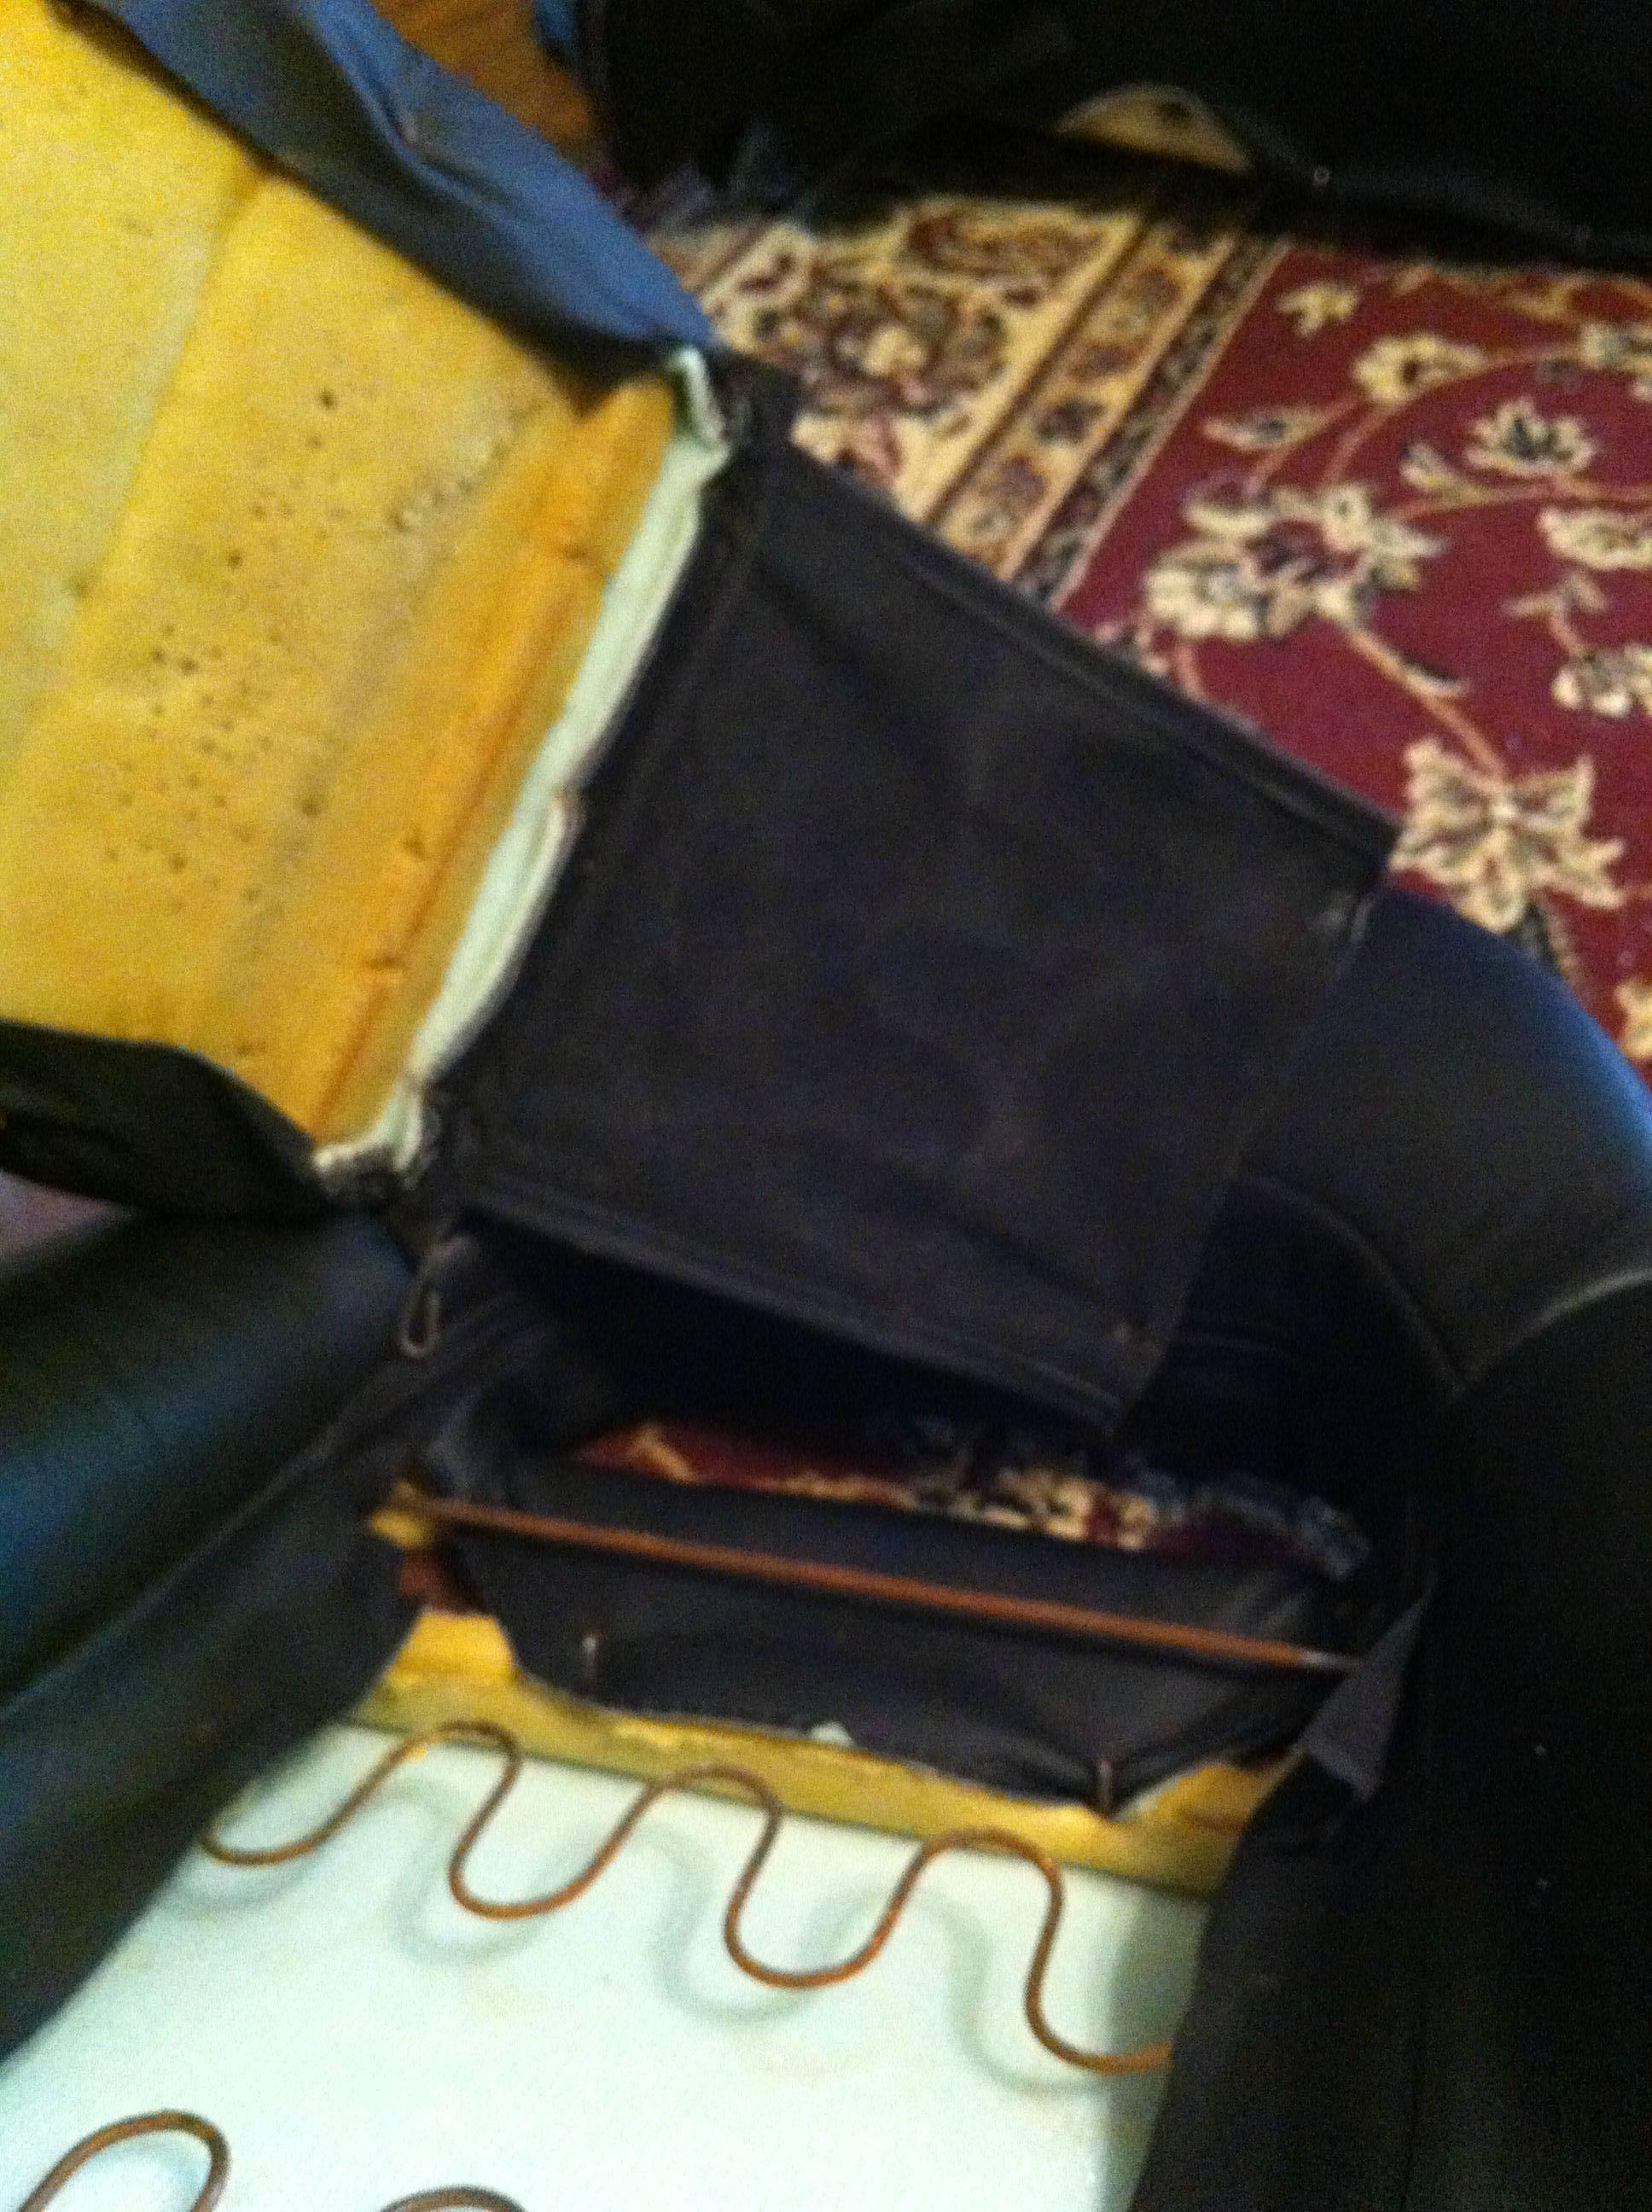
Set aside the center cushion.
Remove these hogrings holding on the main cover:
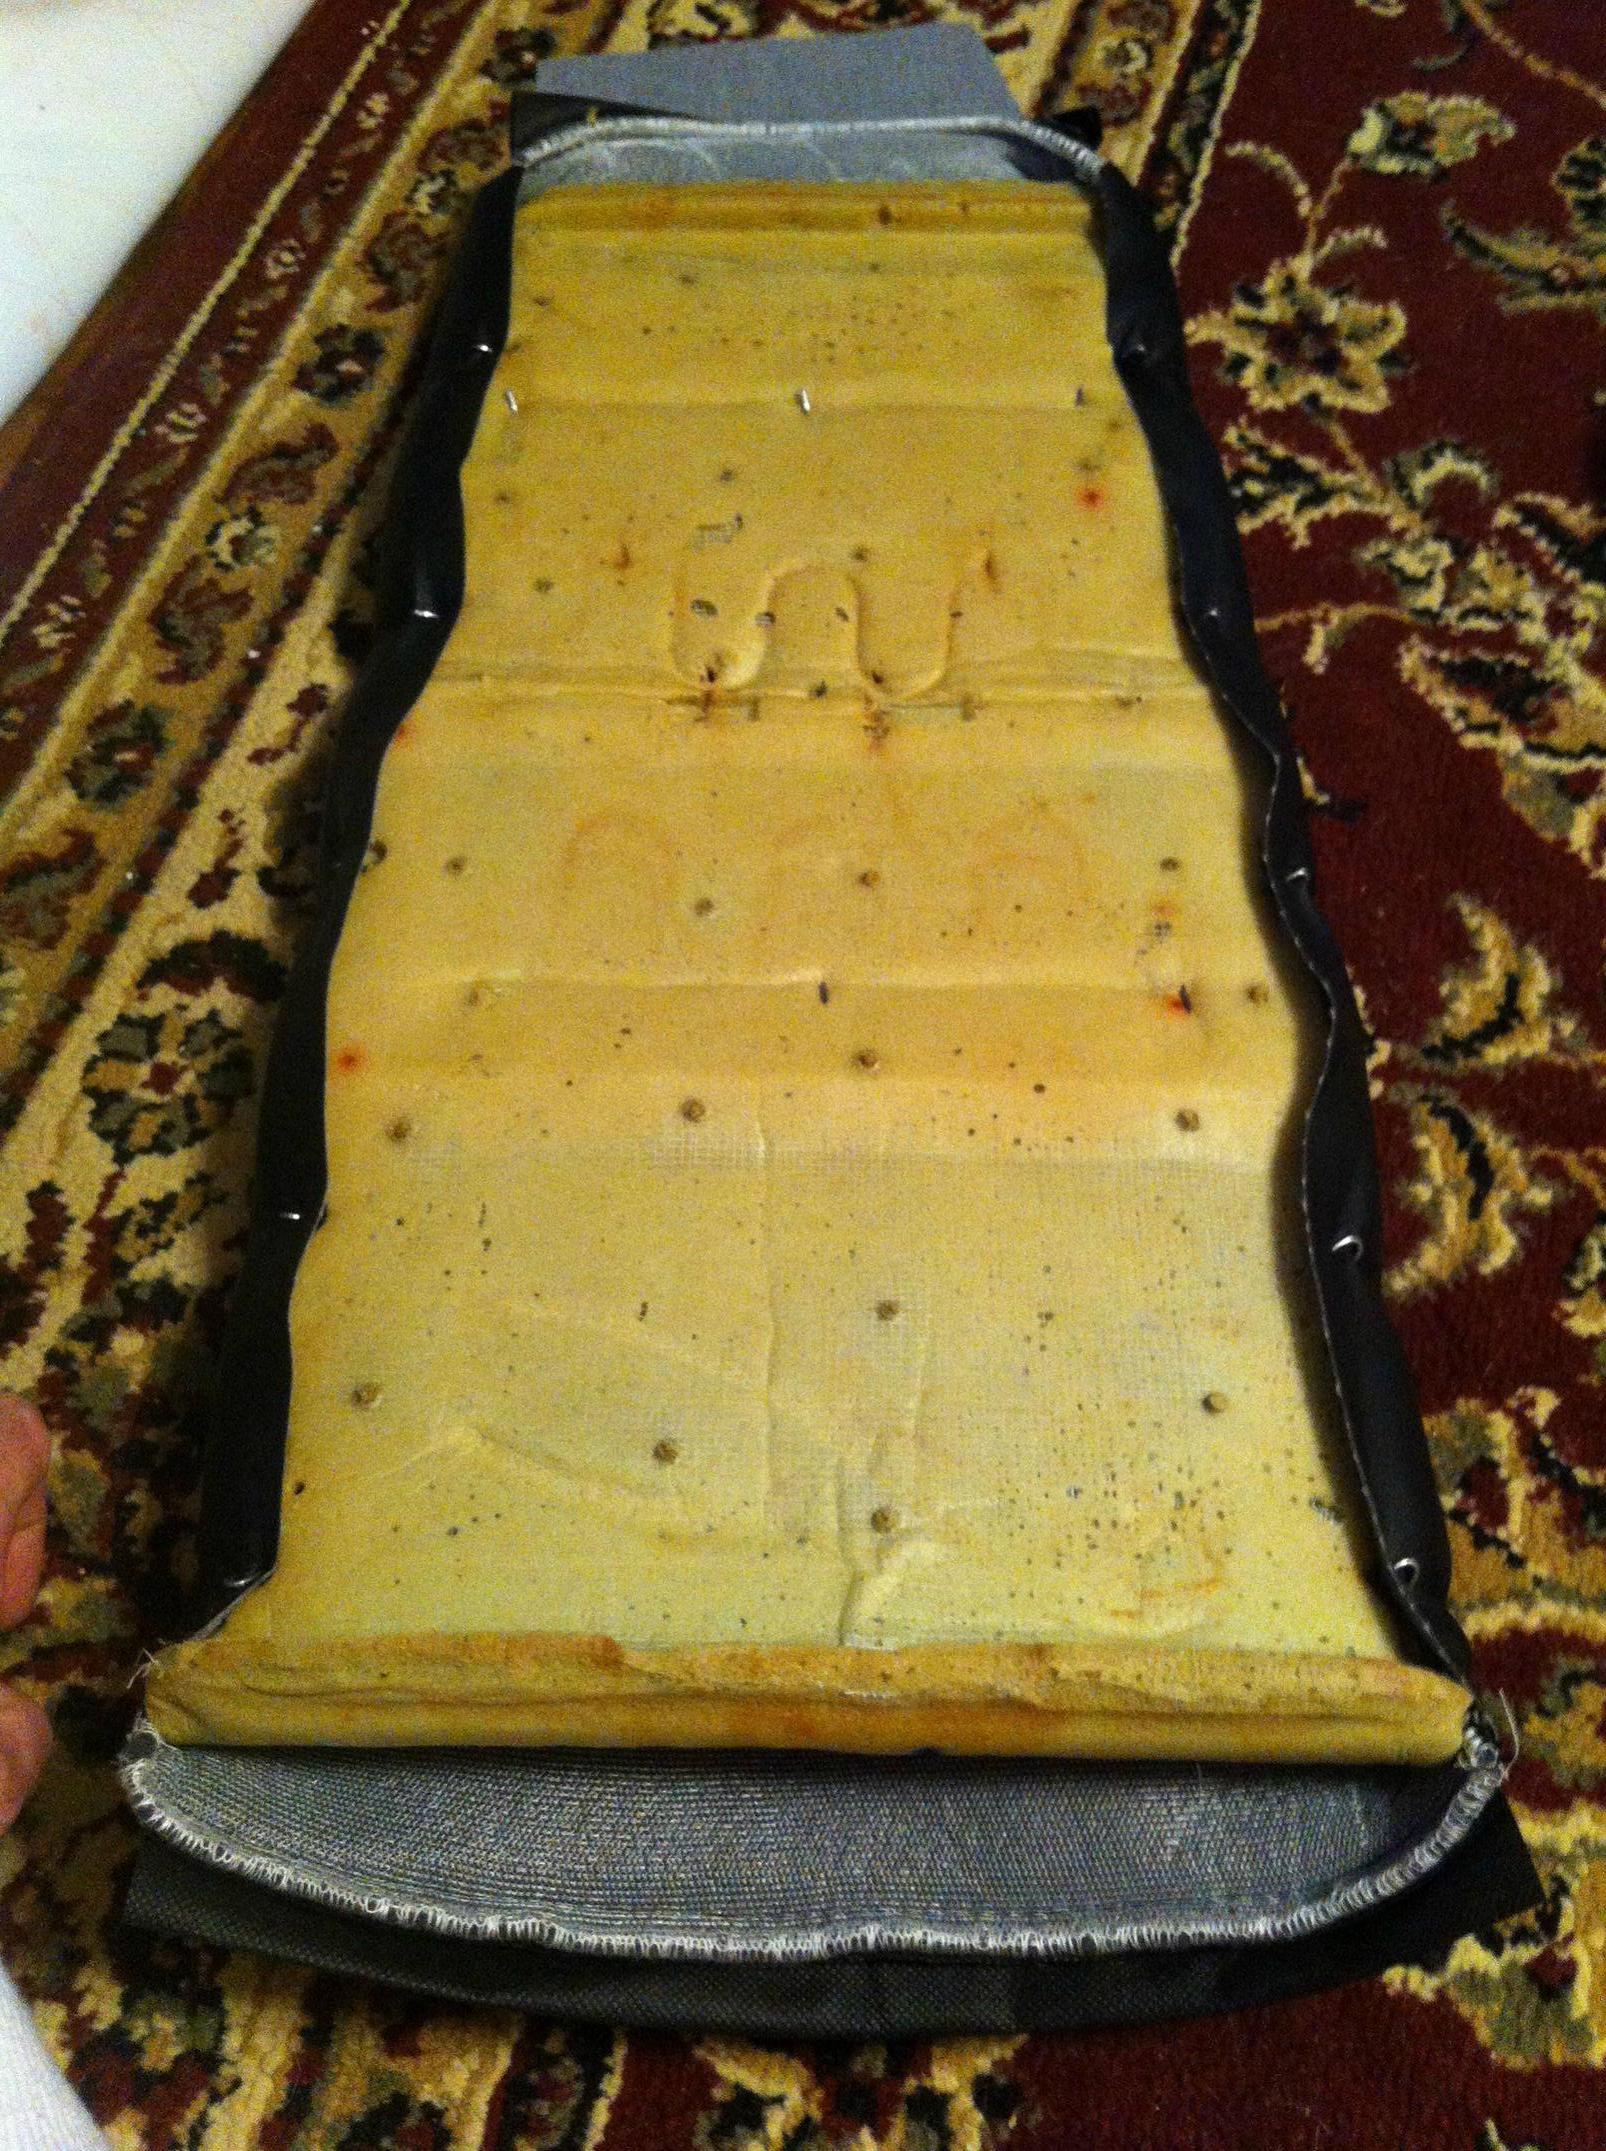
Undo the zipper and remove the upper hogrings:
Remove the hogrings at both sides of the center spring section:
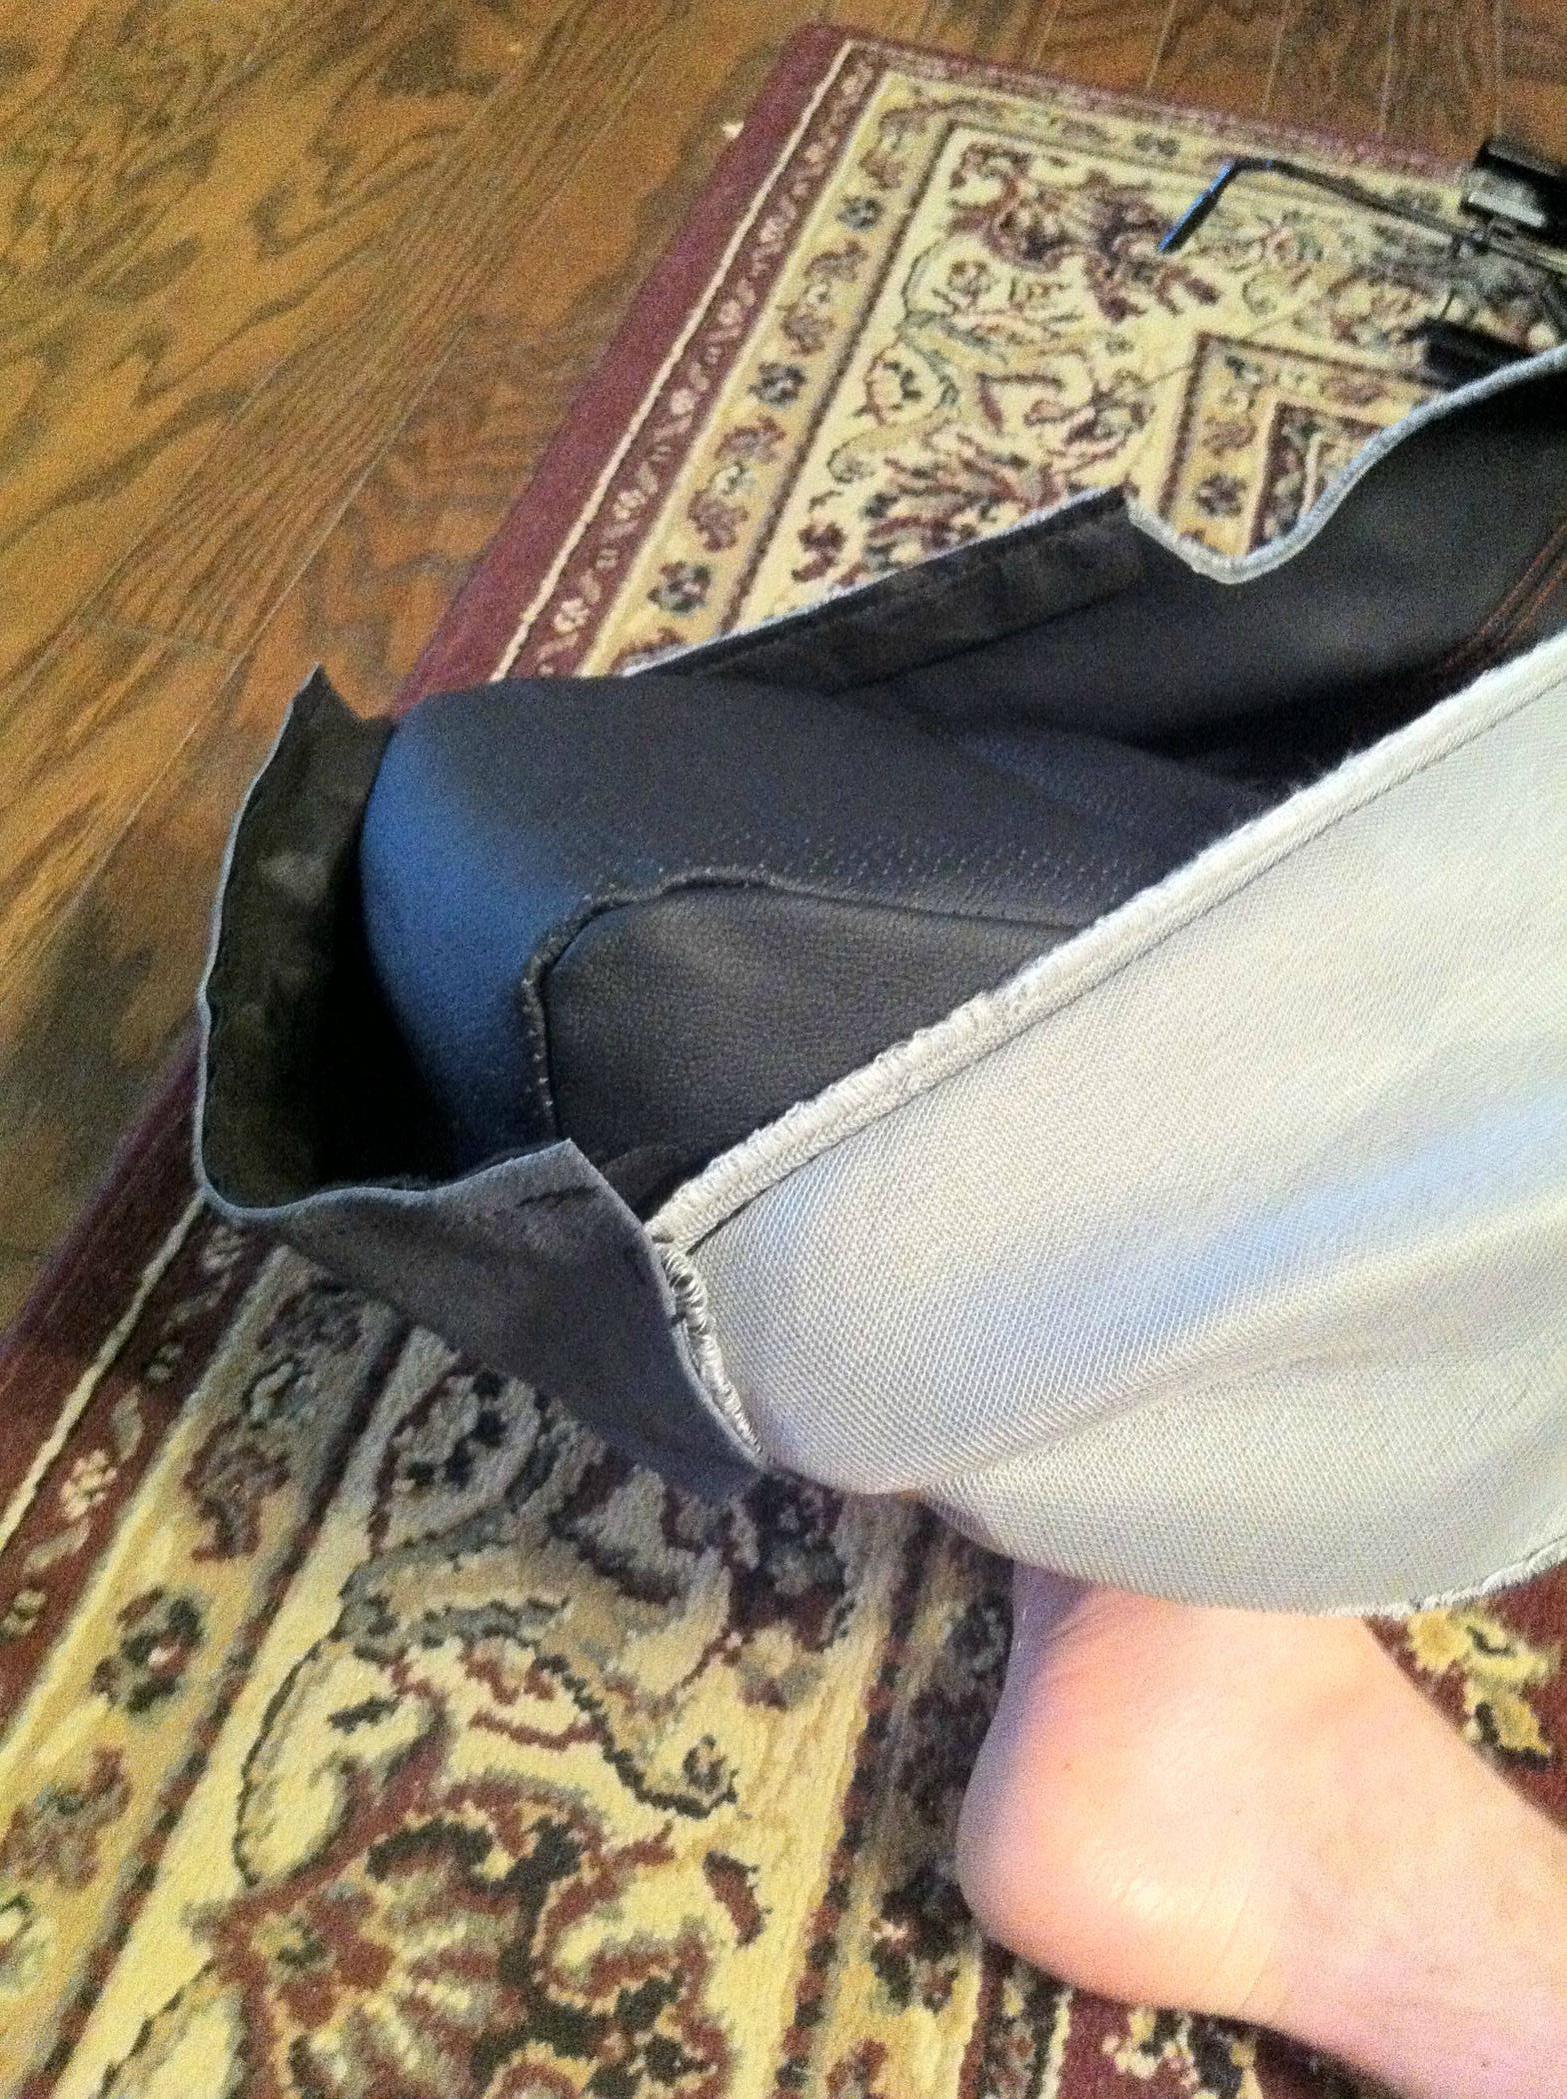
Carefully unfold the seat cover from the foam and frame:

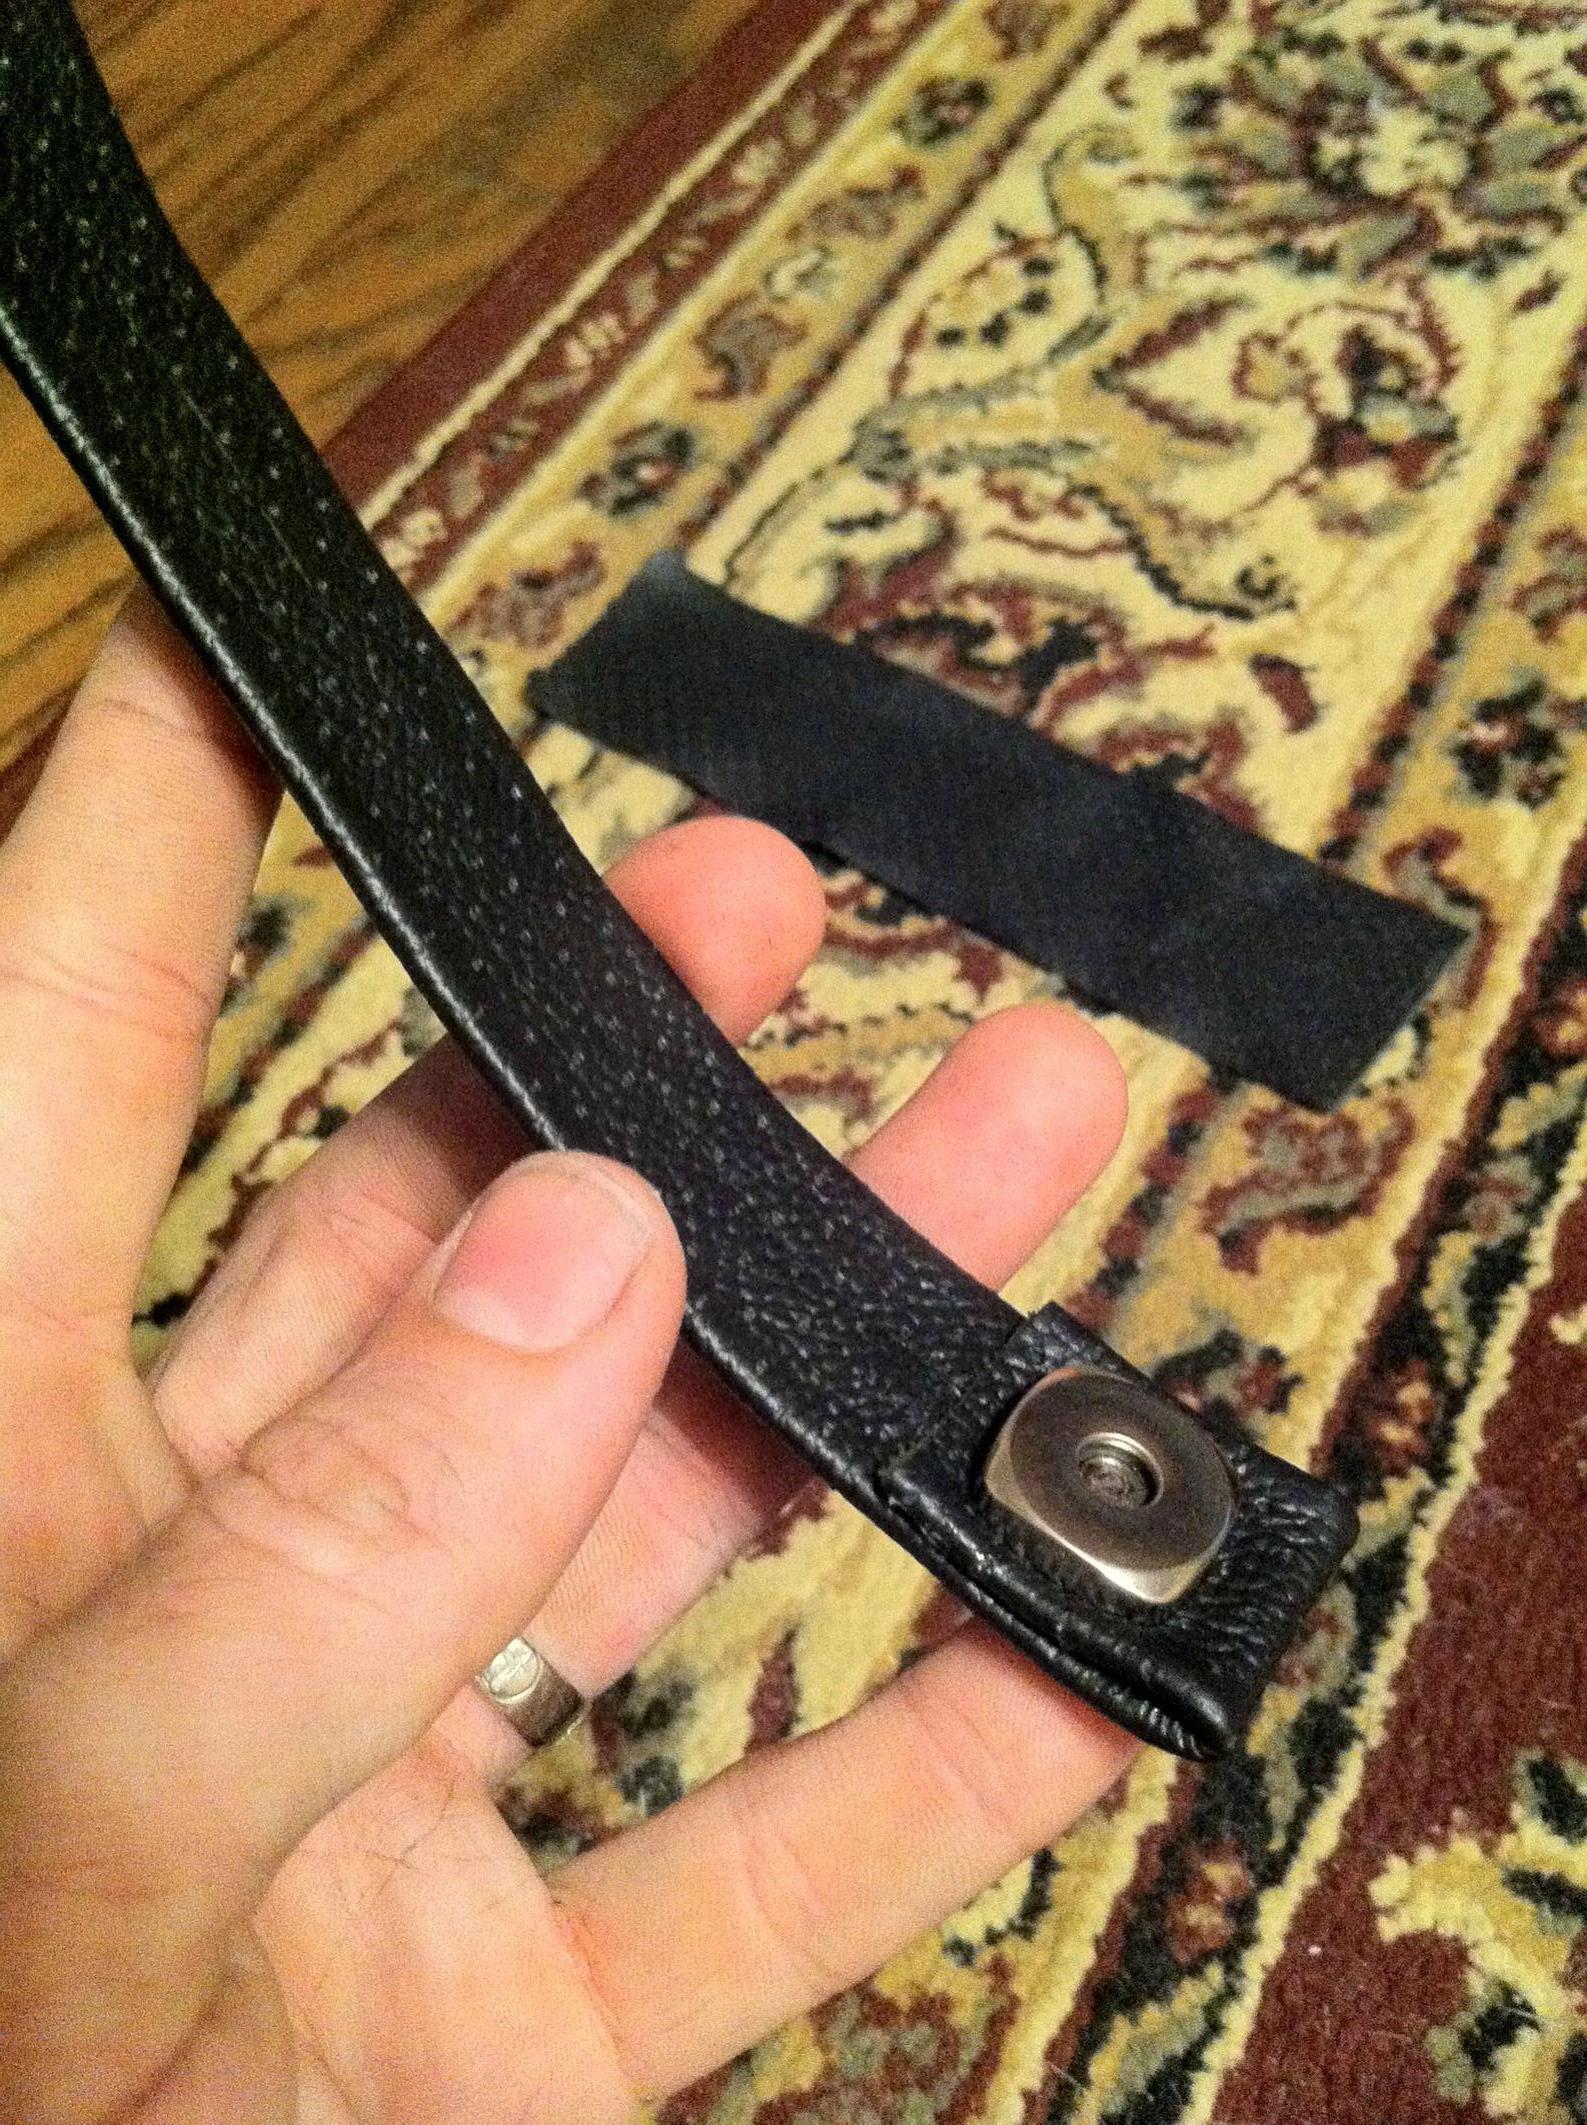
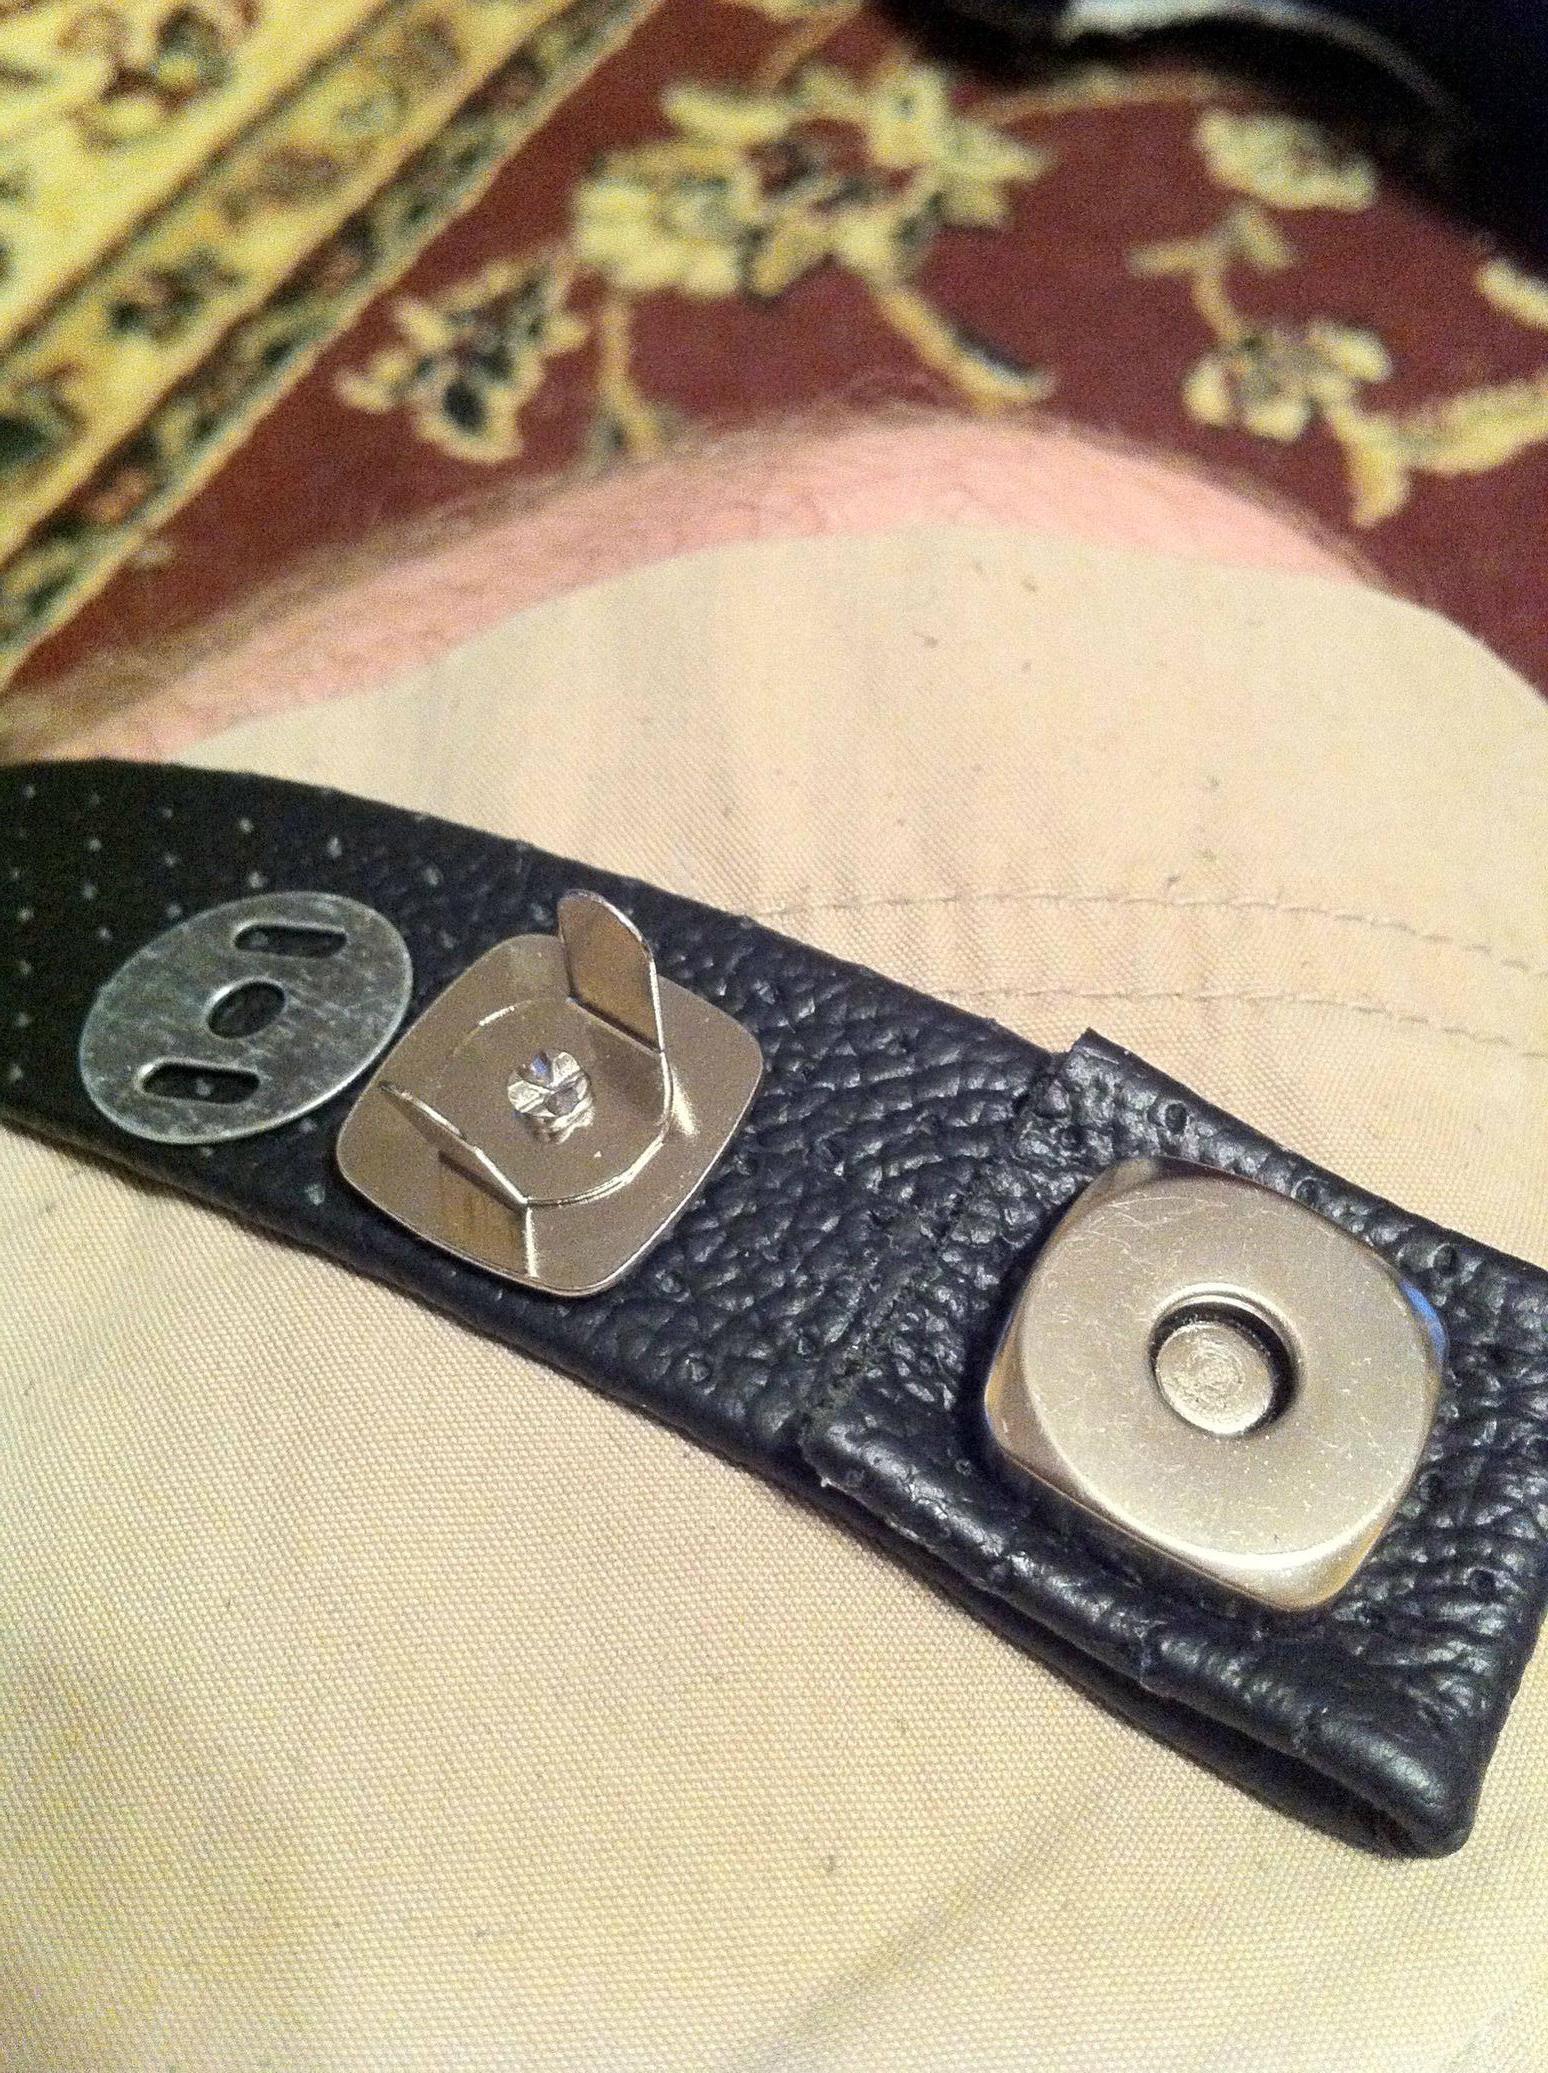
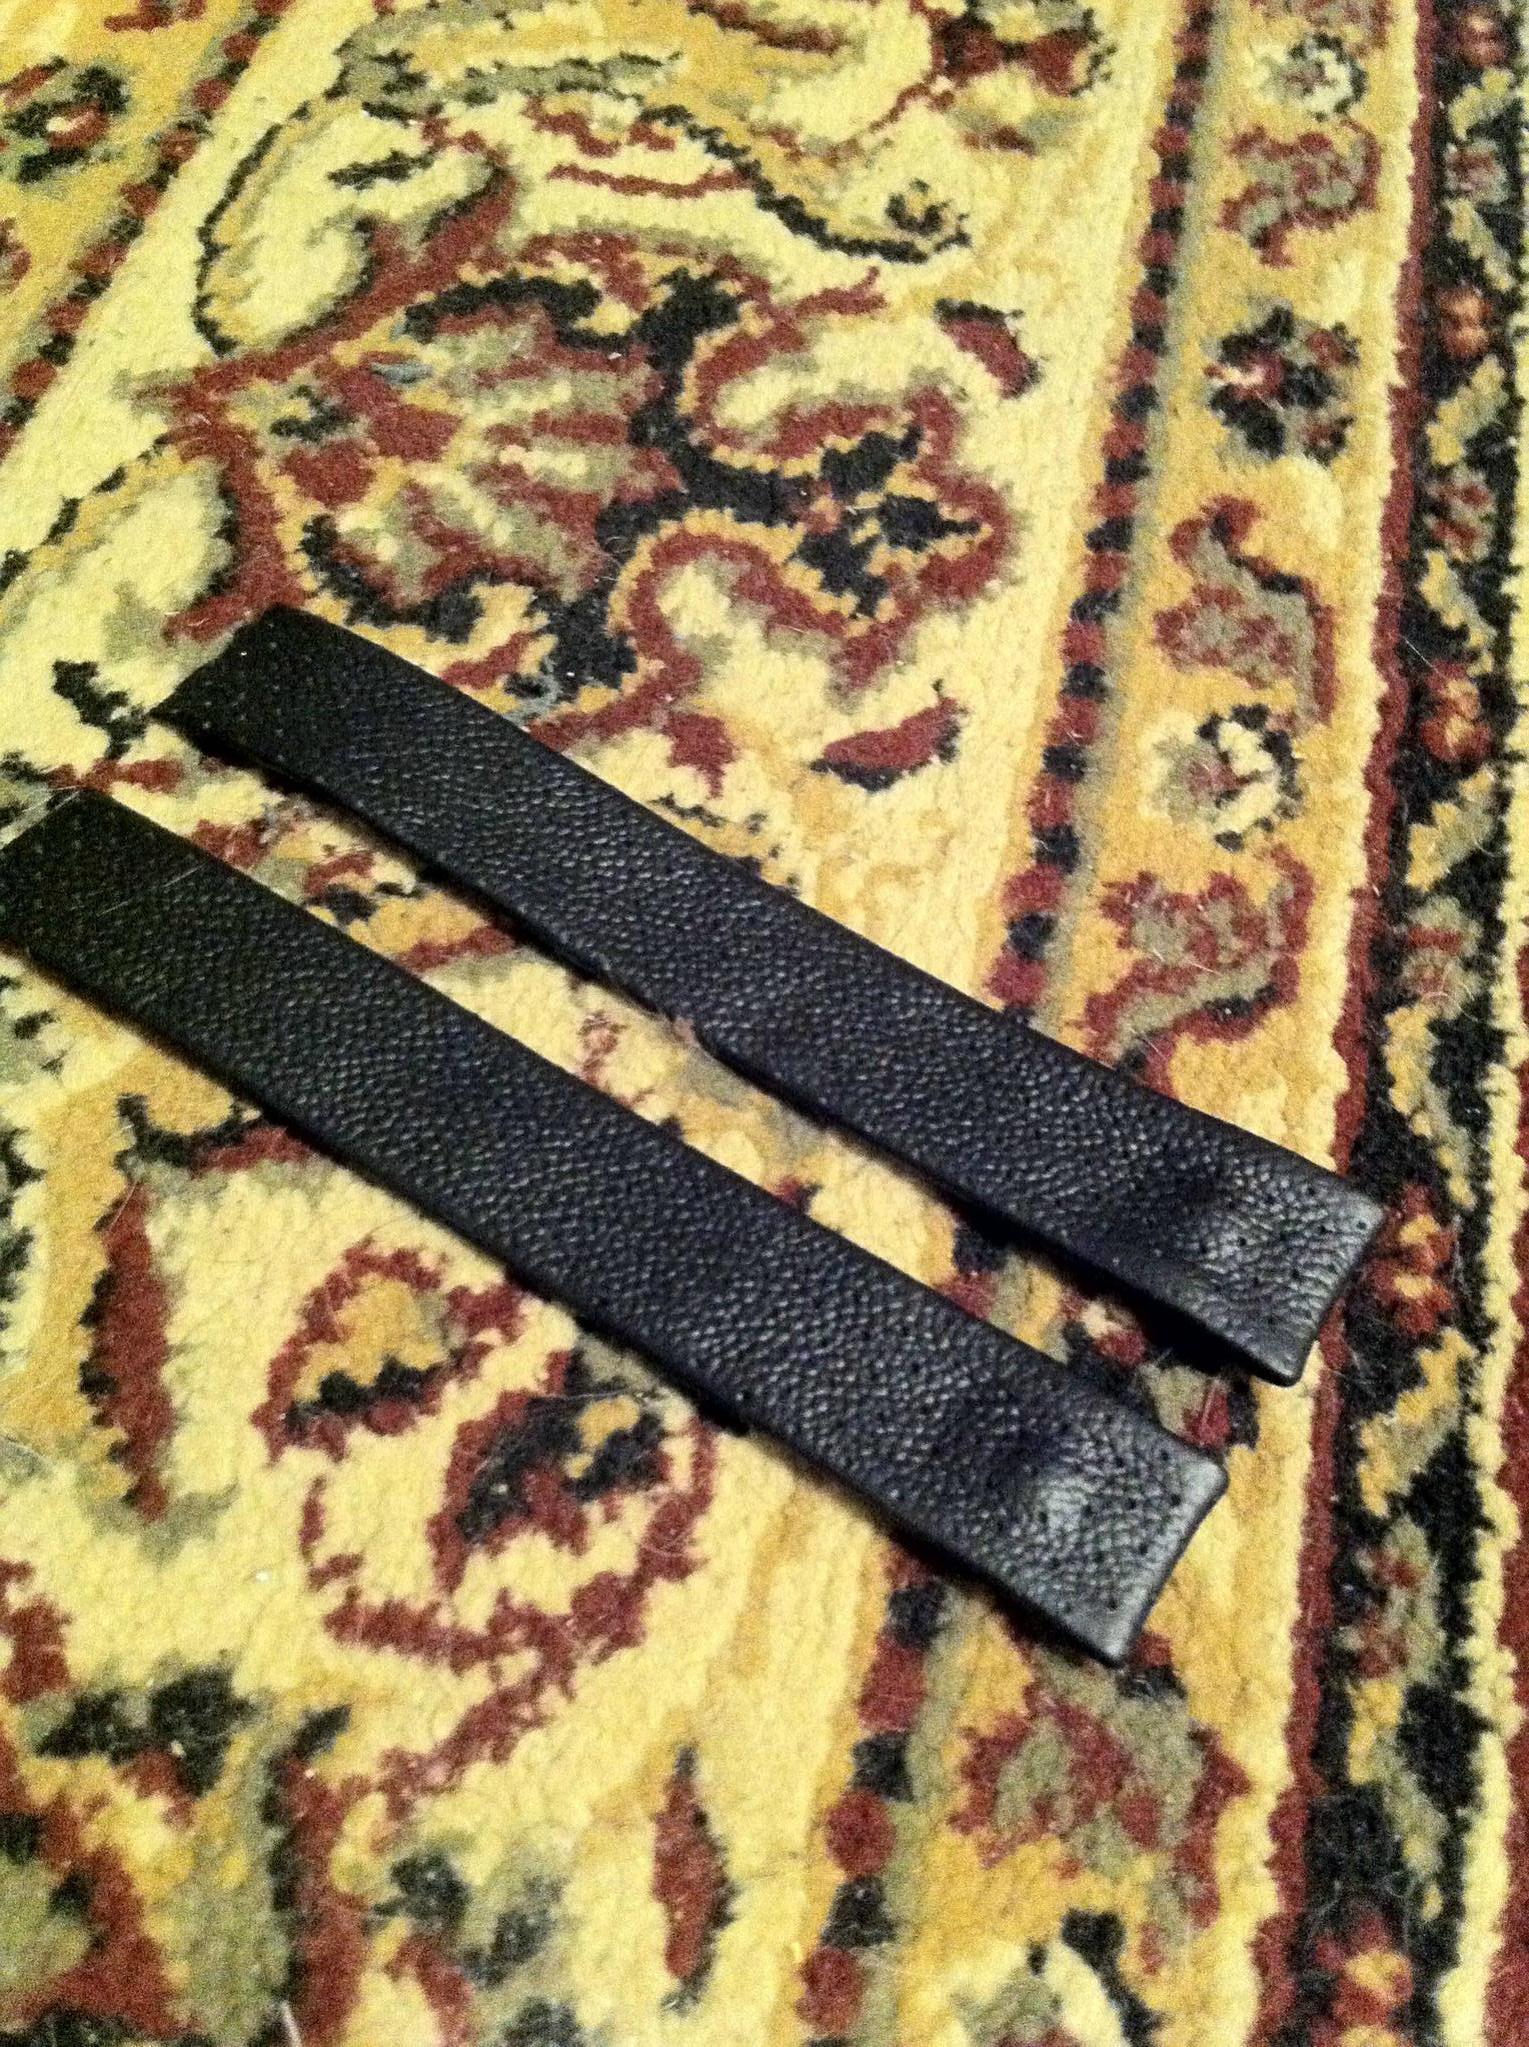
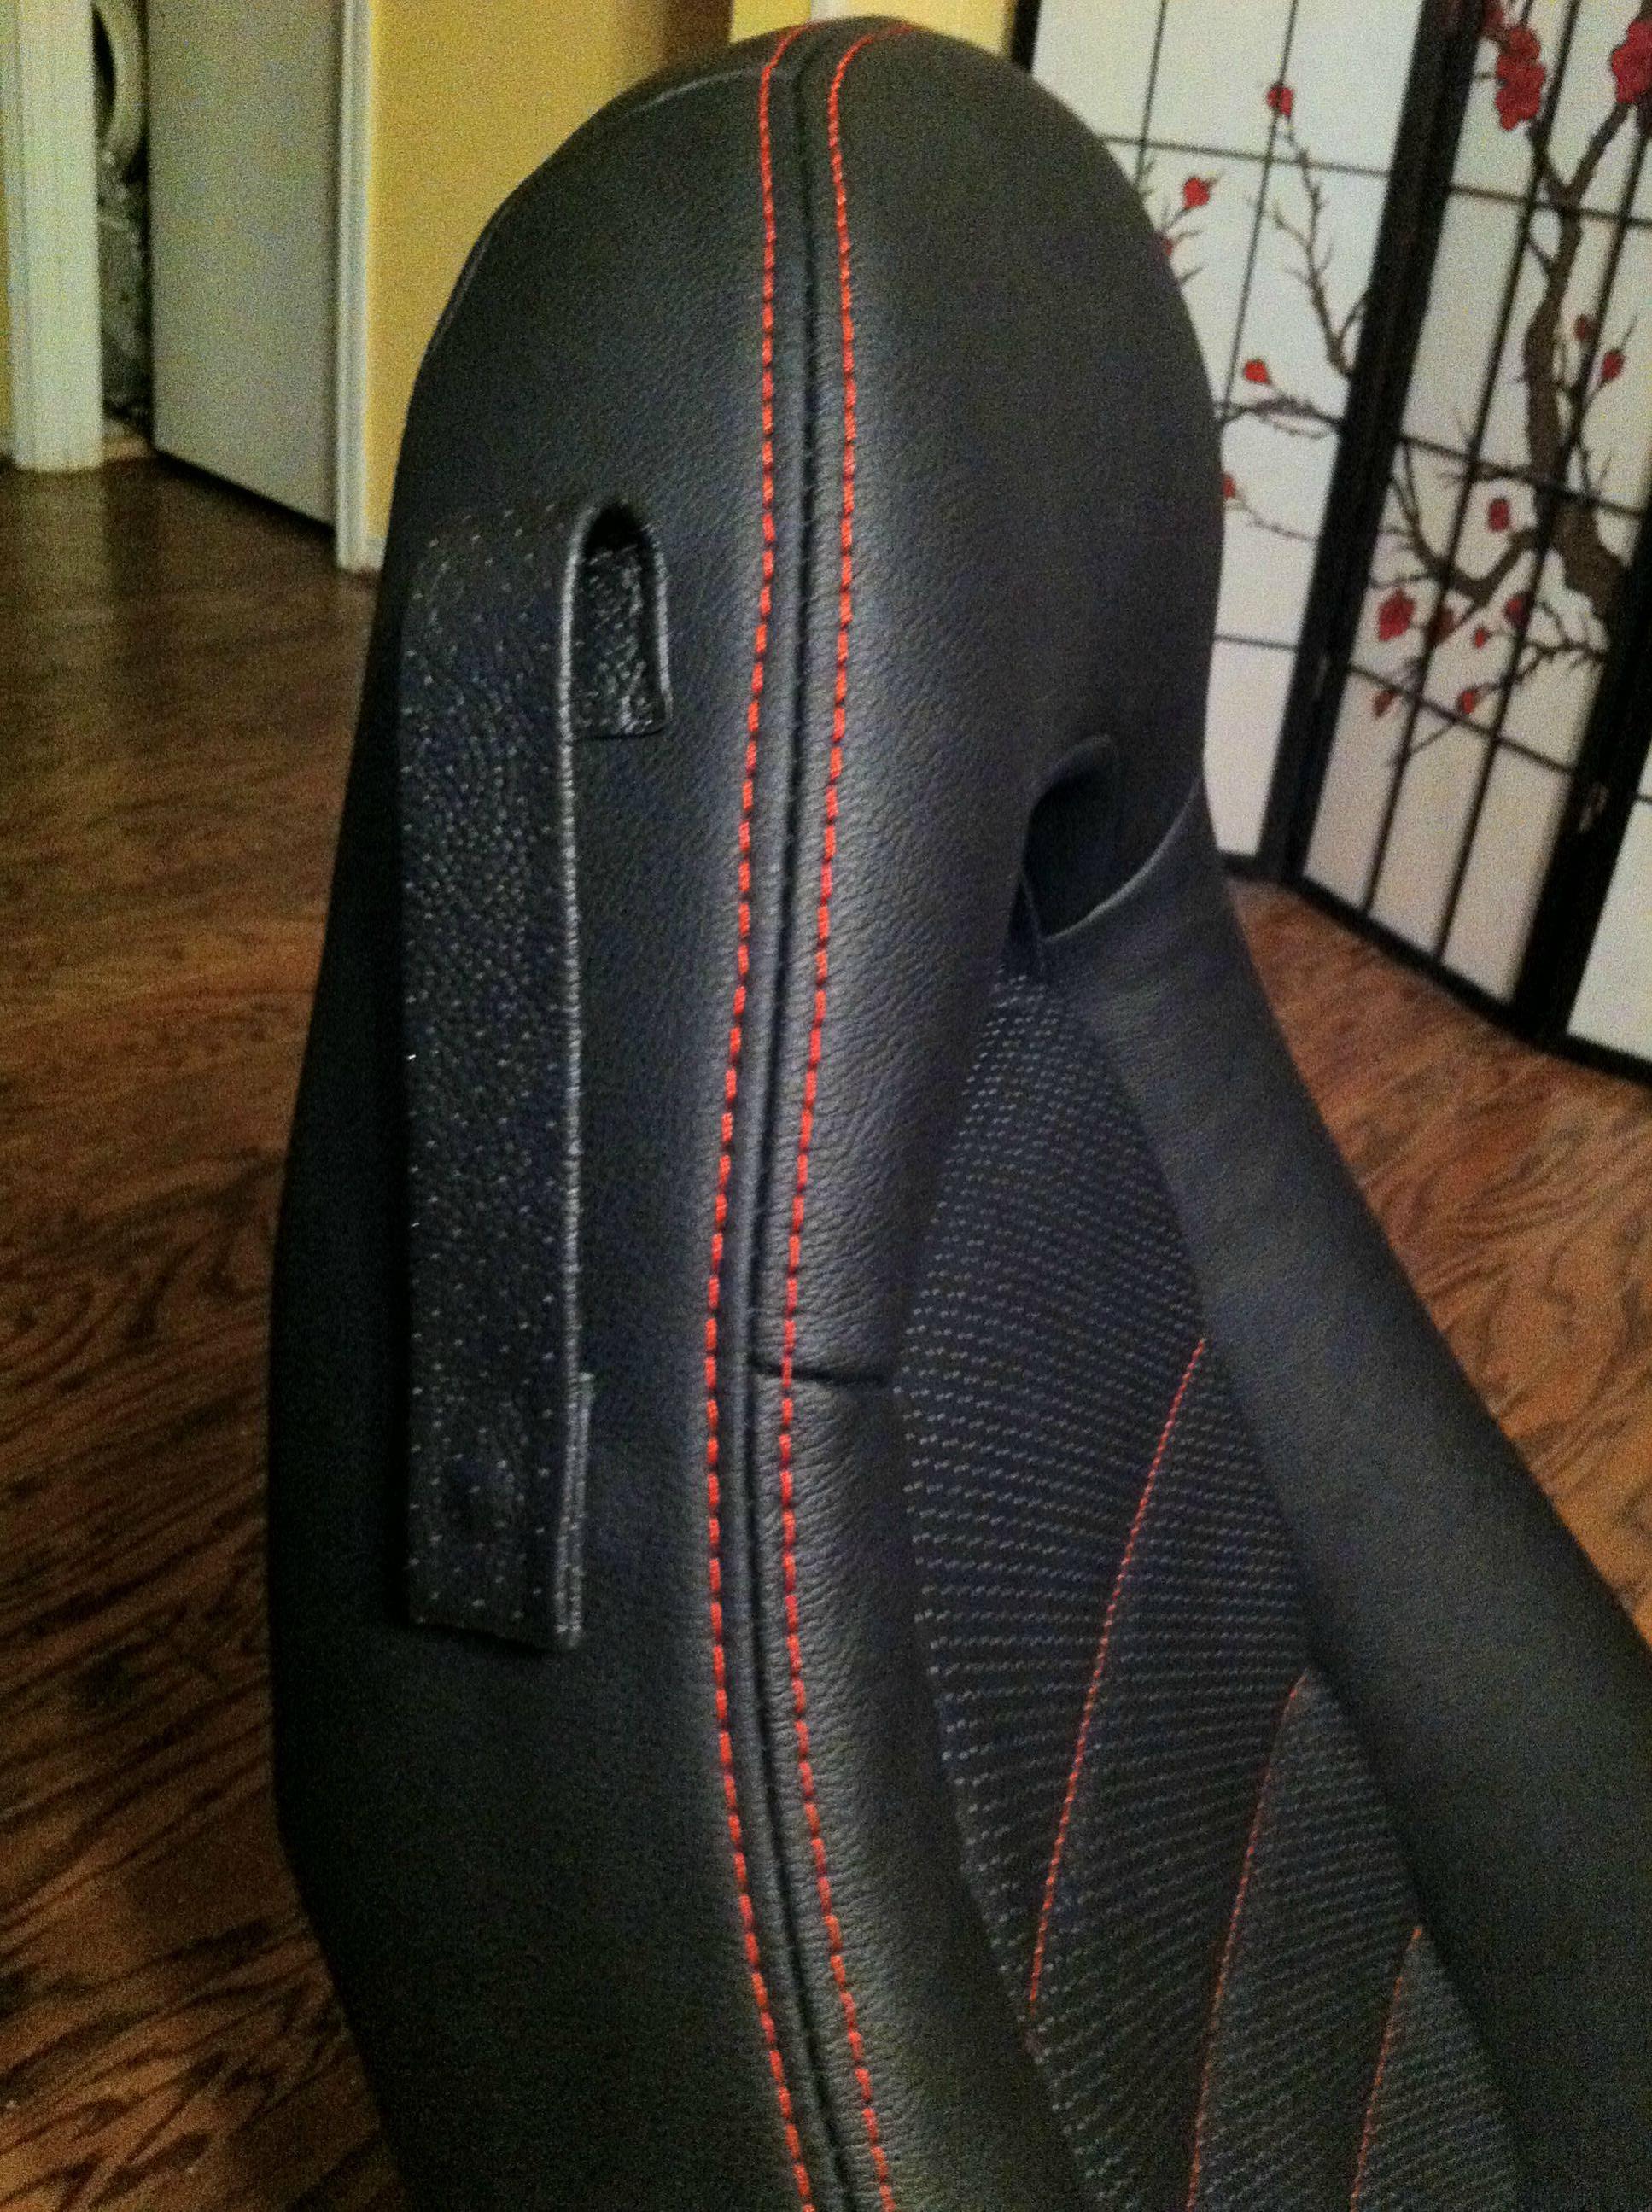
I can't really do instructions on how I made the new seatbelt guides, but here are a couple pictures. They are made from perforated leather straps that are sewn to the seat and have a magnetic snap at the bottom. I copied the design from the FR-S.

Grab the new cover and slip it on over the frame:
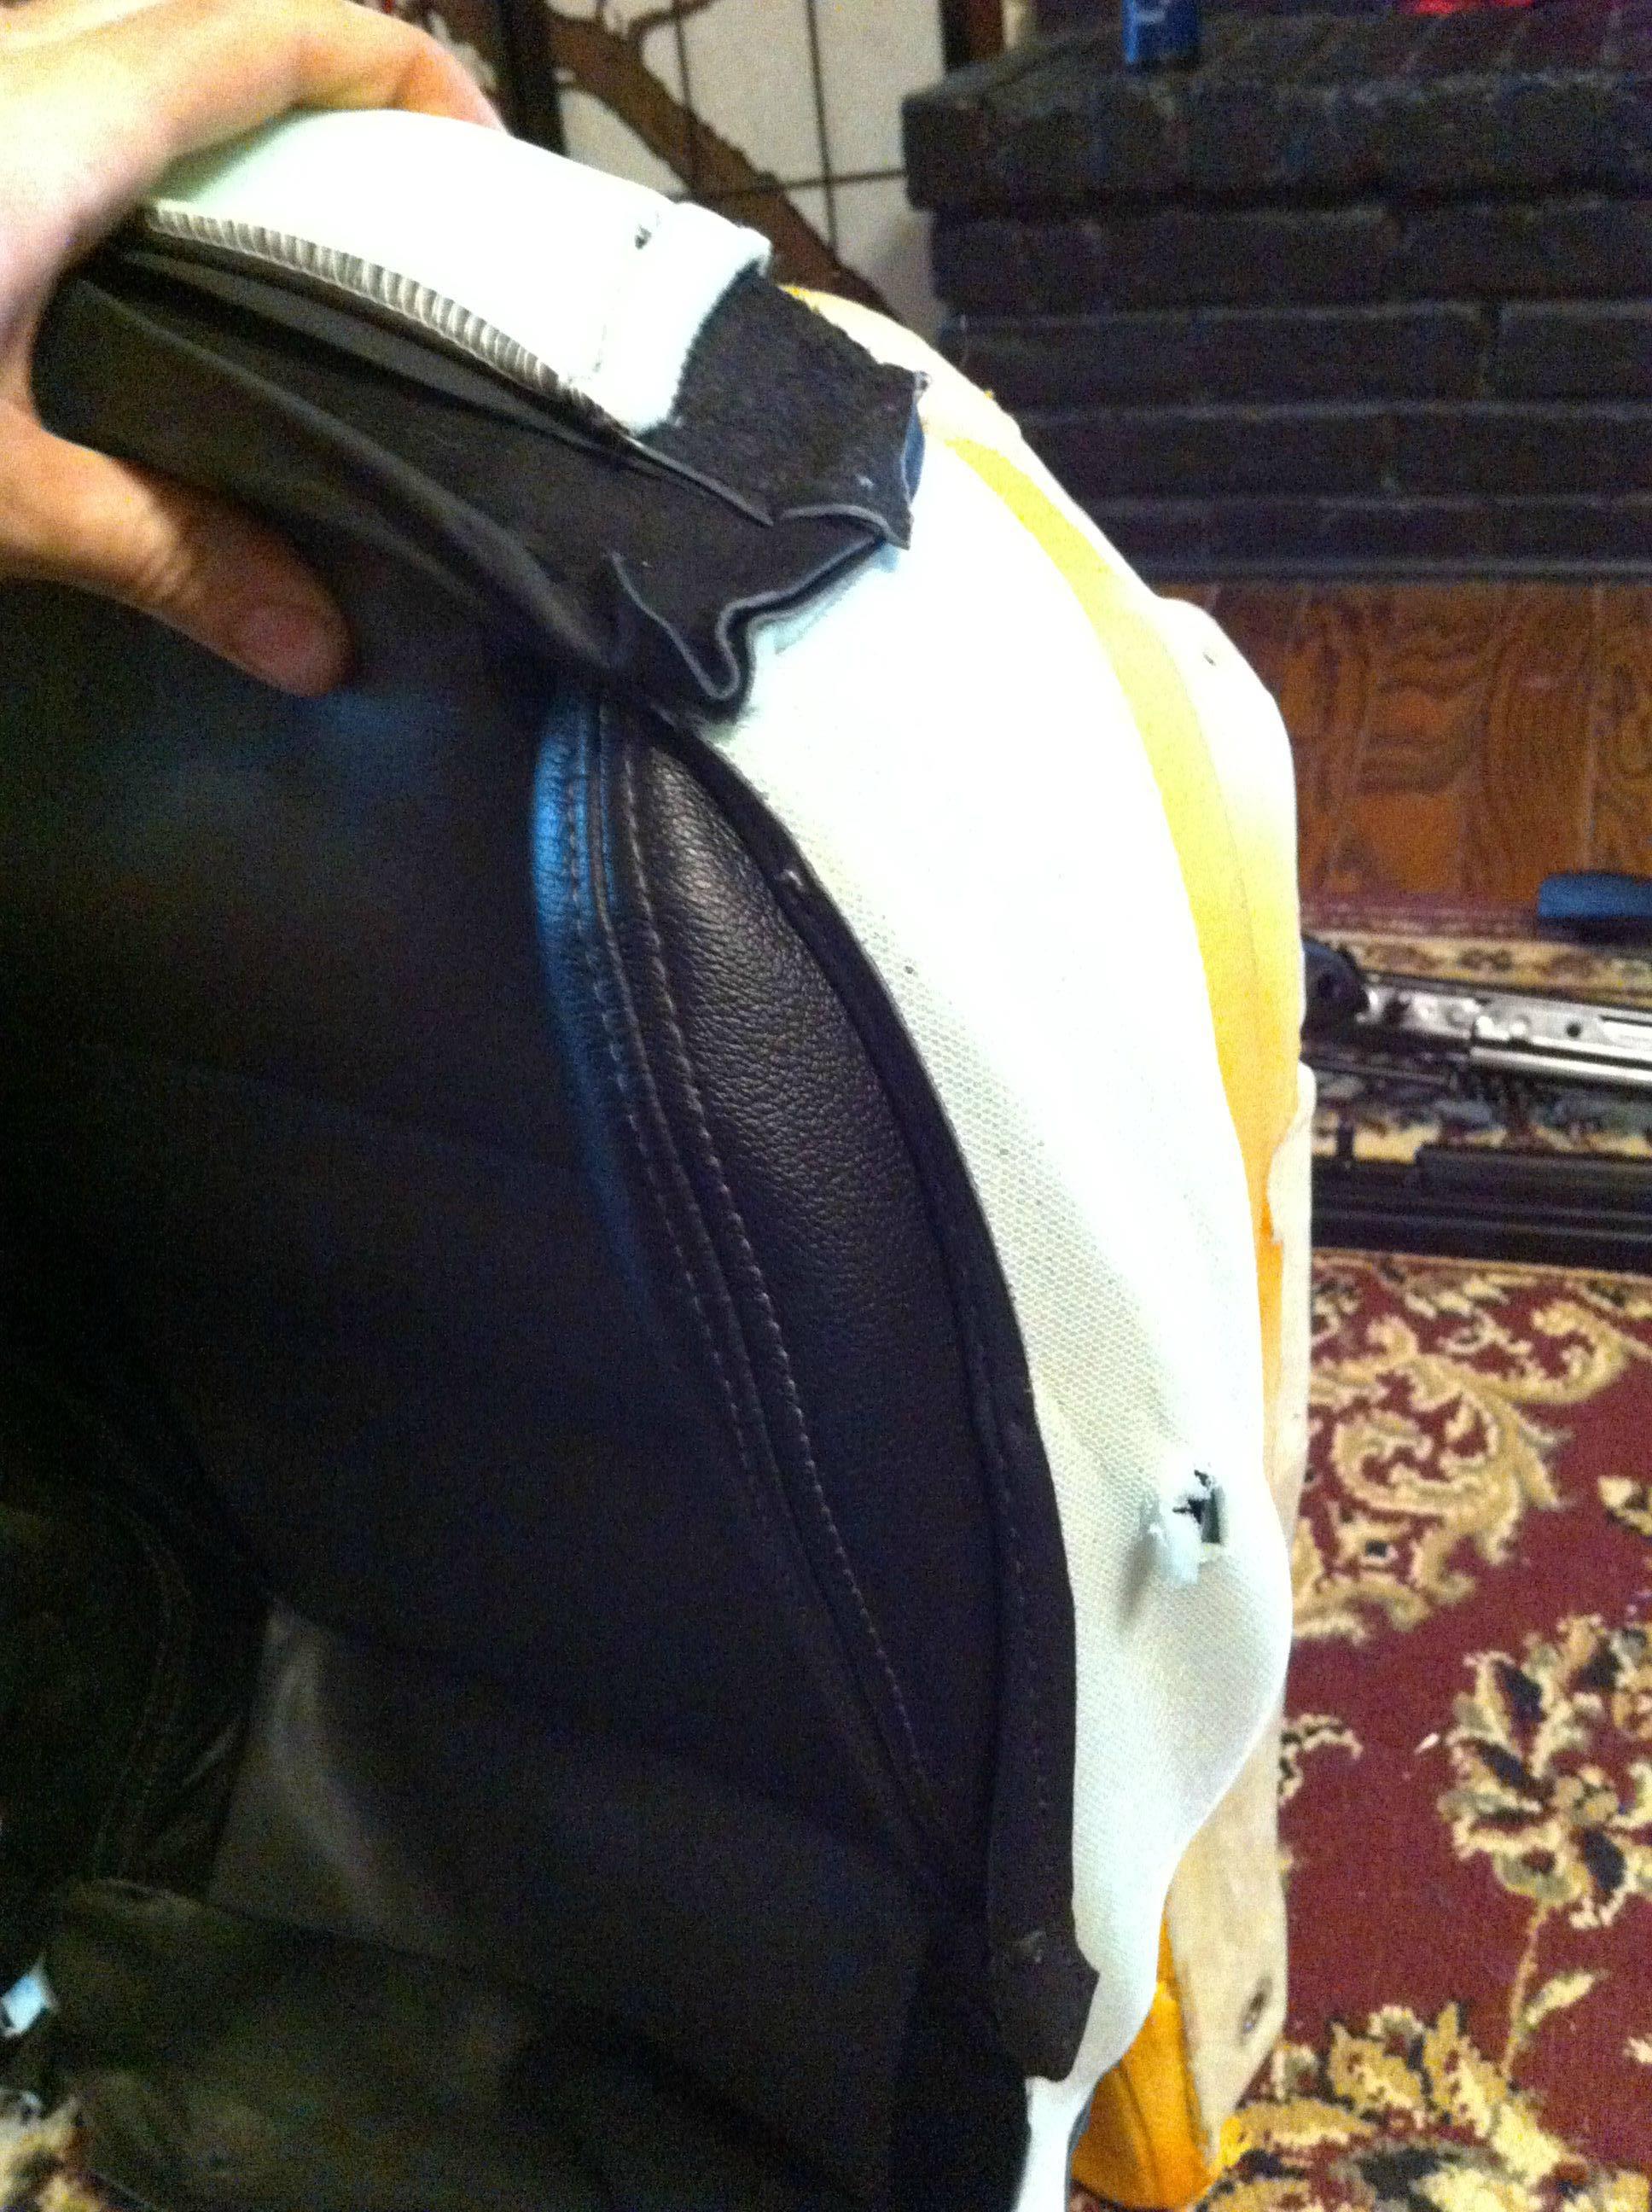
Start with the bolsters inside out and fold them over the bolster wings:
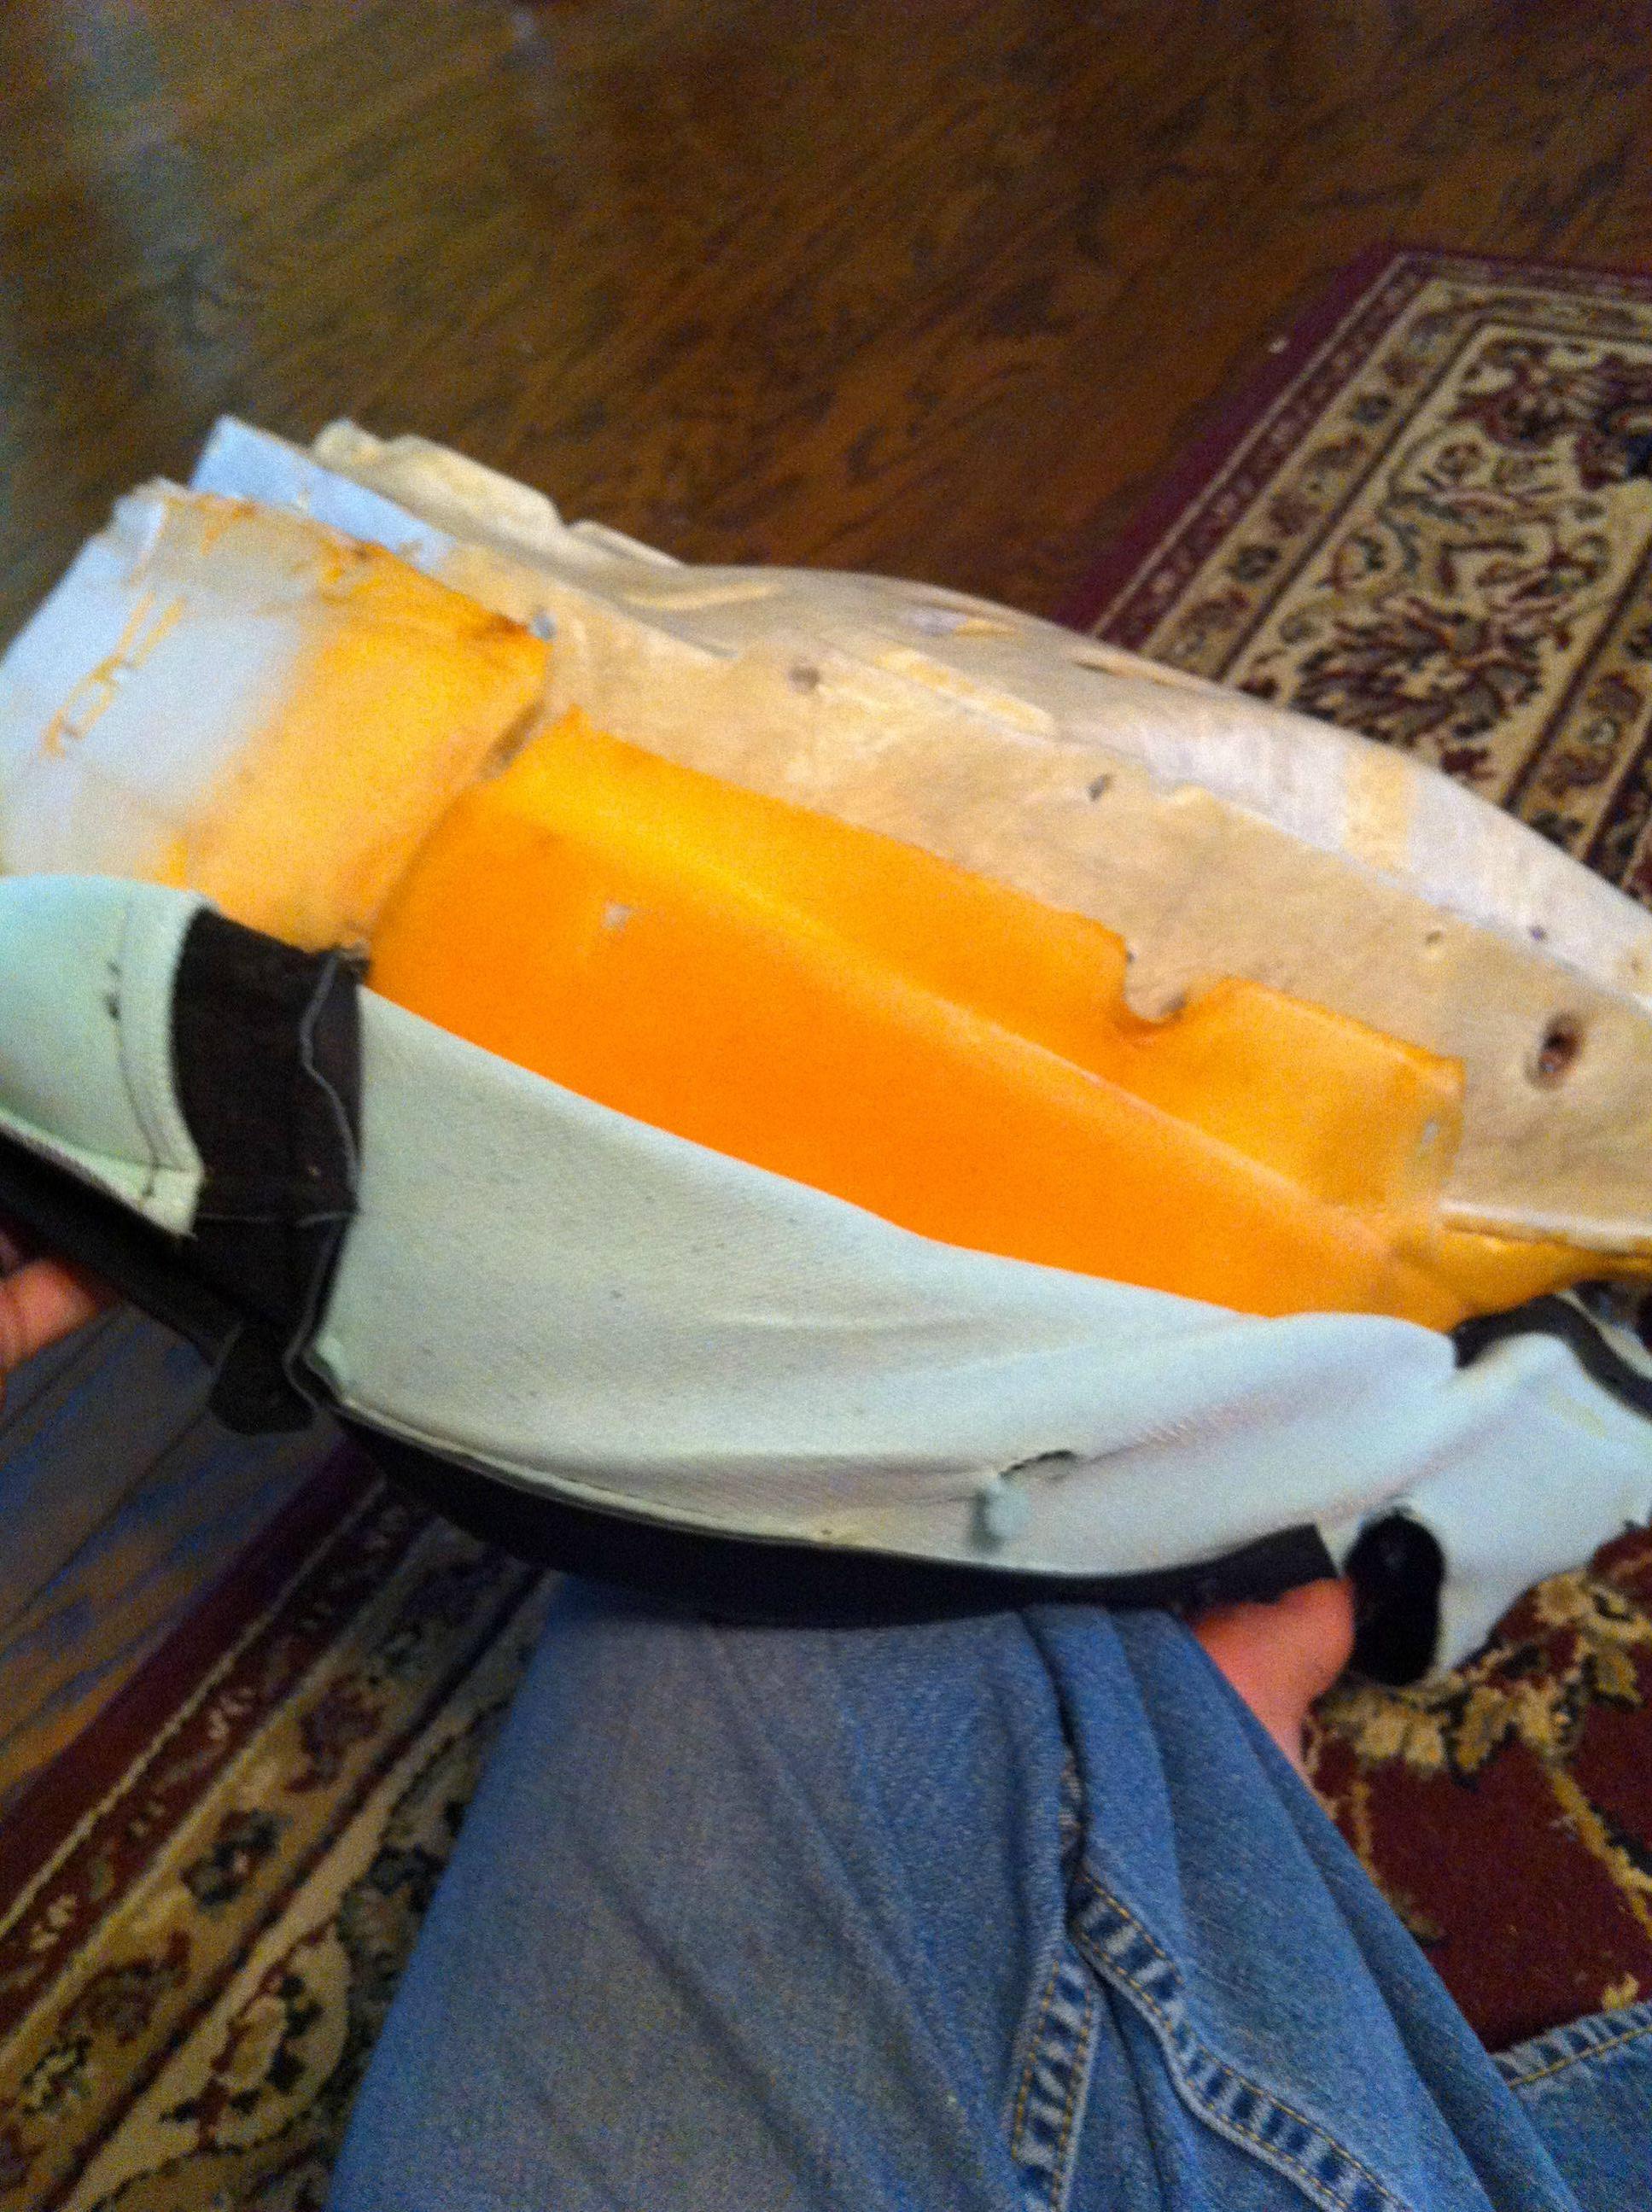
This is by far the most difficult part and really needs a video to explain more than pictures. It is like trying to put on a jacket that is two sizes too small. Pull and stretch the cover down over the seat frame. You have to tuck the bottom edges over the side of the frame and hogring them on the back:
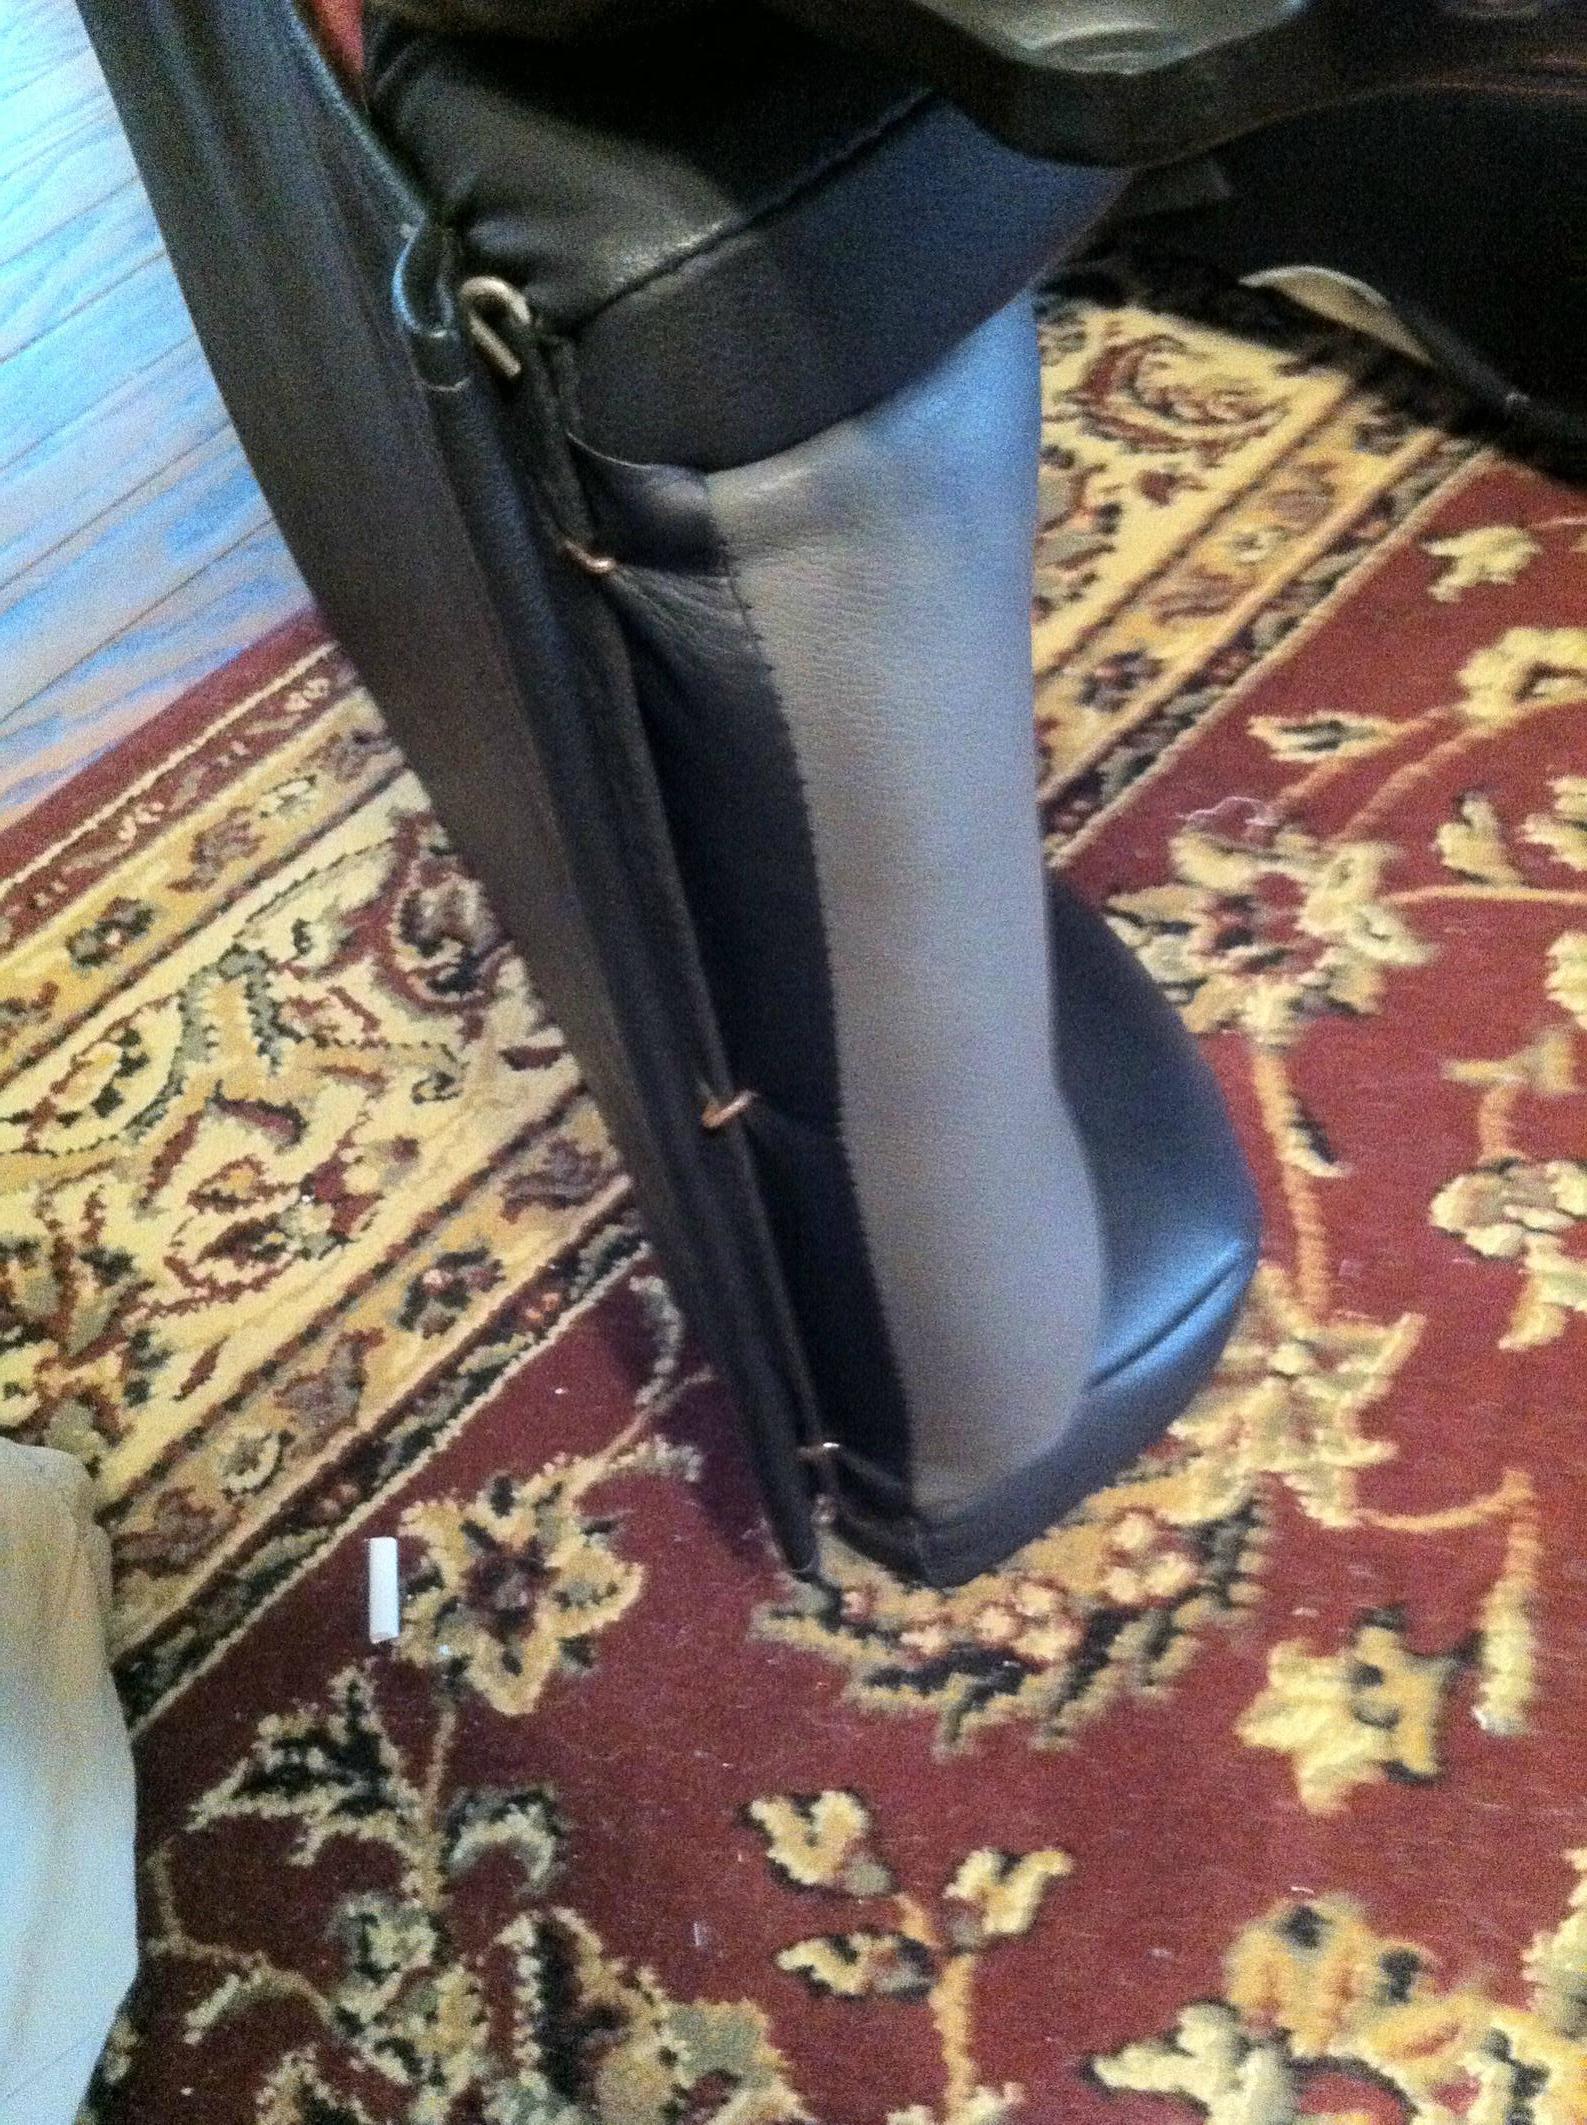
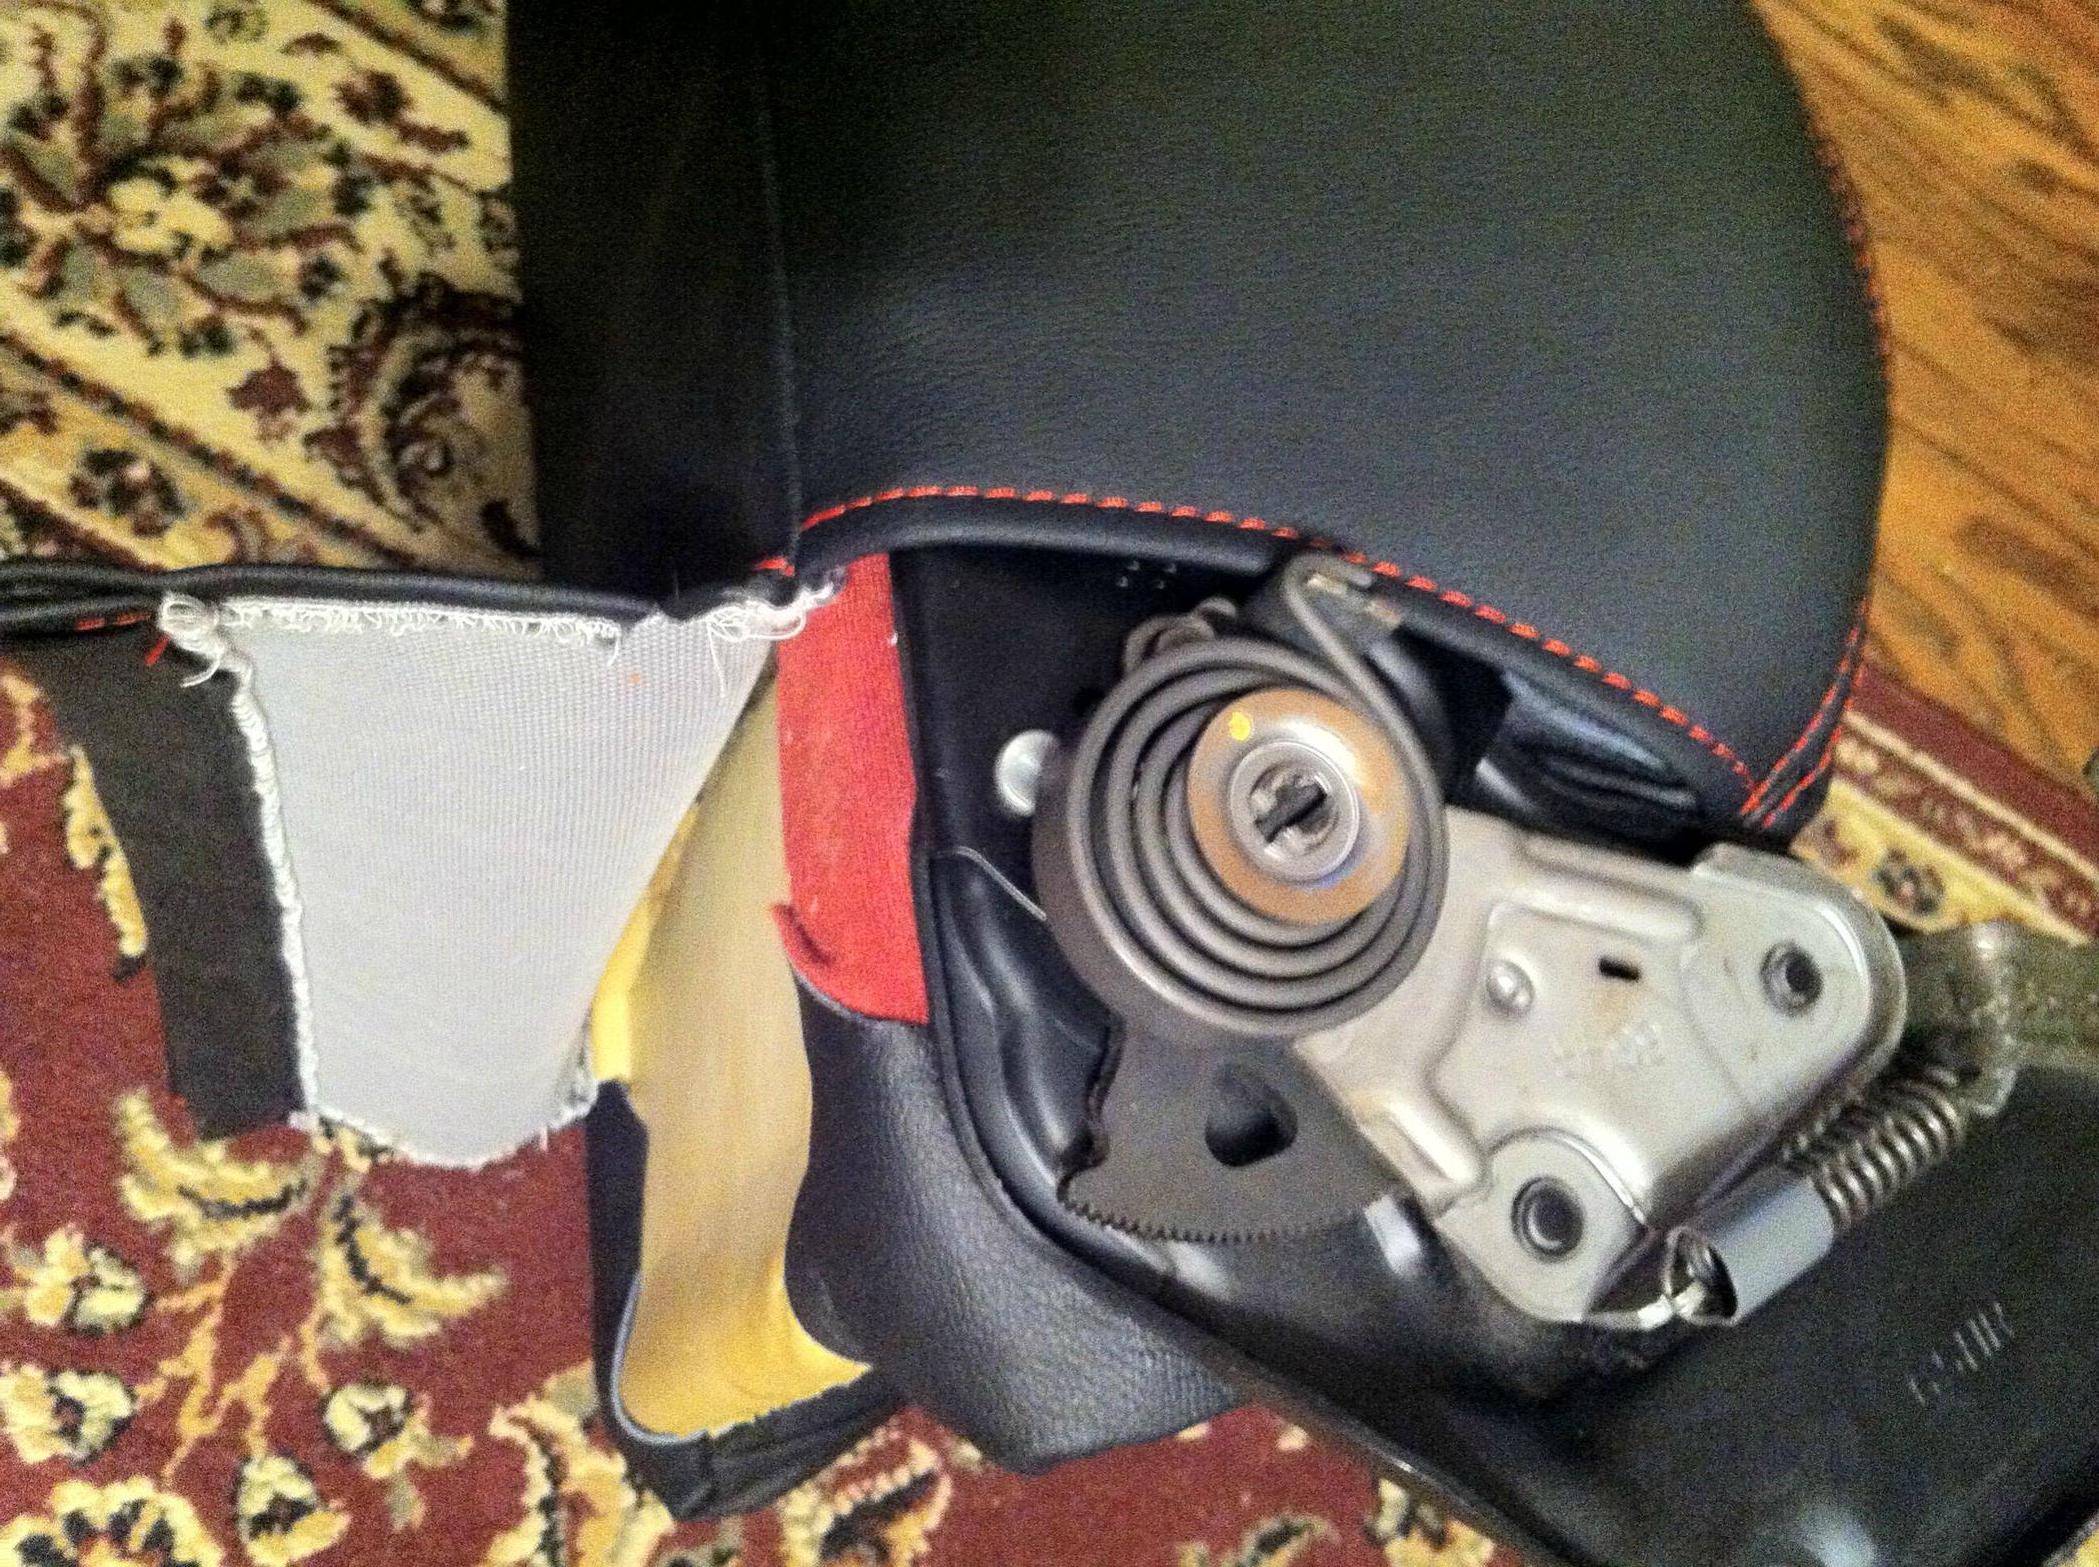
The material on the recline side tucks in behind the hinge:
Transfer listing rods and hogring the inside flaps of the cover to the springs/frame:
Zip up the zipper and hogring the flap to the frame:
Trending Topics
The rear center cushion cover has hogrings around the perimeter and also down the channels in the center:
Cutting them works best for removal. It is very similar to what you already did with the center butt cushion. So I don't have many pics of it.
Insert the upper flap of the center cushion into the seat frame and hogring into place:
Don't forget the hogrings that hold down the middle of the seat to the springs.
Fold the flaps togther after installing the listing rods and fasten them together at the bottom of the seat:
Now the seat covers are officially on, you need to trim some holes here and there for the bolts and trim screws:

Re-install the sat rails to the bottom first.
Then, attach the hinges and all bolt before tightening everything up.
Re-install your side bezel and recline lever.
If you have loose spots, wrinkles, or parts that aren't centered up correctly, now is the time to do a final seat massage. By smushing around the cover, you can re-position it over the foam to get it evened out and smooth.
Small wrinkles will sometimes go away after the hot sun has shrunk the cover a bit. There are also some tricks you can do with a clothes steamer to take out the wrinkles but I do not have hands on experience doing it.
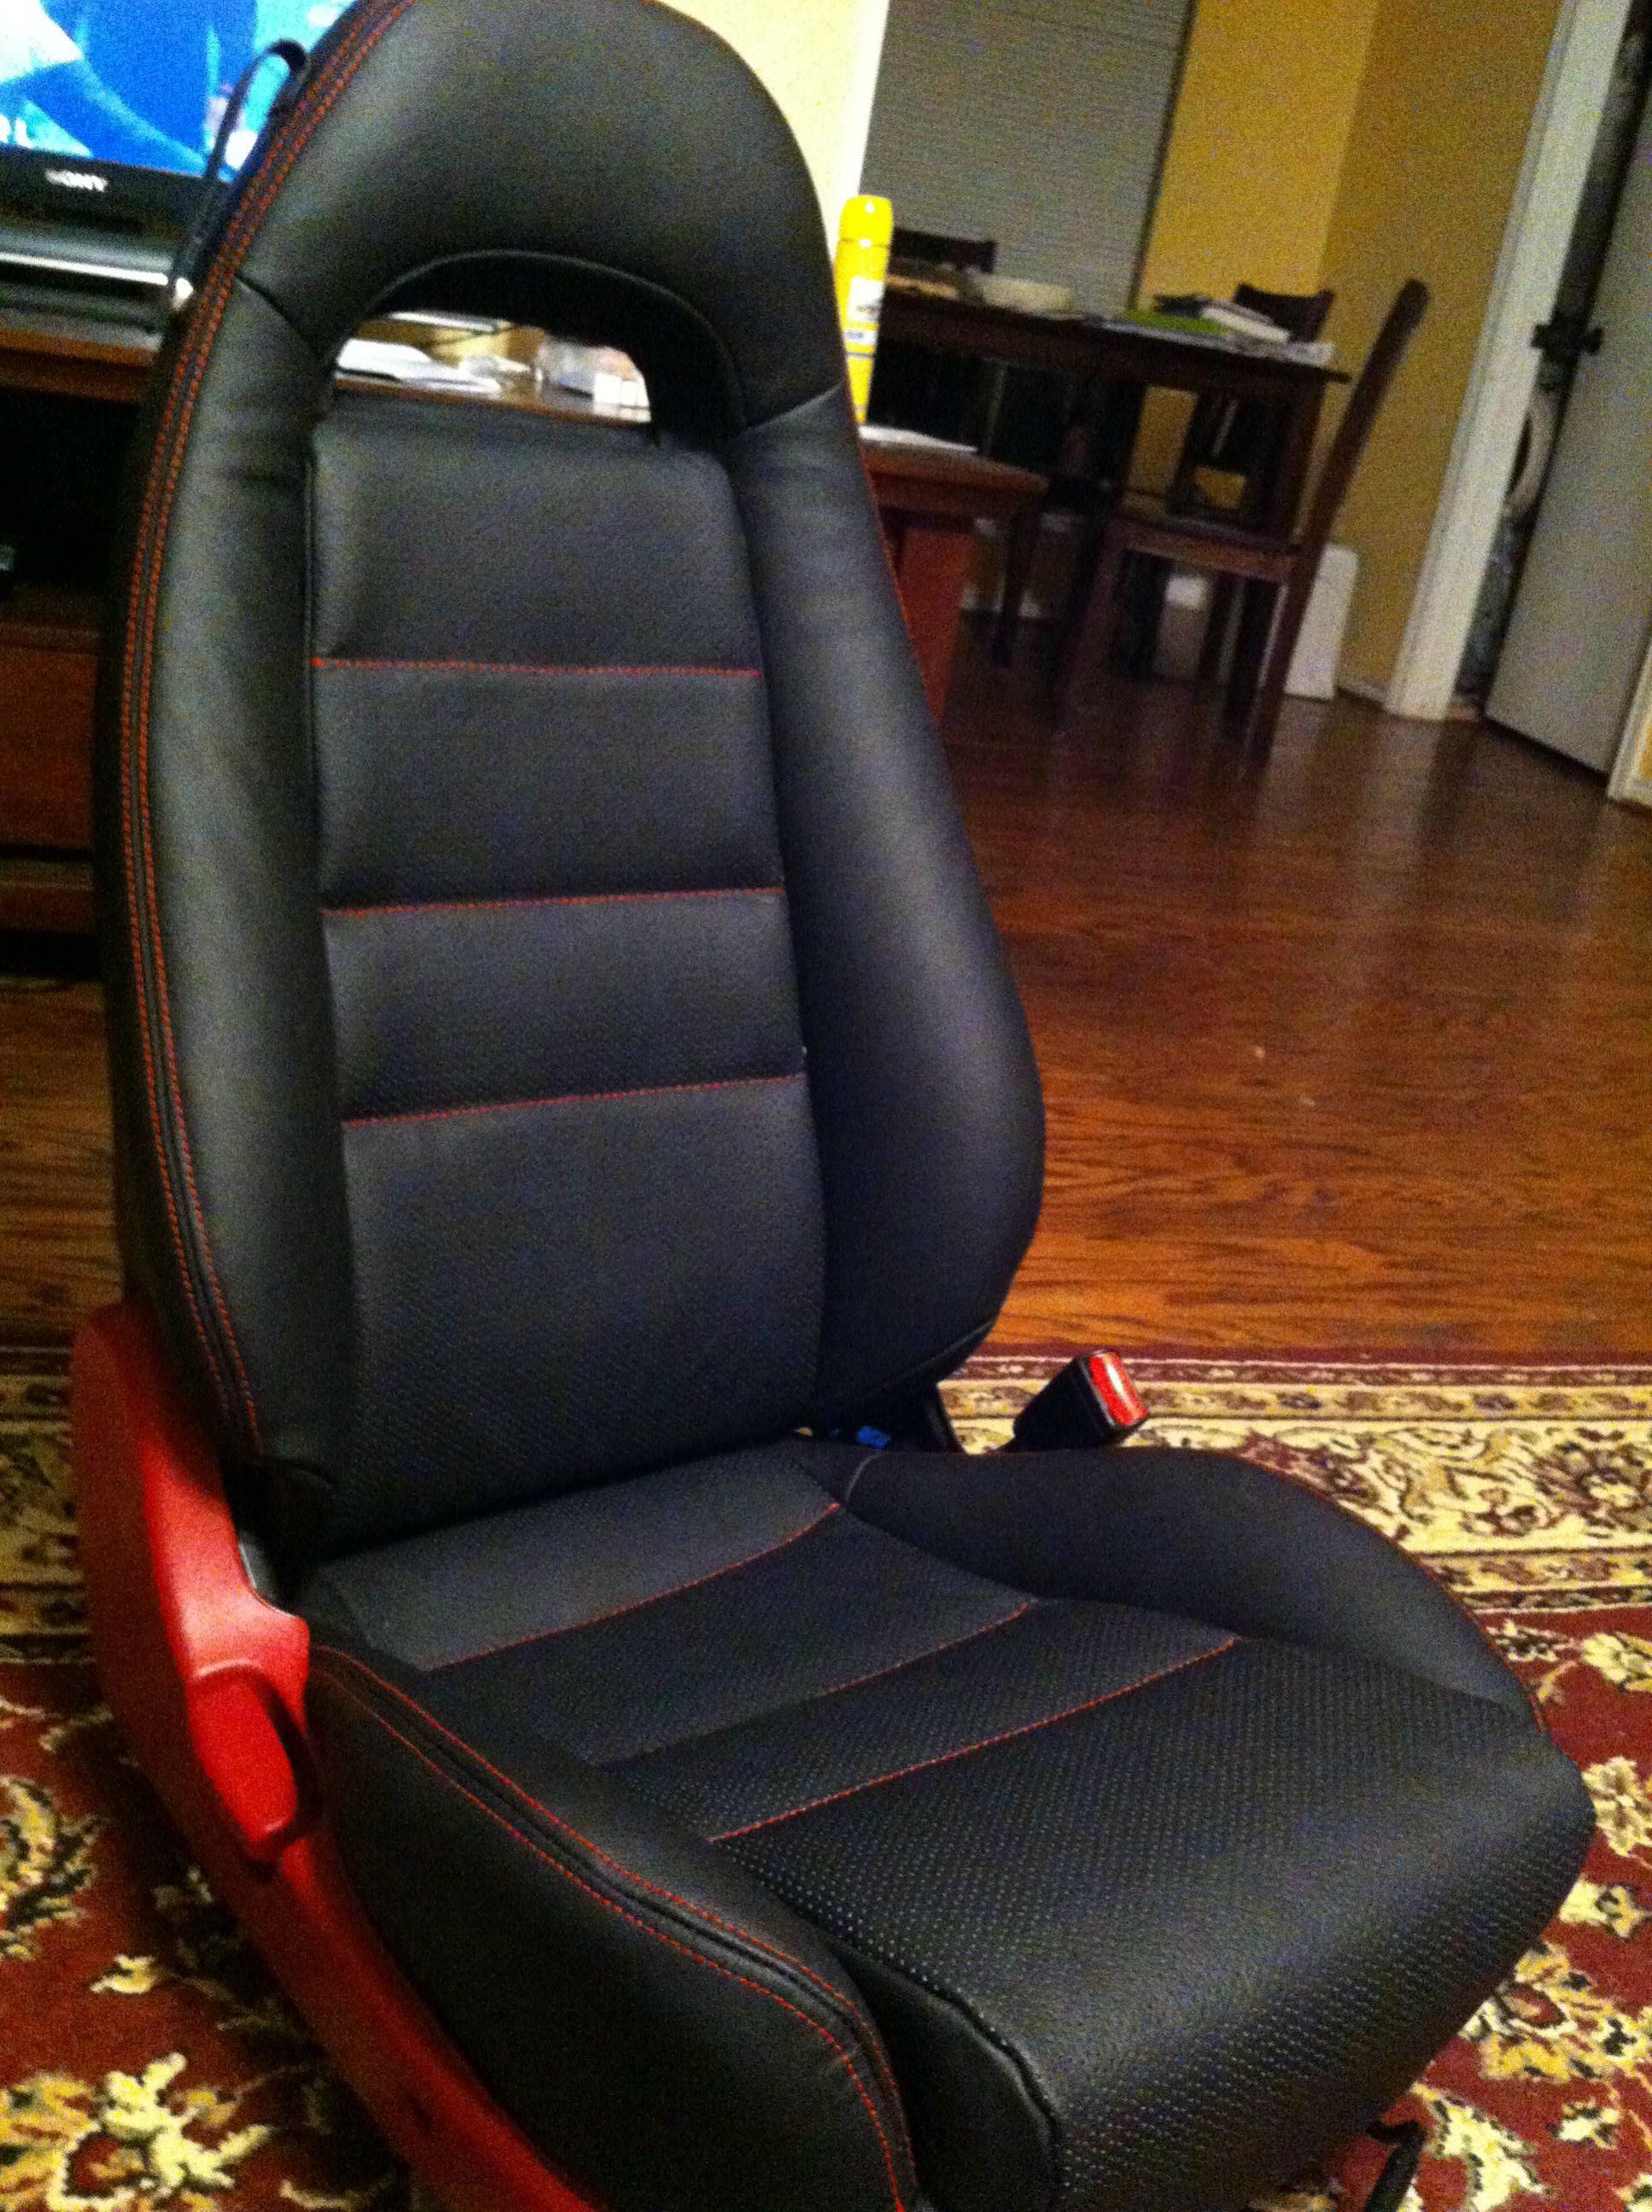
Yes I know I need to change my trim to black!


The first time you did it, about how much time per seat would you say it took. My stock leather is pretty beat, torn between new leather and putting it on myself, or some aftermarket seats


I'd say if you haven't done it before, and like to take your time and make it look perfect, it could take anywhere from 3-5 hours per seat. This depends on how many breaks you like to take(when you get frustrated at it, you just have to walk away for awhile). I think I watched 8 episodes of Star Trek DS9 while I was doing the write up. About 6 really lazy hours of working on it, and taking pictures makes it take twice as long ;-)
I spent a big chunk of time making the seatbelt guides and sewing them to the seat.


The old seat covers I removed were sold already.
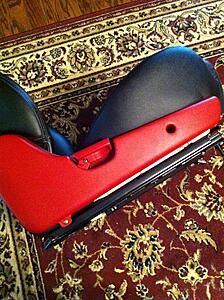
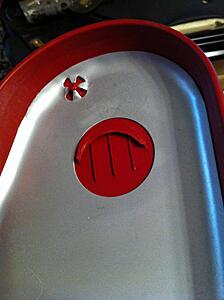
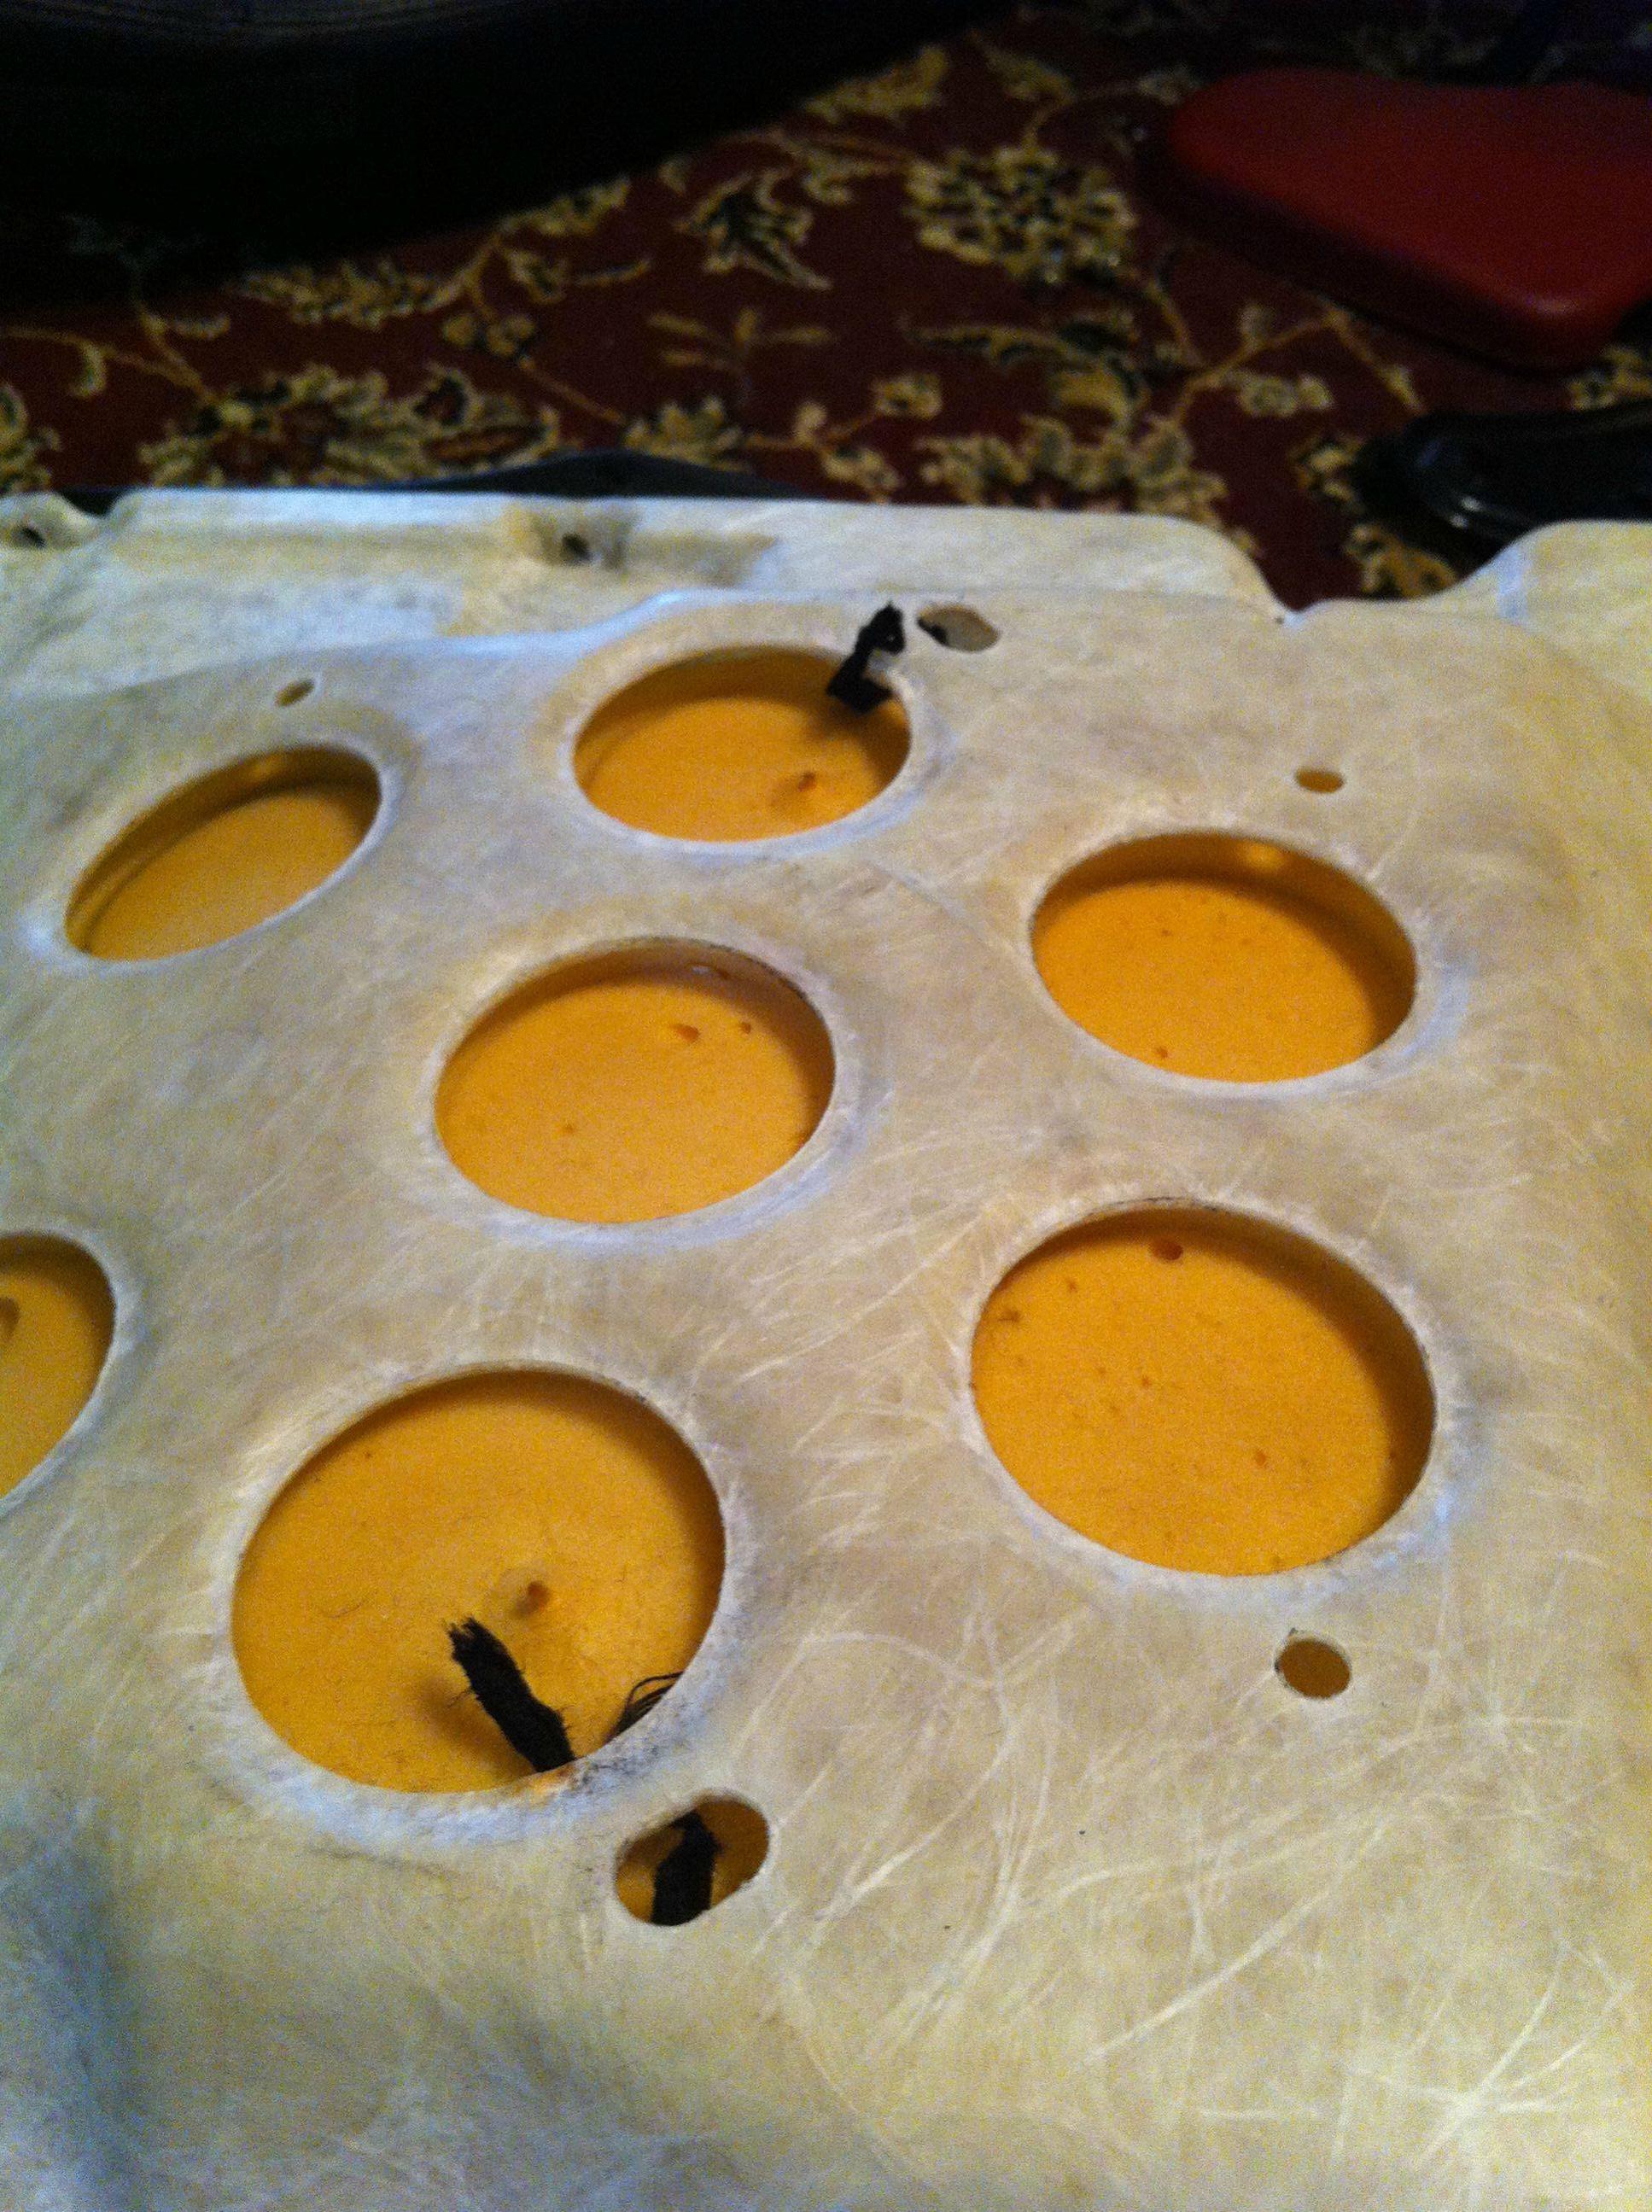
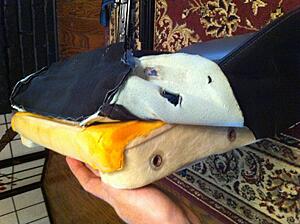
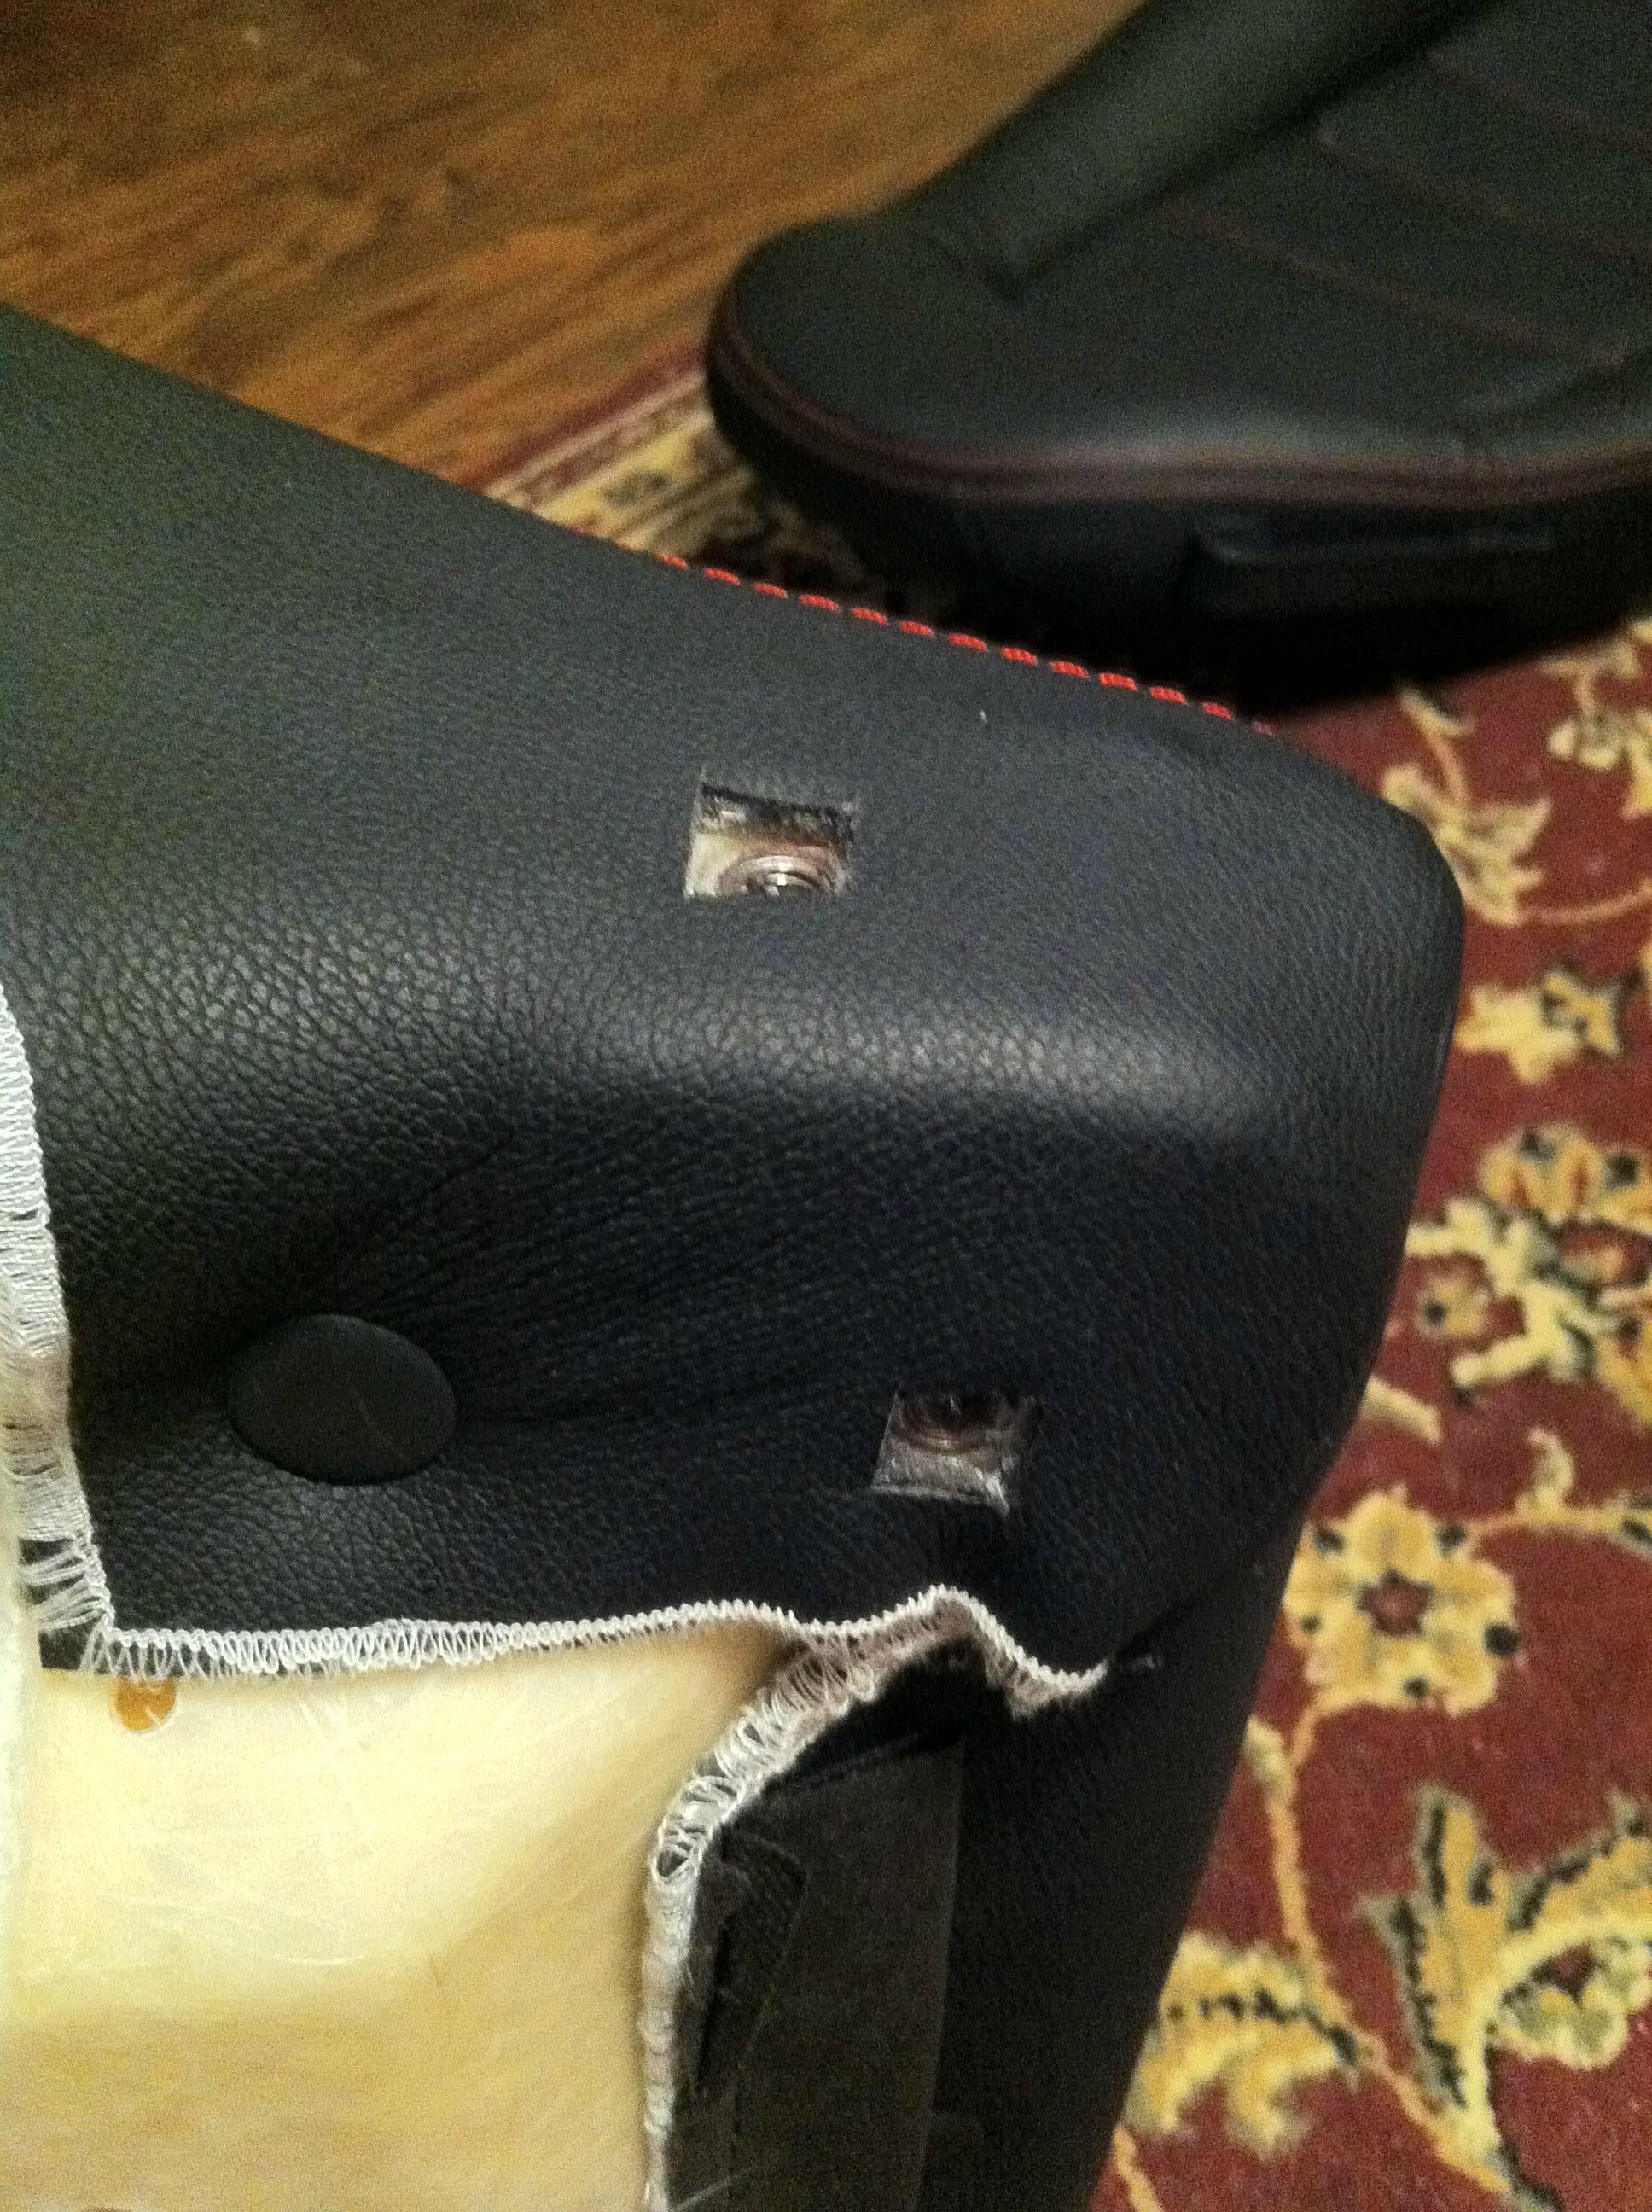
I realized I forgot to show the easiest way to tell the difference from the driver and passenger side covers when you take them out of the packaging. They look very similar.
On the seatback cover, look at the hinge area. One side will have a cut-out. This side faces the door panel when installed.
This is a drivers side seat back cover.
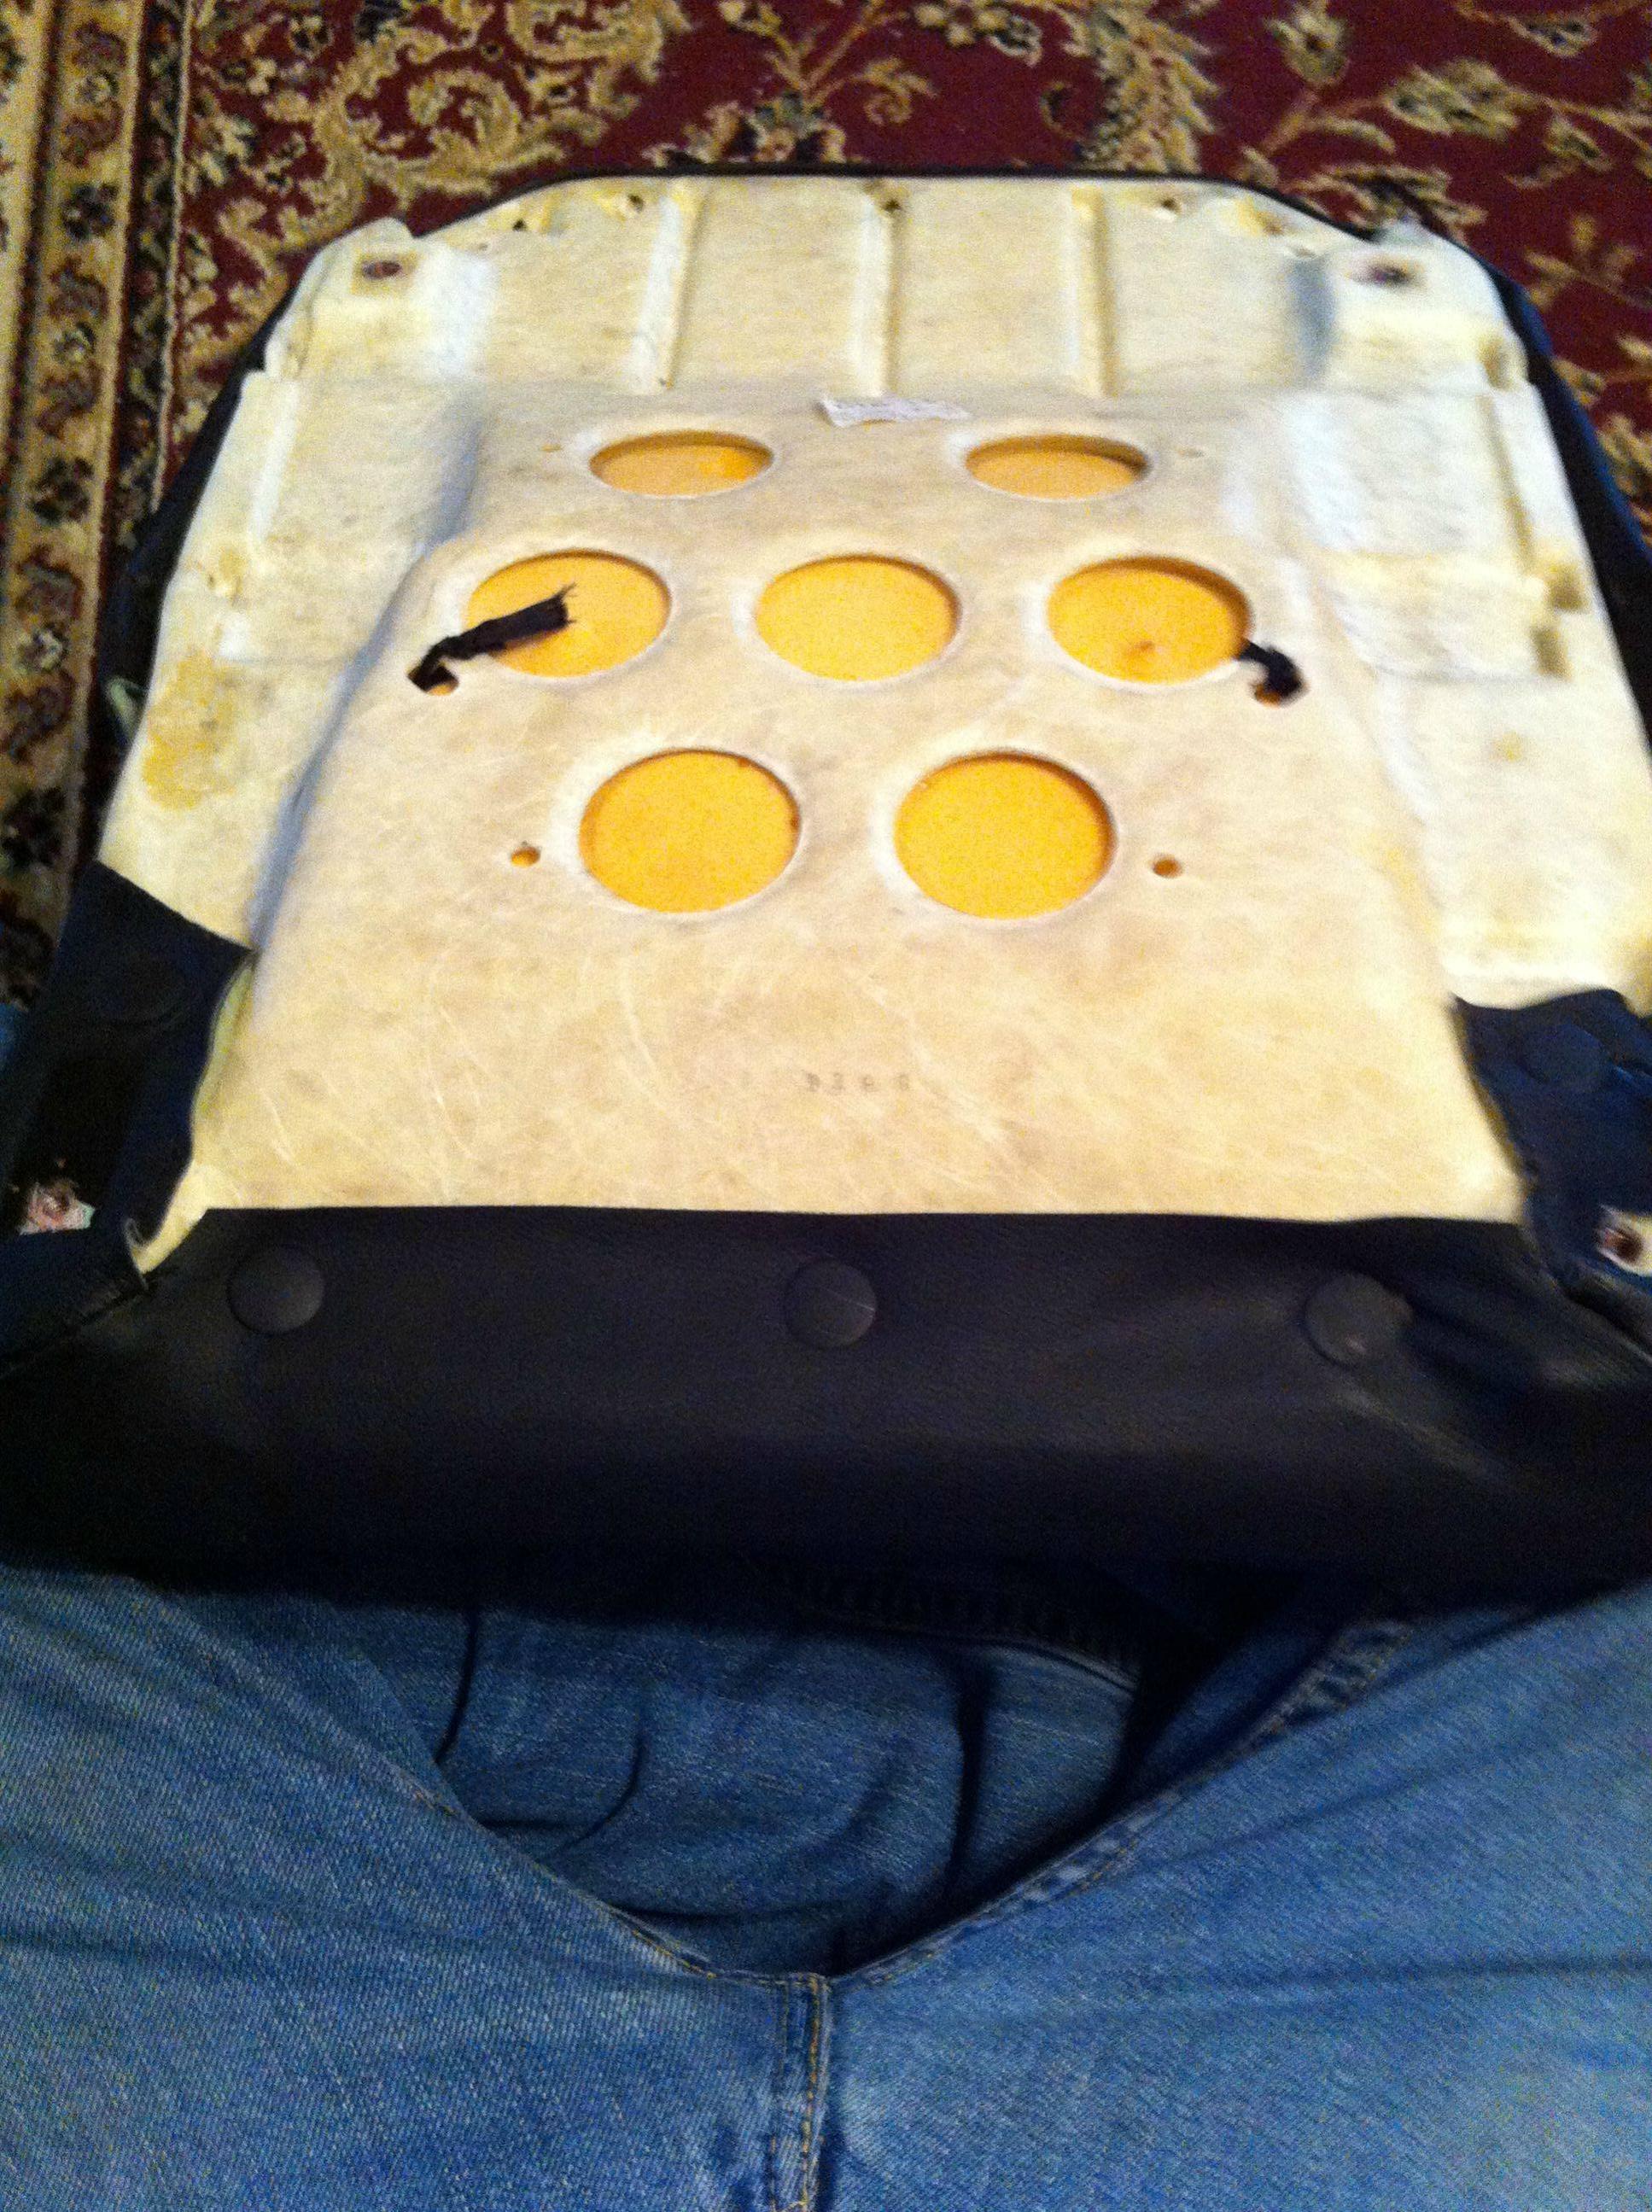
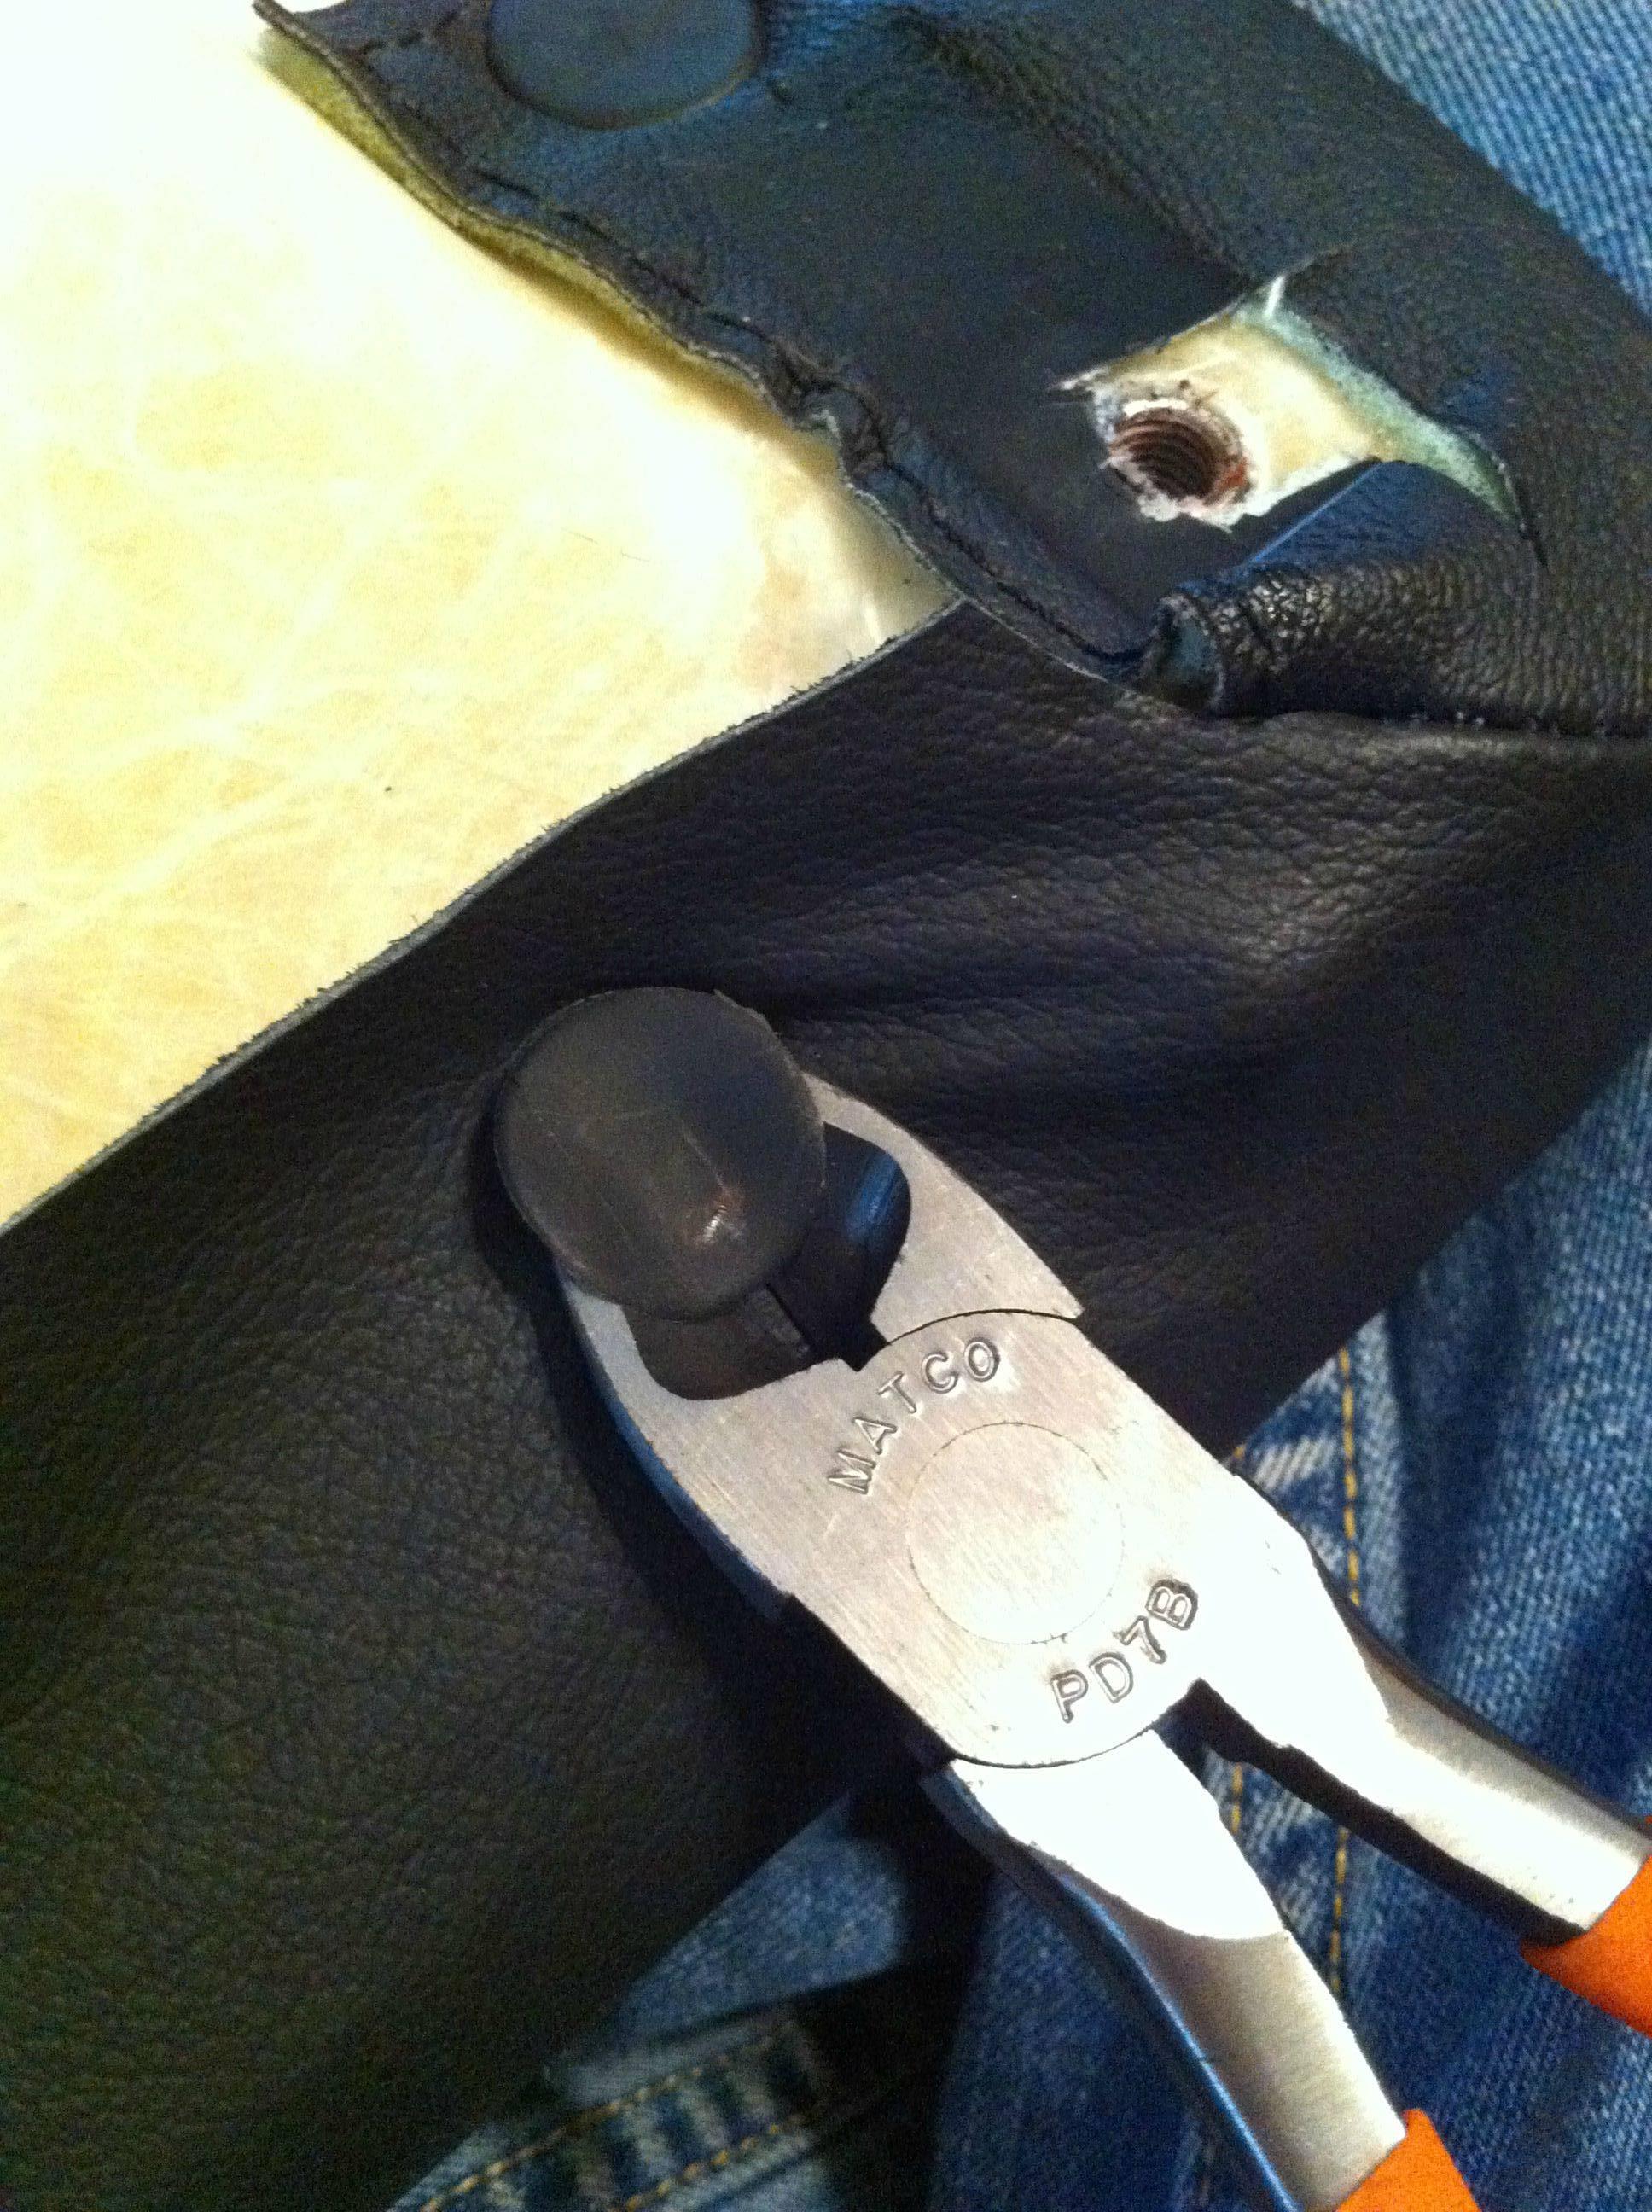
The seat bottom cover is harder to see the difference. Look at the two panels in the picture that have pliers pointing at them. One of the panels is wider. This side of the cover faces the door panel, so again the picture is a drivers side cover.
I believe the small skins for the center back sections may be identical. I don't remember any differences.
I realized I forgot to show the easiest way to tell the difference from the driver and passenger side covers when you take them out of the packaging. They look very similar.
On the seatback cover, look at the hinge area. One side will have a cut-out. This side faces the door panel when installed.
This is a drivers side seat back cover.

The seat bottom cover is harder to see the difference. Look at the two panels in the picture that have pliers pointing at them. One of the panels is wider. This side of the cover faces the door panel, so again the picture is a drivers side cover.

I believe the small skins for the center back sections may be identical. I don't remember any differences.
any opinions on smooth leather (oem) vs textured covers? less slippery?
solid vs perforated? cooler? less slippery also?
quality feel? or just a matter of looks? thanks!
I'm thinking about replacing my worn red ones with red covers but the colors don't exactly match, they have 3 reds, one is brighter, one is slightly darker the other is more dark wine looking.
solid vs perforated? cooler? less slippery also?
quality feel? or just a matter of looks? thanks!
I'm thinking about replacing my worn red ones with red covers but the colors don't exactly match, they have 3 reds, one is brighter, one is slightly darker the other is more dark wine looking.
Thank you Andre!!!! This is an awesome thread! I used it in my seat recovering process, keeping my laptop at my side during the effort.
One seat down, one to go! I would have never attempted it without this thread and all the pictures. Great stuff! This should be a sticky.
One seat down, one to go! I would have never attempted it without this thread and all the pictures. Great stuff! This should be a sticky.
I've left my car sit for the last 5 years with occasional startups and drives around the block. Now I'm driving it again and I'm slowly replacing interior parts, this post,while a few years old, is absolute gold to me as I plan on changing my seat covers. Thank you.

