
More led taillights

I've been looking through different Diffuser material for some red custom plexiglass taillight project I'm doing similar to this. I've been trying to avoid that break in the line for the blinker separator. This is something unique I've come across but any home Depot light cover will work as well. I don't believe my source sells this online but I'll look into it if any is interested.
Attachment 548134
Attachment 548135
Attachment 548133
Attachment 548134
Attachment 548135
Attachment 548133
I did the same over a year ago when i did my tails. The divider was buggin me too much lol


On another note I tracked down the manufacture of the Ford tail light. Dependingoin how expensive the material is I may have a source for the new diffuser.


^ I've got a sheet of the diffuser material that you reference above showing up later today. PM me for the details if you'd like. They make a sample sheet with a bunch of different LED angles and dispersion patterns on it that cost around $50. That is what I ordered and was going to see how it works. In theory, it is what we all need. I'm not using it for taillights though, I'm still working on a DRL turn signal solution that is OEM bright.
As for the restoring of the taillight lens, the 3M headlight polishing kit is a good way to go if you aren't into multi=stage sanding. It does a nice job of taking out the scratches on the lenses and also restoring it to black. It won't be as permanent as what you've done but it does work well.
As for the restoring of the taillight lens, the 3M headlight polishing kit is a good way to go if you aren't into multi=stage sanding. It does a nice job of taking out the scratches on the lenses and also restoring it to black. It won't be as permanent as what you've done but it does work well.
^ The 3M headlight restorer kit comes with 1,000 and 3,000 and it works well on the taillights. You use the 1,000, then the 3,000 and then polishing compound finished with a sealer. I'd give this a try before doing something more harsh.
Worked great for me but my car has lived its life in a garage so not that much purple to the tallights.
Worked great for me but my car has lived its life in a garage so not that much purple to the tallights.
I hand sand them so it takes a while.

Full Member
Joined: Sep 2014
Posts: 114
Likes: 0
From: Sacramento
Don't mean to hijack this but looks like we're on a mission to do something similar, I'll start my own thread if requested.
I thought I was near getting a prototype but just glued and soldered some leds for a test run and got some hotspots through the 5/8" frosted acrylic. I was hoping to stay at this thickness to more easily mount them but I think I'll be trying an inch and modify all the interals....
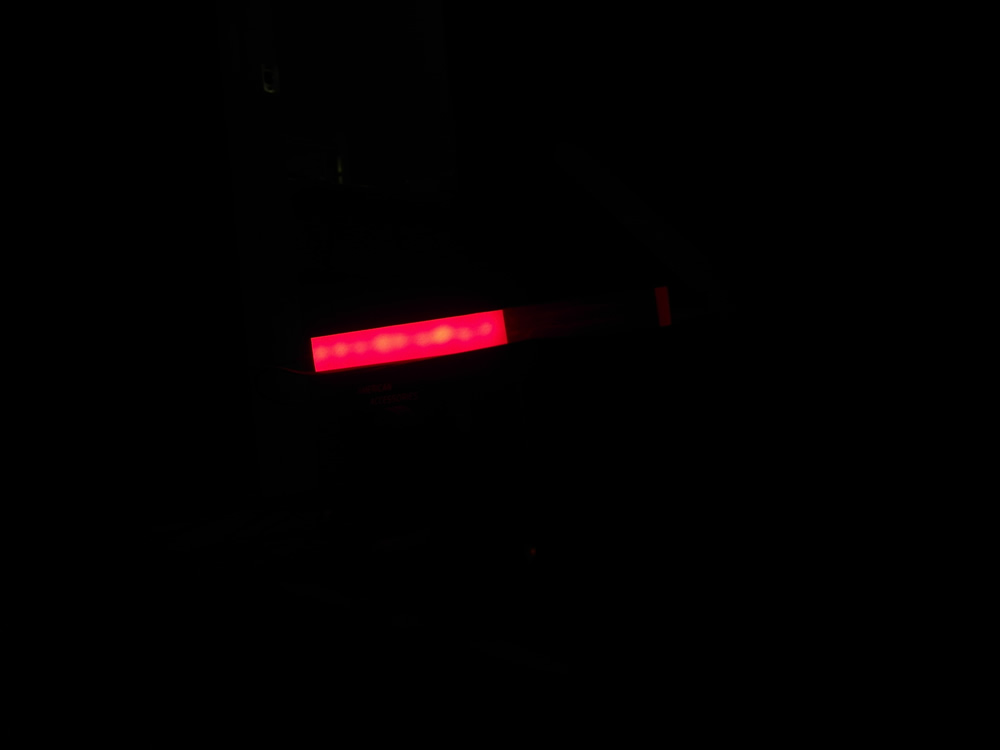
Room was actually fully lit but I changed the camera settings so you can see the hotspots I'm talking about. I'm using superflux too except red (red-orange are on the way) and with only these 9 it was still extremely bright (I got one of the brighter bins when ordering). I will be using 75 per taillight on the finished project. Get everything cut to 1" tomorrow and I'll give it another go.
I thought I was near getting a prototype but just glued and soldered some leds for a test run and got some hotspots through the 5/8" frosted acrylic. I was hoping to stay at this thickness to more easily mount them but I think I'll be trying an inch and modify all the interals....
Room was actually fully lit but I changed the camera settings so you can see the hotspots I'm talking about. I'm using superflux too except red (red-orange are on the way) and with only these 9 it was still extremely bright (I got one of the brighter bins when ordering). I will be using 75 per taillight on the finished project. Get everything cut to 1" tomorrow and I'll give it another go.
You don't need to start a new thread all the ideas in one place help. What I have found is frosted acrylic works well but the downfall is the brightness isn't up to spec. I have tried everything from the infused diffraction beads, satin acrylic, and sanding with various grits. I am pretty sure David has gone through many types also. They may look good in a dark room but if using the same LEDs as I am they still won't be bright enough. David and I are on to the same source of actual diffused acrylic for taillights but for a 16x16 sheet is $150 and is out of my range for this project.
I don't think you have been on the forum long enough but brightness of led tails are a huge issue on here. That's why you don't see many people make them.
I don't think you have been on the forum long enough but brightness of led tails are a huge issue on here. That's why you don't see many people make them.
Full Member
Joined: Sep 2014
Posts: 114
Likes: 0
From: Sacramento
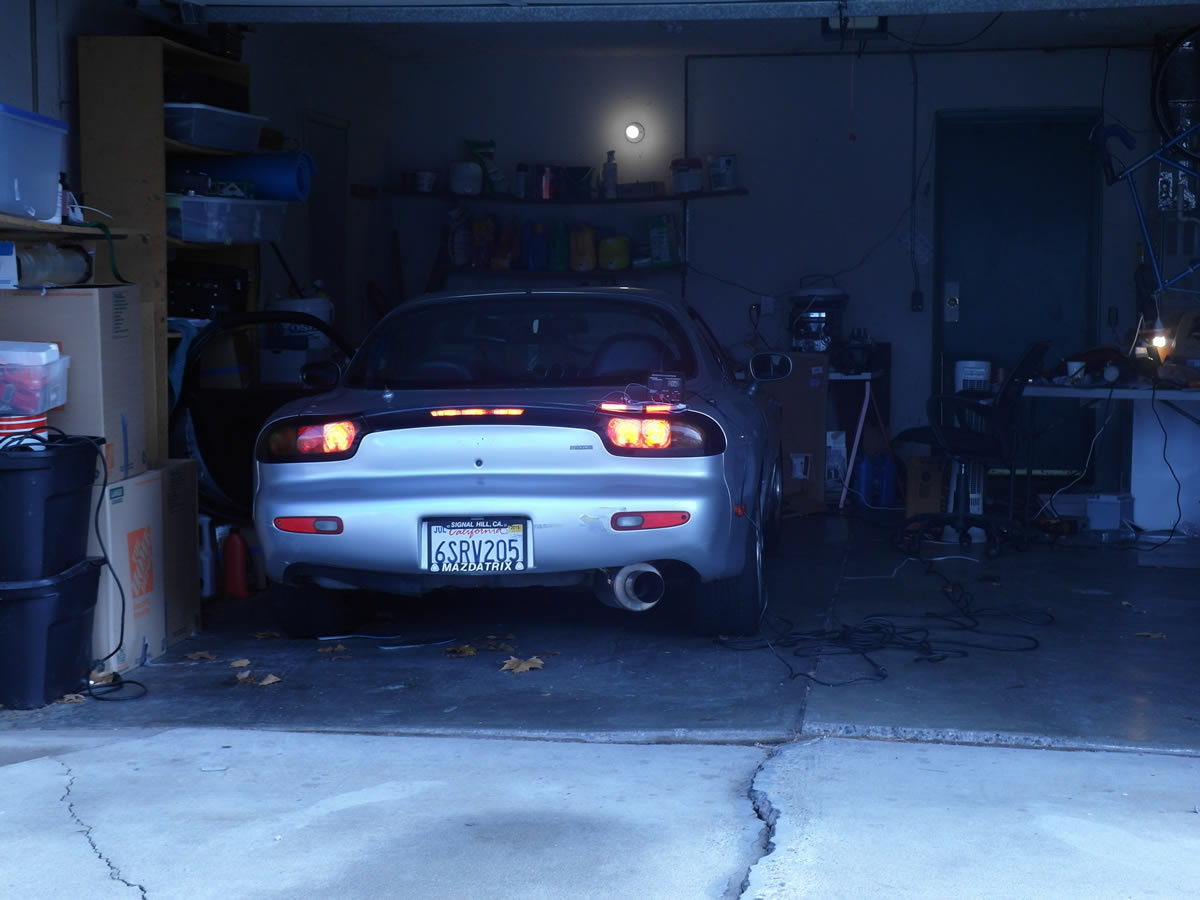
I know that's a huge issue, project is based off another and like I said, the camera was set to catch the bleed, the room is actually fully lit. I'll do a side by side next to the actual taillights when I get some time.
Full Member
Joined: Sep 2014
Posts: 114
Likes: 0
From: Sacramento
Here are two bars around 3-4" in length each with only 9 red philips superflux LEDS (bin rated at 5+lumens each I believe). The bar on the right has a light coating of clear red lens paint to give it a slightly redder color. Looks on par to me, especially when a full 24" of lights (75 LEDS) is loaded up but you guys be the judge.
Light transmission is key I think, this materials is supposed to have 89% light transmission. As you know it's hard to get good light transmission and good light diffusion which is why I had some hot spots. Going to try the 1 inch thick cut I just got and see how brightness and light output looks.
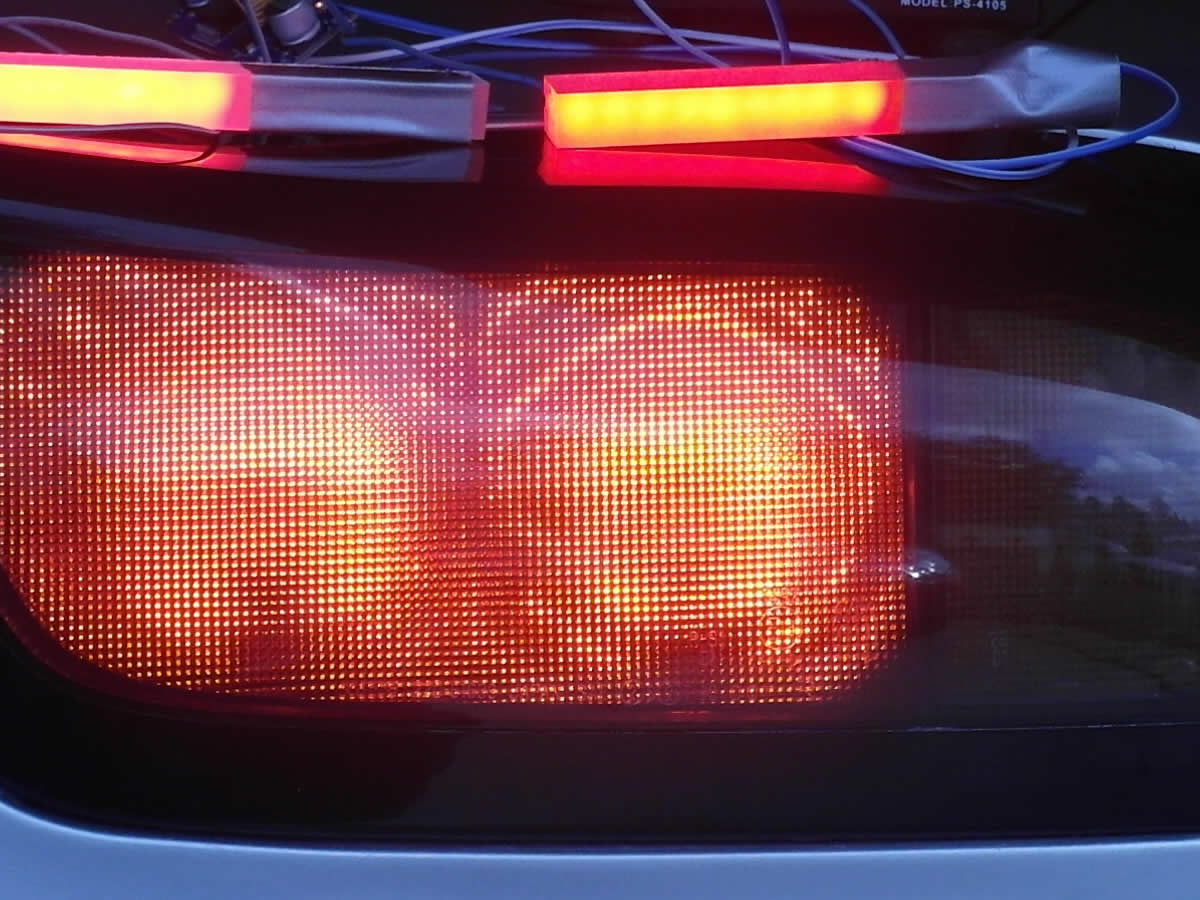
Light transmission is key I think, this materials is supposed to have 89% light transmission. As you know it's hard to get good light transmission and good light diffusion which is why I had some hot spots. Going to try the 1 inch thick cut I just got and see how brightness and light output looks.