
Making side ducting for rad: Need advice

Thread Starter
Joined: May 2005
Posts: 1,012
Likes: 45
From: North Dallas, TX
I'm setting out to make some ducting for my radiator area. I have a fluidyne with a PFS SMIC and the stock AC core. I have the stock under-body tray. Top and bottom are pretty well sealed but the sides are fairly open.
What's the best way to go about making some ducting? It's nearly impossible to get down inside there to get the shapes/sizes I'll need. Once I know WHAT to cut, I'm able to fabricate just about anything. But the tricky thing is if you take off the under-body tray you don't have a reference point for what you're sealing TO. Do most people take off the bumper?
I plan on using thin sheet steel cut and bent to fit and then using this expanding seal tape to fill the remaining gaps.
http://www.drillspot.com/products/56...r_sealant_tape
Last edited by ItalynStylion; Nov 1, 2016 at 11:32 AM.


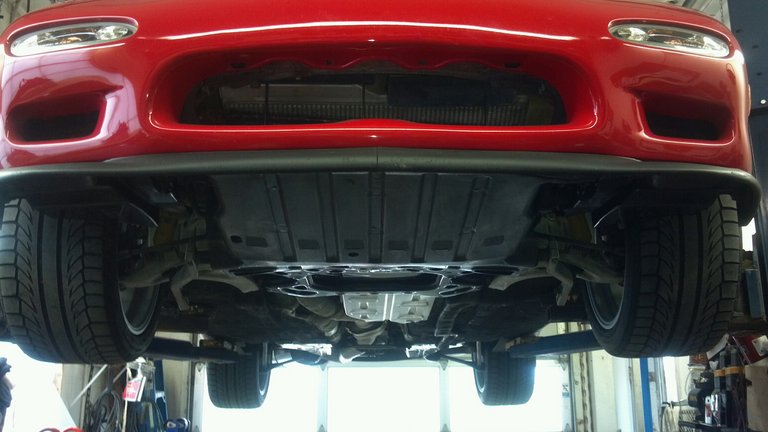
Def take off the bumper and fit with cardboard. Shameless plug to my build thread, I have some pictures in there : https://www.rx7club.com/build-thread...build-1103436/
Thread Starter
Joined: May 2005
Posts: 1,012
Likes: 45
From: North Dallas, TX
Def take off the bumper and fit with cardboard. Shameless plug to my build thread, I have some pictures in there : https://www.rx7club.com/build-thread...build-1103436/
I was hoping I'd not have to take off the bumper (since it looks intensive) but I suppose I'll survive if it's the only way. Somehow, after all the work I've done on this car, that's about the only thing I've not had to remove before.
I know it can be tricky the first time, but it's not too bad once you know where everything is. The key is to be gentle. Have you ever removed interior trim or door panels? It's way less intense than that! The problem is that you cannot get the cardboard (or the metal for that matter) in there without removing the bumper. Granted, I have a vmount so it's a little easier, but still impossible.
Once you have the space open, try to do this all in a weekend if dont have a second car. Spend Friday night/Sat morning doing the planning, measurements, and actual test fits with the cardboard. Then that will allow you the rest of the day to get to a metal shop and have them cut and bend to your requirements.
You're already on the right track with the weather stripping, you want to make sure there are no openings as even a tiny crack will let air escape. Metal on metal isnt good either, so you may want to put caulk or rubber hosing on the edges to keep things from jiggling around which will cause 1. annoying noises 2. structural instability 3. potential air loss.
Thread Starter
Joined: May 2005
Posts: 1,012
Likes: 45
From: North Dallas, TX
You're already on the right track with the weather stripping, you want to make sure there are no openings as even a tiny crack will let air escape. Metal on metal isnt good either, so you may want to put caulk or rubber hosing on the edges to keep things from jiggling around which will cause 1. annoying noises 2. structural instability 3. potential air loss.
I believe I can likely get away with no need for metal fab work. Thin sheet steel is cheap at Lowes and can be bent somewhat easily if you know what you're doing. Other than that, a metal cutting wheel should do what I need (love making sparks). I may end up coating the final result with a rhino liner or similar too. That way it protects it from rusting and also avoids the metal on metal contact we discussed.
Trending Topics
Thread Starter
Joined: May 2005
Posts: 1,012
Likes: 45
From: North Dallas, TX

Get some heat-resistant automotive foam, and adhere it to the sides of the radiator.
The aftermarket rads don't come with this attached, but factory does. Most ppl just flake out on it.
^Upholstery foam also works a treat. Just stuff an appropriately sized square in the gaps with a daub of clear silicone caulk to keep in place and Bob's your uncle...it's done. No duct fabbing required. And I have the same IC and radiator as the OP.

Senior Member
Joined: May 2015
Posts: 336
Likes: 14
From: UK
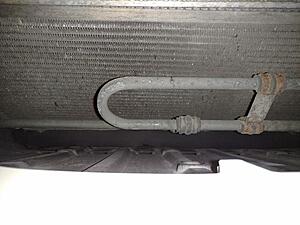
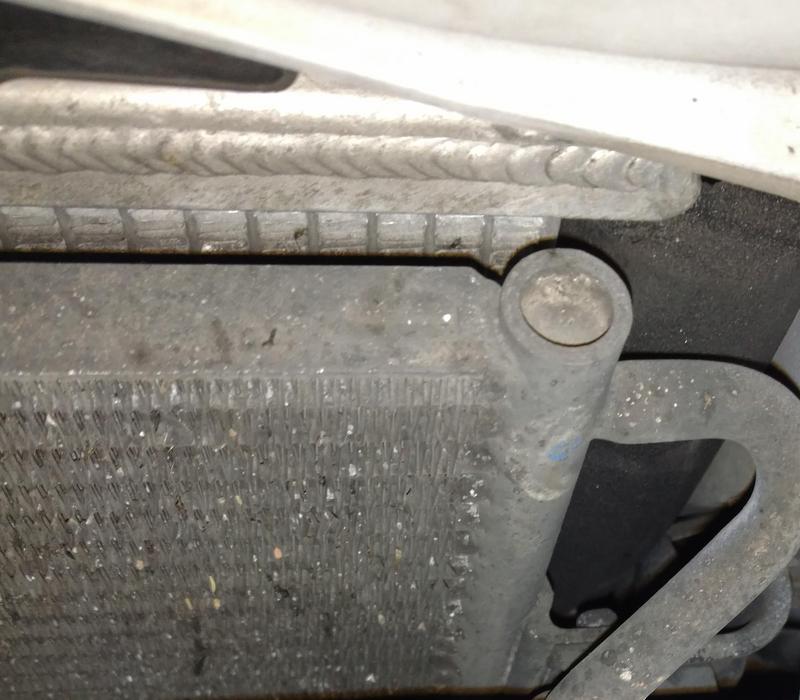
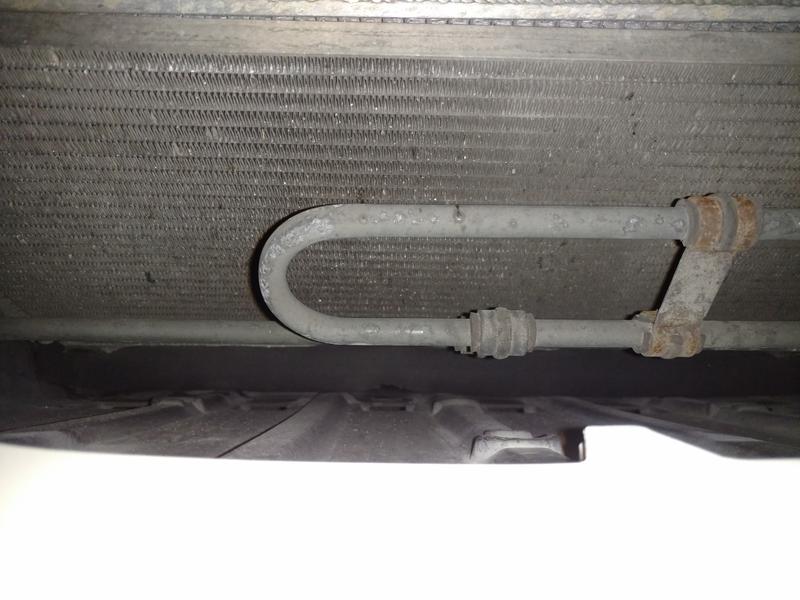
Here is my foamy stuff surrounding my Koyo radiator. It was hard to get good pictures in the dark with a phone so I cropped a bit so you could see the padding. I have sandwiched the foam between the radiator and the undertray and made a little hole for the drain plug. I also have it blocking the sides of the radiator. The stuff is very sticky (and I stuck the foam directly to the radiator) and has been on my car for about a year in all types of weather including a few torrential downpours (think monsoon style) and none of it has ever moved.
However, I will be honest and say my temps are maybe 1-2 degrees C better under road driving conditions than they were before I installed the foamy stuff and just had the Koyo and stock undertray on the car. The fact of the matter is a ton of air goes through the front bumper and only a minuscule amount is going to pass around the side of the radiator as it takes up like 95% of the opening area anyway with the stock undertray installed.
Still, I did it to hopefully give me that extra benefit in track situations but I never tracked my car before installing the foam so I don't have a before and after comparison of how quickly/slowly temps rise with the foam installed.
I got my upholstery foam from a fabric shop. Wasn't much...a square yard of 2" thick stuff was maybe $10. That's about twice what I needed.
A little hard to see but the best pic I could find...light green next to the duct and radiator...
A little hard to see but the best pic I could find...light green next to the duct and radiator...

Last edited by Sgtblue; Nov 2, 2016 at 05:44 PM.
McMaster carr
https://www.mcmaster.com/#adhesive-back-rubber/=14vca14
They have lots of different rubber/foam adhesive sheets/strips etc. You can really find something to work for your setup.
I bought a roll of some dense adhesive foam strips, that can resist high temps, Will use them along the rad to create an air tight seal between the rad and aluminum ducting, and also as a cushion between certain spots to avoid metal on metal contact.