When you click on links to various merchants on this site and make a purchase, this can result in this site earning a commission. Affiliate programs and affiliations include, but are not limited to, the eBay Partner Network.
How To: Remove Hatch Interior + Rear Hatch Washer Spray Nozzle
I'm going to start keeping track of the things I do for people with pictures of the things they might come across just because I know they would help me. Might help someone else. I know I'm a lot more comfortable having the information before I start something even as simple as this.
Remove the hatch interior
When youre removing the hatch interior start with the piece closest to the front of the car. The piece at the front only has metal clips that you have to pop out by pulling outwards perpendicular away from the panel (straight away towards the rear bumper). Follow your way back to the pieces on the side and then the back.
Remember that youll have to pull the pegs off that hold the privacy cover. Edit: as others have mentioned. Make sure you rotate them 90 degrees before pulling on them. You risky breaking them if you just straight pull on them! They attach into the hatch and will hold you up if you dont remove them.
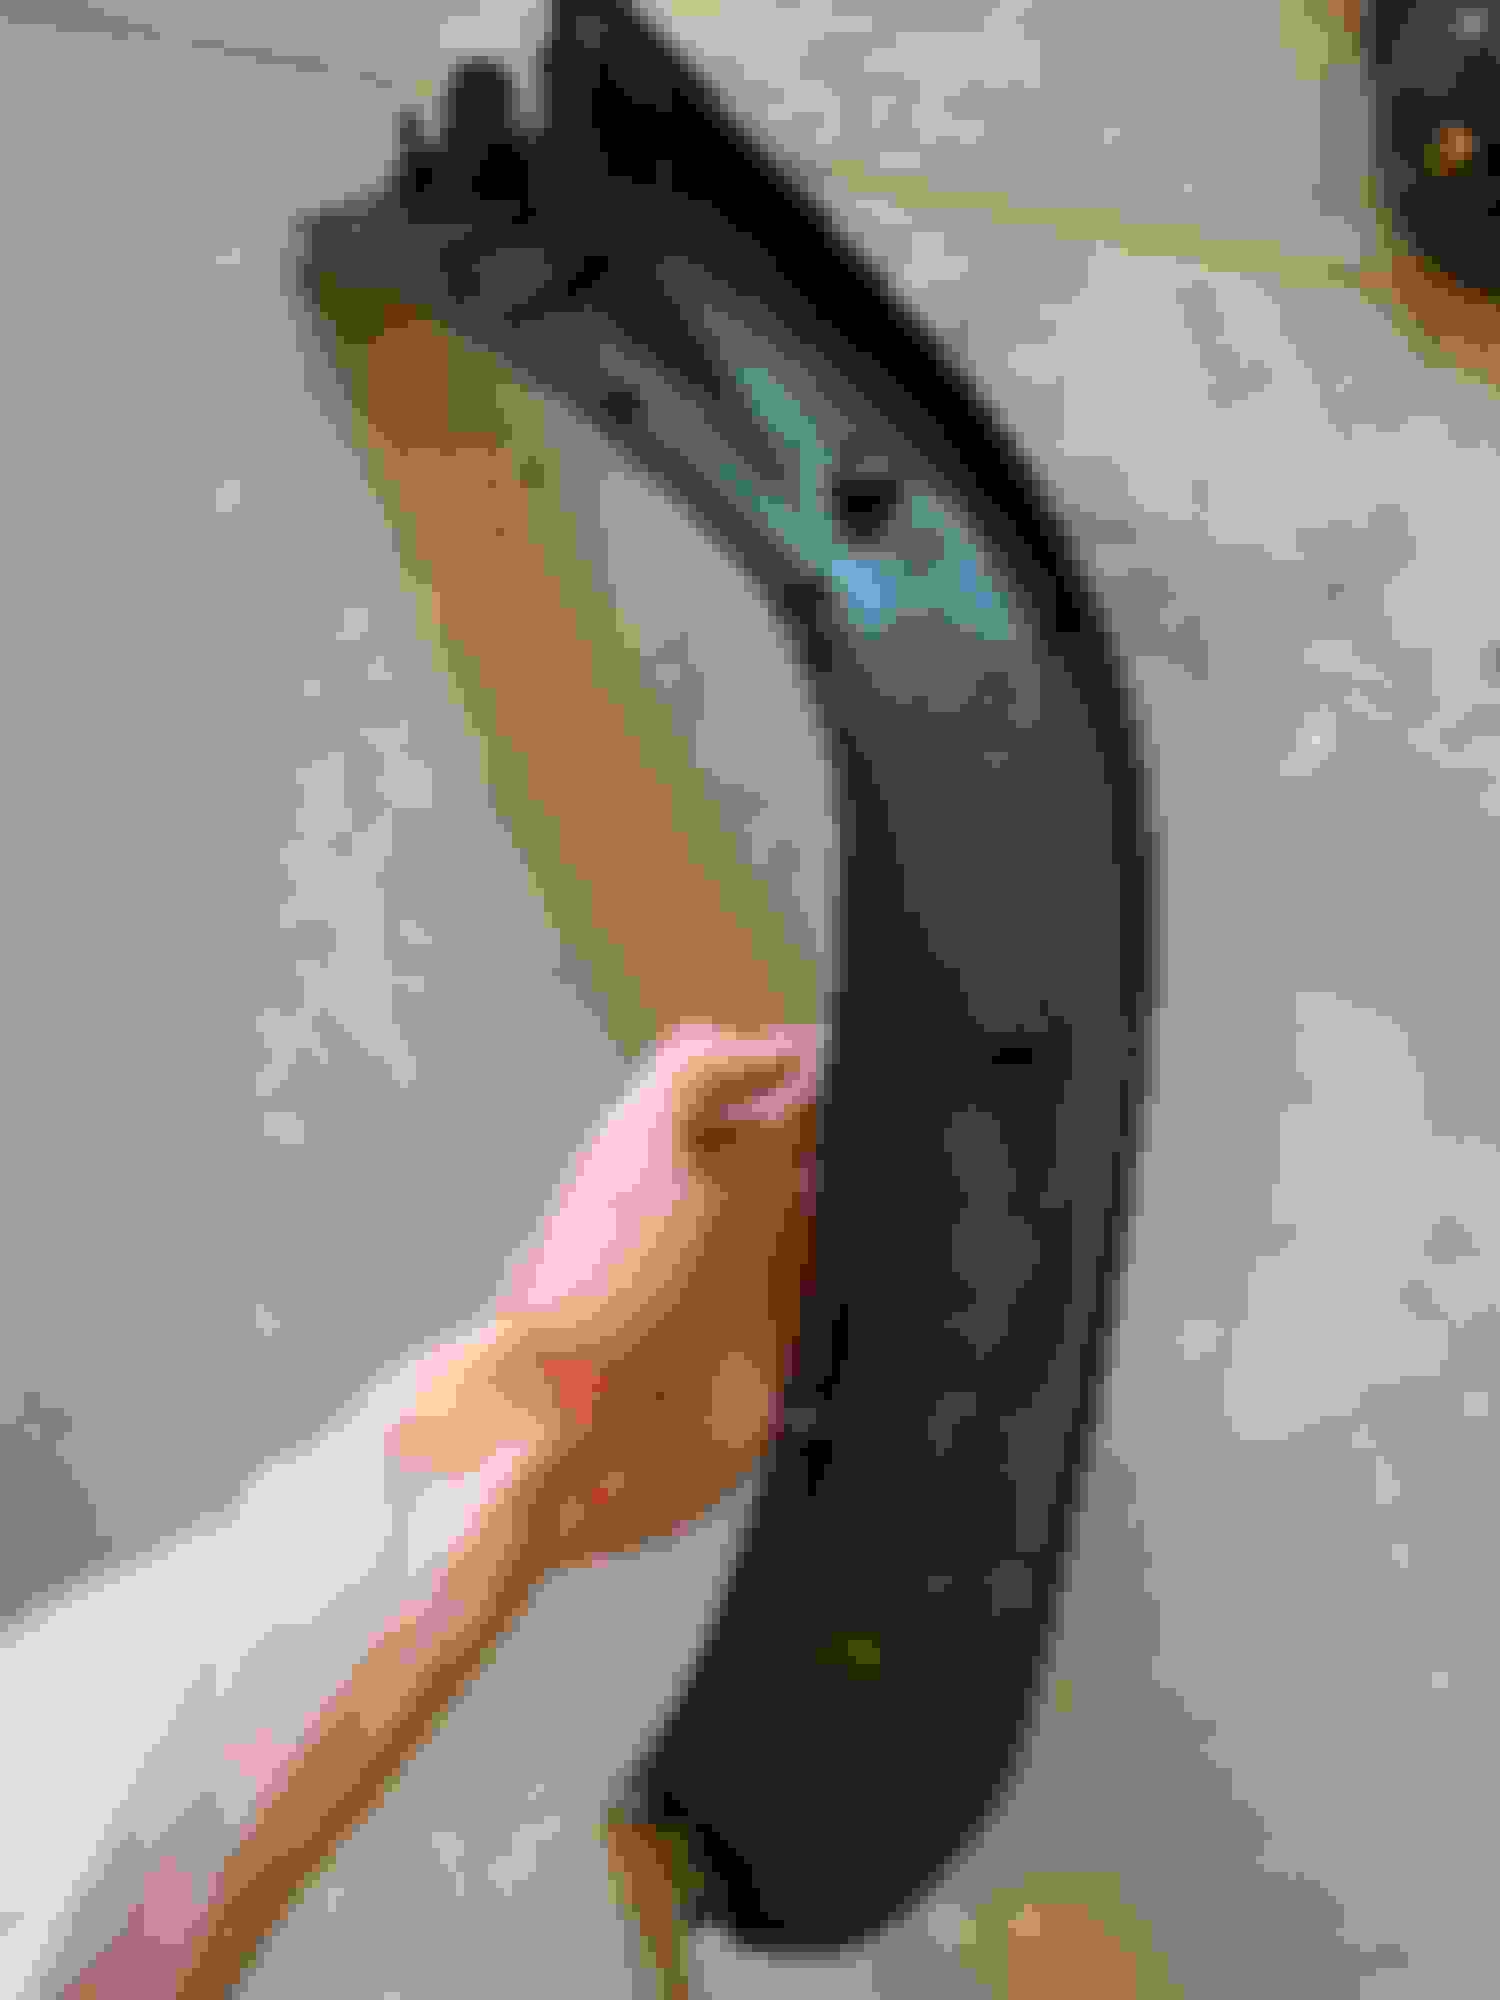
Remove the rear washer nozzle
First youll have to pull off the tube that runs to the nipple on the interior side of the washer nozzle. Should just be able to pull it off. its a hose with a plastic washer with tiny lips to hold it in.
Once you have that off you can see the clips on the interior side that need to be pushed inward with either a set of needle nose pliers or you can use a screwdriver and get one side at a time.
If the hatch is off then this is a bit easer, but easy enough to do with it on too. There are a few access holes around that you can get access to the clips.
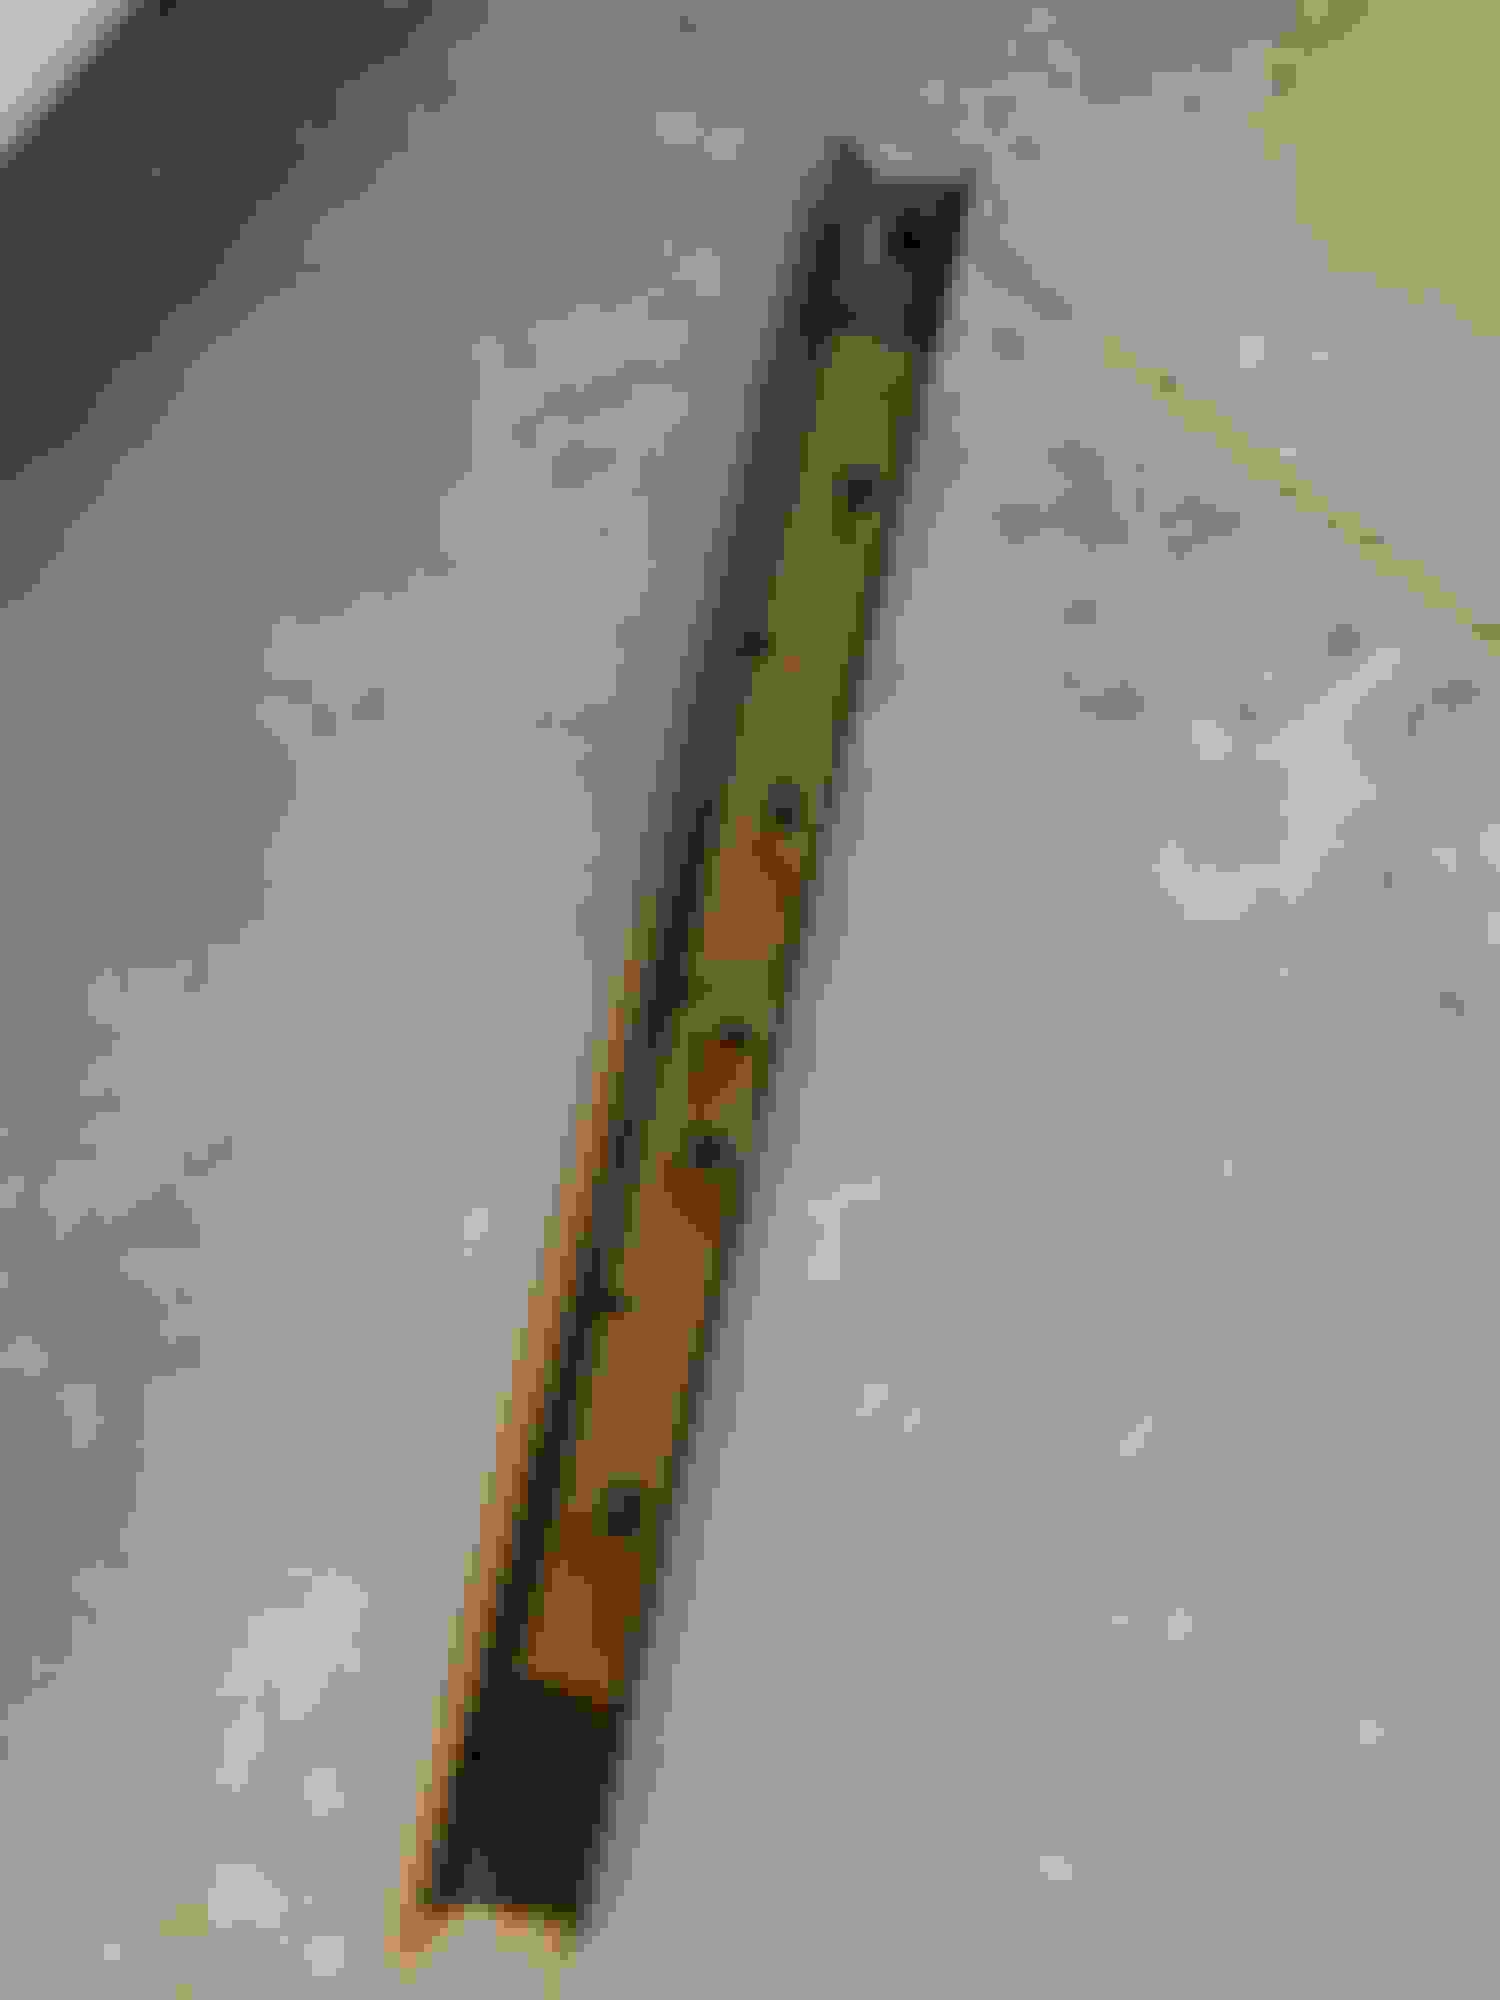
The pics below will show the places where the clips are located on each piece and what they look like so you can decide how best to pull them!
I don't know if it holds true for the rear nozzle, but for the washer nozzles on the hood you can push a 10mm deep well socket over the nozzle and it will compress the 2 tabs that hold it in, just push it on and it will pop right out.
It's VERY common for the metal clips that hold that trim in place to pop off the trim and stay on the hatch, make sure to find all of them and put them where they should go.
As it turns out, I just finished doing this to a spare hatch I picked up recently.
for the most part it’s common sense. The only tricky part I had was the cargo cover buttons holding the last back piece in. Have to rotate those suckers at least 90 degrees and then you can pull it out.
From there everything can come out as long as you take your time.
Yeah I was thinking that but could't remember - those things the cargo cover "strings" hang on just need to be rotated 90 deg. to remove, same to install. If you just pull on them you'll probably break them.
Made sure to add that edit into the main post. Thanks for the reminder guys. Also the socket tip seems like it would work good. I�ll have to keep that in mind if I have to pull it out again.