
Evo-R headlight lenses replaced. DIY

Evo-R headlight lenses replaced. DIY
Hey everyone, I'm 23 and don't want to spend the money to buy a brand new set of lights. I found these with cracked and peeling covers for under half the price of new ones. I figured id make a diy thread for anyone with cracked ones or thinking about buying them.
If you break your stuff don't blame me, it worked out for me and I'm simply offering the best solution i knew of.
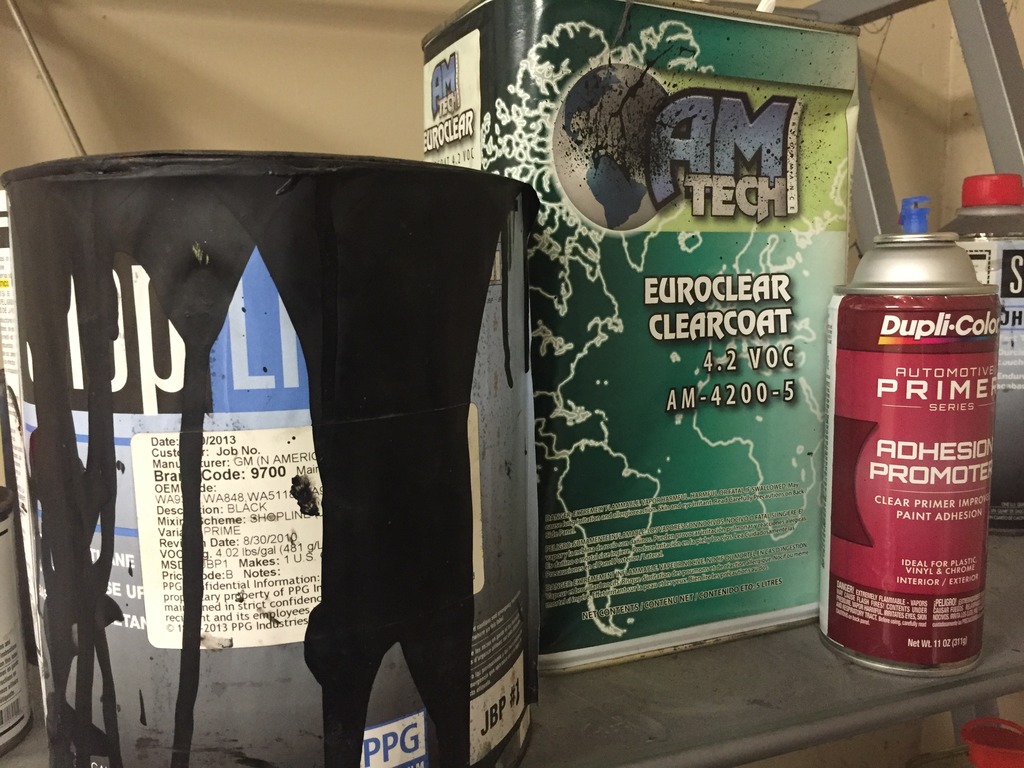
Heres the stuff i used. (Use the sealant of your choice, butyl tape is the best, with black sealant being my second choice.)
I had some am-tech clear laying around, some jbp base coat, and i picked up this adhesion promoter (Not my first choice, but the autoshop closest to the house had duplicolor only)
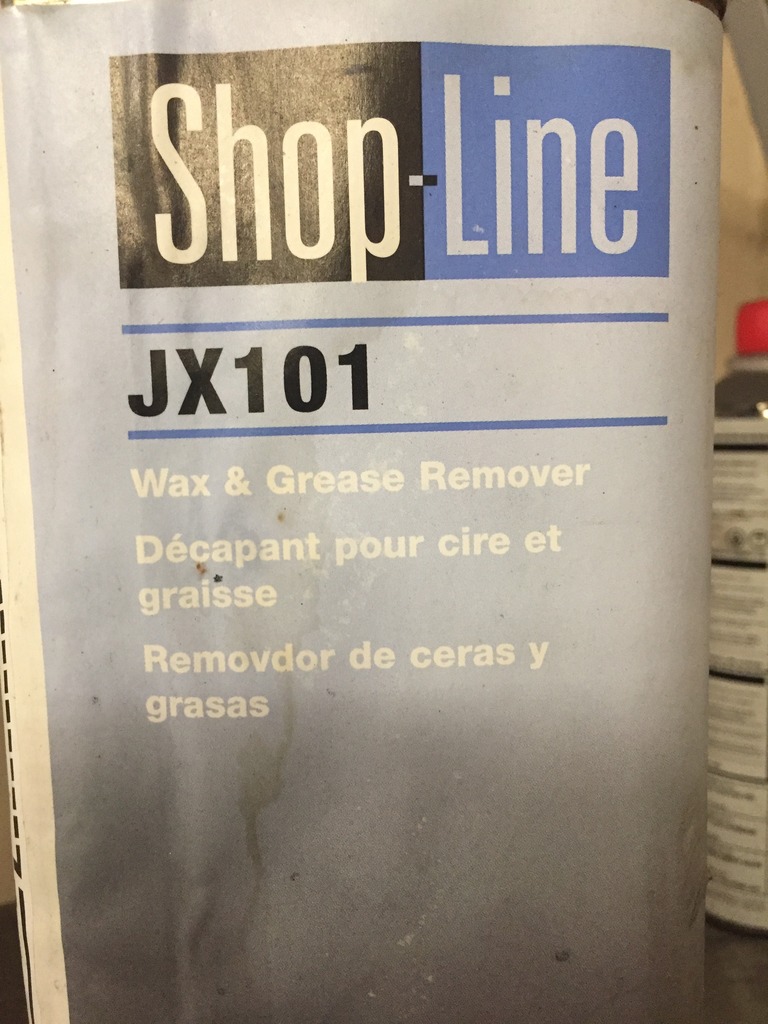
This is the stuff i use, again you can use your wax and grease remover of your choice.
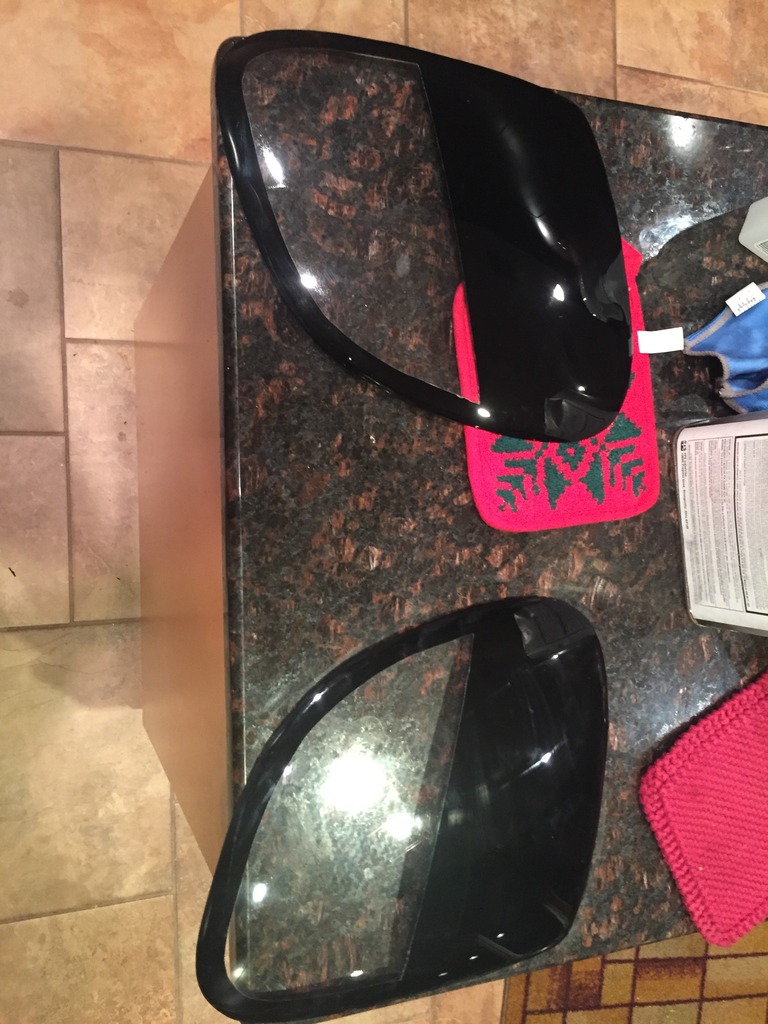
Here they are when i first obtained them, plastic and paint cracking. I still loved them, $889 dual projector HID lights for about $400.
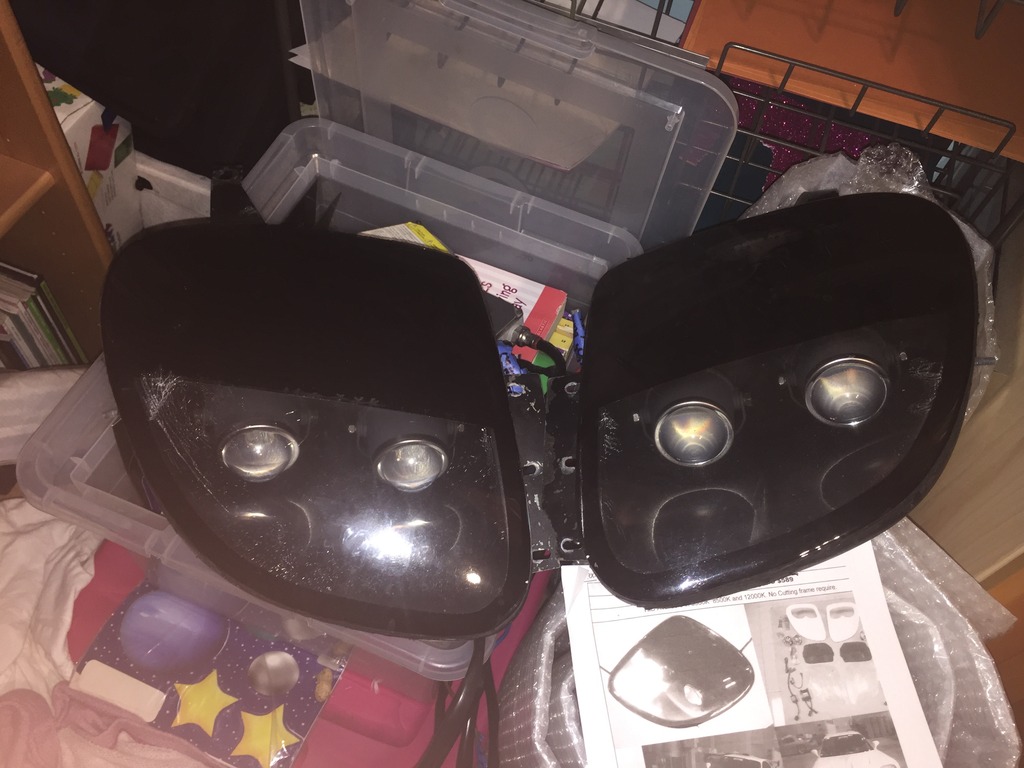
I ordered a new set of lenses. I figured since the paint cracked on the first ones, id paint these myself. I went ahead and ordered the "unpainted" ones.
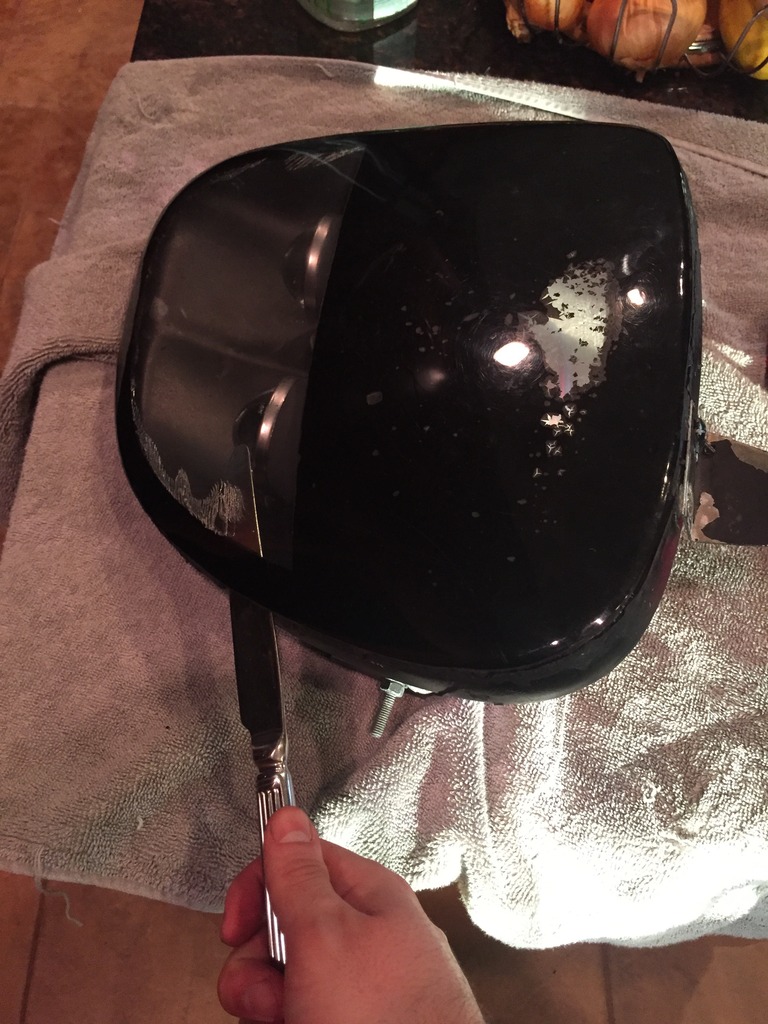
Go ahead and heat the old assembly's at 250 for about 15 minutes in the oven.(put them in for 5 more minutes if the sealant starts to harden before you can remove it all the way) I used a butter knife.
Next i went ahead and cleaned most of the old sealant off of it using a razor blade.
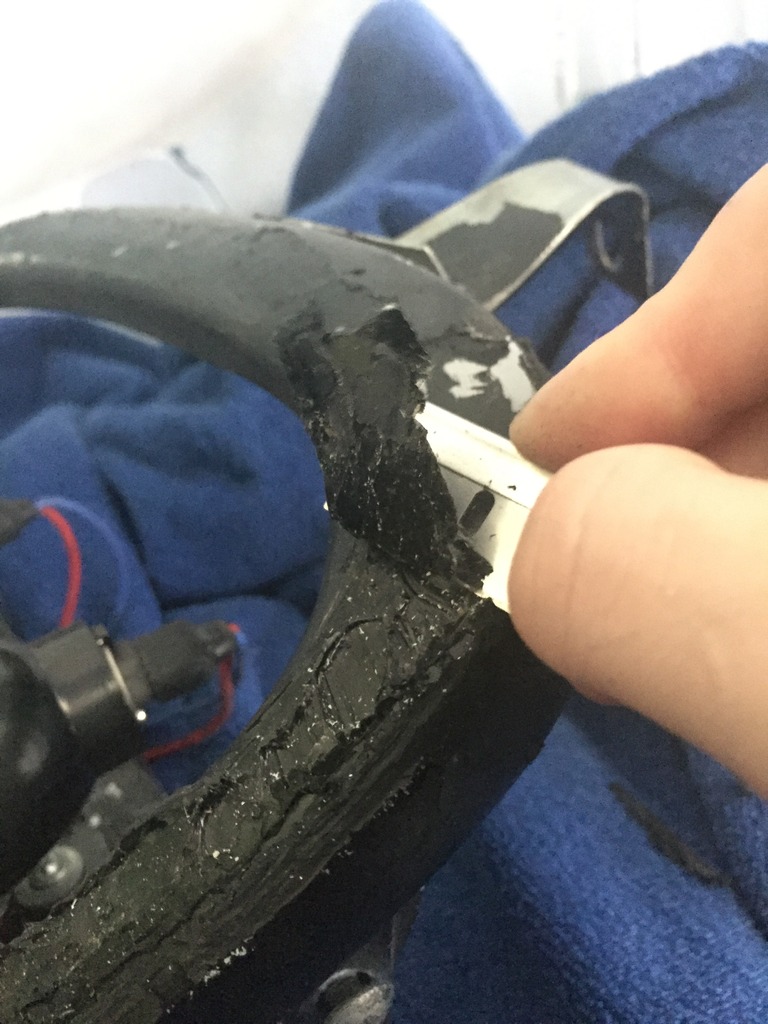
Make sure not to skimp yourself on this step

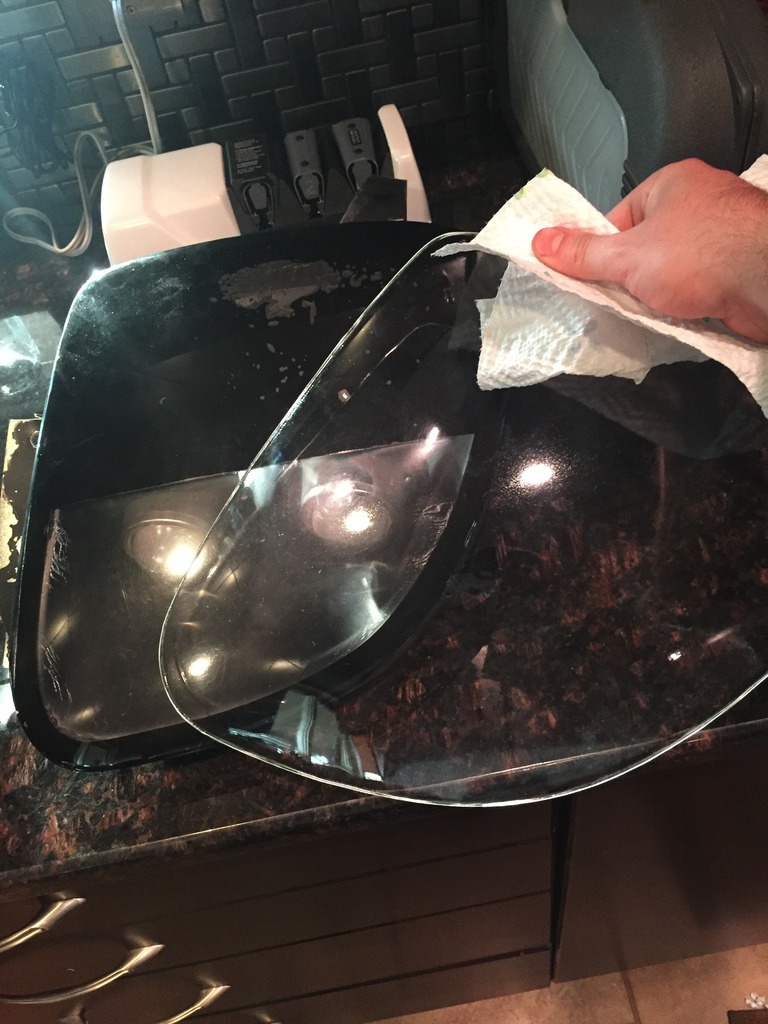
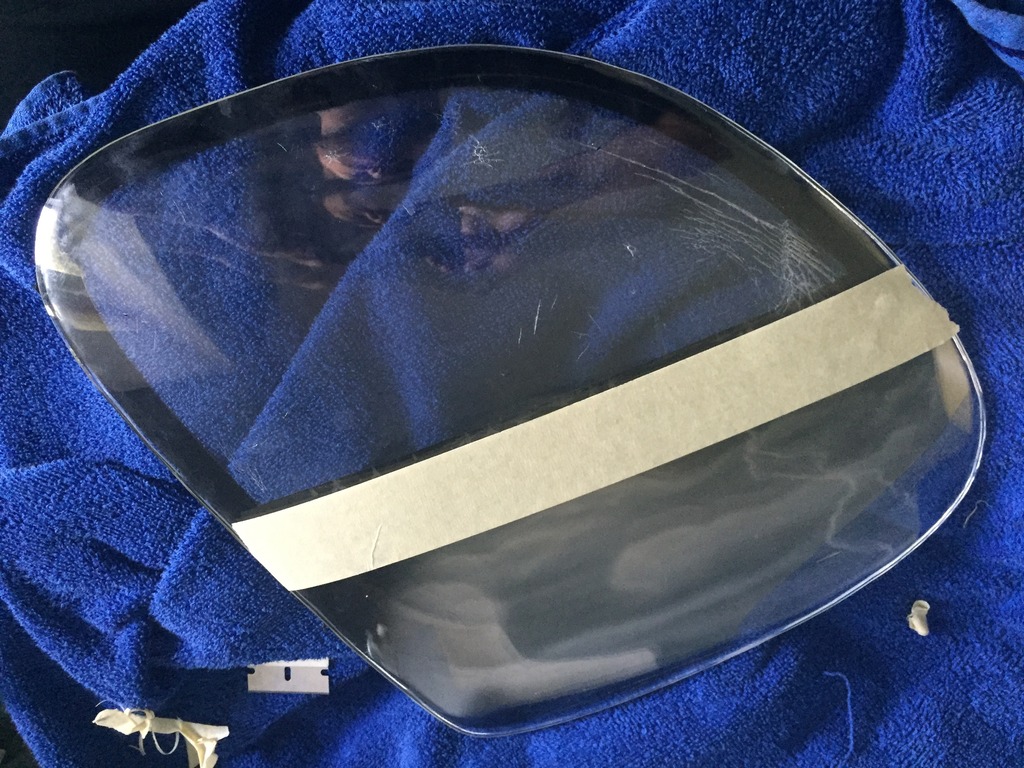
This part was kind of tricky, first i set the new lens on top of the old one and lined up some masking tape with the old paint about halfway down the light.
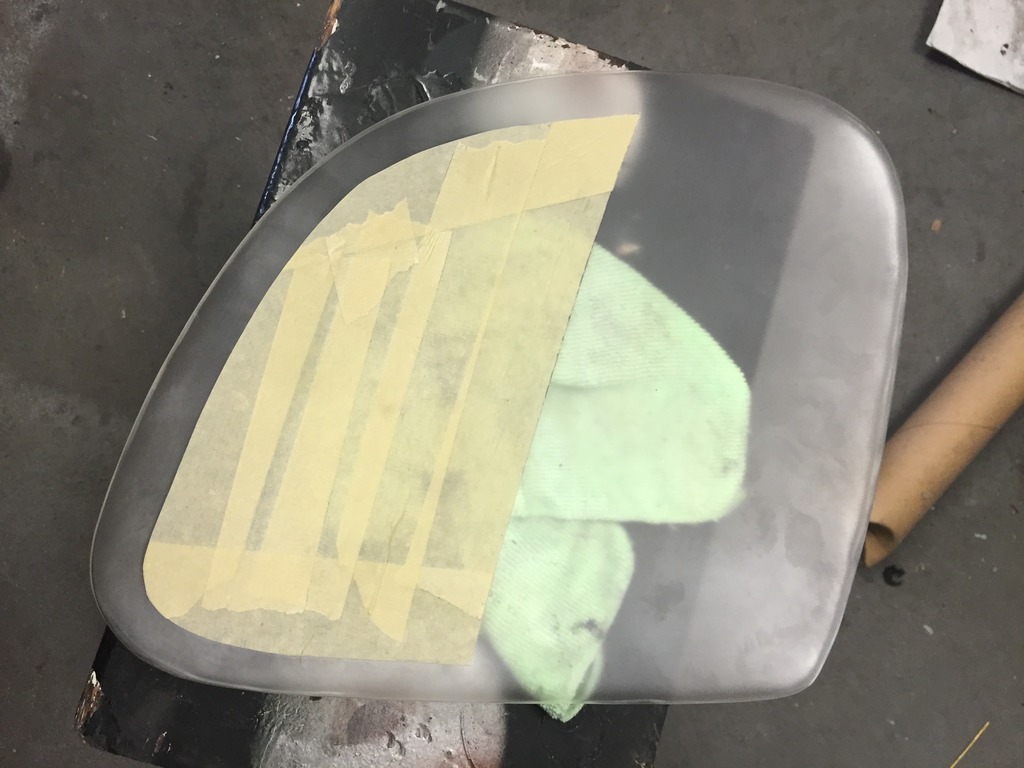
Set the new cover aside now, grab the old cover and start applying tape to the inside of the lens around the edges of the inside of the non painted area.
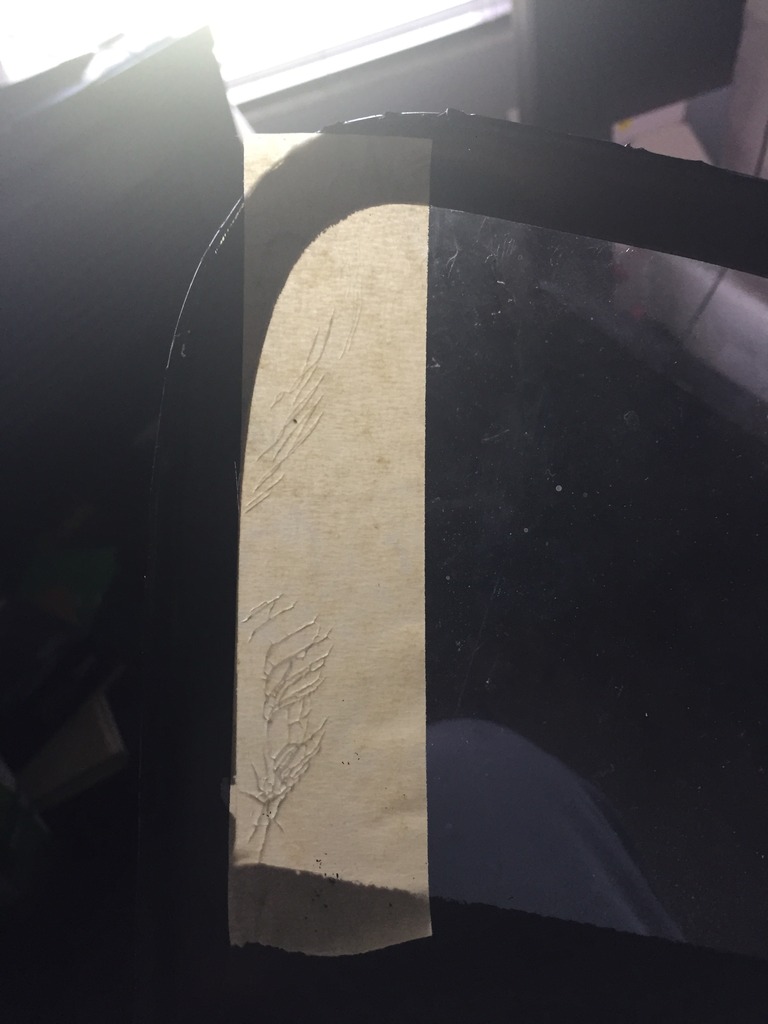
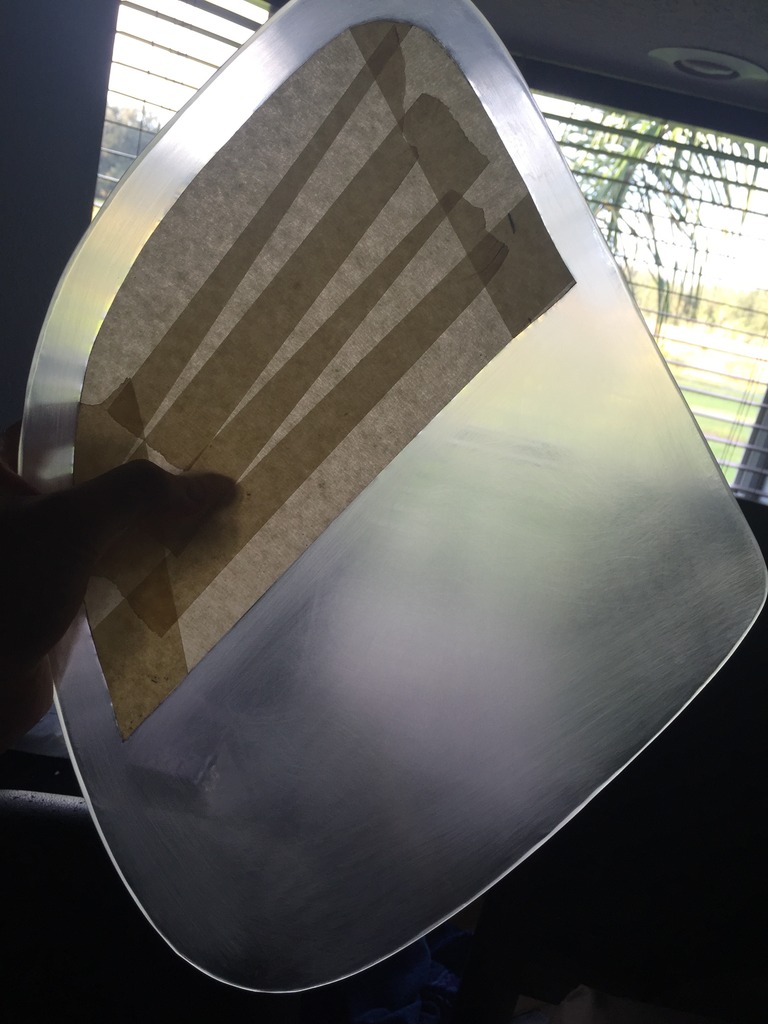
Hold it into the light (see above picture) and you can clearly see, and trace the old paint line with a razor blade.
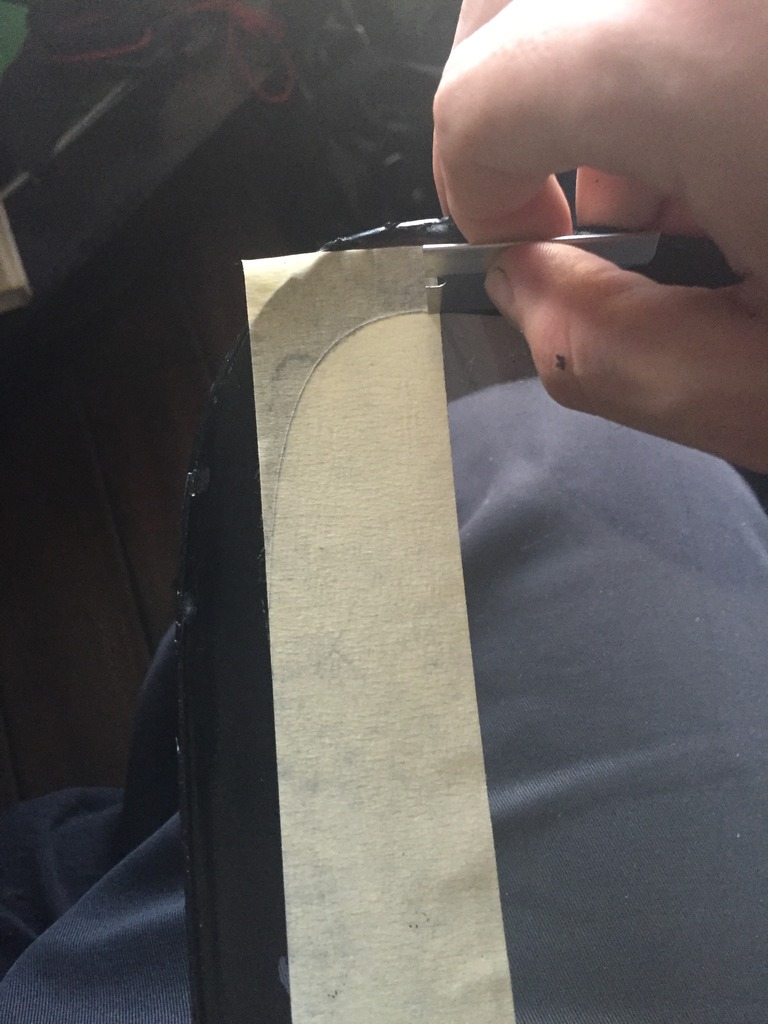
Your going to do this to the entire center part.
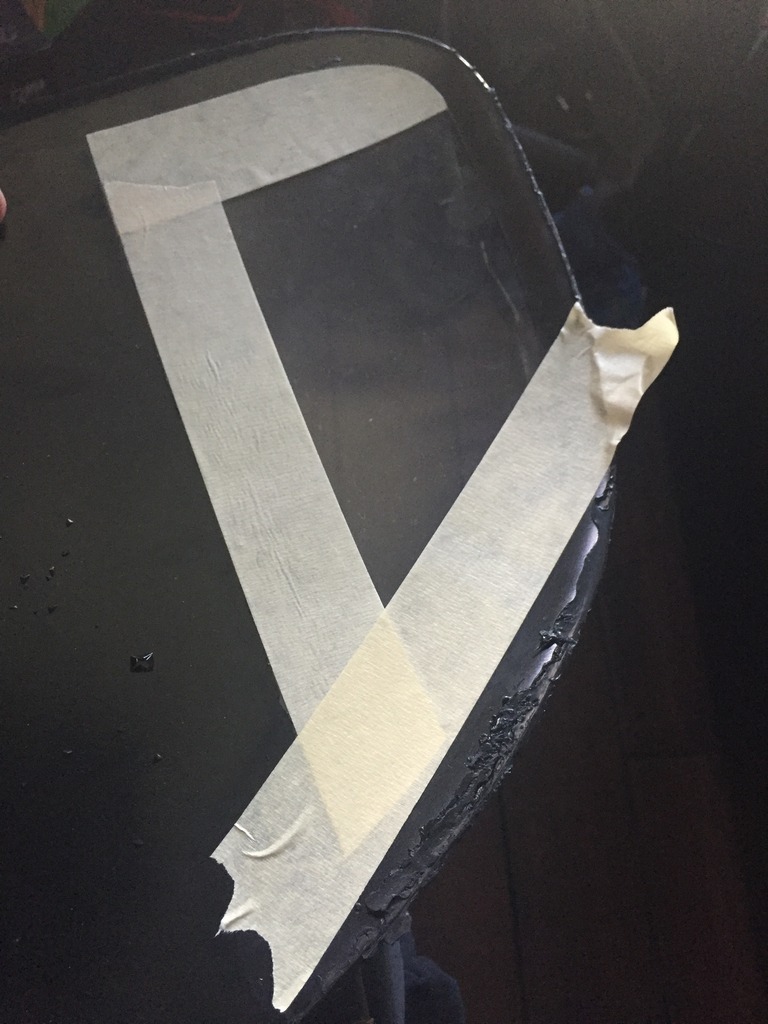
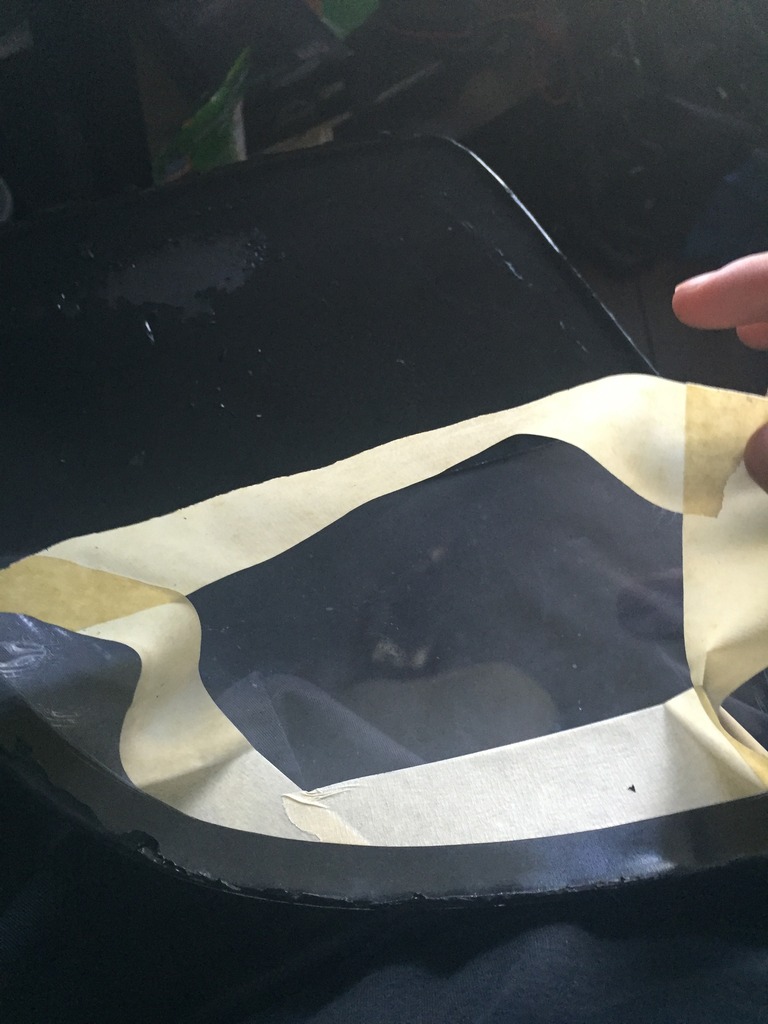
Next, very carefully, lift up this section of tape. Make sure you pick the tape up strategically to where the piece your picking up is under the next piece to lift, that way you don't leave a piece behind.
If you break your stuff don't blame me, it worked out for me and I'm simply offering the best solution i knew of.
Heres the stuff i used. (Use the sealant of your choice, butyl tape is the best, with black sealant being my second choice.)
I had some am-tech clear laying around, some jbp base coat, and i picked up this adhesion promoter (Not my first choice, but the autoshop closest to the house had duplicolor only)

This is the stuff i use, again you can use your wax and grease remover of your choice.

Here they are when i first obtained them, plastic and paint cracking. I still loved them, $889 dual projector HID lights for about $400.

I ordered a new set of lenses. I figured since the paint cracked on the first ones, id paint these myself. I went ahead and ordered the "unpainted" ones.

Go ahead and heat the old assembly's at 250 for about 15 minutes in the oven.(put them in for 5 more minutes if the sealant starts to harden before you can remove it all the way) I used a butter knife.

Next i went ahead and cleaned most of the old sealant off of it using a razor blade.

Make sure not to skimp yourself on this step

This part was kind of tricky, first i set the new lens on top of the old one and lined up some masking tape with the old paint about halfway down the light.

Set the new cover aside now, grab the old cover and start applying tape to the inside of the lens around the edges of the inside of the non painted area.

Hold it into the light (see above picture) and you can clearly see, and trace the old paint line with a razor blade.

Your going to do this to the entire center part.

Next, very carefully, lift up this section of tape. Make sure you pick the tape up strategically to where the piece your picking up is under the next piece to lift, that way you don't leave a piece behind.

Last edited by dream3rdgen; Nov 3, 2015 at 09:09 PM.
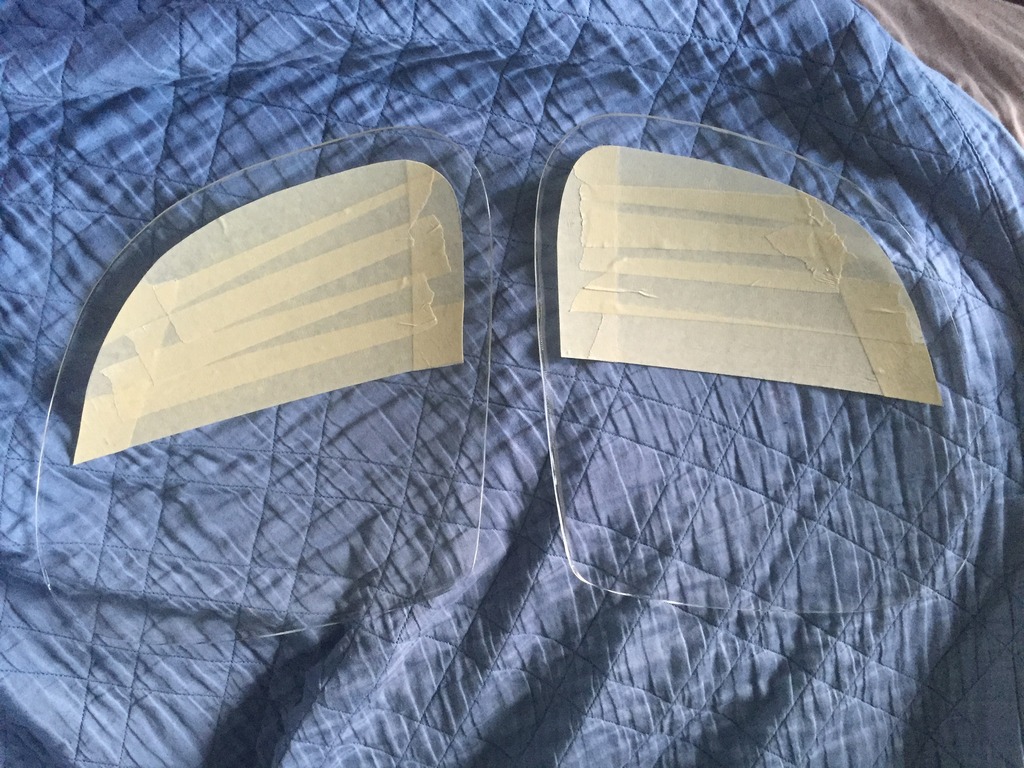
Place this piece on the corresponding lens. Remember the first step where i told you to line up a piece of masking tape on the top of the new lens? Thats the edge you're going to line up this cut piece with. Fill in the center part and wa-la
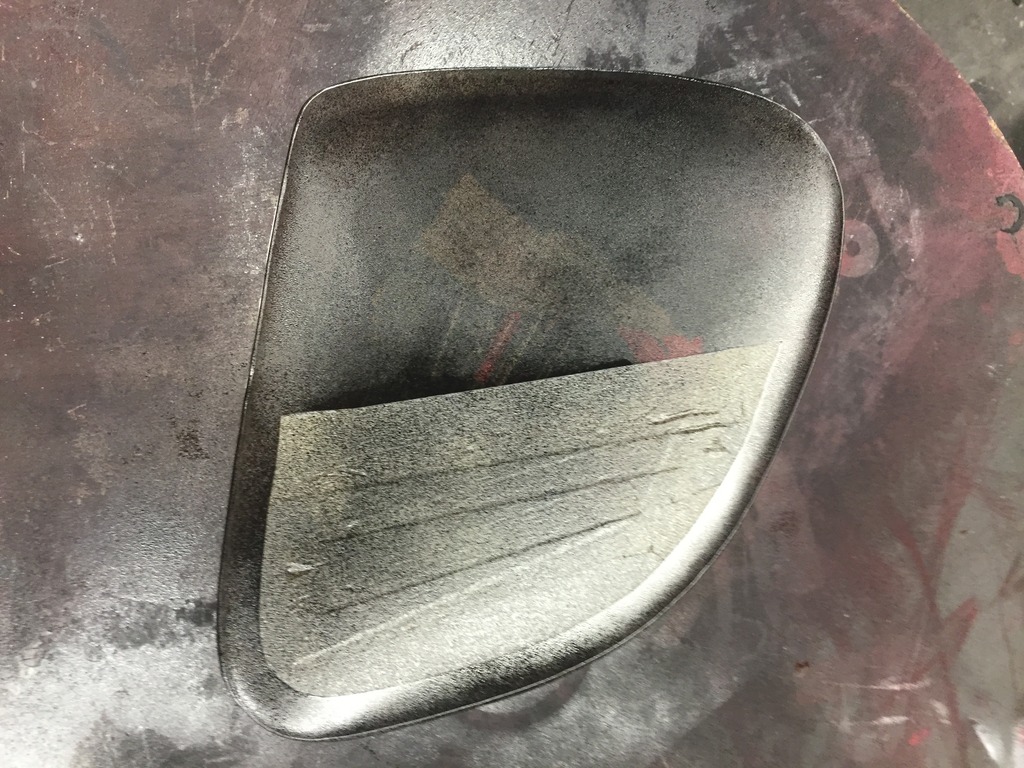
Next your going to scuff around the outside of the tape. I used a scotch-brite red, I'm sure some people would rather use some 1000 grit paper. Make sure its scuffed everywhere your painting for proper adhesion.
Next, take your wax and grease remover and clean all the areas you scuffed. Give the cleaner about 5 minutes to dry all the way and mist on a few coats of the adhesion promoter. This allows the plastic to really grab onto the base coat.
Load up whatever base coat you have and spray it to spec. Personally i had to do about 5 thick coats, all with about 8-12 minutes between coats. (first coat here) If your unsure if after 5 coats you have full coverage or not, hold it up into the light and see if you can see through it at all. If you can, plan on another coat.
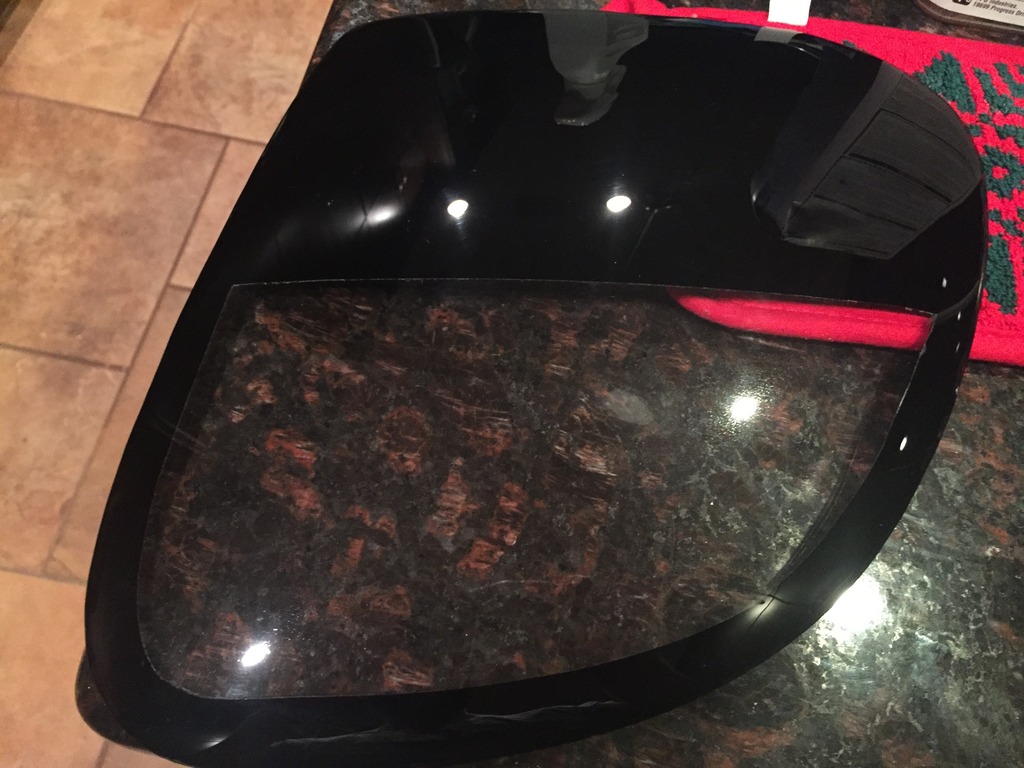
This step is most definitely optional. I chose to clear coat the paint because i had it laying around and it would lock it down a little better than not doing it. This is them after clear, and a 30 minute oven bake at 160degrees f.
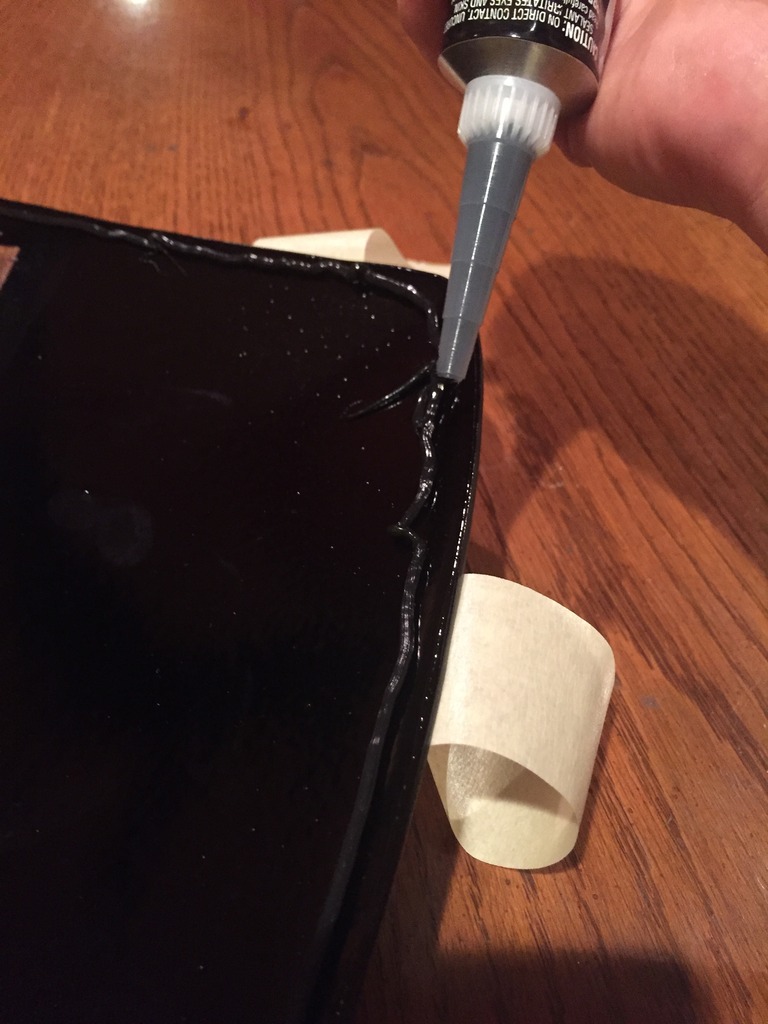
I laid a thin bead around the outside of the light, its better to have it come out of the side, then ruin the inside of the lens.
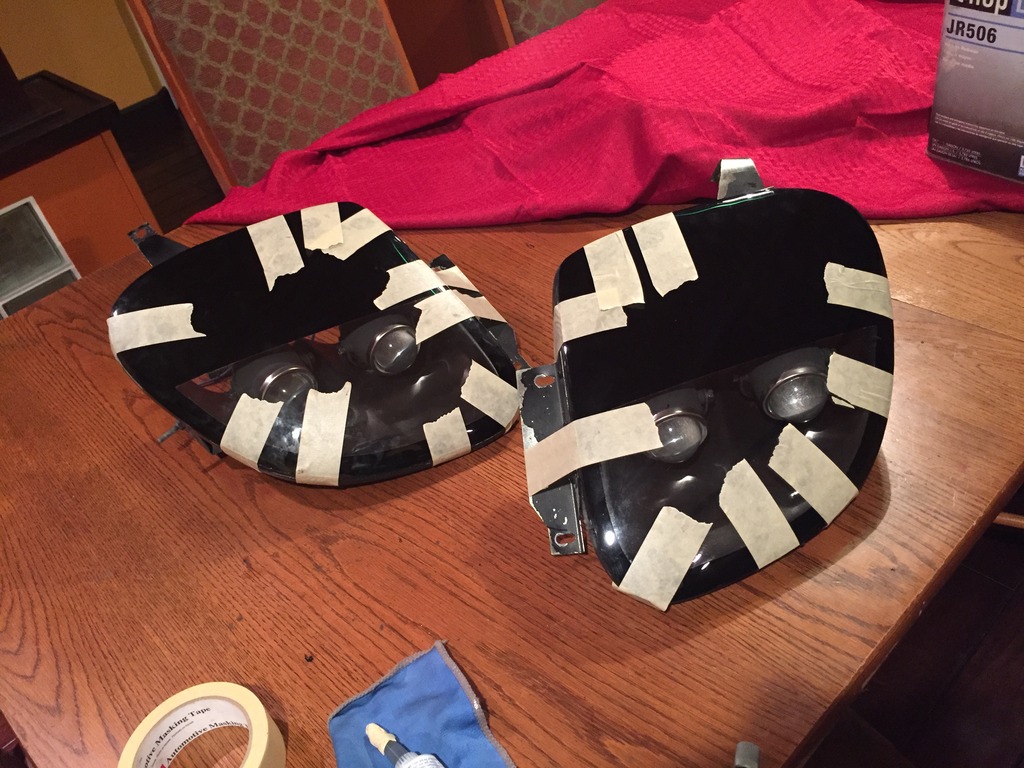
Lastly flip it over and line it up on the cover, you have plenty of time here so make sure you get it nice and straight. Apply moderate pressure to the cover and apply tape to get it as flat as you can around the whole thing. Don't be afraid to take some tape off and put some fresh stuff on.
After 24 hours apply some more sealer around the edges of the cover, and give it 24 more hours before install! Thanks everyone, enjoy!!

Next your going to scuff around the outside of the tape. I used a scotch-brite red, I'm sure some people would rather use some 1000 grit paper. Make sure its scuffed everywhere your painting for proper adhesion.

Next, take your wax and grease remover and clean all the areas you scuffed. Give the cleaner about 5 minutes to dry all the way and mist on a few coats of the adhesion promoter. This allows the plastic to really grab onto the base coat.

Load up whatever base coat you have and spray it to spec. Personally i had to do about 5 thick coats, all with about 8-12 minutes between coats. (first coat here) If your unsure if after 5 coats you have full coverage or not, hold it up into the light and see if you can see through it at all. If you can, plan on another coat.

This step is most definitely optional. I chose to clear coat the paint because i had it laying around and it would lock it down a little better than not doing it. This is them after clear, and a 30 minute oven bake at 160degrees f.


I laid a thin bead around the outside of the light, its better to have it come out of the side, then ruin the inside of the lens.

Lastly flip it over and line it up on the cover, you have plenty of time here so make sure you get it nice and straight. Apply moderate pressure to the cover and apply tape to get it as flat as you can around the whole thing. Don't be afraid to take some tape off and put some fresh stuff on.

After 24 hours apply some more sealer around the edges of the cover, and give it 24 more hours before install! Thanks everyone, enjoy!!

Thread
Thread Starter
Forum
Replies
Last Post
musker
2nd Generation Specific (1986-1992)
28
Dec 3, 2015 11:18 AM