When you click on links to various merchants on this site and make a purchase, this can result in this site earning a commission. Affiliate programs and affiliations include, but are not limited to, the eBay Partner Network.
Honestly, for a street driven car, the best fluid hands down is Castrol SRF.
It's expensive, but it's also not hydroscopic so it won't pick up water parked at your house. I used to use AP600 which is perfectly good when fresh, but like almost every other fluid, will pick up moisture and you'll need to flush quite a bit out to get a good firm pedal. It's not about bleeding (air) so much.
I use a ton less fluid. Basically when I swap pads for the track I open each bleeds screw (speedbleeders), give it a pump or two on the brakes and its good to go. The SRF bottle can also it on your shelf opened for months and still be usable. Not the case with others.. once you open, you better use it quick or it'll pick up water.
Thanks for this. Car is almost all street these days. I've been procrastinating a complete flush for a while now. I have a Motive bleeder. I know I've seen it before, but any idea of how much I'll need?
Sakebomb Garage recommends 2 500ml bottles for a good flush. (From their page) 3 would be a safe bet if you're pulling the lines and calipers like me for a full refresh.
I have never used speed bleeders, mityvacs or anything of the kind. Crack the valve, put a hose on the nipple and drop the end in a can. Pump your pedal enough to get fresh fluid thru and walk back to close the bleeder. No, air does not get back into the caliper because it can't get past the wet threads. When you release the pedal you are drawing more fluid from the resevoir, not putting the slave side of the system under vac to pull in air anyways.
Originally Posted by TomU
If the fluid is clean and all you're doing is getting the air out, you can reuse the fluid that gets pumped out. That is why it sucked when ATE dropped their super blue fluid. You could easily tell when you got all the old fluid out (switching between the blue and amber between changes). Another solution is to use cheaper fluid. Check your brake temps after a run and see how close they are to the rated boiling point. Brake ducts will also help.
I run ATE and haven't had any boiling issues (I'm aware of).
DOT 4 is dirt cheap. I have a gallon sitting on my shelf that cost 30 bucks. Why would you risk using old fluid that has been sucking in ambient moisture?
Originally Posted by ptrhahn
Honestly, for a street driven car, the best fluid hands down is Castrol SRF.
It's expensive, but it's also not hydroscopic so it won't pick up water parked at your house. I used to use AP600 which is perfectly good when fresh, but like almost every other fluid, will pick up moisture and you'll need to flush quite a bit out to get a good firm pedal. It's not about bleeding (air) so much.
I use a ton less fluid. Basically when I swap pads for the track I open each bleeds screw (speedbleeders), give it a pump or two on the brakes and its good to go. The SRF bottle can also it on your shelf opened for months and still be usable. Not the case with others.. once you open, you better use it quick or it'll pick up water.
I've always heard that non-hygroscopic brake fluids are NOT recommended for street cars because any water moisture that makes it into the system will remain separated from the fluid and can cause corrosion and sealing failure. In fact, many brands say it is only for track use right on the bottle.
DOT 4 is dirt cheap. I have a gallon sitting on my shelf that cost 30 bucks. Why would you risk using old fluid that has been sucking in ambient moisture?
I did not mean reuse old fluid, but after you have all the old fluid out and all you're doing pushing new fluid to get the air out, you can reuse it, esp if it's new and hasn't been sitting on a shelf
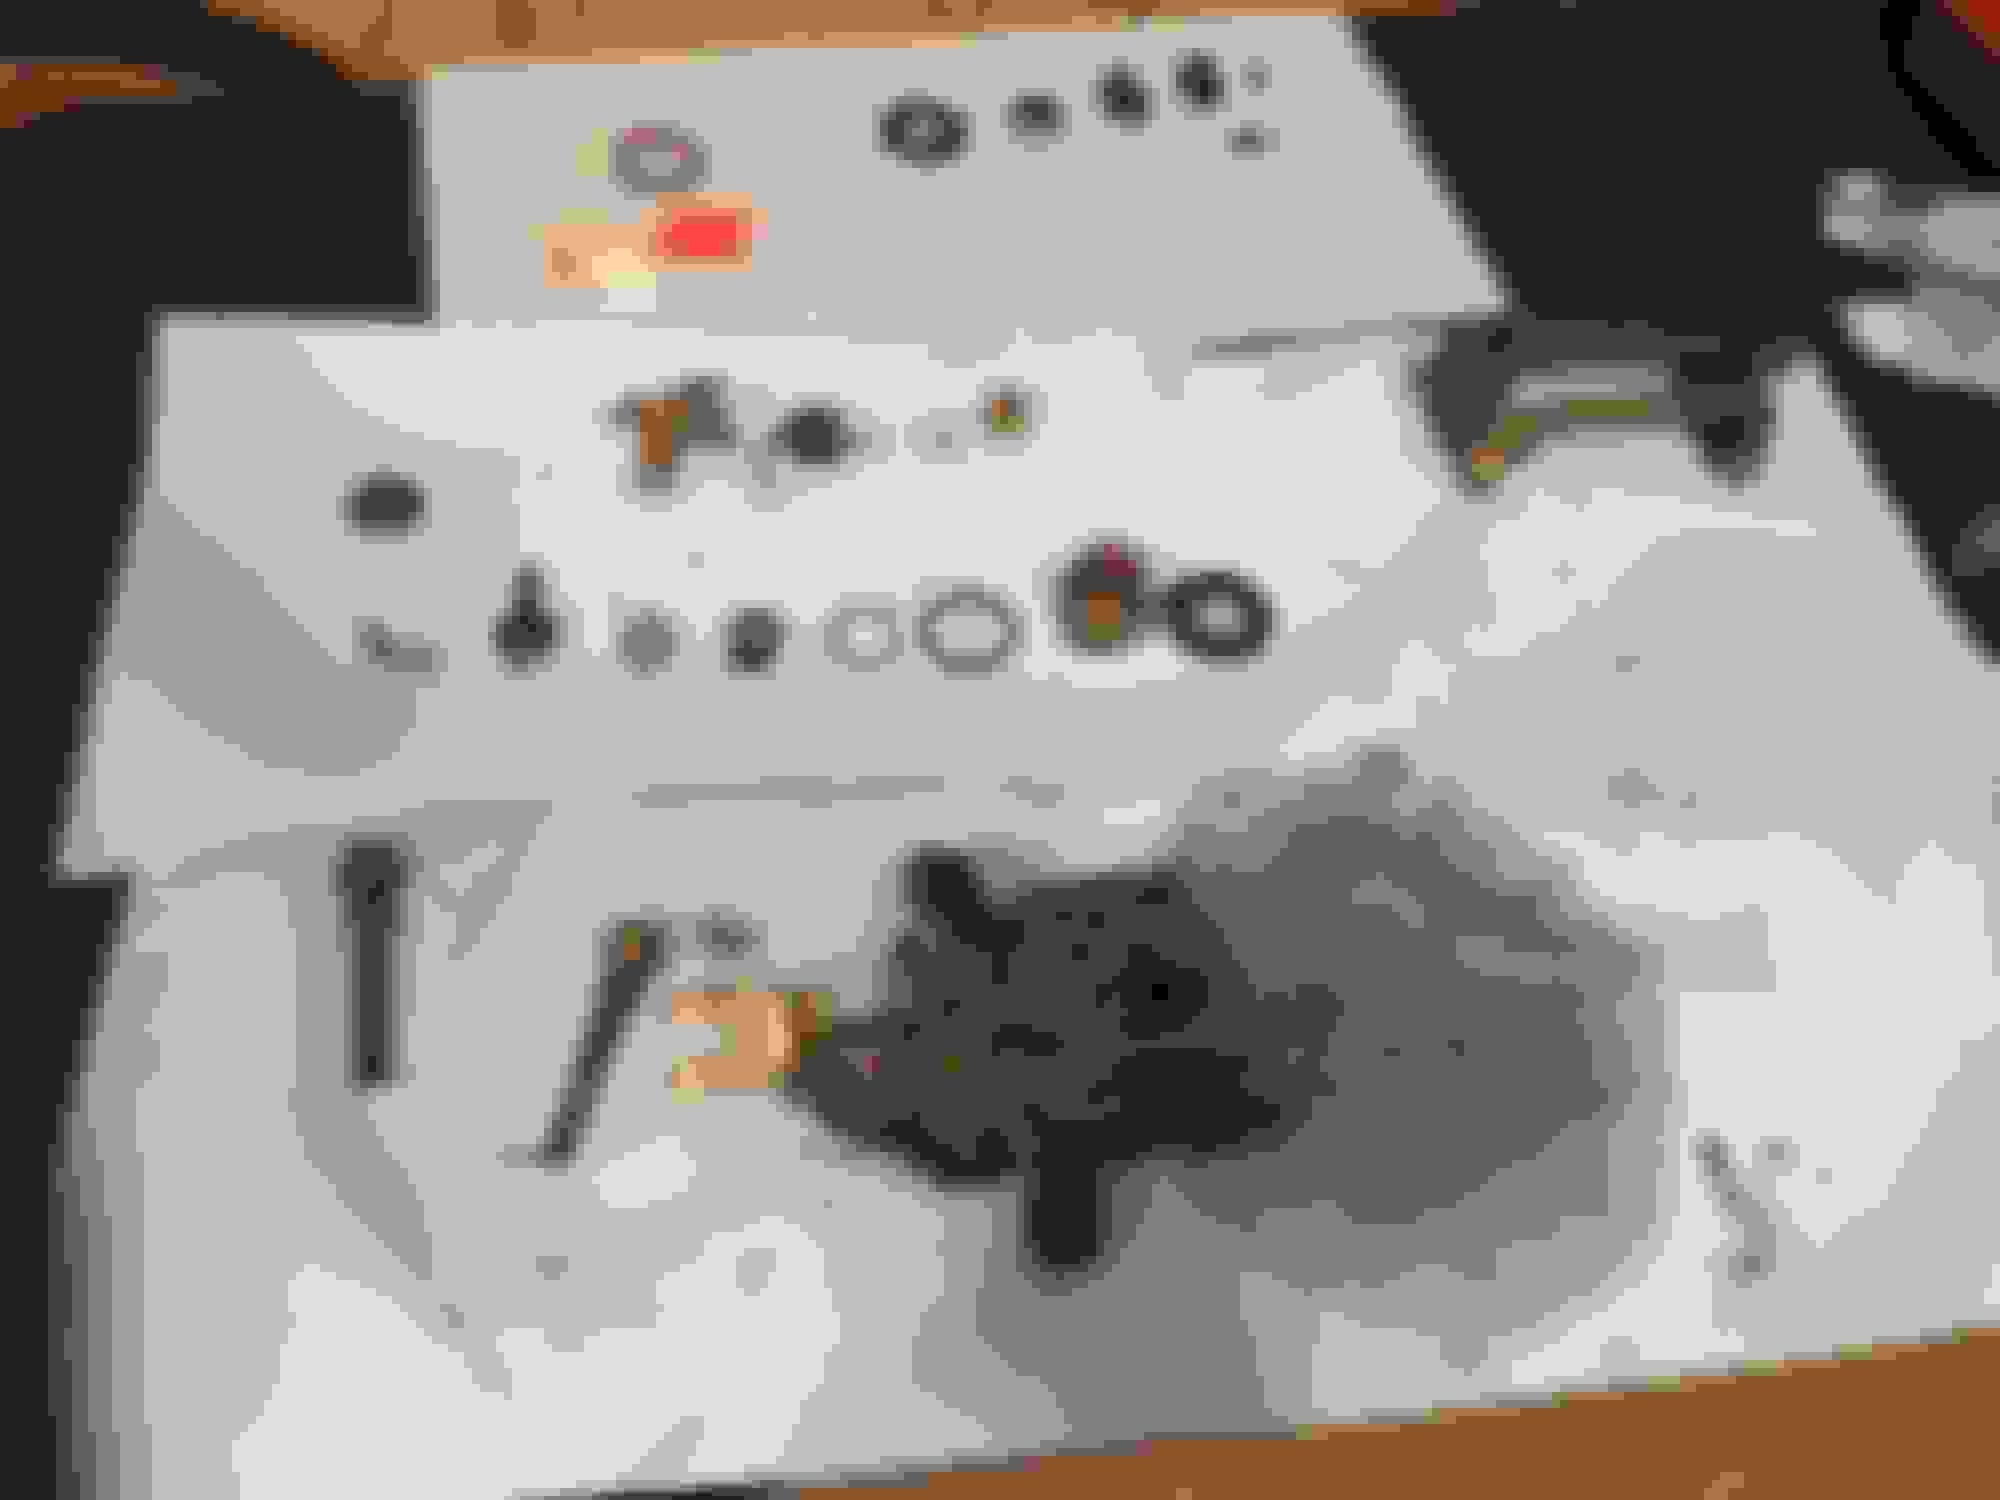
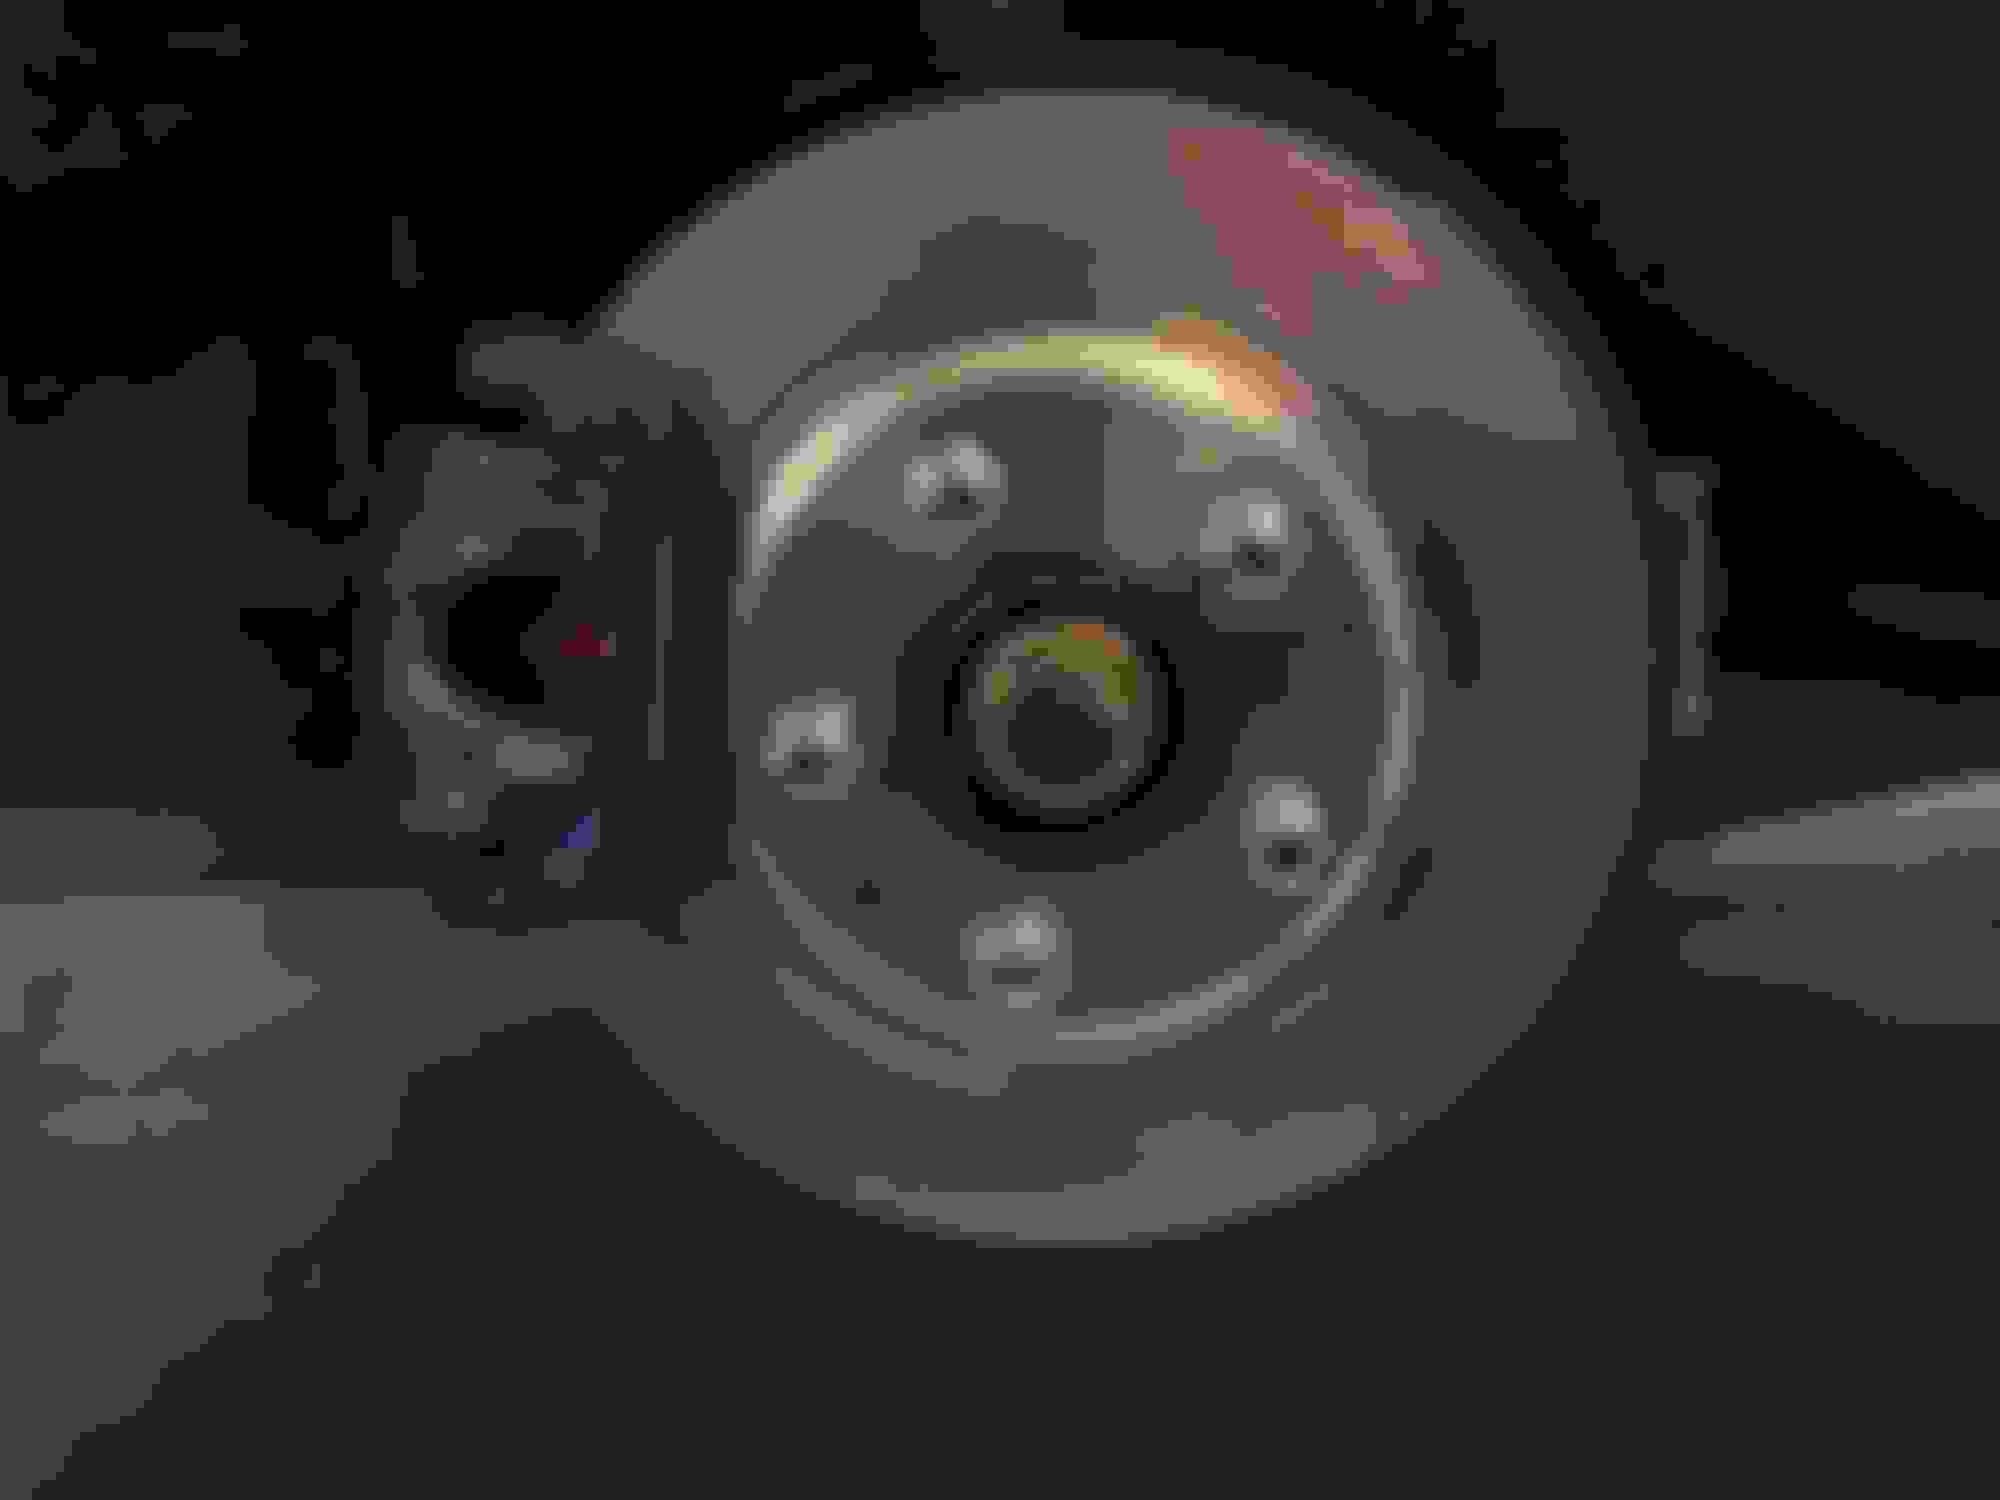
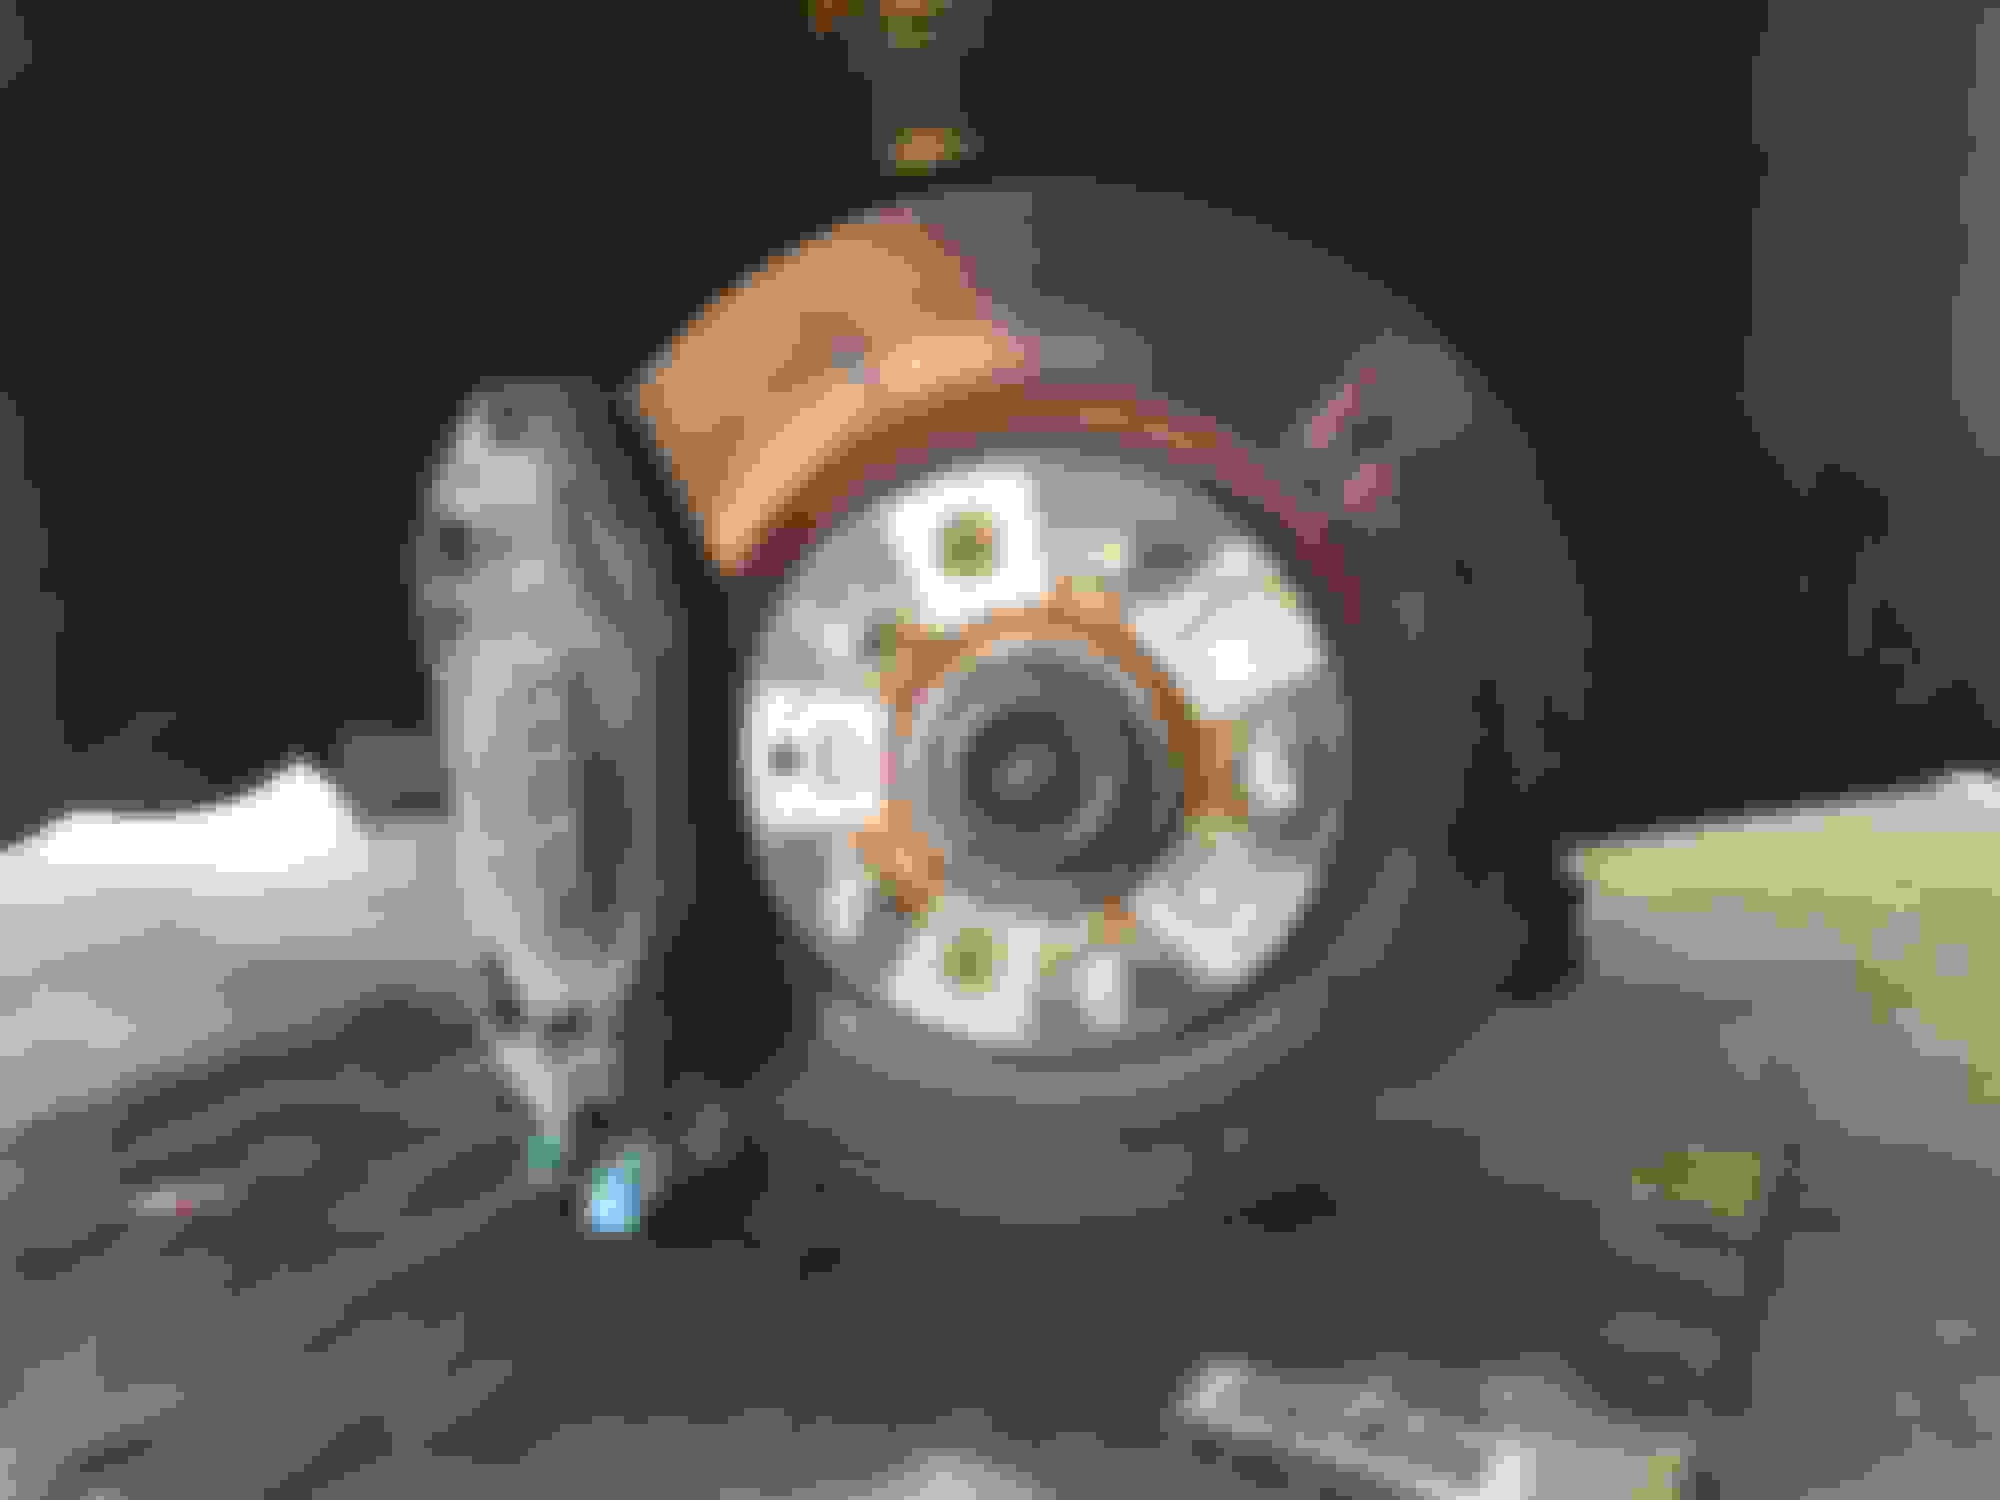
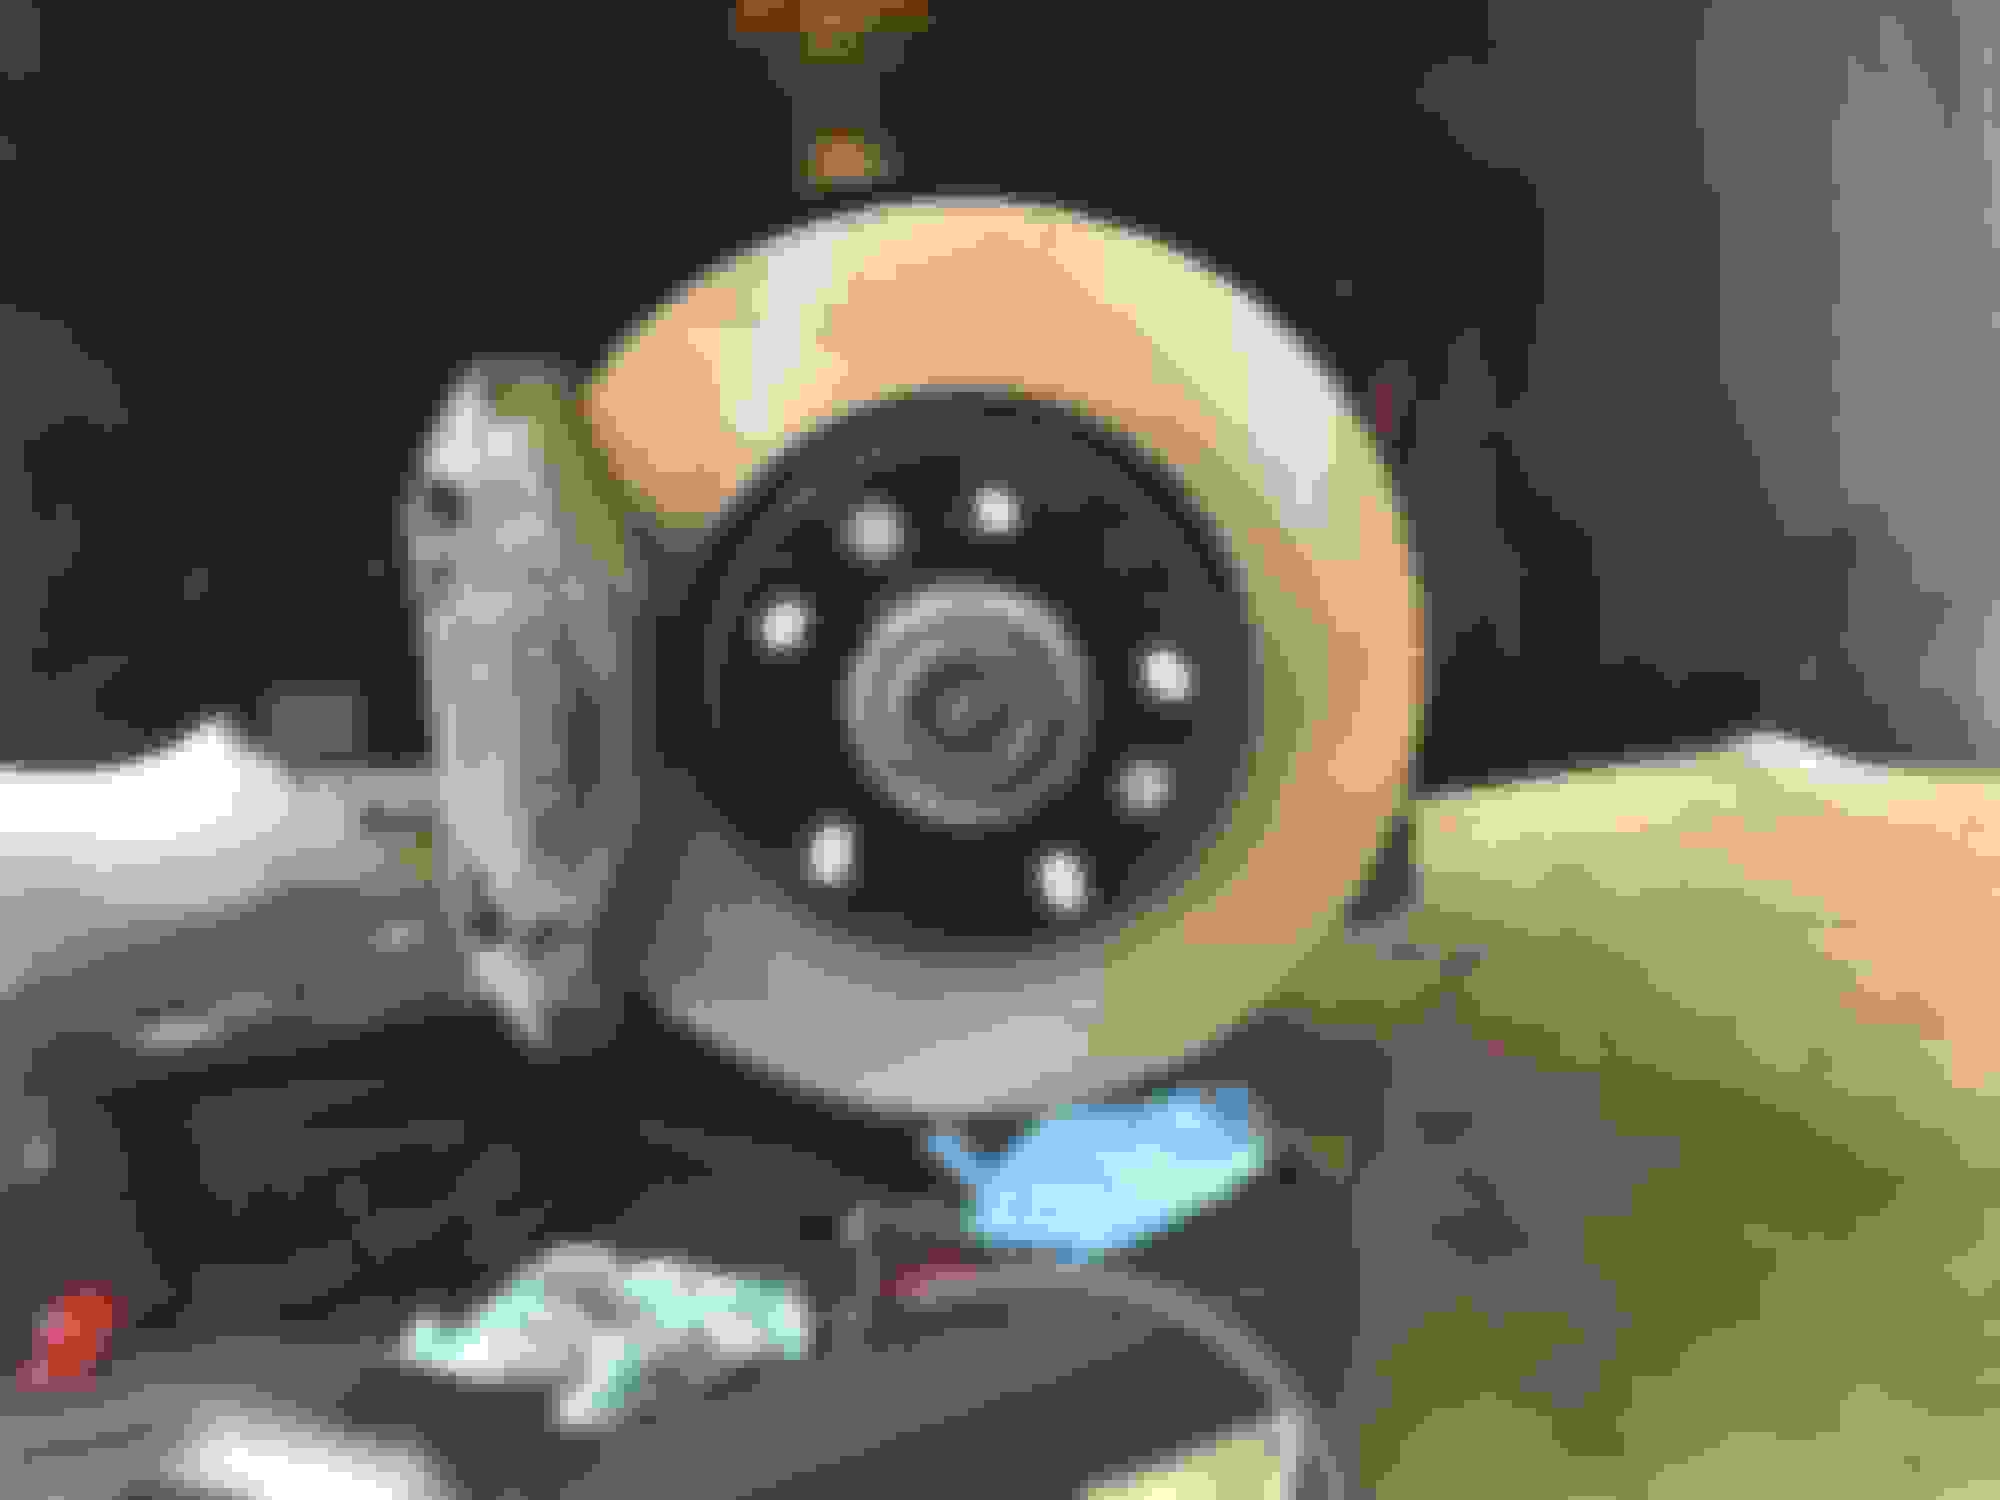
Finished the brake rebuild last weekend. Onto the pictures!
I started with the rears and tried to be as neat as possible. I used probably 4 rolls of shop rags for the whole process front and rear.
Theres a snap ring that retains the adjusting screw with a platform and a spring. I used this set up of a deep socket/extension and a spanner wrench to depress the spring and platform while I popped the snap ring back into place with two long flat head screw drivers.
Also! The Front caliper rebuild kit came with THESE! I'm pretty sure these are the seals for the caliper bridge bolts.
Overall I'd say, take your time. Spread it out over 2 days. I replaced the brake lines with SBG lines and unfortunately one had a defective seal. It wouldn't seal when I torqued it to even 190 in lbs. I had to put the stock line back on for a bit while the replacement came in.
TIPS:
2 500ml cans IS ENOUGH to do your clutch and all four brakes BTW. The motive bleeder worked AWESOME. One of my new favorite tools. An air compressor is a MUST to pop out the front caliper pistons. A 2x4 and some small C clamps will be your friend when you pop them out. A Mityvac is insufficient for the job. Get an impact driver for the front rotor screws. A bolt that works to pop the rotors off is on the front upper A arm bracket that holds the ABS sensor harness. Be very conservative on the antisqueel for the shims or else it just oozes out everywhere and looks awful.
Matt
Last edited by Mrmatt3465; Apr 30, 2016 at 08:46 PM.