
Tips on installing body kit

Lots of good tips here.
All comes down to the prep. There's nothing *special* about fitting a kit on a car, whether its fiberglass, urethane or other material. You do have to know the material you're working with however, but beyond knowing how to treat each different substrate the way it needs to be treated, its all about how well - or how shitty - you want it to look.
This is where my experience differs a little. A front bumper - absolutely Furb is right, it will crack in no time flat. Sideskirts.....less likely given the lack of flex involved.....rear bumper more likely to crack then the sides, but less likely then the front bumper.
YES - using top drawer materials applied properly with good technique and skill will make a shave job that lasts LONGER....but never, in the 30+ years our shop has been doing body work have I ever stood behind a mould job. I tell the customer how it is, explain the risks, and if they want to do it I'll do the best I can, but I never say it will last forever. Anything else I do has a lifetime warranty though
The science:
Fiberglass and metal are two different materials. Plain and simple. They expand and cotract at different rates. There are flex agents you can add in the paint (prevent it from fully curing) which will allow some compliance, but for how long? They will always expand and contract differently. Even when your car is just sitting there, in the sun, not driving - the two panels are trying to seperate themselves.
Are there glues to glue them together? Yeah. Are there glues to glues metal to metal? Yeah. But lets think if you were going to patch a rust hole on your car, would you glue on more metal, or weld it? Weld probably, right? (unless you're panel bonding a new quarter on a vehicle) Why would you weld it over glue? because you're not introducing any foreign or different materials, as well as getting a better bond, right? Well there's a reason you will *never* be able to weld (fuse) metal to fiberglass..............................because they're completely different
And finally - ALL, and I mean all, top quality panel bonding agents are borne of EPOXY. Body filler (top quality) is not epoxy, its polyester. There are epoxy fillers, but they are flexible fillers for bumpers, not designed for metal. The #1 rule about epoxy and polyester is that they don't mix, and they do not get along. Most panel bonding agents will explicitly say in the instructions *TO NEVER* have exposed adhesive where filler is being applied for the reasons I mentioned. Doing so while shaving a panel is physically impossible.
So rules will be bent to make it happen, it can be done and last a long time, but never forget the science behind it because no matter what anyone says, or how long their sanding block is they can never escape pyshics!!
All comes down to the prep. There's nothing *special* about fitting a kit on a car, whether its fiberglass, urethane or other material. You do have to know the material you're working with however, but beyond knowing how to treat each different substrate the way it needs to be treated, its all about how well - or how shitty - you want it to look.
if you mould the front bumper, it will crack! eventually you will hit a speedbump or whatever.
but for the sides and rear it is no problem. the bodyshop that did mine has years of experience in this and cars are running over 12 years without cracking.
it all depends on the skills of the guy in the shop and quality of the materials used....
but for the sides and rear it is no problem. the bodyshop that did mine has years of experience in this and cars are running over 12 years without cracking.
it all depends on the skills of the guy in the shop and quality of the materials used....
YES - using top drawer materials applied properly with good technique and skill will make a shave job that lasts LONGER....but never, in the 30+ years our shop has been doing body work have I ever stood behind a mould job. I tell the customer how it is, explain the risks, and if they want to do it I'll do the best I can, but I never say it will last forever. Anything else I do has a lifetime warranty though
The science:
Fiberglass and metal are two different materials. Plain and simple. They expand and cotract at different rates. There are flex agents you can add in the paint (prevent it from fully curing) which will allow some compliance, but for how long? They will always expand and contract differently. Even when your car is just sitting there, in the sun, not driving - the two panels are trying to seperate themselves.
Are there glues to glue them together? Yeah. Are there glues to glues metal to metal? Yeah. But lets think if you were going to patch a rust hole on your car, would you glue on more metal, or weld it? Weld probably, right? (unless you're panel bonding a new quarter on a vehicle) Why would you weld it over glue? because you're not introducing any foreign or different materials, as well as getting a better bond, right? Well there's a reason you will *never* be able to weld (fuse) metal to fiberglass..............................because they're completely different
And finally - ALL, and I mean all, top quality panel bonding agents are borne of EPOXY. Body filler (top quality) is not epoxy, its polyester. There are epoxy fillers, but they are flexible fillers for bumpers, not designed for metal. The #1 rule about epoxy and polyester is that they don't mix, and they do not get along. Most panel bonding agents will explicitly say in the instructions *TO NEVER* have exposed adhesive where filler is being applied for the reasons I mentioned. Doing so while shaving a panel is physically impossible.
So rules will be bent to make it happen, it can be done and last a long time, but never forget the science behind it because no matter what anyone says, or how long their sanding block is
they can never escape pyshics!!
I have been working on my stock bumpers lately, and been using structural urethane, real good stuff. I like the flexible adhesives for bonding things like skirts because it has that little bit of flex and give.
I have epoxy fairing materials, they are not cheap and they take a long time to cure.
If you wont accept that one day your molded in parts may crack, then dont do it. If your a super picky person and wont accept that later down the road even if they dont crack you will see the seam- then dont do it.
yeah i will never mold a body kit to a car, to me the molding only looks slightly better then a factory fit body kit. To me its not worth the risks, if it were to crack out you have one hell of a mess on your hands. plus what happens when you need to remove the bumpers for whatever reason? or if someone hits you your screwed..not worth it..
well i got the rear bumper fitted up today, i took my time and spent about 3 hours drilling holes for the factory brackets at the top and then sanding/grinding the sides where they meet up to the quarter panel.i was able to use all the factory brackets on top and this thing is SOLID, its probably the sturdiest fiberglass bumper install ive seen so im stoked.. then i used some temporary screws in the wheel well area to fasten the sides. it fits really really nice now. almost factory fit. im going to add a little duraglass to the one corner to build it out a bit but that wont be a big deal.
today i had off work so i worked 5 hours on the two side skirts. they were a bitch to say the least.. however i did this the hard way because i wanted to be able to remove these easily if i ever need too. From working in the bodyshop ive been keeping an eye out for some nice brackets that come on cars stock to hold mouldings/bumpers on. i was able to find these slick strips of metal that are made to hold those huge side mouldings on chevy astro vans. they screw to to the body then they have a nice 1 inch lip that comes out then up..picture one half of the field goal post for football. that is the shape of them. this allows a nice lip to slide the sideskirts down on then they hold it tight to the body. they worked very nice. then i put a couple temporary pop rivets in the wheel well areas and a few across the top edge in the door jam area. This body kit crap seems to take for EVER to get done the right way. but i know the longer i take to fit this stuff the better its going to look when its done so it will be well worth it. i will put some pics up later.. i cant wait to have this kit fitted so i can start doing real body work on the actual car. i hate fitting this kit. my back is killing me from doing it for so long.. tomorrow i will fit up the front bumper. the hardest part will be cutting the radiator center (mouth) area on the front bumper..i have to trim it to fit around the huge intercooler and piping. anyone have any tips on how to trim this without being able to fit the bumper where it needs to be?
well rested,buffet o food
Joined: Dec 2006
Posts: 1,605
Likes: 1
From: NY
Yup. grab a friend who is willing to take it on and off with you at least 12 times...... thats what i did.
Take your time using the cuttoff tool a little at a time, if you take too much off, its more of a pain to attatch cut fiberglass, than pulling the bumper cover several times.
You are almost done, so dont rush.
post pics too.
john ny
Take your time using the cuttoff tool a little at a time, if you take too much off, its more of a pain to attatch cut fiberglass, than pulling the bumper cover several times.
You are almost done, so dont rush
.post pics too.
john ny
yeah to bad i dont have anyone available during the times i work on it so im doing it all by myself..lol but i work in the bodyshop by myself so im use to installing bumpers alone.. tomorrow im doing the front. the biggest pain in the *** will be triming it to fit the intercooler pipes. i want to make a half circle cutout so it looks like the bumper is moulded to the the intercooler pipes..
well rested,buffet o food
Joined: Dec 2006
Posts: 1,605
Likes: 1
From: NY
Measure the **** out of it then. It will be so much easier with 2 people. You might have to pull out some guilt, to get friends to help . "Remember ******* when i lent you 200 dollars", or "what about that time i picked you up from bla" Your friends should want to help you.........that kinda sucks, man.
Pictures.....................
Good luck, based on what you have said, it seems lke everything is under control.
john ny
Pictures.....................
Good luck, based on what you have said, it seems lke everything is under control.
john ny
yeah i have freinds that will help me but they all work when im working on it and i dont feel like waiting for people..but today my freinds coming over to help with the front bumper so it should go smoothly..
ok...wow me and my buddy spent 6 HOURS!! today just fitting the front bumper!! omg it was horrible...i had to cut about 5 inches off the 3 front grill openings or (the mouth) because my huge greddy front mount would not fit with the way the bumper was..if you have ever seen this kit, the grill openings go in like 10 inches... i must have had the bumper on and off 40 times no exaggeration. but now it fits awesome! so the 6 hours of fit time on it was worth it. i used the stock bracket on the top then the rest is bolted on. here are the pics as promised..by the way. all the white x's are door dings i will be fixing haha. this thing is going to be as straight as the day it rolled off the assembly line..and yes i know the intercooler is crooked in the one pic, dont worry it will be straightend... p.s the pics do not do it justice. the fit of the kit is seriously just as good as a factory bumper..
[IMG]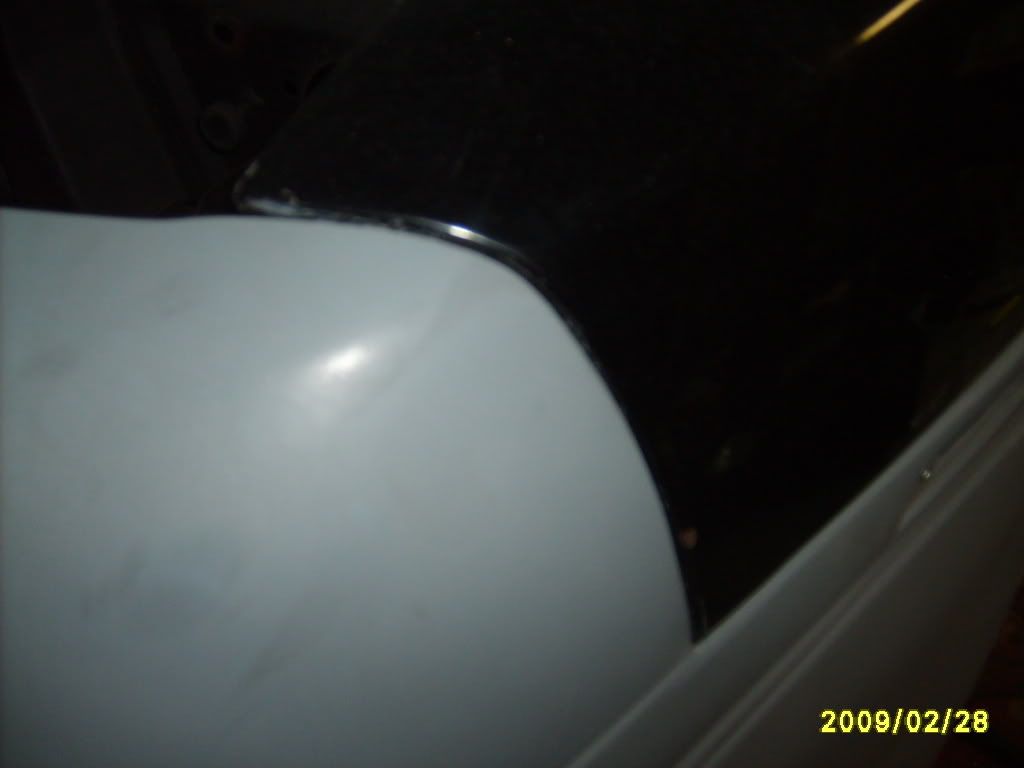 [/IMG]
[IMG] [/IMG]
[IMG]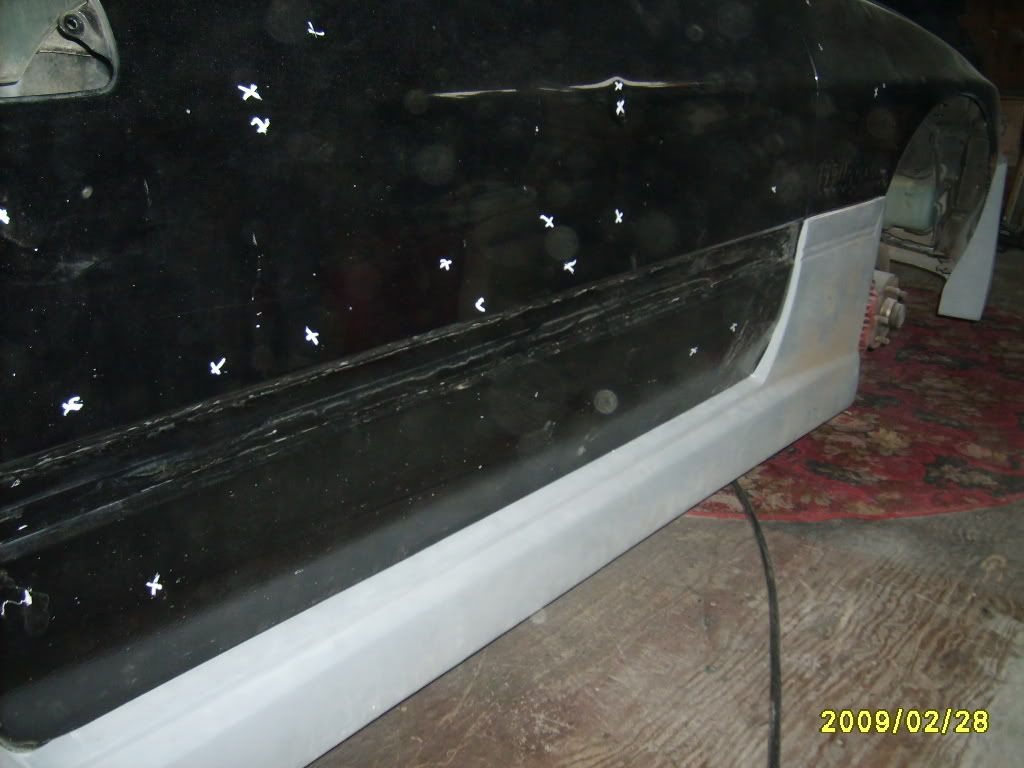 [/IMG]
[IMG]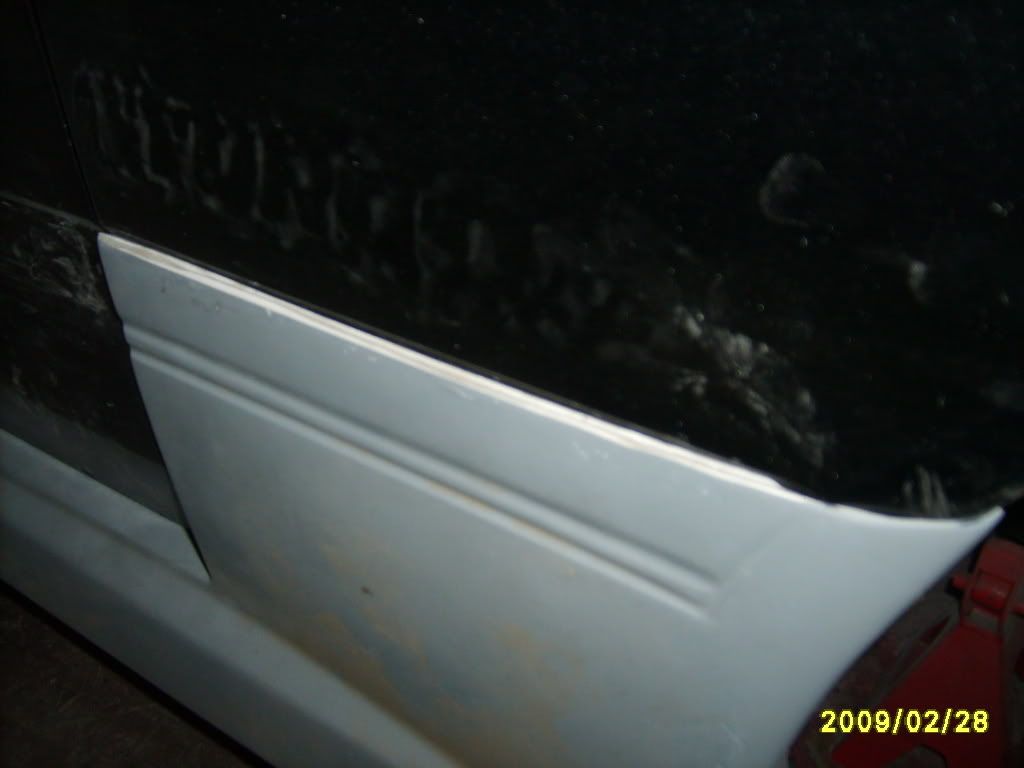 [/IMG]
[IMG]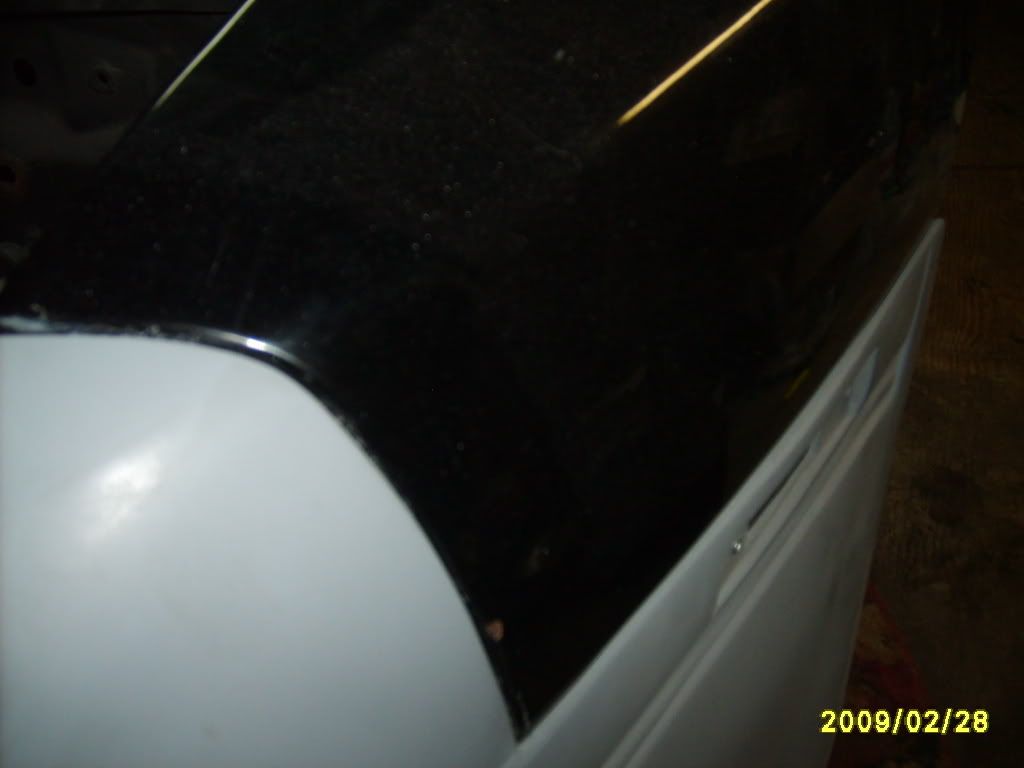 [/IMG]
[IMG]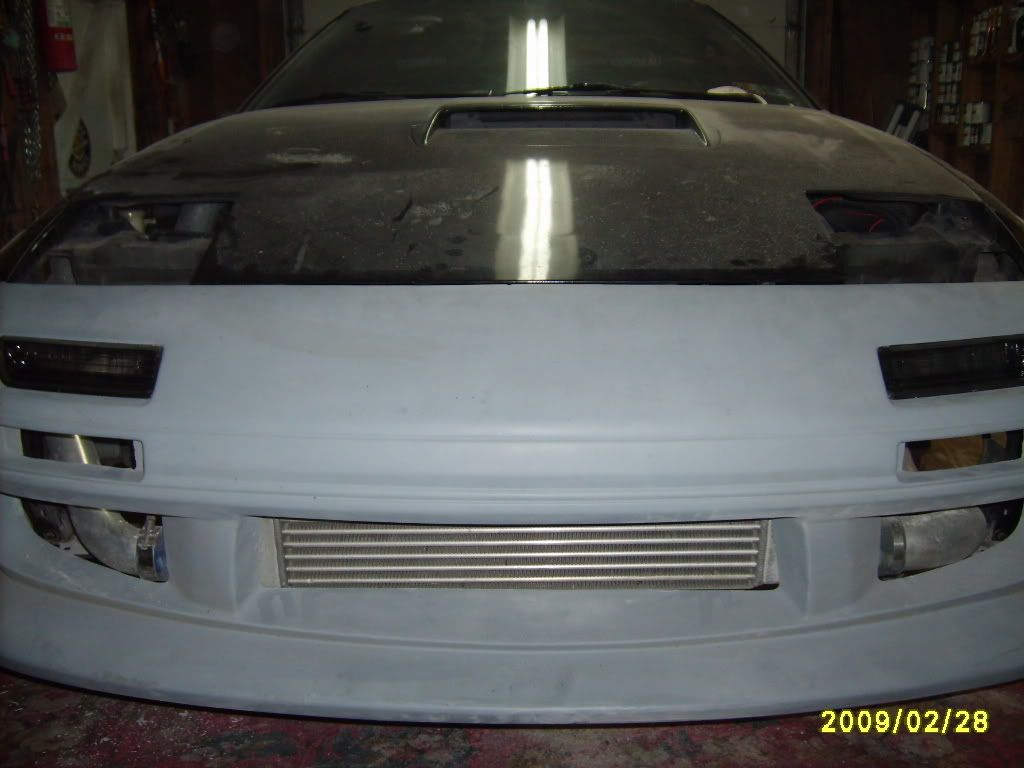 [/IMG]
[IMG]
[/IMG][IMG]
[/IMG][IMG]
[/IMG][IMG]
[/IMG][IMG]
[/IMG][IMG]
[/IMG]
dam your kit fits great! and you didnt have to stupid mold it in *mold just makes the car look like performance/tuning is not of importance since it limits what you can do to the car*
some people trim out this part in honor of using the stock ones on the fenders

some people trim out this part in honor of using the stock ones on the fenders
yeah it fits awesome now, however the thing fit freaking terrible before i spent like 20 hours on it..some areas i even heat the fiberglass up with my big torpedo heater and reformed it until it fit perfect. I'm very **** about bumper gaps and fitment of everything..and yes i will NOT be molding this kit. and another nice thing is i can unbolt the whole kit whenever i want, no glue anywhere and no screws hidden by putty, i used all stock brackets and the astro van moulding metal strips for the side skirts then a few rivets in the wheel well areas and two under where the side markers cover on the front bumper..
well i didn't want to trim that part out because i think it looks better with it how it is, plus the side marker allows you to hide 2 rivets underneath it. this helps a lot with holding the sides on.
thanks for the complements john
Edit* what do you guys think about the side openings on the front bumper, where you can see the piping. do you think it looks ok or should i put some screen in there? i hate the look of the silver screen but i was thinking maybe black screen but i just dont know yet...its going to be a hard decision
haha yeah i hate the screen too but you can see the whole front end of the frame through that hole lol i guess once the car is on the ground it will be too low for anyone to see in there when they're close to the car. it just looks bad now because its on jack stands up in the air
so today i double checked the fitment of all the body kit pieces then i removed the bumpers and side skirts and i started the body work on the actual body of the car...i got the whole passenger side DA sanded down and got glaze on all the tiny door dings. the only thing wrong with the body is a bunch of tiny door dings and one small rust spot on the drivers side quarter panel, behind the wheel. its crazy that there is only one rust spot on a 20 year old car..i also found out after sanding it that its the original single stage black paint. this thing has never had any paint work!! that's suprising for a car this old..the paint was still in good condition too but there was a lot of small door dings..I've been getting this car done fast, i started on it Superbowl weekend and i have already done a whole interior restoration/swap to black with 80 percent brand new parts from Mazda, cost me a small fortune but it looks like it just rolled off the assembly line..check out my interior restoration thread in the interior section of the forum.
so as you all can see my install turned out really good and i had a few requests from some other members that i turn this into a write up so its a good thing i took a lot of pics during the process so as soon as i get some spare time i will do a nice write up so others can get there kit to fit as good as mine. however i probably wont have the time until I'm done with the car. if been working from 9-5 5 days a week then going straight to my garage and working on this car for at least 3 hours every weekday. then on weekends i work on it for about 8 hours, so i have no time for anything else at this point. but keep an eye out for a write up. needless to say this car is wearing me down quickly, its hard to crawl outta bed in the morn..lol and my back is KILLING me..
regards to door dings- anyone else notice that the adhesive bonding the inner skins to the outer skins is starting to distort thier body parts?
I primed my hood and I noticed very slight dimples that were not visable when it was in its original paint, they were from the dabs of adhesive that bond the panels together. A little heat gun action and they popped out.
I think thats why my brand new door that I got from Mazda had a few waves in it, the waves are right under the door support areas- think im going to have to heat gun those as well to see if they pop.
As far as dings on the panels- I have been letting the paintless dent guy do his magic before I take the grinder and the stud gun and filler to things, with thier magic you can keep more of the car original- them doors are a bitch because they are not flat, they arc towards the fender and the 1/4 panel., center of the door is supposed to be lower then the edges, but if the door is THAT bad you just end up making it straight!


Thread
Thread Starter
Forum
Replies
Last Post
82streetracer
1st Generation Specific (1979-1985)
7
Aug 23, 2015 09:28 AM