
Shiny new E-brake w/spin knob how-to

Thread Starter
zoom zoom go boom
Joined: Oct 2001
Posts: 962
Likes: 1
From: Gainesville, Fl
Shiny new E-brake w/spin **** how-to
Ok, so I bought one of Japan2la's drift spin ***** and when I went to install I realized the entire e-brake handle looked like crap. SO I decided to install the **** and dress the handle up a little bit. I had a camera so I took pics. 
Now the ***** have no instructions, and really they dont need any, but I figured I'd post a lil how-to cause I'm bored. Here goes:
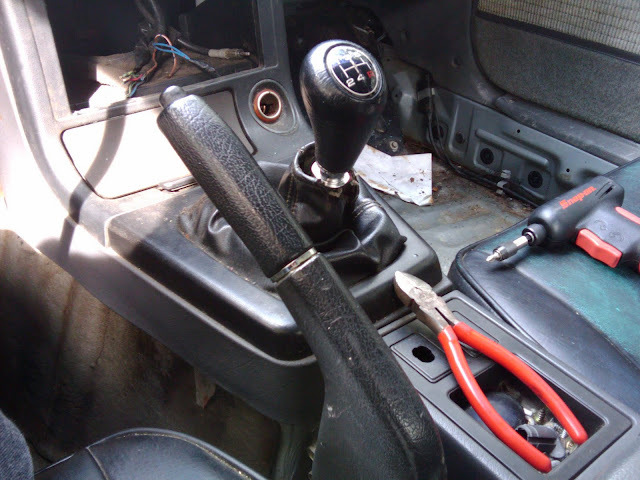
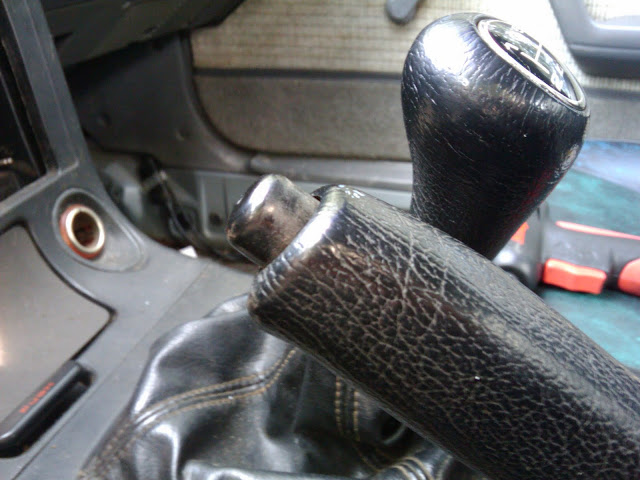
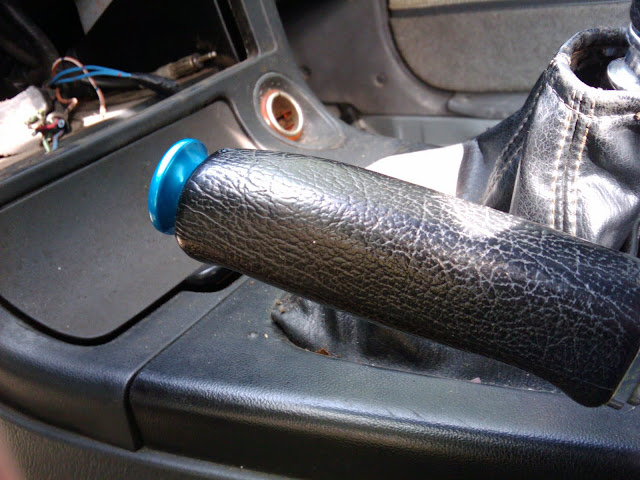
This is what most peoples e-brake handle looks like. Theres nicks, scratches, scuffs and etc.
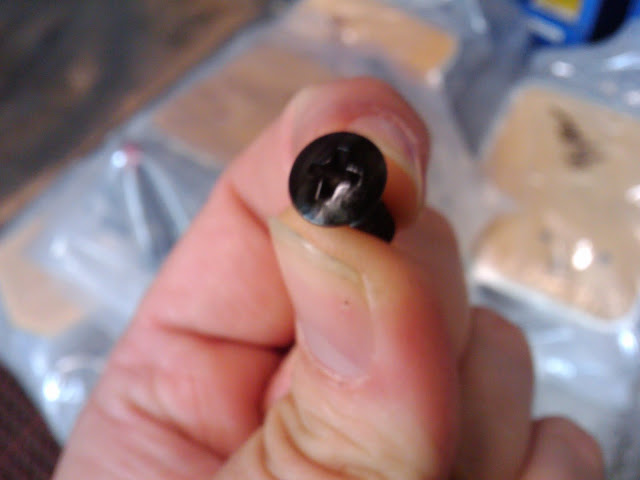
This is the stock button we will obviously be removing. As you can tell mine looks nasty. Simply grip it tightly and unscrew. If your unable to get a good enough grip with your fingers a small pair of vise grips will work if you dont ever plan on reusing the button. WARNING: DO NOT CLAP THE VISE GRIPS TOO TIGHTLY OR ELSE THE BUTTON WILL SHATTER AND THEN YOU HAVE BIGGER PROBLEMS.
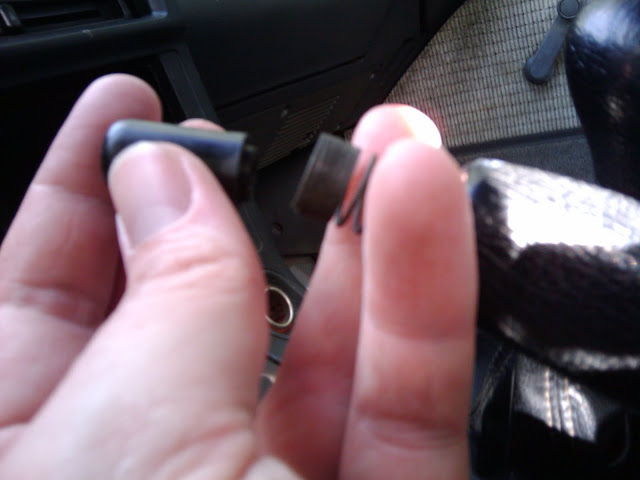
Once the button is unscrewed (its a bit longer than you first realize) there will be a spring directly behind it.

Keep this spring safe. If you ever want they button to function normally, simply install it behind the drift ****.
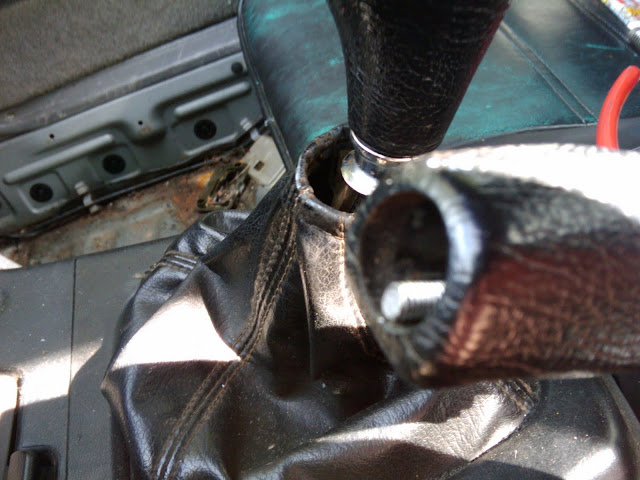
This is the threaded rod the **** screws onto. As you can see it will fall making getting the **** on a lil PITA. Keep paitent, its not as bad as it sounds.
Screw the **** in half way, drop the ebrake and screw it in till it stops.
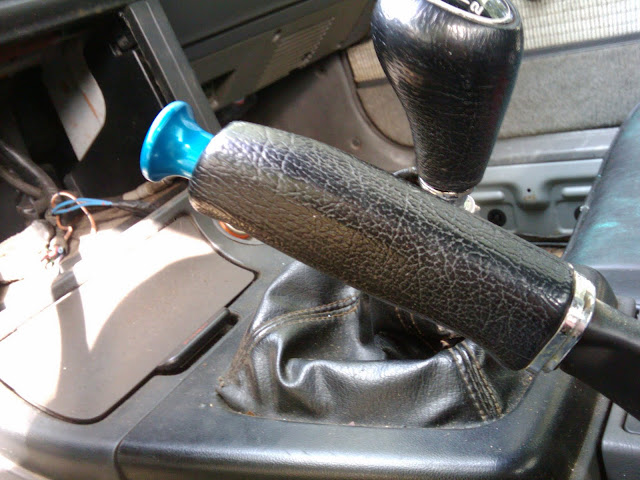
When you push the button up and pull the handle you will get your normal ratcheting-locking ebrake. Otherwise the ebrake will fall, allowing quick jabs of the e-brake during "spirited" driving.
Now the ***** have no instructions, and really they dont need any, but I figured I'd post a lil how-to cause I'm bored. Here goes:
This is what most peoples e-brake handle looks like. Theres nicks, scratches, scuffs and etc.
This is the stock button we will obviously be removing. As you can tell mine looks nasty. Simply grip it tightly and unscrew. If your unable to get a good enough grip with your fingers a small pair of vise grips will work if you dont ever plan on reusing the button. WARNING: DO NOT CLAP THE VISE GRIPS TOO TIGHTLY OR ELSE THE BUTTON WILL SHATTER AND THEN YOU HAVE BIGGER PROBLEMS.
Once the button is unscrewed (its a bit longer than you first realize) there will be a spring directly behind it.
Keep this spring safe. If you ever want they button to function normally, simply install it behind the drift ****.
This is the threaded rod the **** screws onto. As you can see it will fall making getting the **** on a lil PITA. Keep paitent, its not as bad as it sounds.
Screw the **** in half way, drop the ebrake and screw it in till it stops.
When you push the button up and pull the handle you will get your normal ratcheting-locking ebrake. Otherwise the ebrake will fall, allowing quick jabs of the e-brake during "spirited" driving.
Thread Starter
zoom zoom go boom
Joined: Oct 2001
Posts: 962
Likes: 1
From: Gainesville, Fl
Now we need to dress up the plastics!
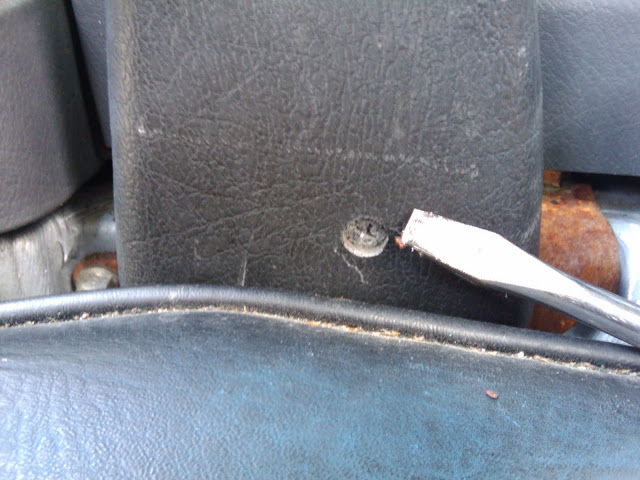
Start by unscrewing this screw on down by the seat. the plastic has two sides and comes off fairly easy. Clean with mild soap and water and allow to dry completely.
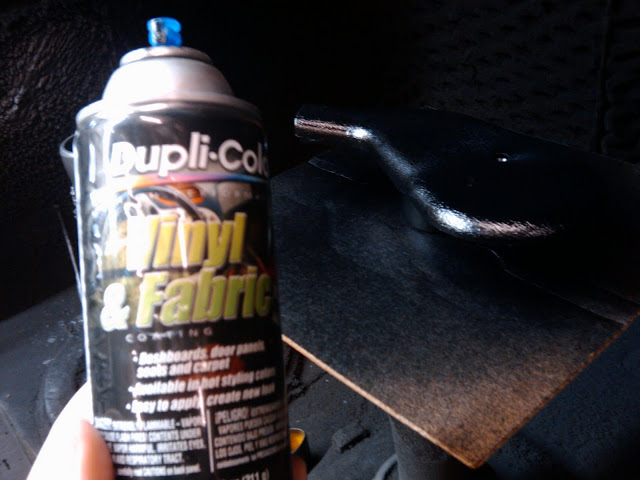
A can of Dupli-color paint (as shown) and a place to paint are now needed. This vinyl and fabric paint is very runny-like so light coats do the job better.
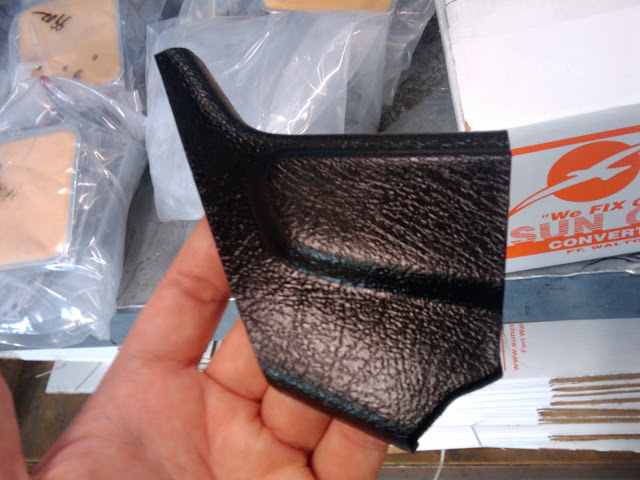
When dry your plastics should look like new!
I even went as far as repainting the screw black. Blame it on my OCD.
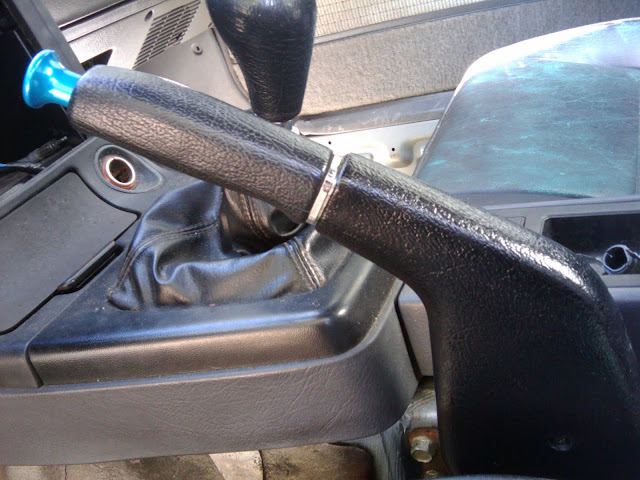
Reassembled the whole thing looks gorgeous. These pics dont do it justice. Now if I can just get the rest of interior to look better.
ENJOY!
Special thanks goes to Japan2la for the great product.
Start by unscrewing this screw on down by the seat. the plastic has two sides and comes off fairly easy. Clean with mild soap and water and allow to dry completely.
A can of Dupli-color paint (as shown) and a place to paint are now needed. This vinyl and fabric paint is very runny-like so light coats do the job better.
When dry your plastics should look like new!
I even went as far as repainting the screw black. Blame it on my OCD.
Reassembled the whole thing looks gorgeous. These pics dont do it justice. Now if I can just get the rest of interior to look better.
ENJOY!
Special thanks goes to Japan2la for the great product.
Last edited by ForsakenRX7; Nov 7, 2009 at 12:47 PM. Reason: givin credit
Joined: Sep 2005
Posts: 25,581
Likes: 136
From: Smiths Falls.(near Ottawa!.Mapquest IT!)
OCD?..should have noticed the Flat headed screwdriver at the phillips head screw!
But Nice write up..Fly lookin stuff!
now all you need is a good Sound system where that Big hole is in your Center console!..
But Nice write up..Fly lookin stuff!
now all you need is a good Sound system where that Big hole is in your Center console!..
