s5 taillights *modernized* (pics)


I personally use Permatex black adhesive sealant. The sealant is actually visible on the "inside" of the now clear lenses, so I like to minimize it by making sure that it matches the inside of the 'black' housings. I've used clear adhesive sealant many times before as well, but it's just a little more visible.
Also, I would highly recommend that you find a way to make your taillight fit in the over with the door *SHUT*. The problem with most ovens is that they have a built-in thermometer that will continue raising the temperature of the exposed heating-elements, as a lot of the heat is escaping out the open door... This is bad because it puts your plastic tails directly next to a *bright orange*, exposed heating element struggling to reach the "set" temperature.
This mod can take between 3-5 hours depending on what you do exactly. It will (of course) take longer if you desire to black out the lower reflector during the modernizing-procedure.
I used to clear-coat my tails which would make the project a two-day ordeal as I waited for the clear to dry... Now I have the original lenses wet-sanded and machine polished.

The paint that I've found works the best (for cheap) is Duplicolor gloss-black Acrylic Enamel. It has a very "plastic" look to it when it's dried, and it has excellent coverage and durability. That's after a lot of trial and error using different brands and paint types.
this is sick glad i found this via search..
anyone do this with truck/trailer LEDs yet?
http://forum.teamfc3s.org/attachment...2&d=1138196806
imma do it..i think it will look great on my fc
anyone do this with truck/trailer LEDs yet?
http://forum.teamfc3s.org/attachment...2&d=1138196806
imma do it..i think it will look great on my fc
Rotary Heartbeat
Joined: Apr 2003
Posts: 43
Likes: 0
From: Germany
this is sick glad i found this via search..
anyone do this with truck/trailer LEDs yet?
http://forum.teamfc3s.org/attachment...2&d=1138196806
imma do it..i think it will look great on my fc
anyone do this with truck/trailer LEDs yet?
http://forum.teamfc3s.org/attachment...2&d=1138196806
imma do it..i think it will look great on my fc
I want it, it looks great!!! someone knows where to buy??
thanks
olli
whats a Turbo V?
Joined: Nov 2006
Posts: 1,215
Likes: 0
From: Goose Creek, SC
i think it would look cool to use 2 rows of LED in the tails and the turn signalls on modernized tails then get the sequental blinker system from a old cougar spo when you turn on the turn signal the lights blink in sequence from the inside out.
search "4 round led tail"
http://motors.search.ebay.com/search...trypage=search
http://motors.search.ebay.com/search...trypage=search


Shoot
Joined: May 2001
Posts: 441
Likes: 6
From: Arlington, Texas
I can understand why you think it looks better, and I may have at one point agreed with you.
One thing that makes it difficult to judge is the fact that you had your emblems painted red as well. Now, in THEORY this should look really good and clean--however, from my experience and looking at your picture, it doesn't... The reason is that you lose a major point of contrast on your back-end. Contrast is very important to seperate certain items and to draw *other* items together. Without contrast in your back-end I think the aesthetics suffer dramatically. Therefore there's nothing to offset your taillights, so all attention is naturally drawn to their specific appearance, which is what you want to AVOID if you have obviously painted something that doesn't look like it should be painted...
My point is: Your taillights would look better if you painted the emblems black.
Also Erik your point is almost nullified by the fact that the whole flat black theme is basically one of the most popular right now, and monochromatic has been a theme for a long time, a very succesful one used by MANY auto manufacturers with cars much more expensive than Mazda. The red looks good on the back end of that car, and IMO the emblems are poop in the first place paint to match or get rid of them, the "contrast" you speak of here is actually IN the tails themselves, they are the contrast.
Sorry to revive


OYE good Idea !!! i like the look !!! but listen I have some more imput for your idea
the 300 degrees was too hot for 20 mins
My area near the license plate light got warpped but NO biggie it the lens it cracked and broken in some places. thats why i used my s5 lens..
BUT at 285 degrees after about 7 mins it was moderately plyable AND the lens still held shape.. I took off the brake lite first then put it back in for the turn signal lens... FOR another 4 mins then it came out with steady moderate force..
A very good tip is NOT to pry it from the side where the license plate is but rather WORK your way accross the top of the whole brake lens. then knock out the bottom of it.... then back into the oven for 4 mins then do the signal lens.
hope to benefit the thread
mike
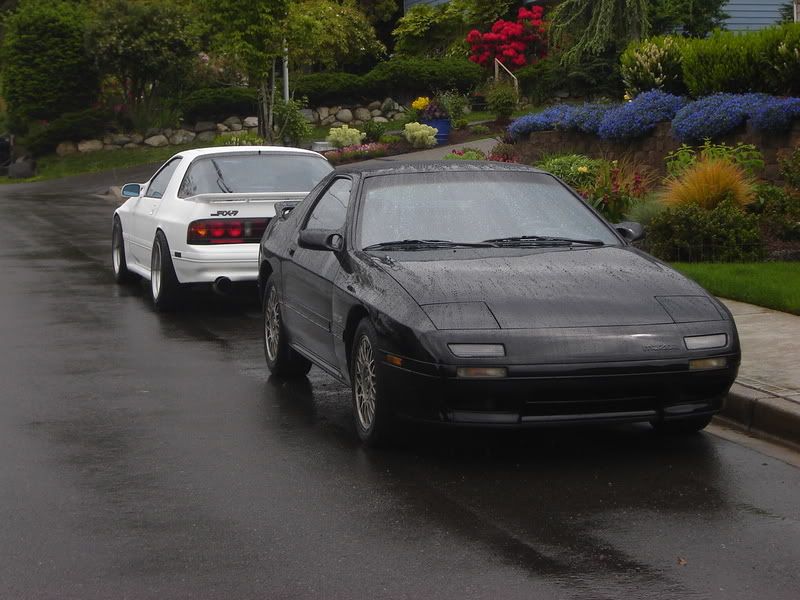
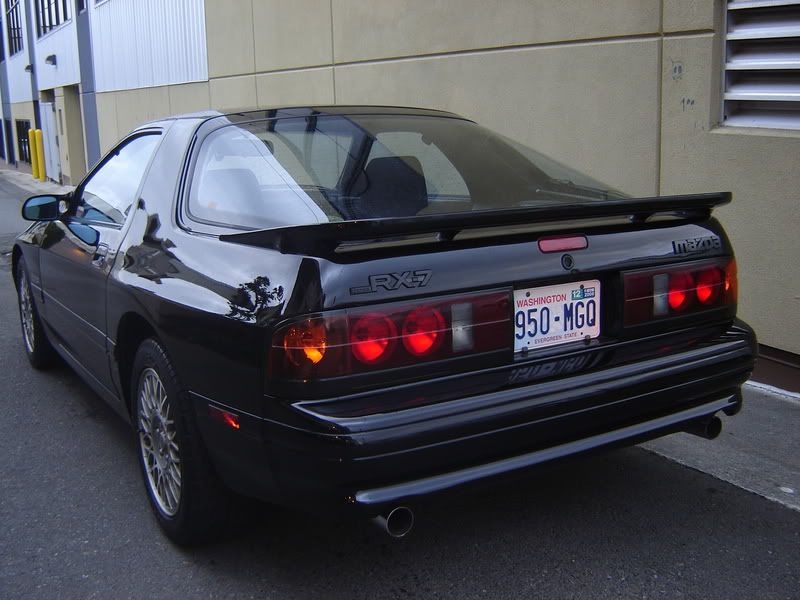
Since this thread has been revived, I'll add a couple more recent pics of *modernized* tails I've done to my RX-7's.
A little glimpse: