When you click on links to various merchants on this site and make a purchase, this can result in this site earning a commission. Affiliate programs and affiliations include, but are not limited to, the eBay Partner Network.
My S4 tail lights arent terrible but need to be restored. I know people have used the 3M restoration kit before but can't find pictures of the results. Is the final results a gloss finish?
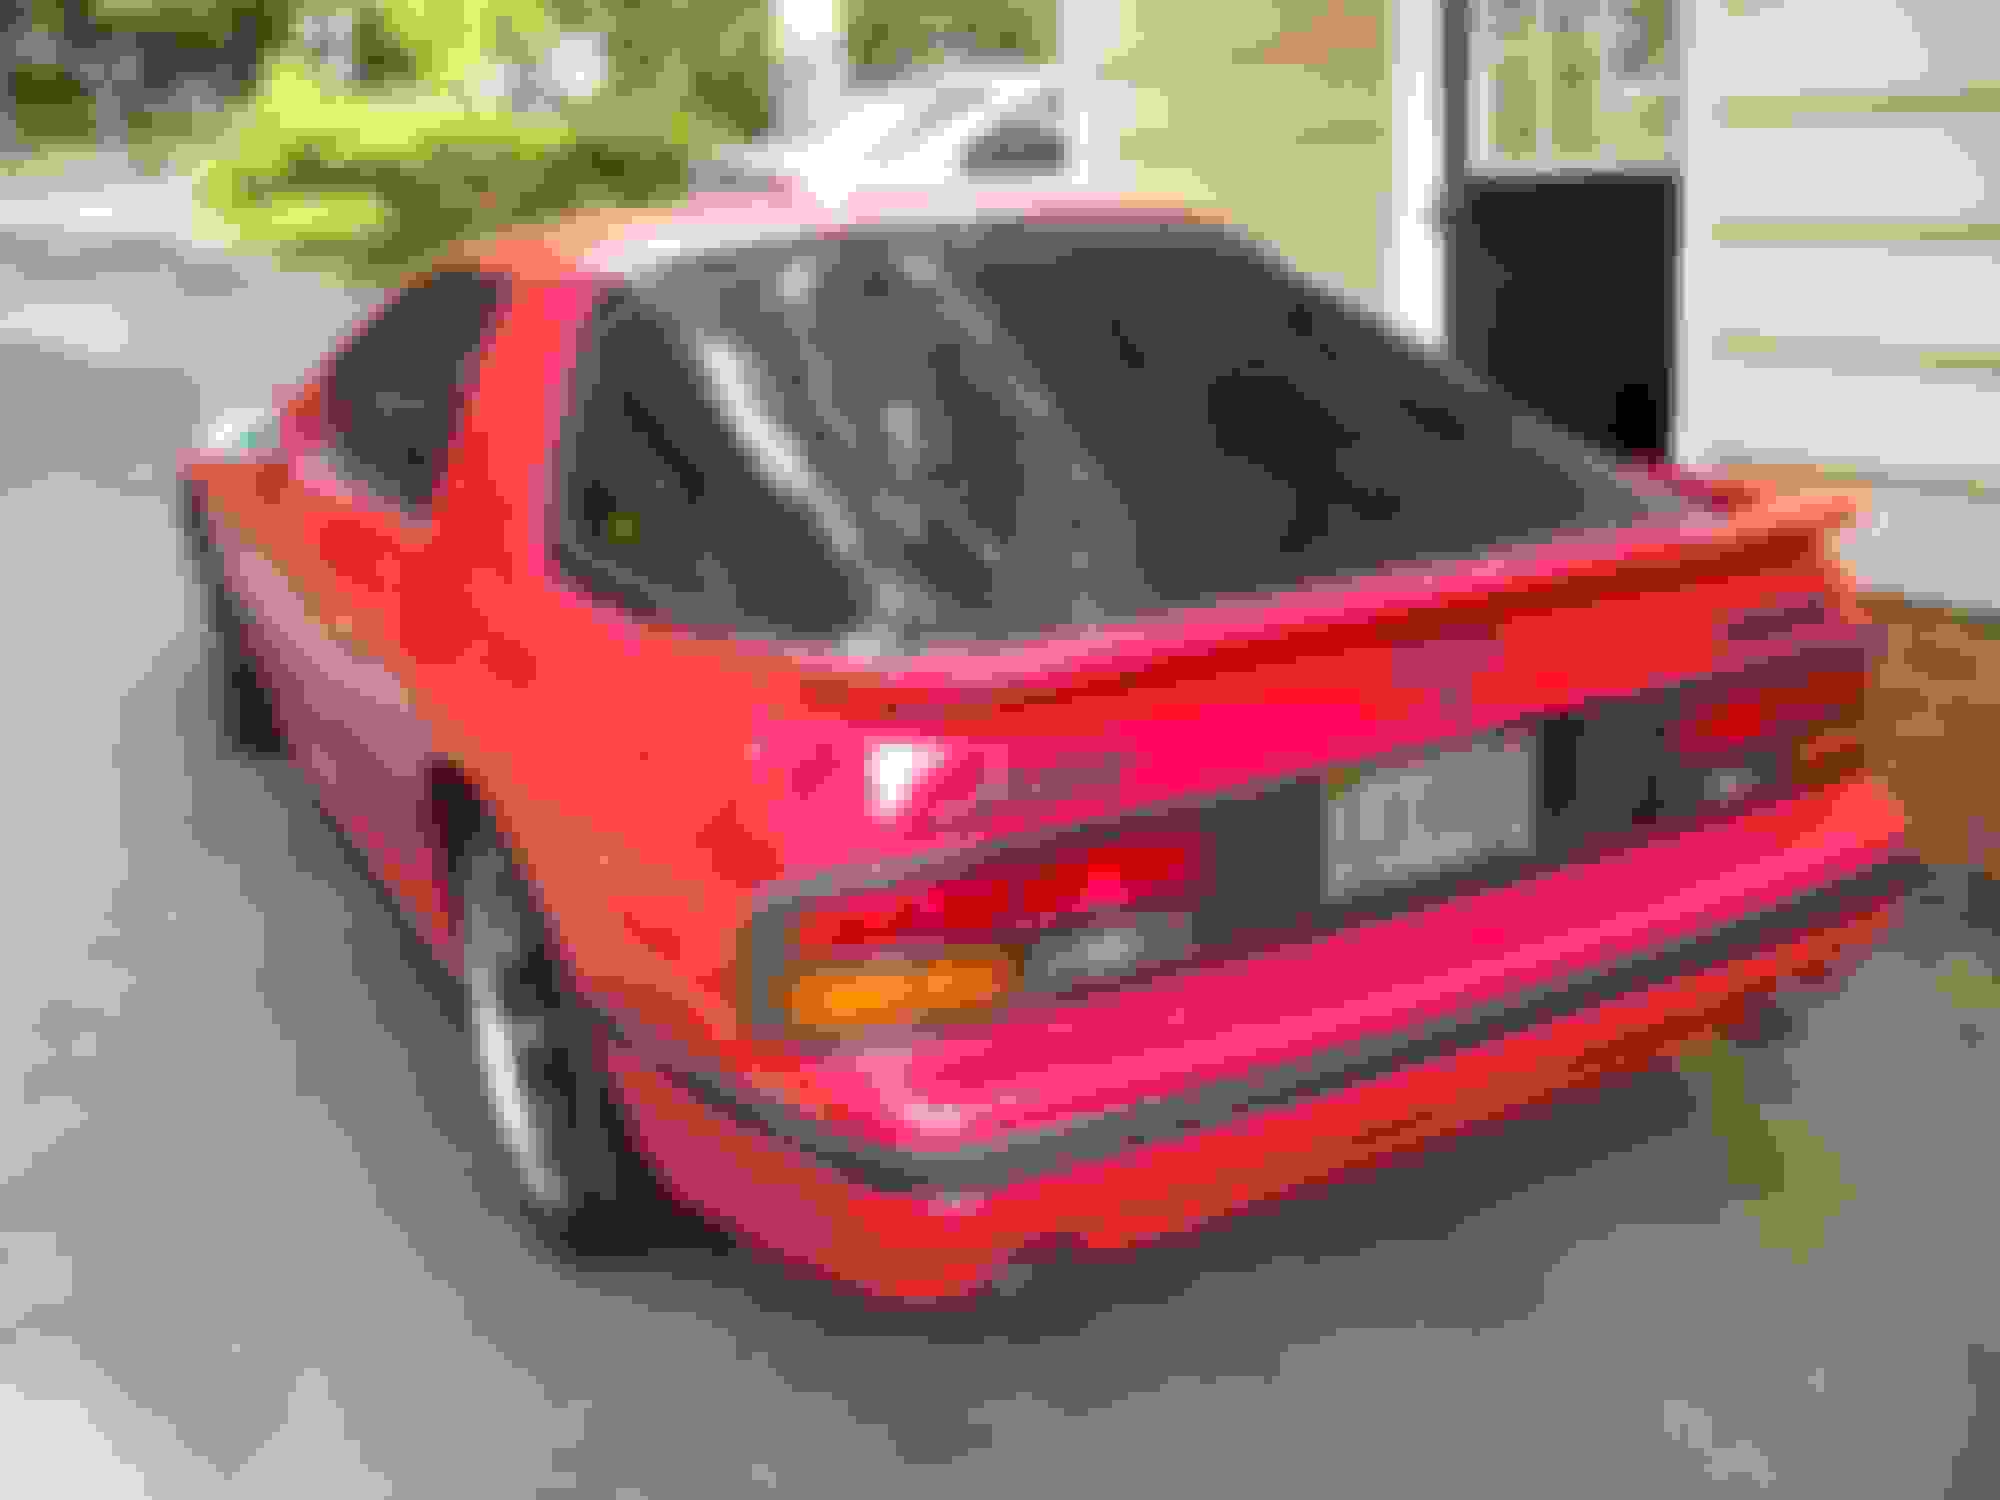
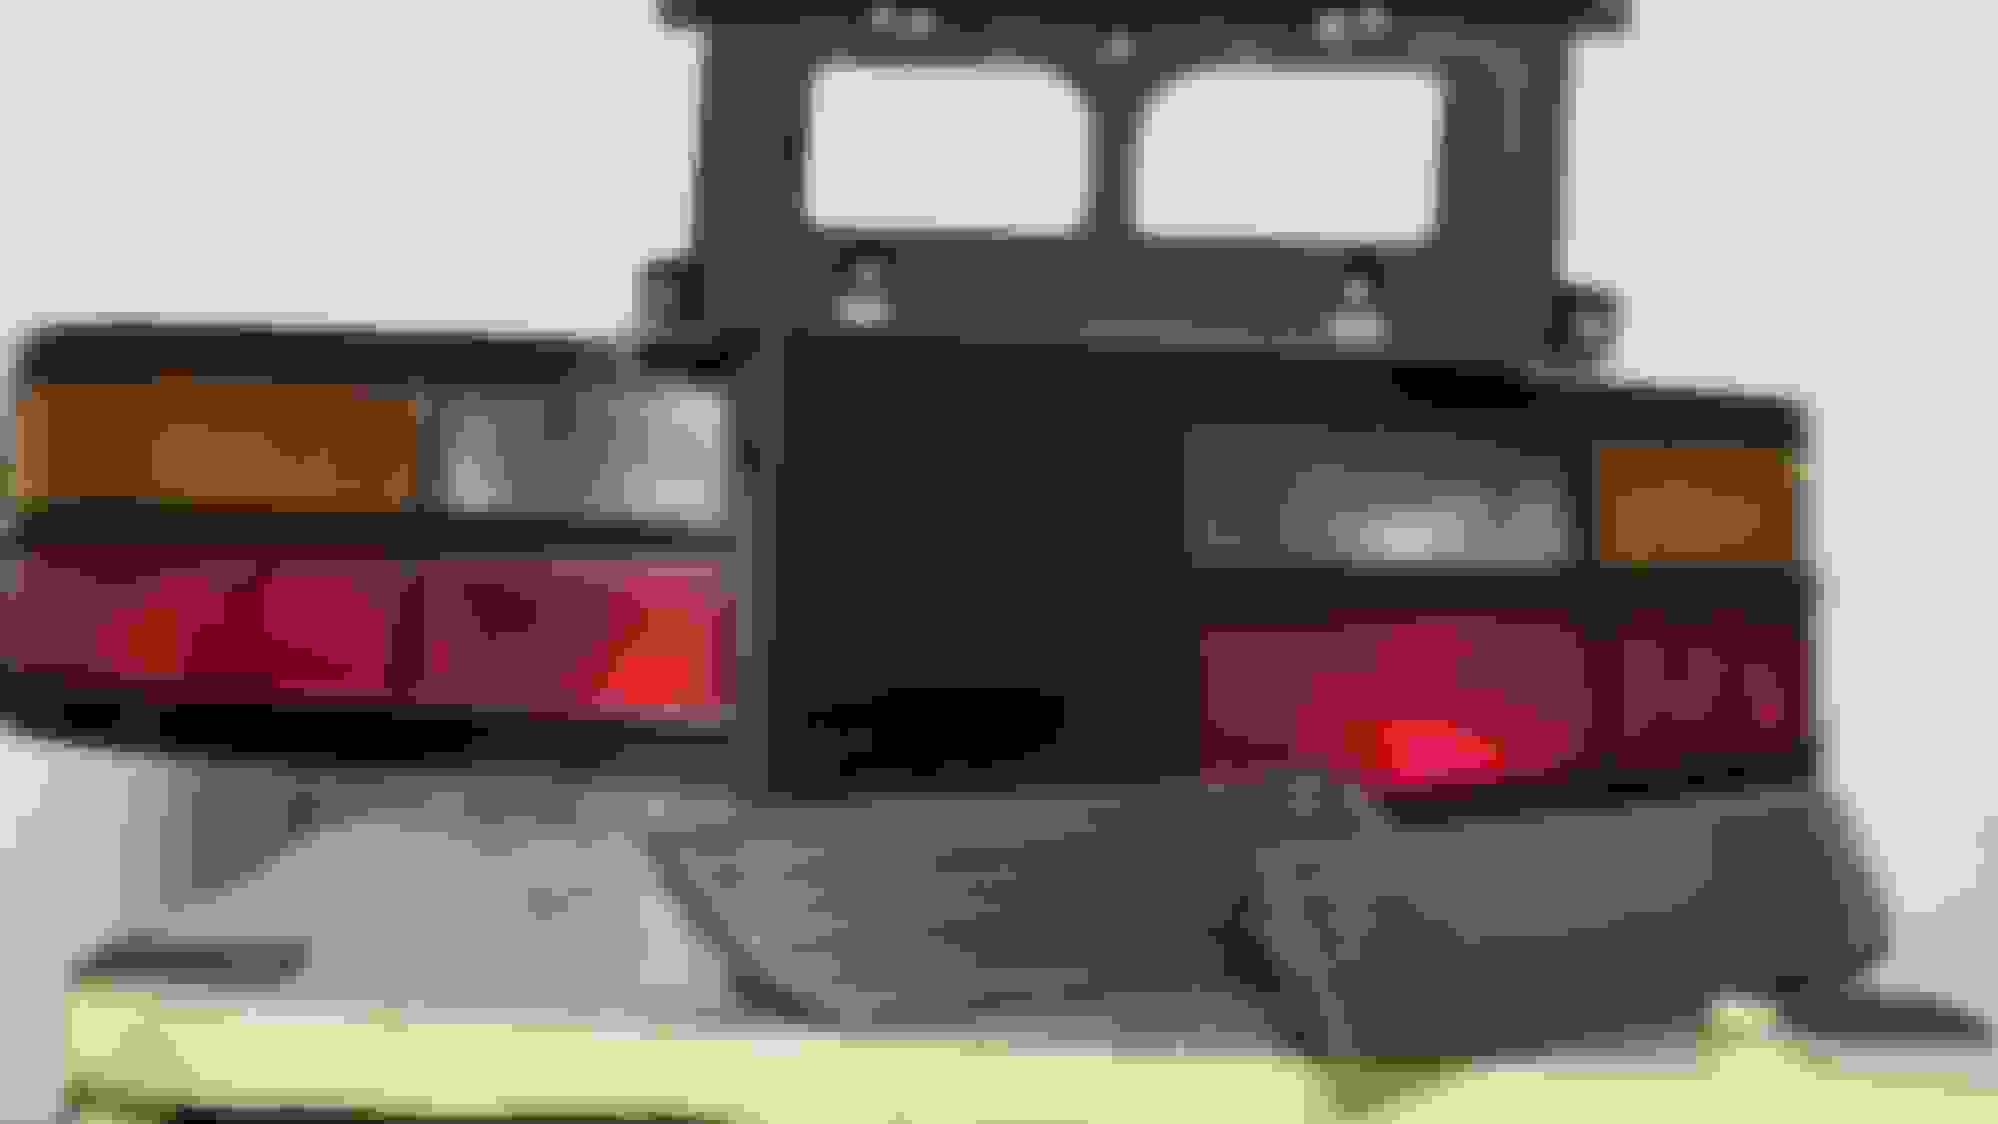
Here you go. I had to dig into my old PC for these.. I was surprised by the quality from my old point and shoot. The last pic is more current and how the car looks today. I used a 3M kit and polish. But, I actually started the process with a palm sander and like 150 grit. The 3m kit was too fine to take off the first layer of cracking. Mine were extremely cracked, almost looked like they where shattered. Came out perfectly gloss black and smooth in the end. I didn't apply any clear coat, but I probably would recommend that if your car lives outside. Mine is garage kept
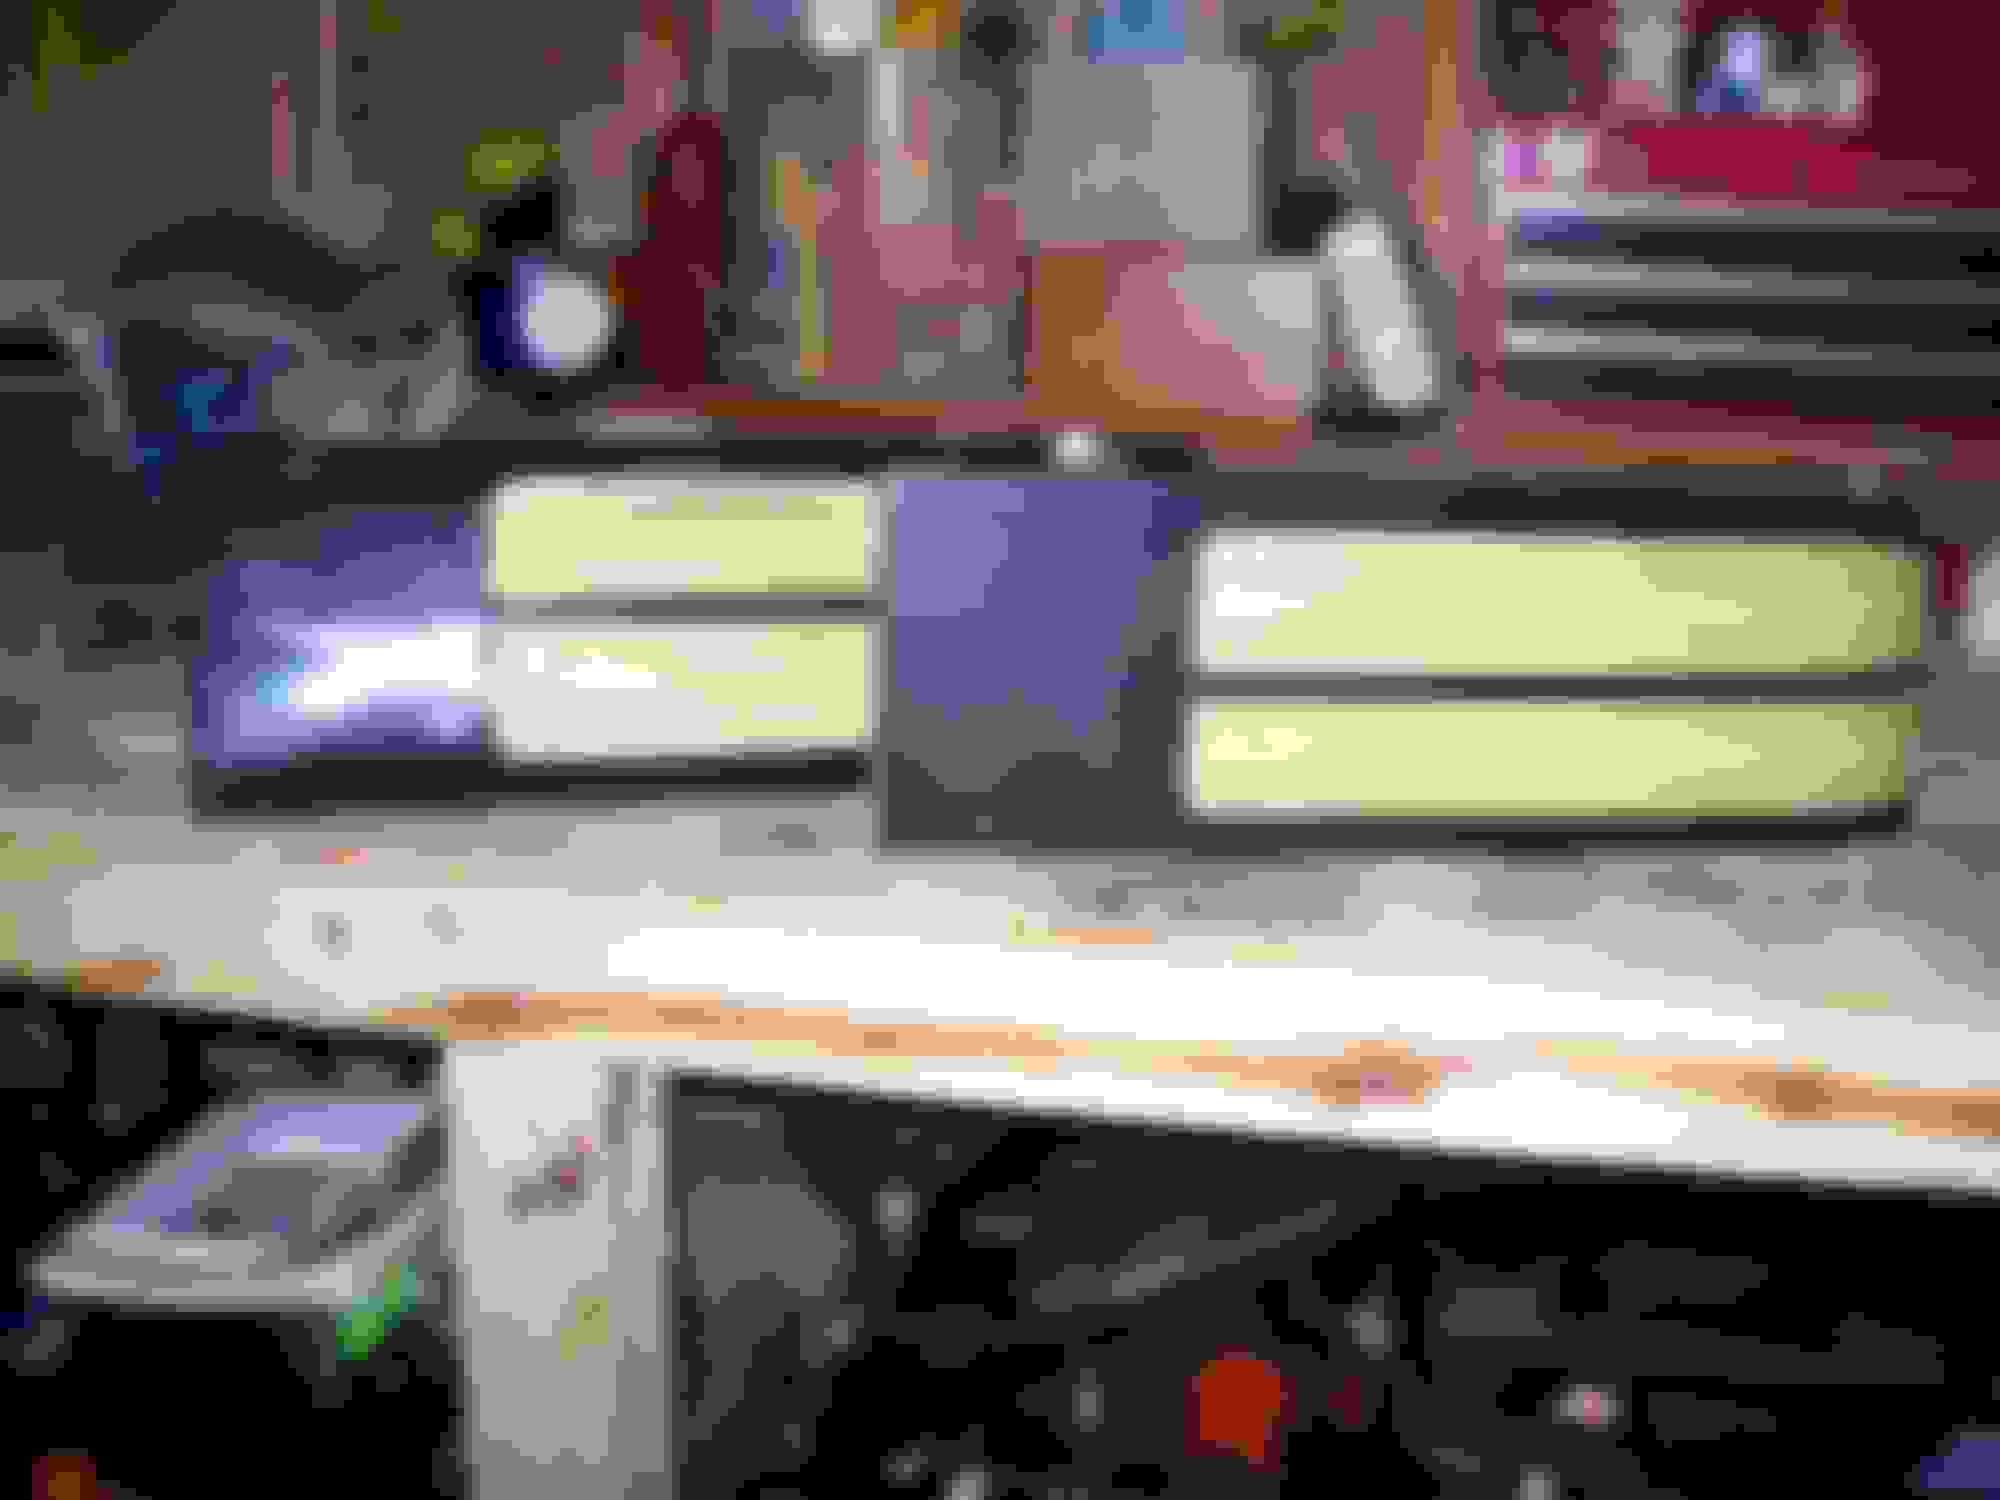
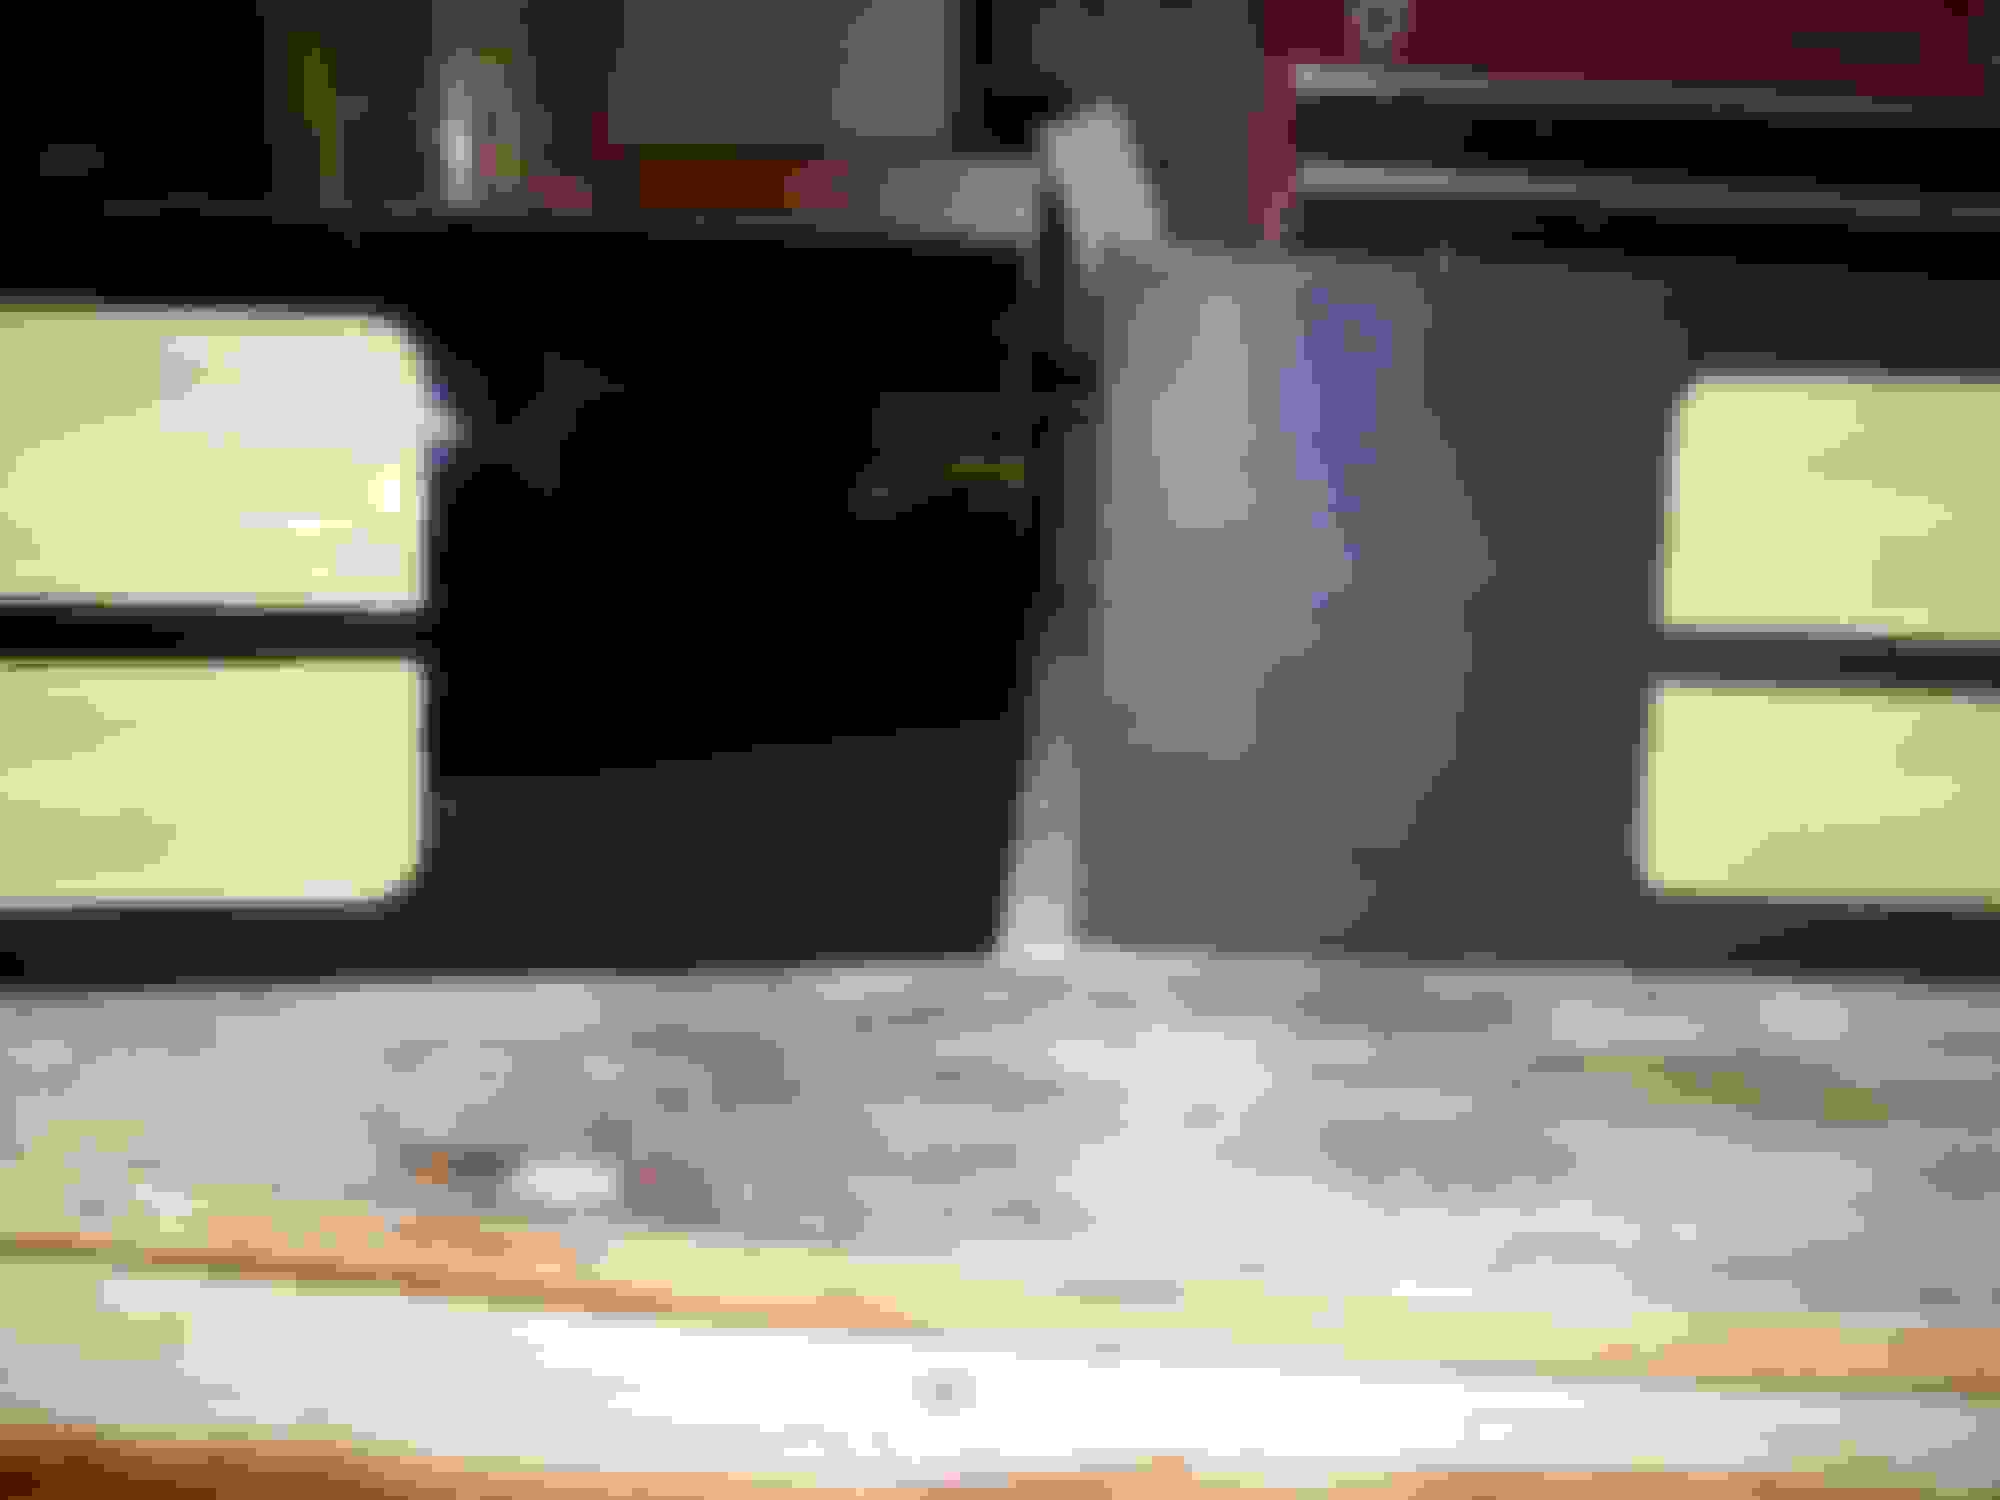
Before In process Left finished, right in process Finished
Okay awesome! I ordered the kit yesterday actually so should be here tomorrow. My current condition is not as bad as your starting point so that makes me happy. I have all kinds of sand paper grit here already so maybe I should get a head start with some of that while I wait for the kit to come in. I think 150 may be a bit too much for mine, but I'll feel it out. My car is garage kept so not too worried about clear coating it at the moment. I'll be sore to take some before and after pics and post them on here. Thanks for your info!
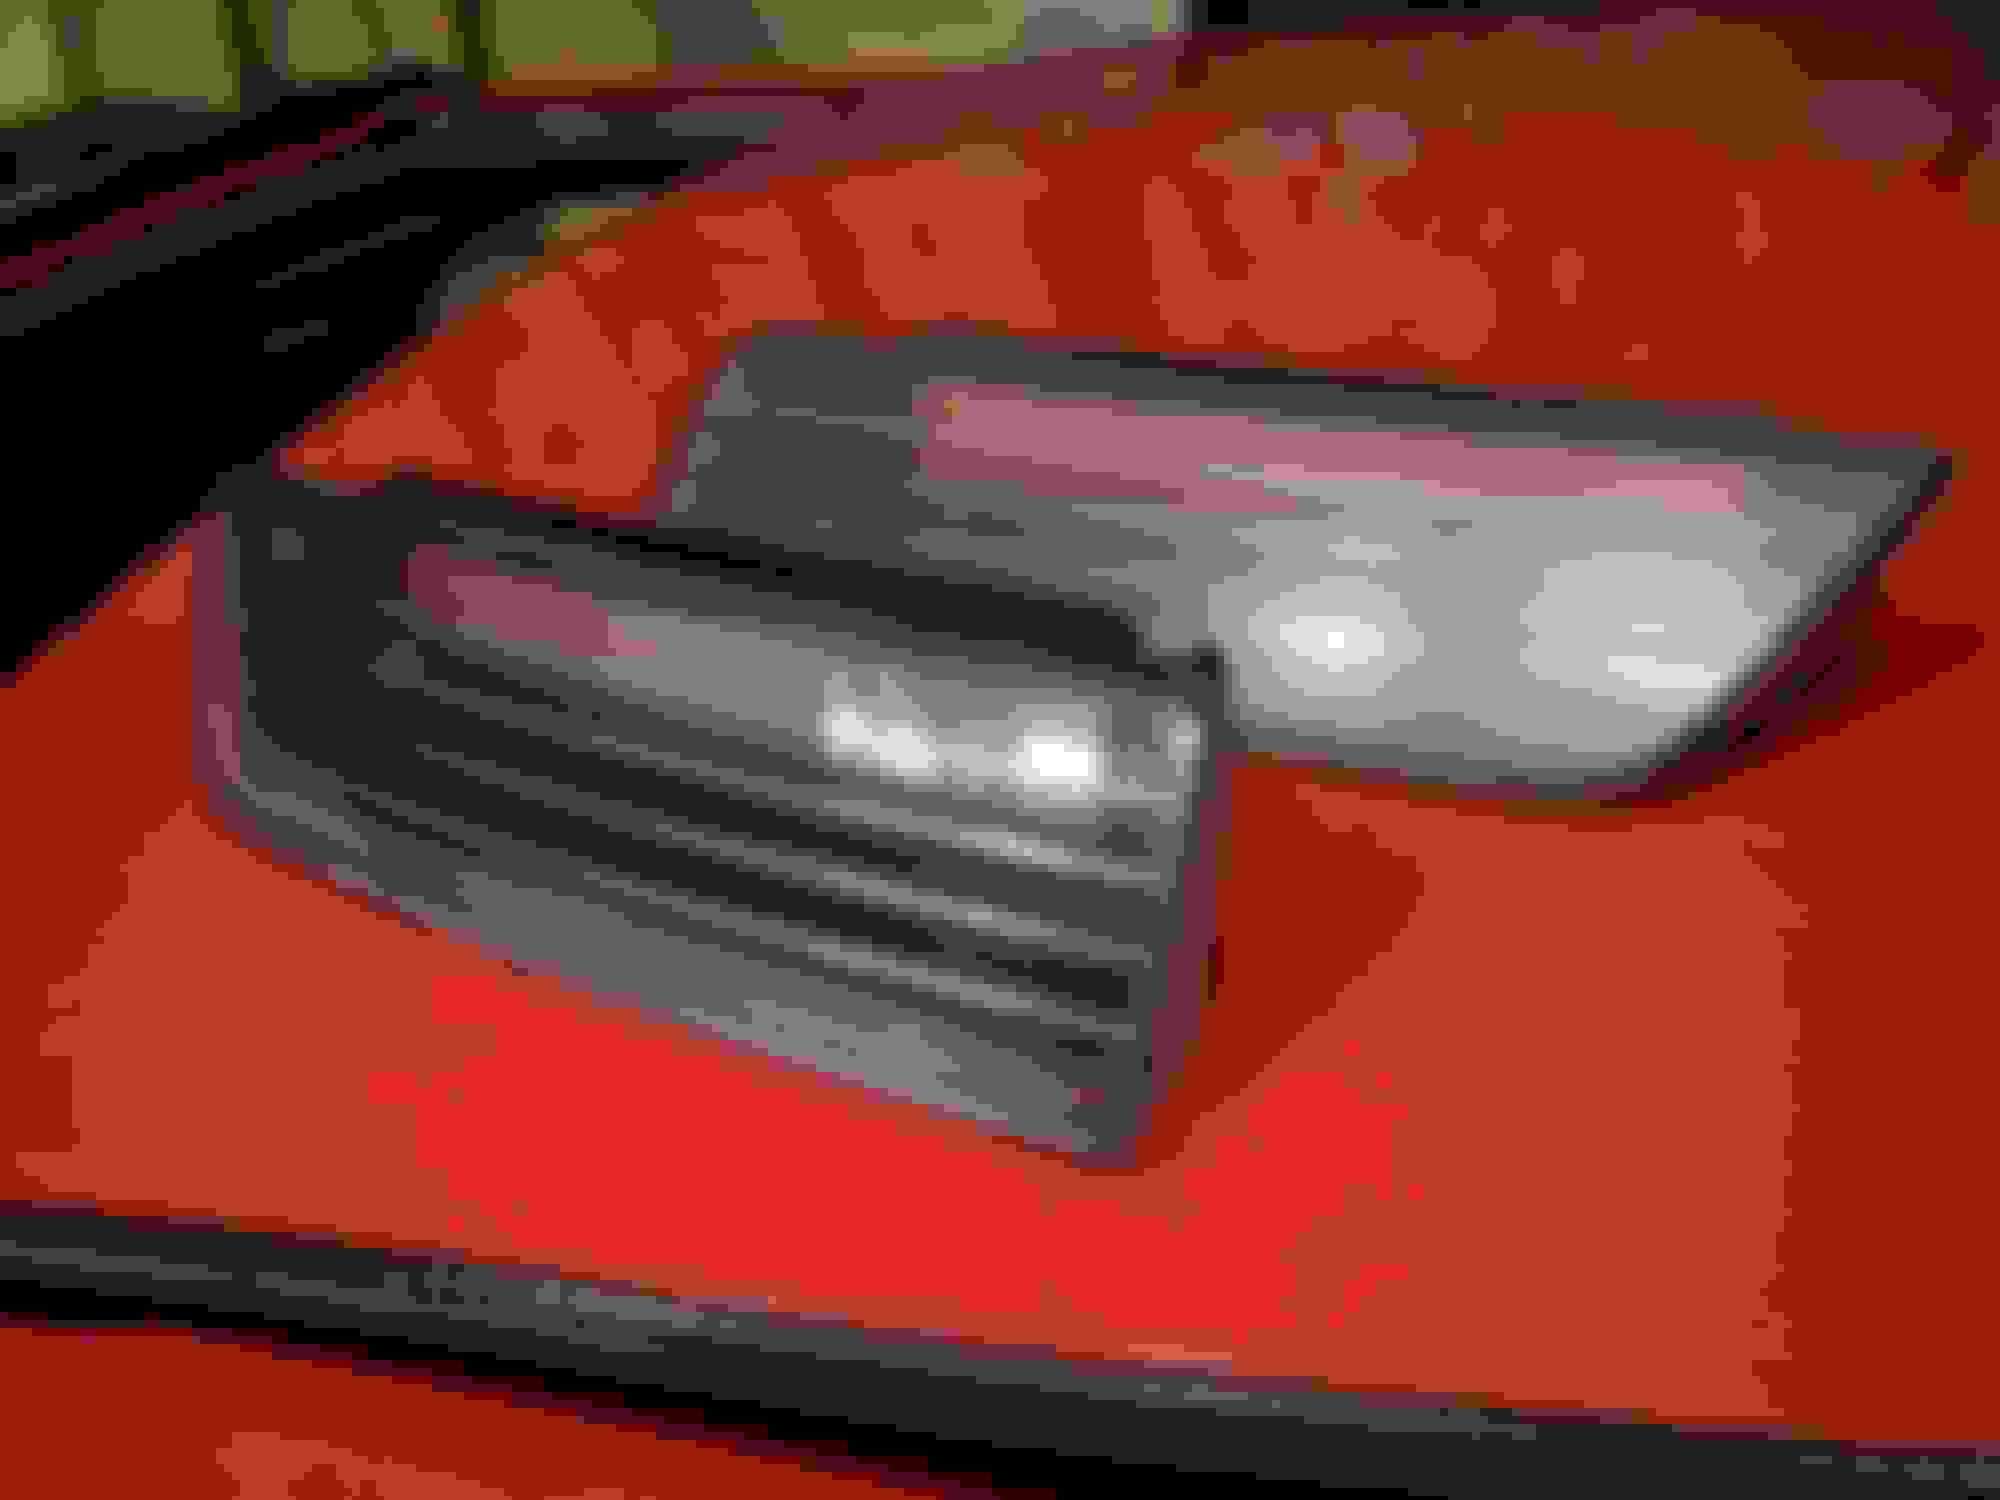
I also hit my FTP lenses while I was at it. Here is the left one complete and right lens before. This was all about 8 years ago and the results have held up well. Good luck with your project!
Thanks for the tip on doing the FTP lenses while I'm at it, I'm gonna do that for sure now!
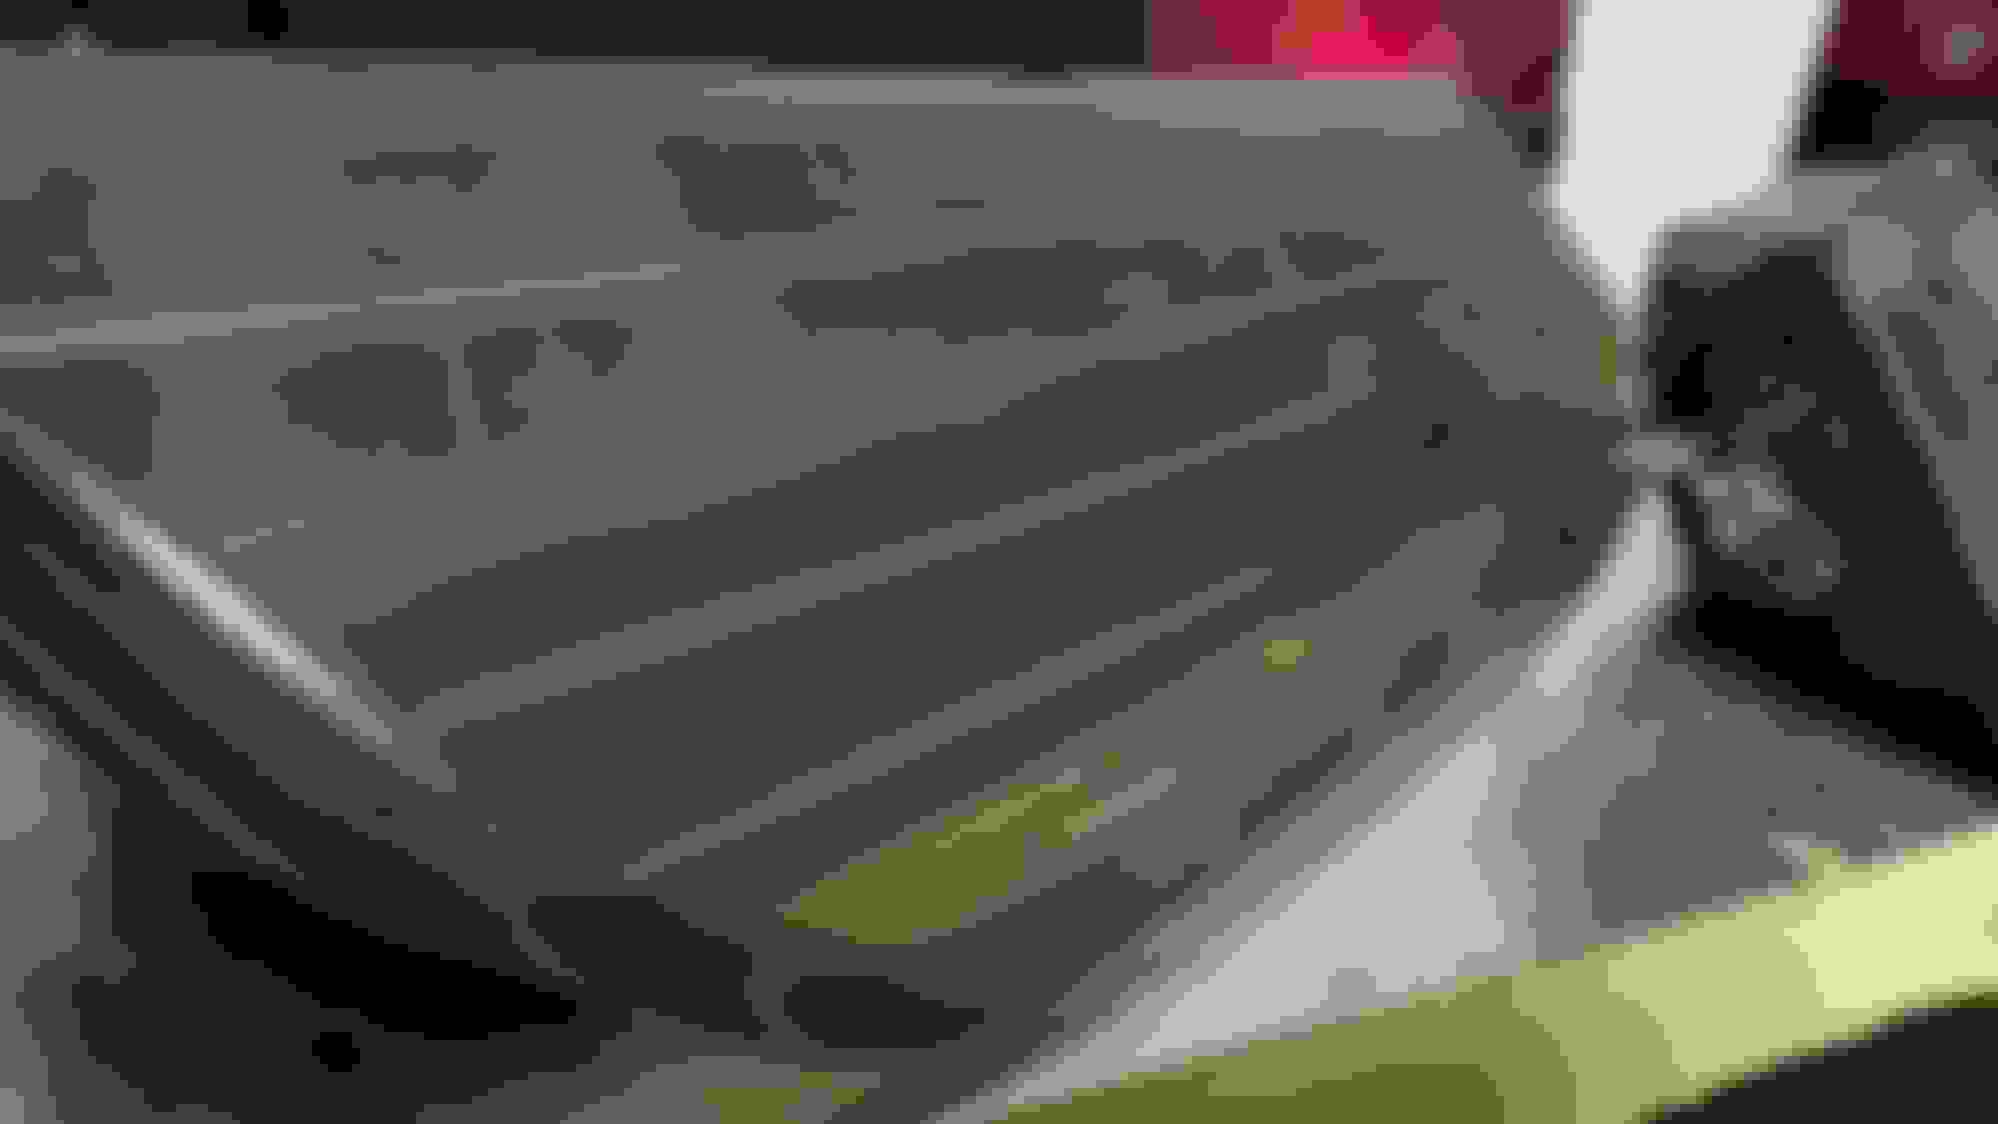
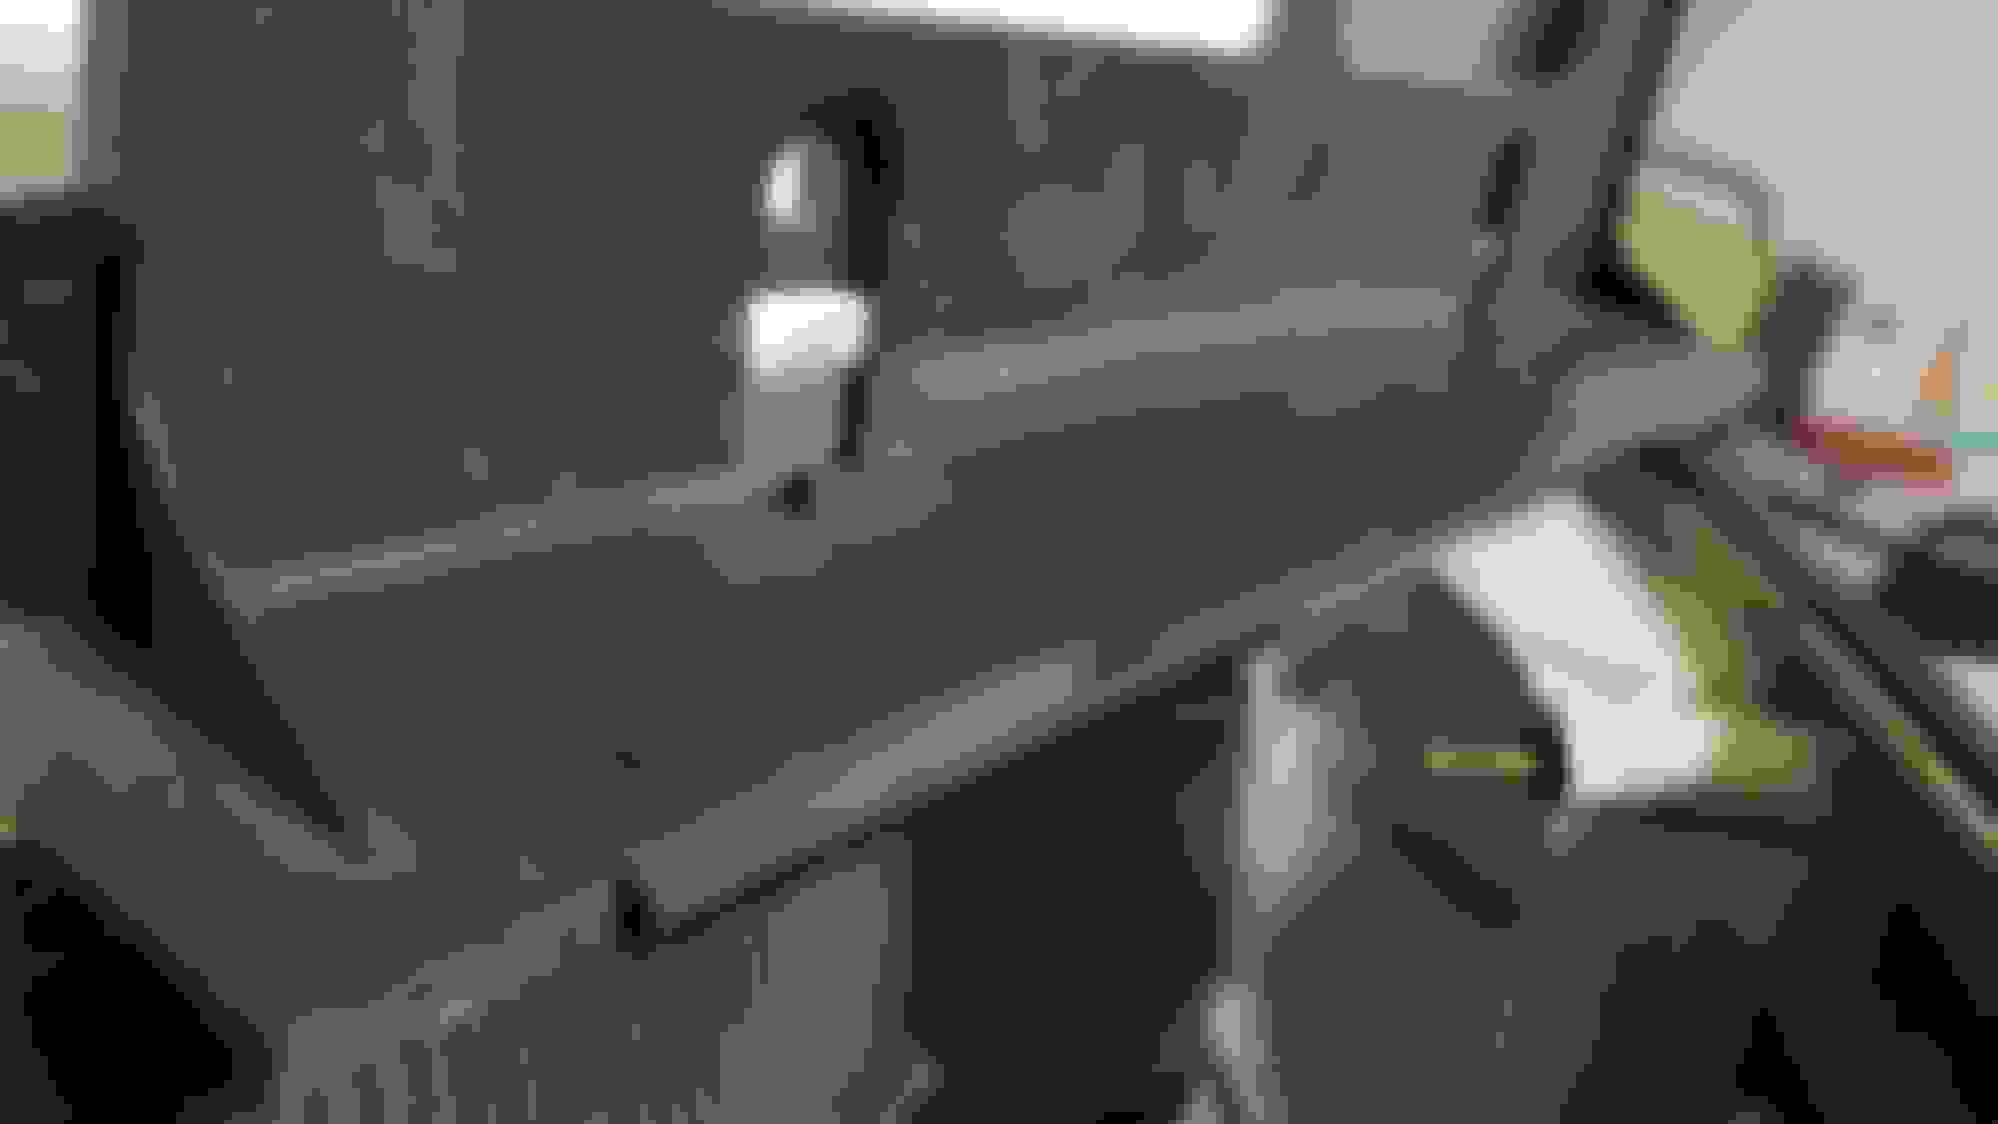
So I just removed the lights from my car and took some "Before" pictures. Hopefully I'll start to polish the lights tomorrow night if I can make time, but if not, I'll have them done by the weekend and post some "after" pictures.
When you compare the condition of my tail lights to what you started at, RX-7tII88, mine aren't near as bad as yours were, haha!
Also, I believe you may have not polished the license plate center piece (the bottom part that shows)? I couldn't tell in the picture, but it made me want to polish that part as well so I also removed that bad boy.
I got the parts now cleaned up, after I took those pictures, and I'm about to mask out the lenses to end my night.
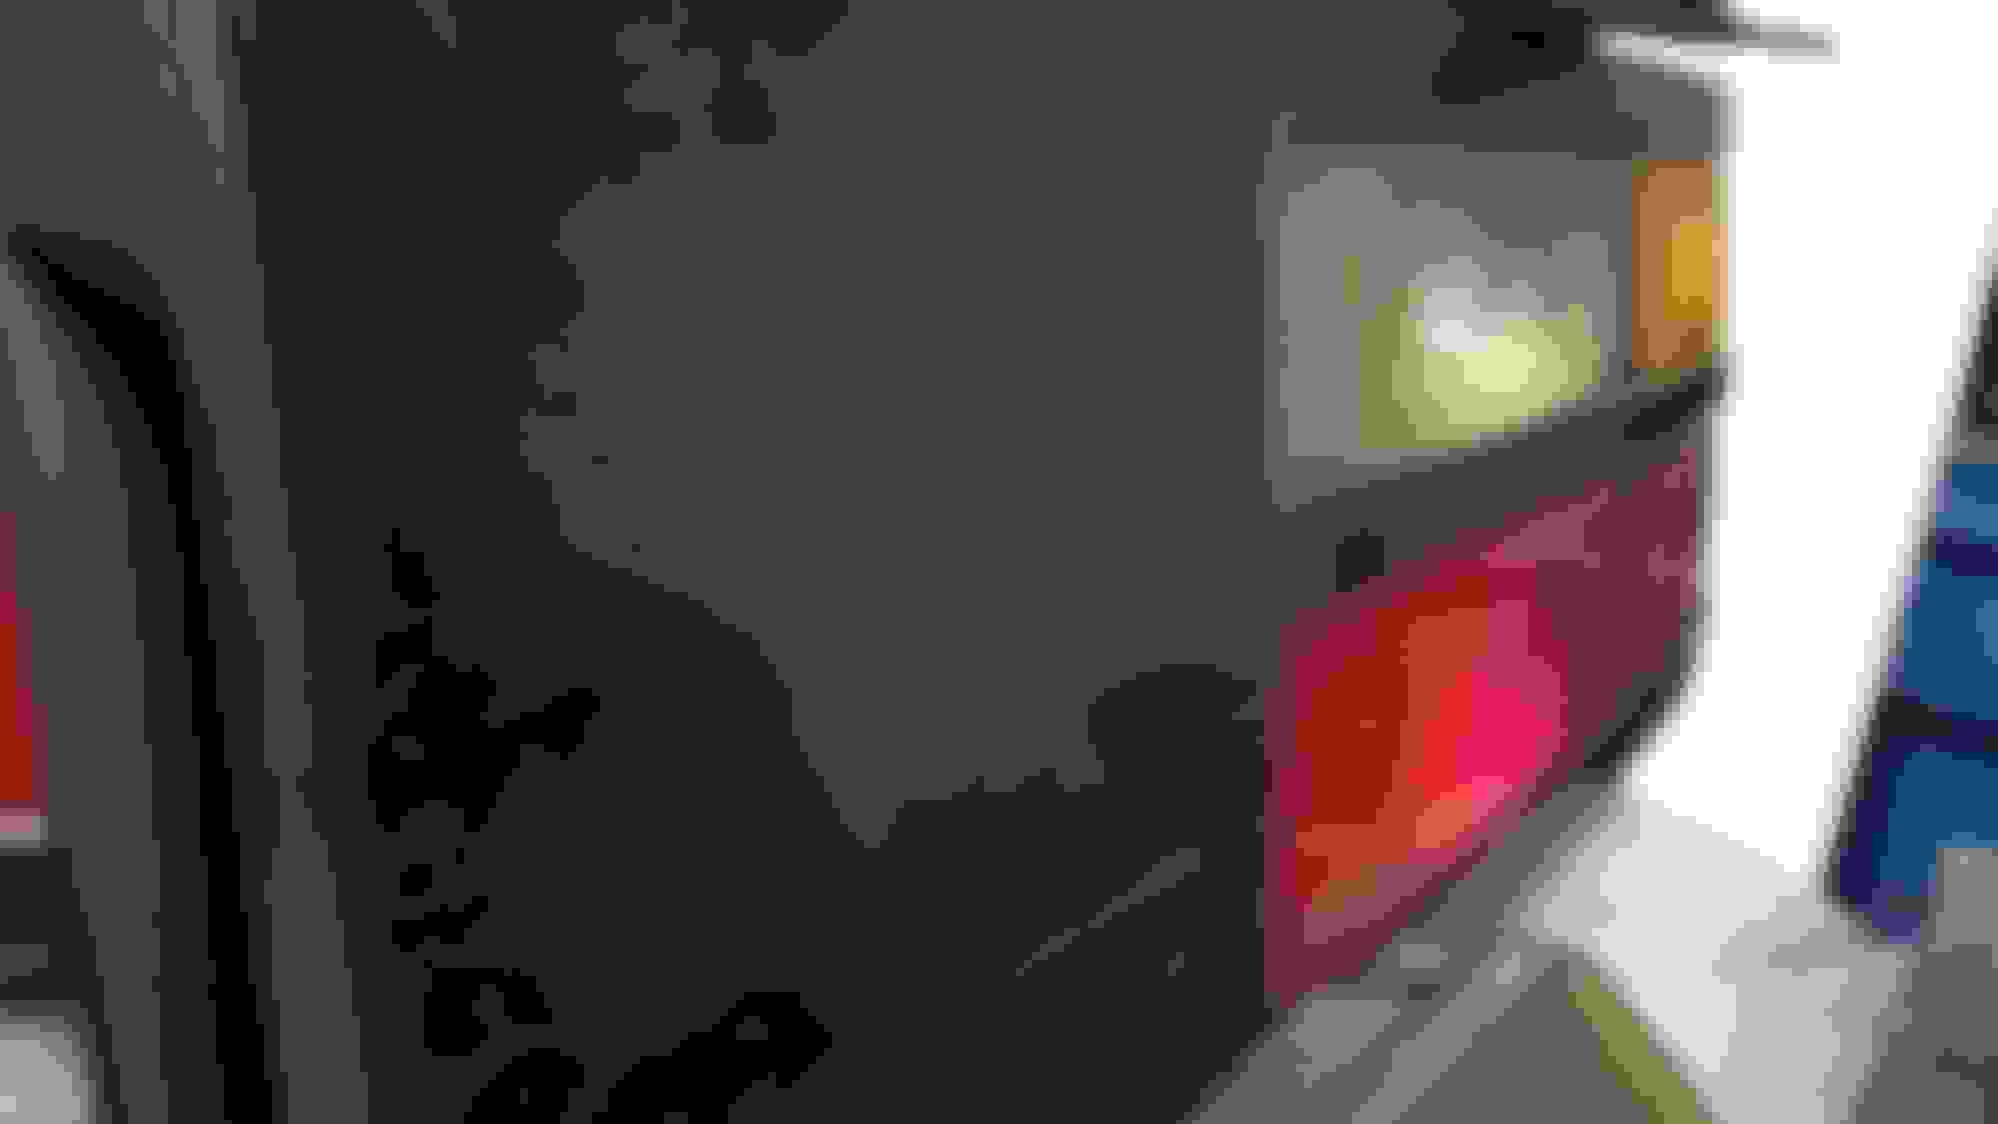
There must be sugar in the polish cuz these things look Candy Coated!
Very pleased with the results! I had to use a toothpick to take residual polish from around the lenses out, but it was actually very satisfying to do that!
I'll have pictures of them installed in my car possibly tomorrow in some daylight! Man, I'm real happy with the results!
u got more pic on those diffusers? looks great....
l'll snap some more pics later.
I'm a VFX Artist and so some design work for a 3D printing company as well, so I'm no stranger to 3D design. I designed those rear diffusers to snap and lock into the existing S4 rear bumper, the bumper has existing holes that are spaced perfectly for my design. I also designed and printed my side skirts - they are a replica design based on the Odulua side skirts, but made so you don't need the Turbo II sides to use them. Front lip is a modified S14 lip (cut in half and about an inch removed from center if I remember correctly? then welded back together).
Thanks, man! Wheels coming soon I hope. I have the stock "phone dial" wheels but had to remove them as the previous owner put in some run flat solution in one of them and it started to eat away at the metal.
Those look great, what 3M kit did you use? I'm a beginner when it comes to detailing but I want to restore my S4 GXL. So you just sanded the plastic and used the kit on it?
Those look great, what 3M kit did you use? I'm a beginner when it comes to detailing but I want to restore my S4 GXL. So you just sanded the plastic and used the kit on it?
3M 39008 Headlight Lens Restoration System https://www.amazon.com/dp/B001AIZ5HY/ref=cm_sw_r_cp_apa_i_n2lDCbZJ6DCWR
That's the kit I used. I picked it up from my local Walmart for a little cheaper than Amazon surprisingly.
As long as you have a power drill, the kit comes with everything you need. Drill attachment, 500 grit, 800 grit, 3000 grit, polish pad and polish compound.
I didn't go too deep on my first attempt because I was afraid of damaging them but left a lot of old clear coat and subtle cracks. I then went in more aggressive and got it down to a super smooth matte finish before the polish step.
I recommend you clear coat them or at least use the protector coat wipe thing with them. I was thinking about also doing this but I thought I would have to take the taillight apart.
I recommend you clear coat them or at least use the protector coat wipe thing with them. I was thinking about also doing this but I thought I would have to take the taillight apart.
I dont feel clear coating them is necessary. I wax them when I wax the paint and if I buff or polish the paint, I'll hit them too. Never had them get bad again in many years.