
Let the fun begin... Race car (re)build


Thread Starter
Full Member
Joined: Jan 2011
Posts: 70
Likes: 0
From: 717
Dont remind me
Someone come by and find my digital camera! I think the shop gremlins came by and hid it somewhere...
Thread Starter
Full Member
Joined: Jan 2011
Posts: 70
Likes: 0
From: 717
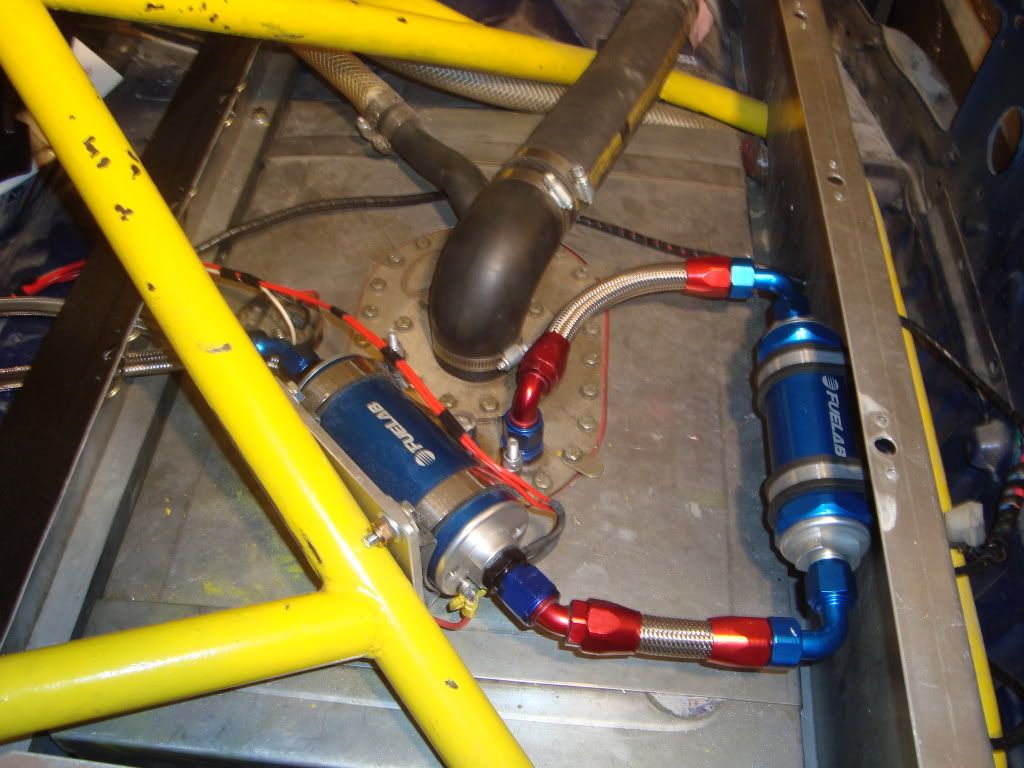
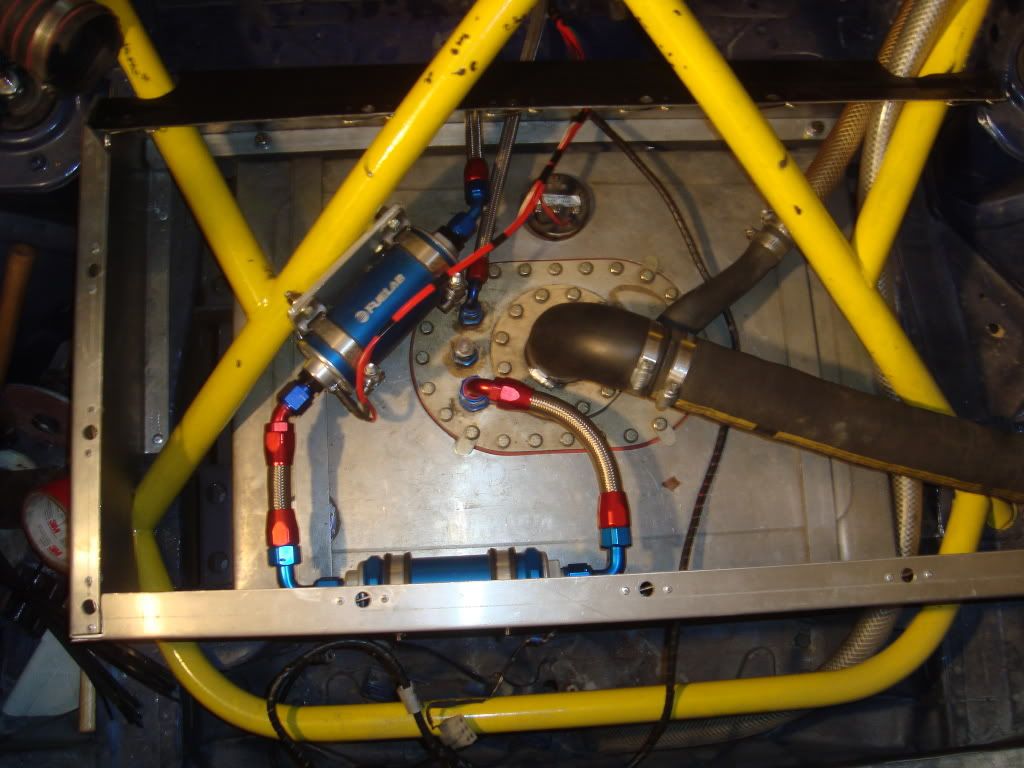
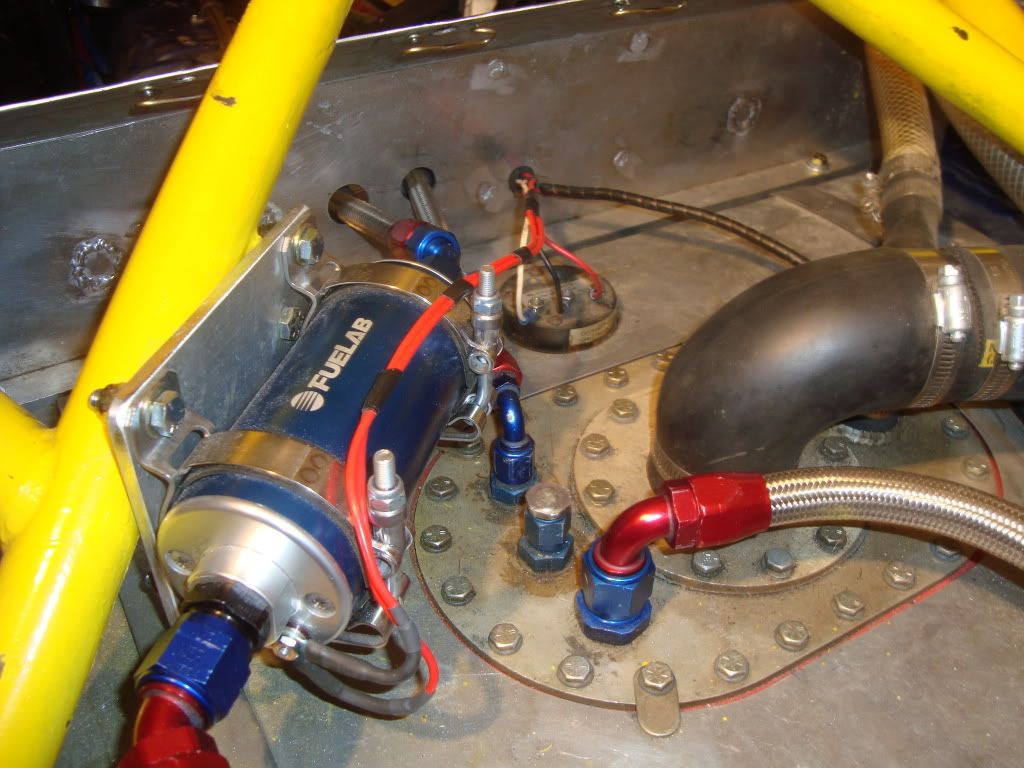
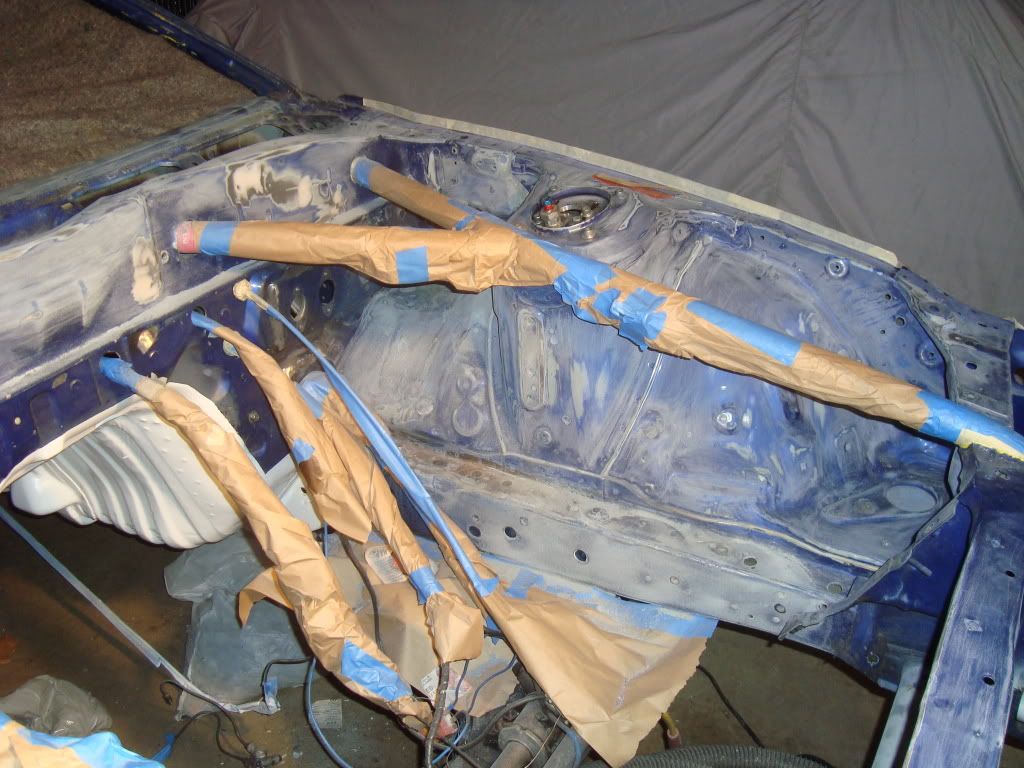
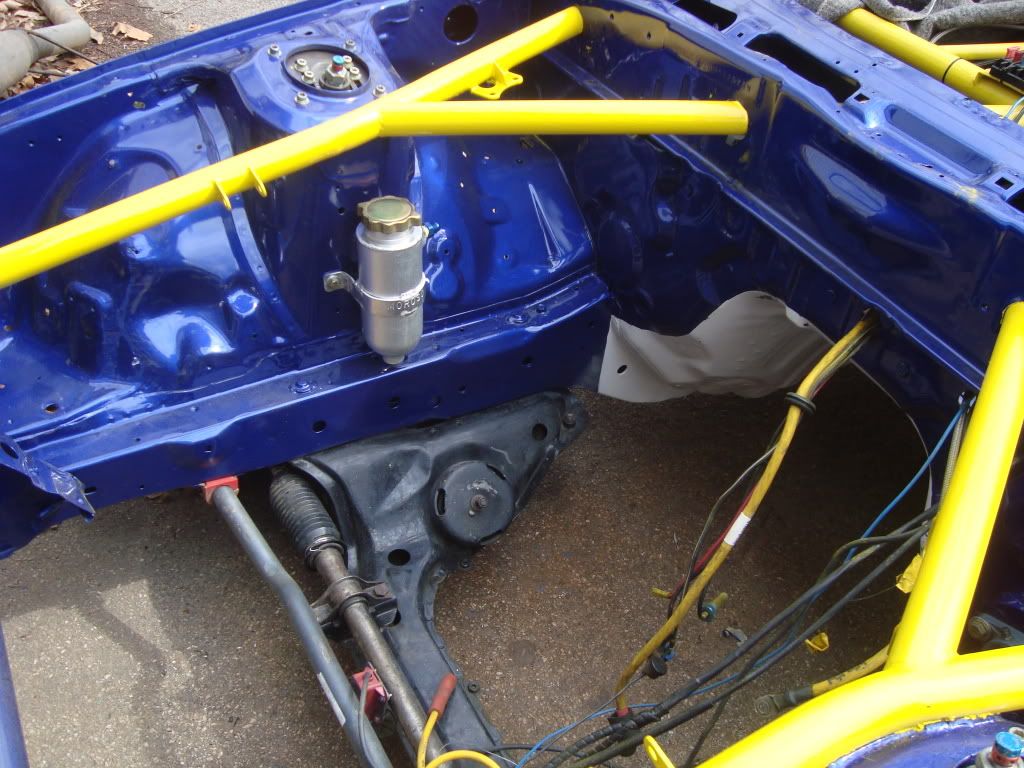
My Dad got the fuel system mostly done in the back. The wires still need wrapped and we need rubber grommets around where the lines go out the front.
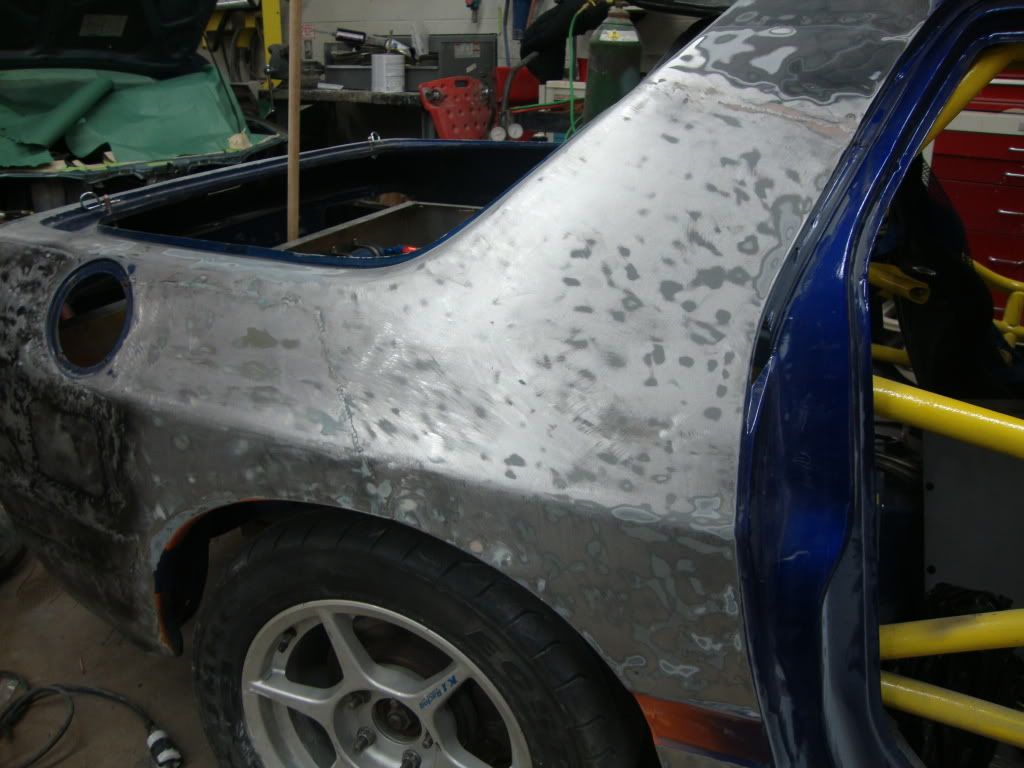
and I got the bay almost completely down to 80 grit
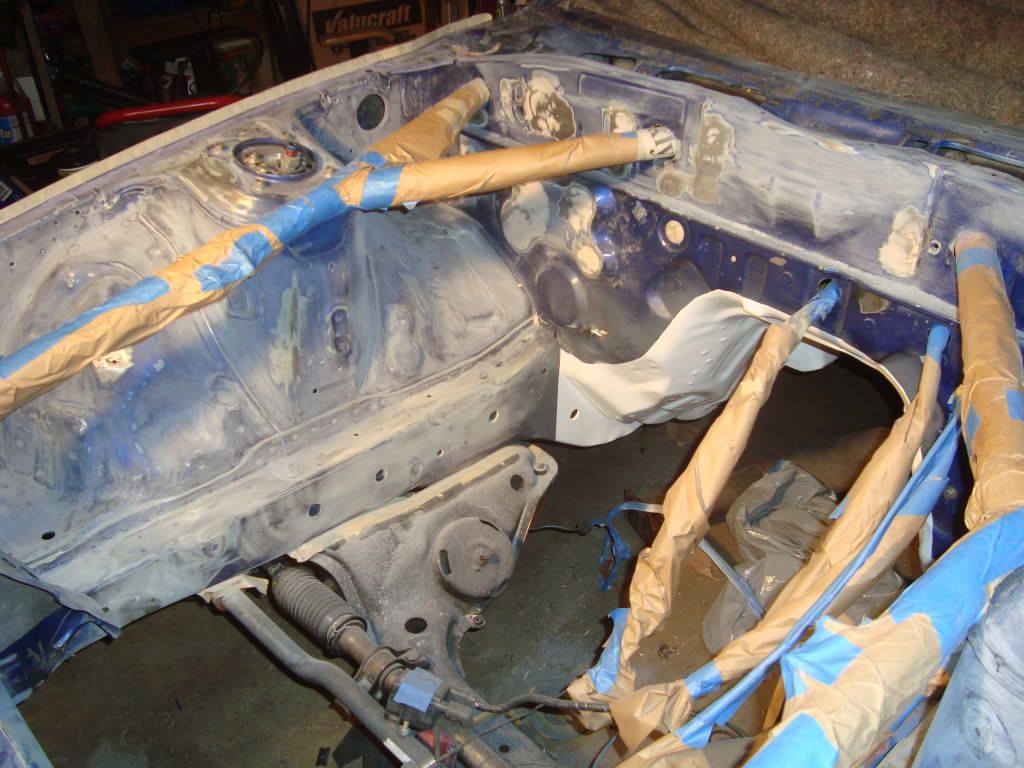
Hopefully the Weather Channel is right and its 51* tomorrow...
and I got the bay almost completely down to 80 grit
Hopefully the Weather Channel is right and its 51* tomorrow...

You dont know how jealous i am.
Racing
Auto body
engine work
dad who works on the car with oyu
Im pissed, where the **** is the reset button lol
BRRROOO what i would give to be in your shoes!
A++ build keep it coming!!!
want race pics/vids too!!!
Racing
Auto body
engine work
dad who works on the car with oyu
Im pissed, where the **** is the reset button lol
BRRROOO what i would give to be in your shoes!
A++ build keep it coming!!!
want race pics/vids too!!!
Thread Starter
Full Member
Joined: Jan 2011
Posts: 70
Likes: 0
From: 717
Thanks man!
Haha yeah, it is def really nice. He's extremely knowledgeable with basically every aspect of motorsports it seems, so its nice to have him in the house... lol
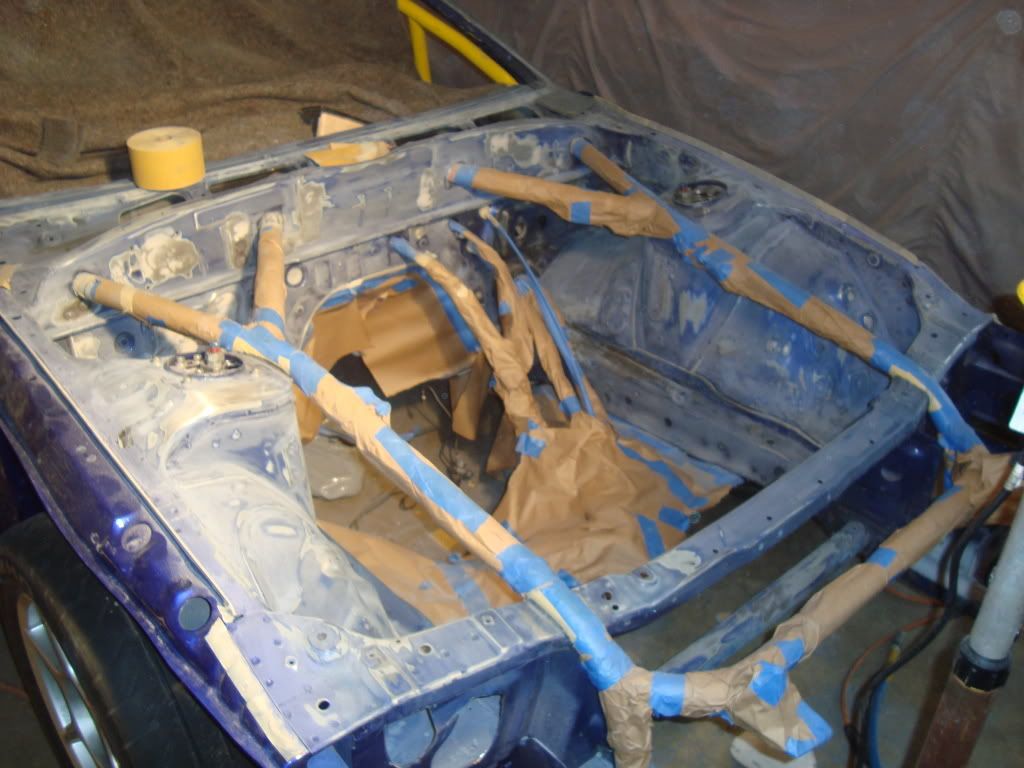
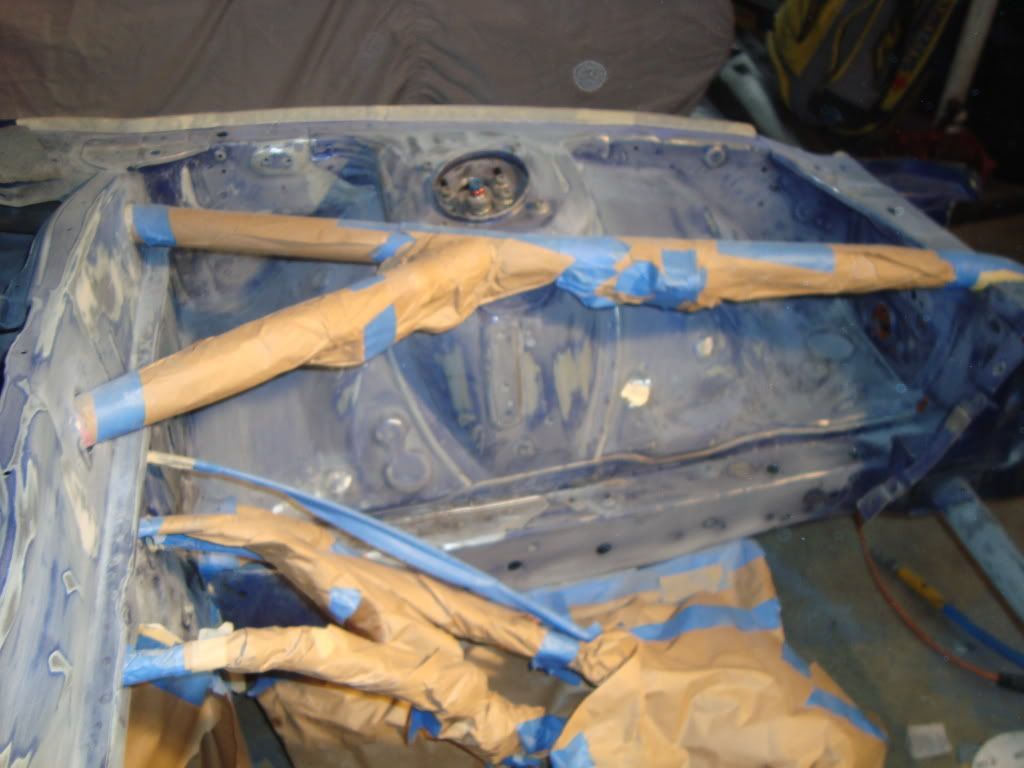
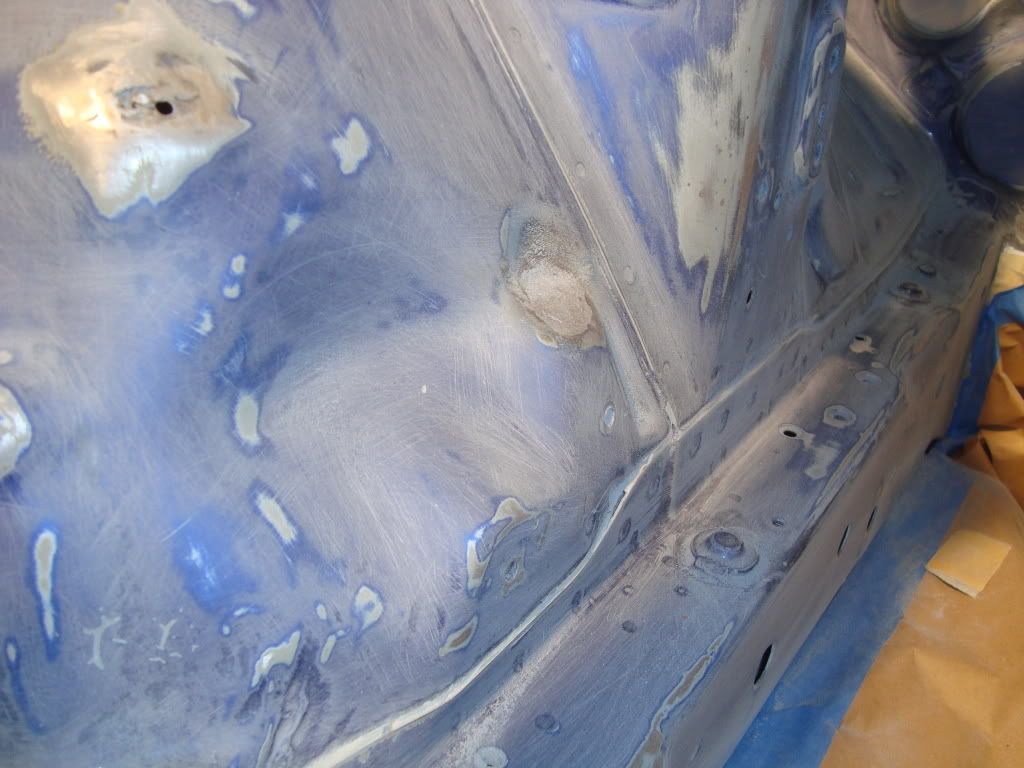
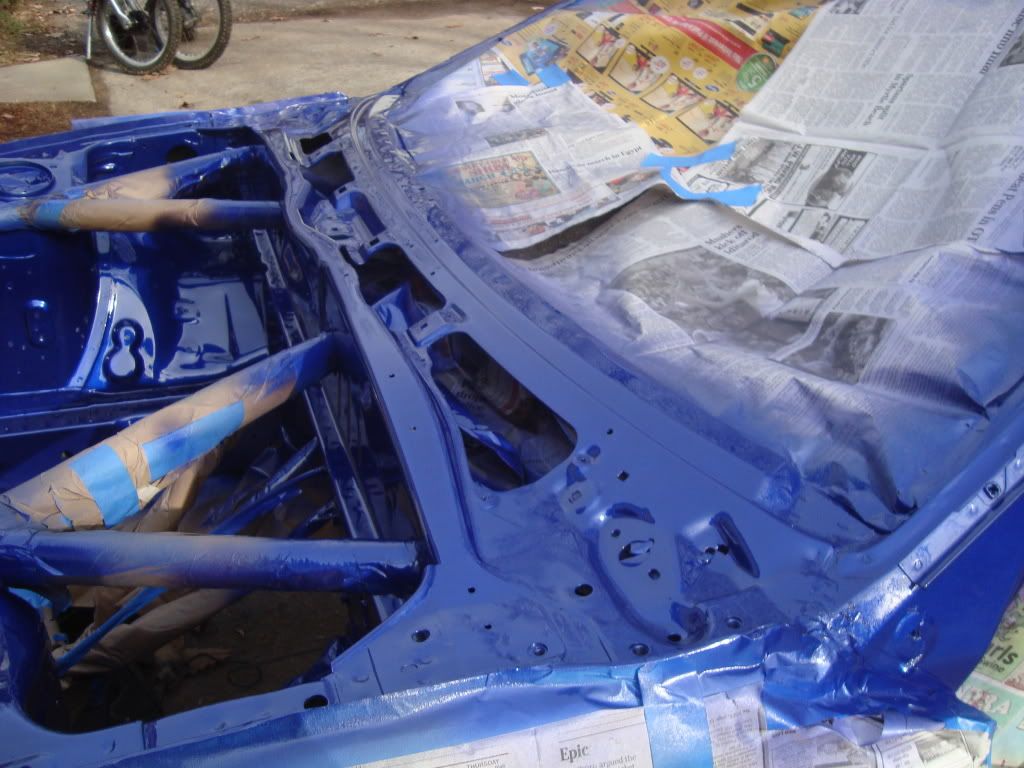
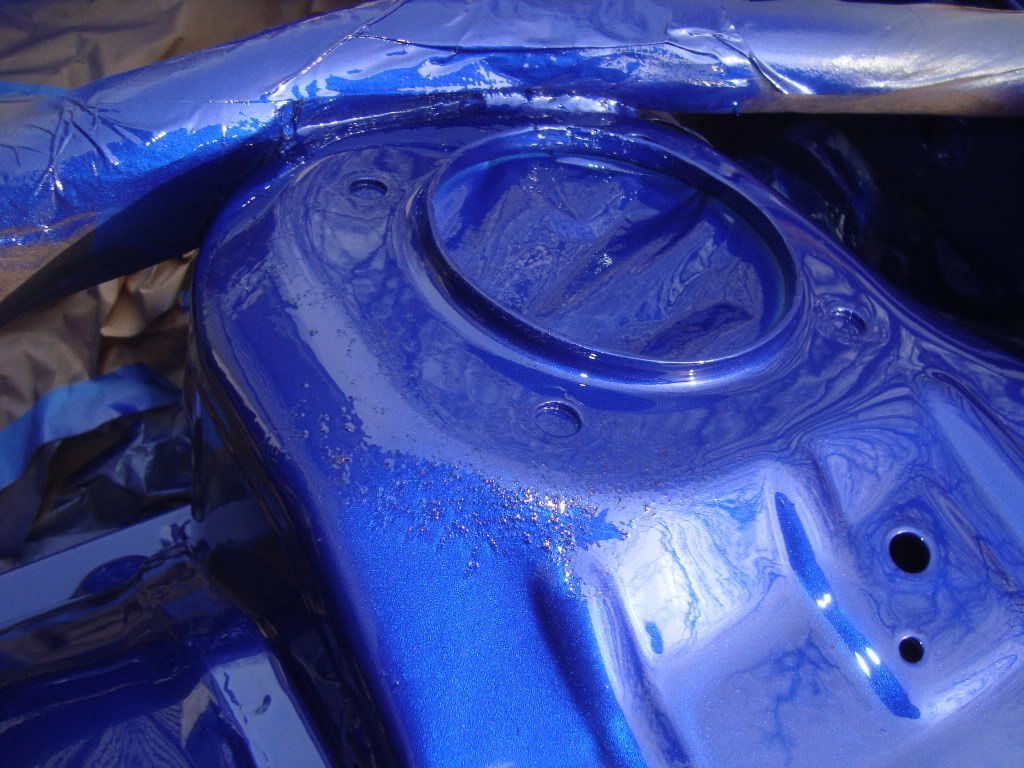
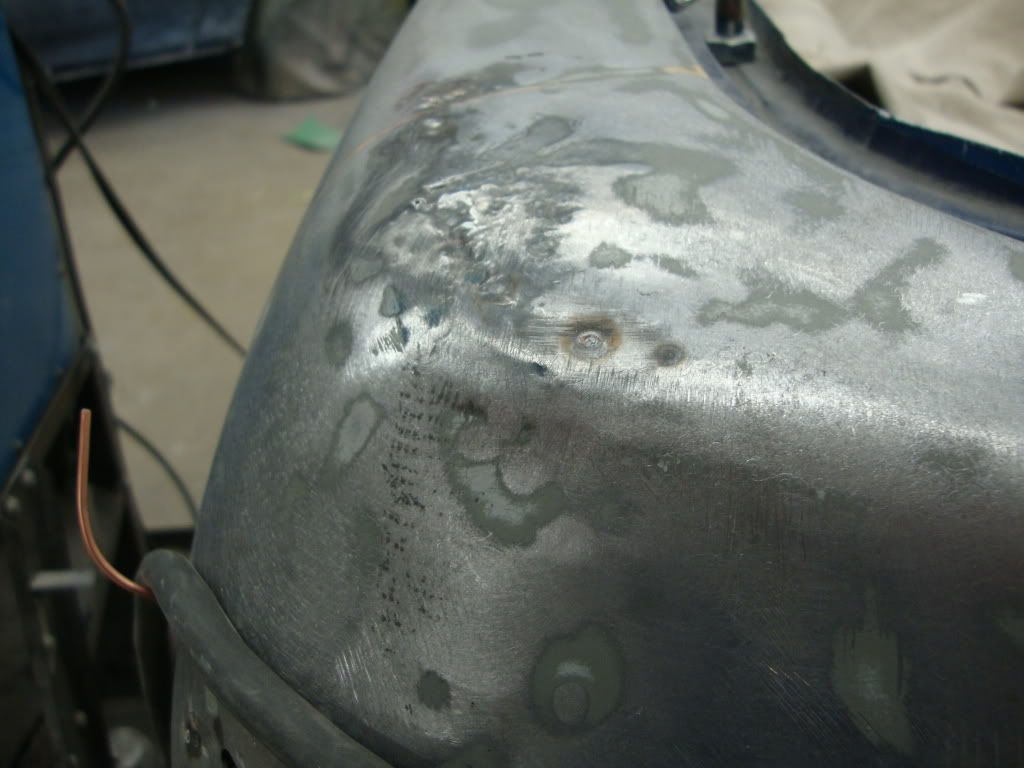
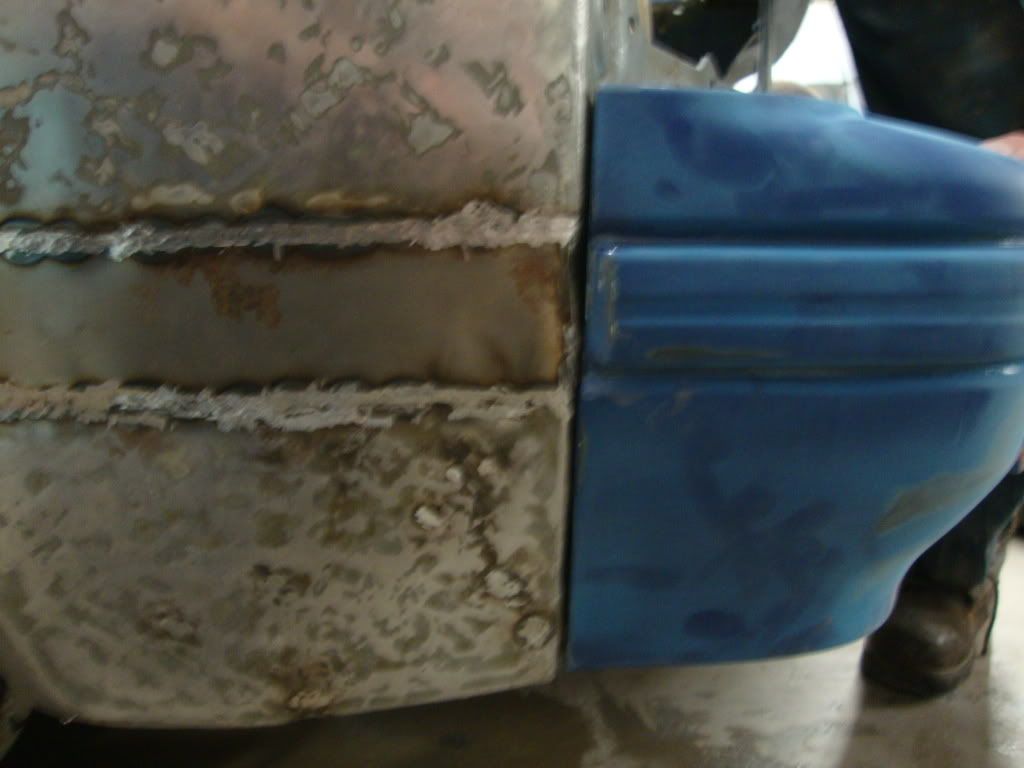
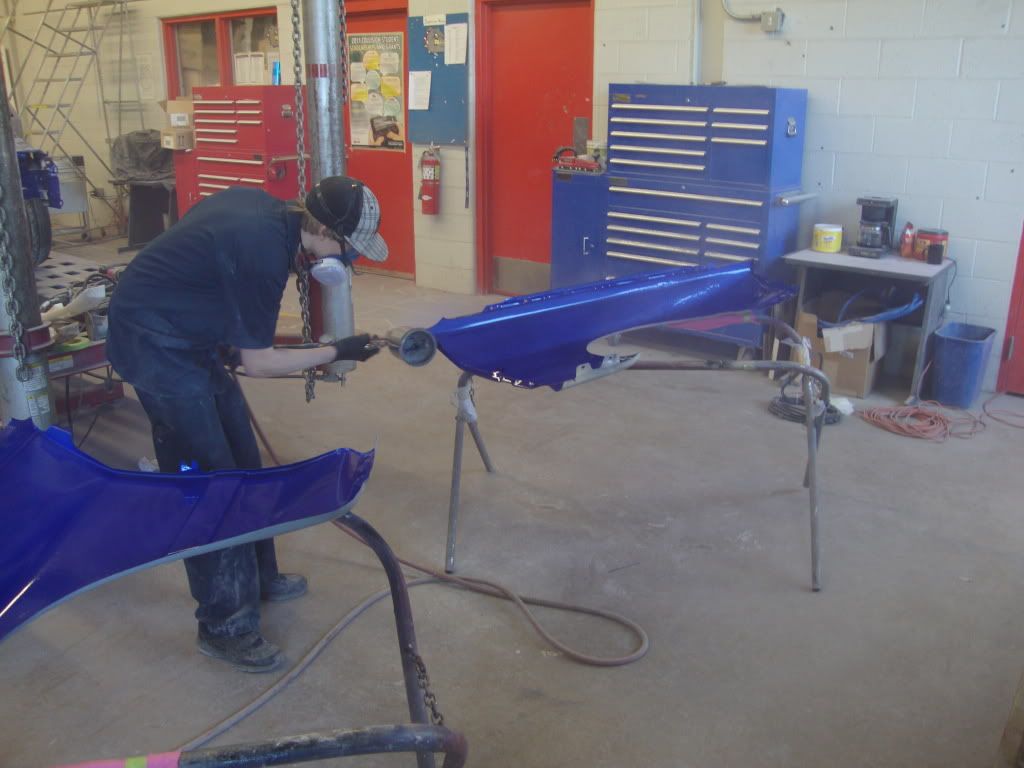
What got done today? Well, my buddy from shop, Anthony stopped by to help me sand and get the engine bay/door sills cut in and painted... It all turned out pretty good for the most part, minus my shirt touching the wet strut towers when I was on my second coat I guess I'll have to sand that part down and touch it up...
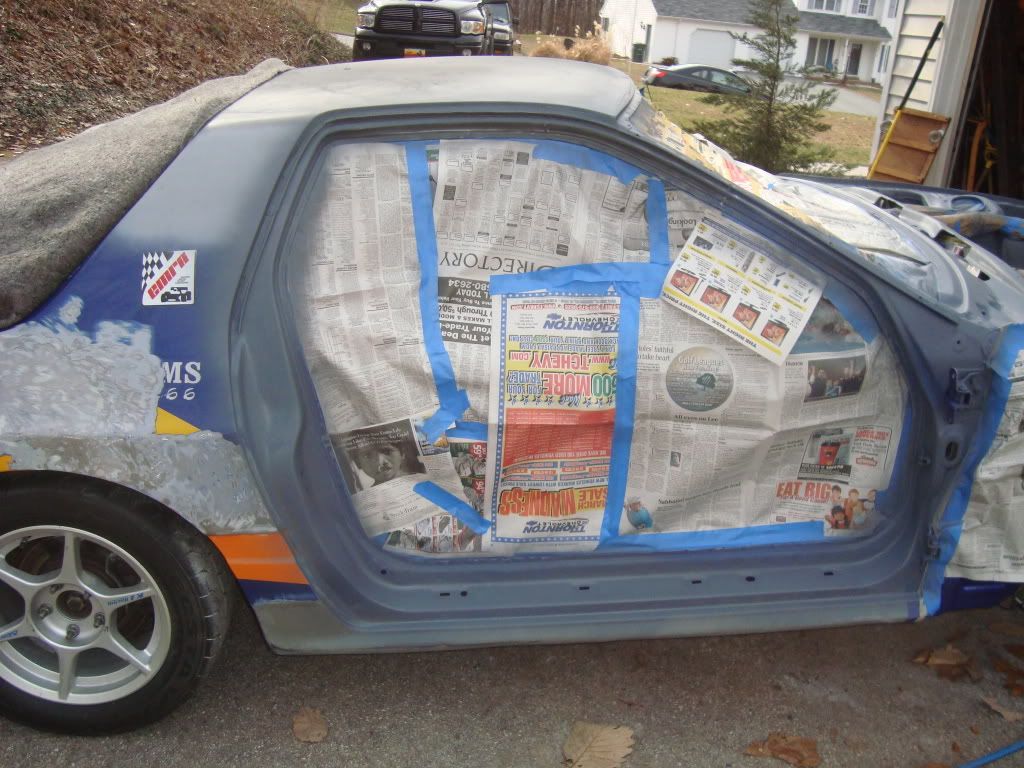
Once again... Back into the redneck paintbooth...
YES, I know, I'm not "supposed" to use newspaper...
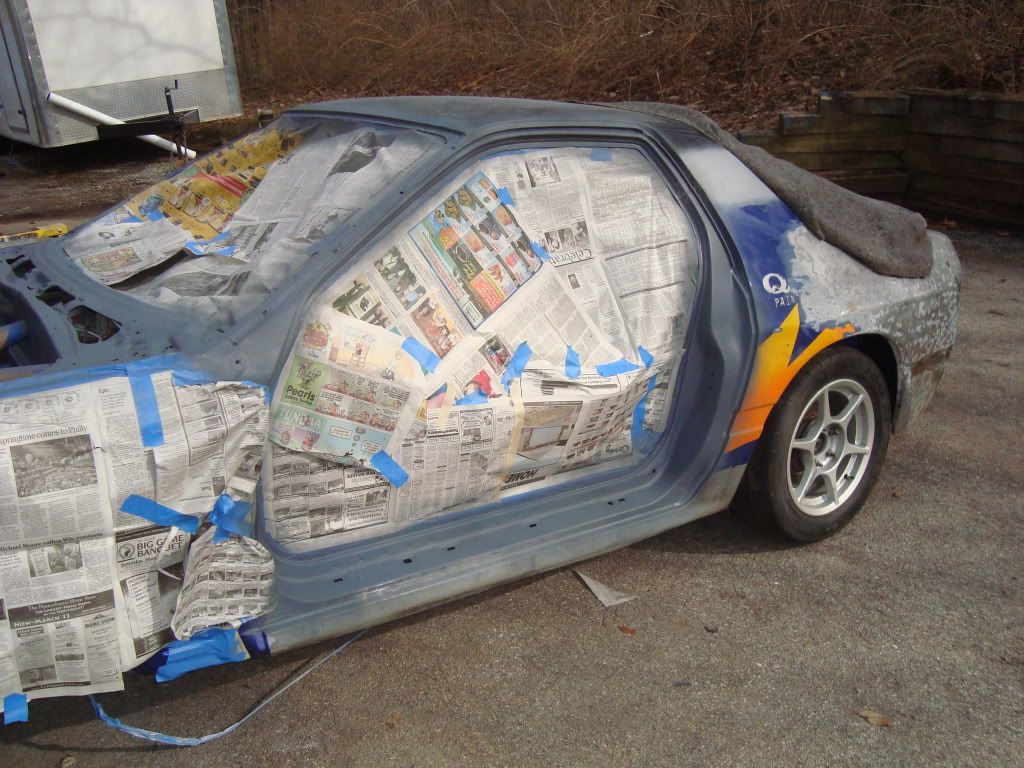
What got done today? Well, my buddy from shop, Anthony stopped by to help me sand and get the engine bay/door sills cut in and painted... It all turned out pretty good for the most part, minus my shirt touching the wet strut towers when I was on my second coat
Once again... Back into the redneck paintbooth...
YES, I know, I'm not "supposed" to use newspaper...
Thread Starter
Full Member
Joined: Jan 2011
Posts: 70
Likes: 0
From: 717
Let me elaborate a little...
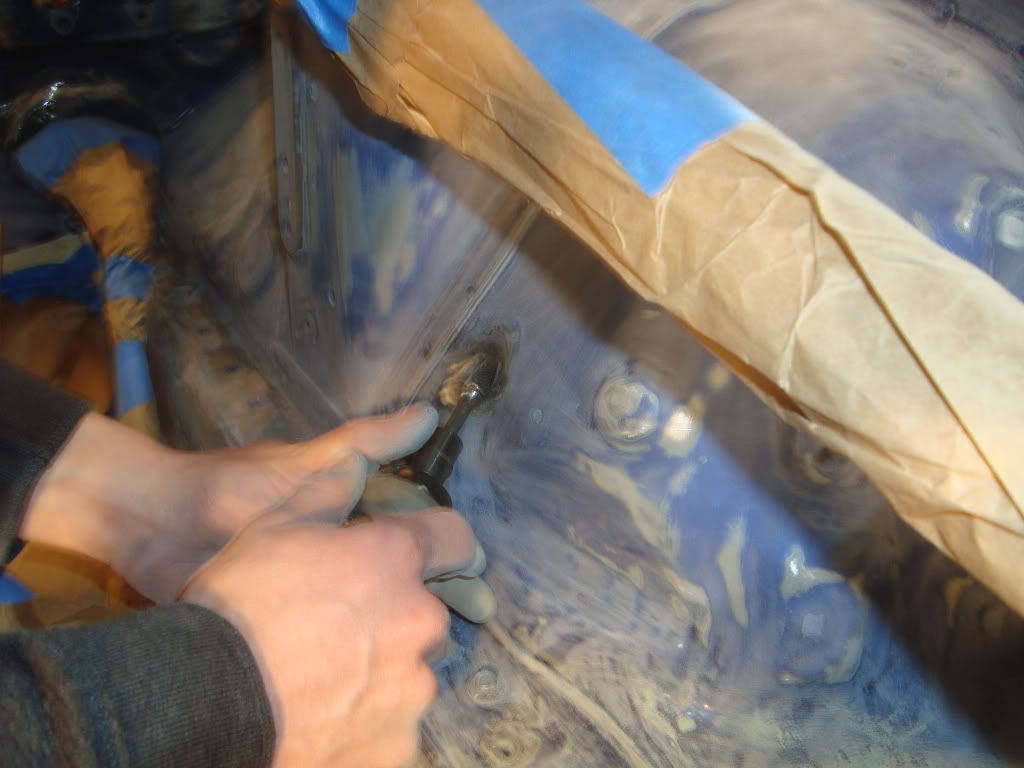
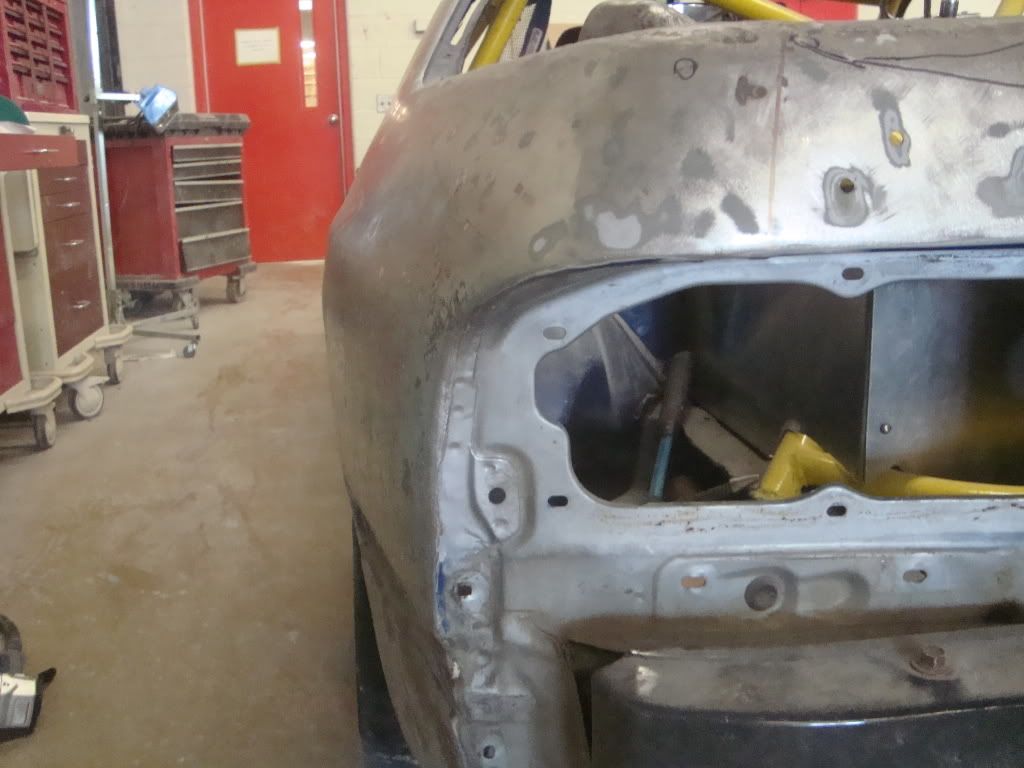
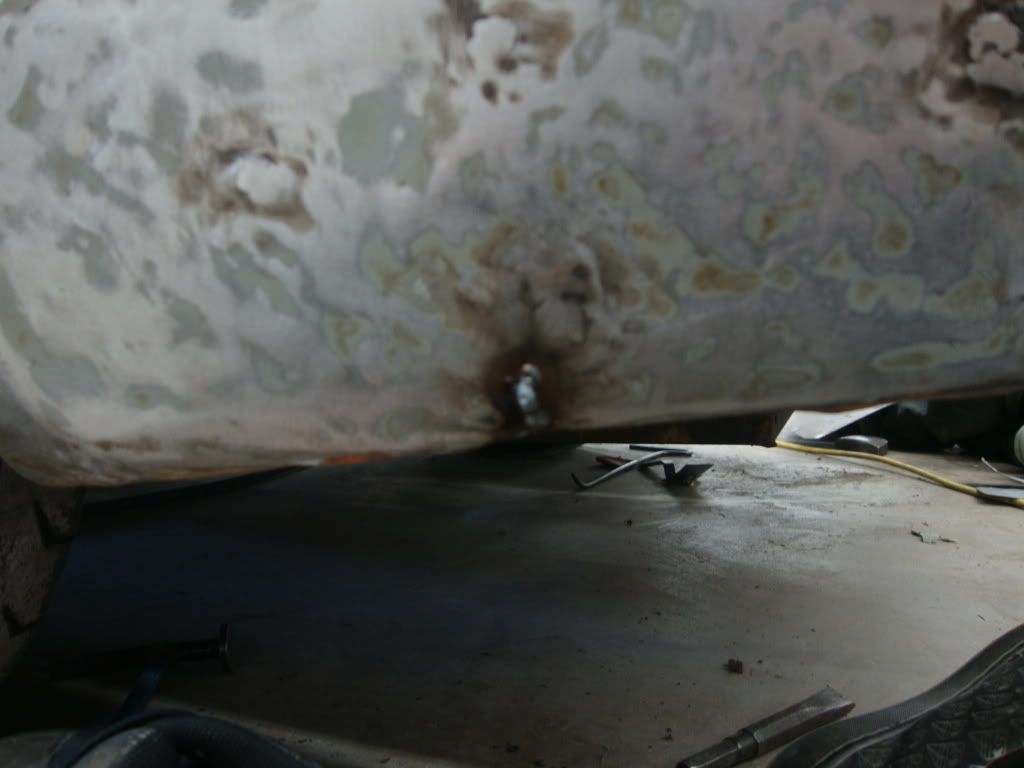
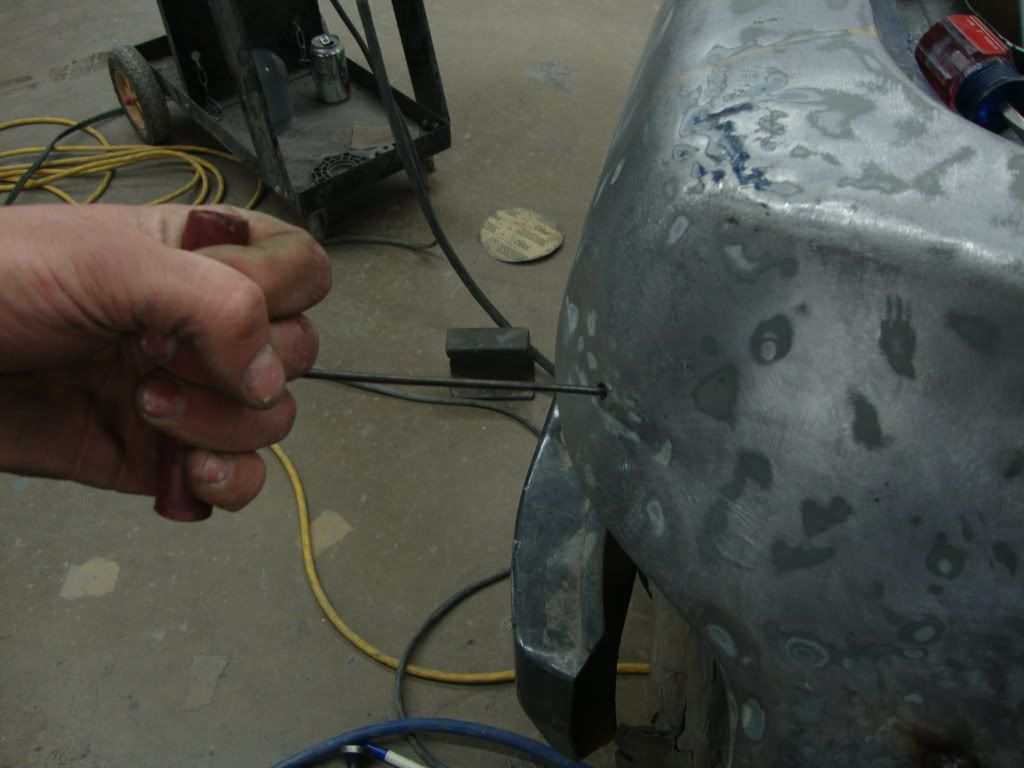
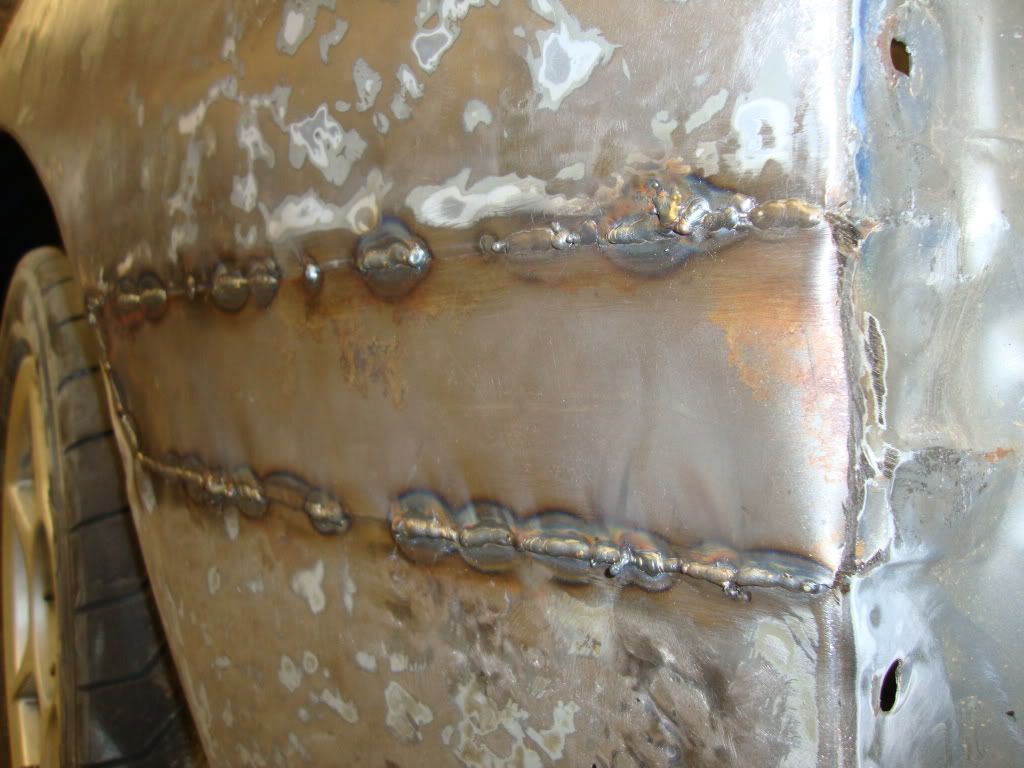
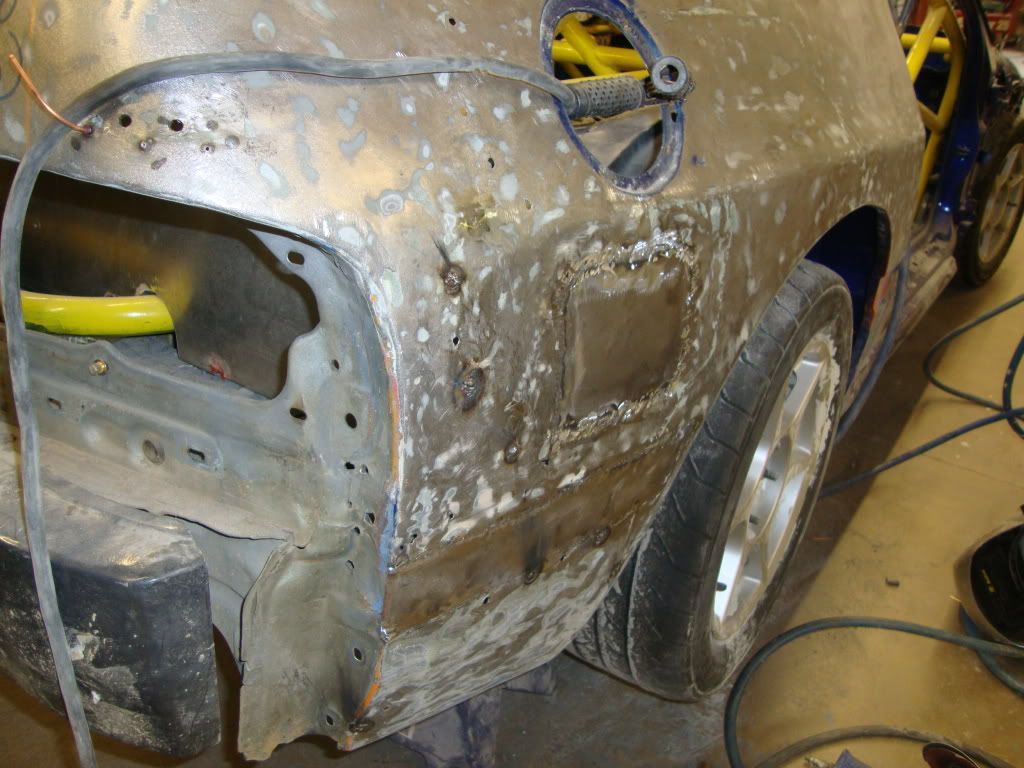
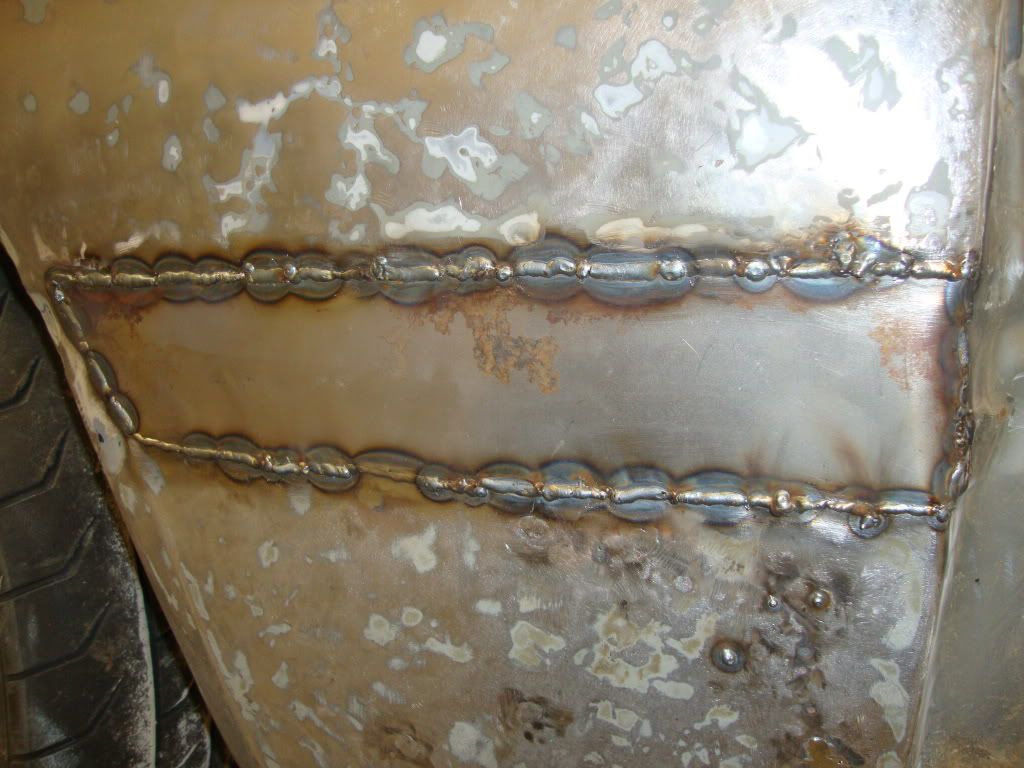
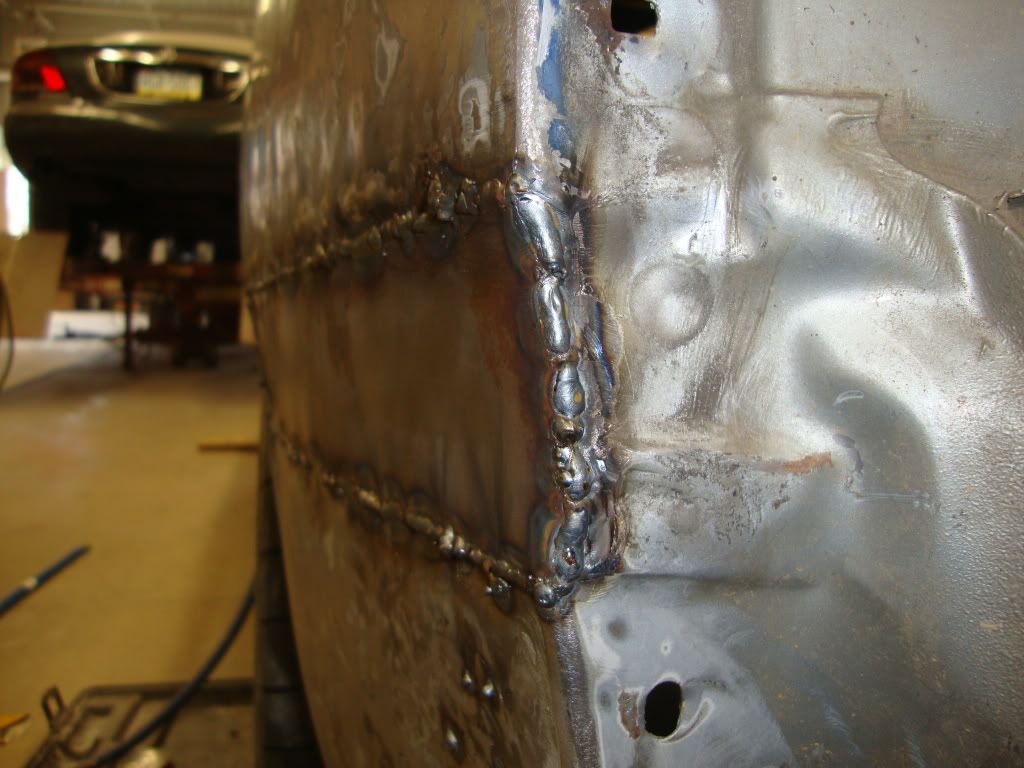
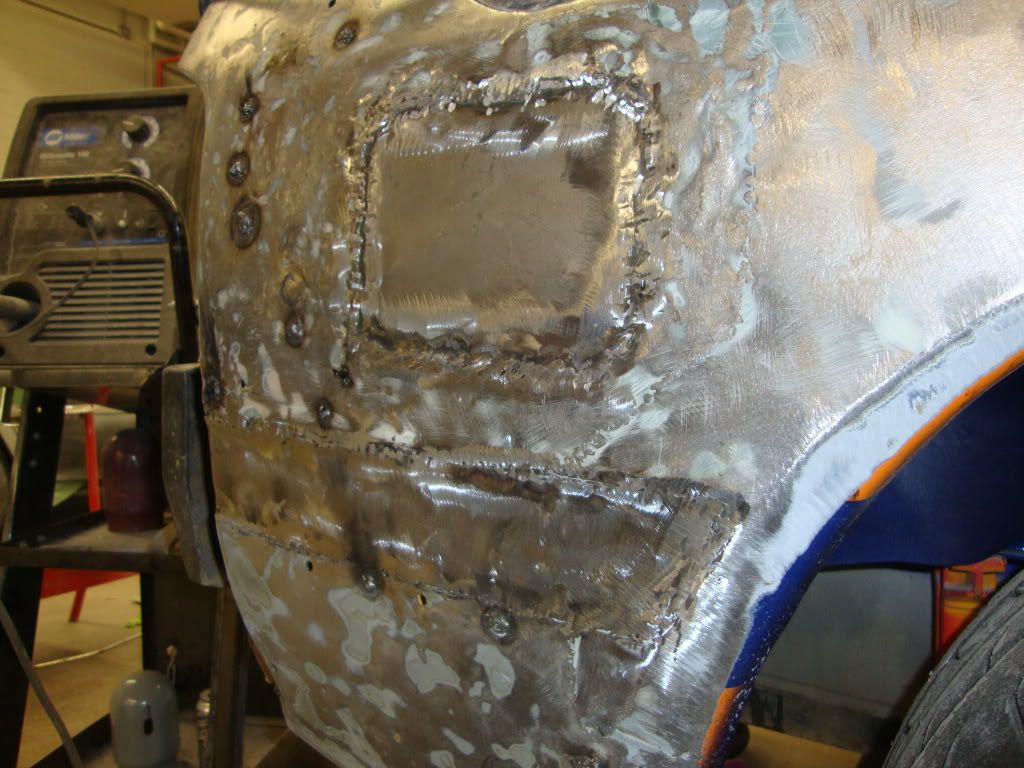
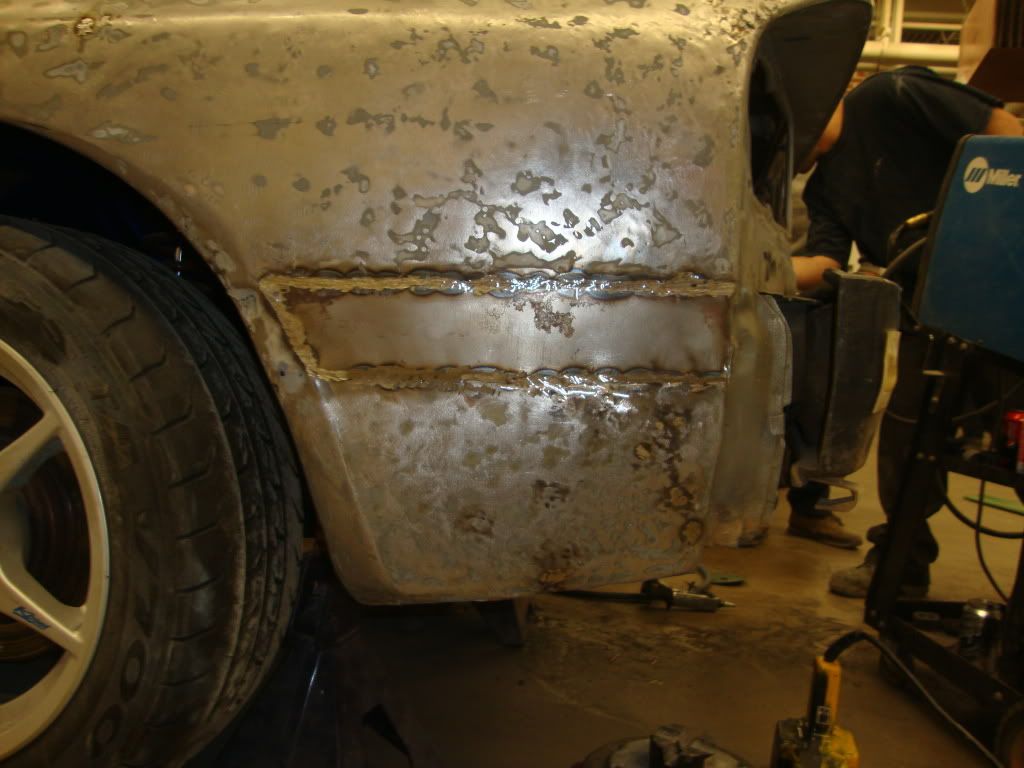
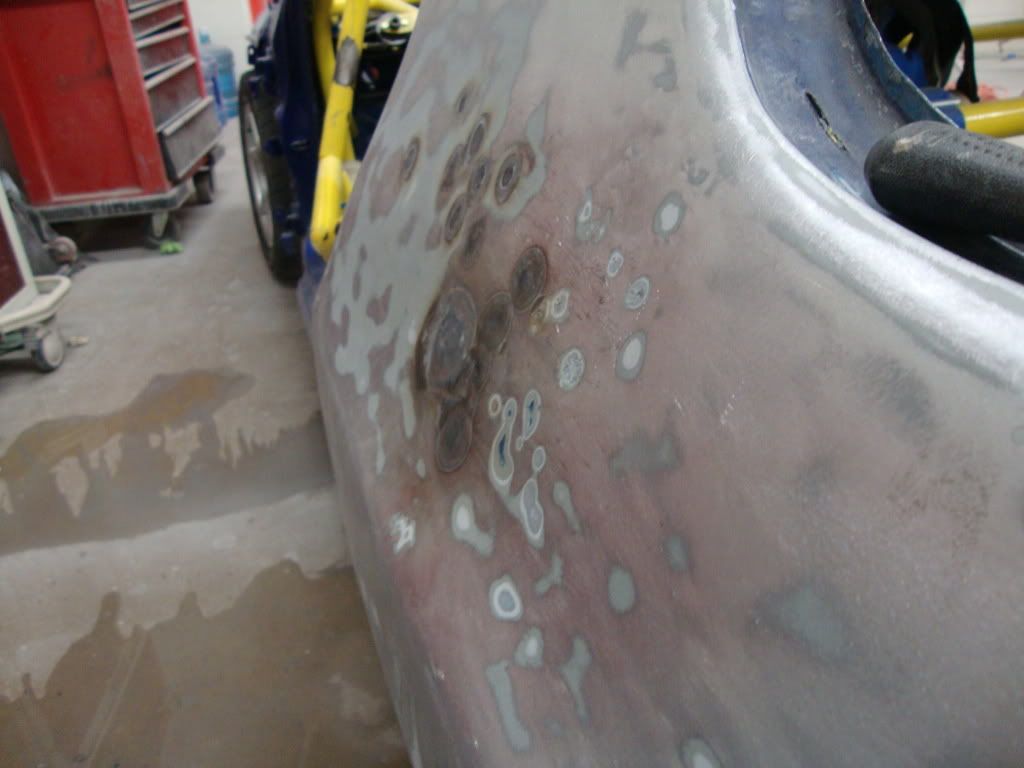
The picture of me grinding... That was a last minute decision to weld the hole shut (it is the hole for the brake line) but we decided to go for it because we want to run bulkhead fittings wherever we can in the bay.
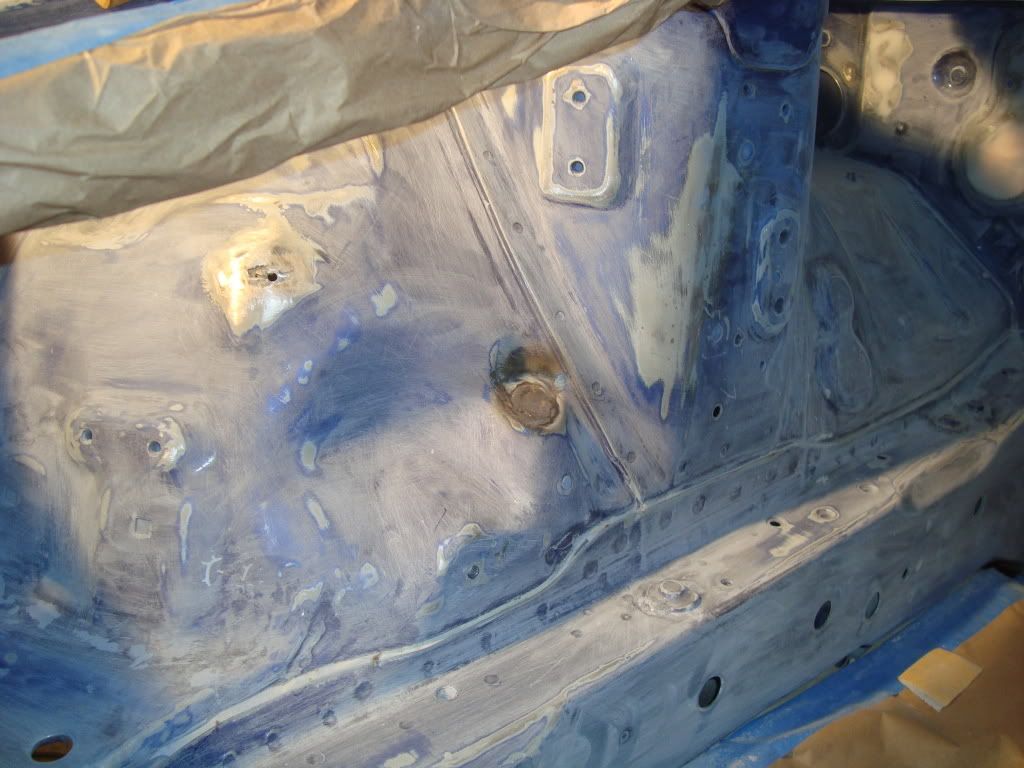
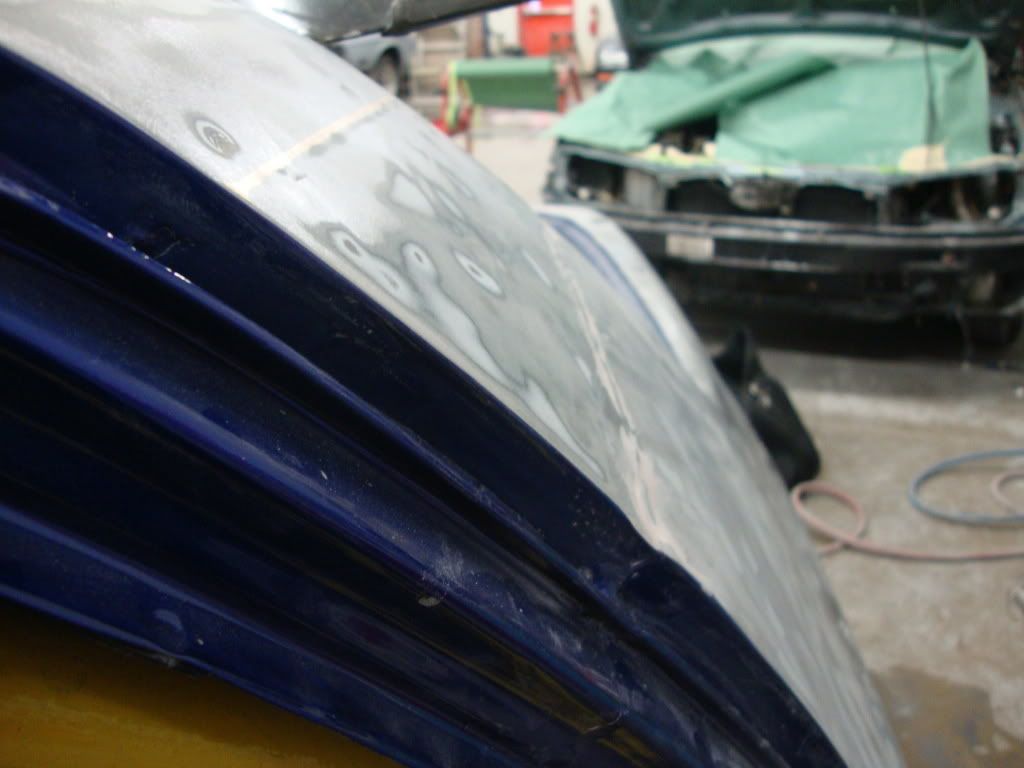
Also, I laid the paint on a little too heavy in the door sills, but not too much I can do about it. I just need to get rollin on this... It needs to be in paint in two weeks...
The next question... Will it blend?
The picture of me grinding... That was a last minute decision to weld the hole shut (it is the hole for the brake line) but we decided to go for it because we want to run bulkhead fittings wherever we can in the bay.
Also, I laid the paint on a little too heavy in the door sills, but not too much I can do about it. I just need to get rollin on this... It needs to be in paint in two weeks...
The next question... Will it blend?
Thread Starter
Full Member
Joined: Jan 2011
Posts: 70
Likes: 0
From: 717
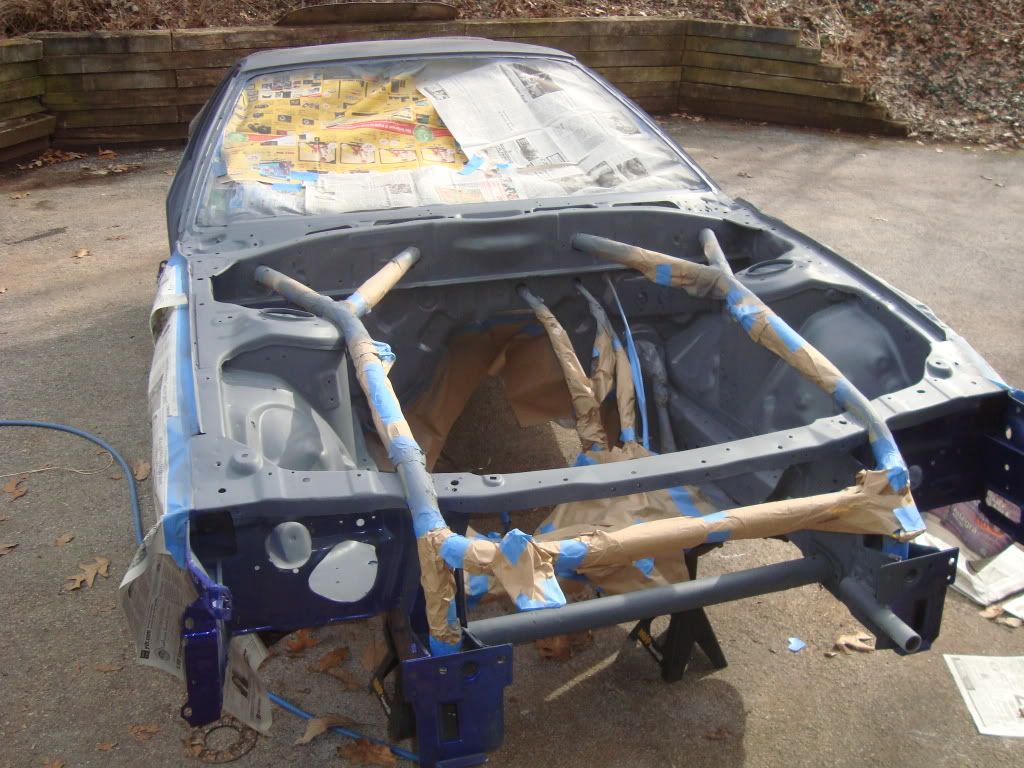
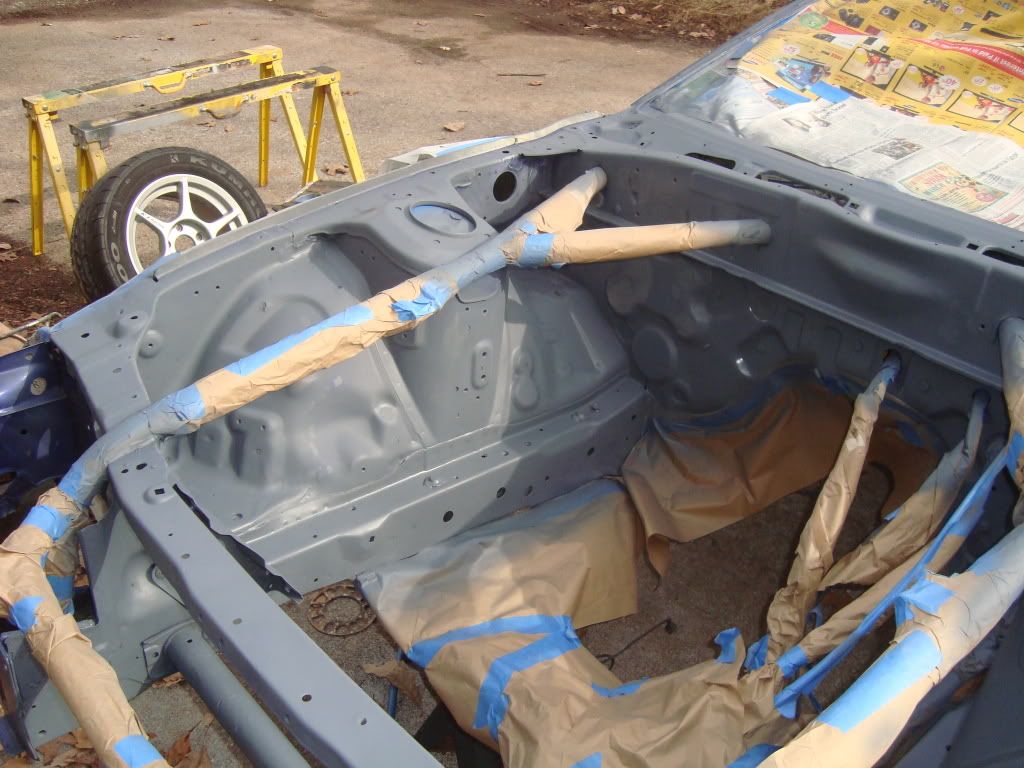
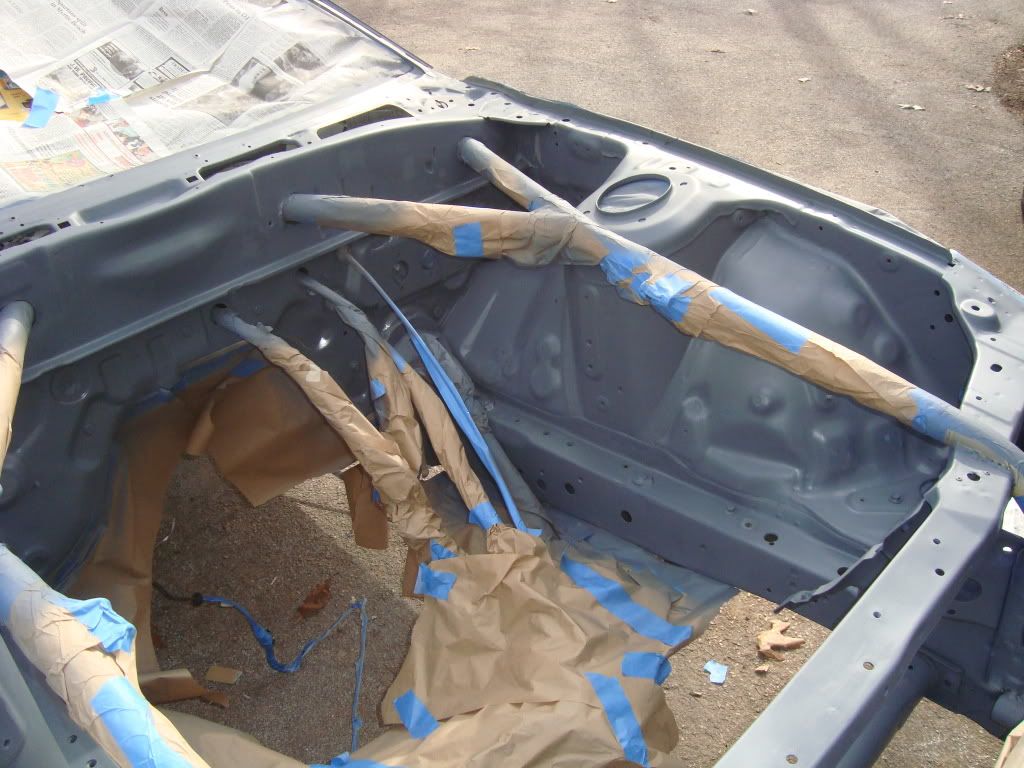
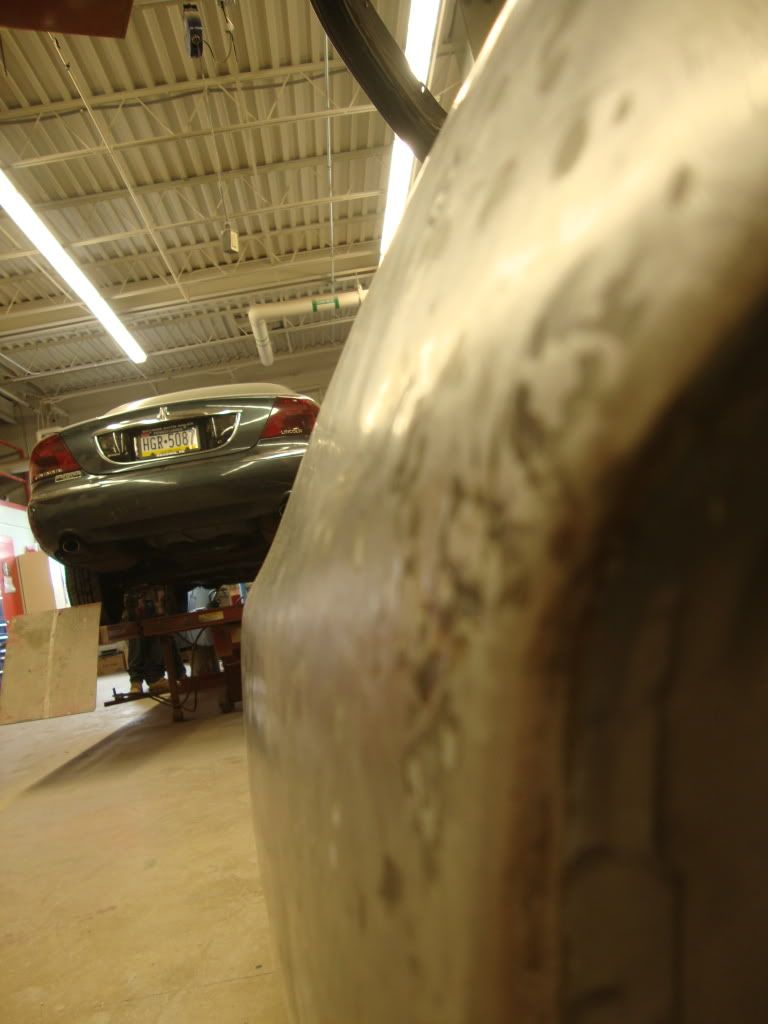
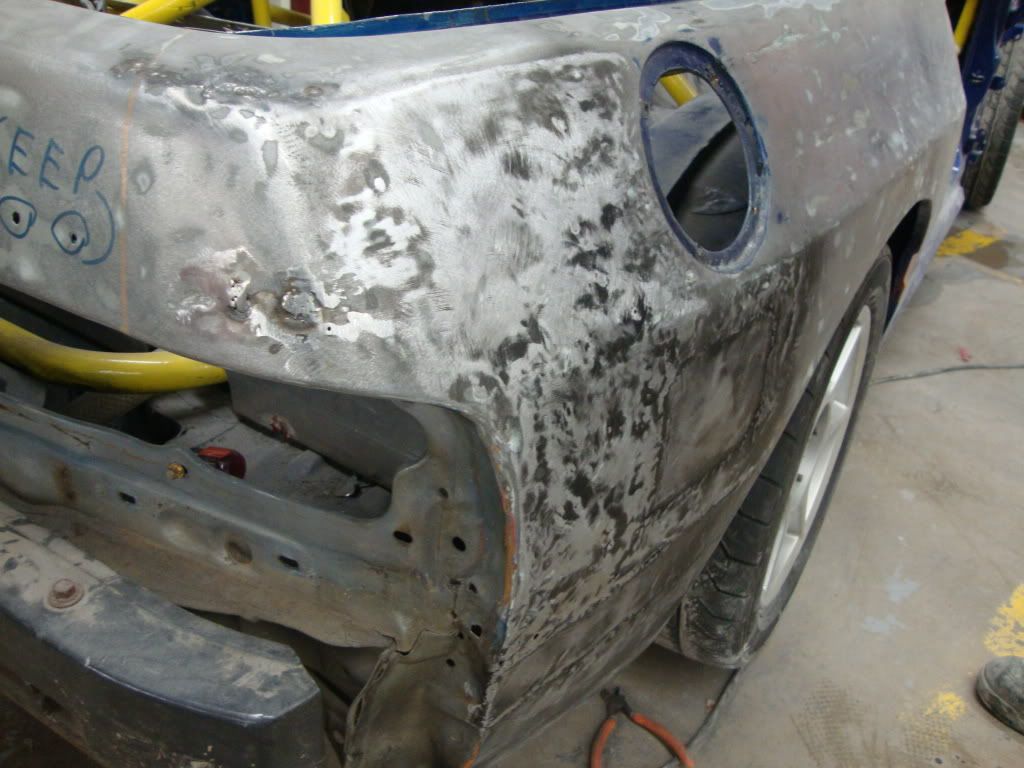
Today... Didnt get anything done on the car. We went to Speed 1 and dropped on a few transmissions and hopefully picking up two complete built ones next week. We also stopped by a couple places to pick up brake line fittings, but we had to order a few so bending up all the brake lines will have to be put off until around Monday.
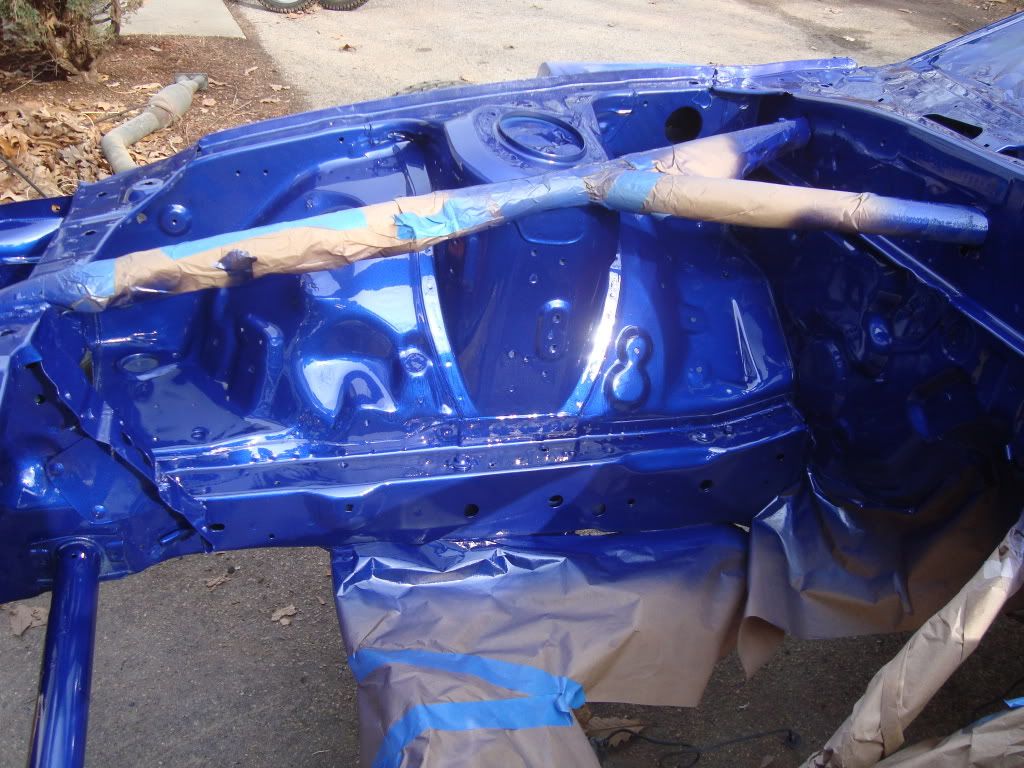
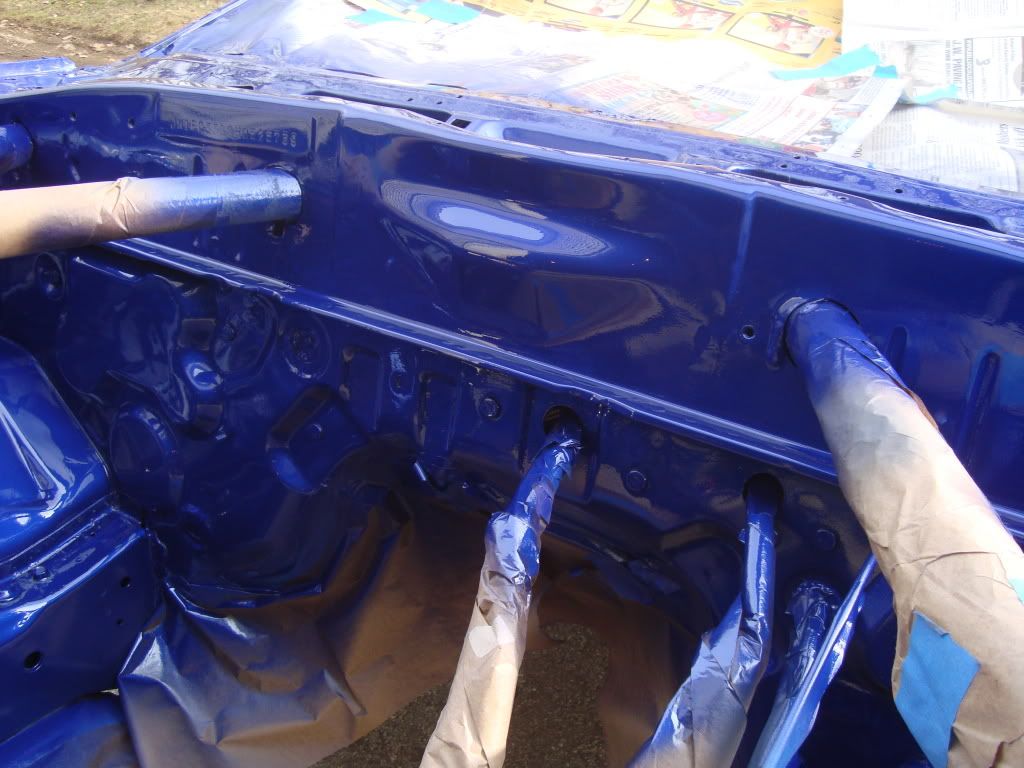
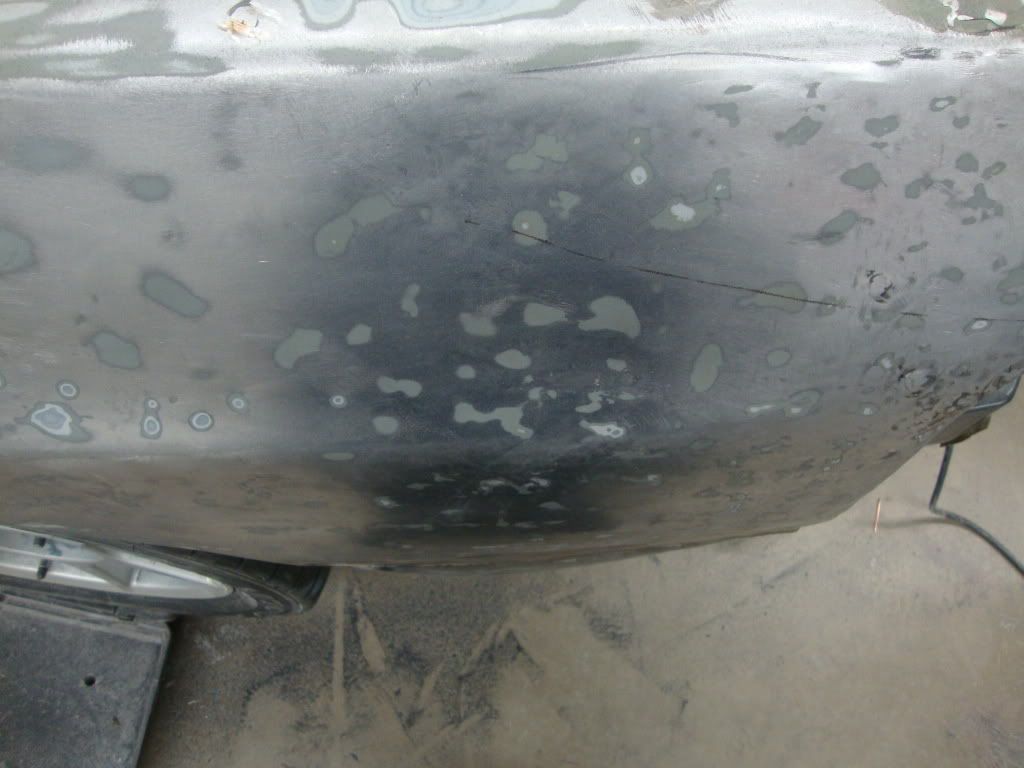
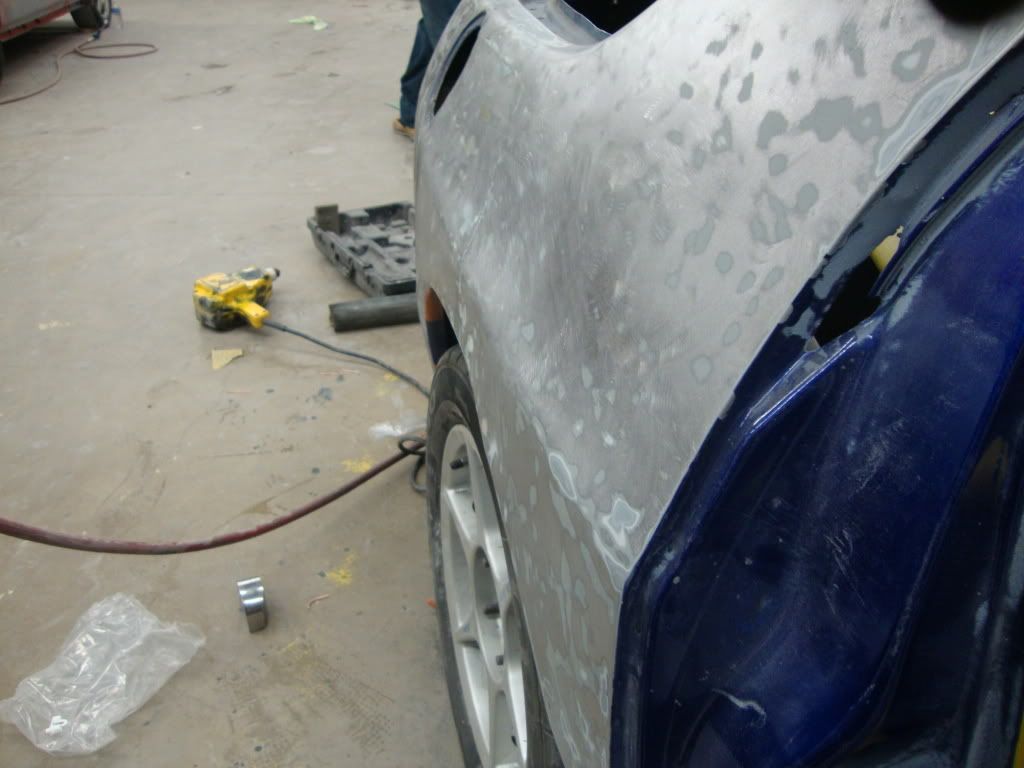
I'm planning on repainting the roll bars in the front tomorrow, and putting together the engine bay so it'll be ready for lines to be run and for the motor and trans to be dropped in after the body work is done. I wish I could get the car outside so I could grind the rest of the plastic off the pass side quarter, but with the poor weather coming who knows when that'll happen. We didnt suffer much die back in the paint in the engine bay (it seems) and there arent any sand scratches, so I'm at least happy the prep work was done right. Hey, its a race car, right?
Deadline for paint: March 25th
Thread Starter
Full Member
Joined: Jan 2011
Posts: 70
Likes: 0
From: 717
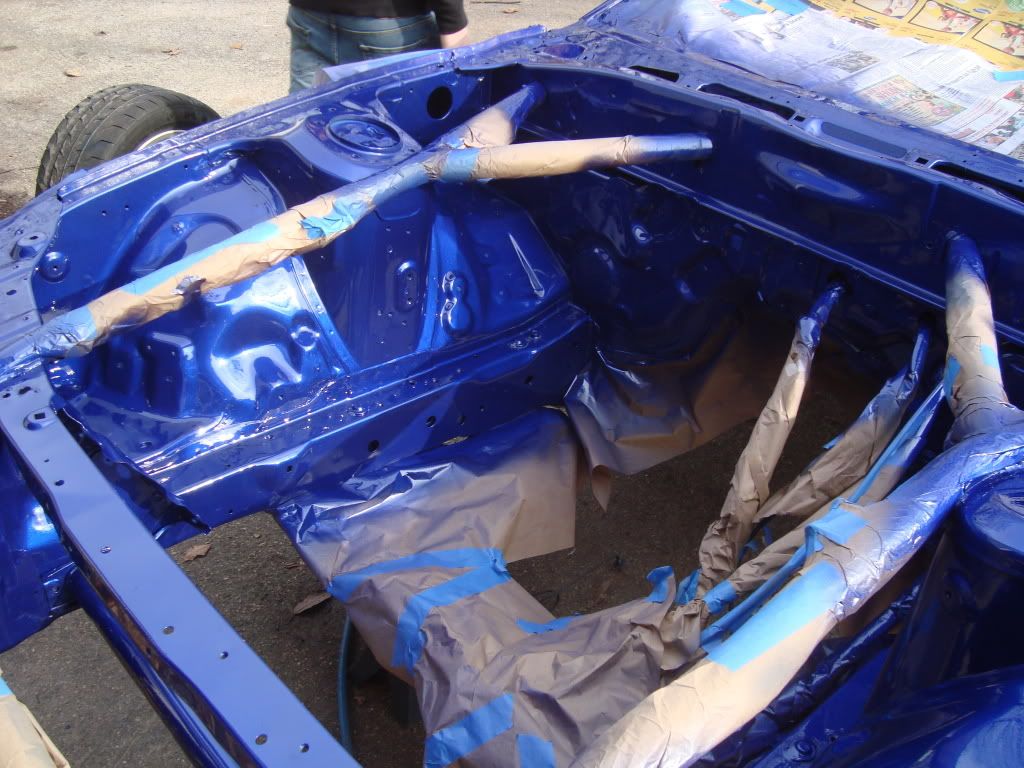
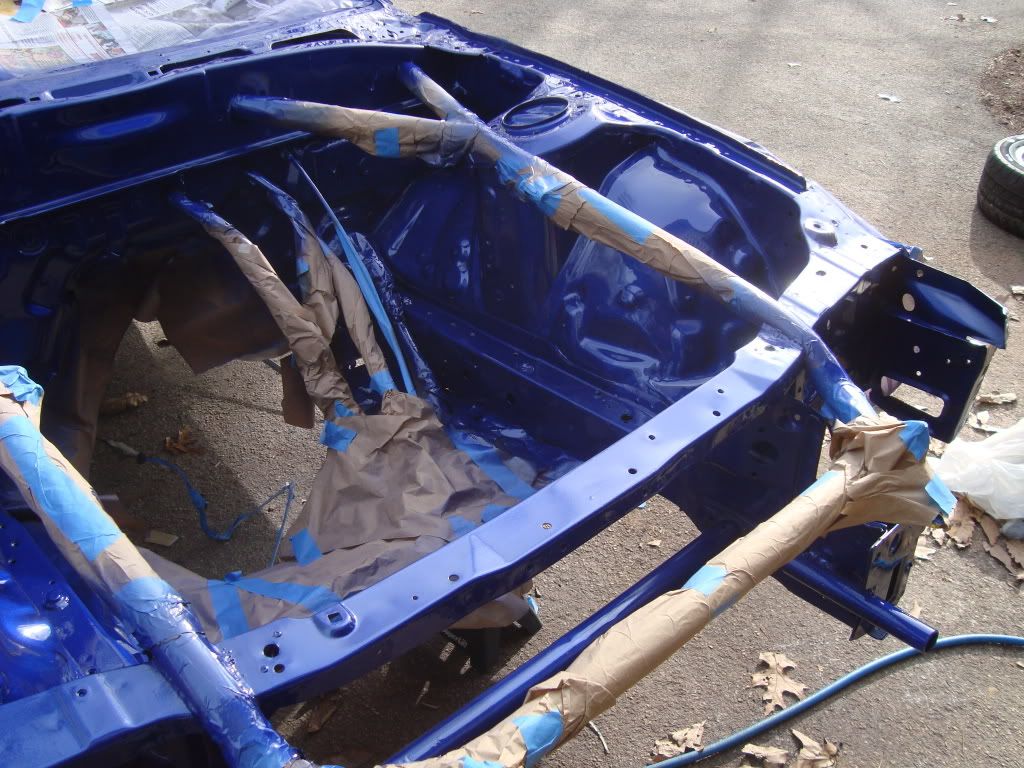
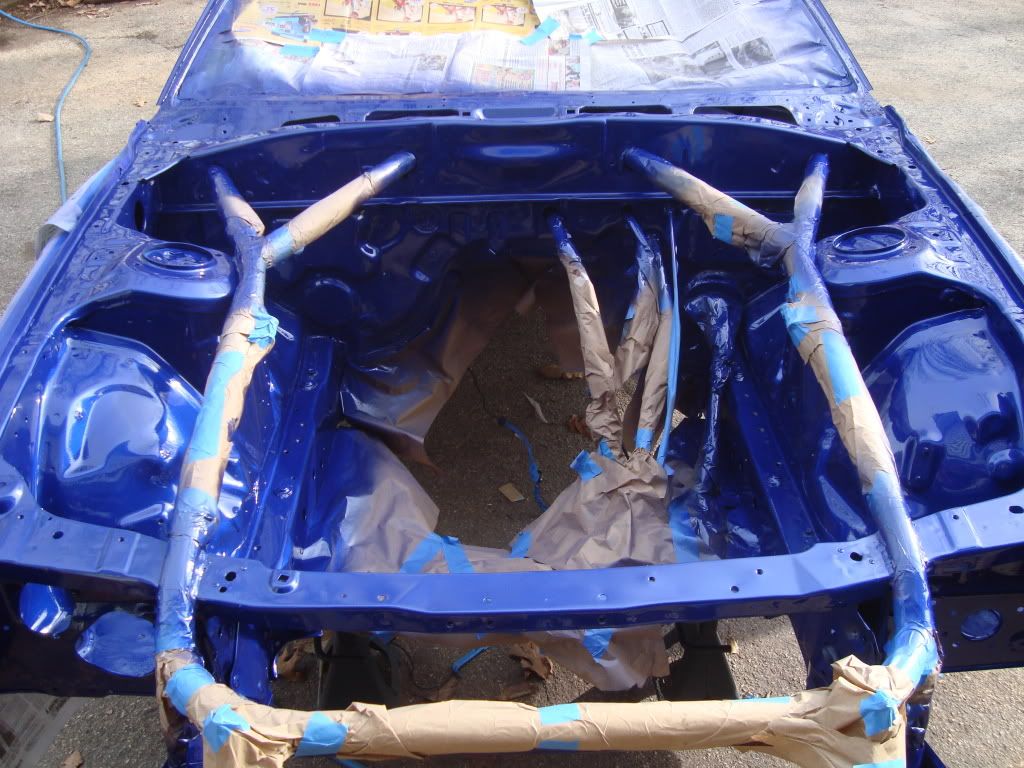
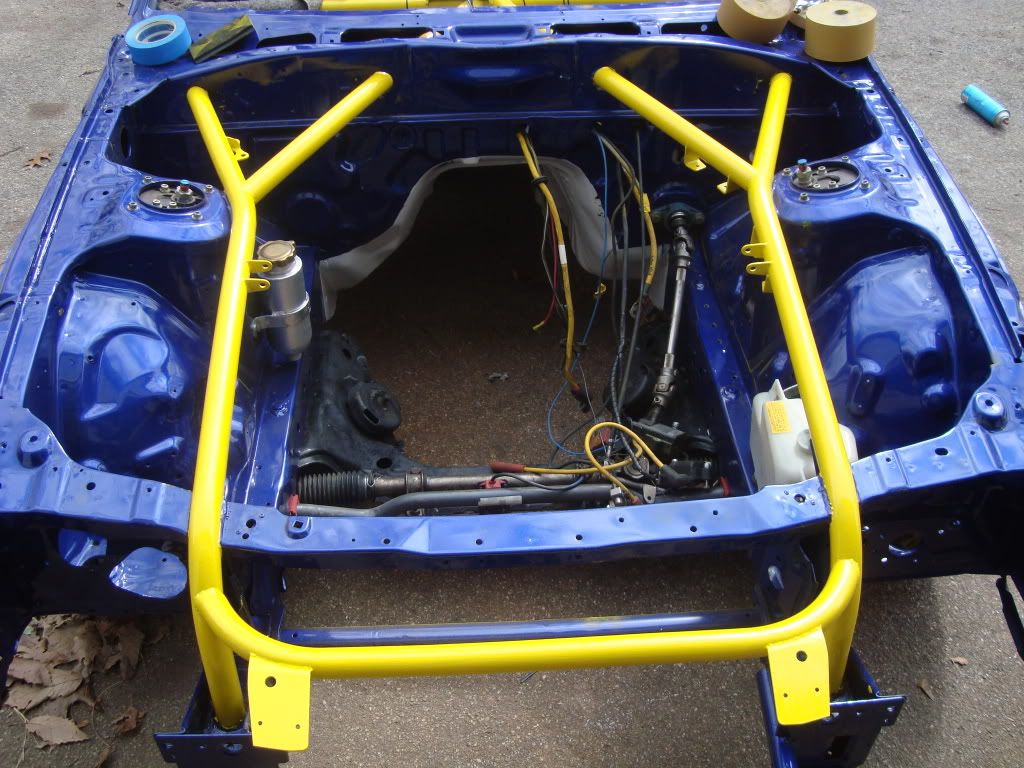
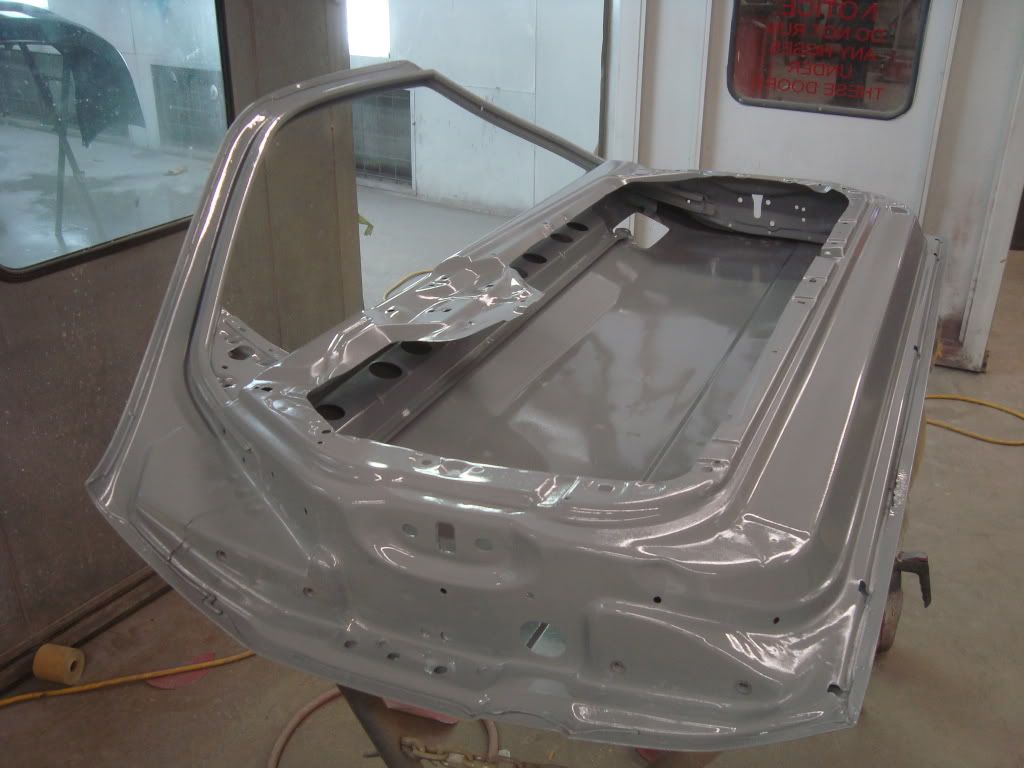
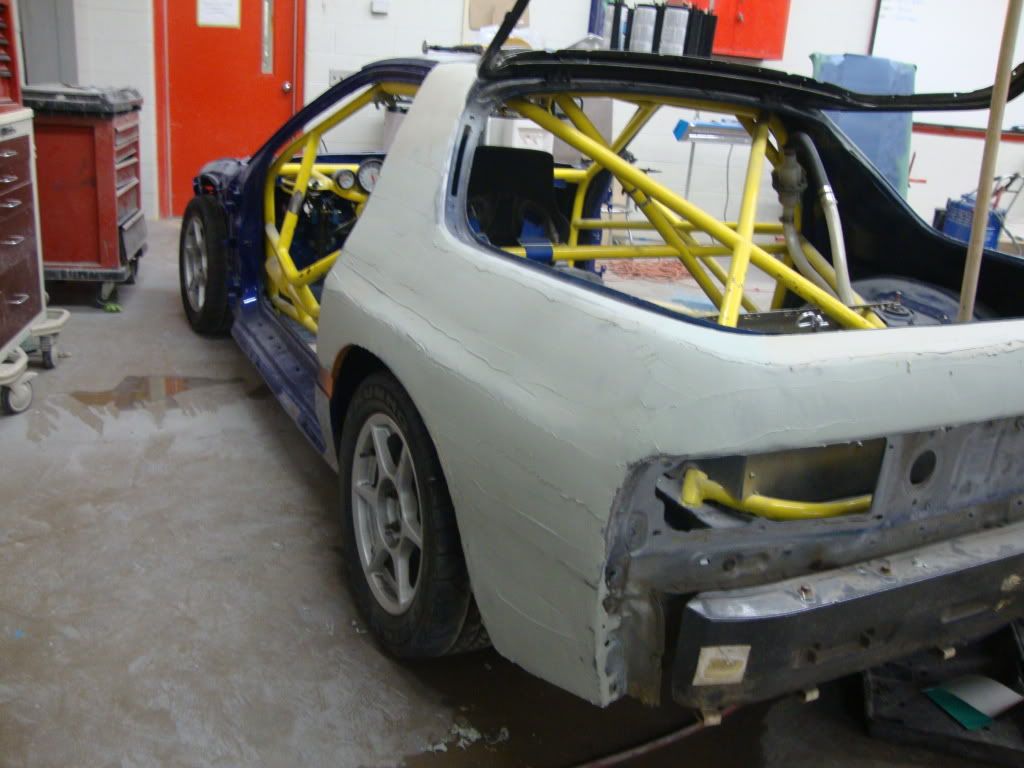
Roll cage ready to be "touched up"
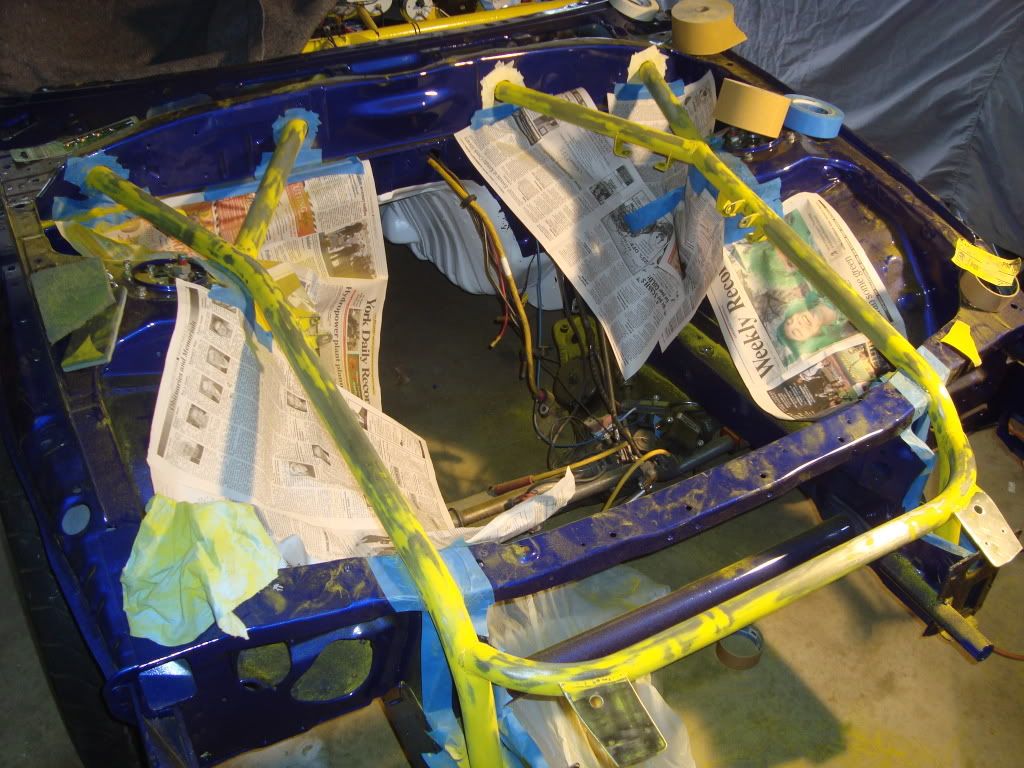
painted:
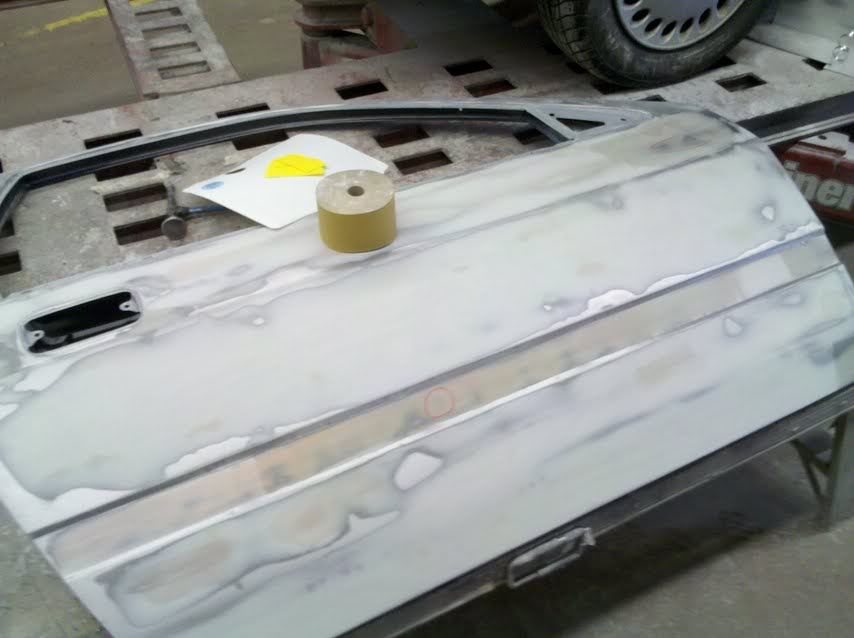
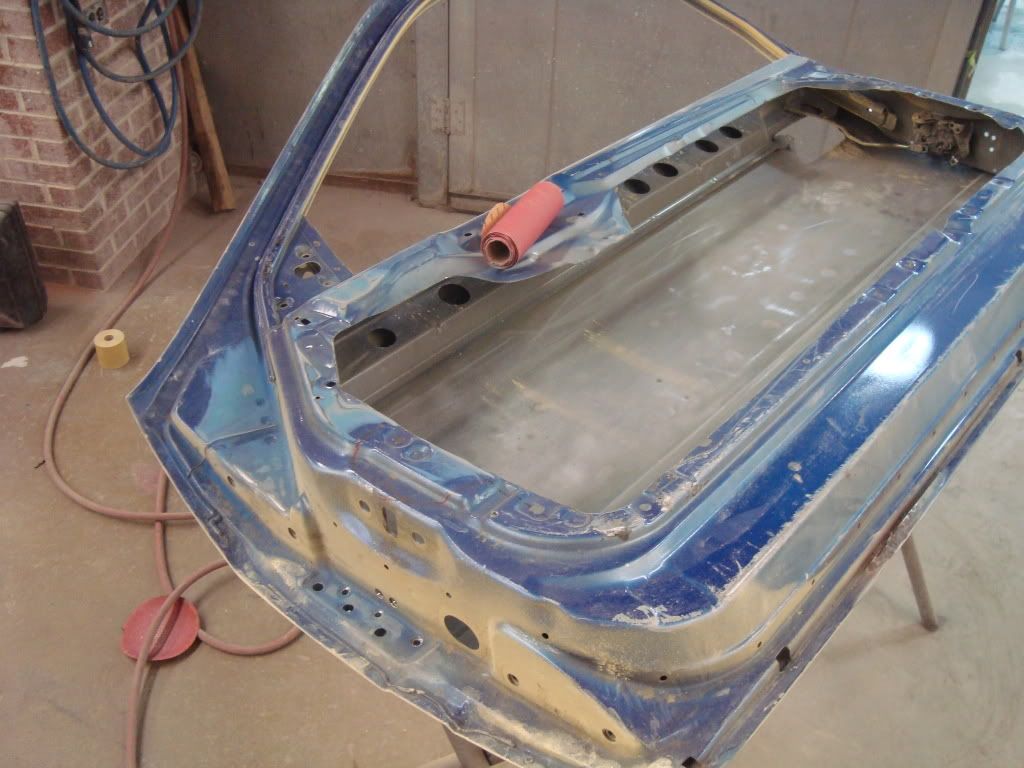
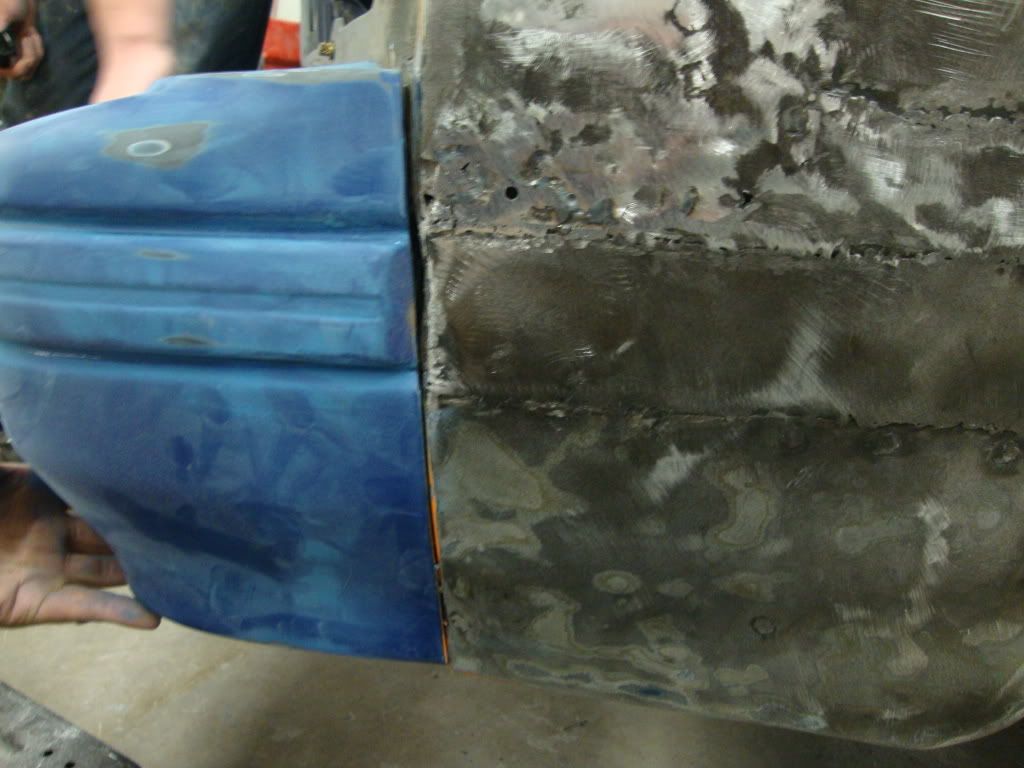
and I FINALLY finished the metalwork on the passanger side door. I then sealed and primed it:
Hopefully I can get the door done tomorrow, but it depends what we end up doing in class... We've been talking about taking another ICAR test, which will take up an entire class day.
painted:
and I FINALLY finished the metalwork on the passanger side door. I then sealed and primed it:
Hopefully I can get the door done tomorrow, but it depends what we end up doing in class... We've been talking about taking another ICAR test, which will take up an entire class day.
Thread Starter
Full Member
Joined: Jan 2011
Posts: 70
Likes: 0
From: 717
I sealed the inside and outside of the door and got the inside in color today. Also, we got the car up to my school so I can finish the body work and paint it. Hopefully the car will be done body work next friday

Thread Starter
Full Member
Joined: Jan 2011
Posts: 70
Likes: 0
From: 717
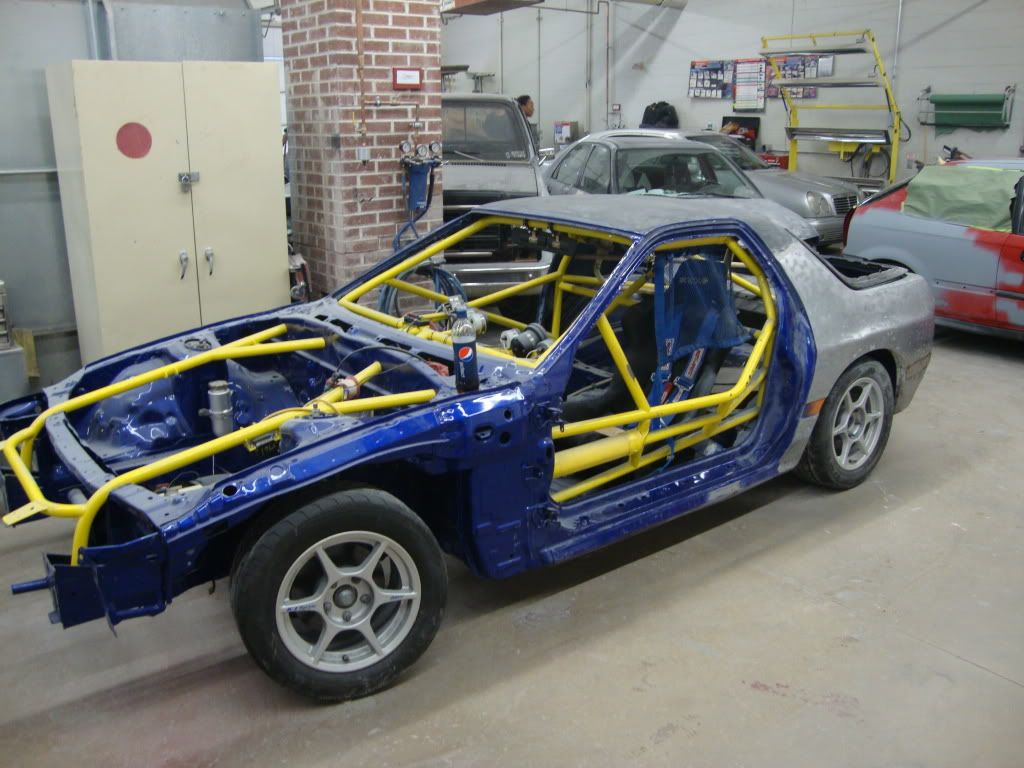
WOW its been a while... ALOT has been done. for starters, the car is now at my shop class. I'll let the pictures speak. I also bought a new camera, so hopefully everything will be a little easier for yall to see.
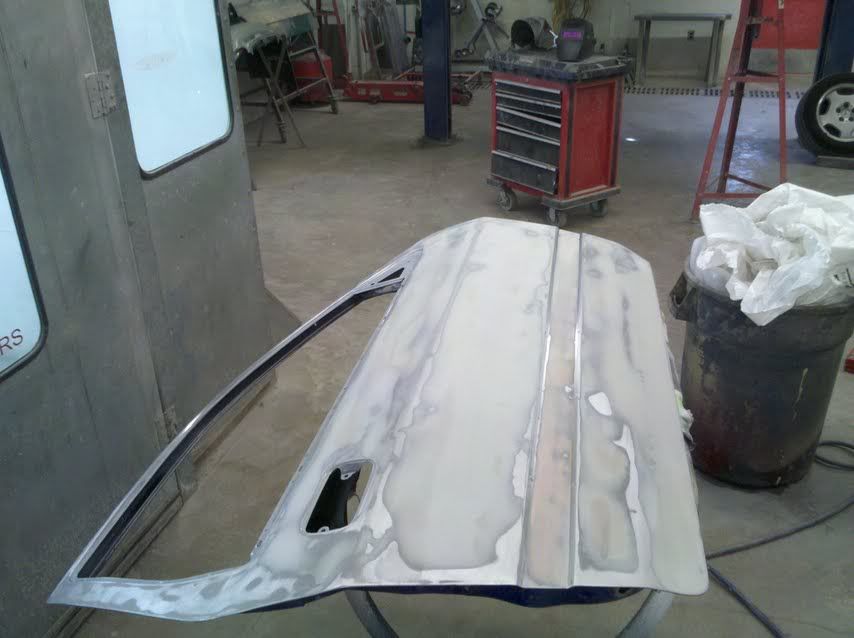
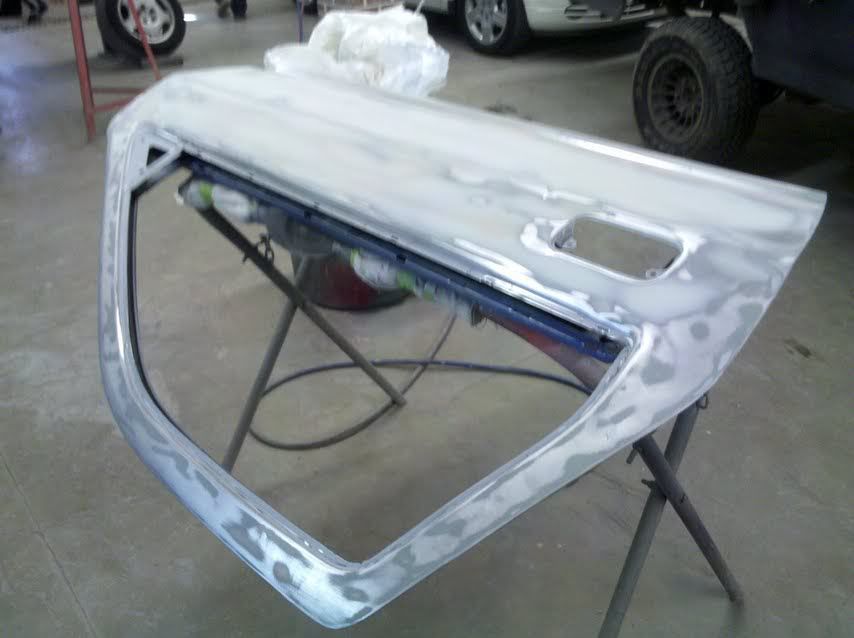
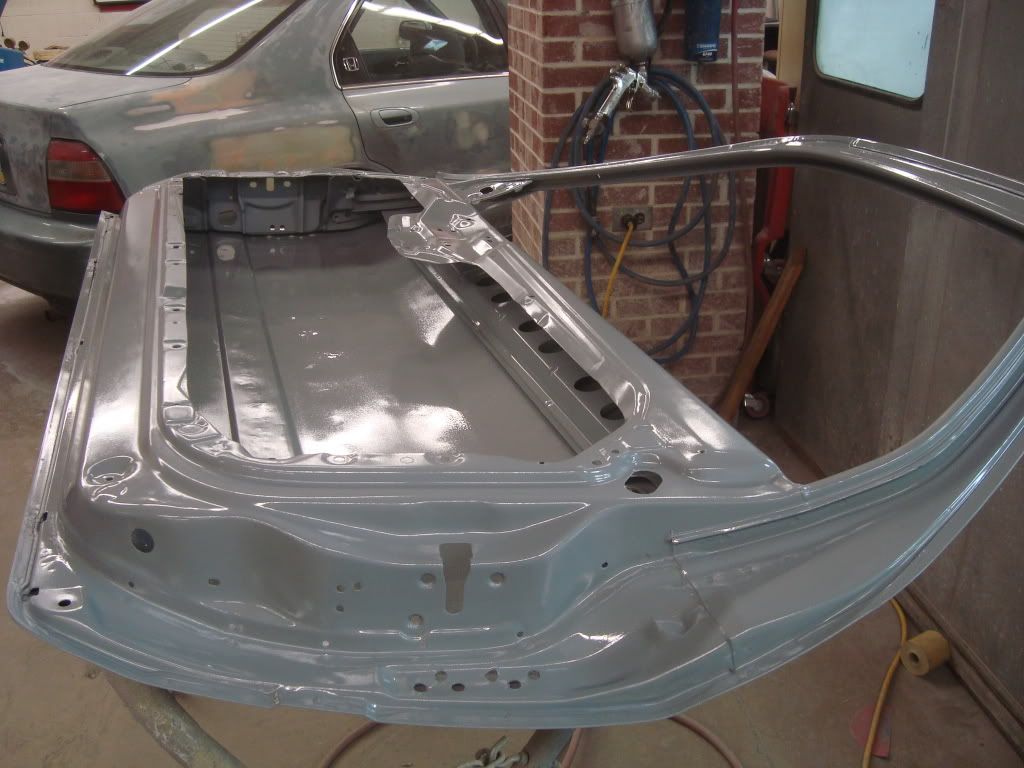
Passanger side door- I felt pretty good with this door. I felt it was pretty straight. I primered it and blocked it down... One coat of primer was all I needed, then I sealed the inside and outside and painted the inside.
Primered:
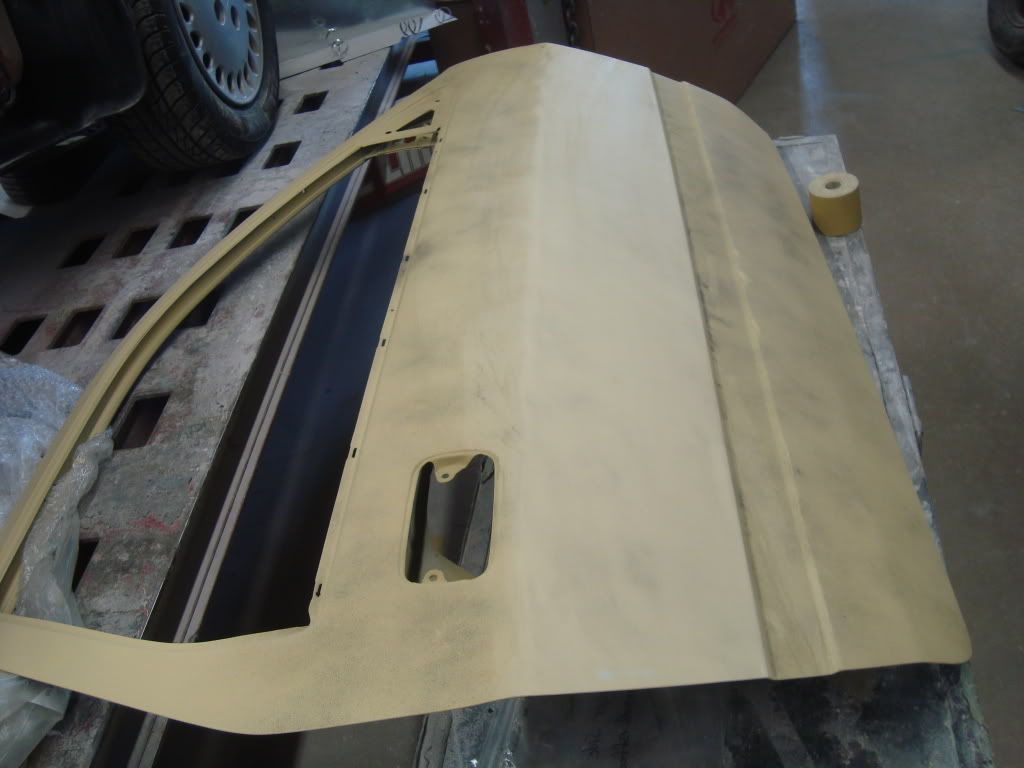
Prepping the inside for sealer and paint:


Thread Starter
Full Member
Joined: Jan 2011
Posts: 70
Likes: 0
From: 717
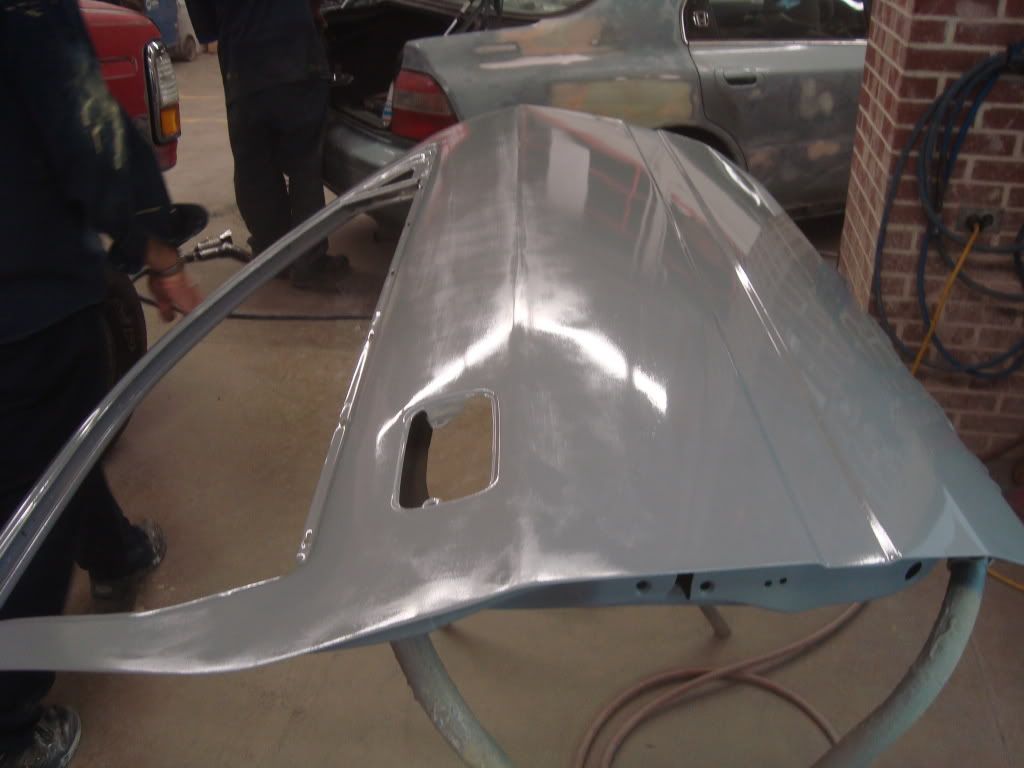
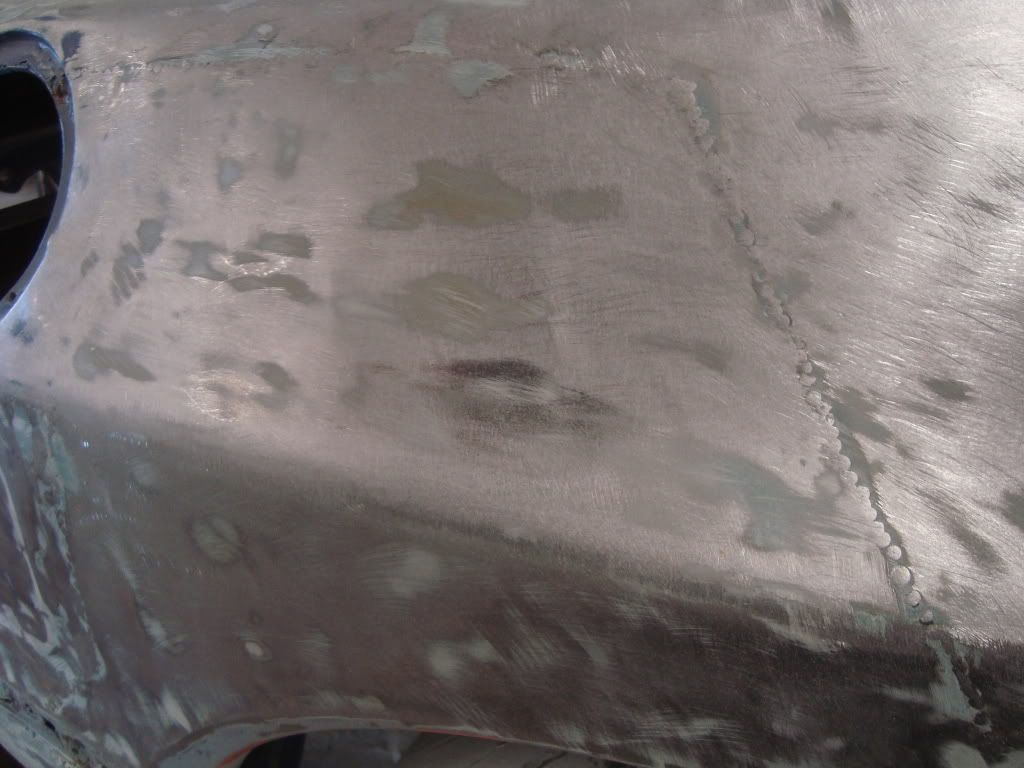
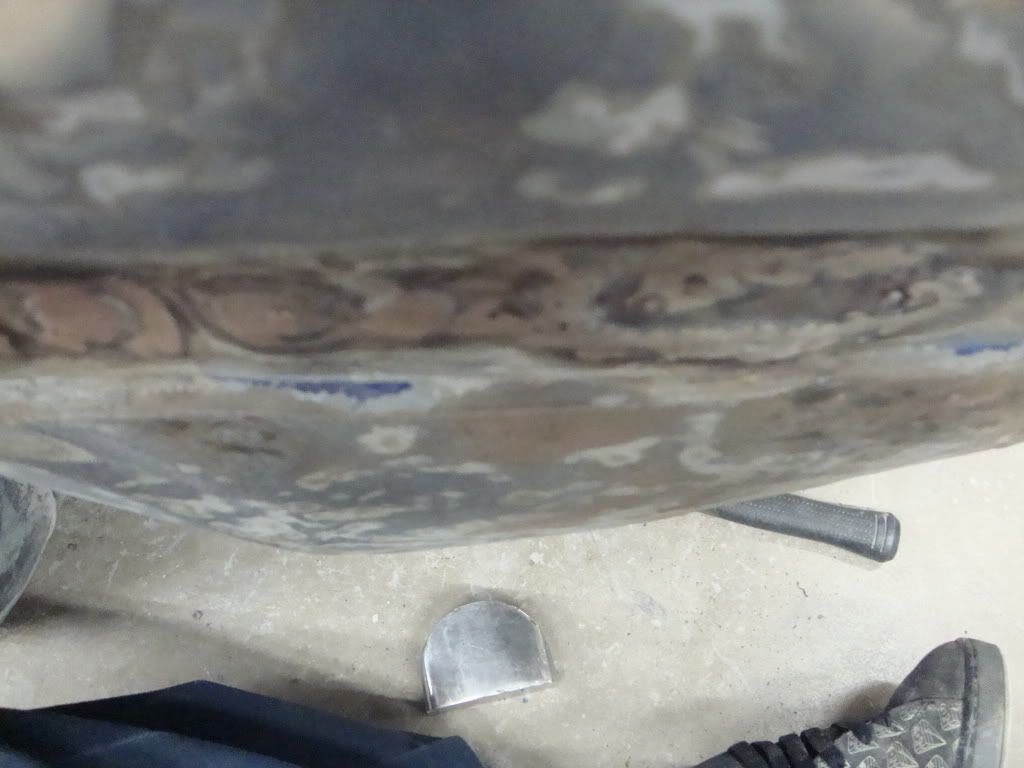
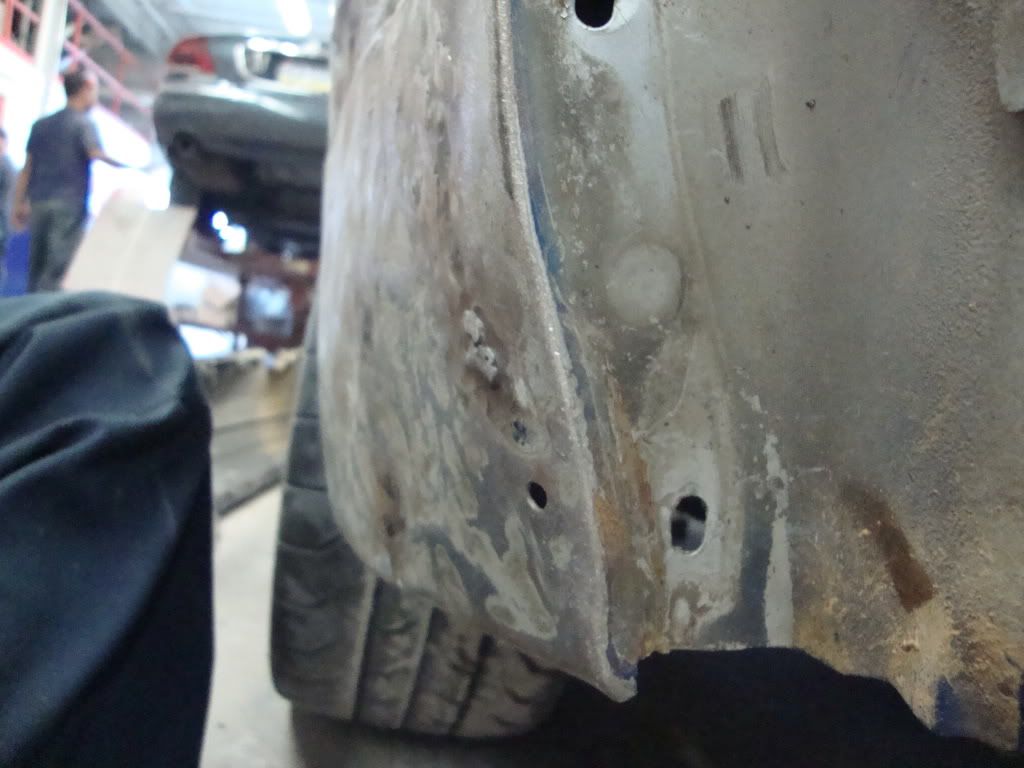
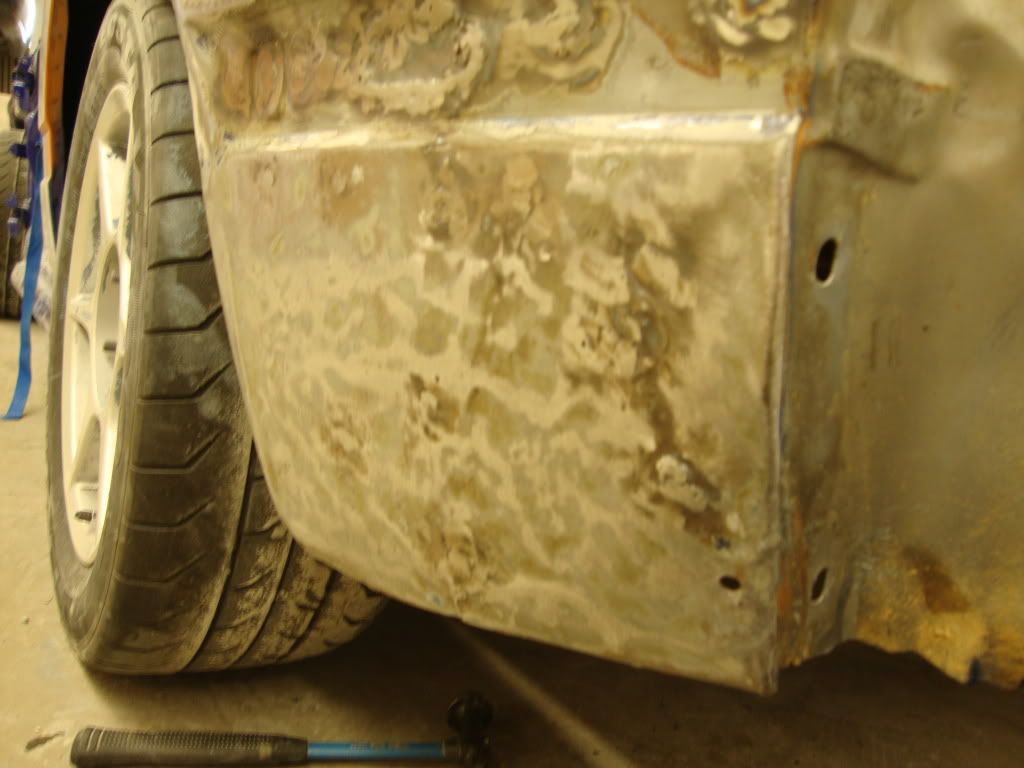
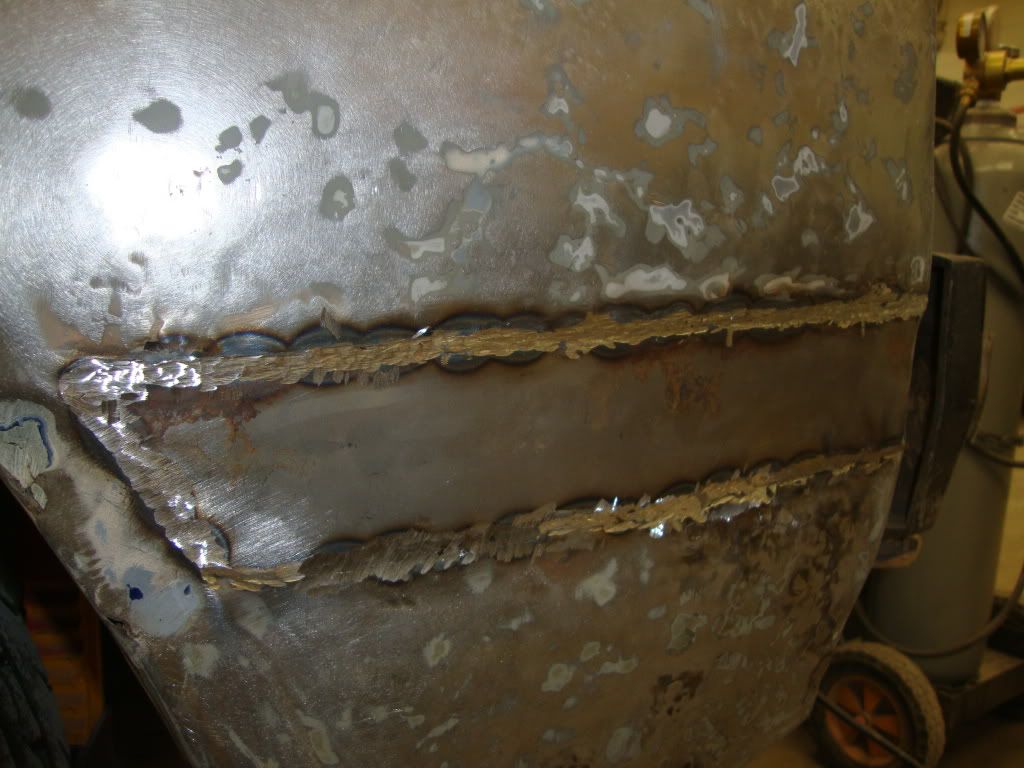
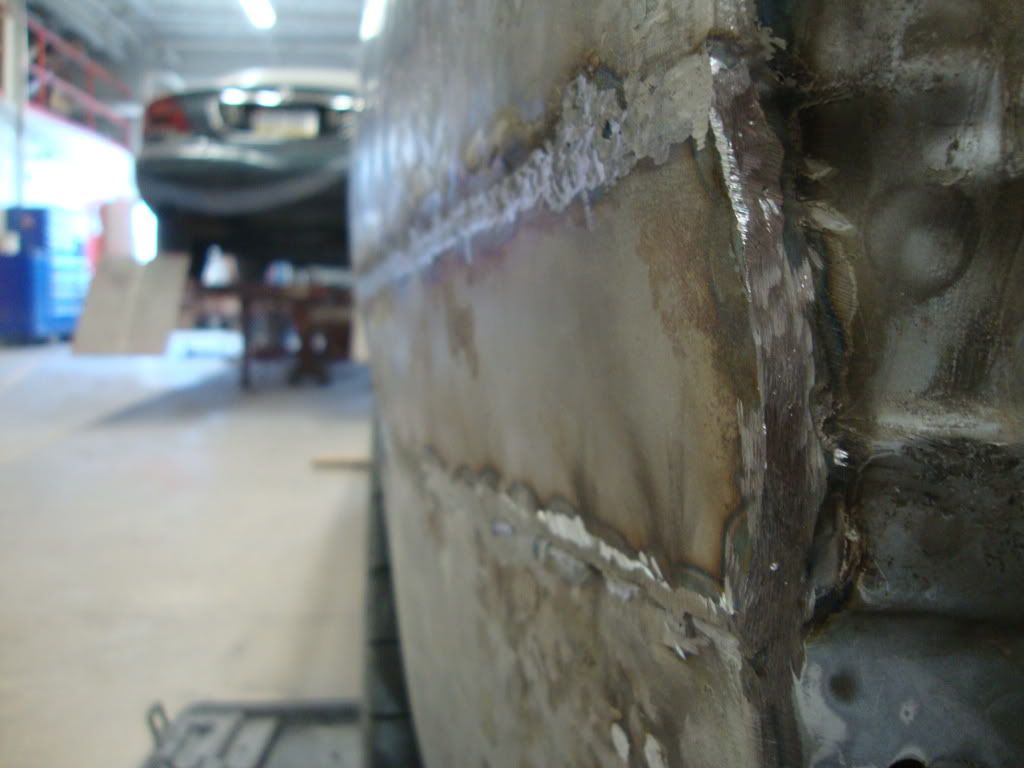
Shaving:

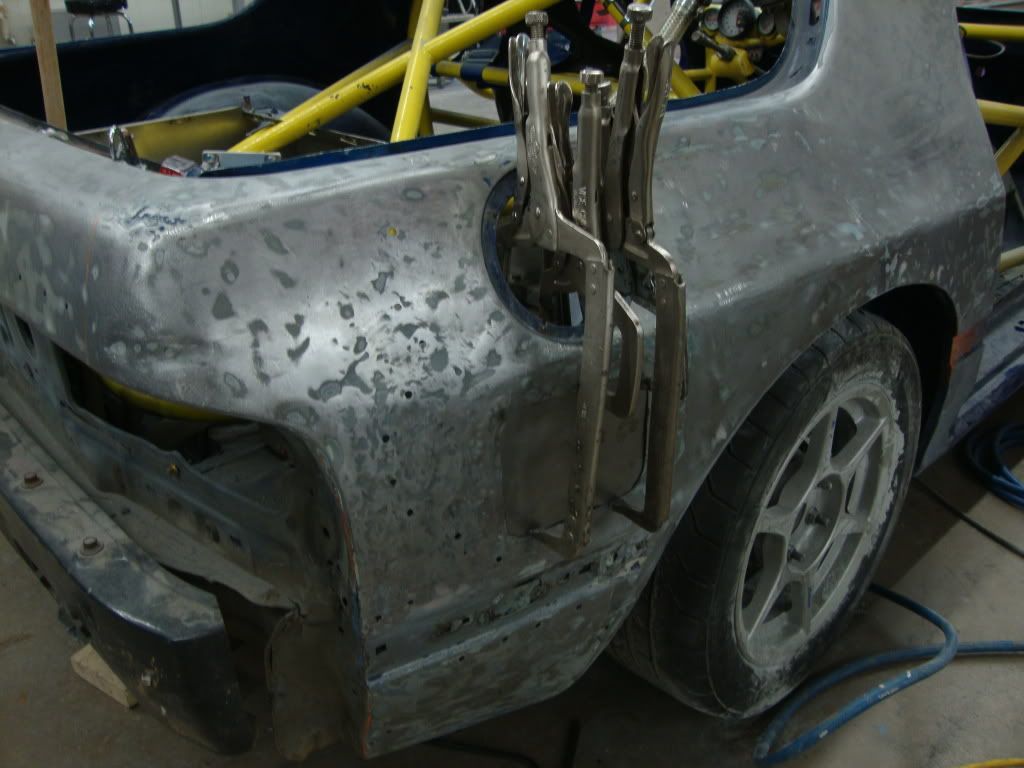

Using a hook to pull the quarter out:

Trying to straighten out the rockers:
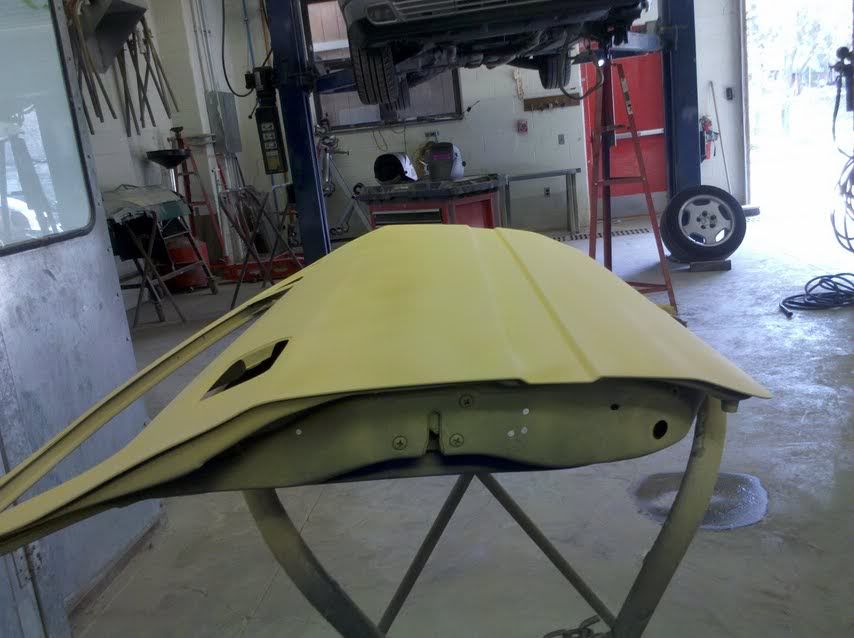
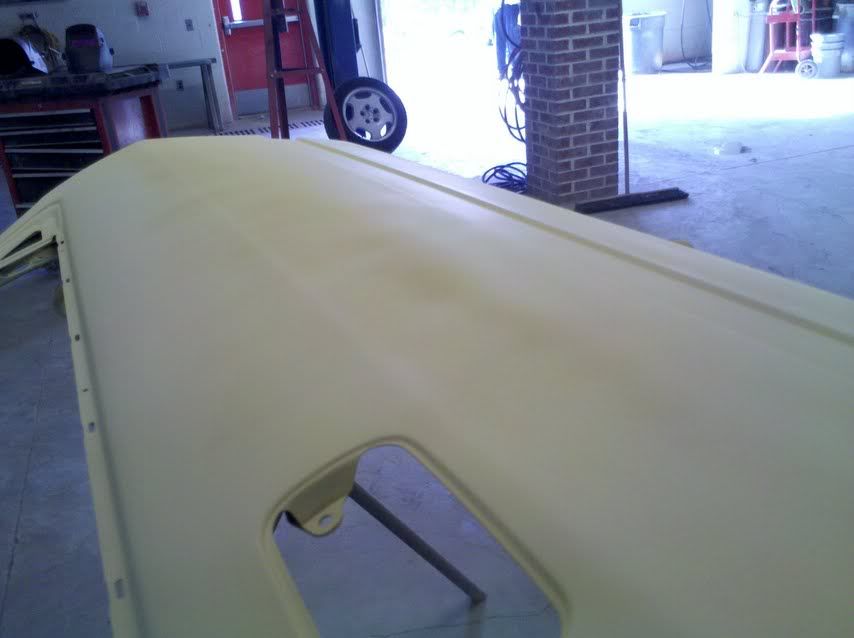
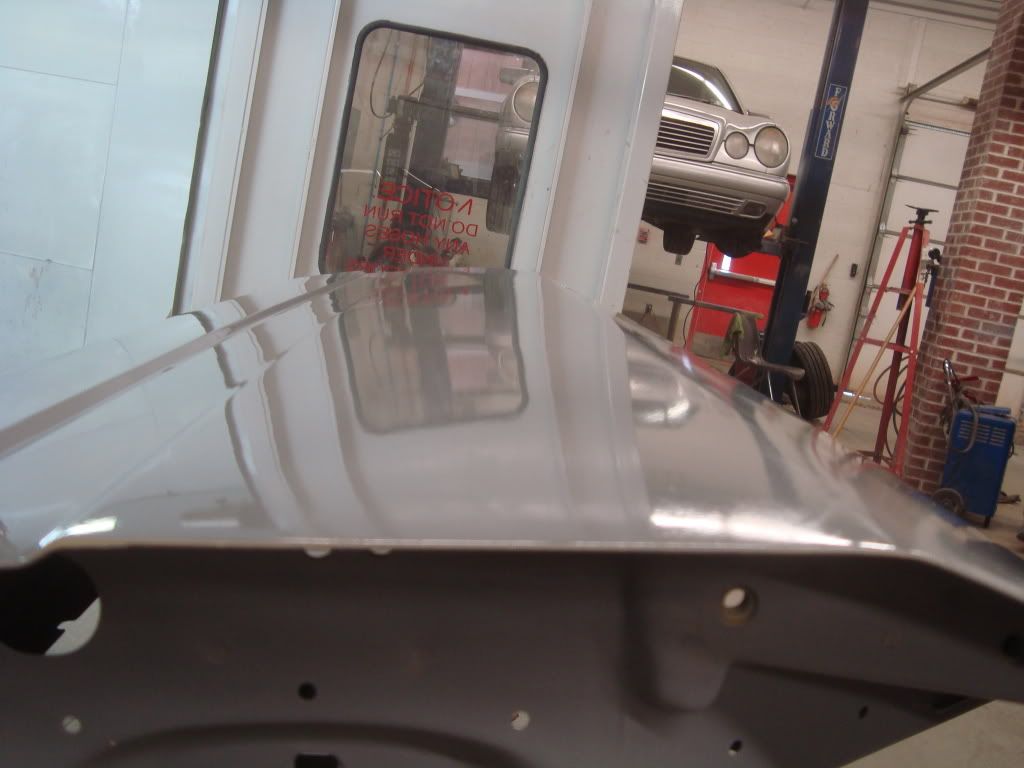
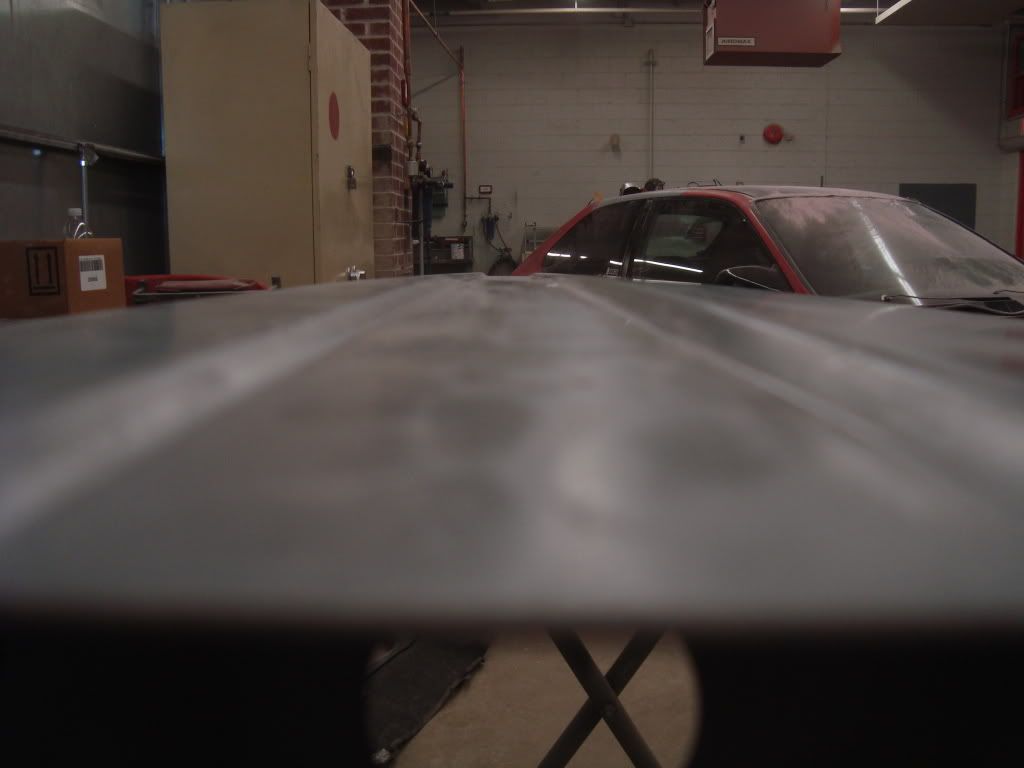
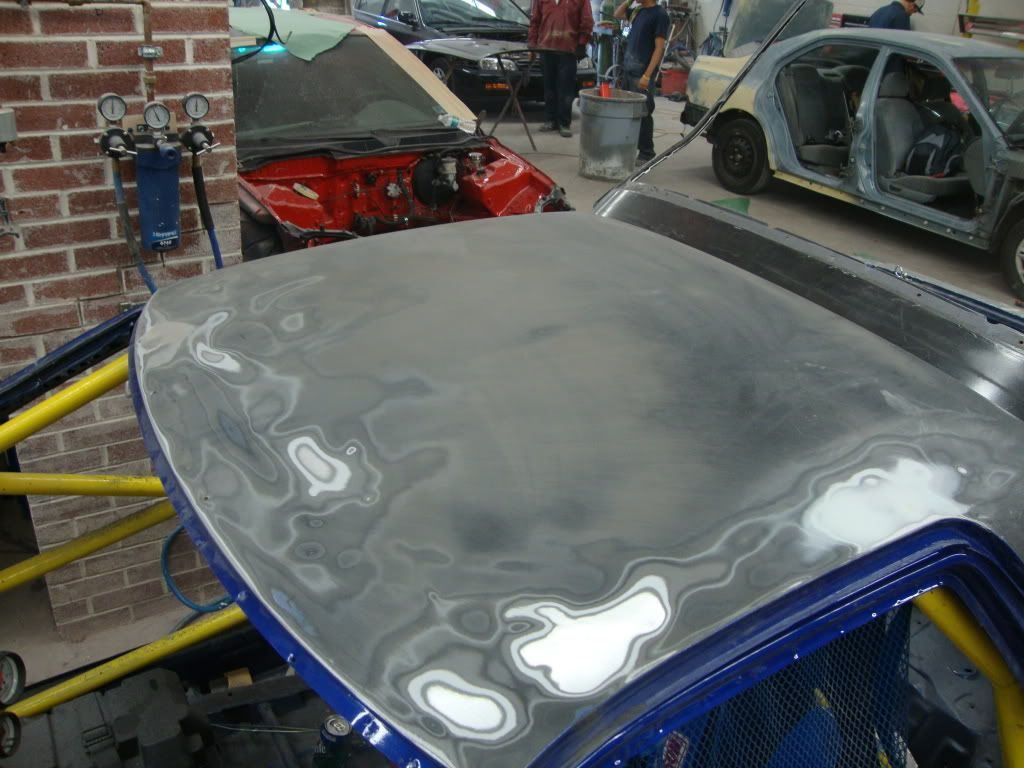
Also sanded the roof:
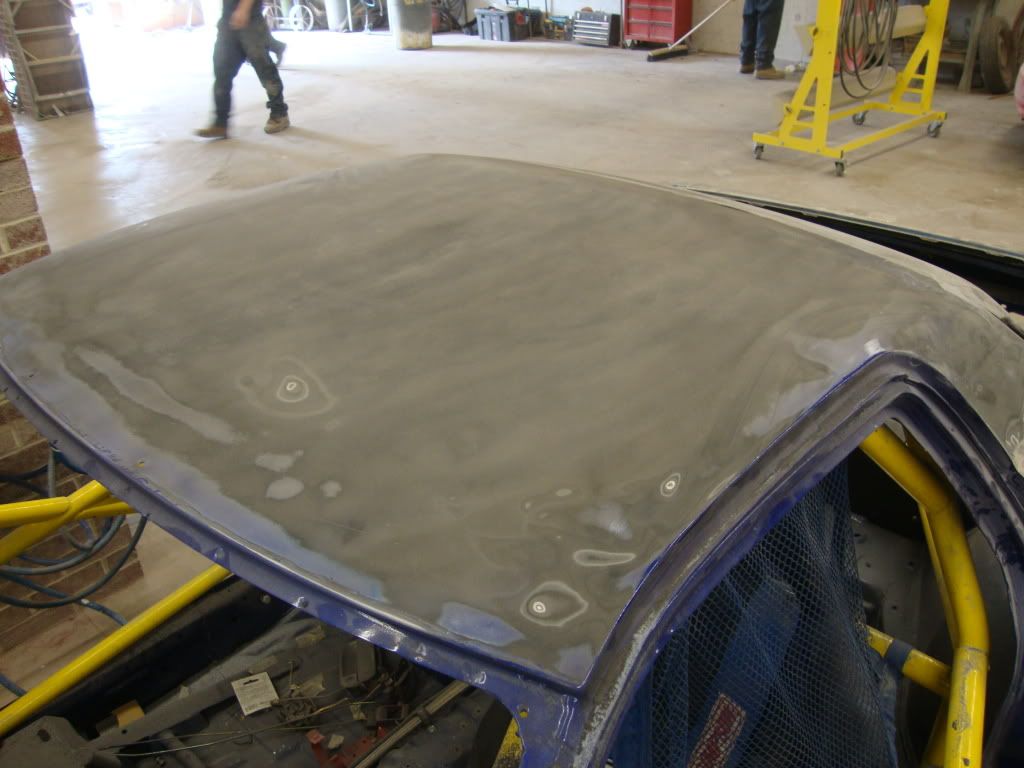
I havent decided what I want to do with this yet... Theres a large low spot in the drivers side front corner of the roof.

As it sits;
Using a hook to pull the quarter out:
Trying to straighten out the rockers:
Also sanded the roof:
I havent decided what I want to do with this yet... Theres a large low spot in the drivers side front corner of the roof.
As it sits;
Thread Starter
Full Member
Joined: Jan 2011
Posts: 70
Likes: 0
From: 717
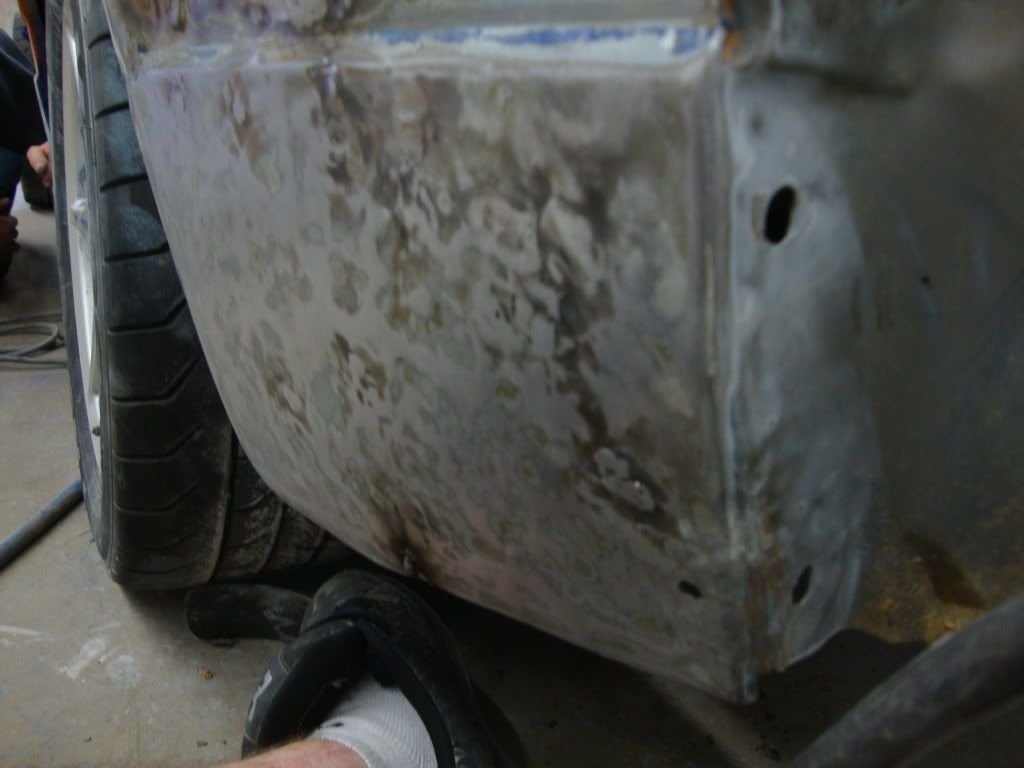
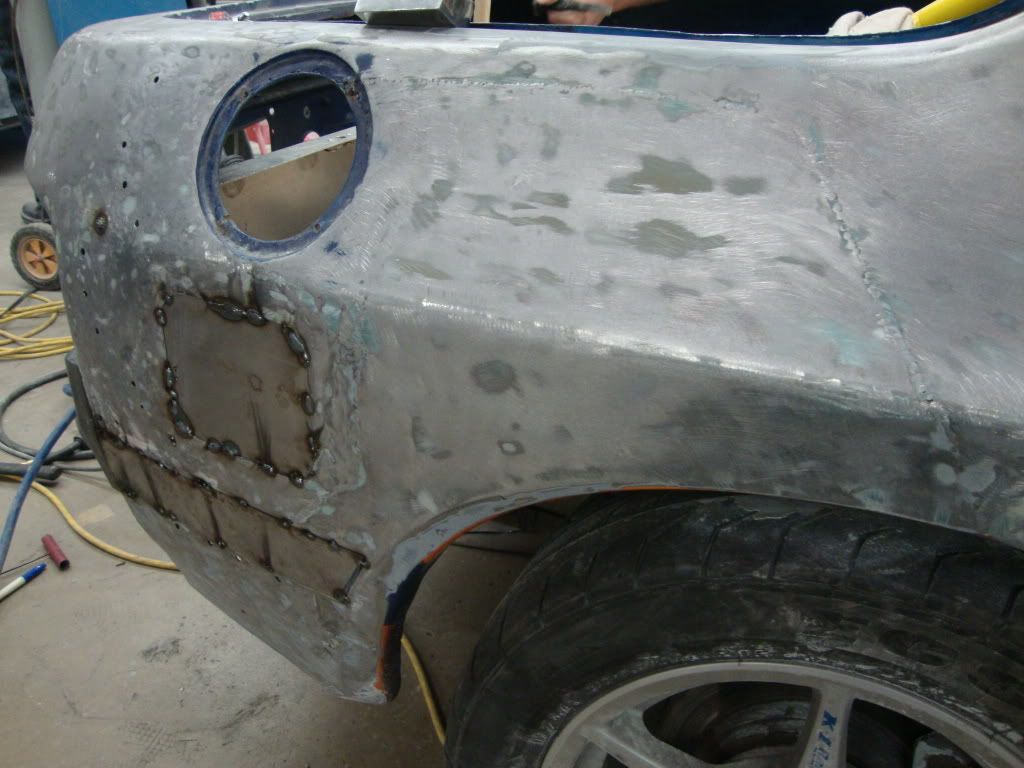
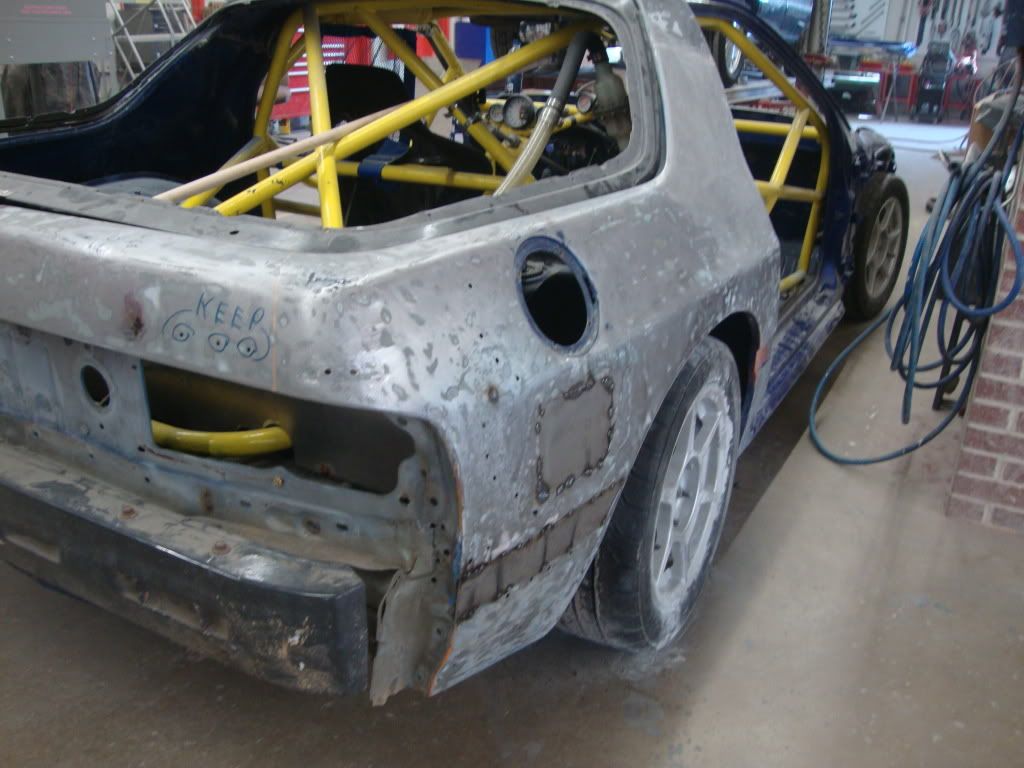
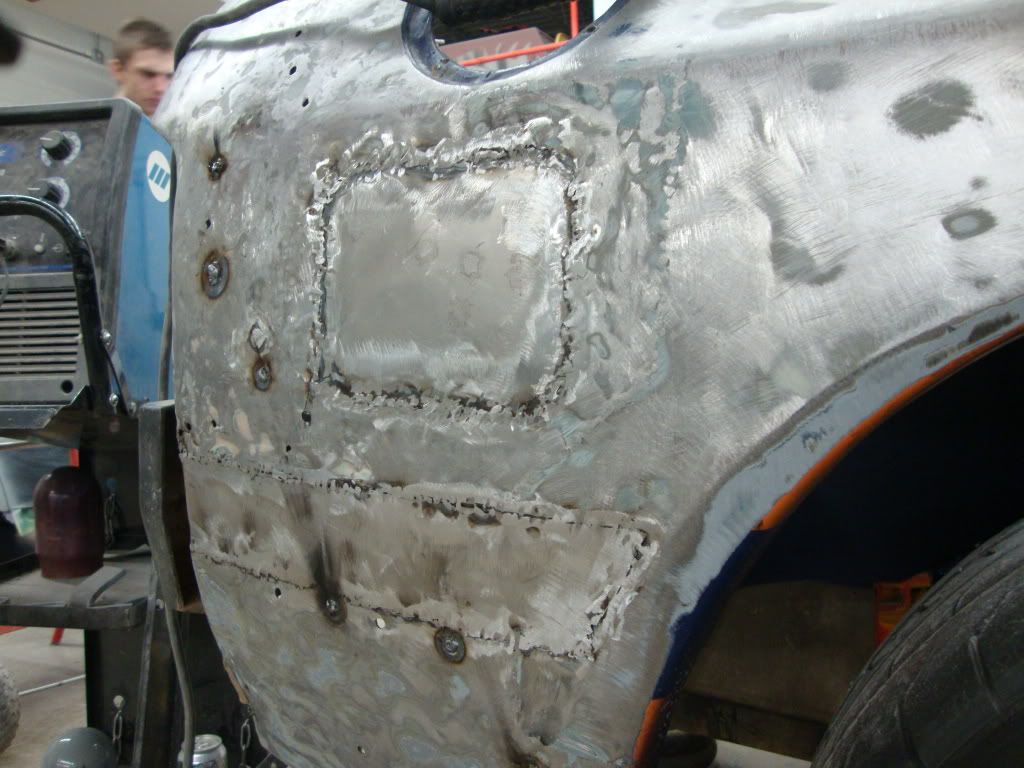
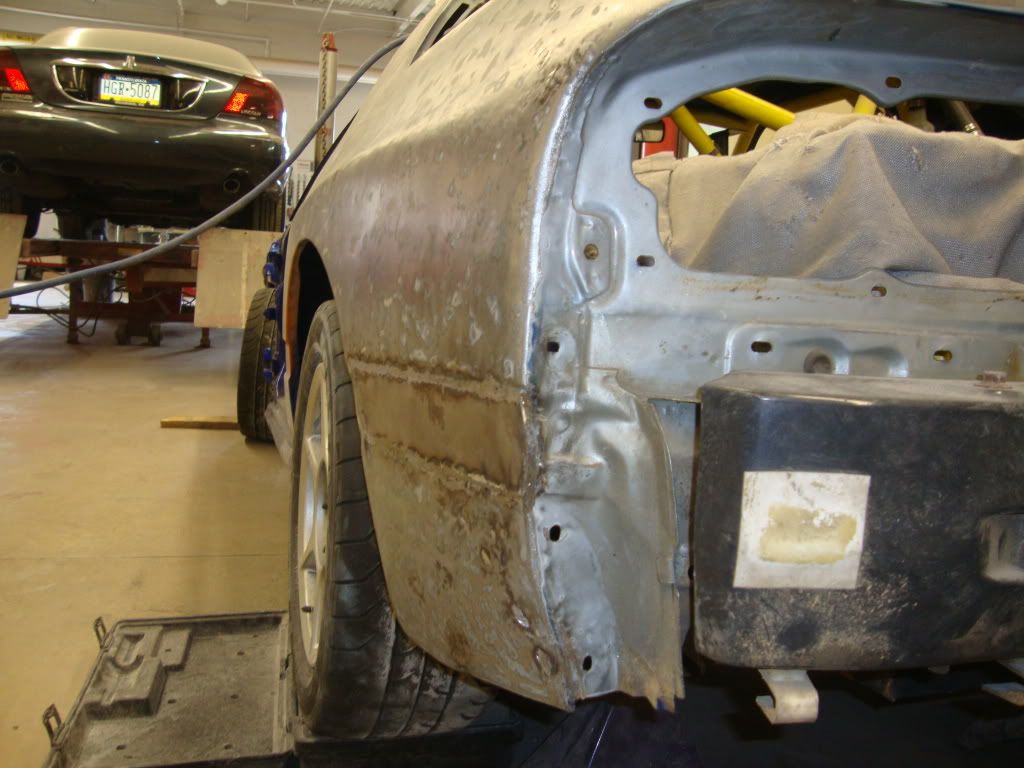
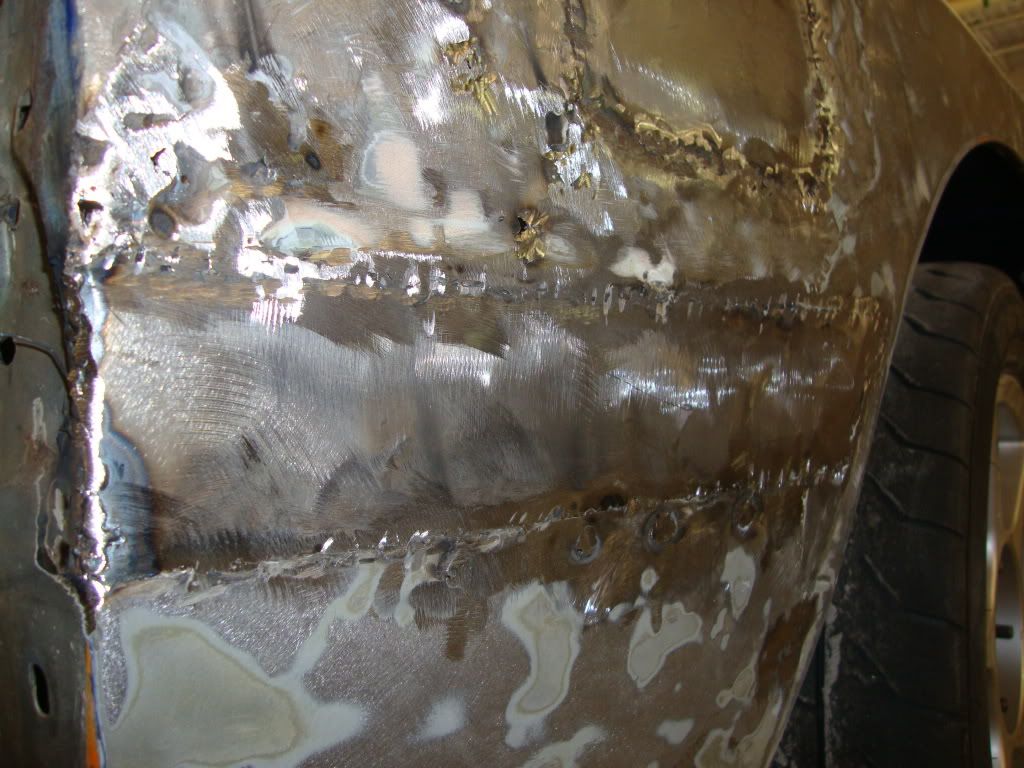
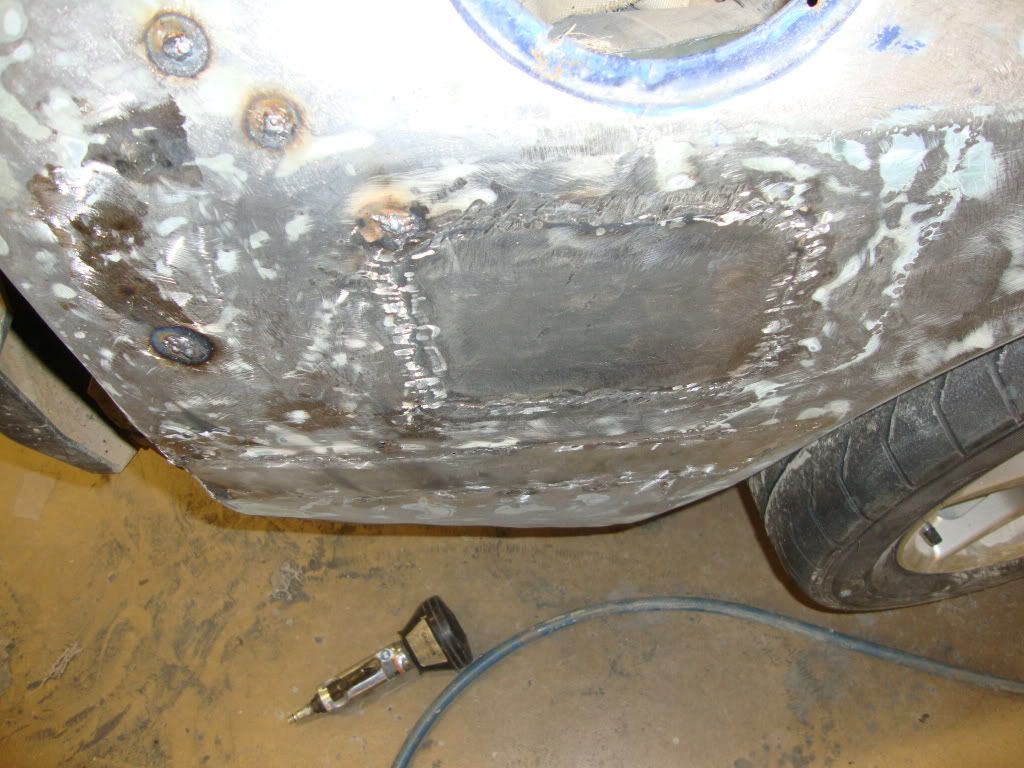
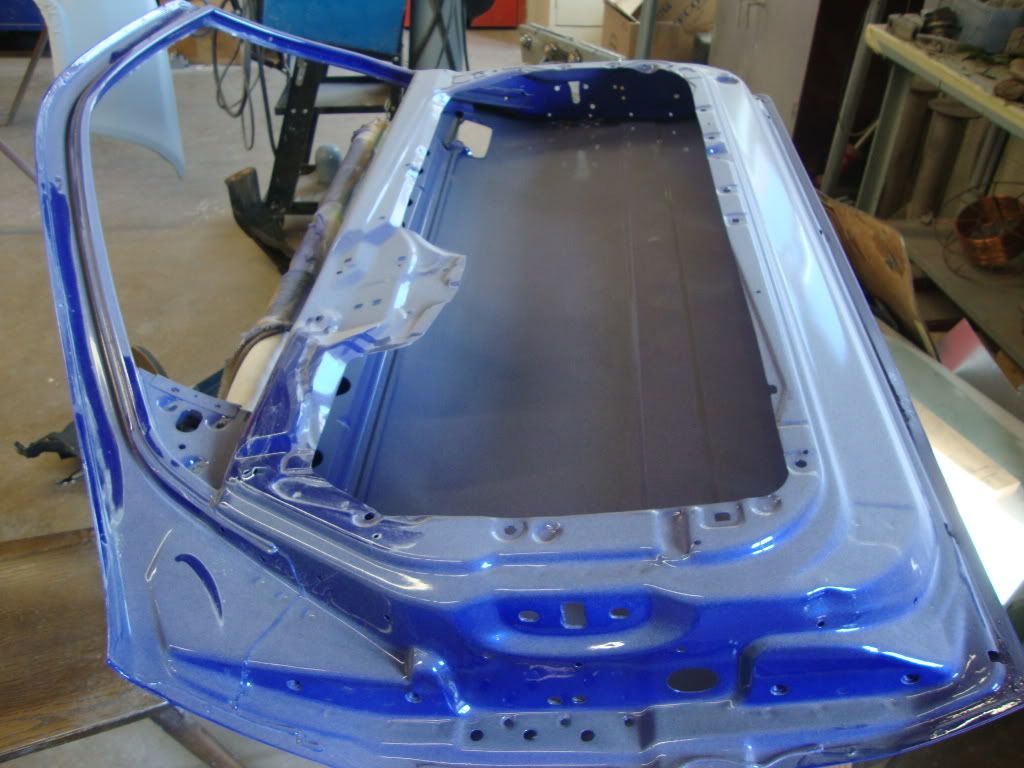
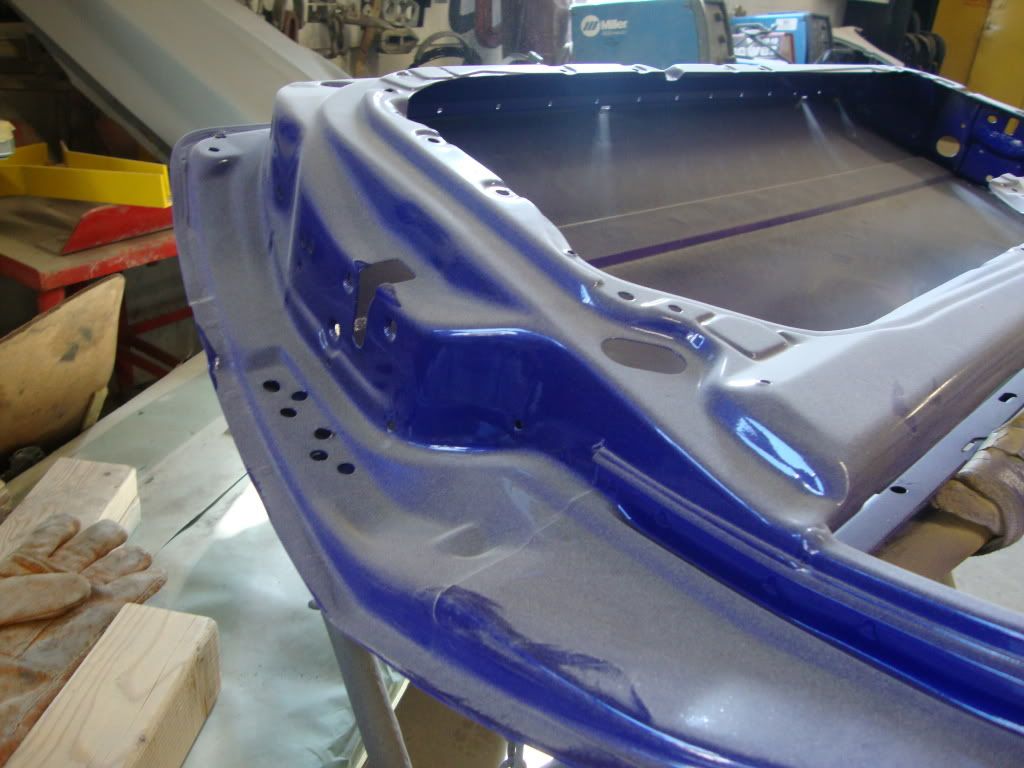
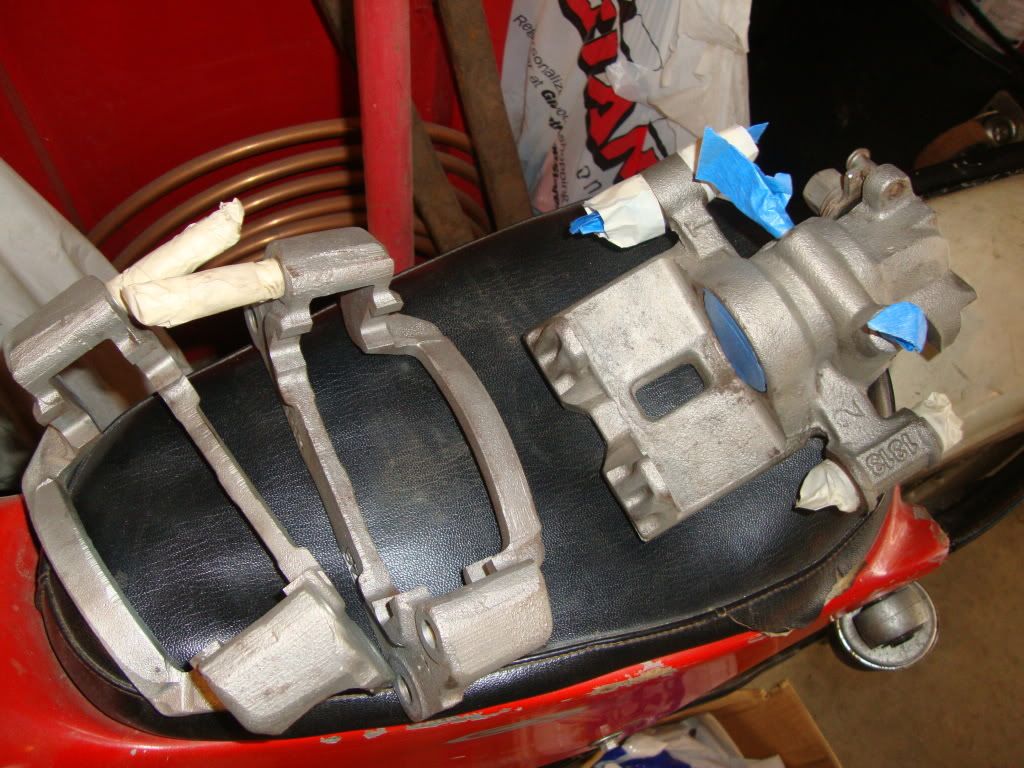
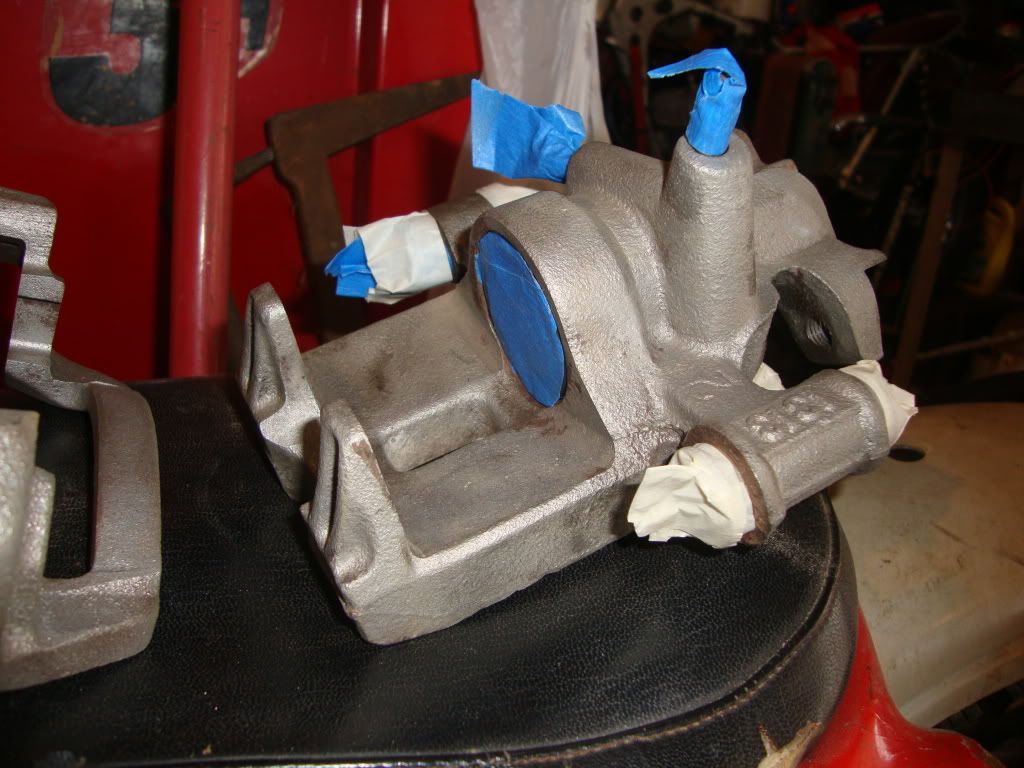
By the way; I didnt mention it before but someone else is doing the work on the passanger side quarter, the roof, and the rockers. I have been focusing on the drivers quarter and back panel including the corners above the quarters. It's gettin there... My dad also got started on rebuilding the calipers, and the Brake Man components should be in soon.
Thread Starter
Full Member
Joined: Jan 2011
Posts: 70
Likes: 0
From: 717
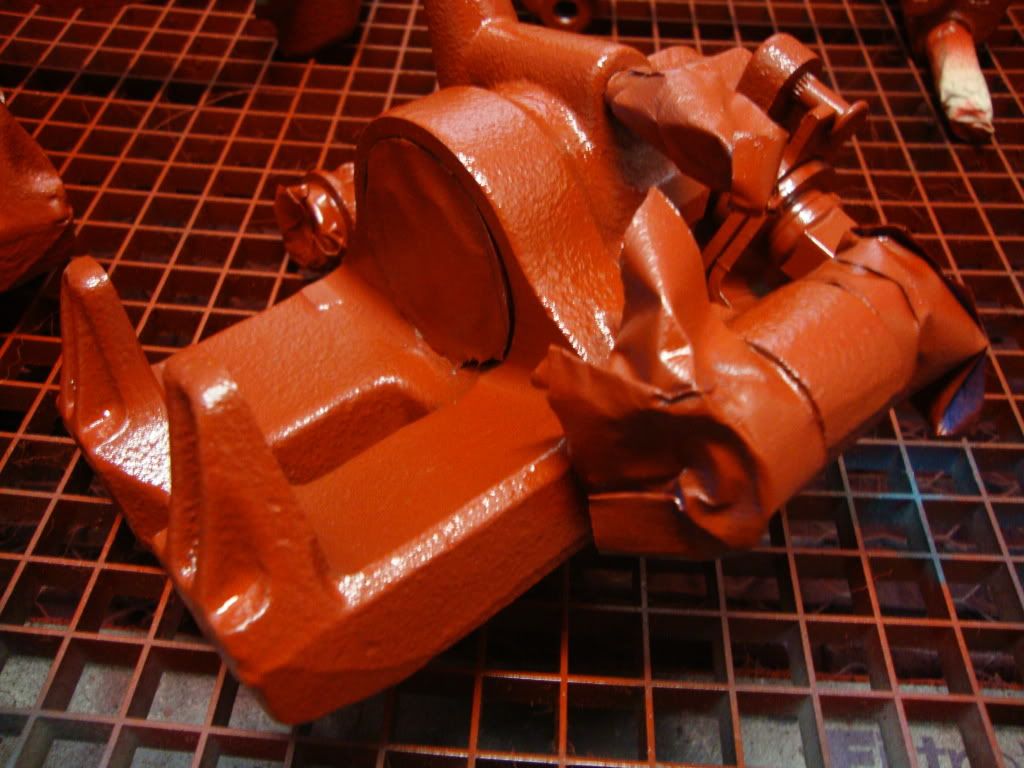
And last but not least, the calipers:
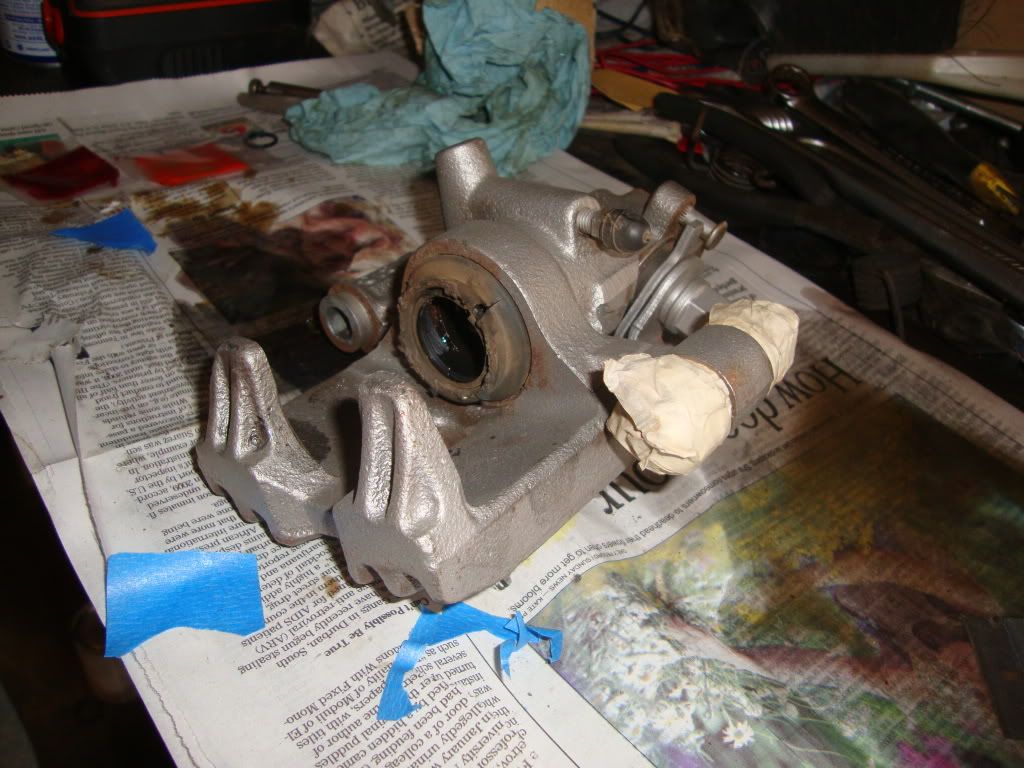
Finished, ready for paint:
Sorry I skipped around alot in the pictures, but I am uploading <40 pictures every time I get on, and I don't really have the time to sort through every picture...
Finished, ready for paint:
Sorry I skipped around alot in the pictures, but I am uploading <40 pictures every time I get on, and I don't really have the time to sort through every picture...
Thread Starter
Full Member
Joined: Jan 2011
Posts: 70
Likes: 0
From: 717
This update was supposed to be posted last night, but it never made it on here for some reason... So pretend this was posted last night:
Thanks Crash! its gettin there...
The rear calipers were rebuilt and painted tonight because it's supposed to rain tonight through tomorrow... The car owner wants red, so i cleaned them up and sprayed them with Duplicolor "high performance" caliper paint. Turned outo pretty good.

Thanks Crash! its gettin there...
The rear calipers were rebuilt and painted tonight because it's supposed to rain tonight through tomorrow... The car owner wants red, so i cleaned them up and sprayed them with Duplicolor "high performance" caliper paint. Turned outo pretty good.
Thread Starter
Full Member
Joined: Jan 2011
Posts: 70
Likes: 0
From: 717
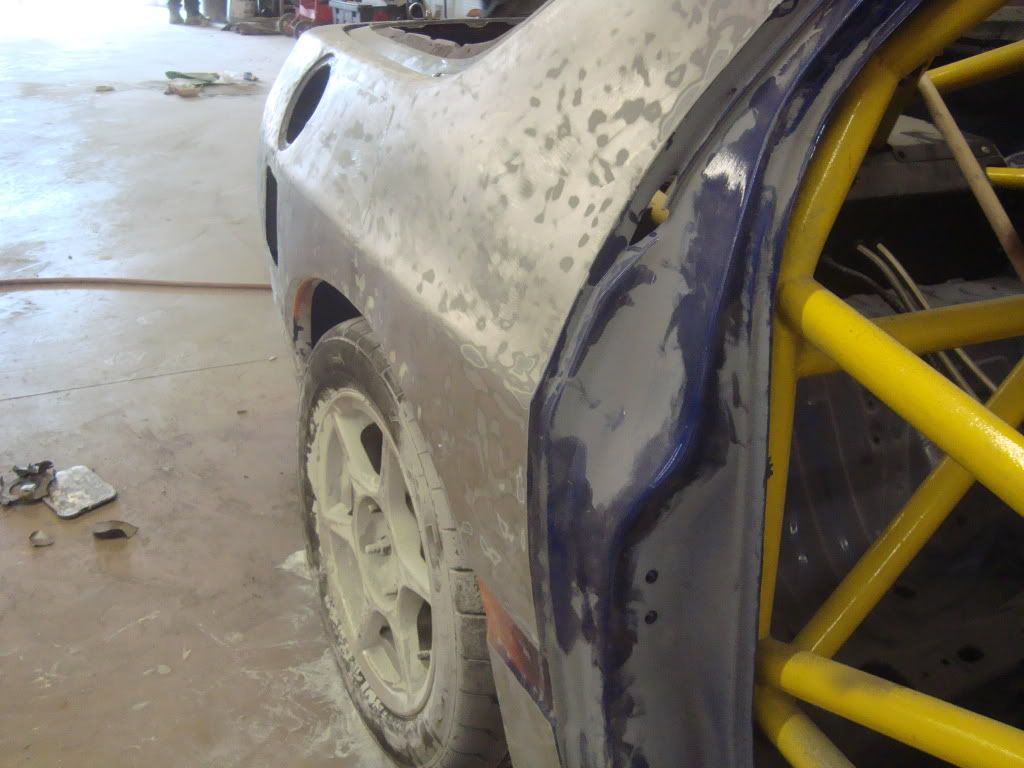
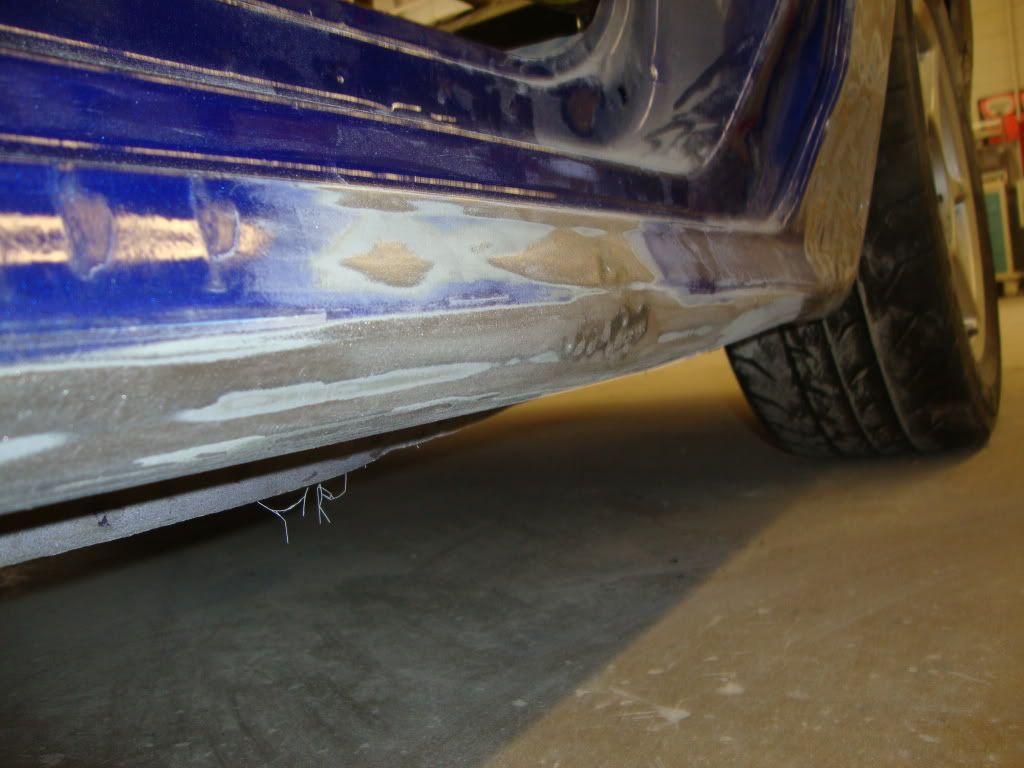
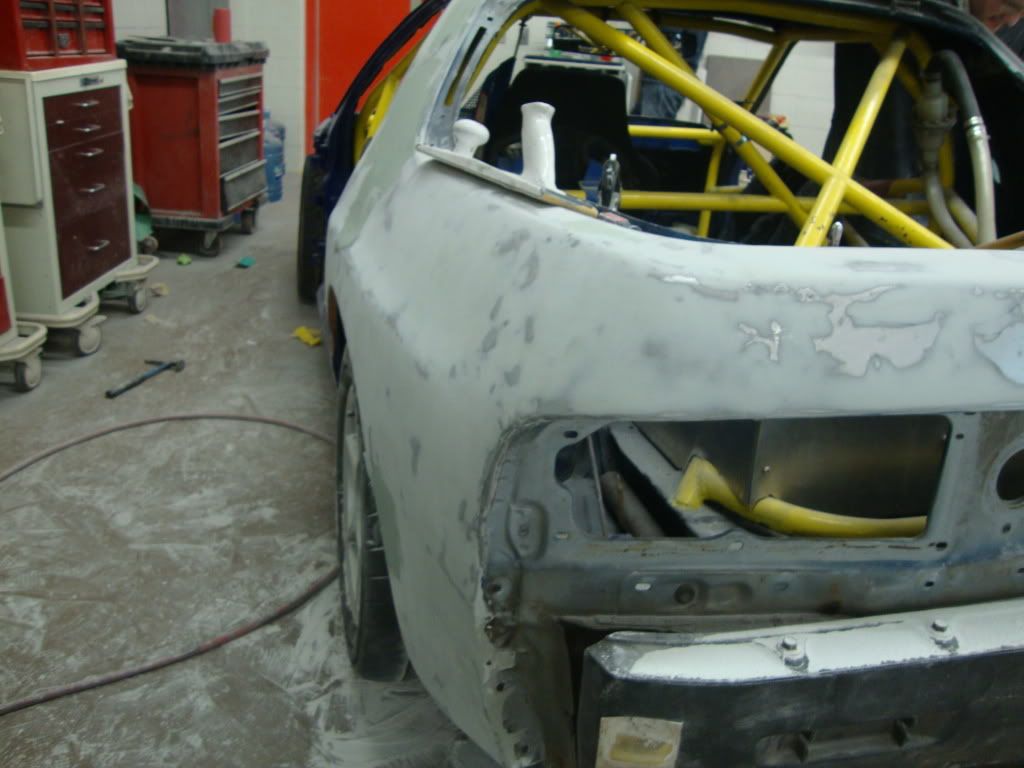
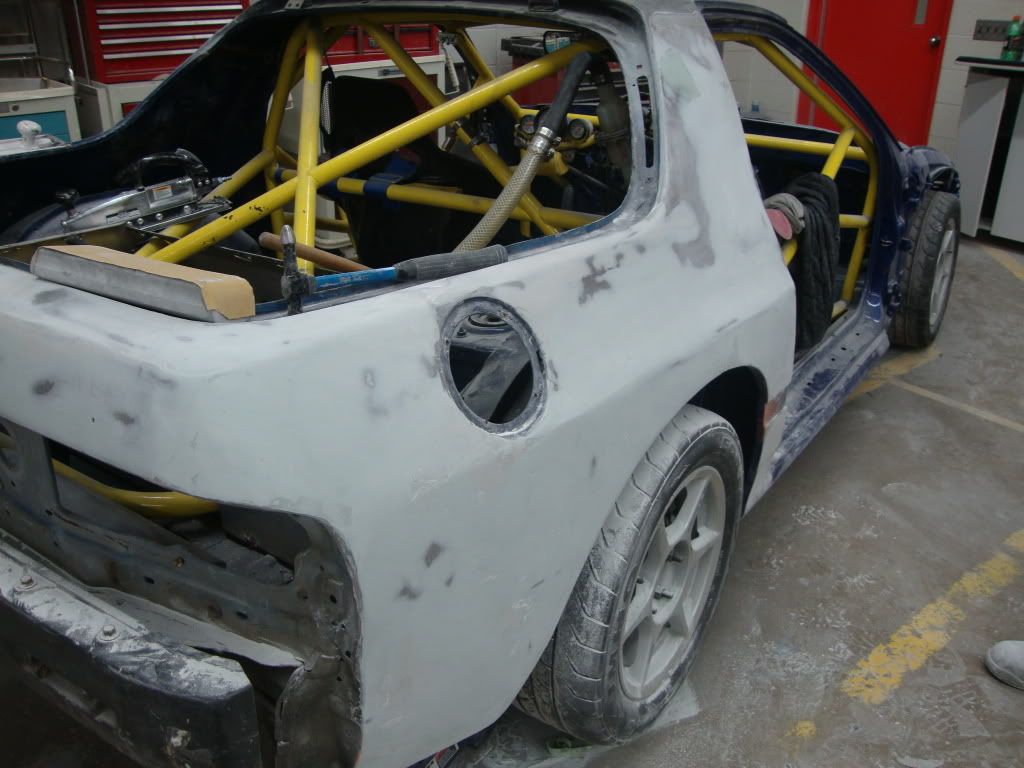
Today: Test fitted the rear bumper; its pretty close. We heated the sail panel up to get it to tighten up and its about as tight as an oil can now... It turned out pretty good... We slapped on some plastic. I better eat my wheaties tomorrow...


Holly sweetness, that is pretty detailed. See if I attempted doing anything like that and tried to take as many pictures to document my work it would take me a year to finish. Awesome job man.
Where are you located? My car isn't beat up as much, I don't see it needing near as much of body work as you did on yours. Although i could see doing a complete paint job like you. That would be pretty sweet, electron blue, midnight blue, pearl white, phoenix yellow just few of my favorites.
Where are you located? My car isn't beat up as much, I don't see it needing near as much of body work as you did on yours. Although i could see doing a complete paint job like you. That would be pretty sweet, electron blue, midnight blue, pearl white, phoenix yellow just few of my favorites.
Thread Starter
Full Member
Joined: Jan 2011
Posts: 70
Likes: 0
From: 717
We got alot of the sanding on the first coat done today, I have pictures but my camera is out in my truck and I honestly don't feel like going to get it. I don't know if any work is going to get done on the car today; we have an open house at my school tomorrow so we will probably end up cleaning the shop and maybe do an I-CAR point...
JK5S- I'm in south central PA. I would like to start building cars this summer, but if your in Salt Lake I think your a few hours away... Haha
JK5S- I'm in south central PA. I would like to start building cars this summer, but if your in Salt Lake I think your a few hours away... Haha
Thread Starter
Full Member
Joined: Jan 2011
Posts: 70
Likes: 0
From: 717
Hey guys, ALOT has happened since my last update. I'm currently building my toy and this thing, so I dont have much time for updates. I have over 145 pictures from last time I was on here  If you want to scan through my pictures, I can send you the link
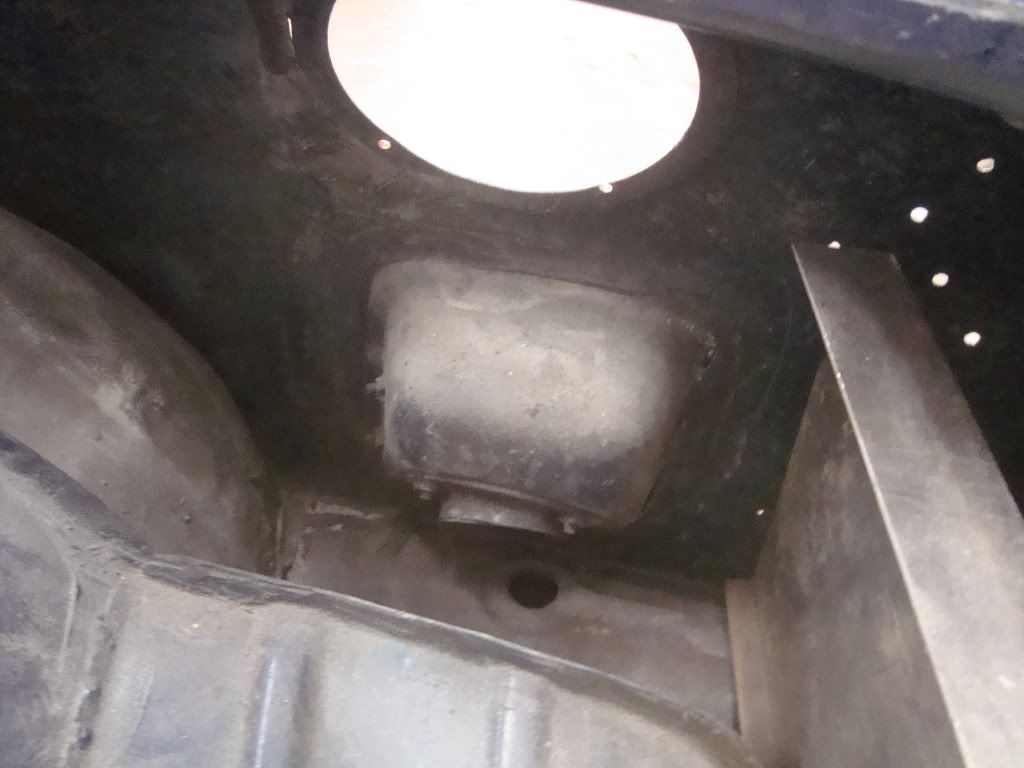
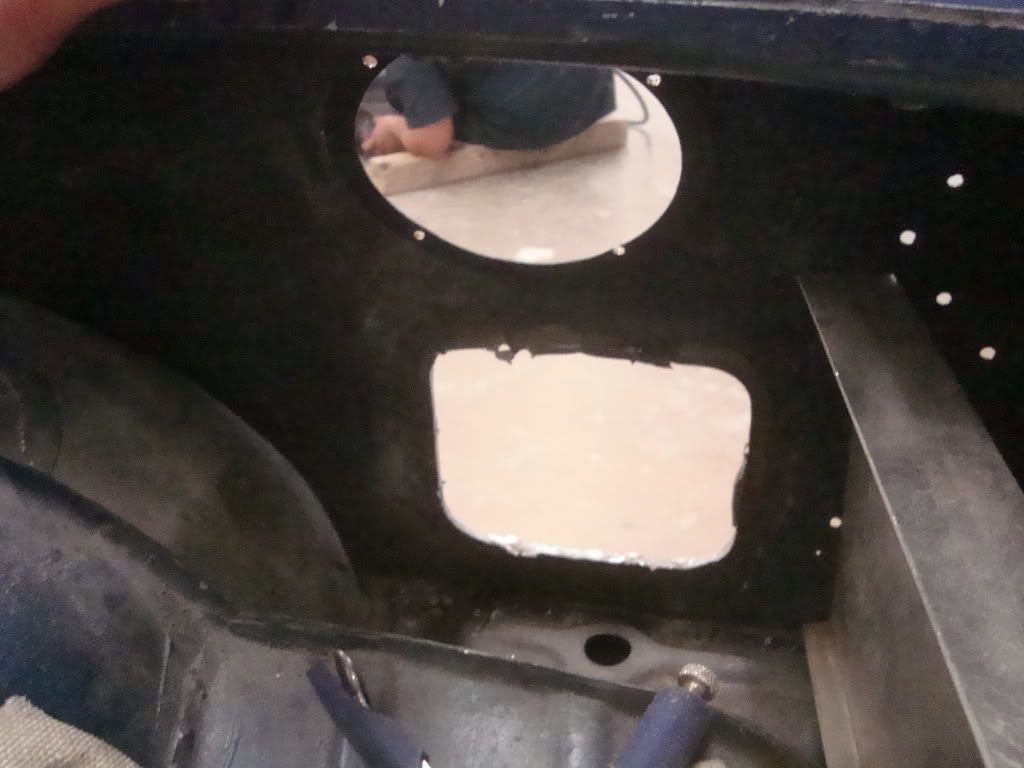
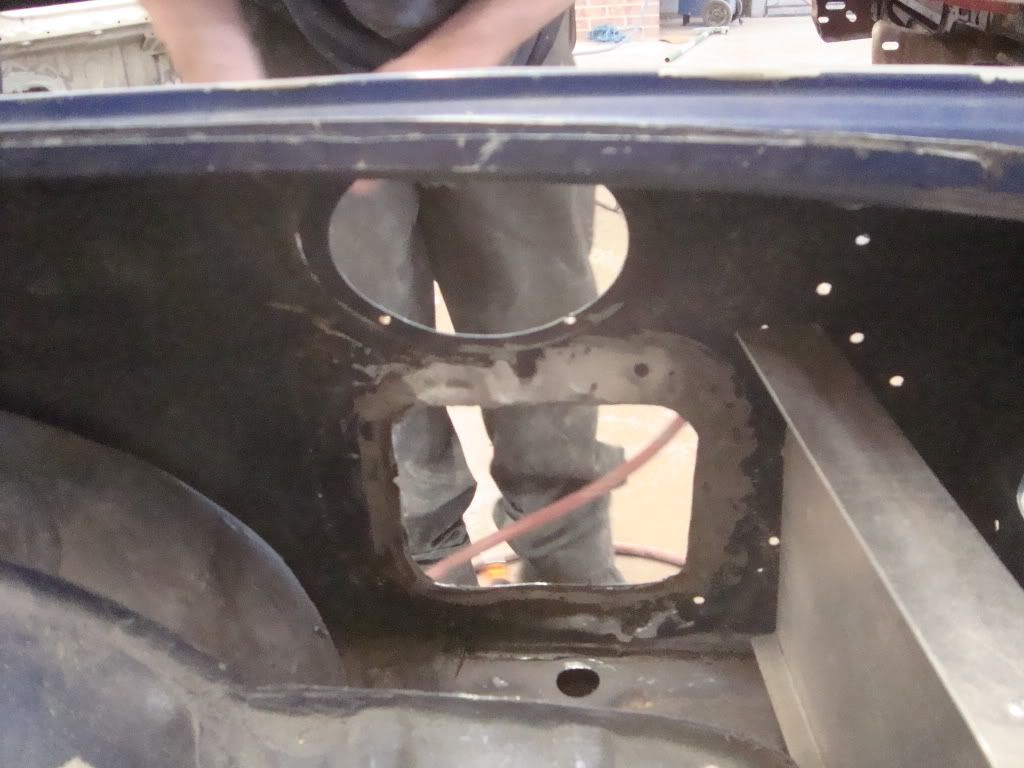
Some parts showed up, such as our brake mc, gaskets for the acessories on the motor, and a few other things...
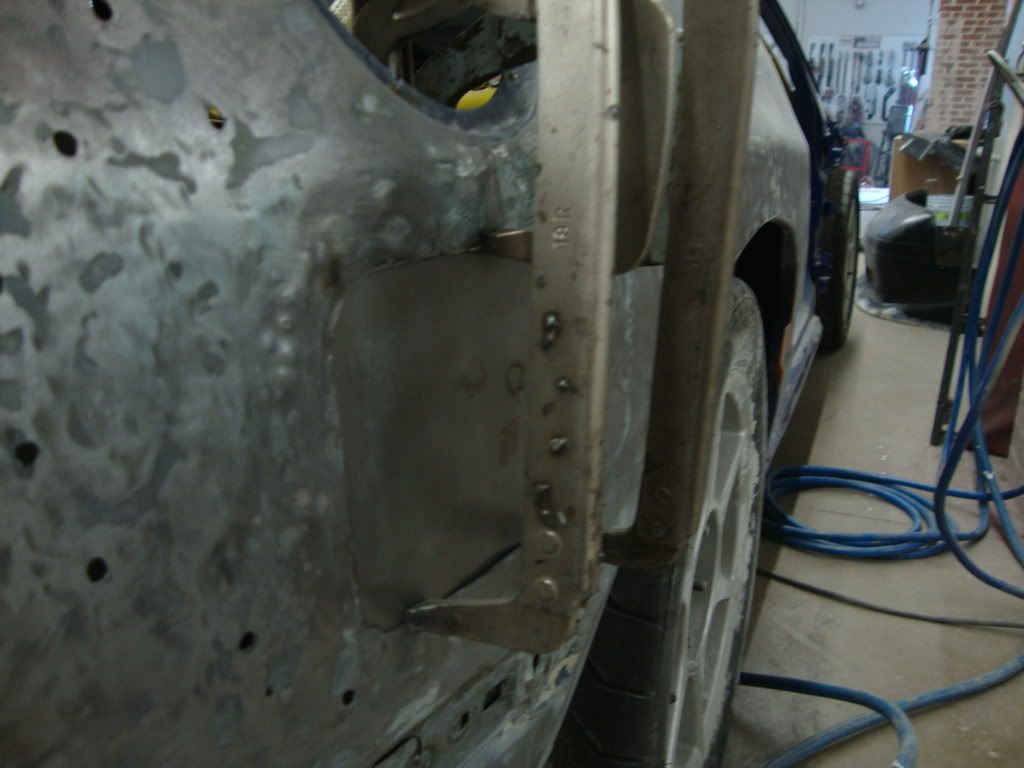
**please keep in mind- I am doing the drivers side quarter and the roof**
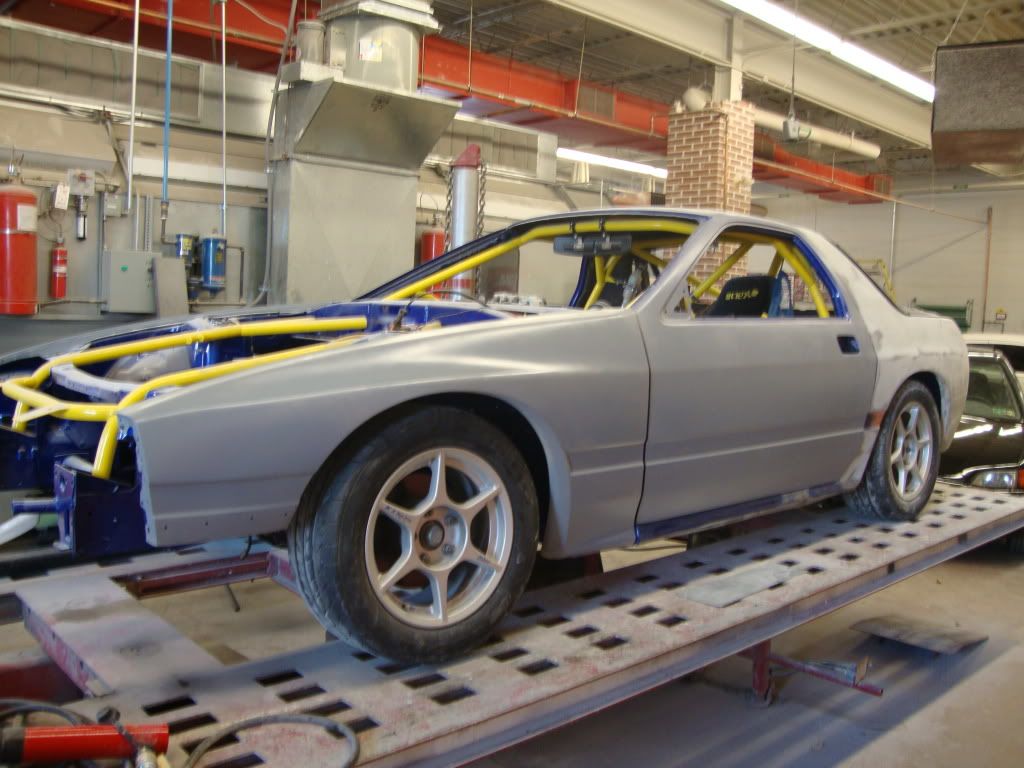
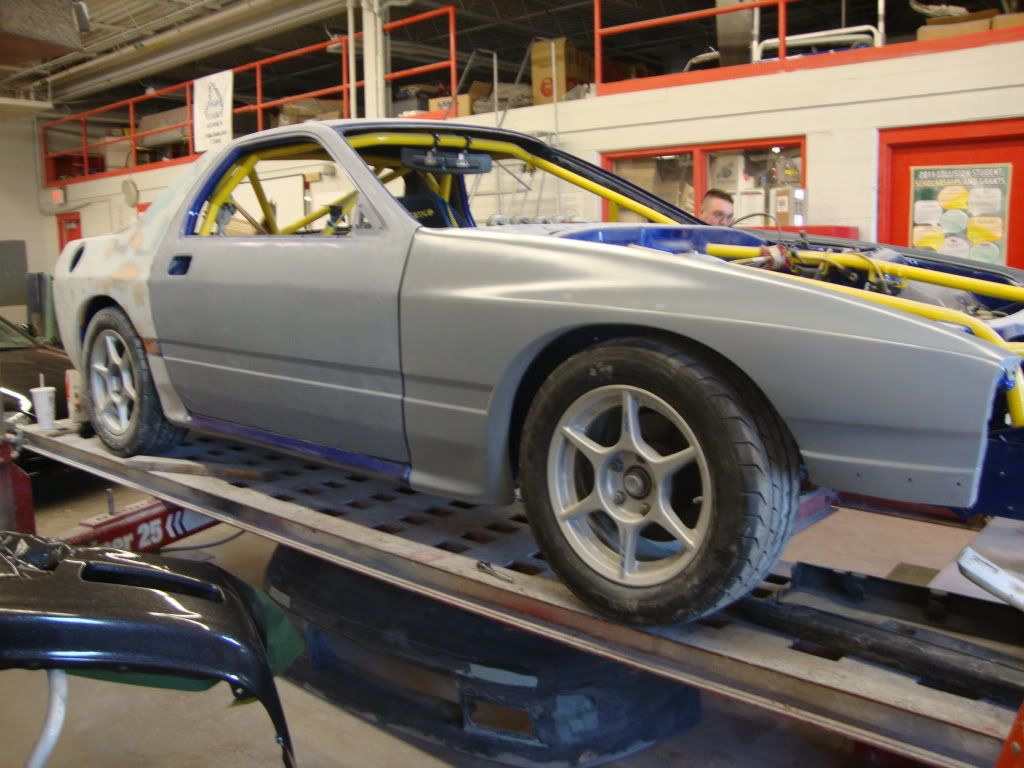
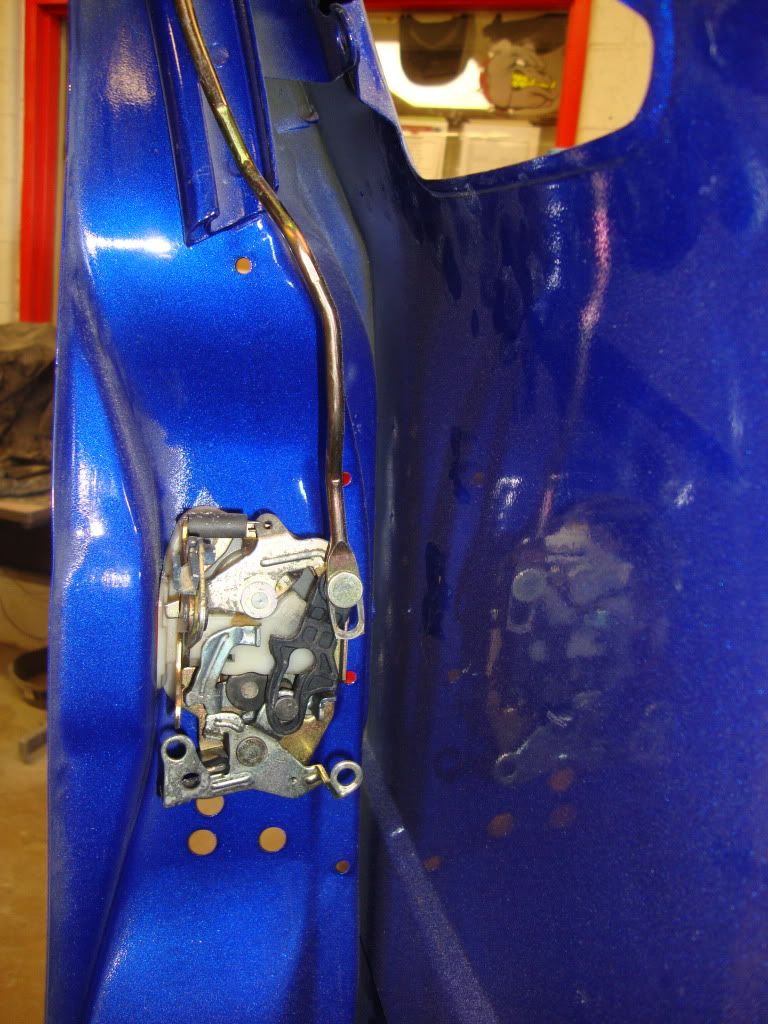
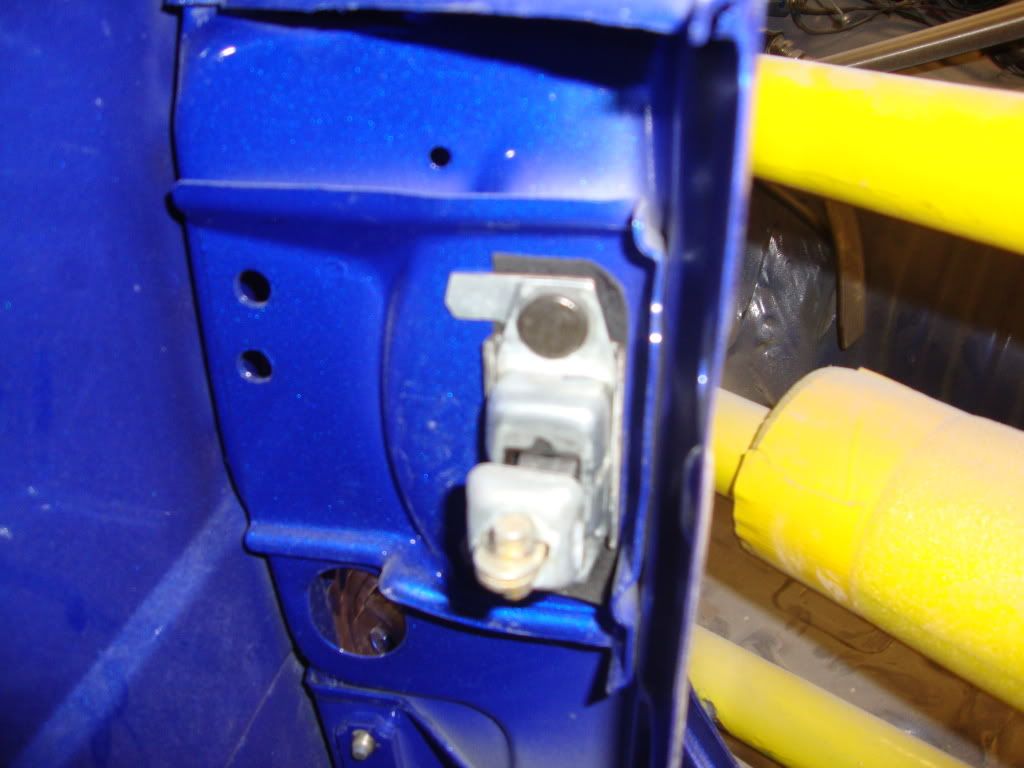
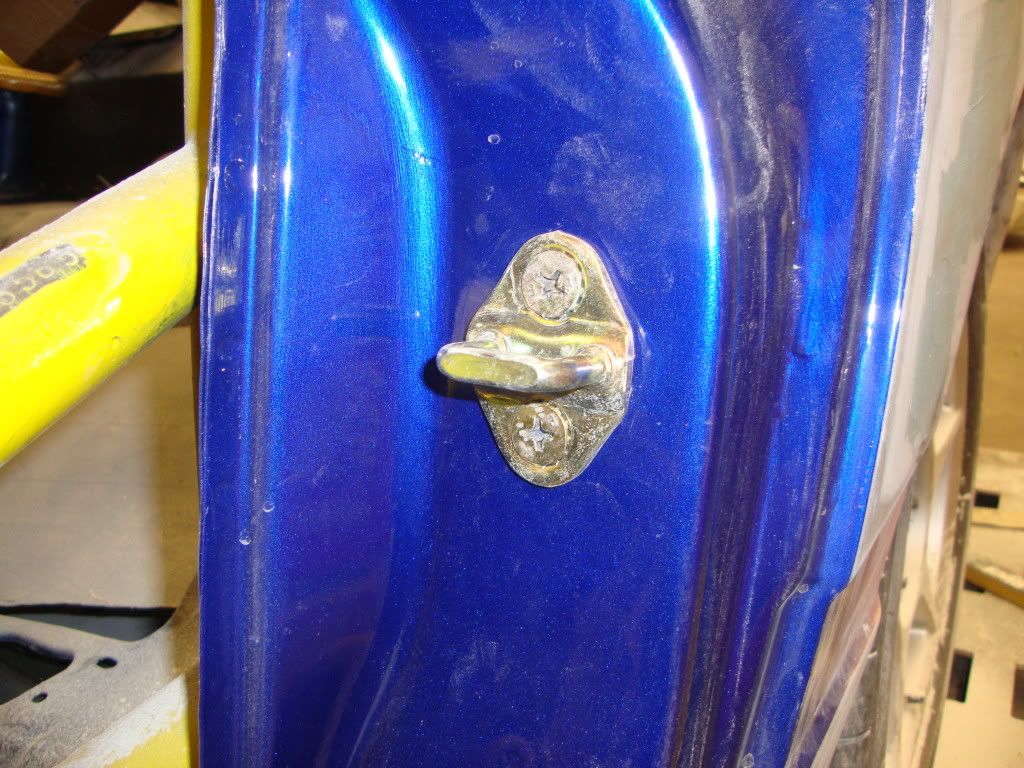
Doors on:
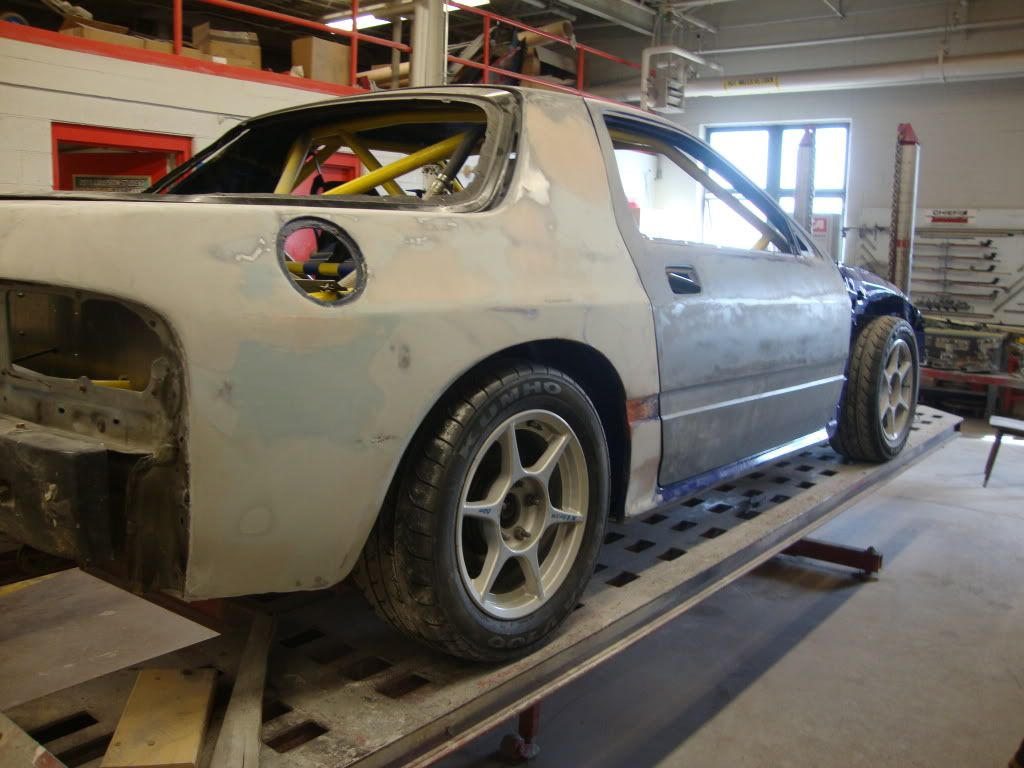
Doors and fenders on:
If you want to scan through my pictures, I can send you the linkSome parts showed up, such as our brake mc, gaskets for the acessories on the motor, and a few other things...
**please keep in mind- I am doing the drivers side quarter and the roof**
Doors on:
Doors and fenders on:
Thread Starter
Full Member
Joined: Jan 2011
Posts: 70
Likes: 0
From: 717
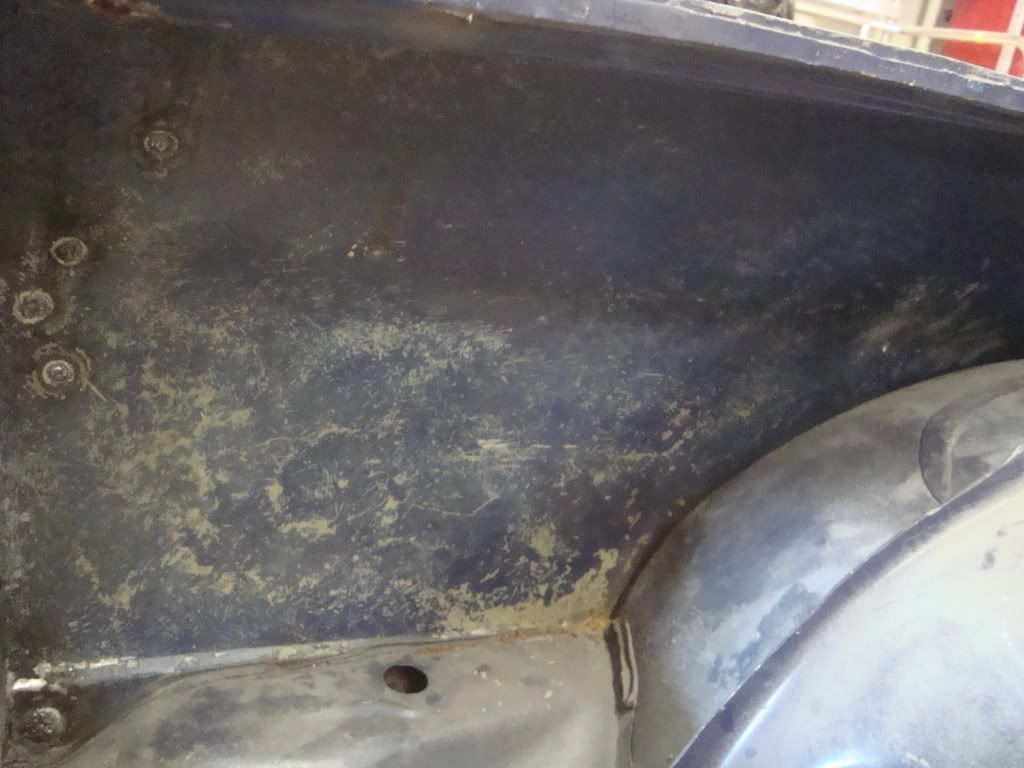
Can you tell I'm an addict for attention to detail? Everything was stripped and completely cleaned... -_-
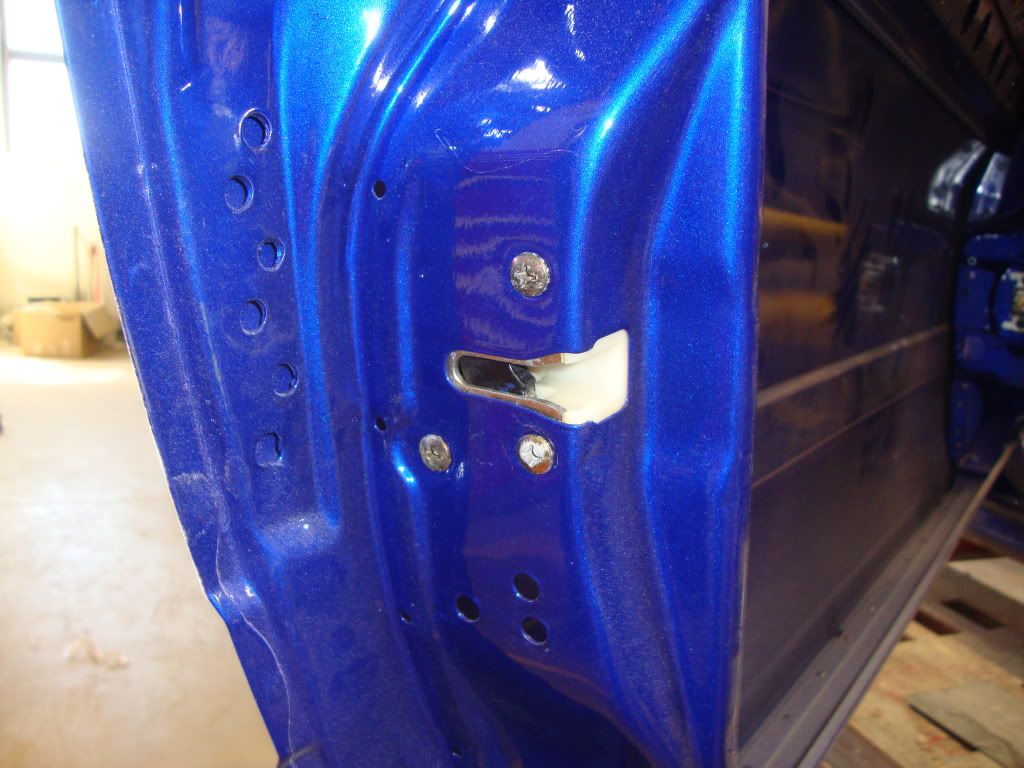
That's all that's uploaded so far on my photobucket, so I'll have to toss the rest of the pictures up later when I get a chance. Its in primer and almost ready for paint...
That's all that's uploaded so far on my photobucket, so I'll have to toss the rest of the pictures up later when I get a chance. Its in primer and almost ready for paint...