
Let the fun begin... Race car (re)build


Thread Starter
Full Member
Joined: Jan 2011
Posts: 70
Likes: 0
From: 717
Let the fun begin... Race car (re)build
Hey everyone, first off please keep in mind I'm not an ESPN commentator and I am terrible at narration, so you'll have to bear with me.
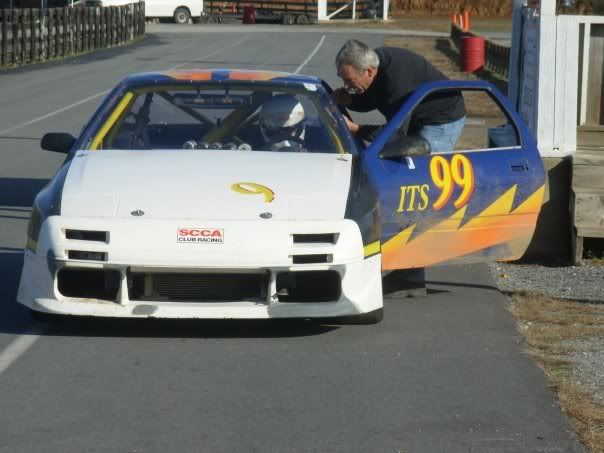
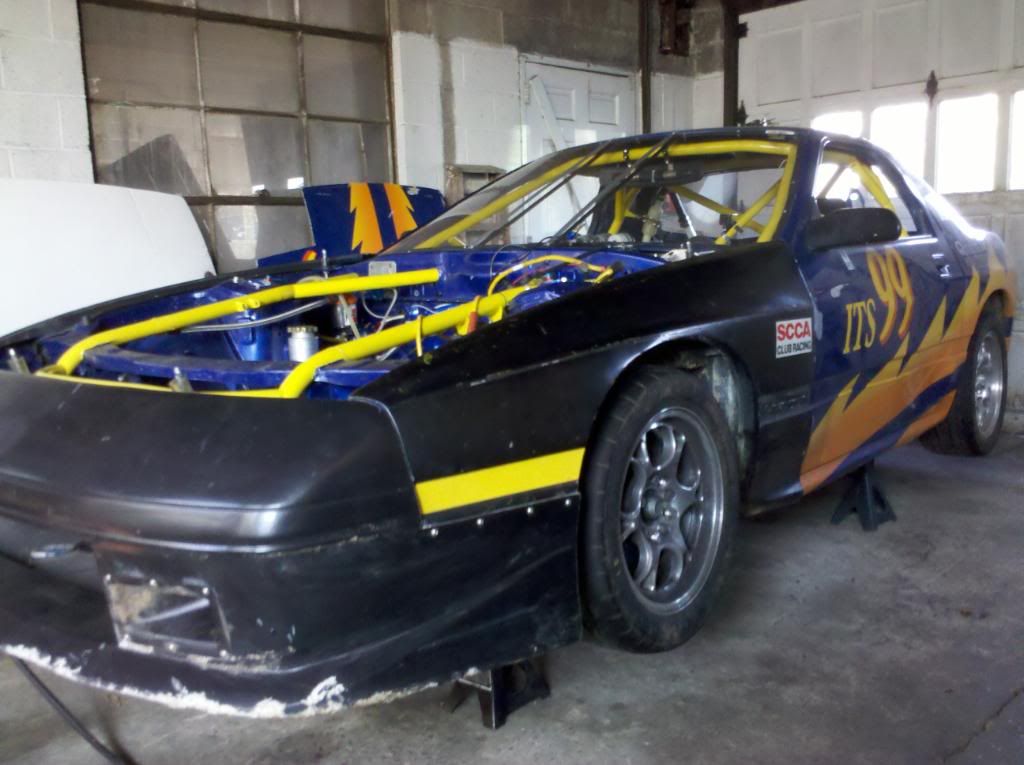
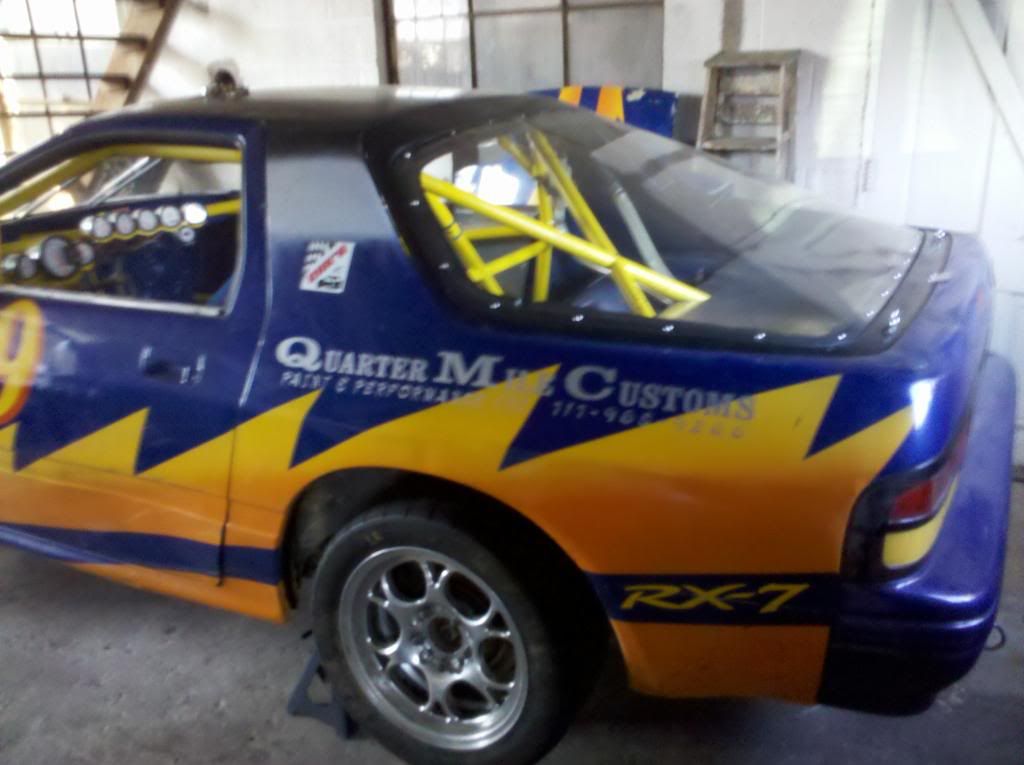
The car was run in ITS then ST3 last year and we are changing over to ST2/E Production... New motor, fresh paint, and a general rebuild. Heres a few pictures of what the car looked like last year:
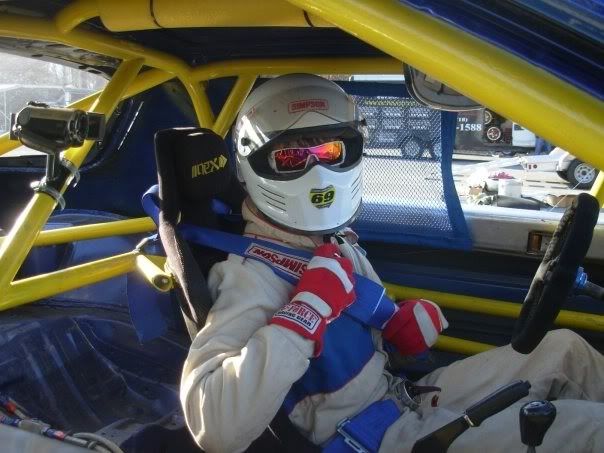
And me enjoying a couple laps at Summit Point:
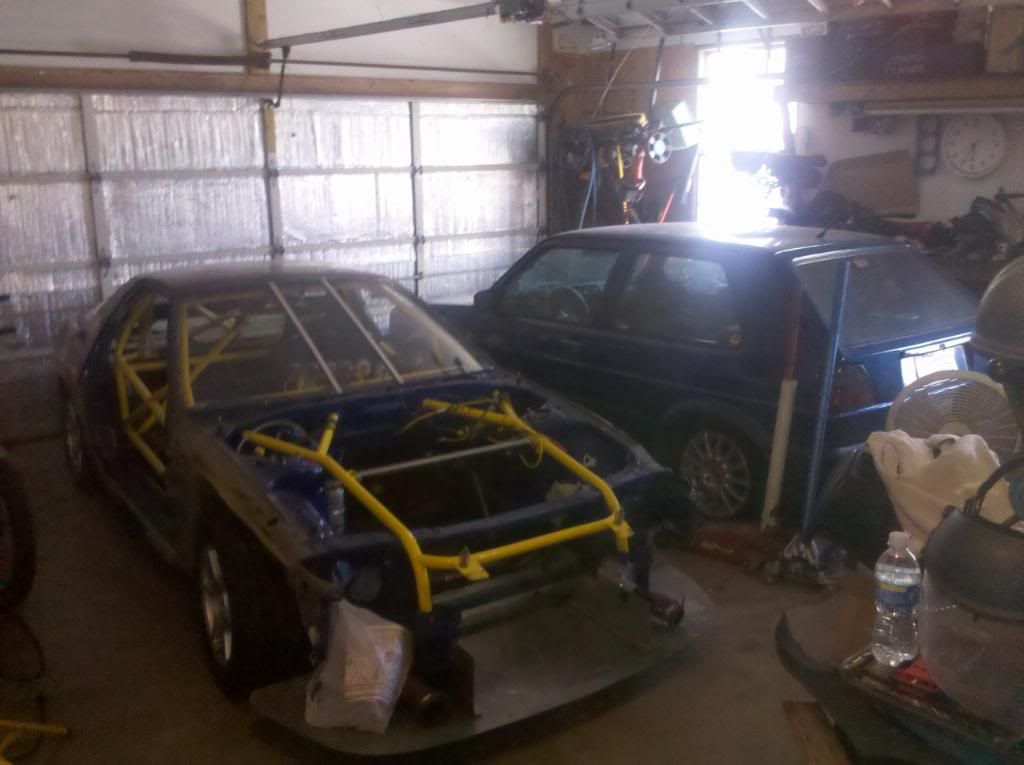
The teardown has already happened. Sorry, school/work/girlfriend got in the way of uploading/taking more pictures. My main job is bodywork along with mechanical, and my dad/the car owner are mainly in charge of mechanical/setup. I'll be posting pictures in order as they happened, bringing you up to date on progress.
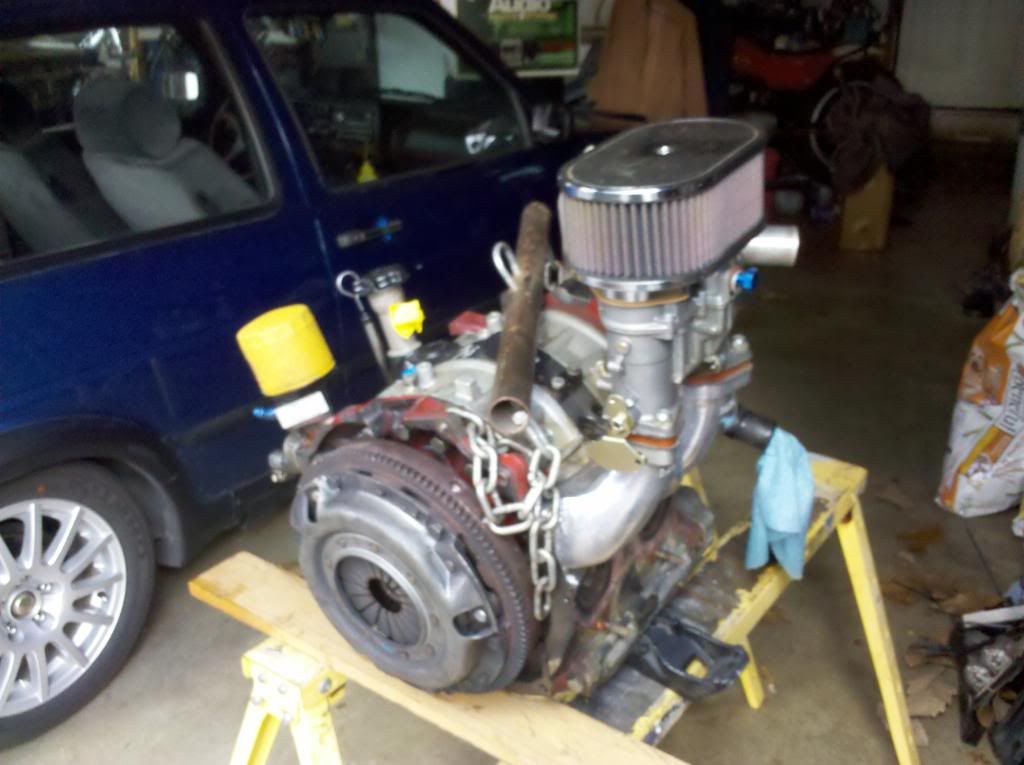
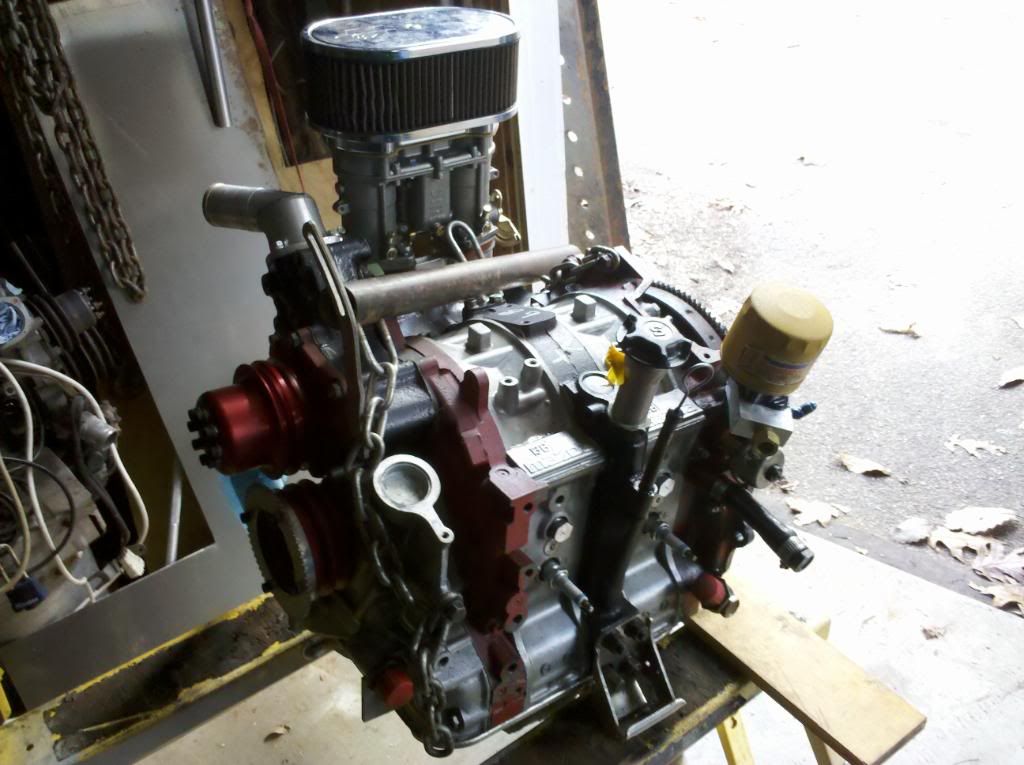
Motors out:
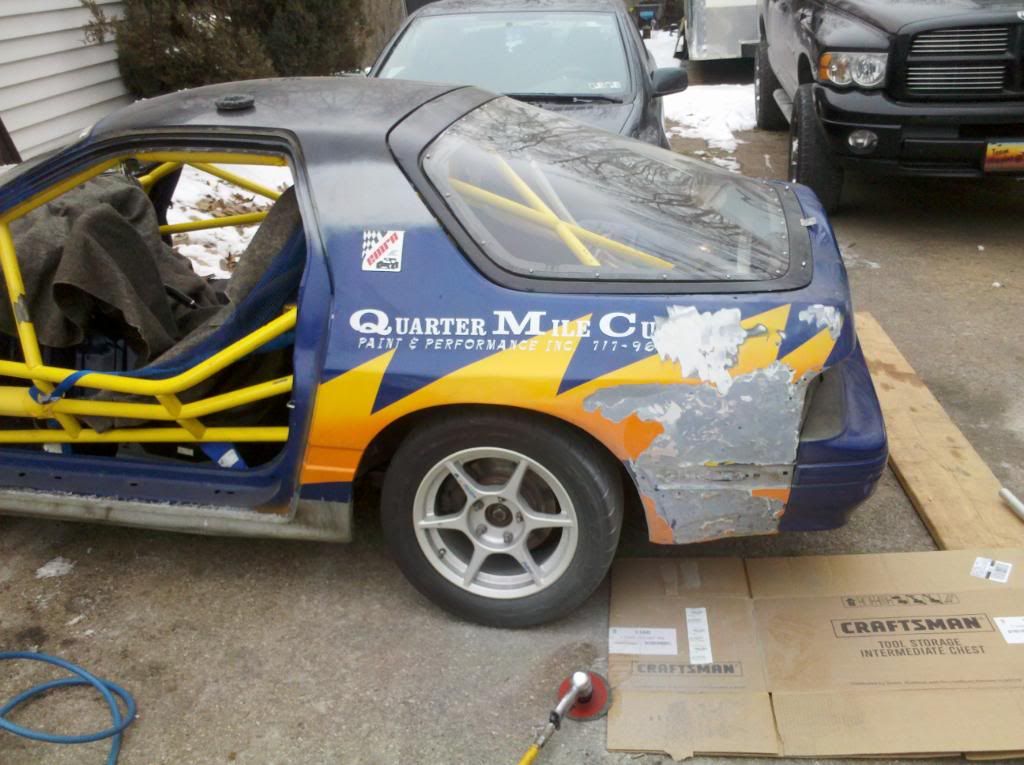
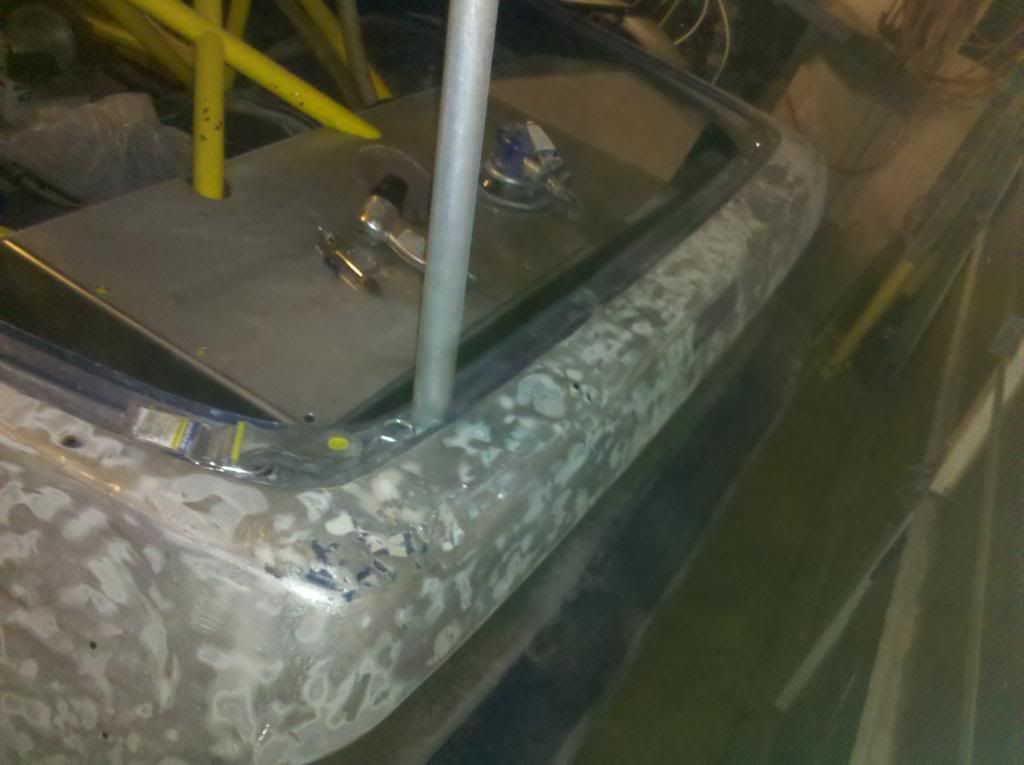
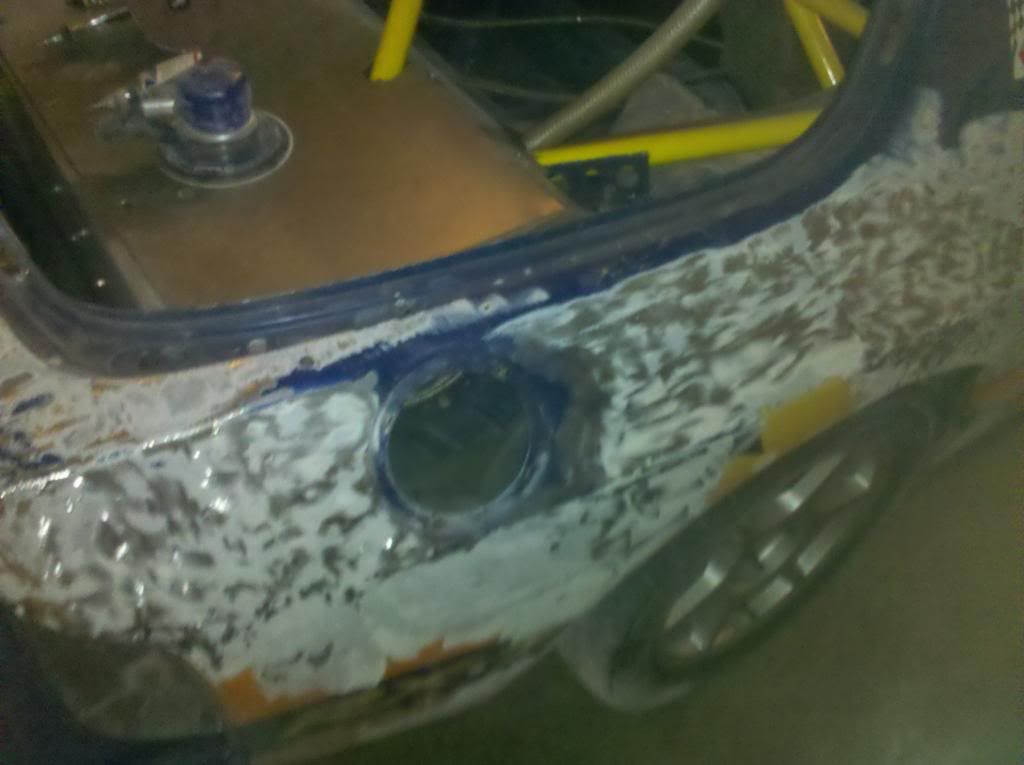
Pics of the body:
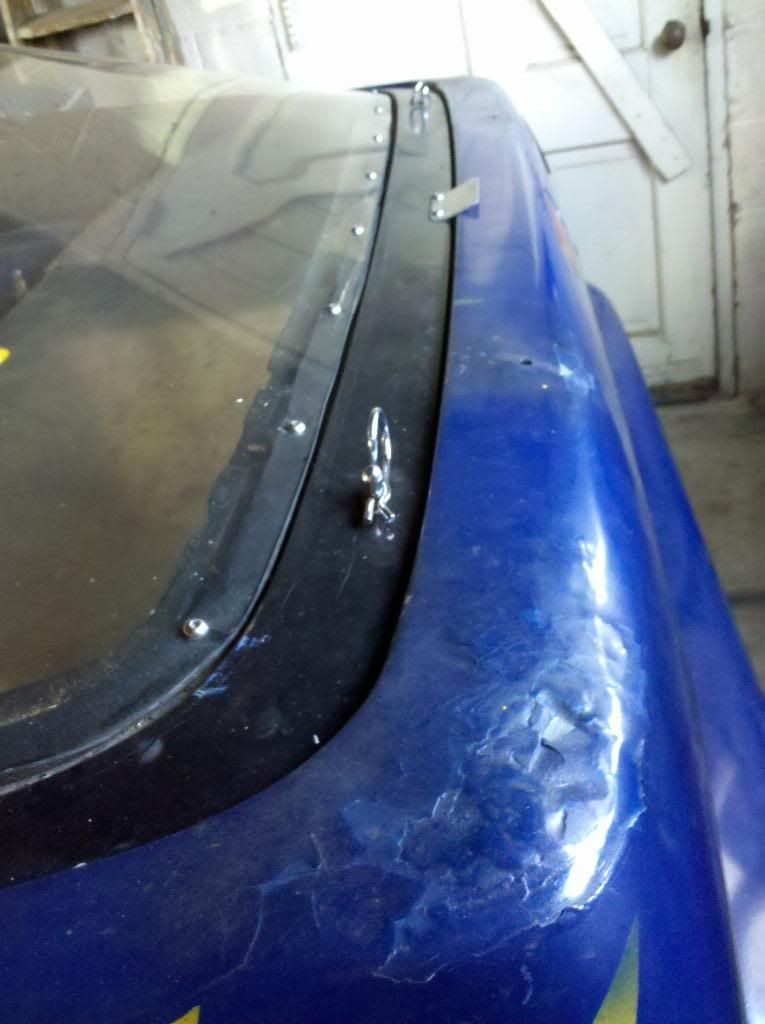
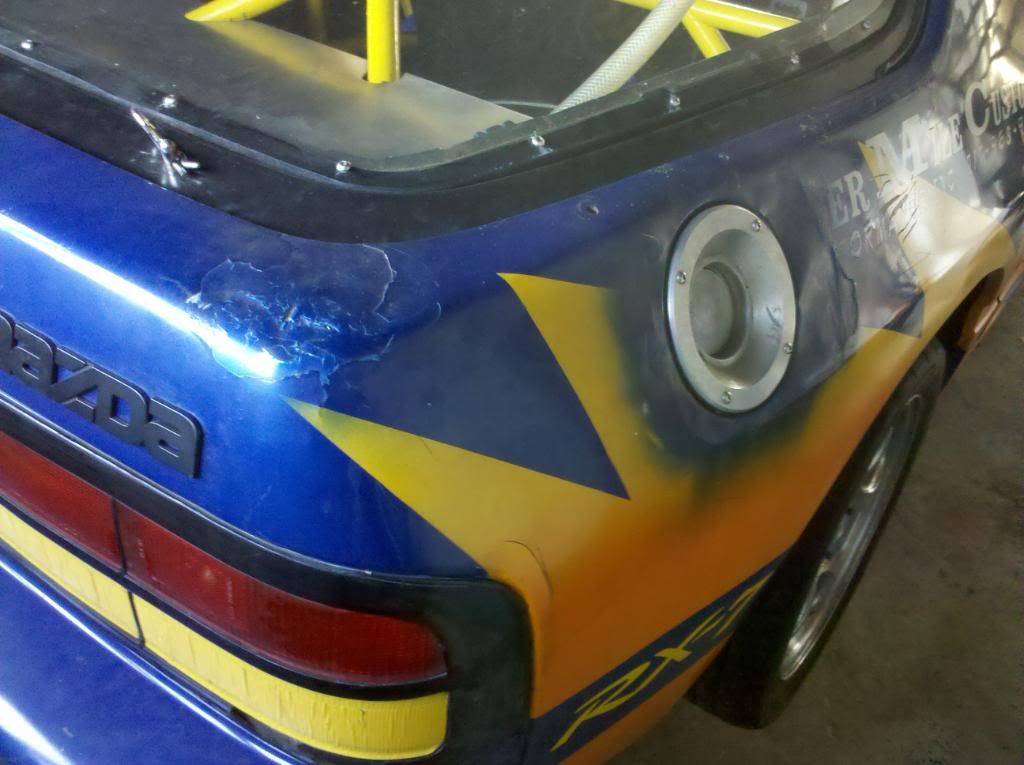
It ended up on its roof last year (or was it two years ago?) on the front strech at Summit Point, put into the tire barriers at Watkins Glen by a student driver, so I have my work cut out for me as far as body work... Paint design is still being decided upon, but the dark blue is going to stay; were just not sure what kind of design to do yet.
Comments/suggestions/discussion/CONSTRUCTIVE criticism is openly welcome.
The car was run in ITS then ST3 last year and we are changing over to ST2/E Production... New motor, fresh paint, and a general rebuild. Heres a few pictures of what the car looked like last year:
And me enjoying a couple laps at Summit Point:
The teardown has already happened. Sorry, school/work/girlfriend got in the way of uploading/taking more pictures. My main job is bodywork along with mechanical, and my dad/the car owner are mainly in charge of mechanical/setup. I'll be posting pictures in order as they happened, bringing you up to date on progress.
Motors out:
Pics of the body:
It ended up on its roof last year (or was it two years ago?) on the front strech at Summit Point, put into the tire barriers at Watkins Glen by a student driver, so I have my work cut out for me as far as body work... Paint design is still being decided upon, but the dark blue is going to stay; were just not sure what kind of design to do yet.
Comments/suggestions/discussion/CONSTRUCTIVE criticism is openly welcome.
Thread Starter
Full Member
Joined: Jan 2011
Posts: 70
Likes: 0
From: 717
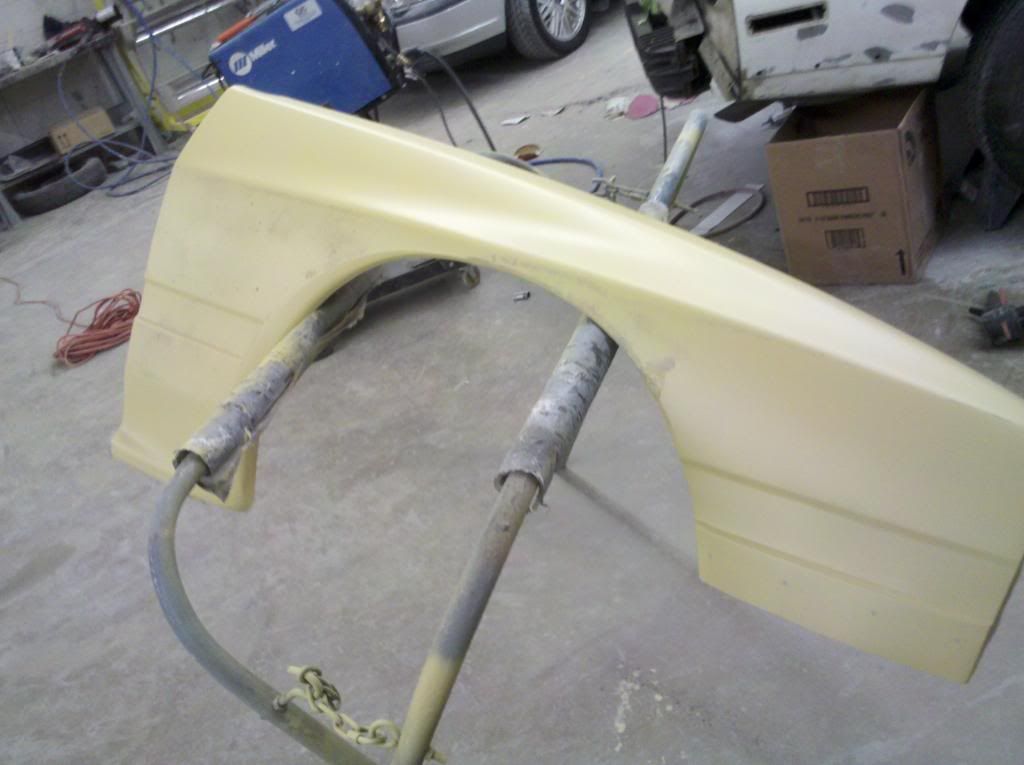
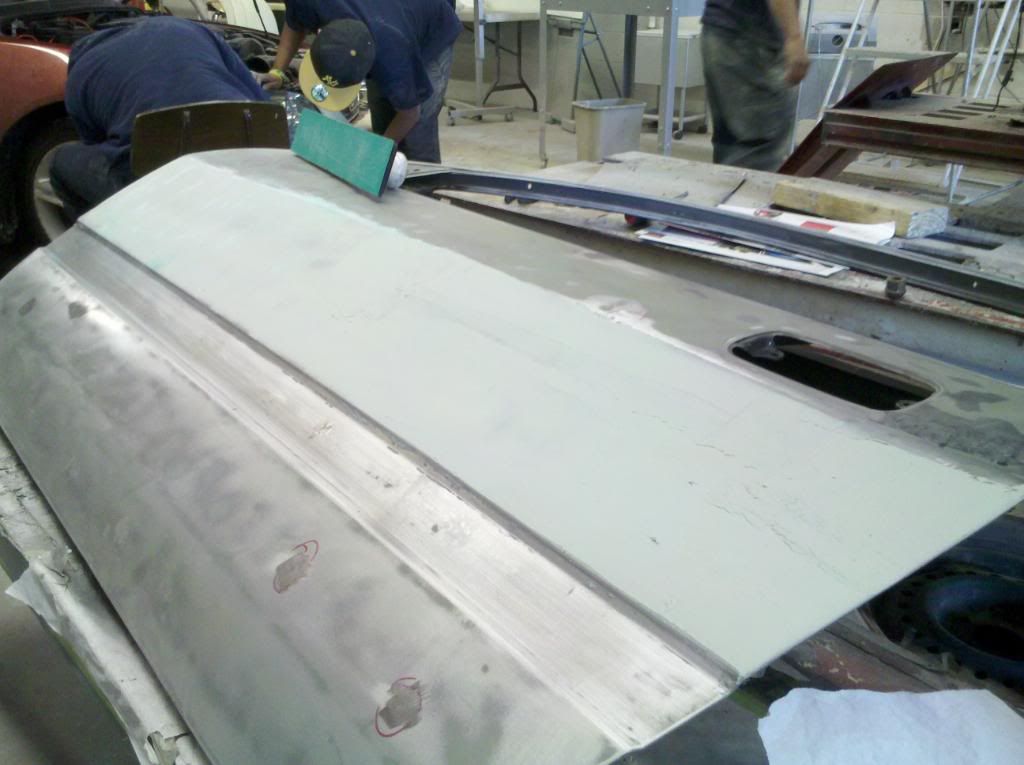
Drivers side fender...
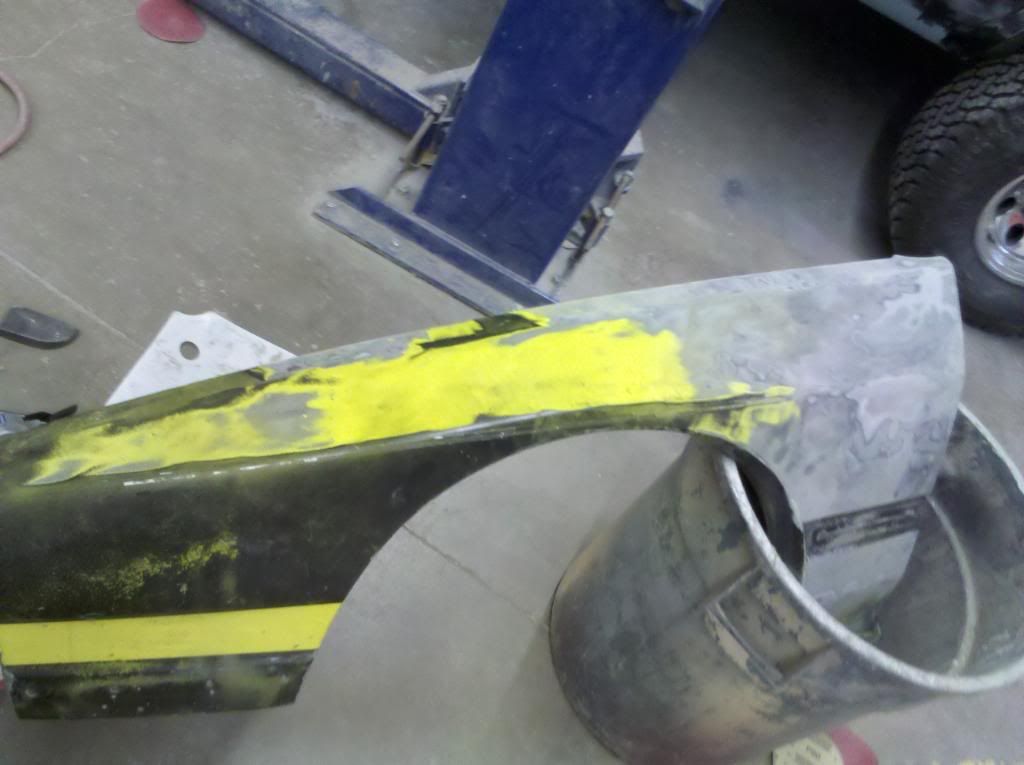
Blehhh LOTS of plastic here...

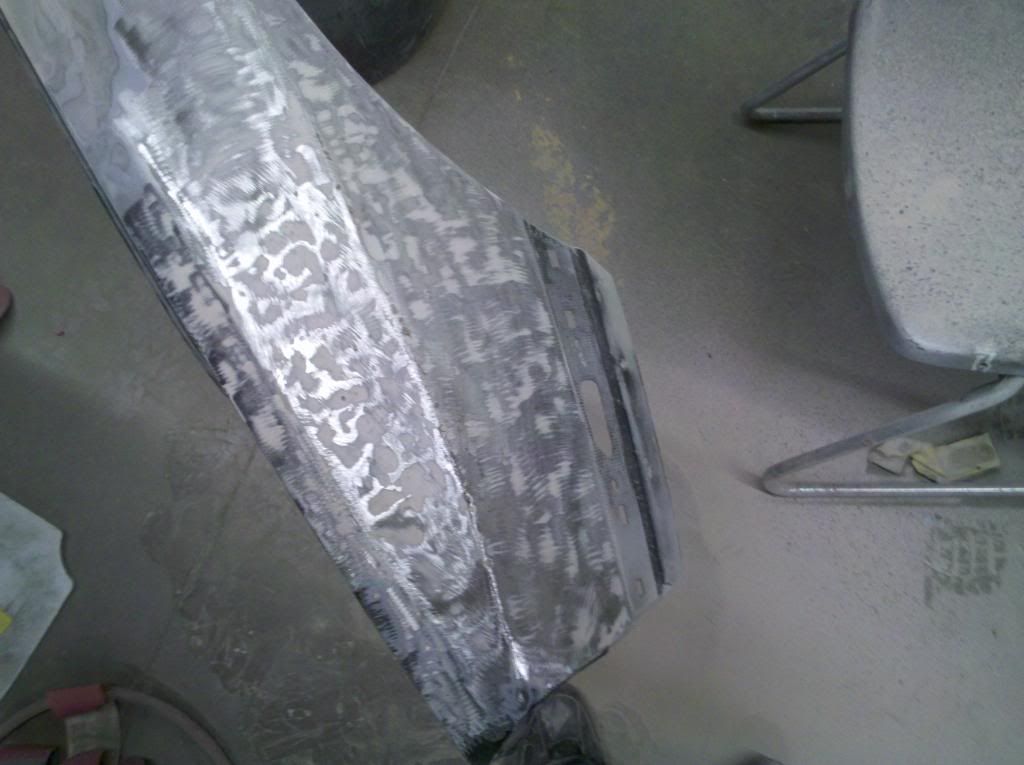
About 8 hours of hammer/dolly work, here we go...
Plastic/sanded:

Primered up:

Its a little better...
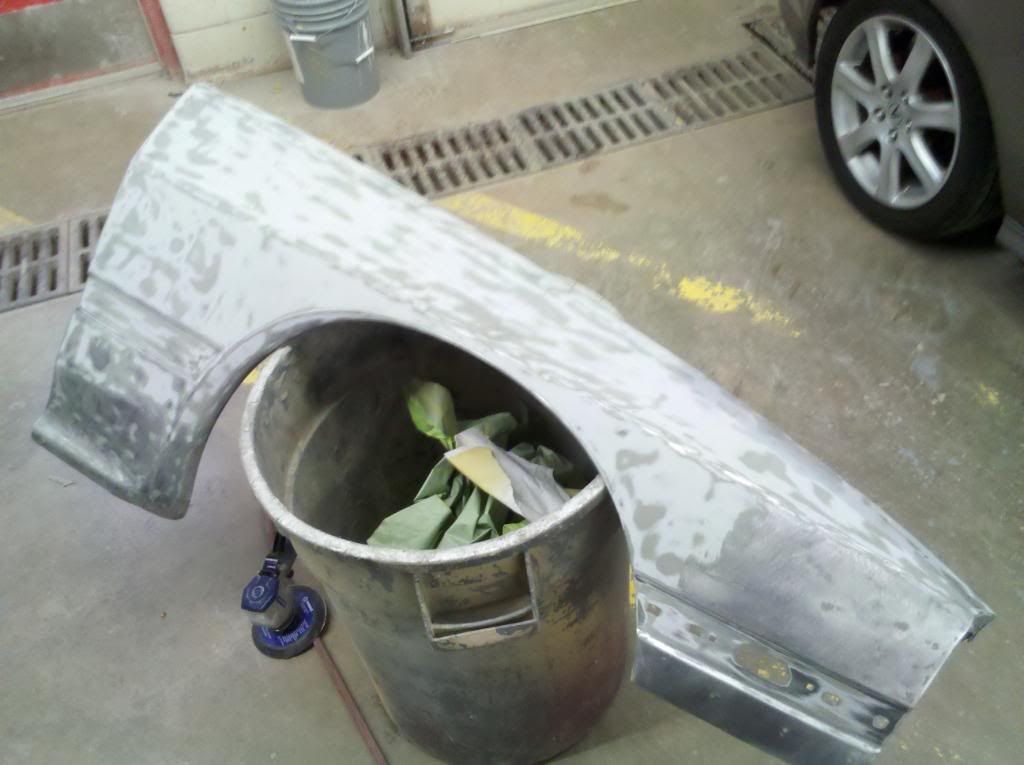
Passanger side fender wasn't near as bad, but it wasn't perfect, so lets fast forward through it...
Blehhh LOTS of plastic here...
About 8 hours of hammer/dolly work, here we go...
Plastic/sanded:
Primered up:
Its a little better...
Passanger side fender wasn't near as bad, but it wasn't perfect, so lets fast forward through it...

Thread Starter
Full Member
Joined: Jan 2011
Posts: 70
Likes: 0
From: 717
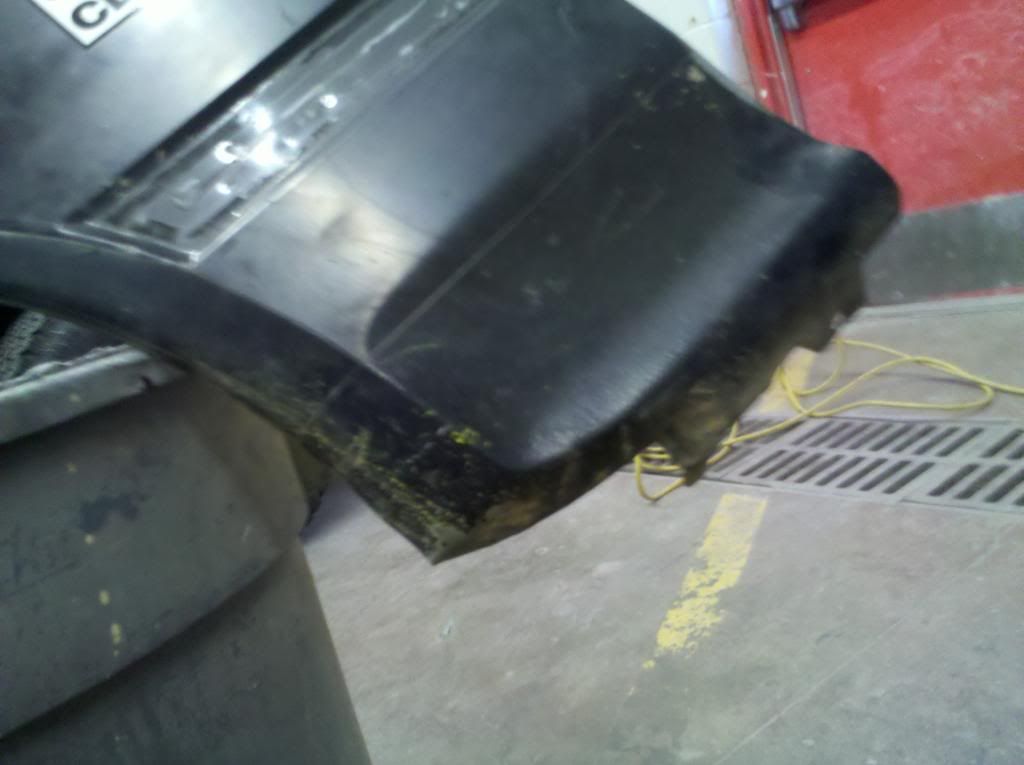
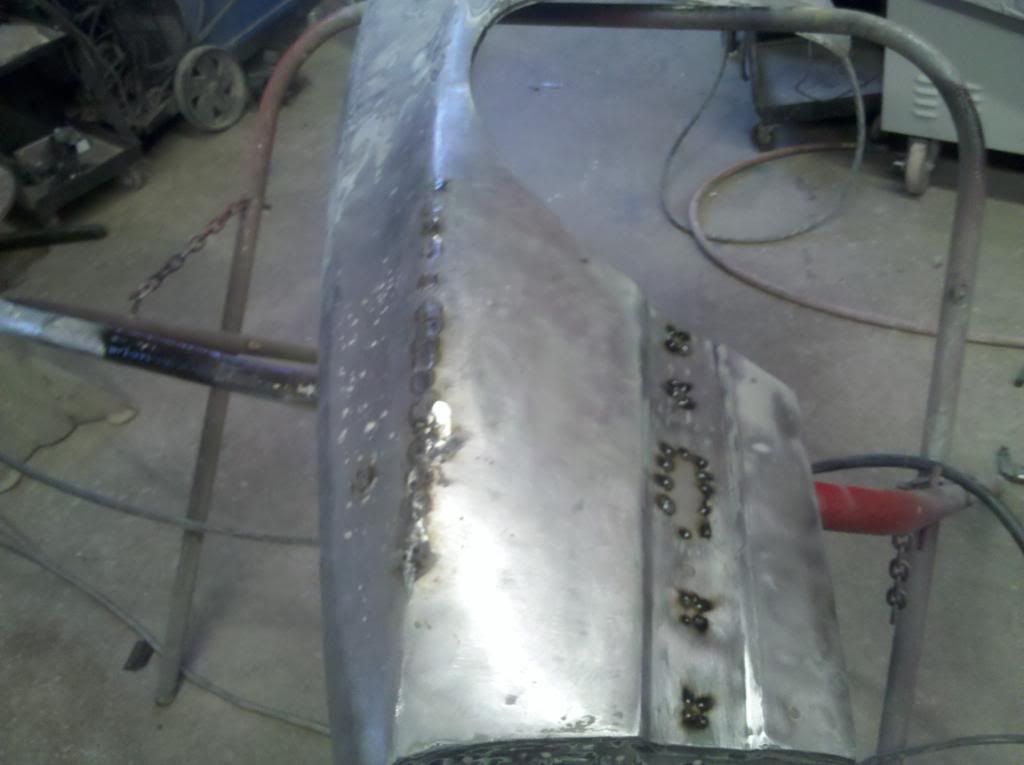
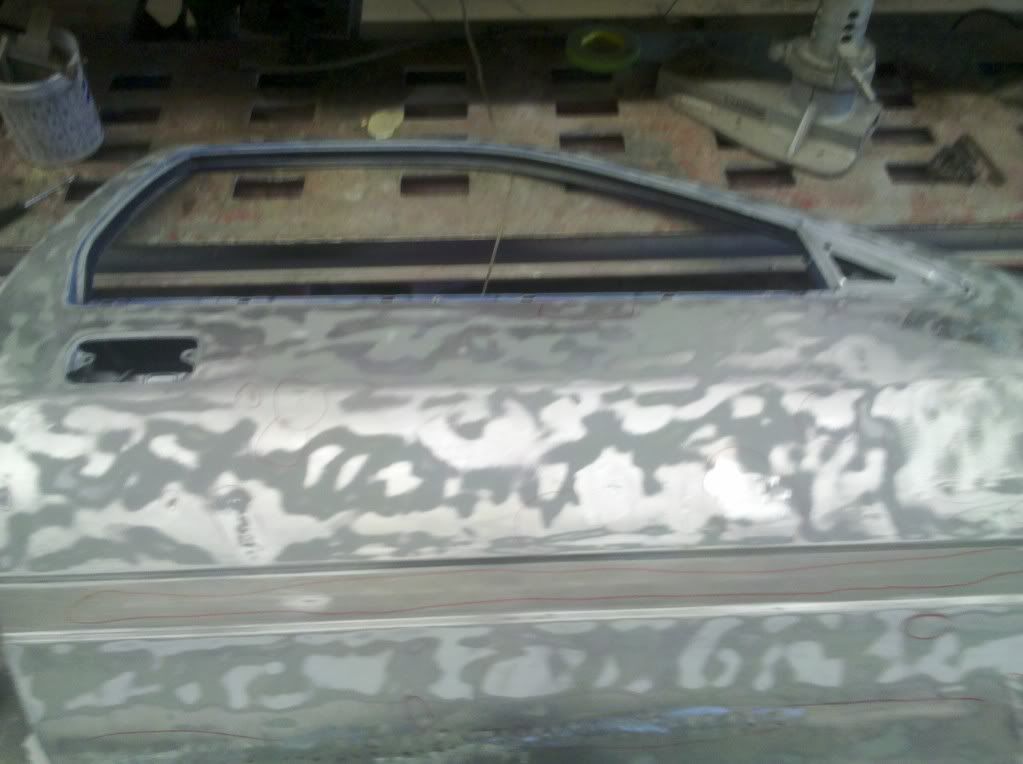
Doors, anyone?
Drivers:
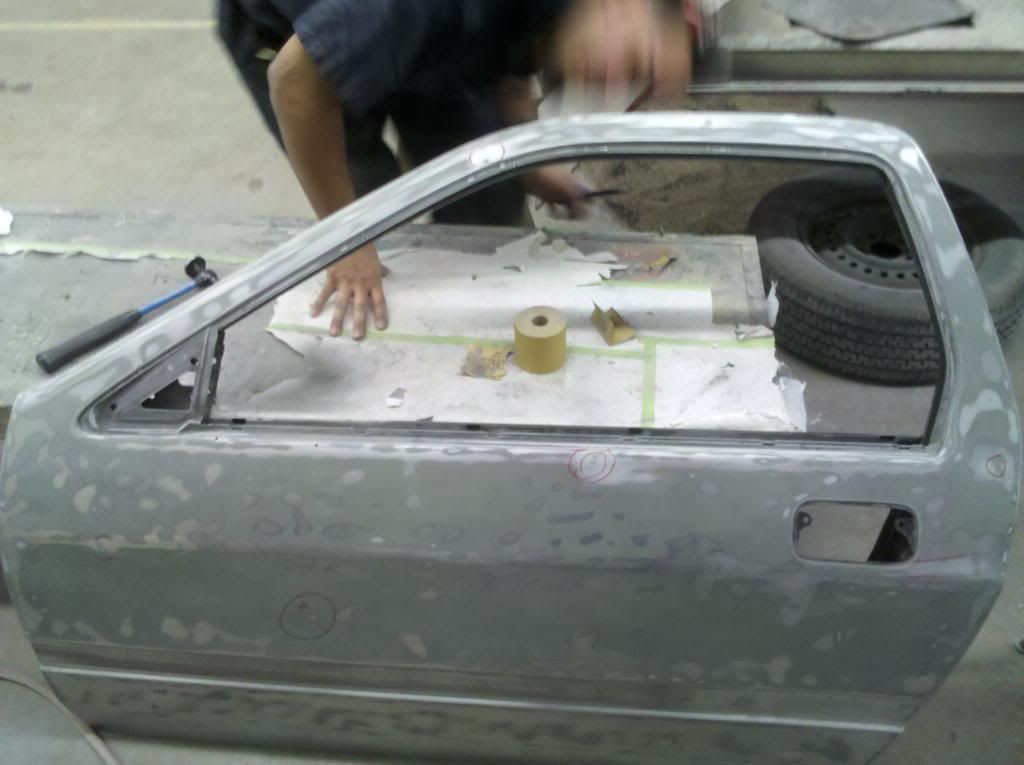
Just a little tug is all she needed...
And if you do it right, this is how they SHOULD come off:
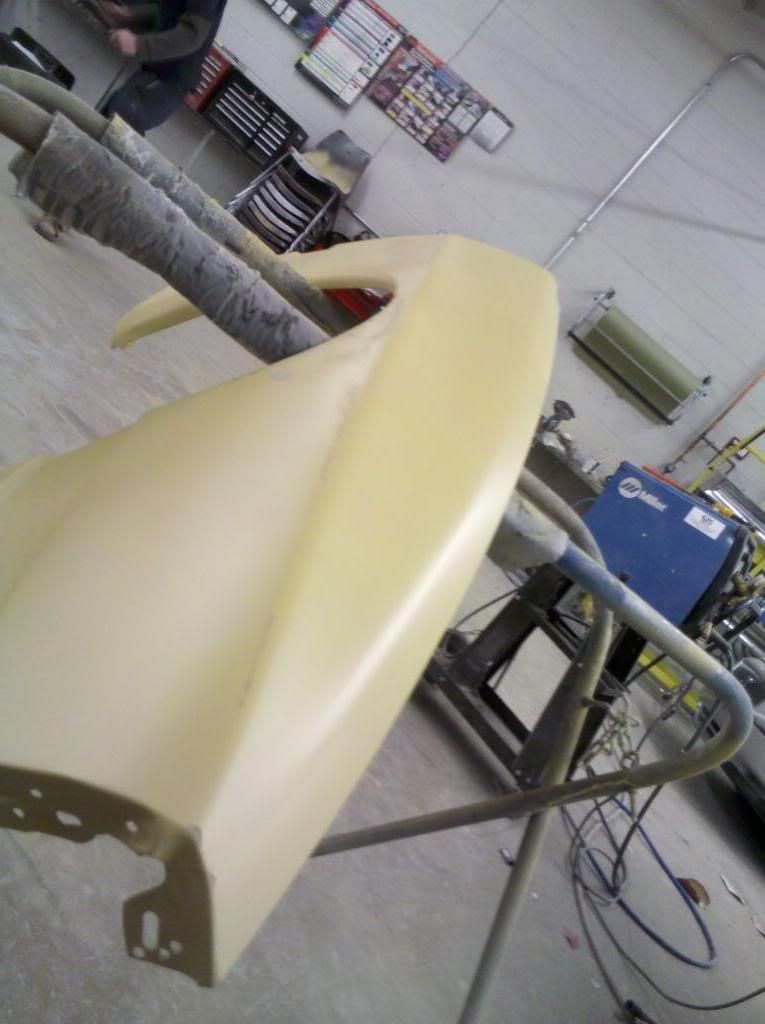
Thin-ish coat of plastic:
I have the drivers door sanded down and the rest of the small spots filled, but I don't have any pictures of it. It will seem like I bounce around between what I'm working on because the car is in my garage, and the doors/fenders were done at school.
Work space
Drivers:
Just a little tug is all she needed...
And if you do it right, this is how they SHOULD come off:
Thin-ish coat of plastic:
I have the drivers door sanded down and the rest of the small spots filled, but I don't have any pictures of it. It will seem like I bounce around between what I'm working on because the car is in my garage, and the doors/fenders were done at school.
Work space
Thread Starter
Full Member
Joined: Jan 2011
Posts: 70
Likes: 0
From: 717
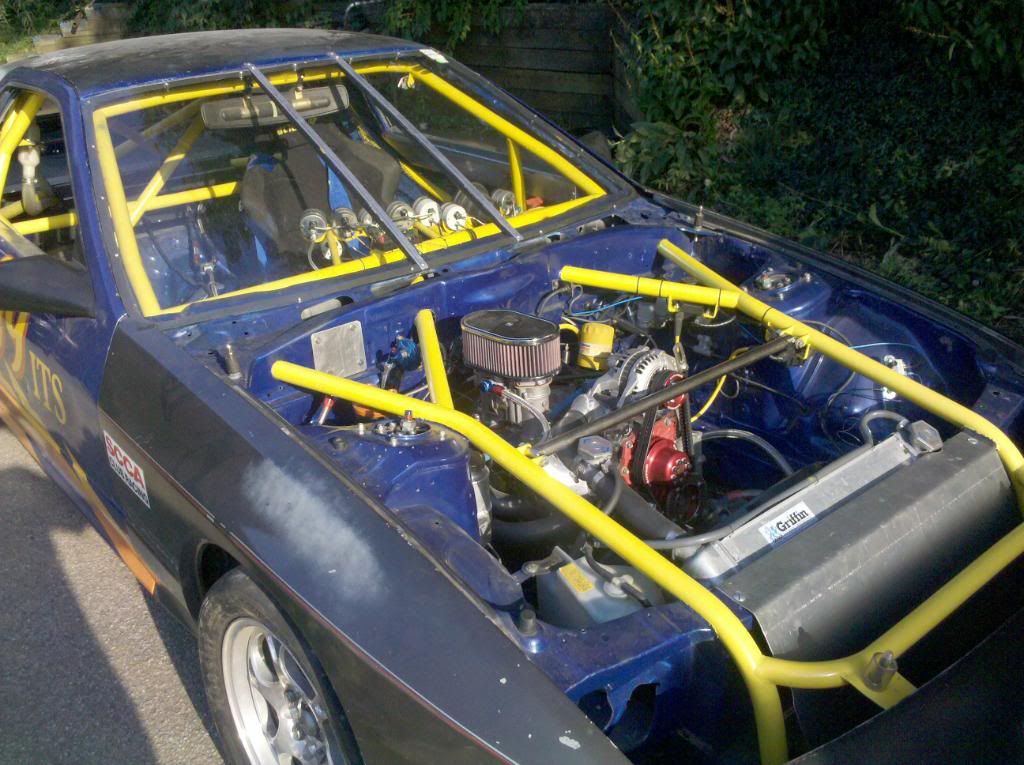
It will still be a yellow cage and blue body, but since we also run endurance races which run into the night, we want to keep it on the flashy side, but the exterior design is out the door. Thanks!
Trending Topics
Thread Starter
Full Member
Joined: Jan 2011
Posts: 70
Likes: 0
From: 717
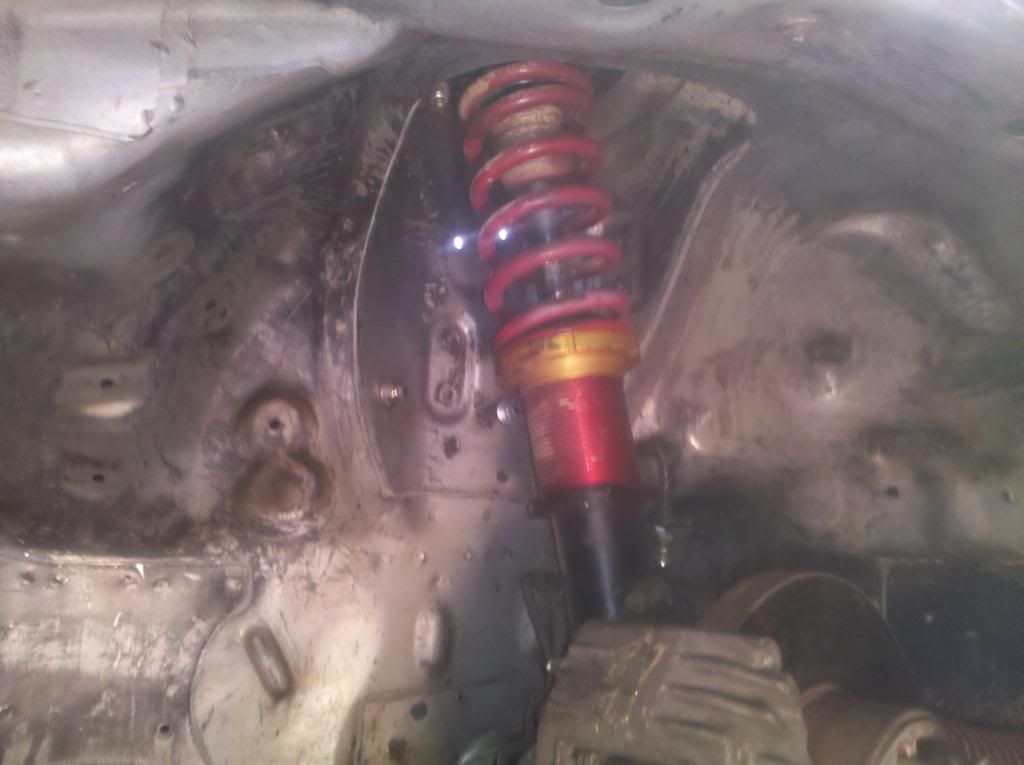
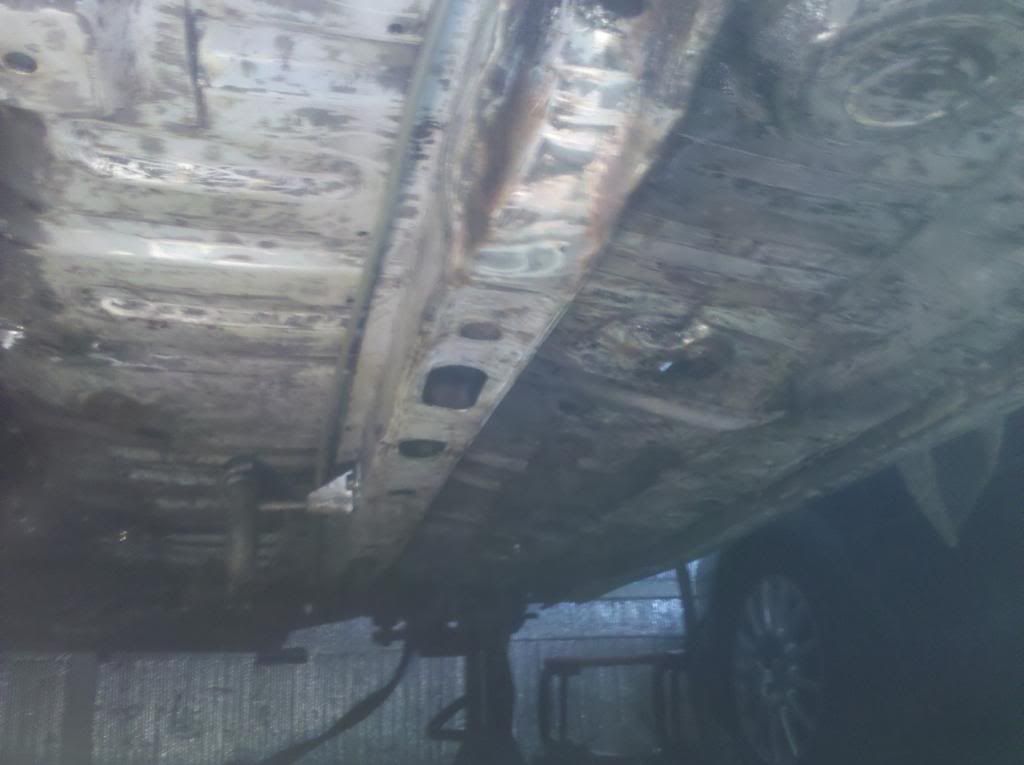
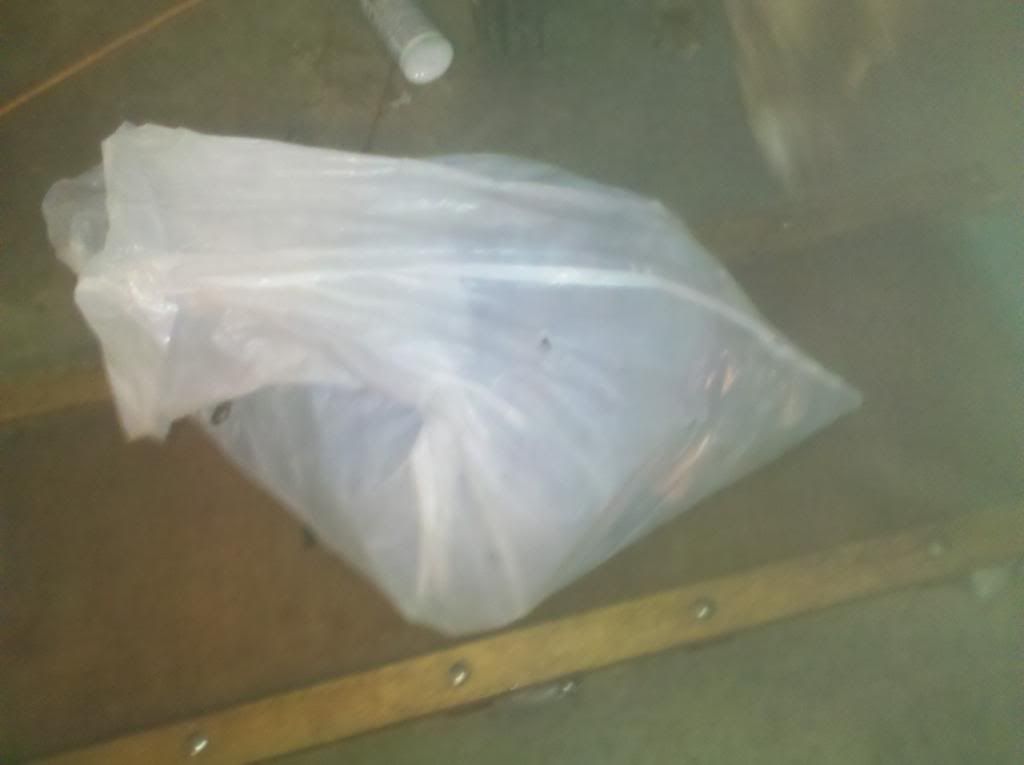
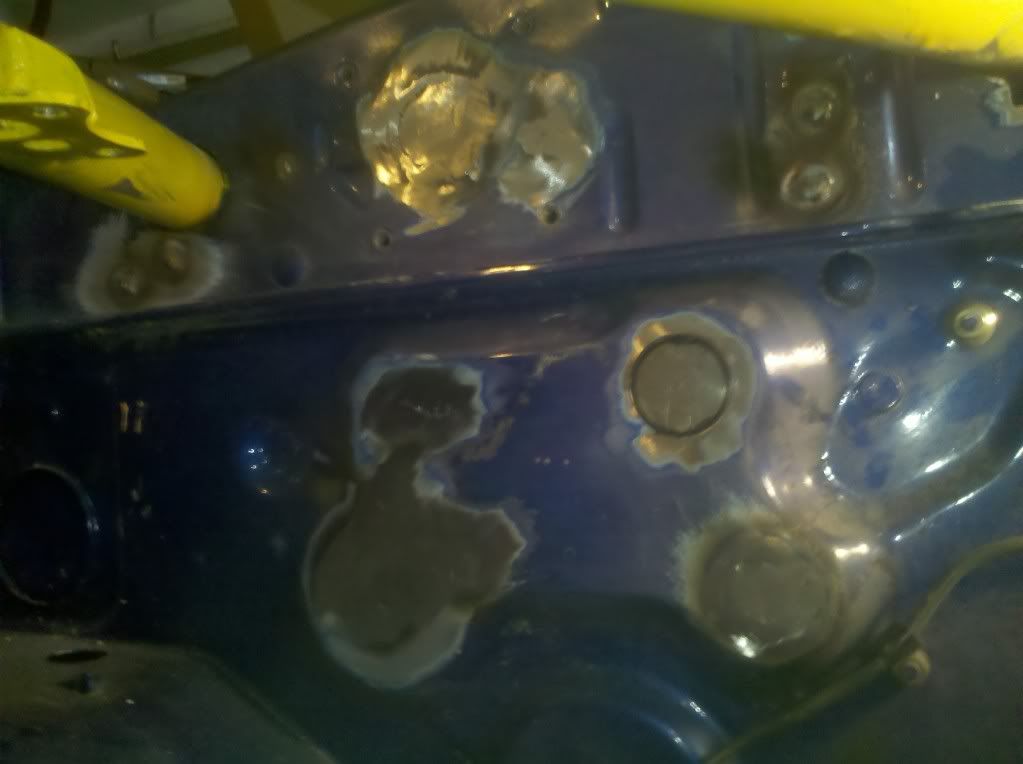
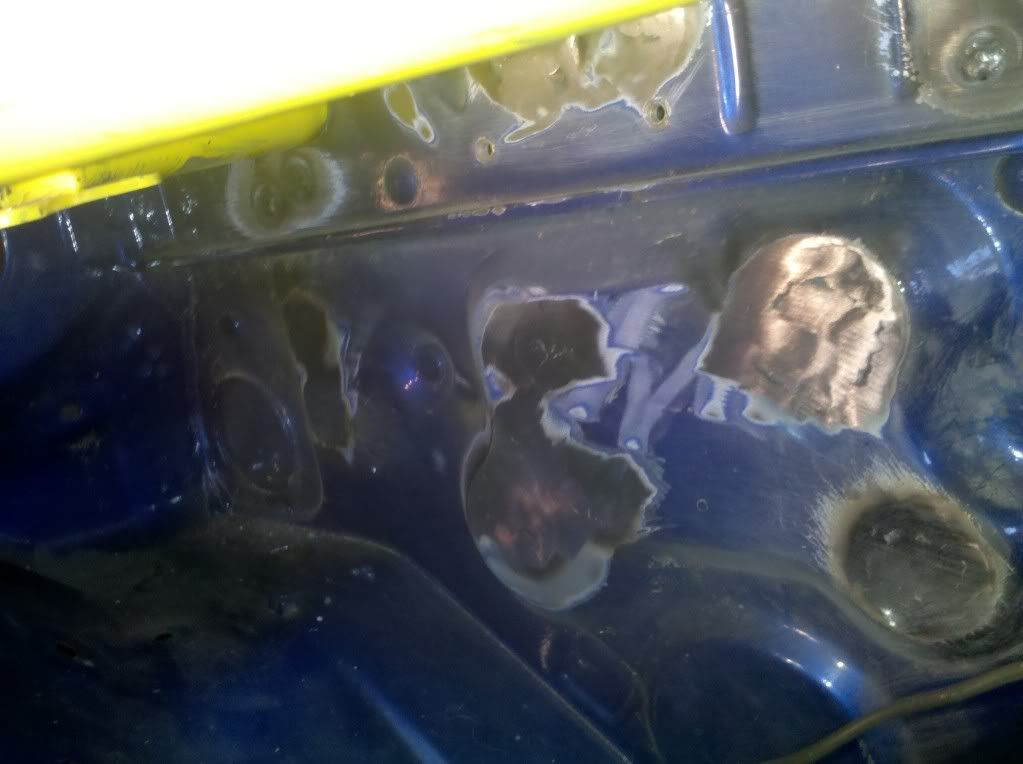
Removal of undercoating... I luckily didnt participate in this, but the car owner and my dad got that enjoyment.
And the PARTIAL bag before we started collecting the undercoating... It weighs about 20 pounds.
Stop... Hammertime

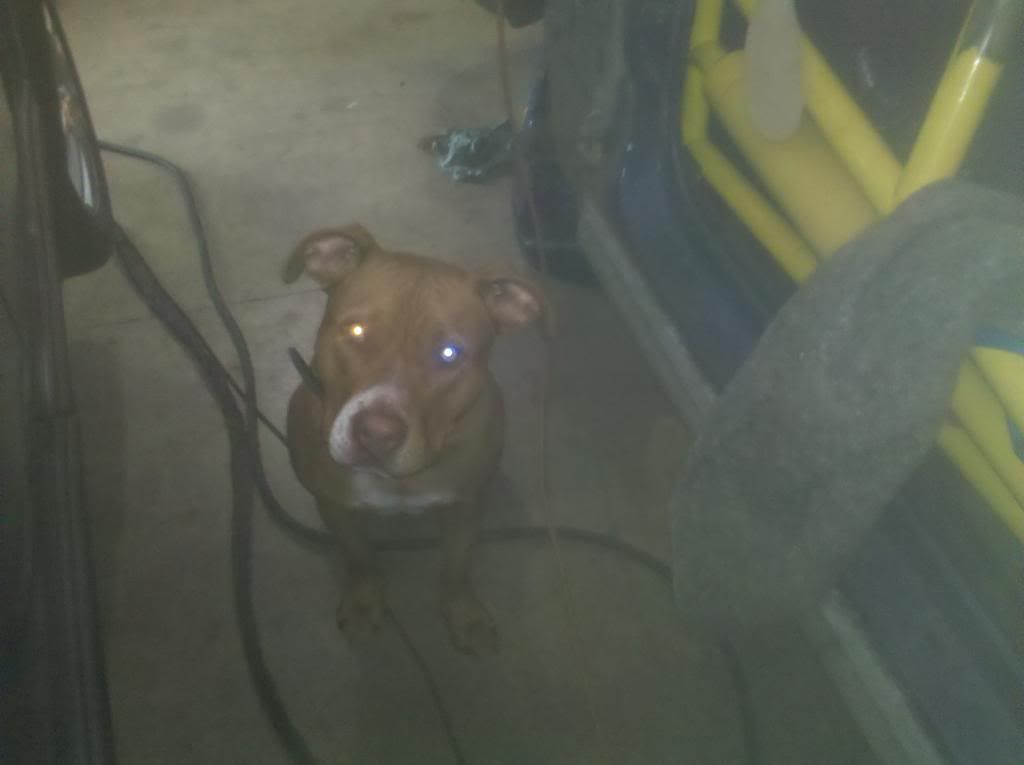
And of course, my shop dog:
And the PARTIAL bag before we started collecting the undercoating... It weighs about 20 pounds.
Stop... Hammertime
And of course, my shop dog:
Thread Starter
Full Member
Joined: Jan 2011
Posts: 70
Likes: 0
From: 717
I dug up some old videos from 2009, so if yall are bored and want something to watch, here ya go. We're a "little" underpowered at this point, which is why we have a new motor on the way. MANY updates have been done since this video, such as Weber carbs, crankfire ignition, and we've gone through 2 pairs of fuel pumps since then:
Driver: Joey
 Summit Point 1989 Mazda RX7
Driver/Owner: Lee
 Summit Point 1989 Mazda RX7
Driver: Joey
Summit Point 1989 Mazda RX7Driver/Owner: Lee
Summit Point 1989 Mazda RX7
Thread Starter
Full Member
Joined: Jan 2011
Posts: 70
Likes: 0
From: 717
Thanks man... I'm in my first year at a trade school for collision repair, so some of the stuff is being done at school and some is being done at home in my garage. This is my first car I'm doing myself start to finish, so I guess we'll see how it turns out. I'm going to get it as best as I can, but its a race car. I don't want alot of extra weight from the plastic, so I'm trying to use as little of it as I can.
I guess its time for some more updates...
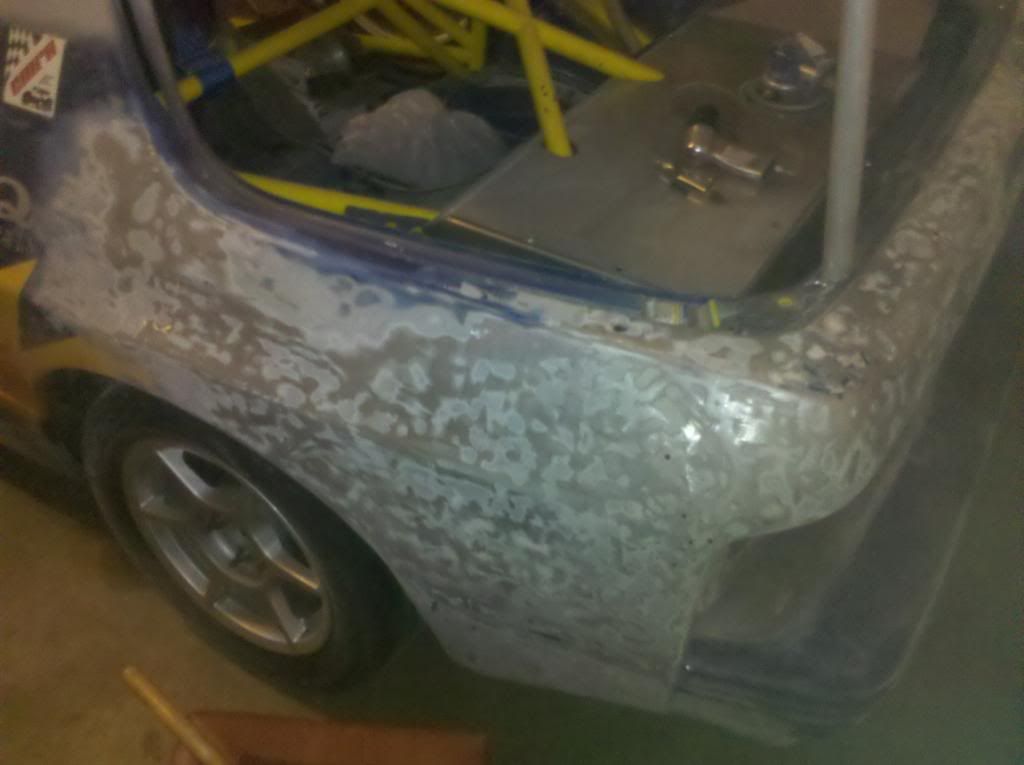
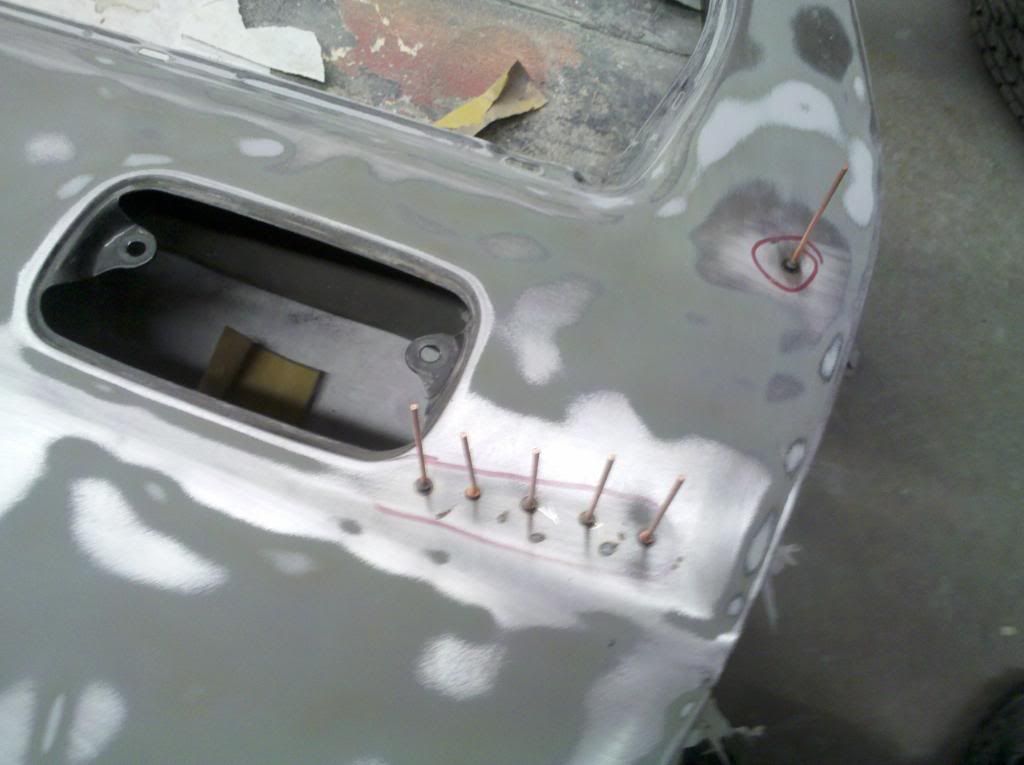
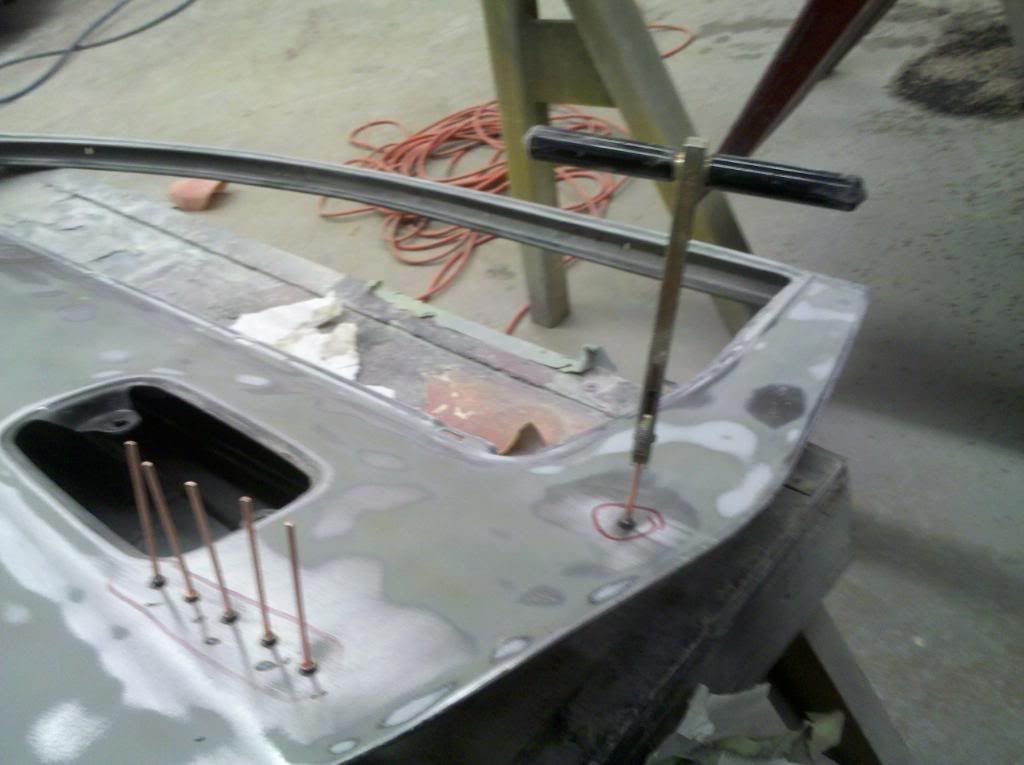
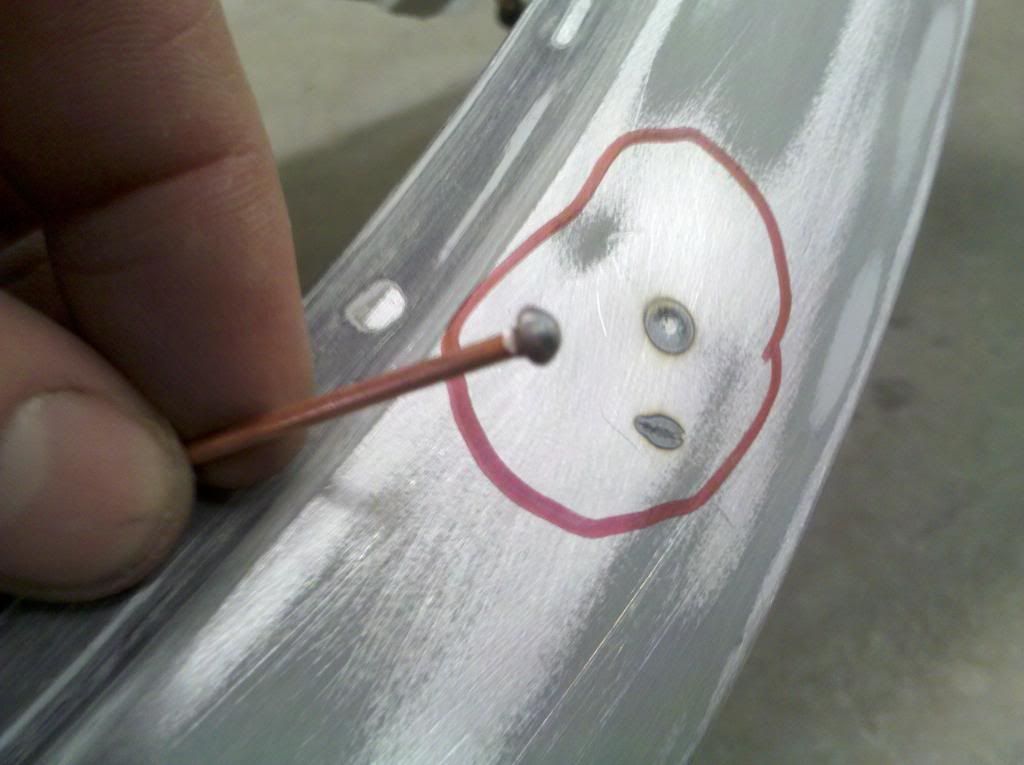
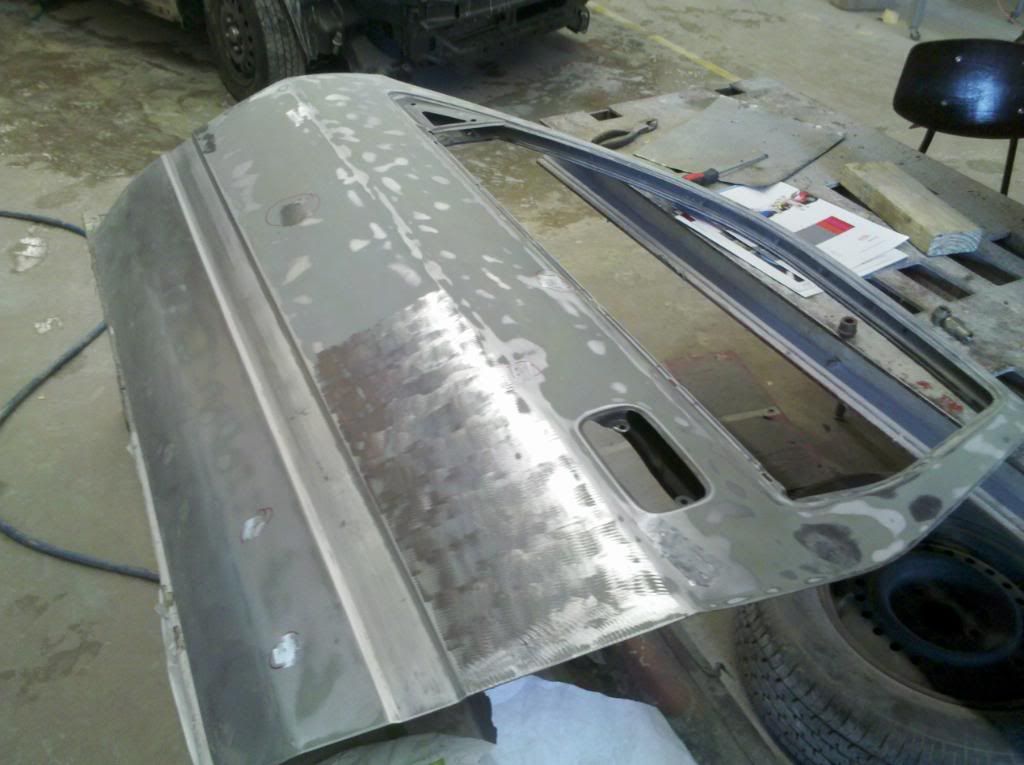
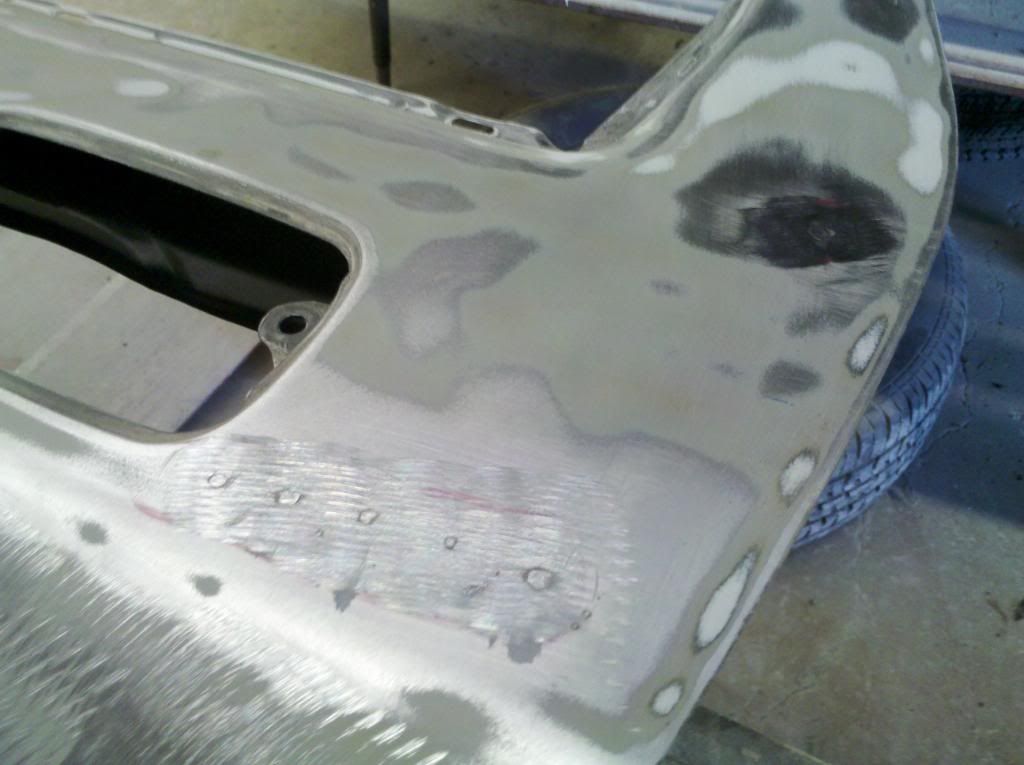
Pass side door:
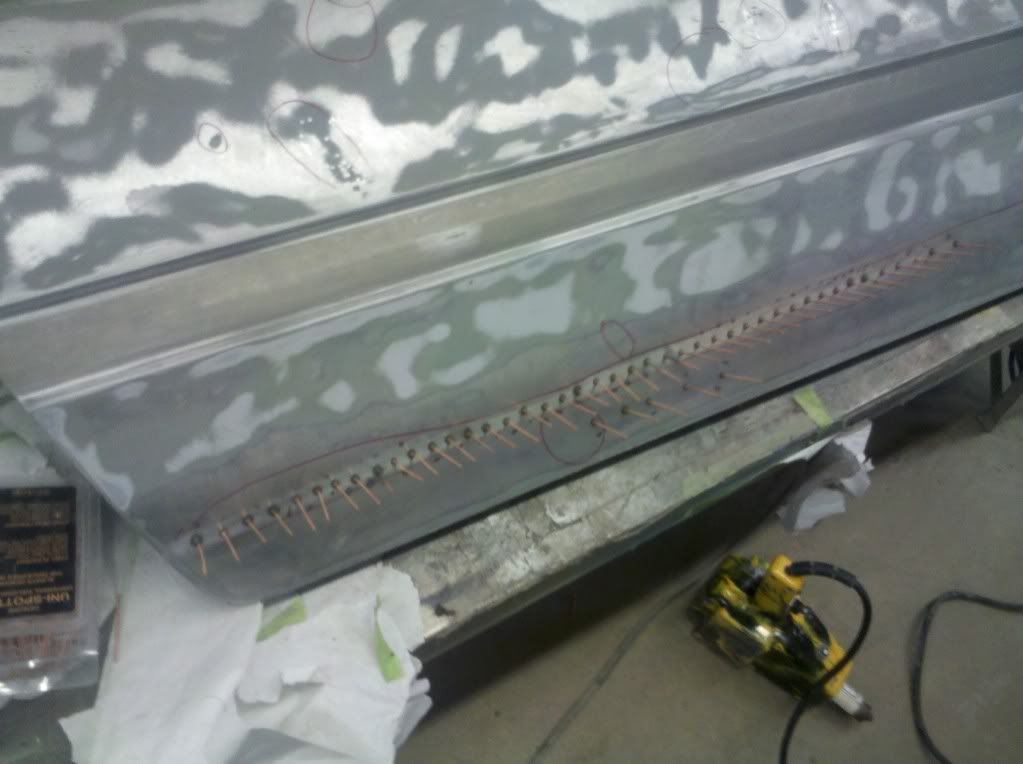
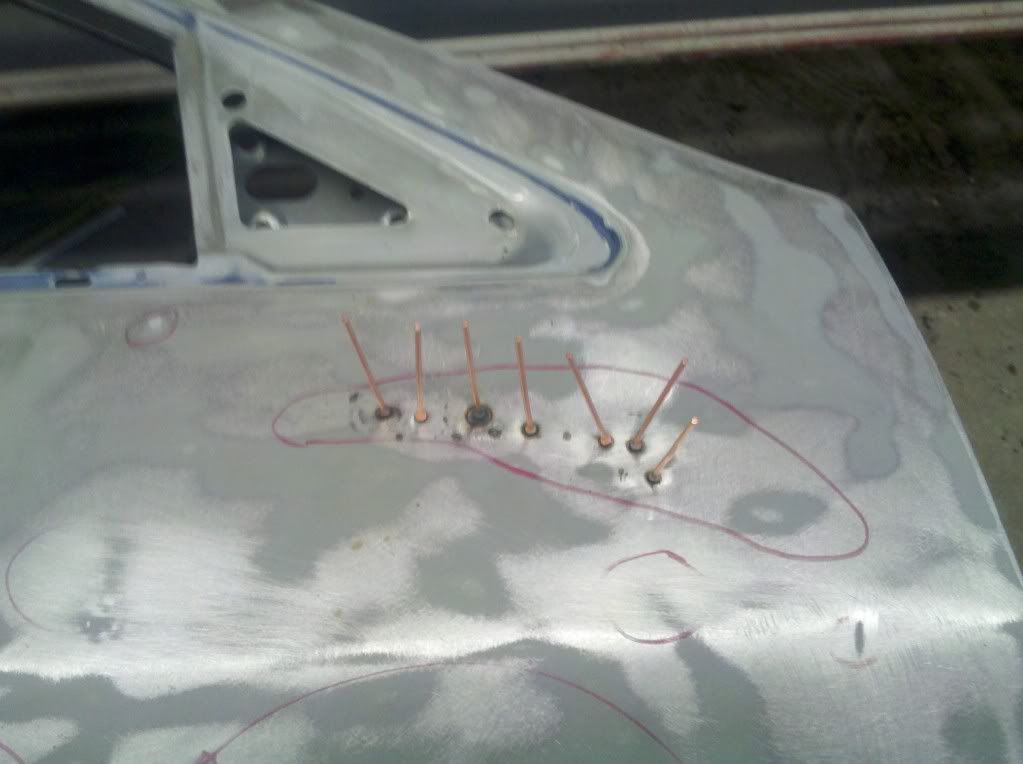
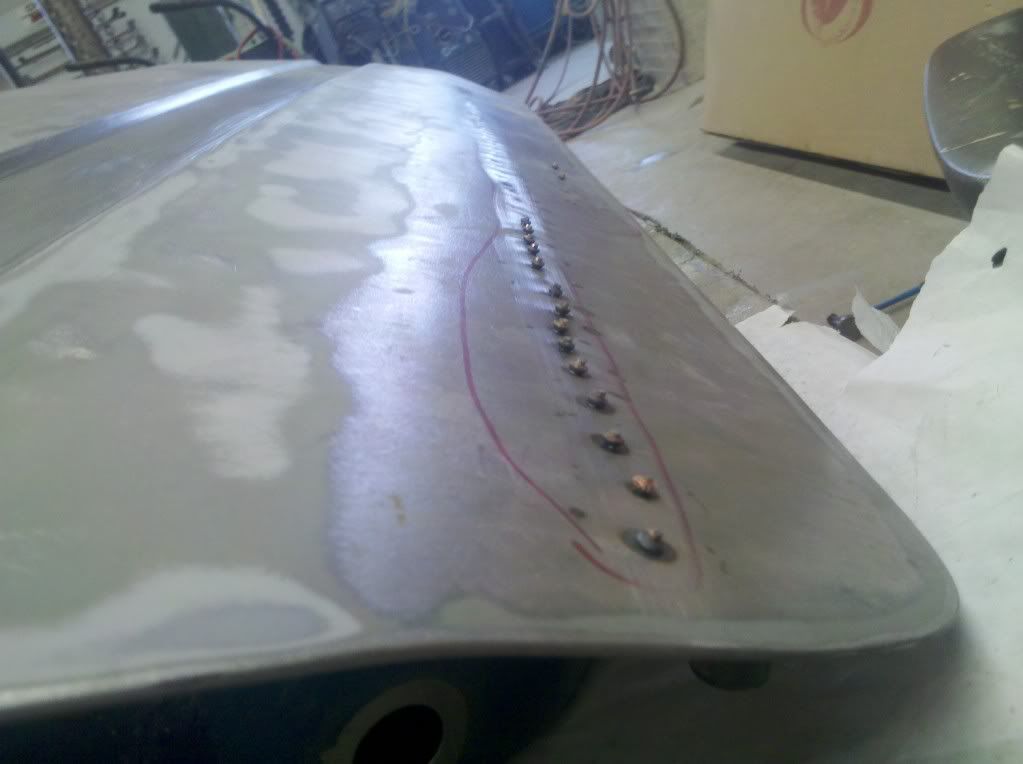


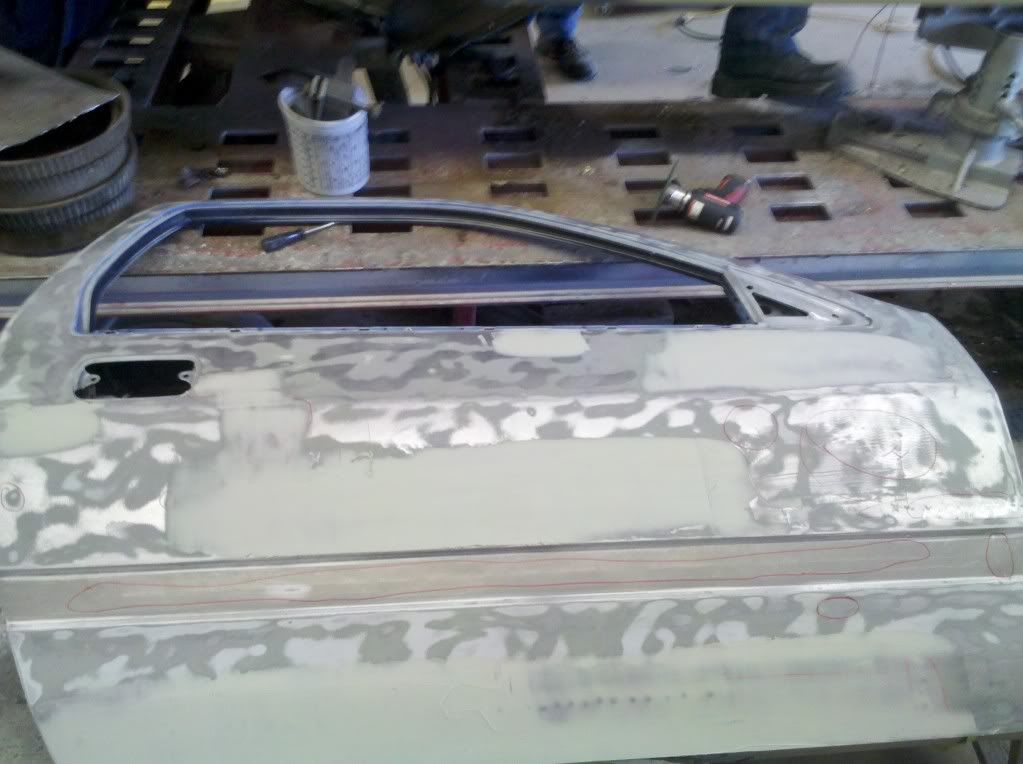
Drivers door:
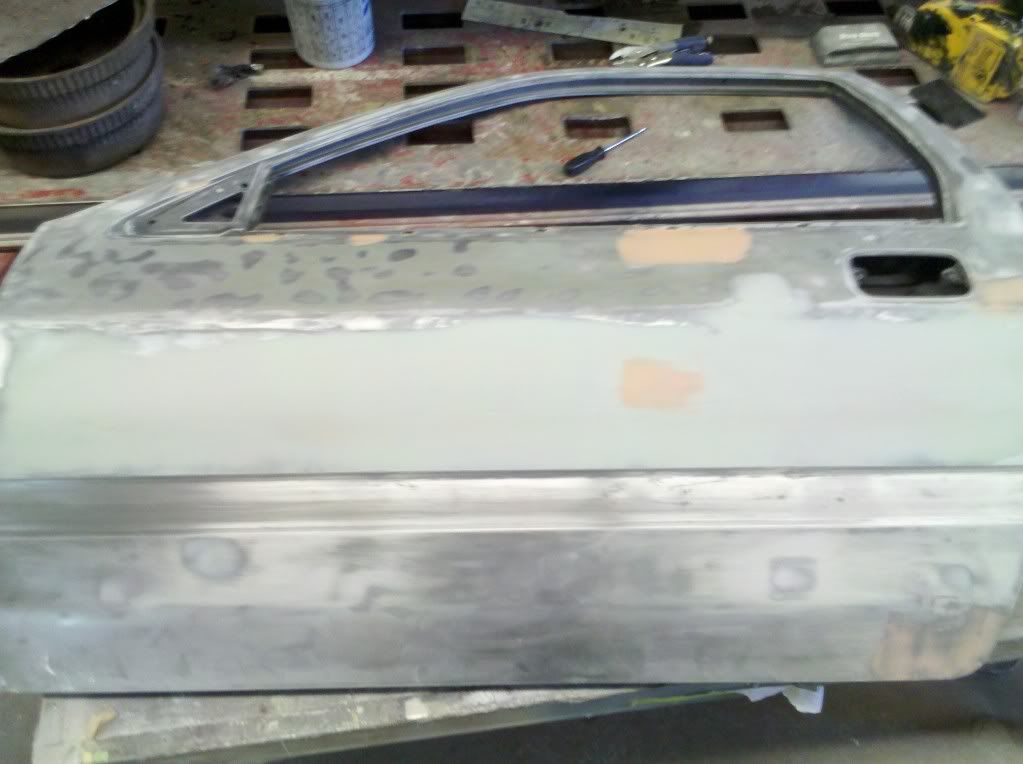

I should have a stud gun lined up for this weekend, so hopefully I'll be able to get a good bit of work done to the quarter panels.
I guess its time for some more updates...
Pass side door:
Drivers door:
I should have a stud gun lined up for this weekend, so hopefully I'll be able to get a good bit of work done to the quarter panels.
Thread Starter
Full Member
Joined: Jan 2011
Posts: 70
Likes: 0
From: 717
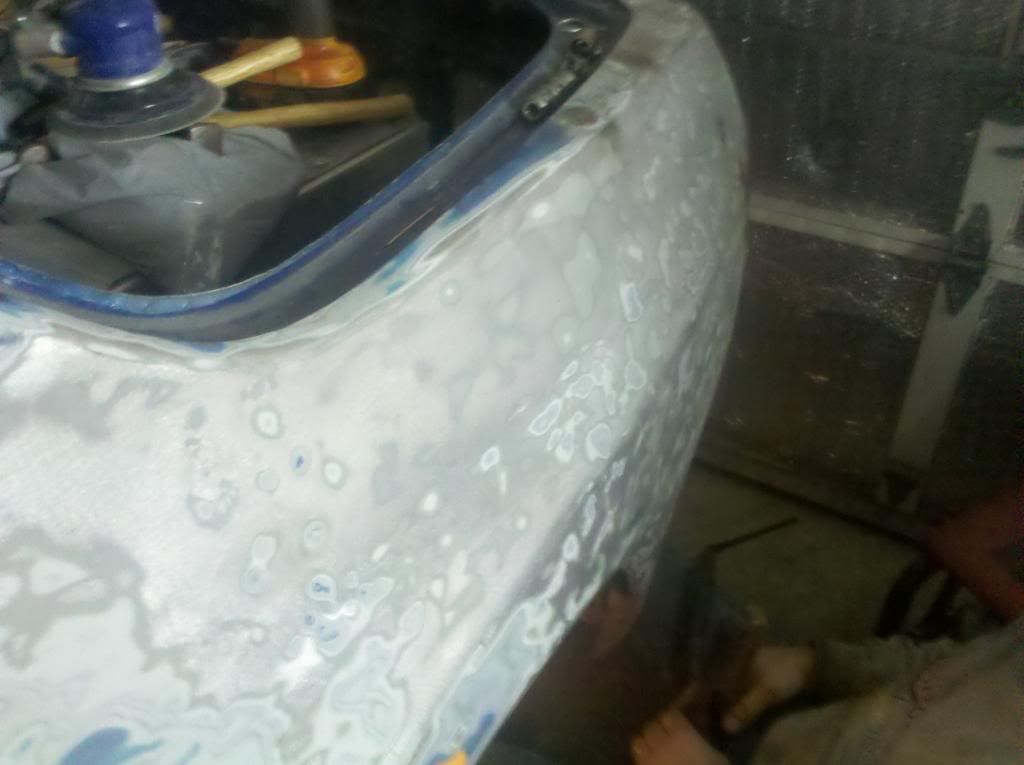
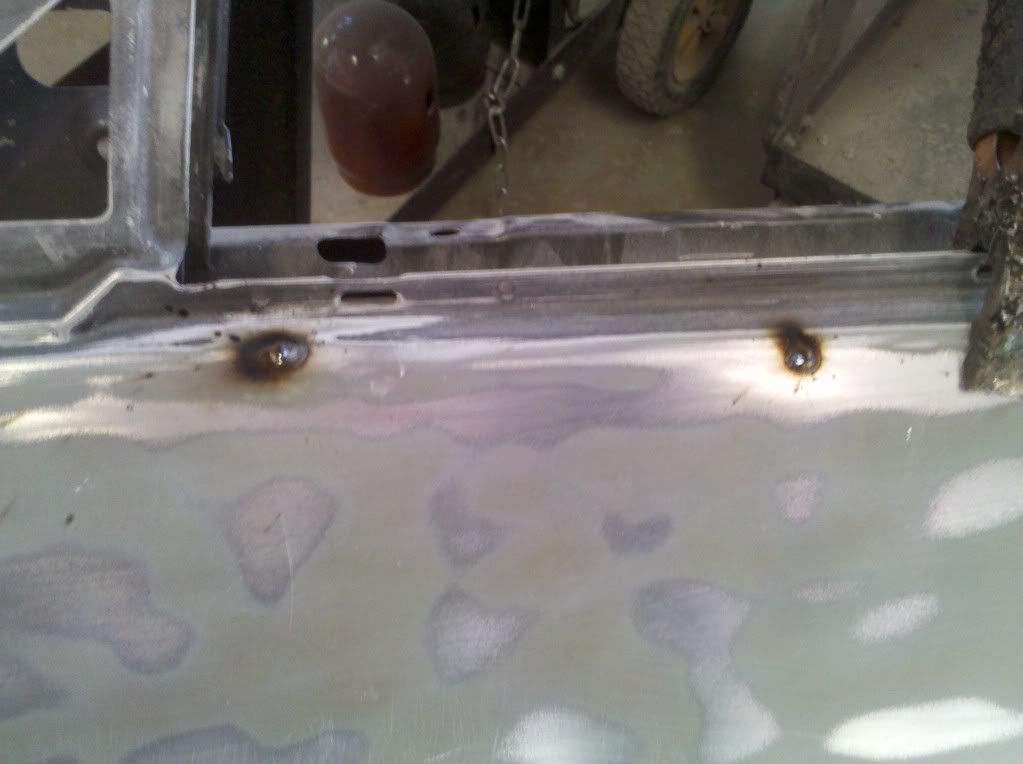
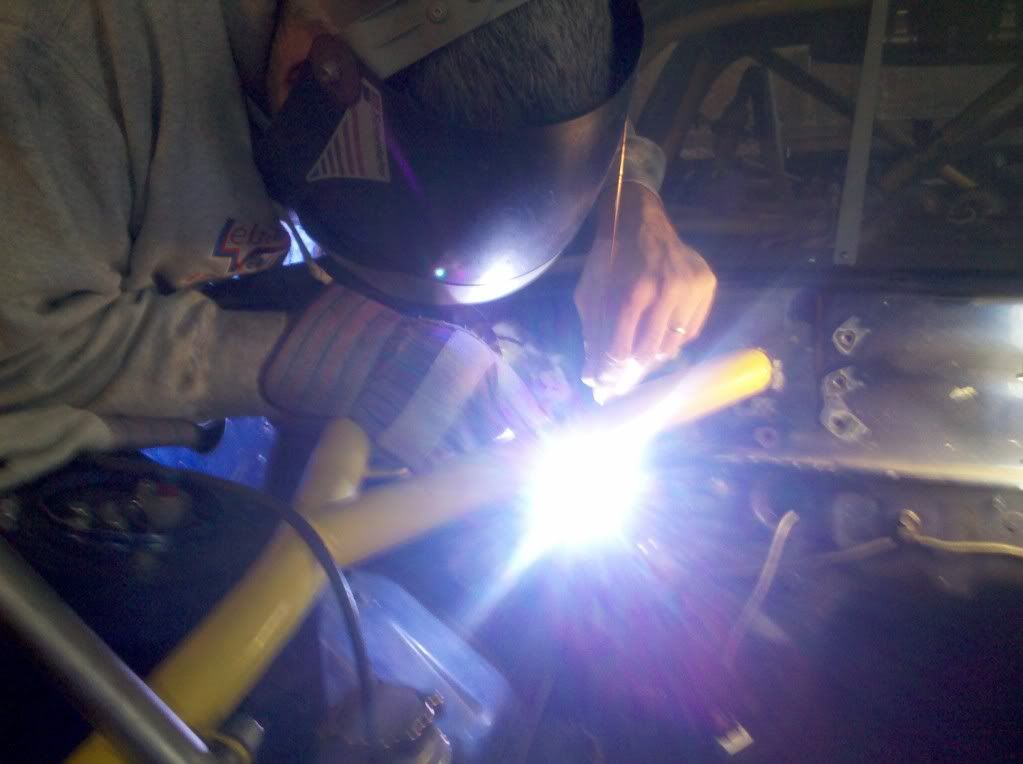
Didnt get the stud gun for the weekend, I forgot to pick it up. DOH!
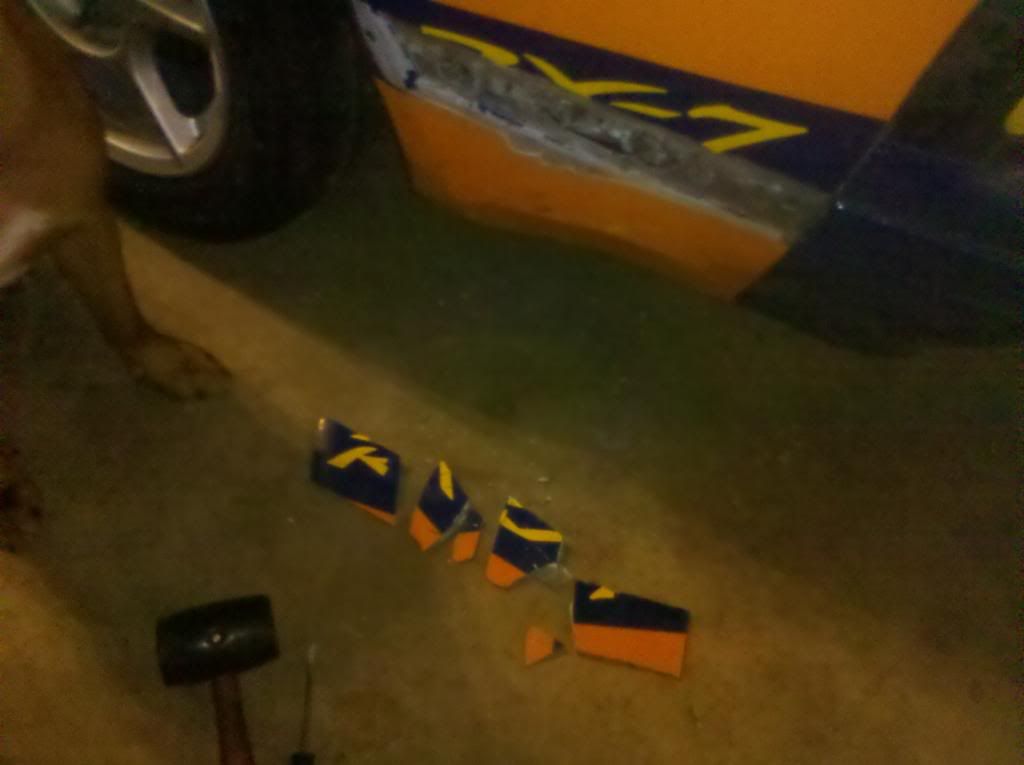
I also didnt get any work done on the doors, I had to paint this:


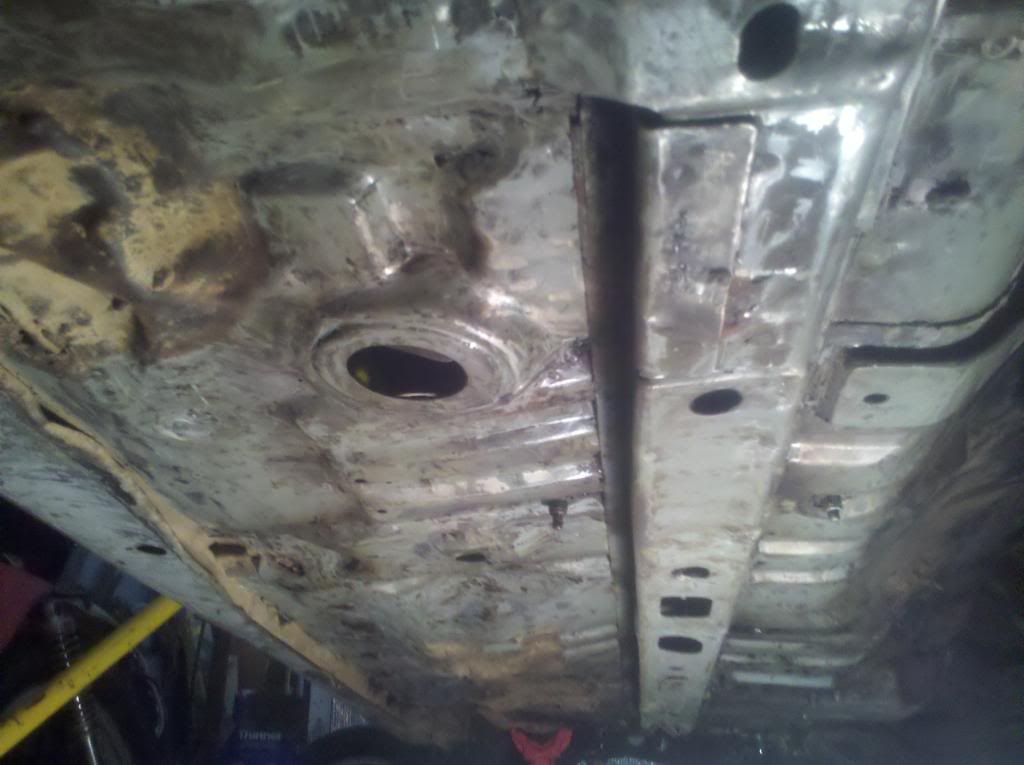
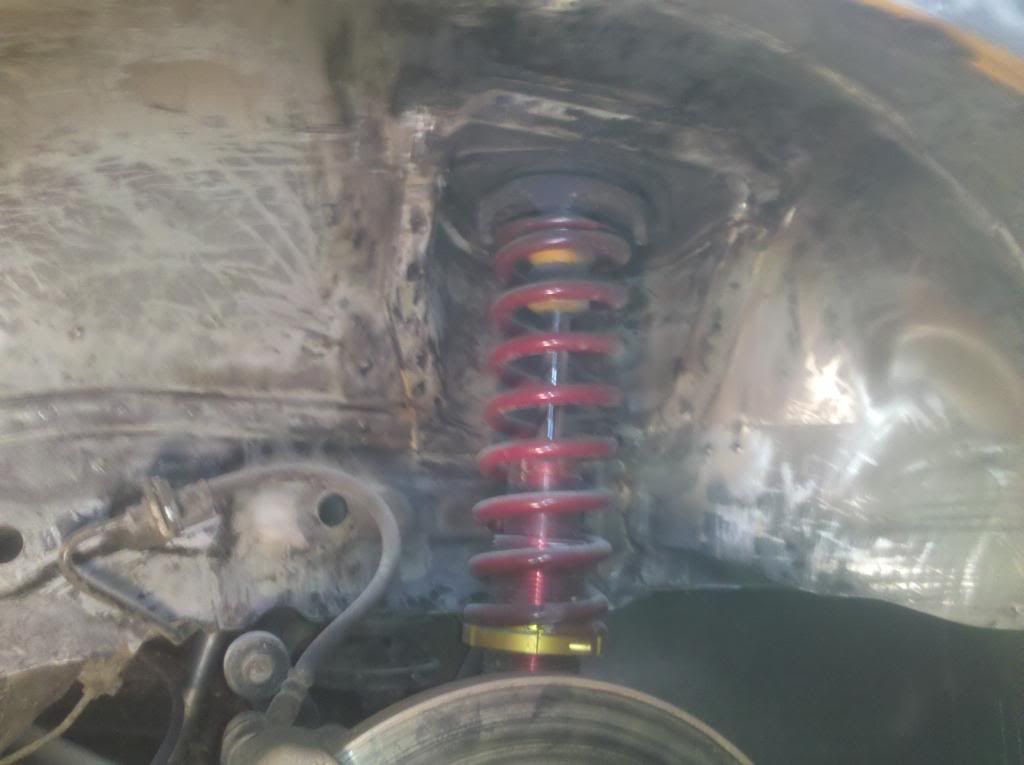
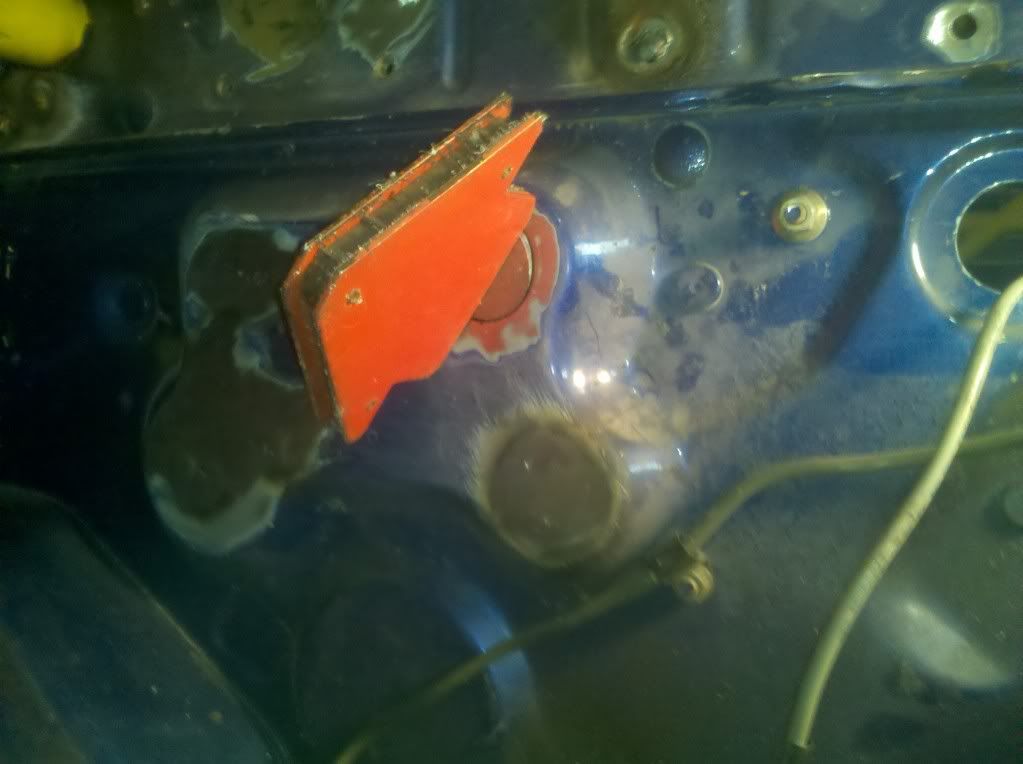
My dad spent some time on the car, I know he's repacked all the bearings in the axles and he's started to shave the firewall and get it all sealed up. I also bought a touch-up gun to paint the inner fenders, and also purchased paint for the underside... So much to do, so little time.
I also didnt get any work done on the doors, I had to paint this:
My dad spent some time on the car, I know he's repacked all the bearings in the axles and he's started to shave the firewall and get it all sealed up. I also bought a touch-up gun to paint the inner fenders, and also purchased paint for the underside... So much to do, so little time.
Thread Starter
Full Member
Joined: Jan 2011
Posts: 70
Likes: 0
From: 717
Whew, I have no idea. total man hours in the body work so far is probably right around 40 so far. I'm a little slow, I like to take my time and get it as absolutely perfect as I possibly can and it doesn't really help that there was previous body work done to the car... I'm pretty new at this, so it would probably take someone who knows what theyre doing about half the amount of time. I can't really answer how much time has been spent on the rest of the car, only because I have been so busy with the body I havent had much time to do anything else. 
Thanks man, she's gettin there slowly but steadily.
Thanks man, she's gettin there slowly but steadily.
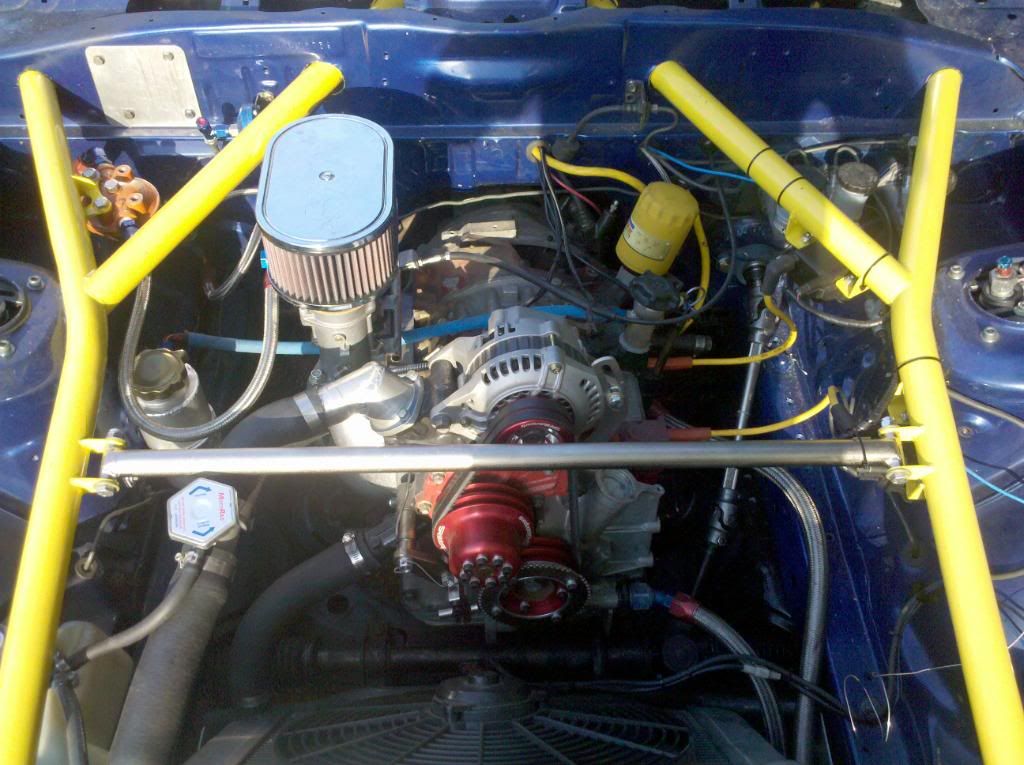
Please explain, I see only Trailing spark plugs connected and the leading plugged. I'm fairly new to the rx7 tuning but would like to know more. I don’t see a distributor cap with the carb setup, so what sort of engine management are you using? I have an 6212 MSD DIS2 spark control, would that work in this particular setup if I decide to switch to carbs?


Please explain, I see only Trailing spark plugs connected and the leading plugged. I'm fairly new to the rx7 tuning but would like to know more. I don�t see a distributor cap with the carb setup, so what sort of engine management are you using? I have an 6212 MSD DIS2 spark control, would that work in this particular setup if I decide to switch to carbs?

also, you're right there is no distributor cap because there is no distributor. look at the front main pulley, you'll see a trigger wheel (the toothed gear-looking thing). it suggests that he's running some kind of ignition-only computer, since he appears to be running a functional carburetor. i'm sure the owner/builder can confirm or correct me if i have misspoken on his setup.
you're might get a quicker answer to your MSD question if you search or start a separate thread. off the top of my head, i'm not familiar with the 6212 or DIS2 or whatever. however, i'll say this, if it's similar to the MSD 6AL amplifiers, then yes, you shouldn't have a problem using one carb'd or fuel injected.
nice work so far I'm also gonna keep an eye on this build. Where are ya from? Im in area code 845 about 80 miles north of NYC I'm looking for a body guy to get some work done to my FC.
i'm glad you're keeping the color dark blue. i think you should lose the yellow accents though. i prefer no accents at all, but if you must, maybe white, black or gray accents?
Thread Starter
Full Member
Joined: Jan 2011
Posts: 70
Likes: 0
From: 717
Please explain, I see only Trailing spark plugs connected and the leading plugged. I'm fairly new to the rx7 tuning but would like to know more. I don�t see a distributor cap with the carb setup, so what sort of engine management are you using? I have an 6212 MSD DIS2 spark control, would that work in this particular setup if I decide to switch to carbs?
you have it backwards. the lower plugs are the leading plugs, not the trailing.
also, you're right there is no distributor cap because there is no distributor. look at the front main pulley, you'll see a trigger wheel (the toothed gear-looking thing). it suggests that he's running some kind of ignition-only computer, since he appears to be running a functional carburetor. i'm sure the owner/builder can confirm or correct me if i have misspoken on his setup.
you're might get a quicker answer to your MSD question if you search or start a separate thread. off the top of my head, i'm not familiar with the 6212 or DIS2 or whatever. however, i'll say this, if it's similar to the MSD 6AL amplifiers, then yes, you shouldn't have a problem using one carb'd or fuel injected.
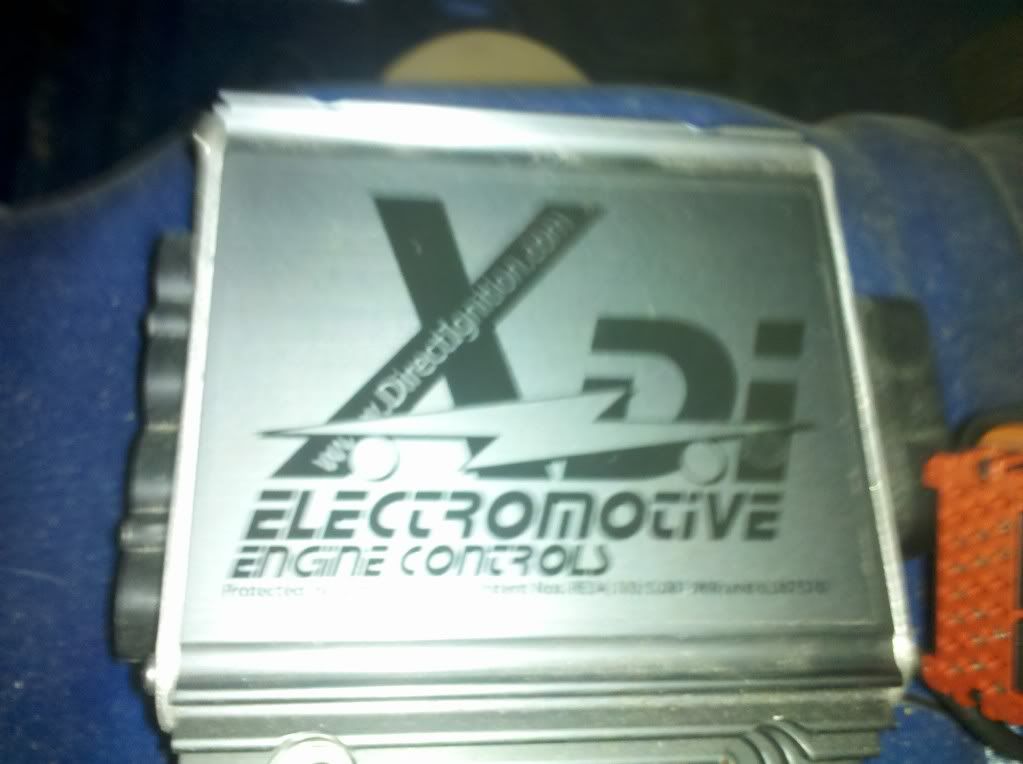
Correct. We are running the Electromotive XDI crankfire ignition and dual Weber carbs. Heres a link to their homepage:
http://www.directignition.com/index.html


Looks good man. That's a cool project to learn bodywork on. I want to enroll in a class and do my cars, but I don't feel like I have the time. Full time job and a wife. It's amazing how those things take up so much time.
