JerryLH3's RX-7 Turbo II Restoration
 12-30-11, 11:07 AM
#151
Junior Member
iTrader: (2)
Join Date: Feb 2008
Location: Burlington, Ontario
Posts: 39
Likes: 0
Received 0 Likes
on
0 Posts
I don't even have a 7 anymore but i will subscribe 
Although I paid LOTS of attention to mine before I sold it, I wish I was as mechanically inclined as I am now.
Awesome restore/rebuild! keep up the good work.
Although I paid LOTS of attention to mine before I sold it, I wish I was as mechanically inclined as I am now.
Awesome restore/rebuild! keep up the good work.
 12-31-11, 02:12 PM
#152
Reunited with the 13b

Join Date: Mar 2001
Location: Langley, BC
Posts: 64
Likes: 0
Received 0 Likes
on
0 Posts
Great thread! I know how it is trying to get this stuff done with a limited time with a baby. My daughter is now 3 and it is starting to get easier for me to go out and be able to work on the car and let her play in the car while I work on it.
I love these kind of threads, please keep updating when you have the chance!
I love these kind of threads, please keep updating when you have the chance!
01-24-12, 09:27 PM
#153
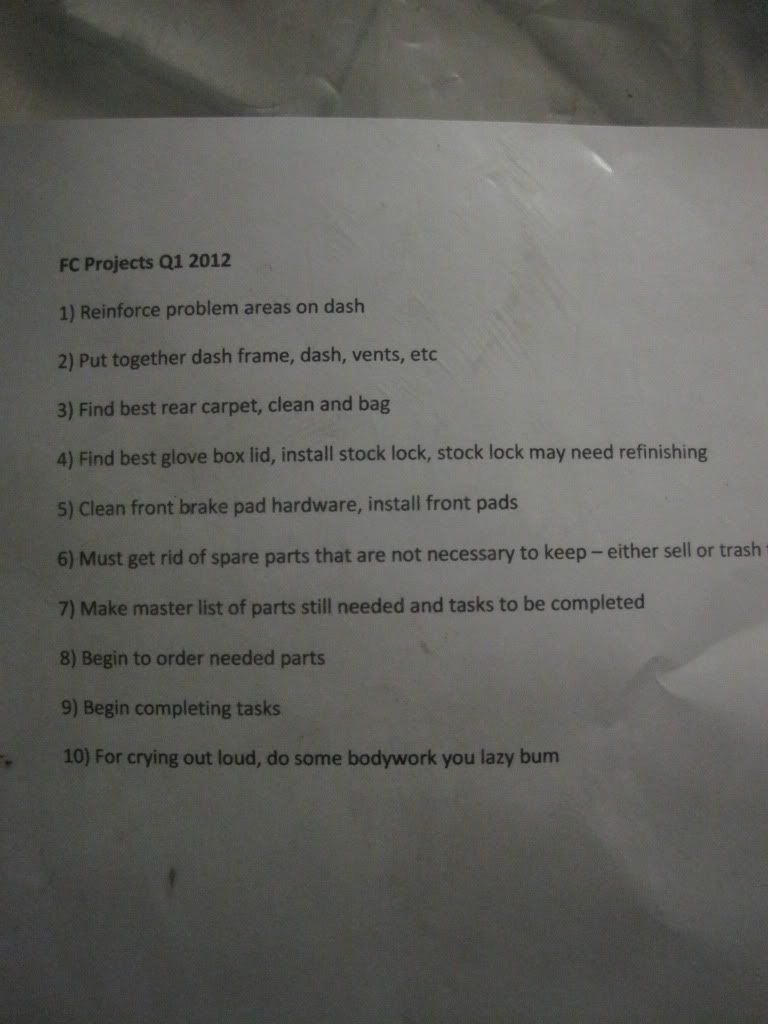
Well, I'd say it's about time for an update. There isn't any major progress, but things are moving along. First, at the beginning of the year, I made myself a to-do list for quarter 1 of 2012.
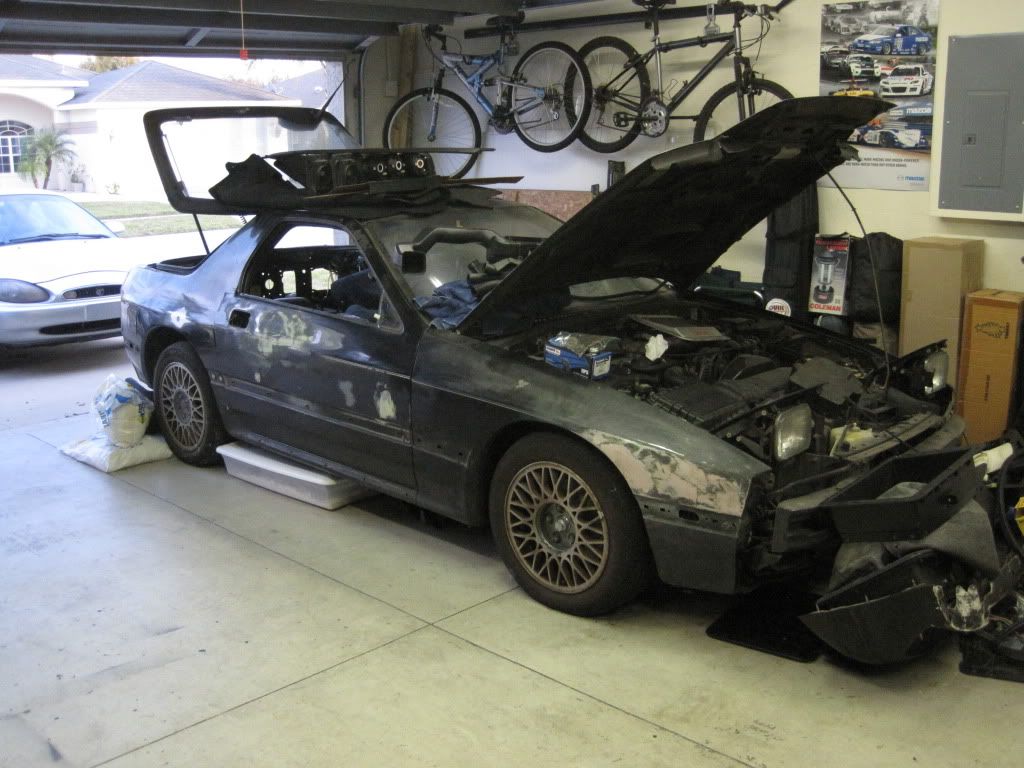
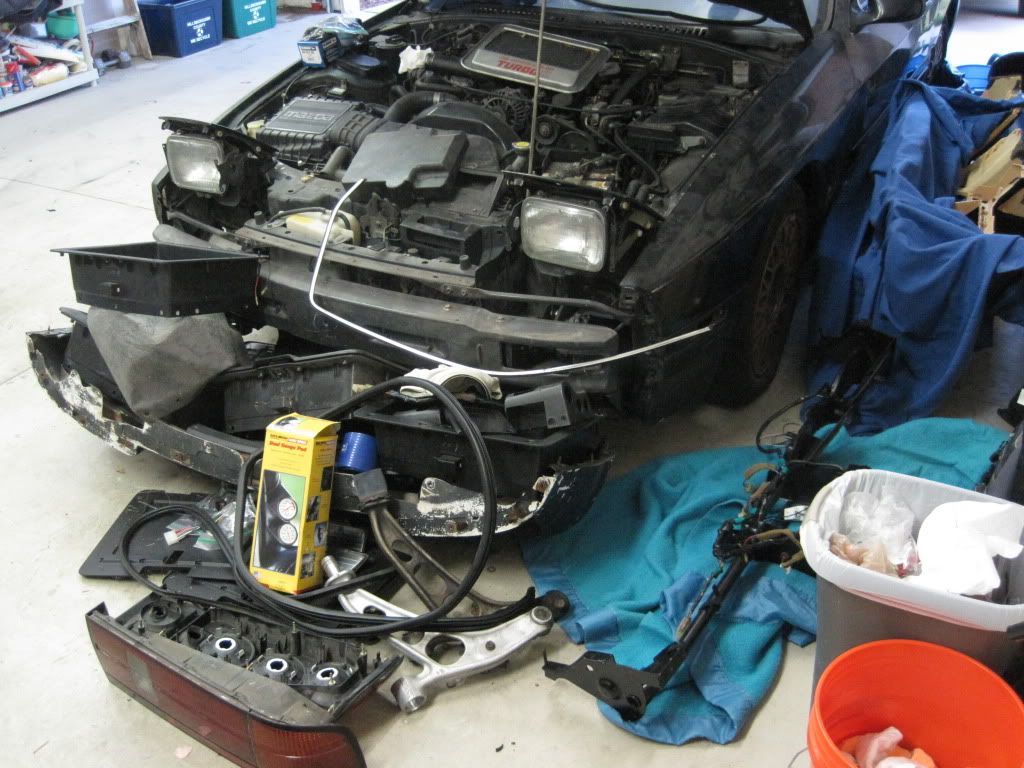
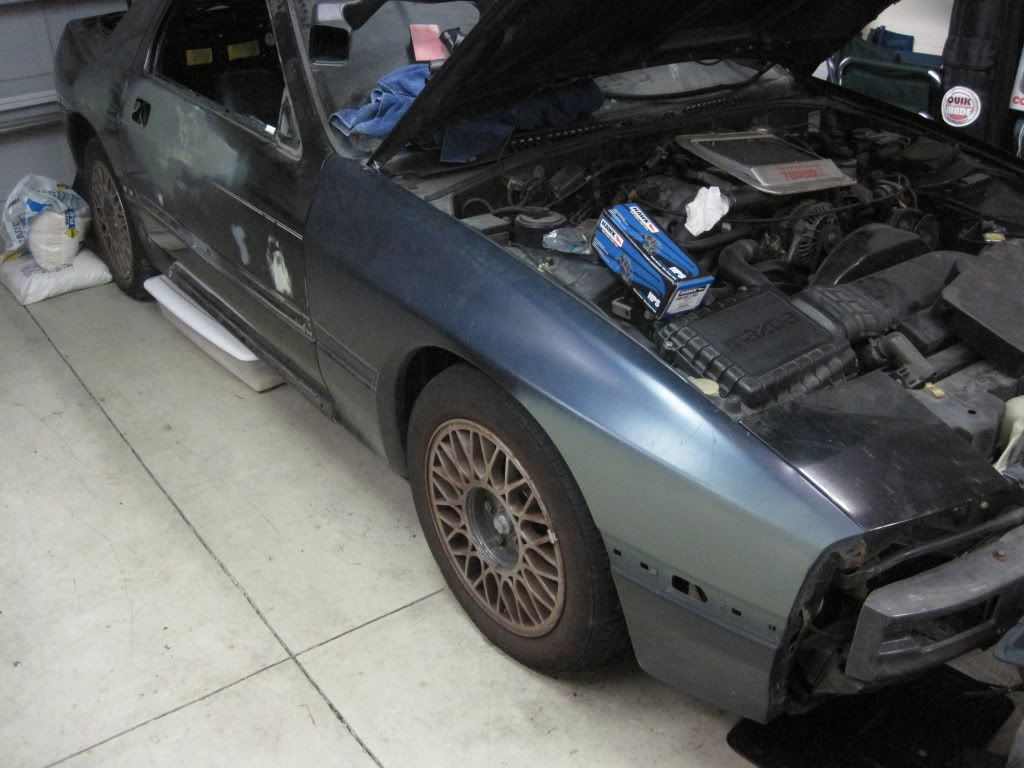
The car as of a few weeks ago:
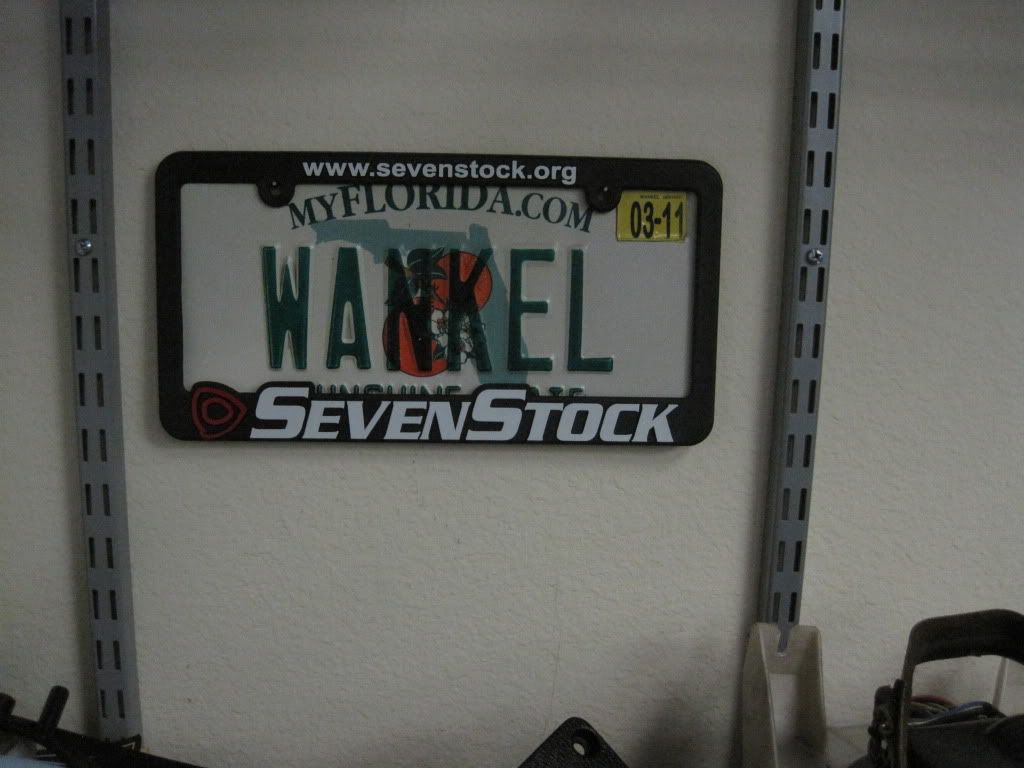
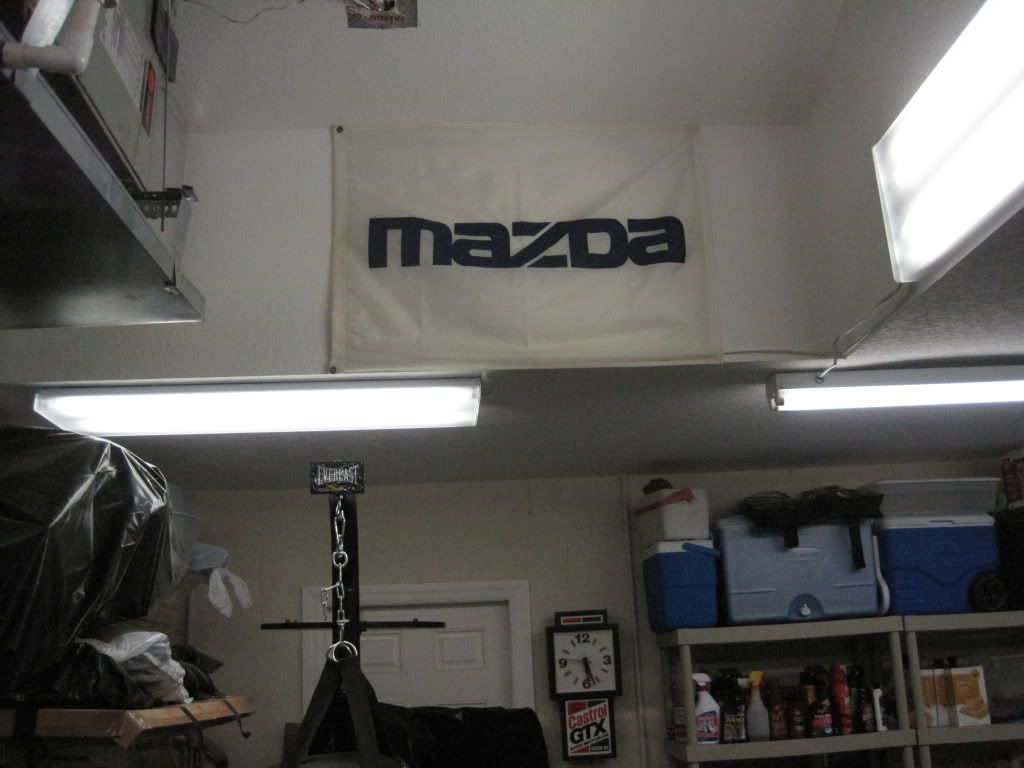
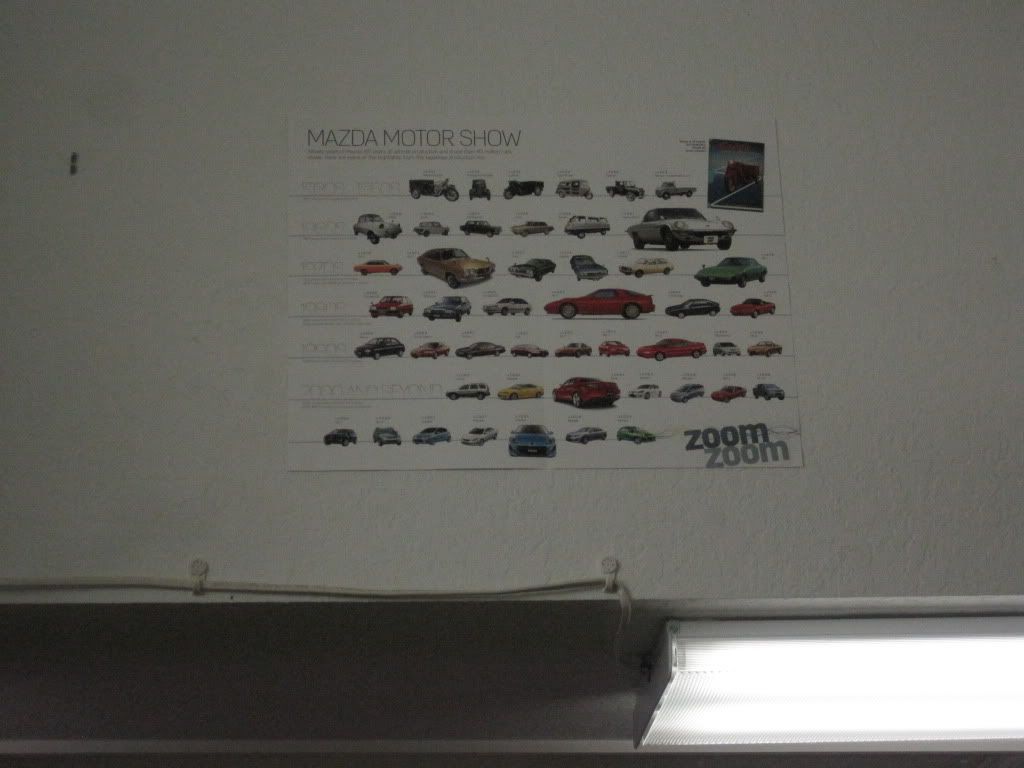
My license plate's current home plus some random shots of garage decorations I'm not sure I've ever shown off:

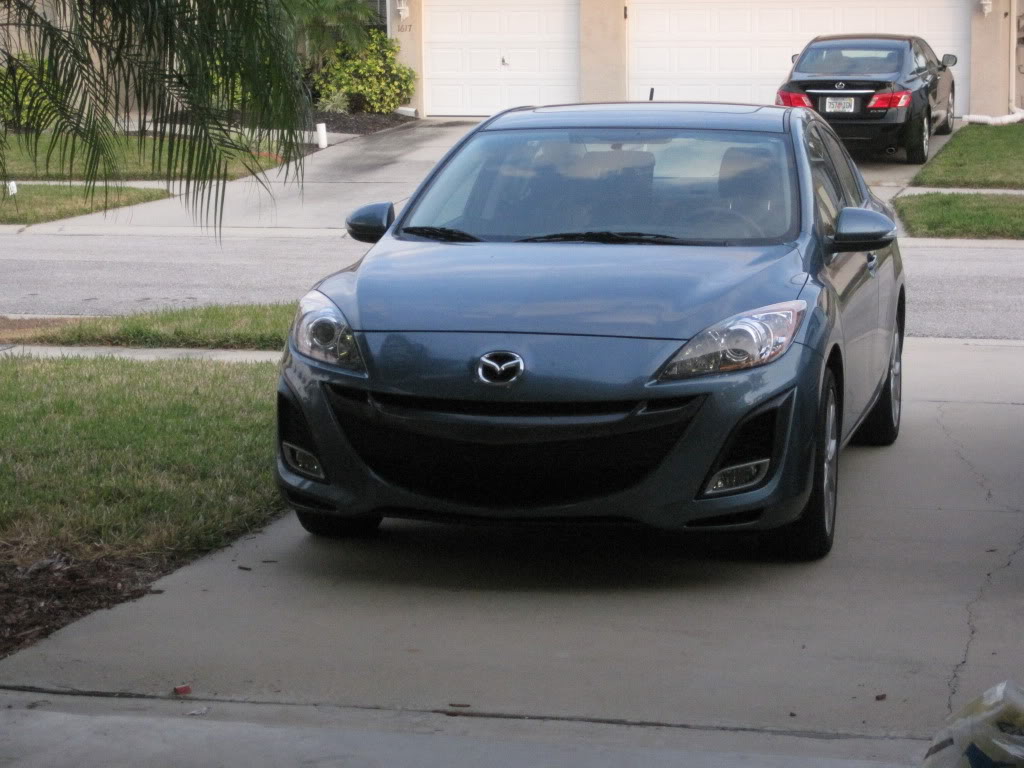
The wife's car:
The car as of a few weeks ago:
My license plate's current home plus some random shots of garage decorations I'm not sure I've ever shown off:
The wife's car:
01-24-12, 09:29 PM
#154
And finally, something different. Two trips to the junkyard in the past eight days has paid off in a passenger side fender and two doors. Thank you to these two S4s that have paid the price, but at least had some worthwhile parts on them.
And some time on the phone and computer placing orders has paid off as well.
That's about it for now. Just a few more parts to order to finish the rear brakes and suspension. I'll start disassembling the rear suspension and brakes piece by piece. I'm planning on taking a vacation the week of my birthday in March and the goal is to have the car completely prepped for paint at that point.
 01-30-12, 09:13 PM
#158
I've managed to get a few things done the past couple of days. The passenger side door is now ready to come off the car as it has been completely stripped of everything I need and maybe a couple things I don't.
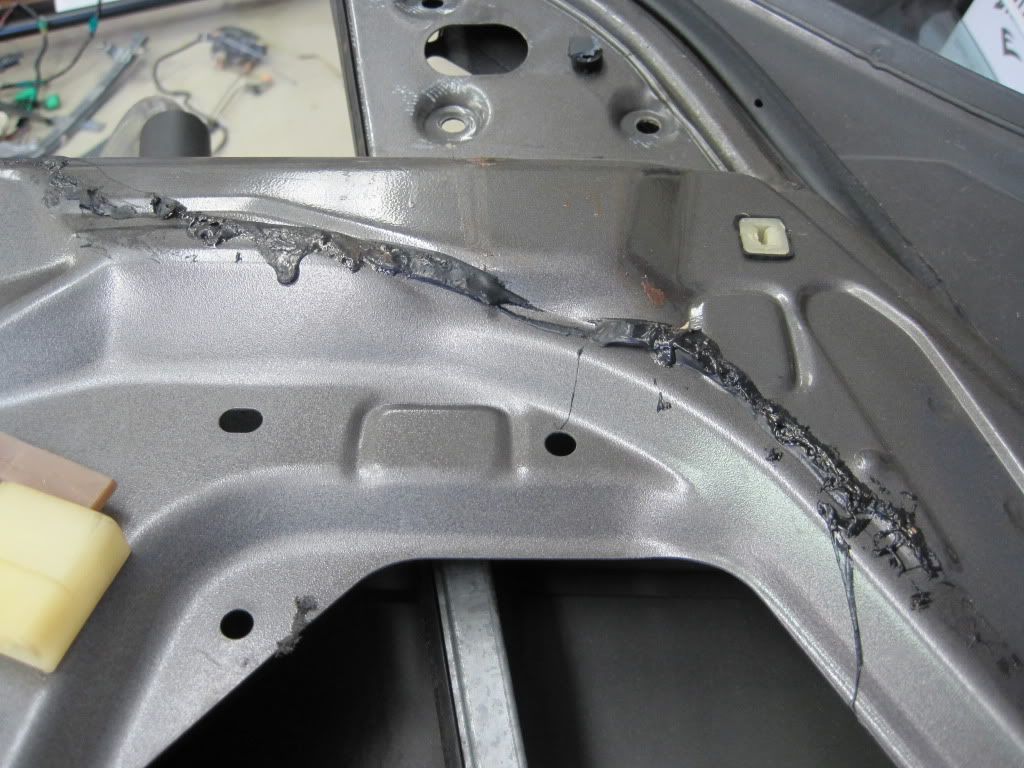
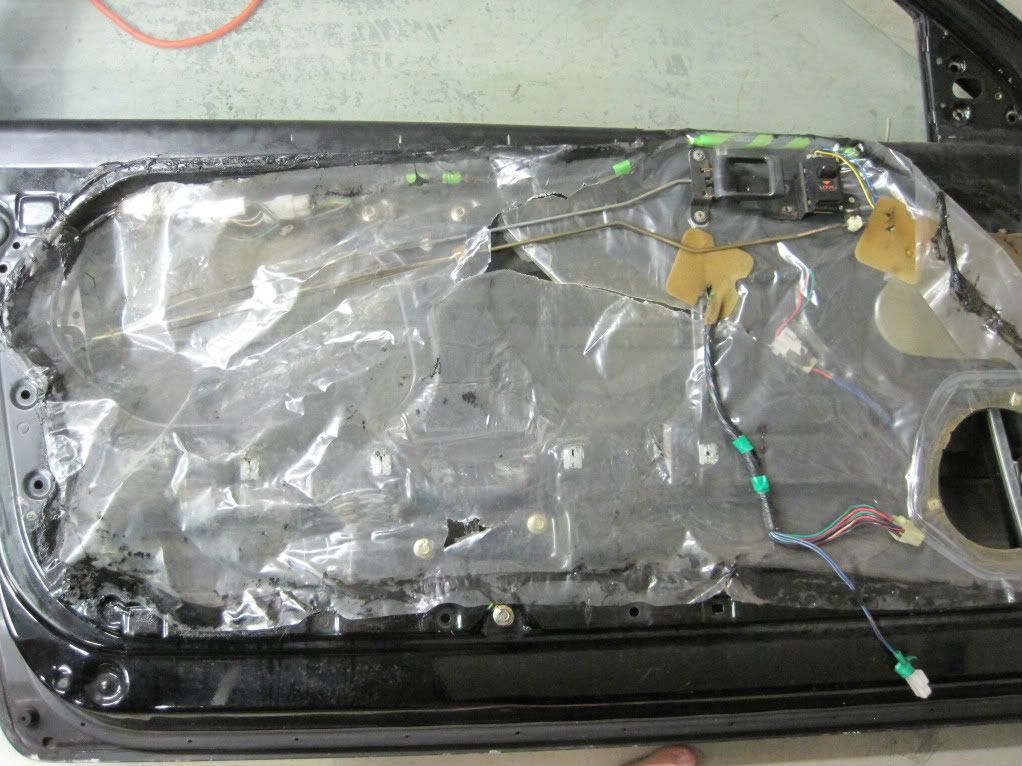
First thing to come out was the door harness - after removing the plastic sheet with that horrible black sticky tar that holds it to the door. Oh, how I hate that stuff.
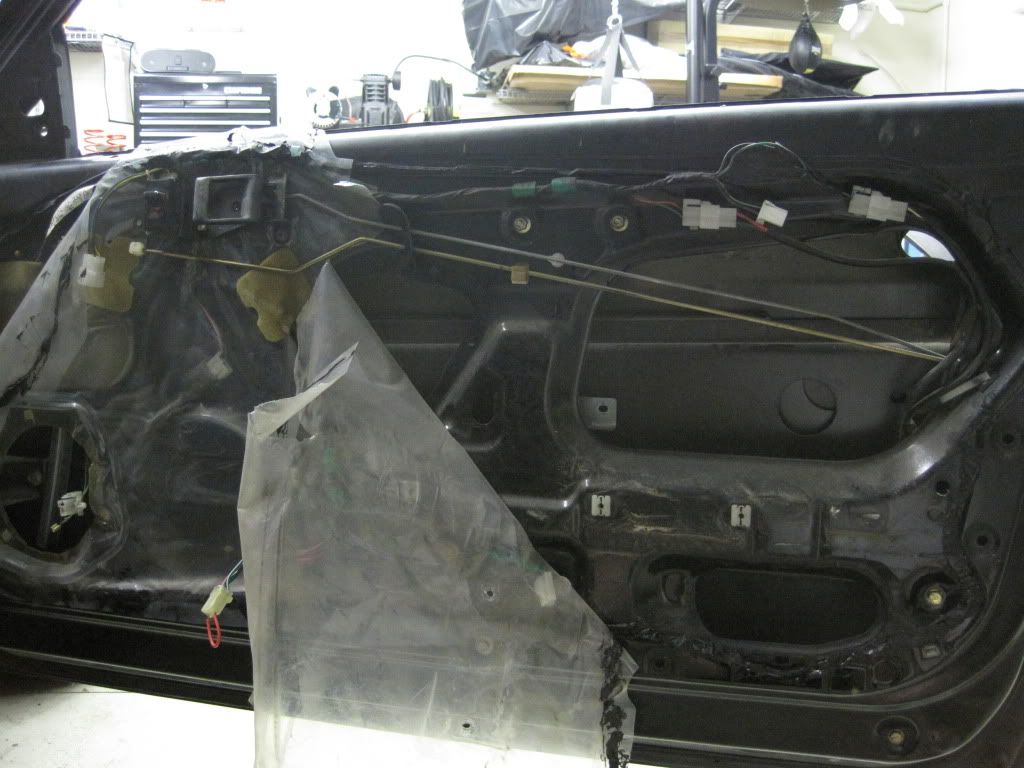
The lovely goop...
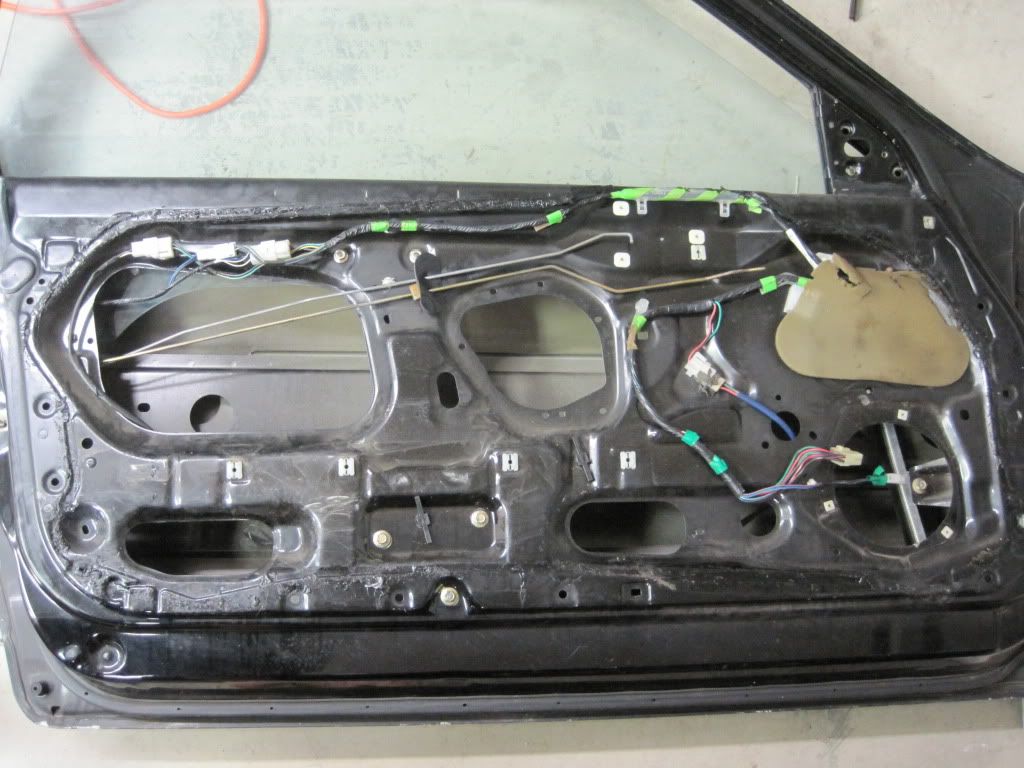
And everything else taken out of the door:

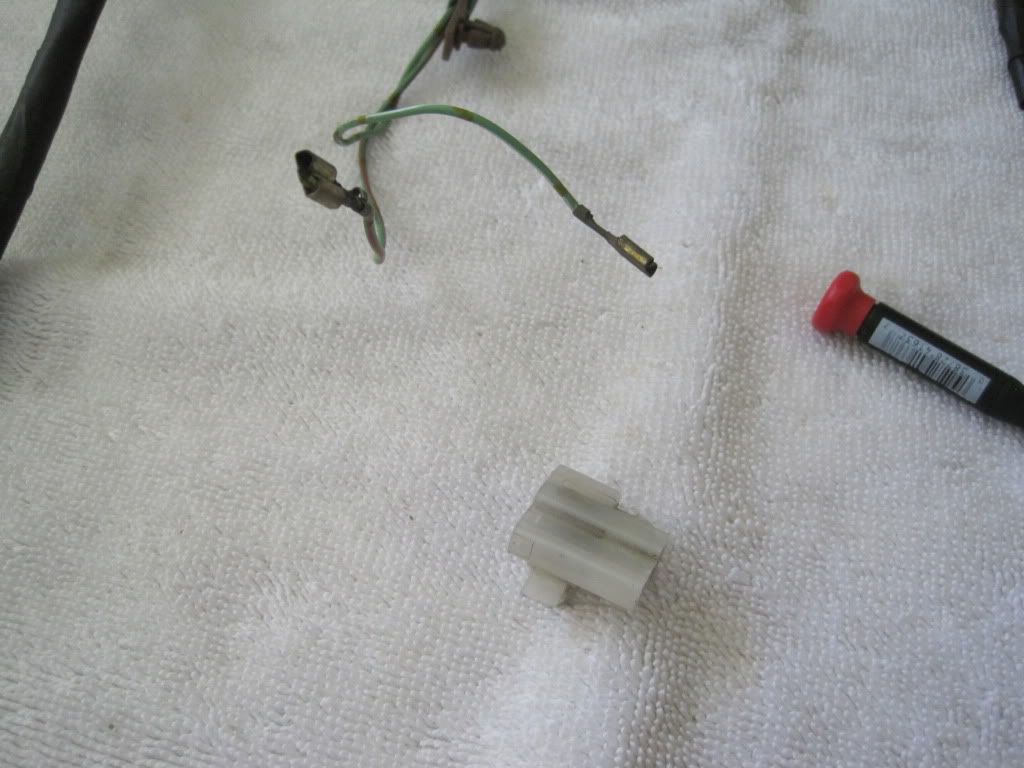
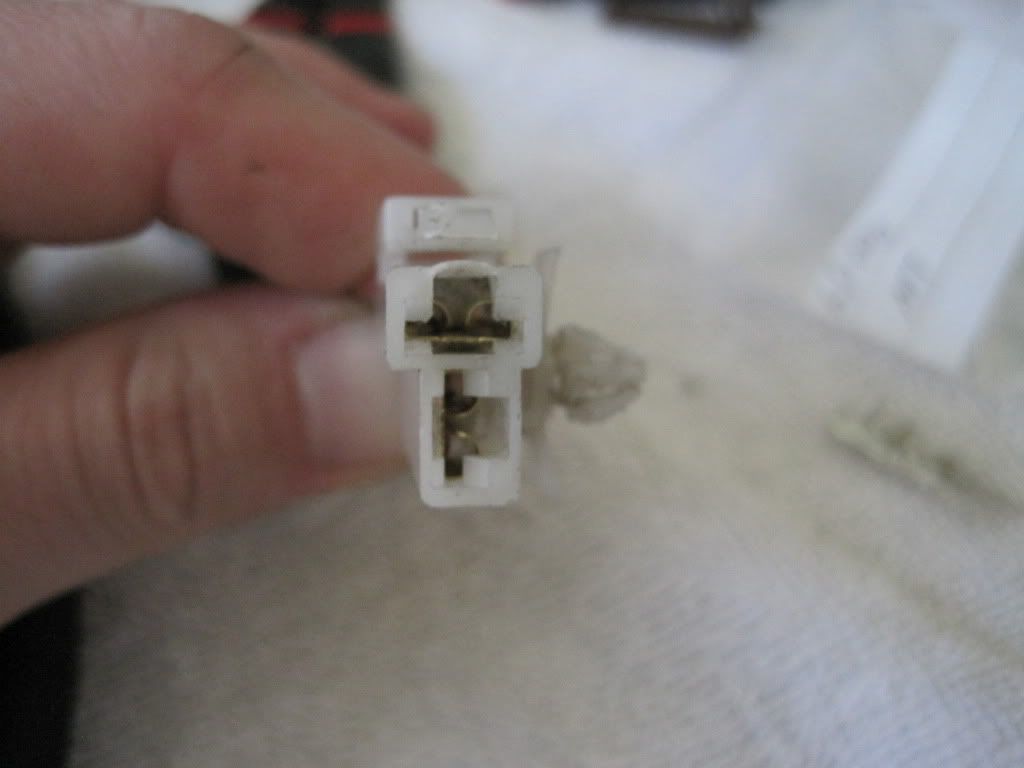
It turns out when you get a donor door that did not have power locks and want to put it on a car equipped with power locks, it is easiest to take the whole catch assembly out of the door, rods and all. There's a harness that goes inside the catch for the lock mechanism. I haven't looked at the donor car yet, but even if it is possible to retrofit it, it's not worth the time. Three screws and a few seconds of maneuvering was all it took.
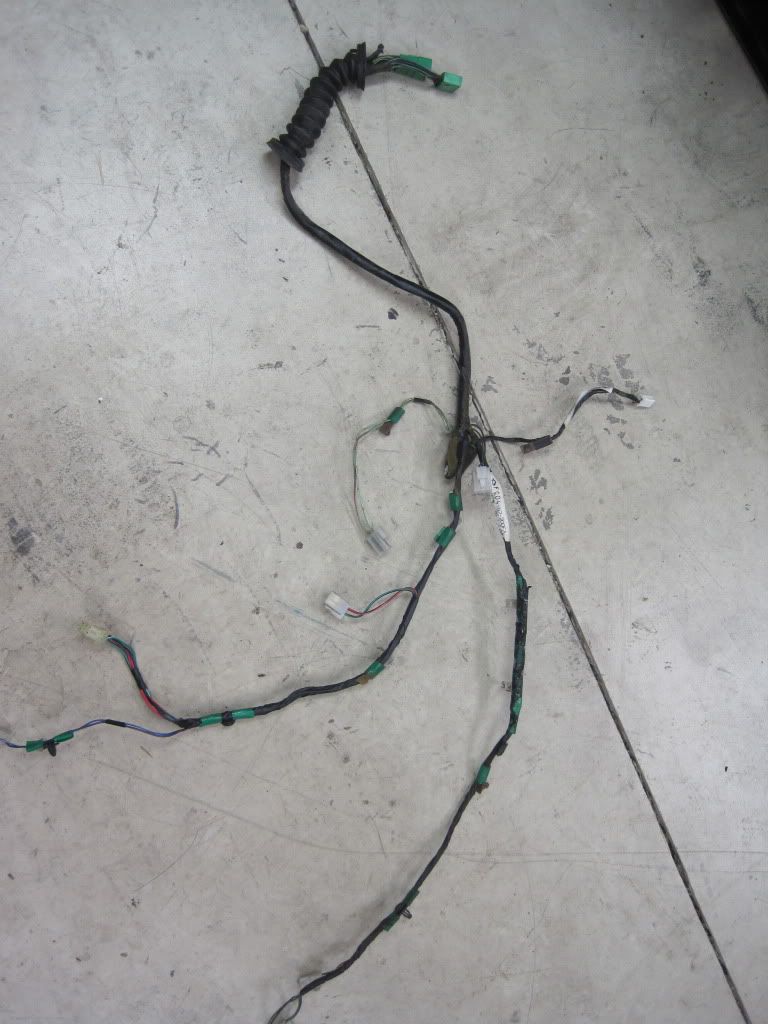
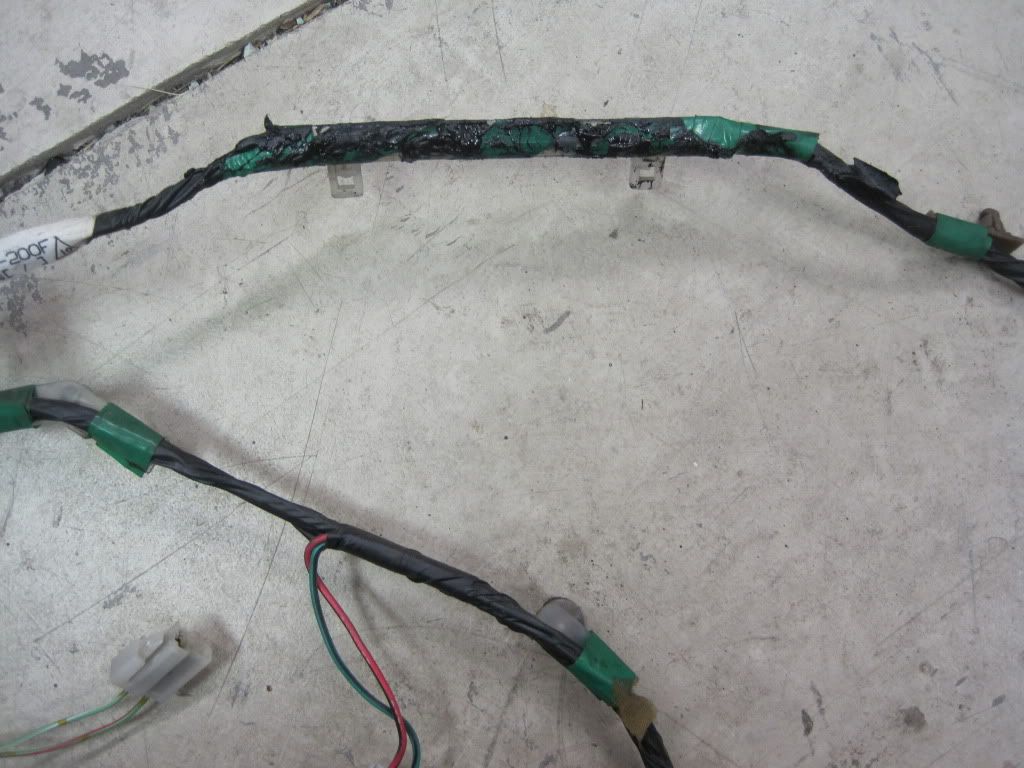
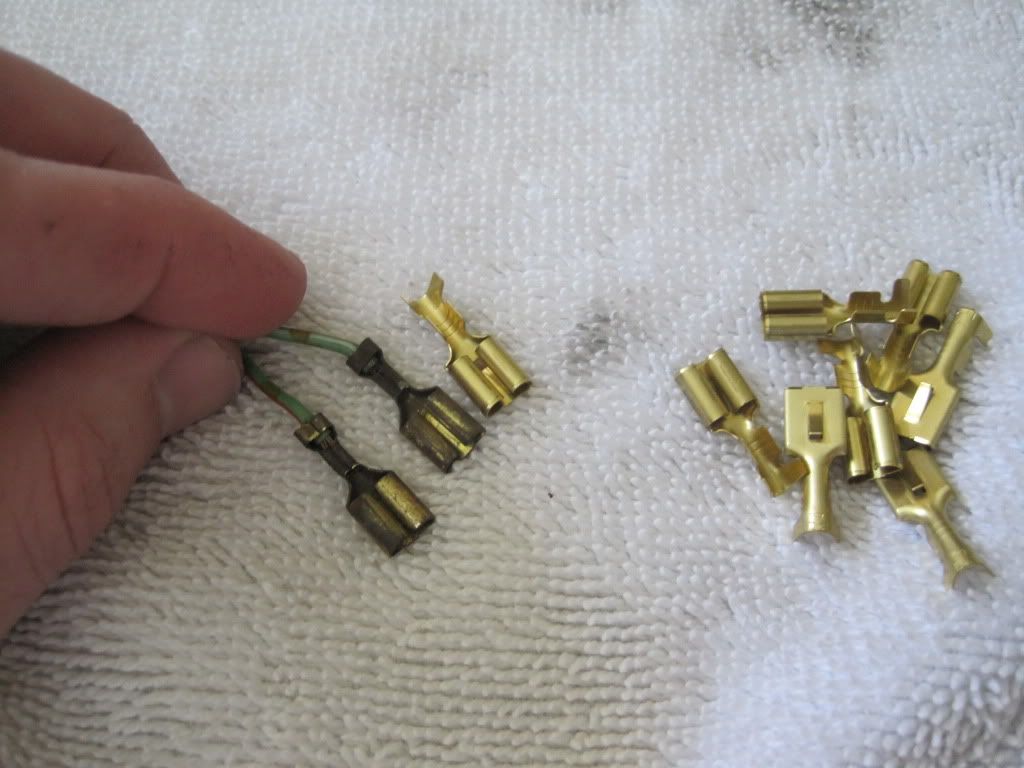
Since I had the harness out and I am running new speaker wire, I removed the old speaker wire and just ran the new stuff in its place with the proper terminals.
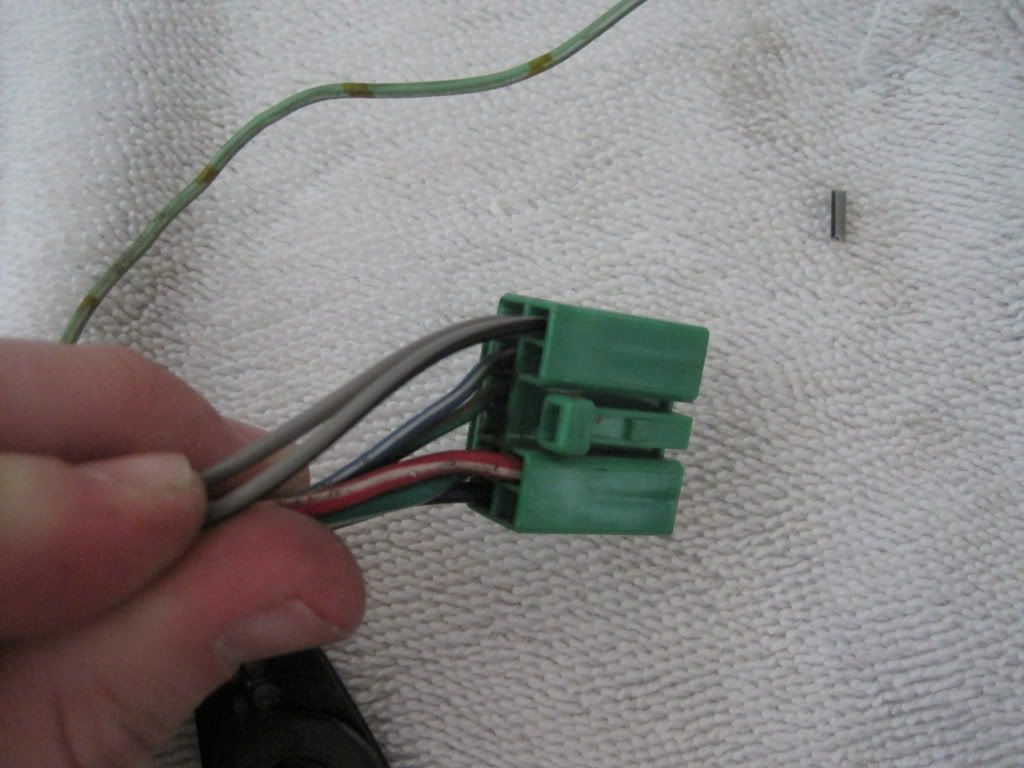
And the finished product after a partial rewrap of the harness:

Next up is cleaning the rest of the parts - window regulator, door lock solenoid and the catch. Then do the exact same thing for the driver's side and then haul off the old doors to the junkyard to get my whopping $24 worth of core charges back.
First thing to come out was the door harness - after removing the plastic sheet with that horrible black sticky tar that holds it to the door. Oh, how I hate that stuff.
The lovely goop...
And everything else taken out of the door:
It turns out when you get a donor door that did not have power locks and want to put it on a car equipped with power locks, it is easiest to take the whole catch assembly out of the door, rods and all. There's a harness that goes inside the catch for the lock mechanism. I haven't looked at the donor car yet, but even if it is possible to retrofit it, it's not worth the time. Three screws and a few seconds of maneuvering was all it took.
Since I had the harness out and I am running new speaker wire, I removed the old speaker wire and just ran the new stuff in its place with the proper terminals.
And the finished product after a partial rewrap of the harness:
Next up is cleaning the rest of the parts - window regulator, door lock solenoid and the catch. Then do the exact same thing for the driver's side and then haul off the old doors to the junkyard to get my whopping $24 worth of core charges back.
02-20-12, 09:18 PM
#160
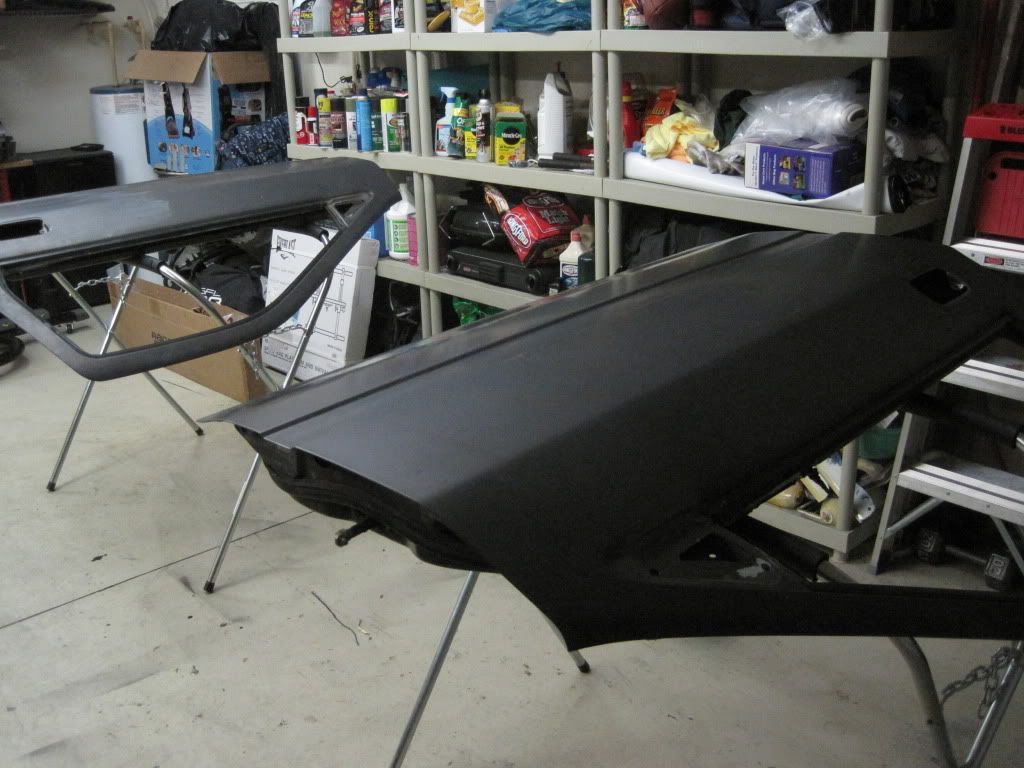
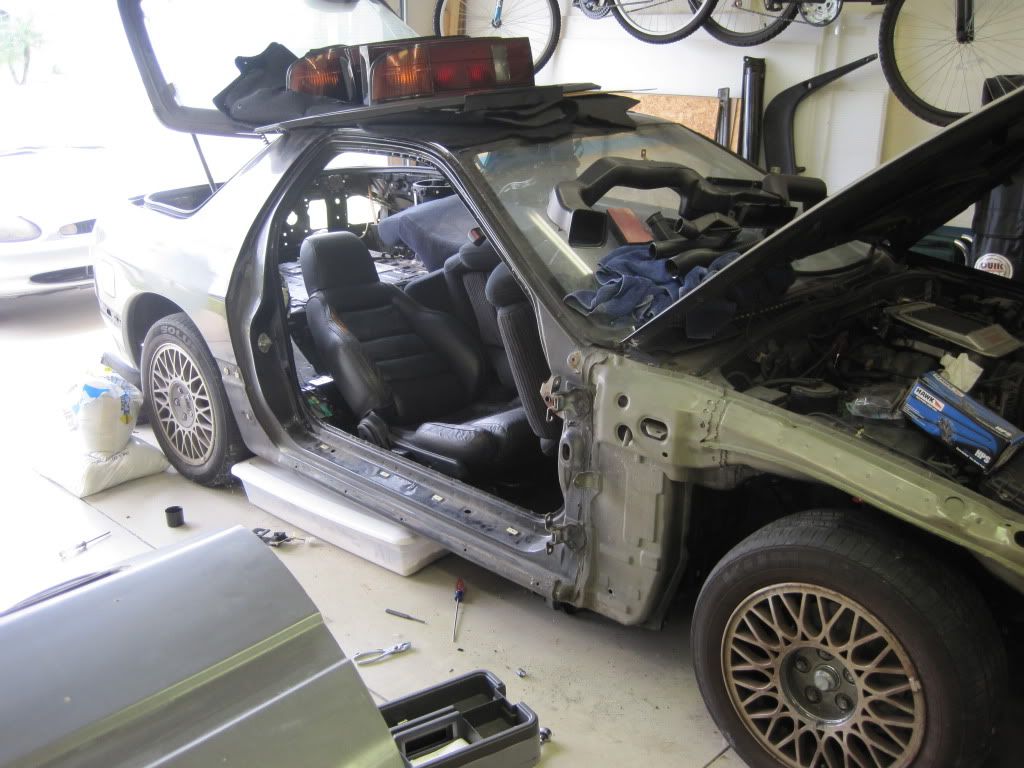
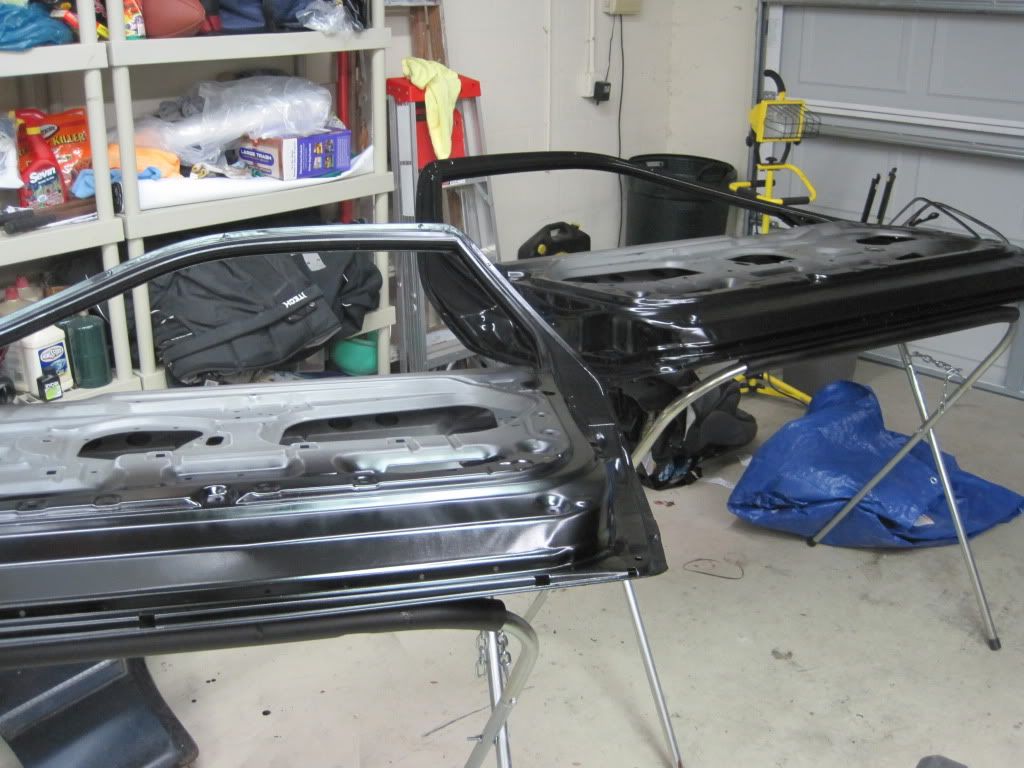
It's time for a quick little update. Work on the doors has progressed and the donor doors are almost ready to be bolted back to the chassis.
The "naked" car:
Donor doors before all parts and tar was stripped:

Some reference shots when it comes time for reassembly:

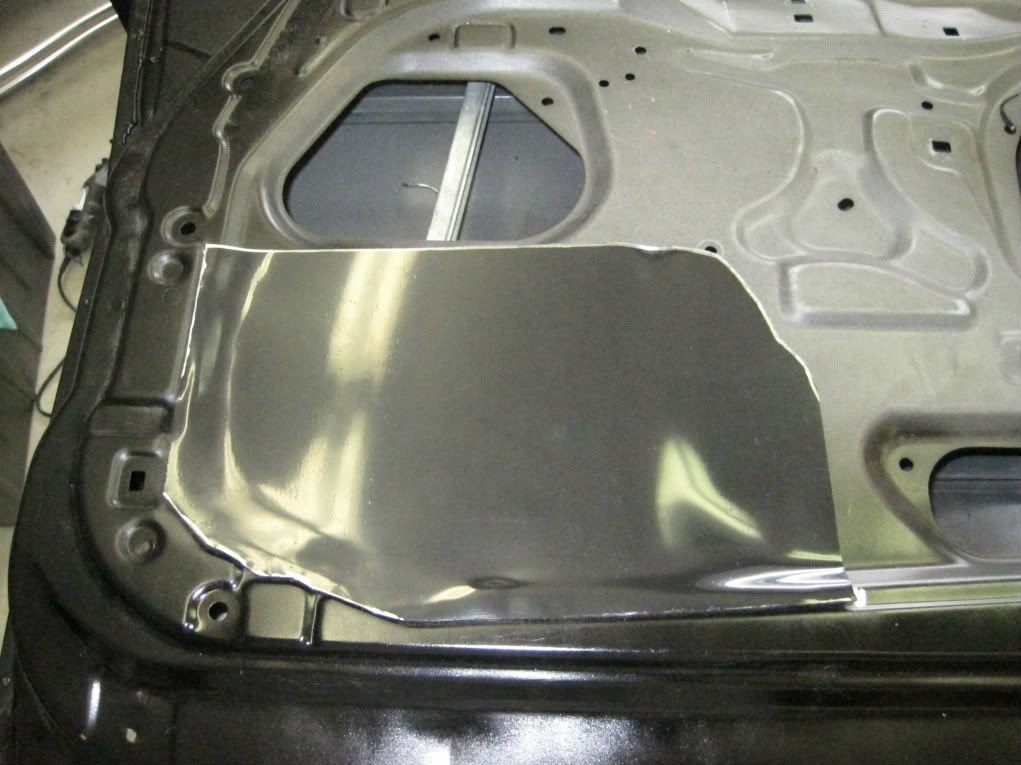
Since the inside of the doors is not something that is seen all that often and most paint shops would consider that a color change, I painted them myself with two part base and clear aerosols. It's not great, but it looks fine. If I really hate it, the paint shop can always just go over them for me as long as I'm willing to pay.
The donor doors after all prep work and painting was done:
I went down to Home Depot and they happened to have Goo-Gone in an aerosol can on clearance for around $1.50 per can. One and a half cans removed all evidence there was ever tar on these doors. Here's a shot similar to one above, this time with the tar removed:
Observant viewers will notice the inner door frame is different from S4 to S5 due to differences in door speaker location. I have a plan and it involves a bare minimum amount of cutting, as I will be mounting speakers in the stock S5 location. I just need to take some measurements, make a template and order materials.
The "naked" car:
Donor doors before all parts and tar was stripped:
Some reference shots when it comes time for reassembly:
Since the inside of the doors is not something that is seen all that often and most paint shops would consider that a color change, I painted them myself with two part base and clear aerosols. It's not great, but it looks fine. If I really hate it, the paint shop can always just go over them for me as long as I'm willing to pay.
The donor doors after all prep work and painting was done:
I went down to Home Depot and they happened to have Goo-Gone in an aerosol can on clearance for around $1.50 per can. One and a half cans removed all evidence there was ever tar on these doors. Here's a shot similar to one above, this time with the tar removed:
Observant viewers will notice the inner door frame is different from S4 to S5 due to differences in door speaker location. I have a plan and it involves a bare minimum amount of cutting, as I will be mounting speakers in the stock S5 location. I just need to take some measurements, make a template and order materials.
02-20-12, 11:17 PM
#161
Observant viewers ineed! I much prefer the s5 speaker location, but they don't work too well w/ the 10ae door panels I have. I've thought about swapping to s5 panels but that would:
A) ruin the 10ae theme (how many black s4 door panels are there?)
B) require s5 doors or cutting of my doors
C) require custom speaker wiring (not much a core but am additional hassle nonetheless)
A) ruin the 10ae theme (how many black s4 door panels are there?)
B) require s5 doors or cutting of my doors
C) require custom speaker wiring (not much a core but am additional hassle nonetheless)
02-24-12, 11:20 AM
#164
Wow
I felt like I was getting a lot done until I viewed this! I am excited to swap out the suspension soon though. I will follow this for the sheer amount of inspiration it gives me to finish my long going 86 SE project. So far the only huge change I have done to my car is out in an S5 motor that we fully rebuilt and ported like crazy lol.
Two thumbs up mate!
Two thumbs up mate!
02-24-12, 09:58 PM
#165
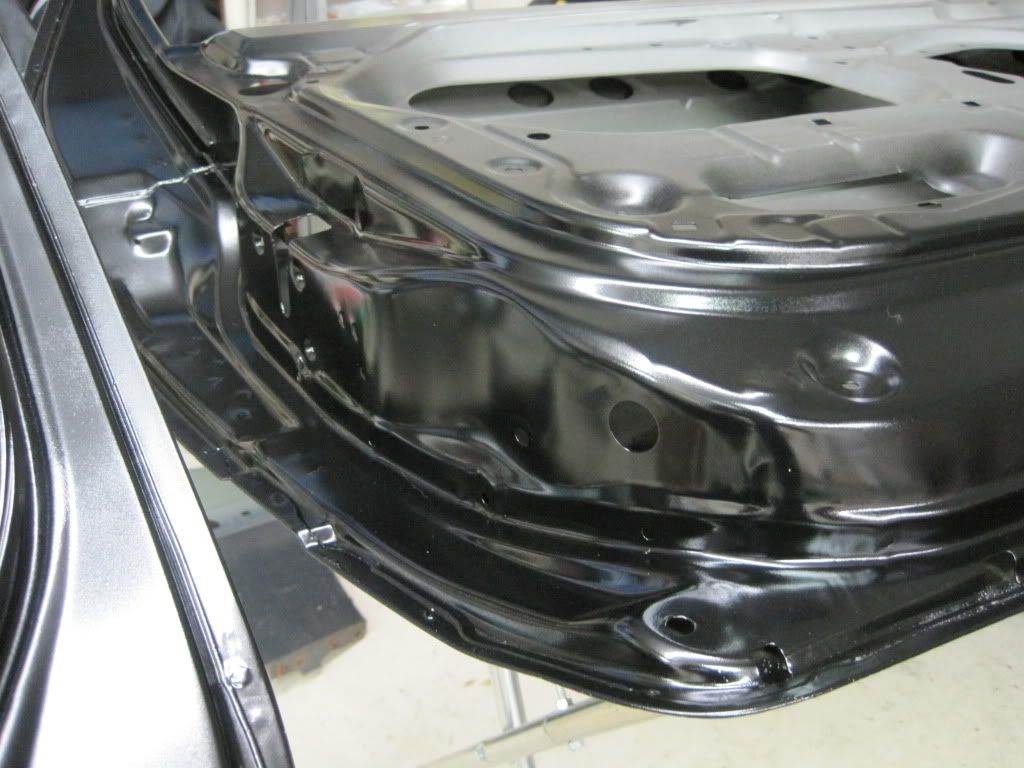
I'm not quite sure what the deal is with the fender you have. It seems very peculiar. I was under the impression all FC fenders were the same except for mounting points of molding, holes for skirts, etc.
02-25-12, 05:09 PM
#166
I remember seeing your picture. It looks like this S4 fender is just fine:
I'm not quite sure what the deal is with the fender you have. It seems very peculiar. I was under the impression all FC fenders were the same except for mounting points of molding, holes for skirts, etc.
I'm not quite sure what the deal is with the fender you have. It seems very peculiar. I was under the impression all FC fenders were the same except for mounting points of molding, holes for skirts, etc.

Keep up the great work, and thanks again.
03-12-12, 10:03 AM
#167
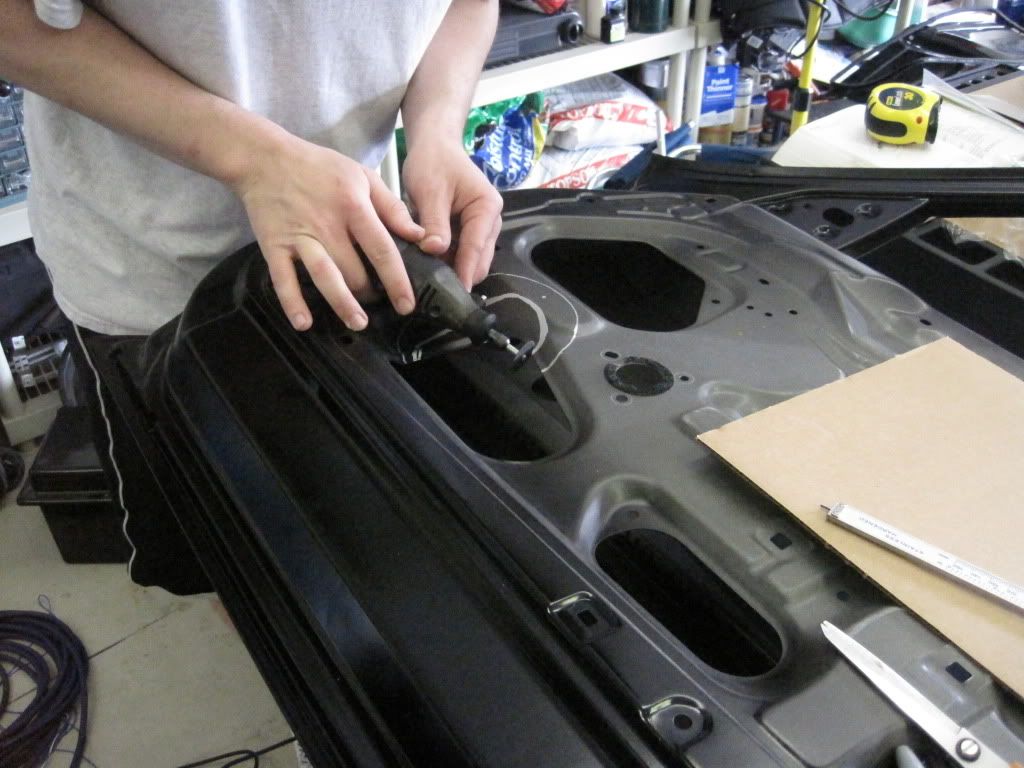
Well, I'm on vacation yet again with the goal to knock out some more work on the RX-7, so what better way to celebrate my 30th birthday yesterday than by spending a few hours in the garage?
I mentioned earlier that I would have to come up with some sort of solution to my speaker mount dilemma, as the donor S4 doors do not have the correct mounting location that S5 doors used. After tossing around a few ideas, this is what I came up with. I'm using some ABS plastic cut to shape and then heat molded as a panel for a pair of aftermarket speaker spacer mount rings to attach to. Before my old S5 doors went to scrap, I took measurements of where the speaker needed to be located. Here is the work that took place yesterday.
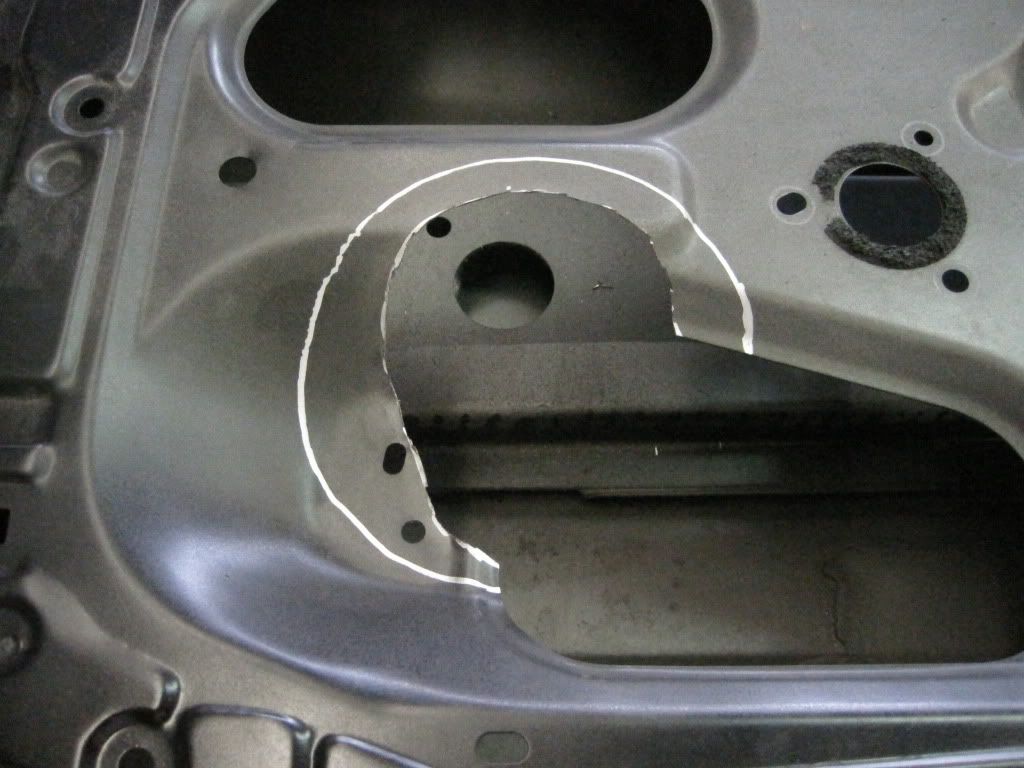
An outline of where the speaker mount ring will need to go. A speaker was then placed in its appropriate center location to determine what needed to be trimmed.
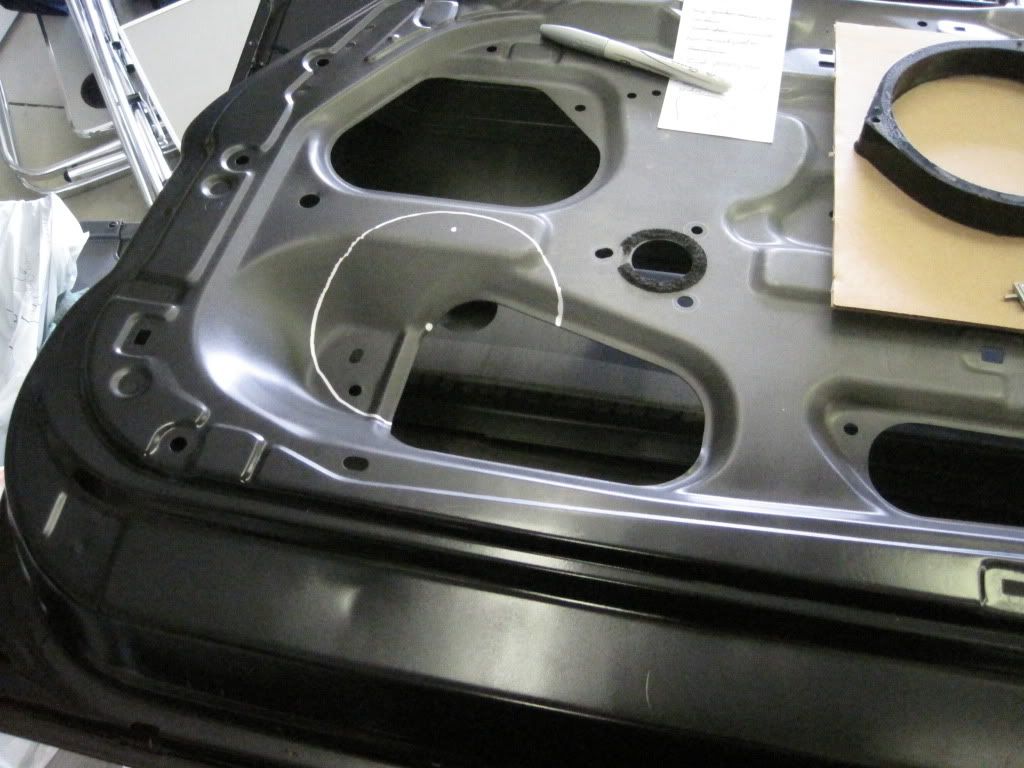
Trimming of the door panel:
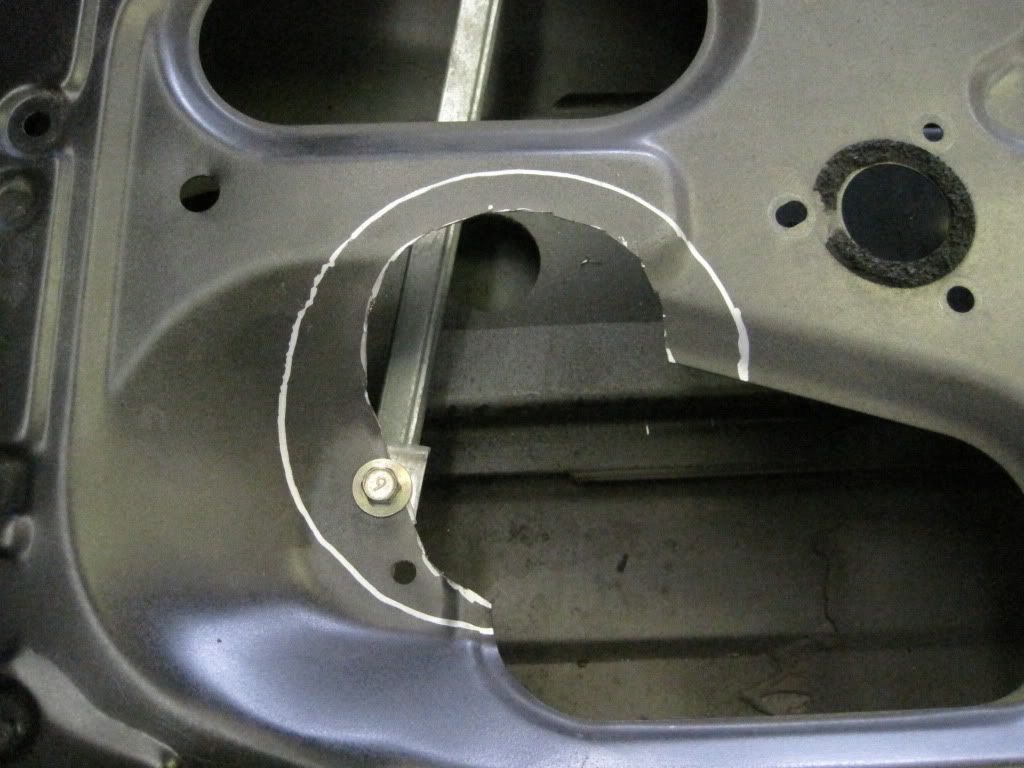
Test fitting the window channel bracket in, as I figured it may be an issue after repeated test fitting of the speaker.
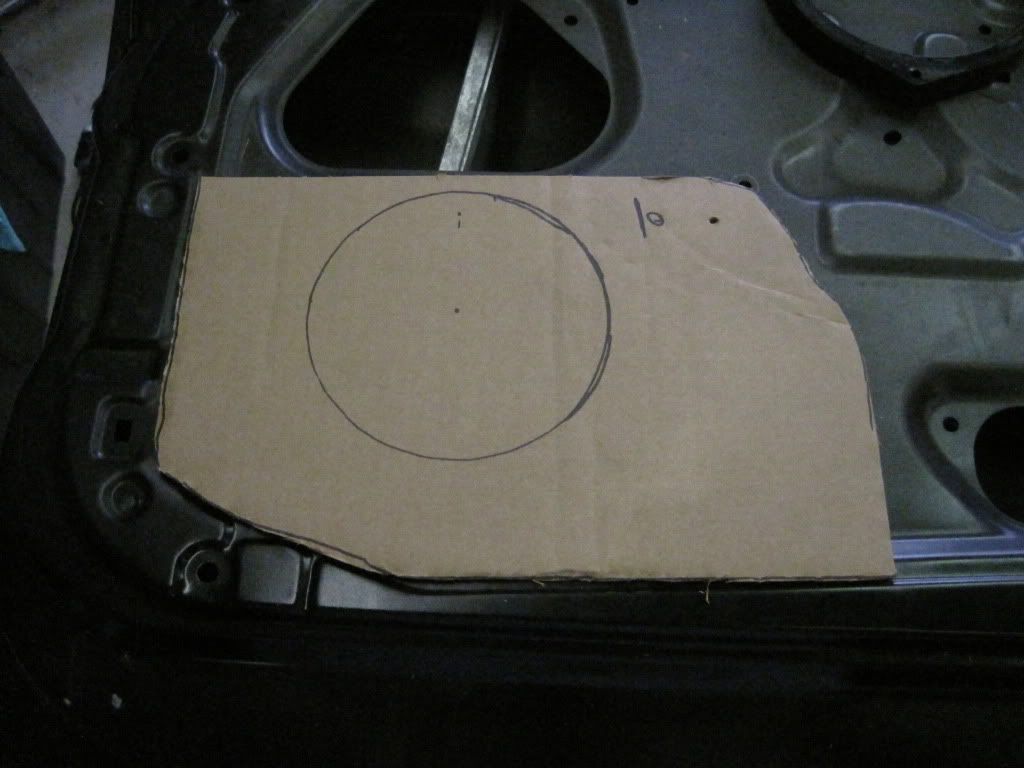
Progressing to cardboard templates:
Yesterday's end result:
Once the speaker rings are here, this project can be completed.
Parts are almost all here for the rear suspension and one corner has been disassembled. The other corner needs to be taken apart and then I can drop the subframe to get access to the rear lower trailing arms. I would have liked to drop the entire rear subframe - differential, suspension and all as one unit, but I just don't have the facilities for that - my jack is really the limiting factor as it would not be able to lift the car high enough.
I mentioned earlier that I would have to come up with some sort of solution to my speaker mount dilemma, as the donor S4 doors do not have the correct mounting location that S5 doors used. After tossing around a few ideas, this is what I came up with. I'm using some ABS plastic cut to shape and then heat molded as a panel for a pair of aftermarket speaker spacer mount rings to attach to. Before my old S5 doors went to scrap, I took measurements of where the speaker needed to be located. Here is the work that took place yesterday.
An outline of where the speaker mount ring will need to go. A speaker was then placed in its appropriate center location to determine what needed to be trimmed.
Trimming of the door panel:
Test fitting the window channel bracket in, as I figured it may be an issue after repeated test fitting of the speaker.
Progressing to cardboard templates:
Yesterday's end result:
Once the speaker rings are here, this project can be completed.
Parts are almost all here for the rear suspension and one corner has been disassembled. The other corner needs to be taken apart and then I can drop the subframe to get access to the rear lower trailing arms. I would have liked to drop the entire rear subframe - differential, suspension and all as one unit, but I just don't have the facilities for that - my jack is really the limiting factor as it would not be able to lift the car high enough.
03-13-12, 03:04 PM
#169
Here's the progress on the rear suspension. Both corners have been disassembled and the exhaust from the mid pipe back has been removed. The rear subframe will get dropped next and then everything will get cleaned up, bushings swapped and reassembled.
The beginning:
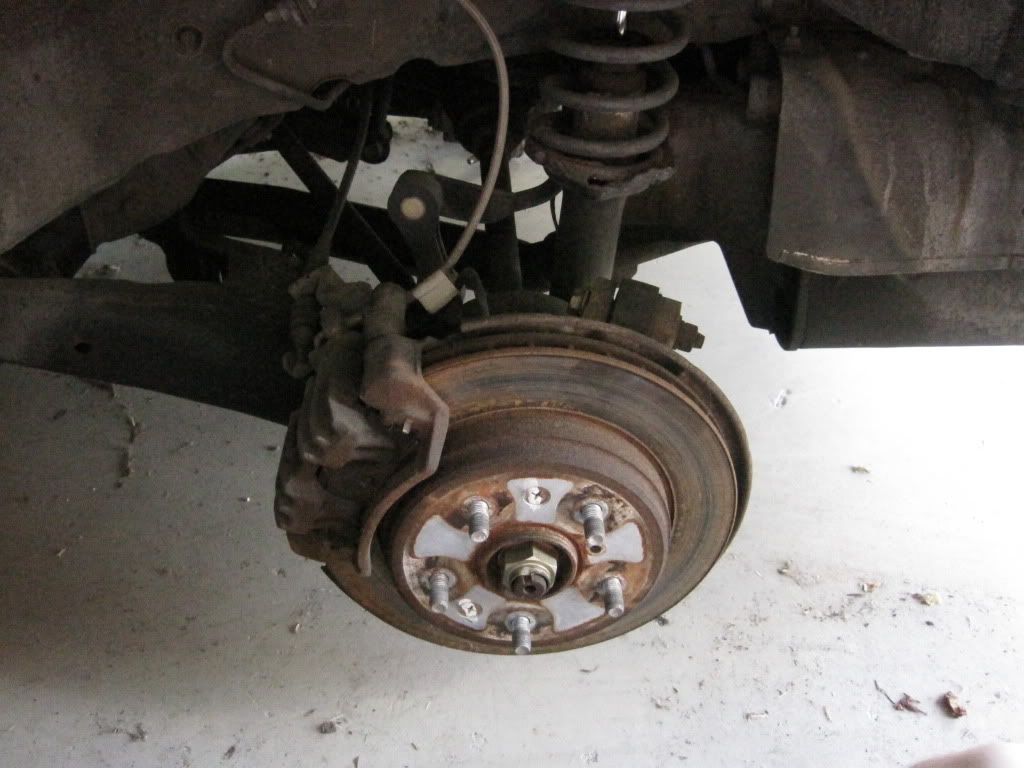
Three bolts holding in the shock and one holding down the brake caliper were all removed. The shock and spring assembly were removed and the caliper was hung from the shock tower for now.
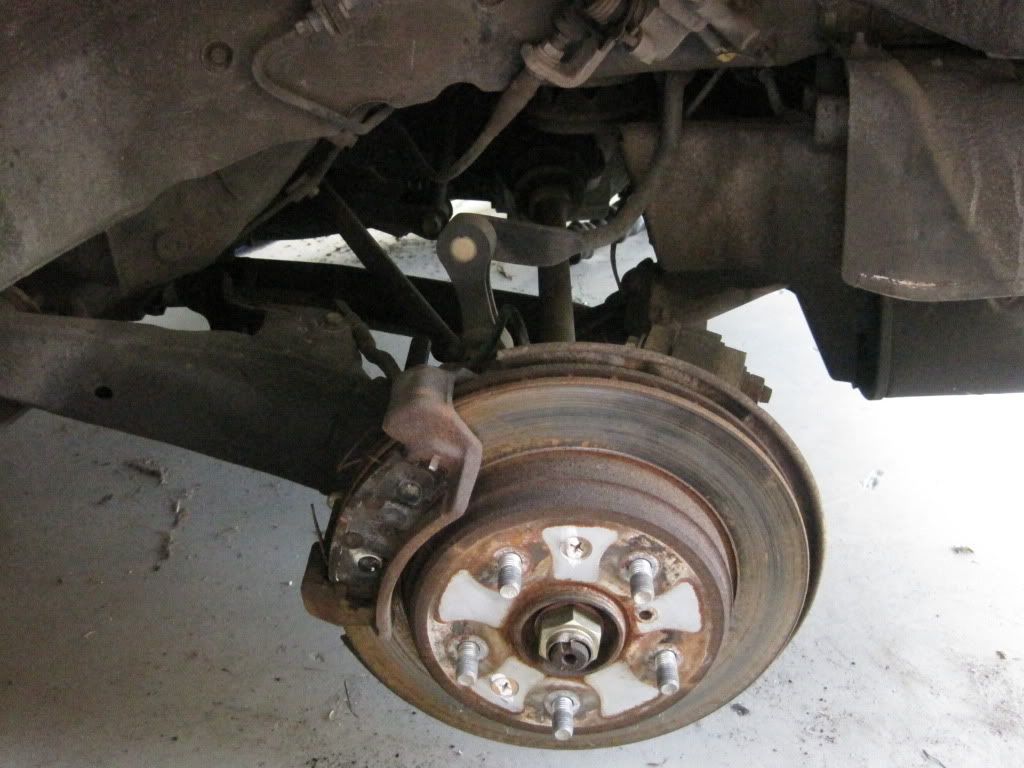
The caliper mounting bracket was unbolted and the screws holding in the brake rotor were drilled out (164,000 miles and still the original rotors - ouch!) and the brake rotor was removed:
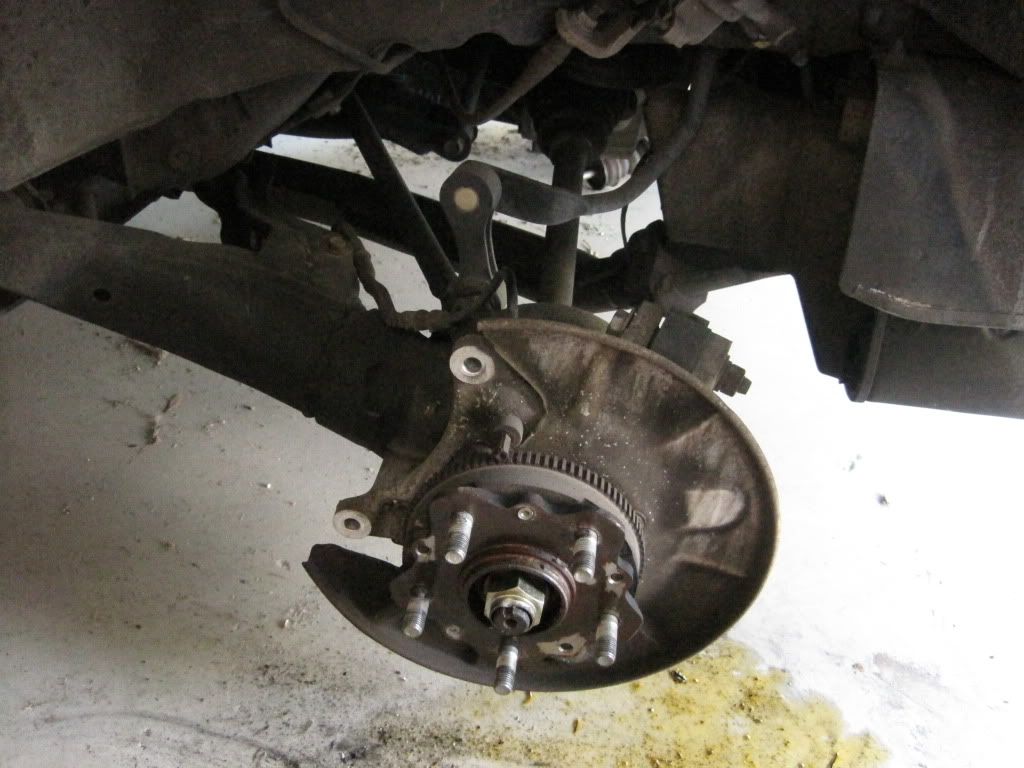
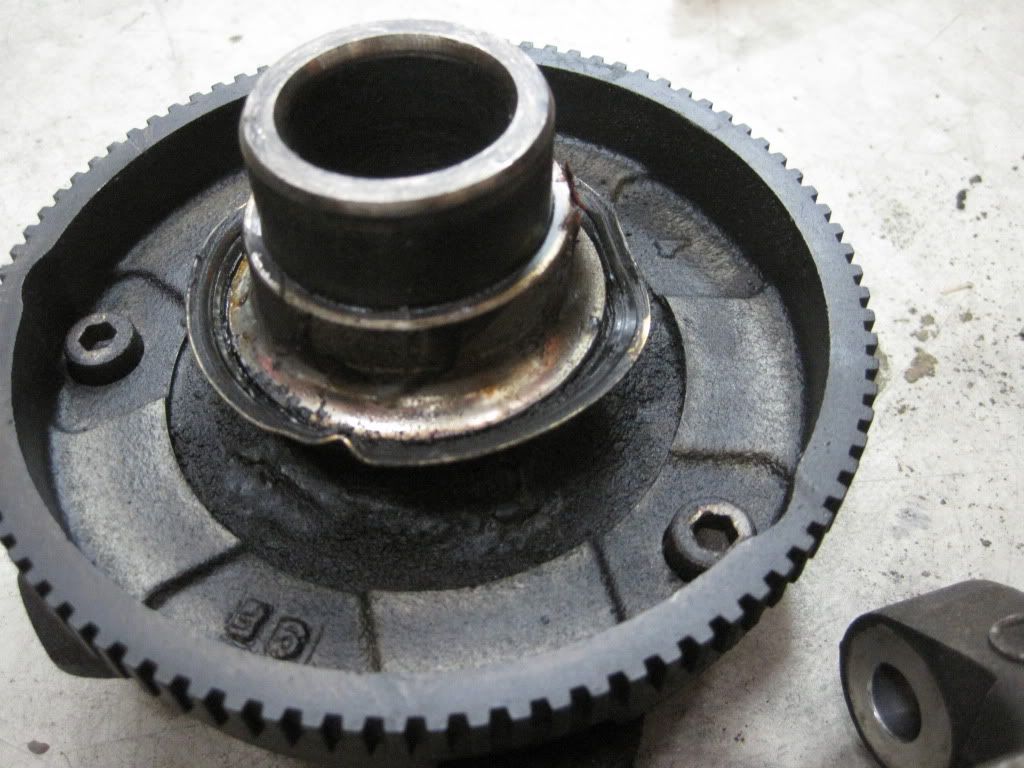
After that, all the bolts holding the triaxial hub could be undone. With some effort the hub comes off:
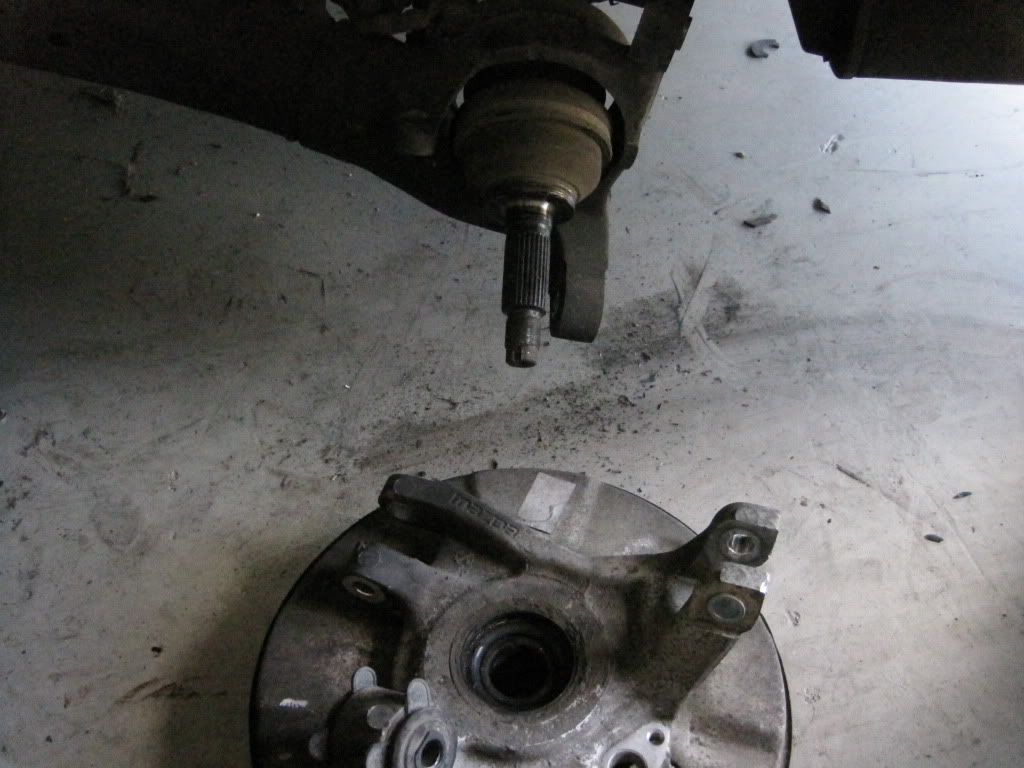
The ABS sensor is also removed - there are four bolts holding it to the hub and arm and a grommet that goes into the chassis where the connector can be unplugged and pulled outside the vehicle. After everything was removed:

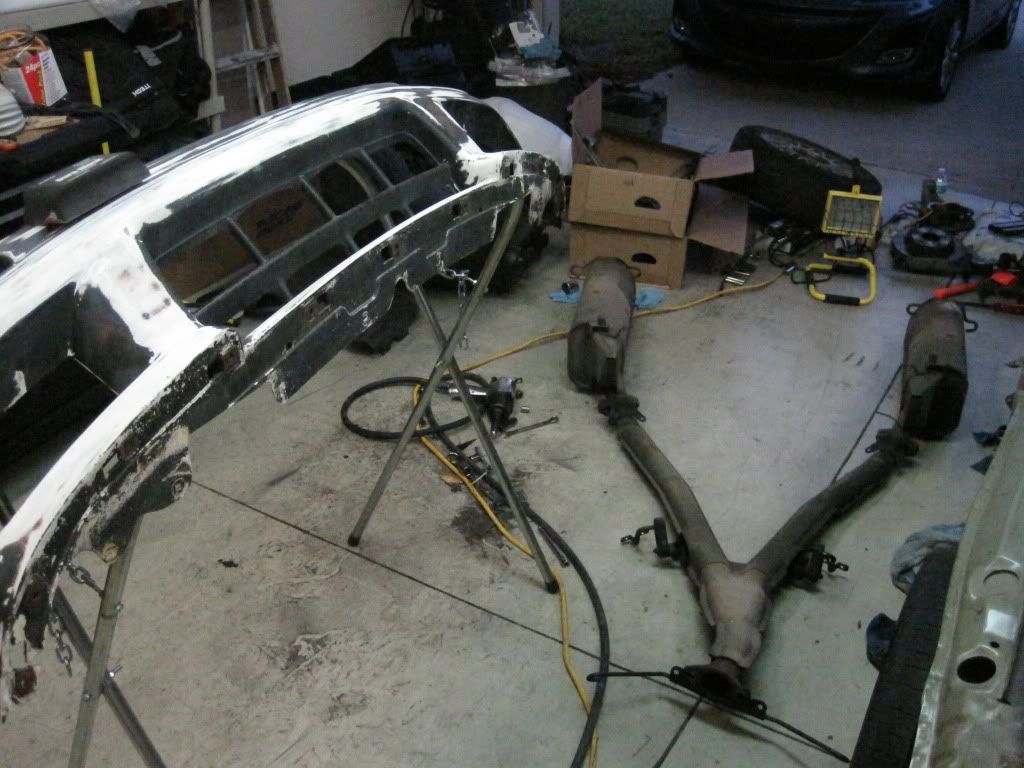
And the carnage in the garage (you may notice sanding has begun on the front bumper - finally some bodywork):
The beginning:
Three bolts holding in the shock and one holding down the brake caliper were all removed. The shock and spring assembly were removed and the caliper was hung from the shock tower for now.
The caliper mounting bracket was unbolted and the screws holding in the brake rotor were drilled out (164,000 miles and still the original rotors - ouch!) and the brake rotor was removed:
After that, all the bolts holding the triaxial hub could be undone. With some effort the hub comes off:
The ABS sensor is also removed - there are four bolts holding it to the hub and arm and a grommet that goes into the chassis where the connector can be unplugged and pulled outside the vehicle. After everything was removed:
And the carnage in the garage (you may notice sanding has begun on the front bumper - finally some bodywork):
Last edited by JerryLH3; 03-13-12 at 03:06 PM.
03-14-12, 10:16 AM
#170
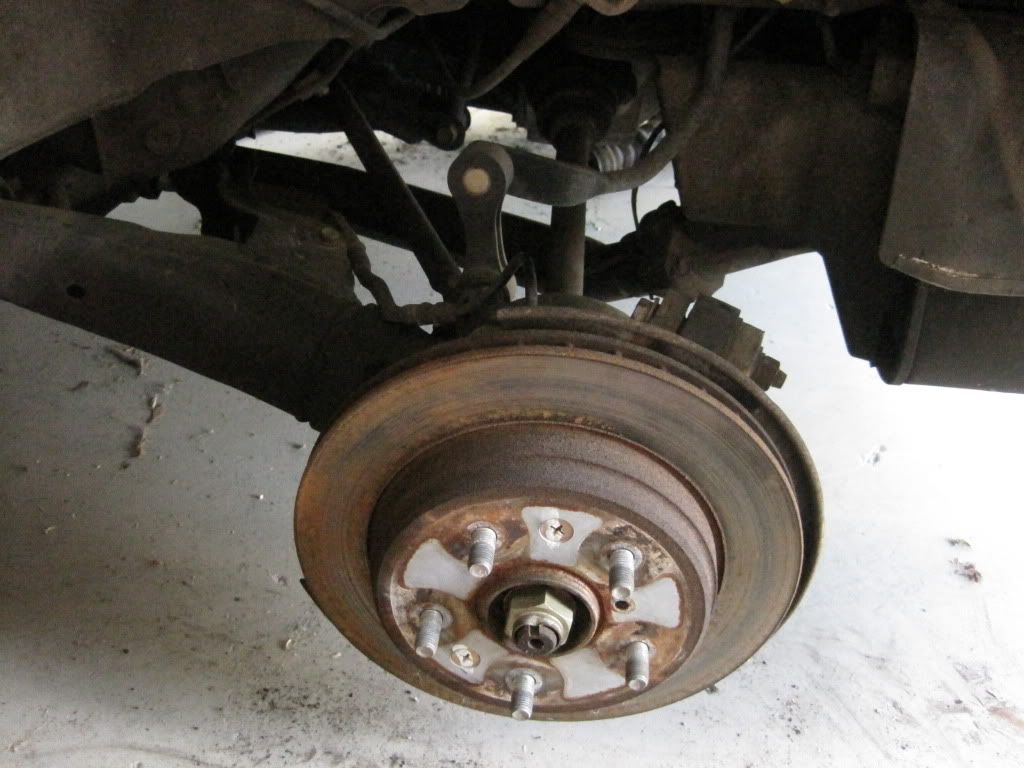
Yesterday was one of those days where it seems like it will never end.
There was a suspected issue on the passenger side rear wheel bearing as the rotor was seized on and it wasn't on the driver side. It's also the side that I snapped a wheel stud off of a long time ago. Well, as the hub was getting pressed out so that the broken wheel stud could be replaced, this happened:
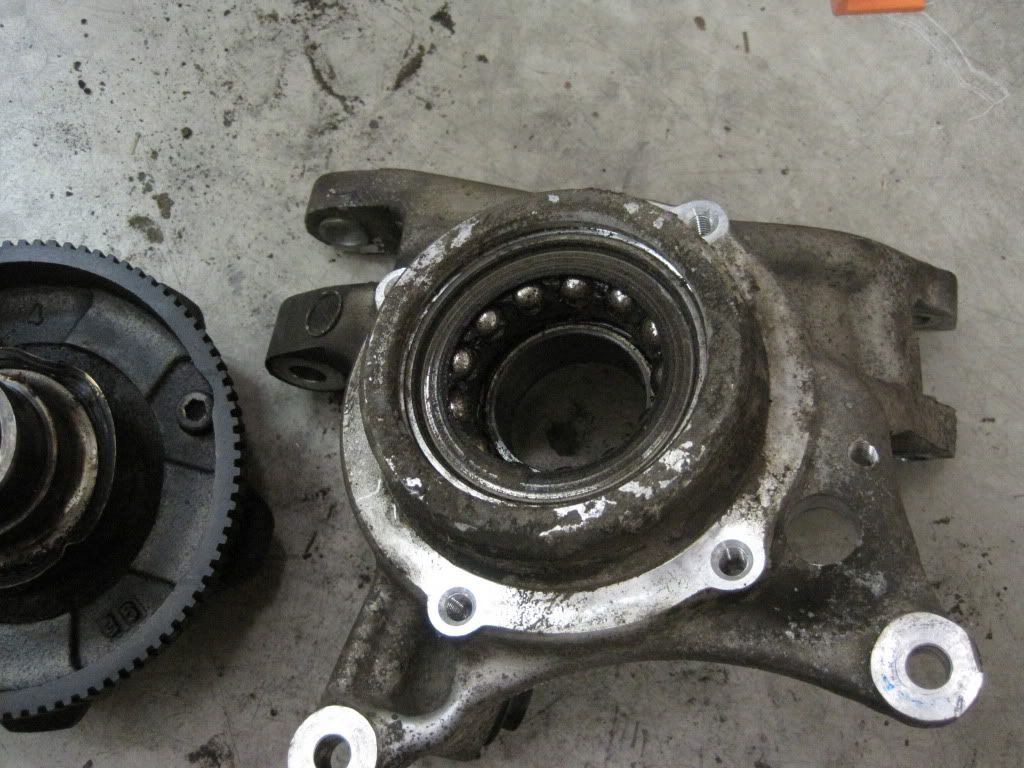
I guess it was a good thing I had already decided to just go ahead and buy new wheel bearings "since I was already in there". I also had horrible luck trying to get the ABS wheel off to push out the broken stud.
My speaker mount solution still needs a bit of tweaking, as the window channel mount really gets in the way and I can't push the speaker as far forward as it needs to be. If anyone with an S5 thinks they can use S4 doors easily with S5 interior door panels and keep the door speakers, think again. I would seriously advise against it and wait for some S5 doors to pop up. It's what I should have done, but I wanted to move on. C'est la vie.
There was a suspected issue on the passenger side rear wheel bearing as the rotor was seized on and it wasn't on the driver side. It's also the side that I snapped a wheel stud off of a long time ago. Well, as the hub was getting pressed out so that the broken wheel stud could be replaced, this happened:
I guess it was a good thing I had already decided to just go ahead and buy new wheel bearings "since I was already in there". I also had horrible luck trying to get the ABS wheel off to push out the broken stud.
My speaker mount solution still needs a bit of tweaking, as the window channel mount really gets in the way and I can't push the speaker as far forward as it needs to be. If anyone with an S5 thinks they can use S4 doors easily with S5 interior door panels and keep the door speakers, think again. I would seriously advise against it and wait for some S5 doors to pop up. It's what I should have done, but I wanted to move on. C'est la vie.
 03-17-12, 06:43 AM
#172
Clutchless in San Antonio
iTrader: (1)

Join Date: Oct 2003
Location: San Antonio, Tx.
Posts: 677
Likes: 0
Received 0 Likes
on
0 Posts
This thread has been a great read. I'm about to start a similar process with a 91 project. Your attention to the smallest of things is inspiring.
Subscribing
Subscribing
03-19-12, 10:29 AM
#173
I appreciate the kind words from everyone thus far.
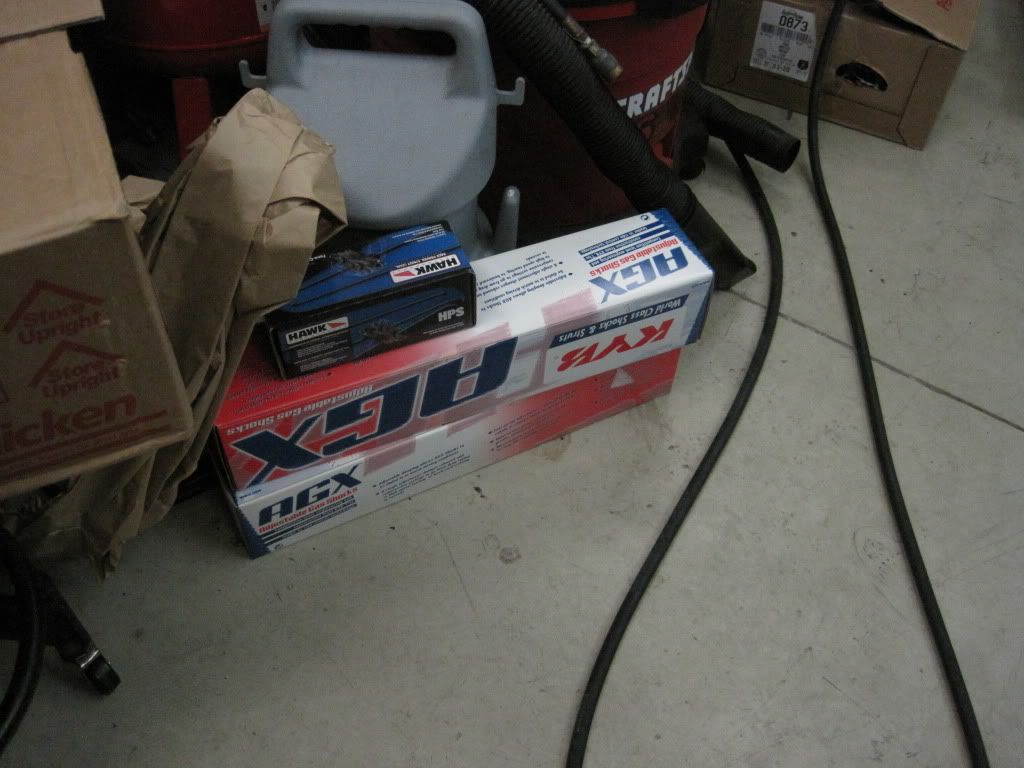
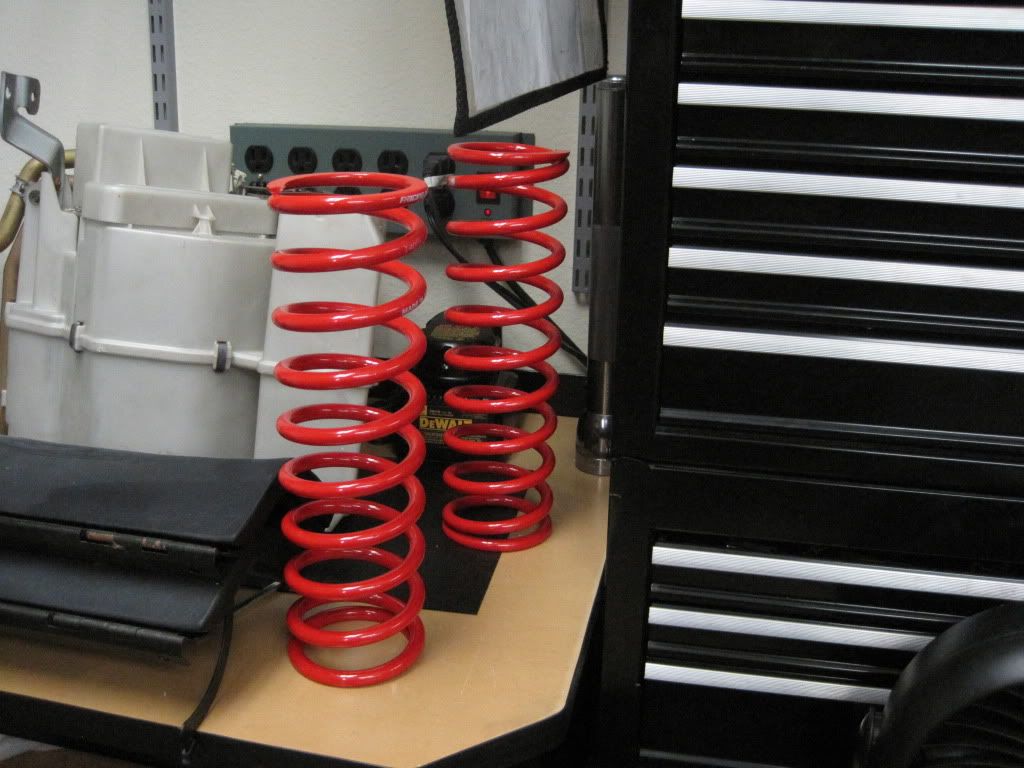
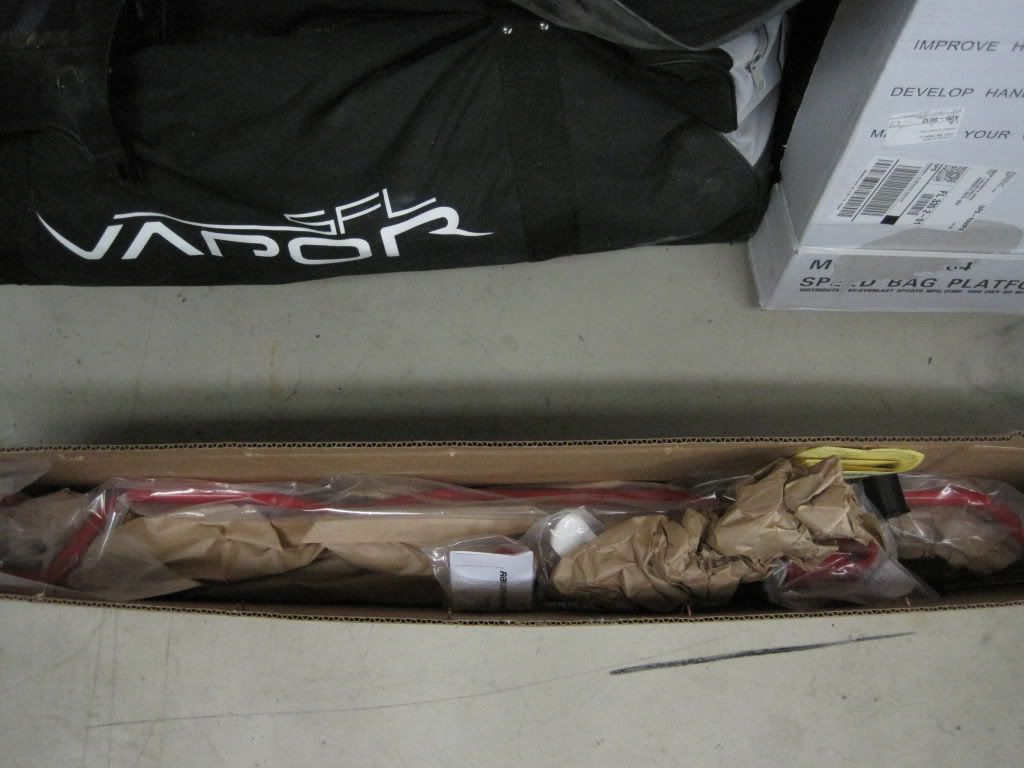
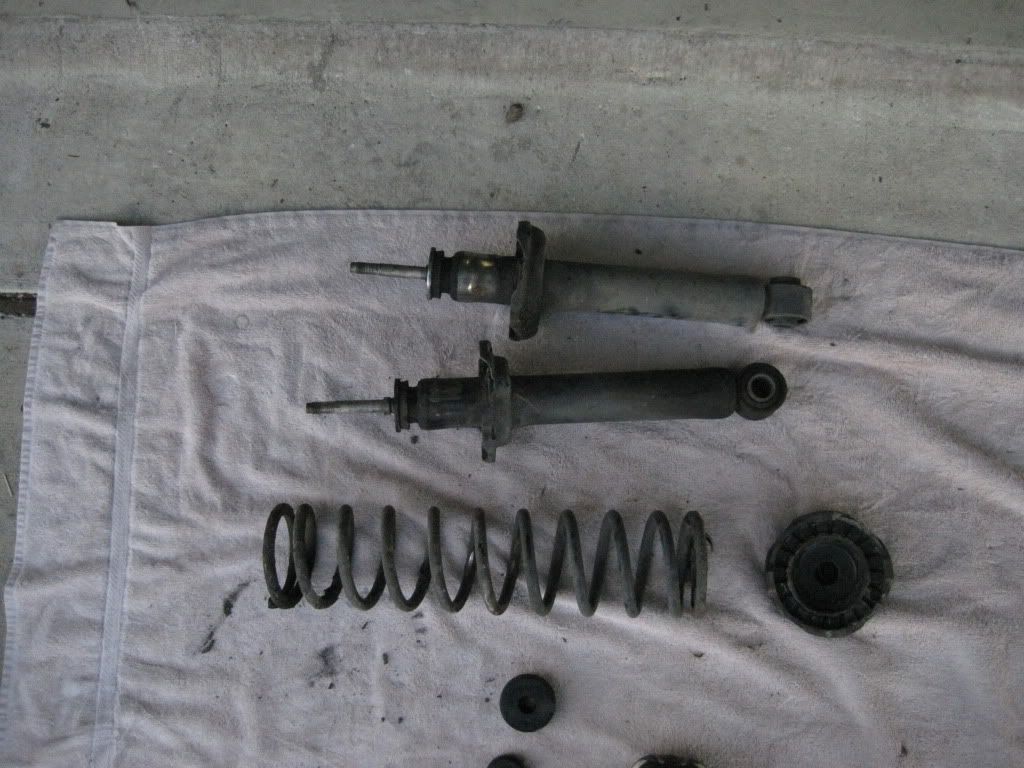
I was on vacation last week and didn't get as much work done as I wanted to, but those things happen. Here's the new shocks and springs for the rear:
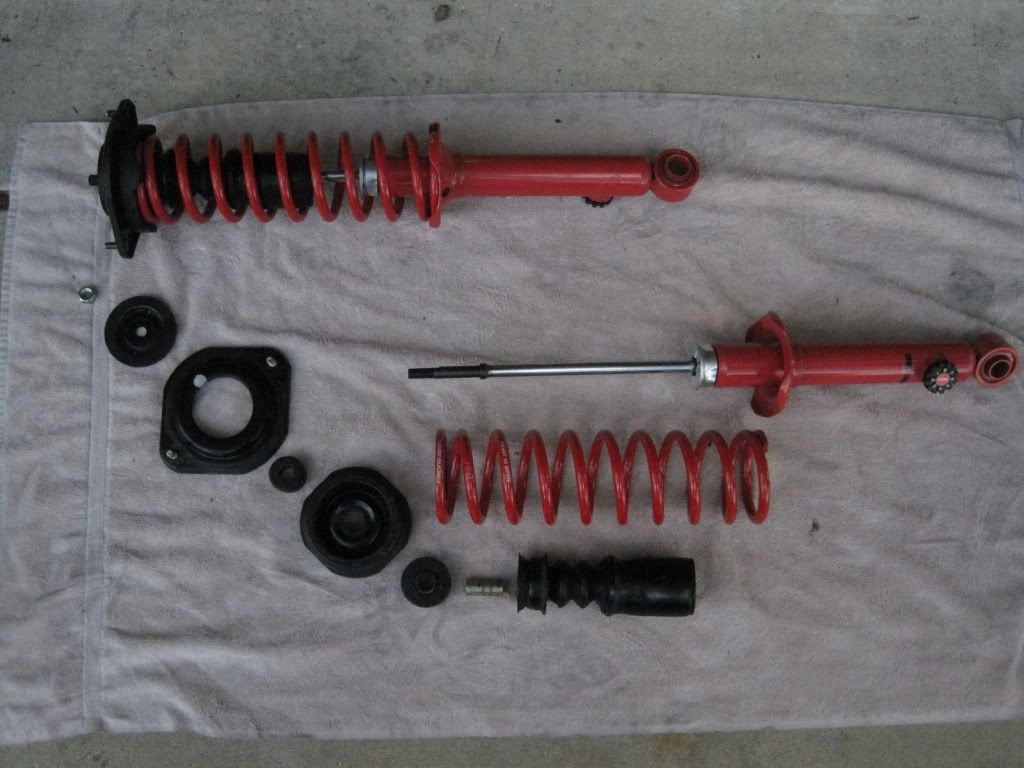
And the completely blown old stuff:
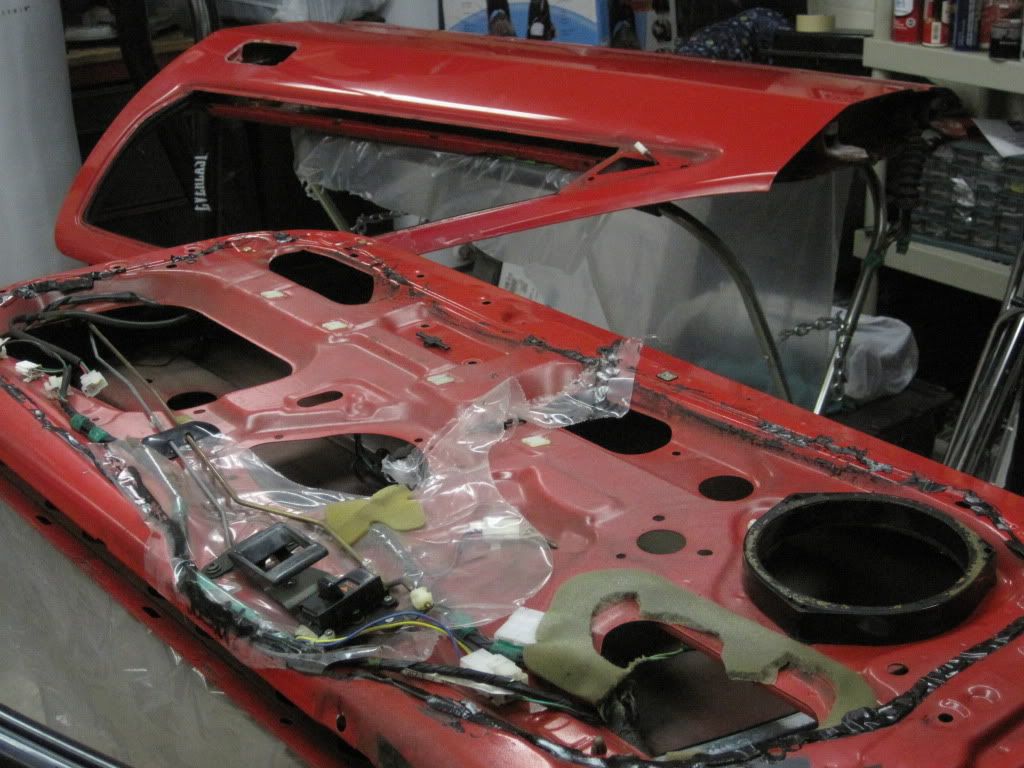
And what was that I said a few posts back about just using S5 doors and not attempting to try mounting speakers in an S5 location using an S4 door? Yeah, goodbye S4 doors, and hello proper S5 doors:
I was on vacation last week and didn't get as much work done as I wanted to, but those things happen. Here's the new shocks and springs for the rear:
And the completely blown old stuff:
And what was that I said a few posts back about just using S5 doors and not attempting to try mounting speakers in an S5 location using an S4 door? Yeah, goodbye S4 doors, and hello proper S5 doors:
03-20-12, 08:21 PM
#175
Most of the connectors were reused. I did source terminals that are OEM style from Eastern Beaver (http://www.easternbeaver.com). They are Sumitomo, I think the ones I have mostly been using were the .090 variety.