JerryLH3's RX-7 Turbo II Restoration
 07-25-11, 08:49 AM
#126
Funny you mention that. I placed a call Friday to Maztech, a local rotary shop, and he has some arms off of an 86 parts car he has, and I will be picking those up tomorrow. The ball joints on these arms are good, but the boots are torn. The boots in the Energy Suspension kit don't fit so well from what I've heard, so $40 for new boots from Mazda or just a little more for S4 arms and the piece of mind of having a replaceable ball joint is well worth it.

 07-25-11, 03:10 PM
#127
Here's the rest of yesterday's work.
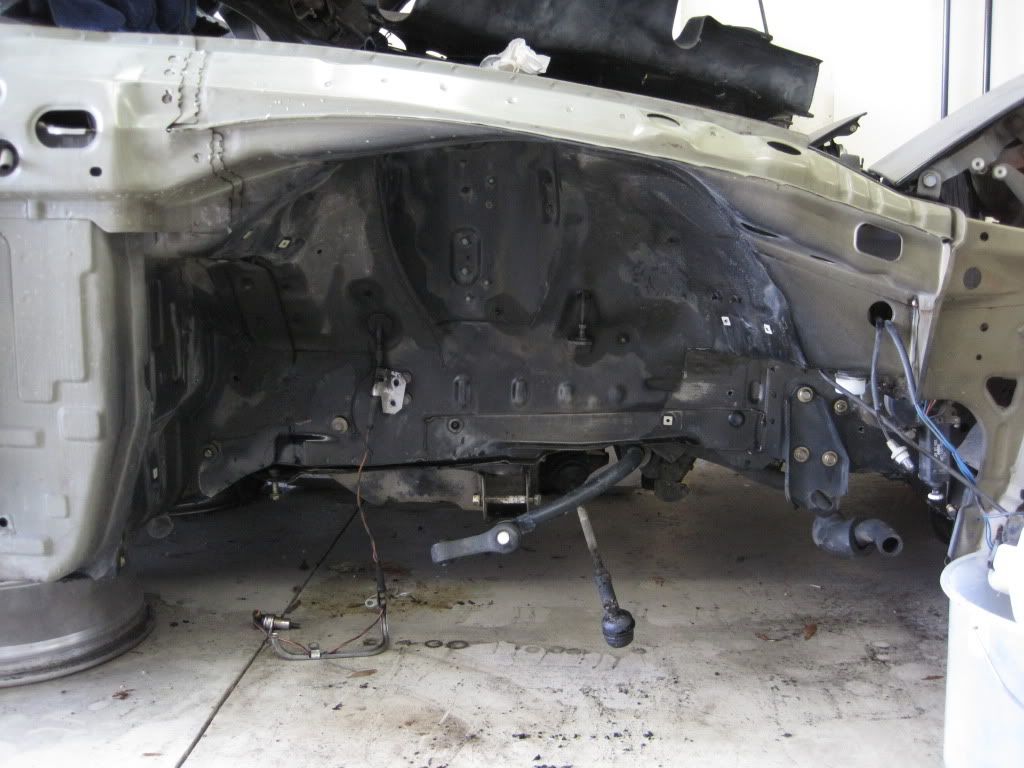
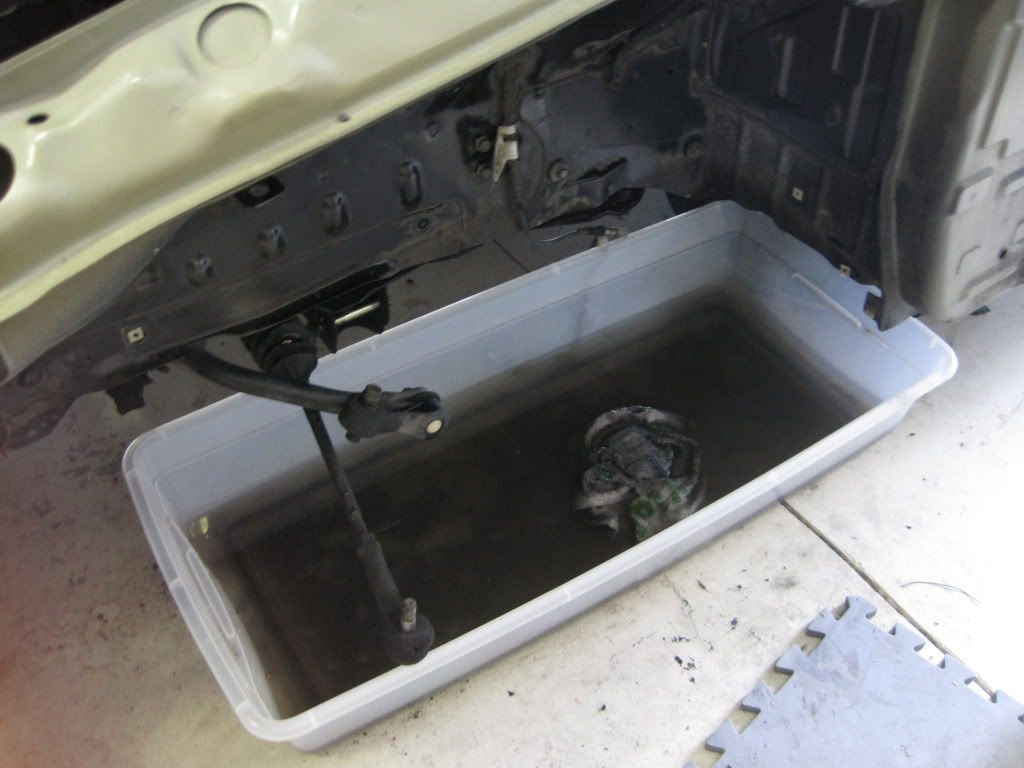
The wheel wells were cleaned with Simple Green and then a fresh water rinse and more scrubbing. We took the brake ducts and another trim piece out and cleaned those up with Meguiar's Interior Natural Shine Cleaner. They look like brand new pieces.

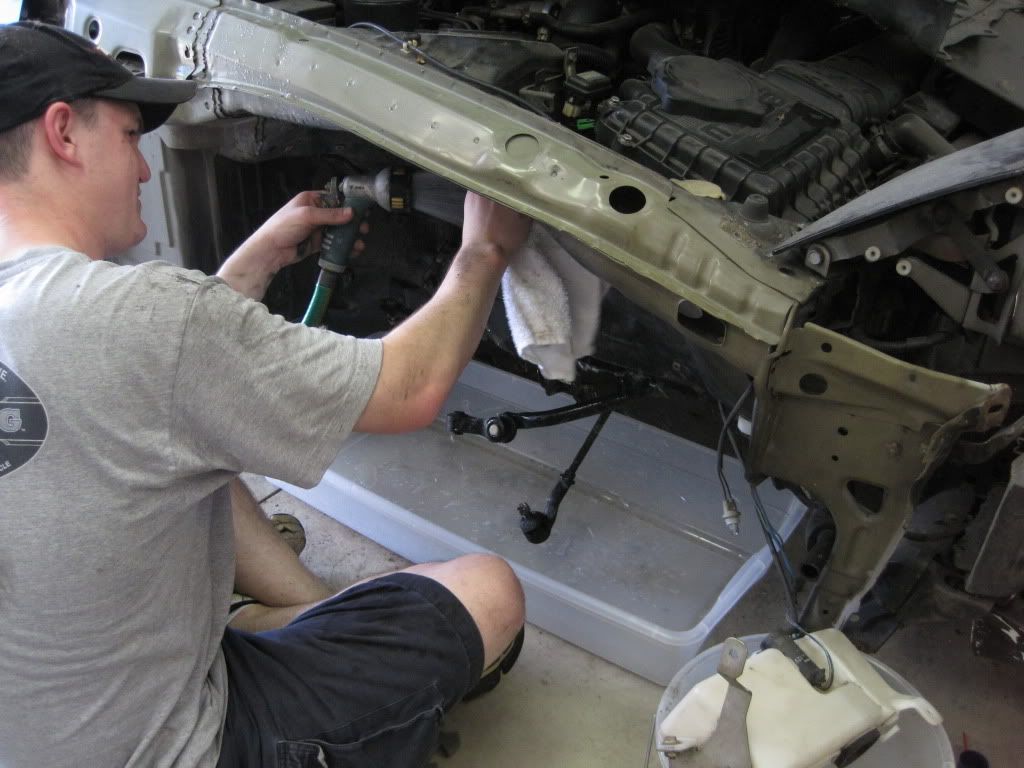
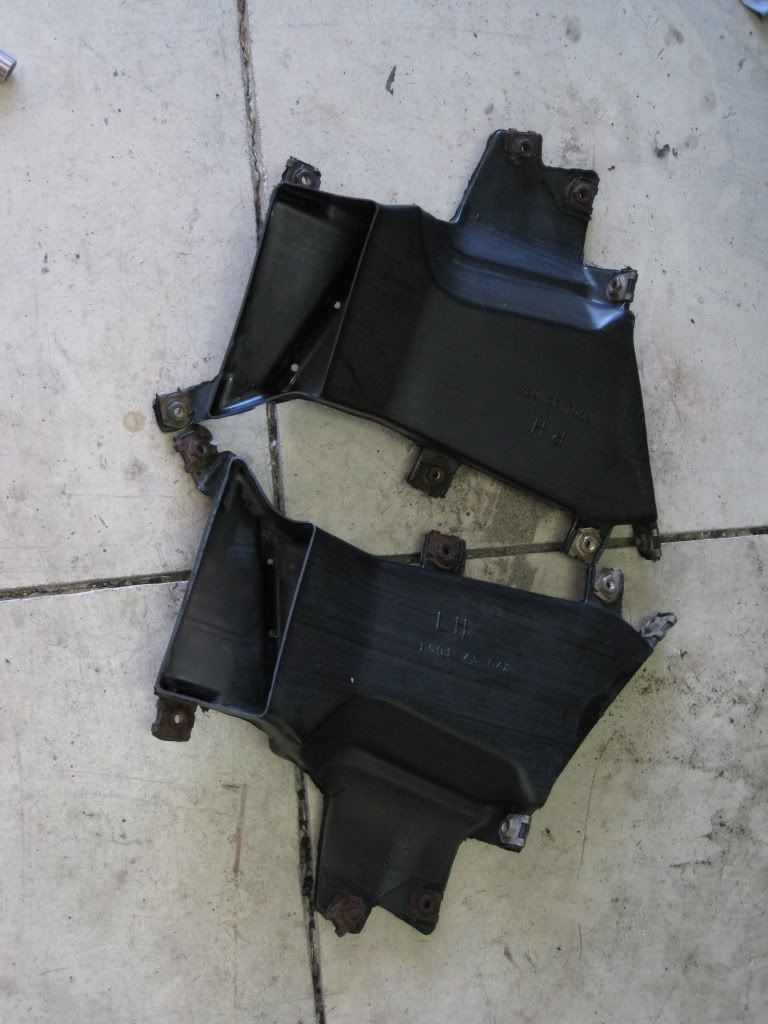
I don't suggest inhaling too much brake parts cleaner. Bad things can happen.
The end result after all that cleaning:
And today's delivery from the Tire Rack via UPS:
The wheel wells were cleaned with Simple Green and then a fresh water rinse and more scrubbing. We took the brake ducts and another trim piece out and cleaned those up with Meguiar's Interior Natural Shine Cleaner. They look like brand new pieces.
I don't suggest inhaling too much brake parts cleaner. Bad things can happen.
The end result after all that cleaning:
And today's delivery from the Tire Rack via UPS:
The following users liked this post:
B.slick (11-07-21)
 07-25-11, 06:46 PM
#129
Moderator
iTrader: (3)
Join Date: Mar 2001
Location: https://www2.mazda.com/en/100th/
Posts: 30,826
Received 2,594 Likes
on
1,842 Posts
the wheel wells turned out really nice! if you don't want the paint/bodywork to ruin it, go get a can of clear coat, and just clear the wells.
 07-27-11, 09:17 PM
#132
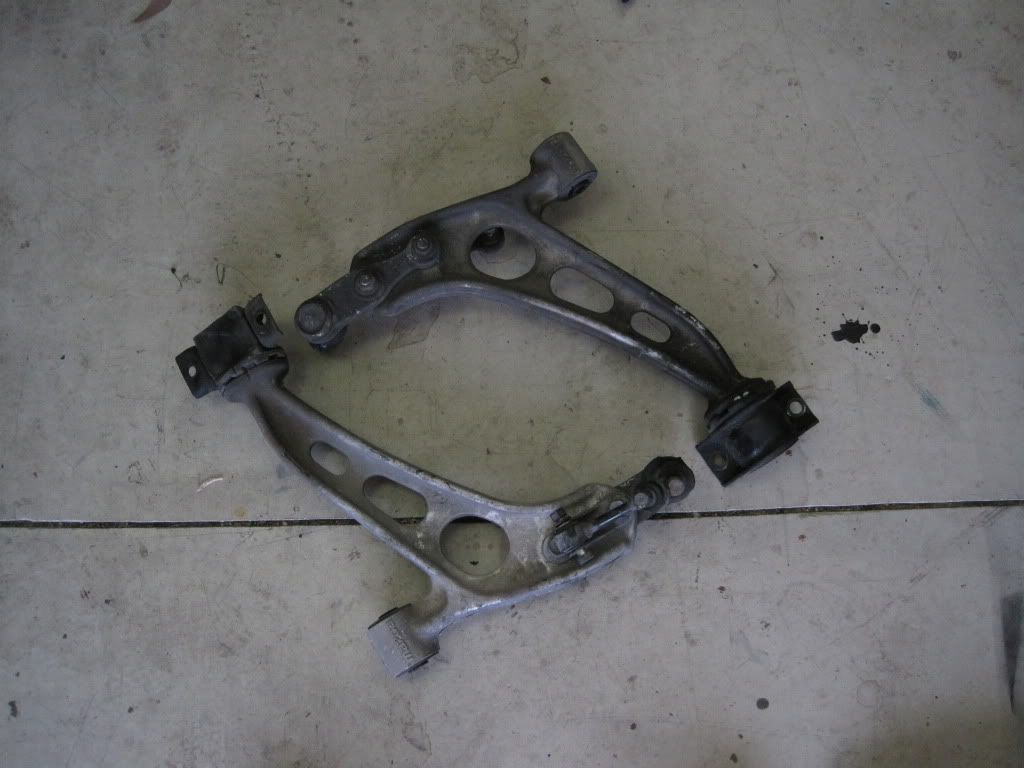
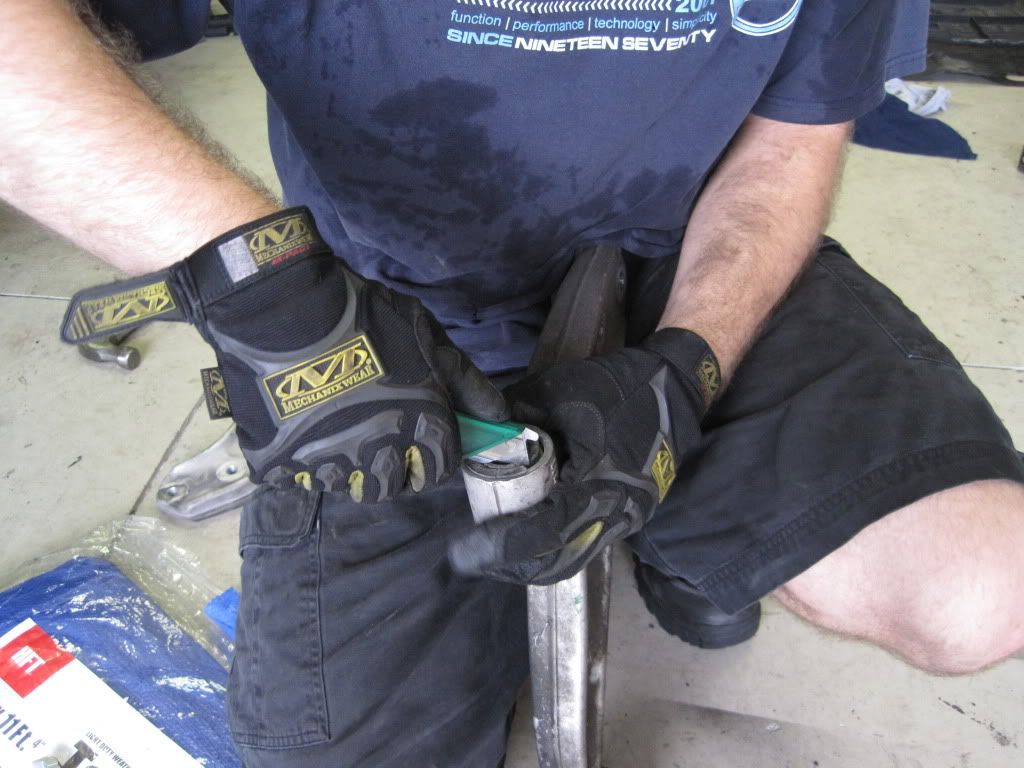
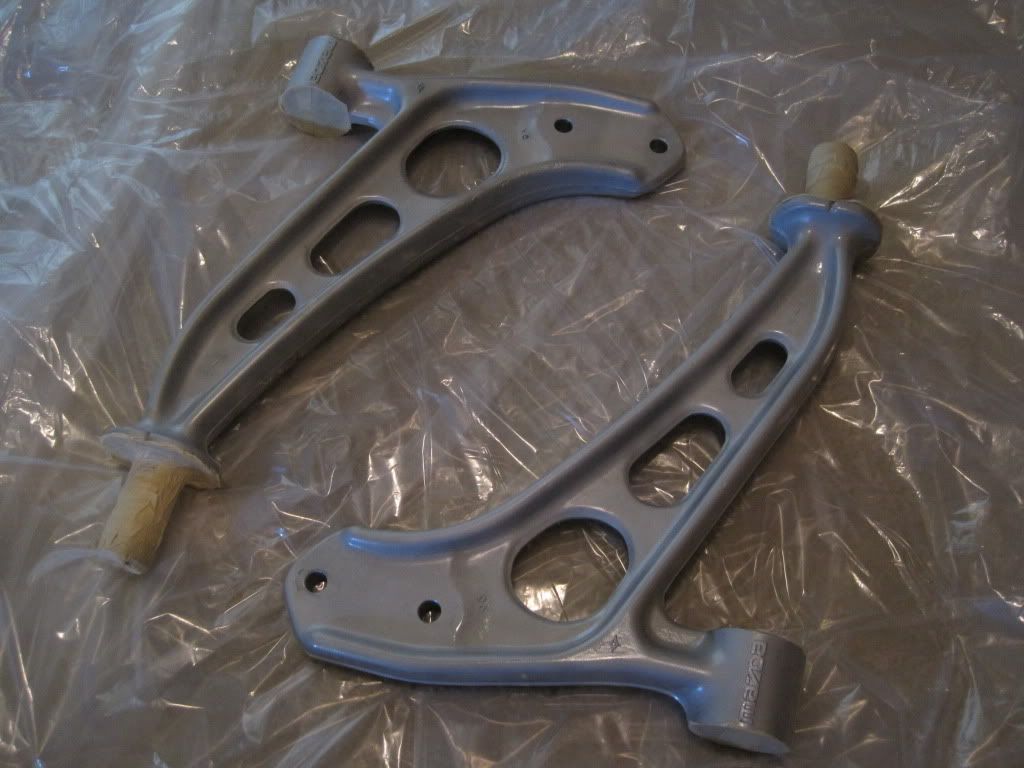
Back in the garage today for front lower control arm bushing removal and then cleaning of the control arms. This is the pair of control arms I picked up yesterday:
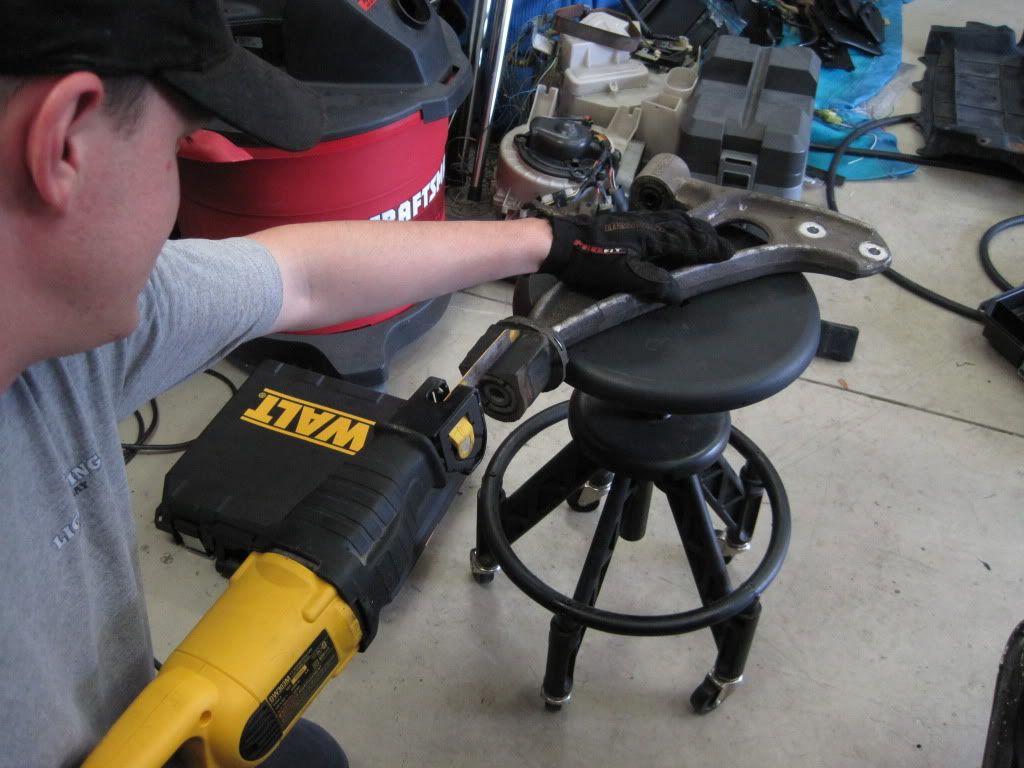
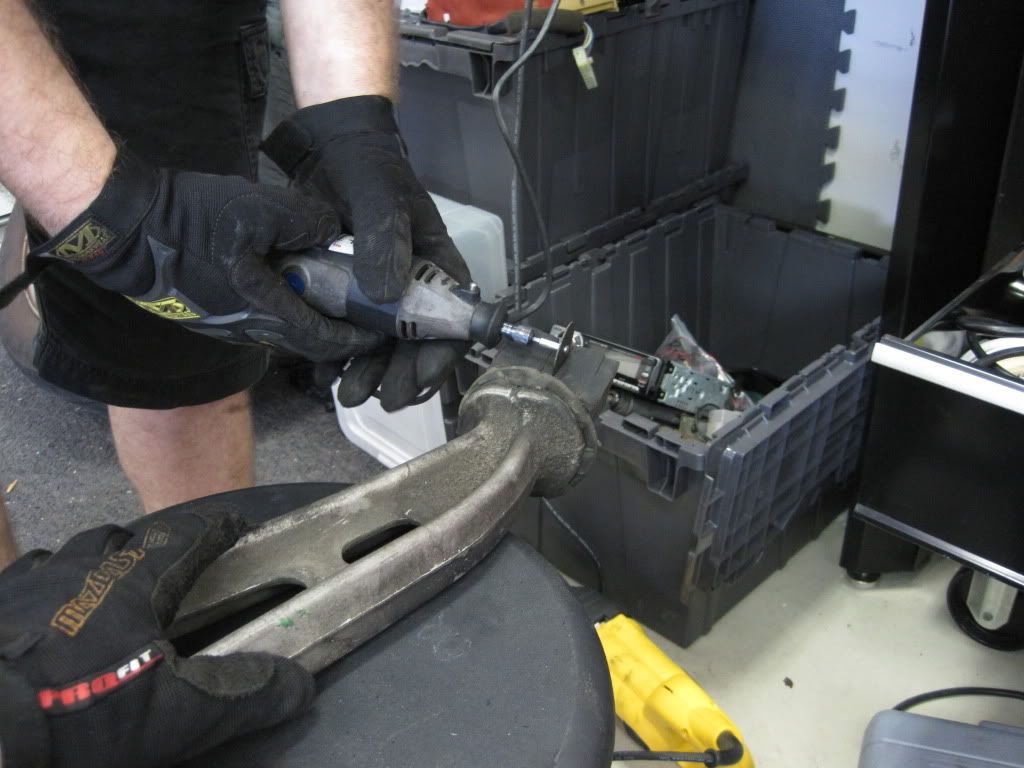
Some people say bushing removal is not so hard, some say it is a pain. I say it is a pain. Perhaps if I had a hydraulic press, it would have been a breeze, but I really just don't have the space, so I made do with what I had. The rear most bushing is the hard one in my opinion. A reciprocating saw cut a groove down to the metal sleeve. And then a Dremel with a cut off attachment cut through the sleeve. The bushing was then "opened" with a screwdriver and wiggled off of the control arm.
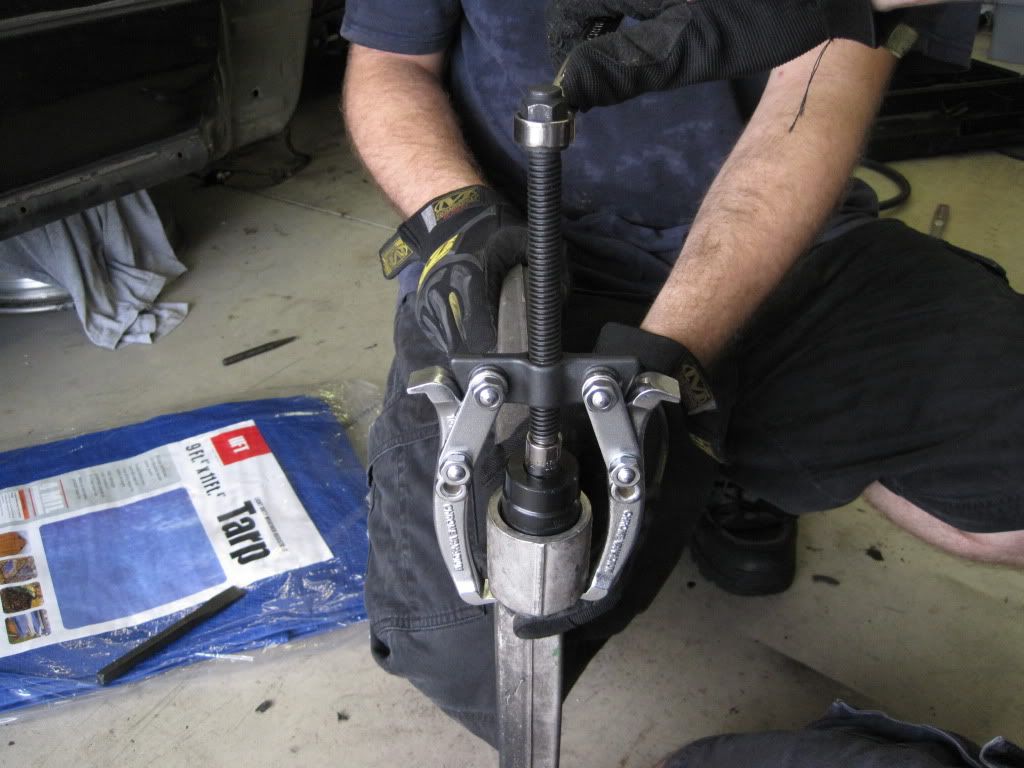
The front bushing is much easier. A knife was used to cut away the outer lip of the rubber to give a puller something to grab onto. A couple of assorted sockets and we used the puller as a pusher and made fairly quick work of those bushings.
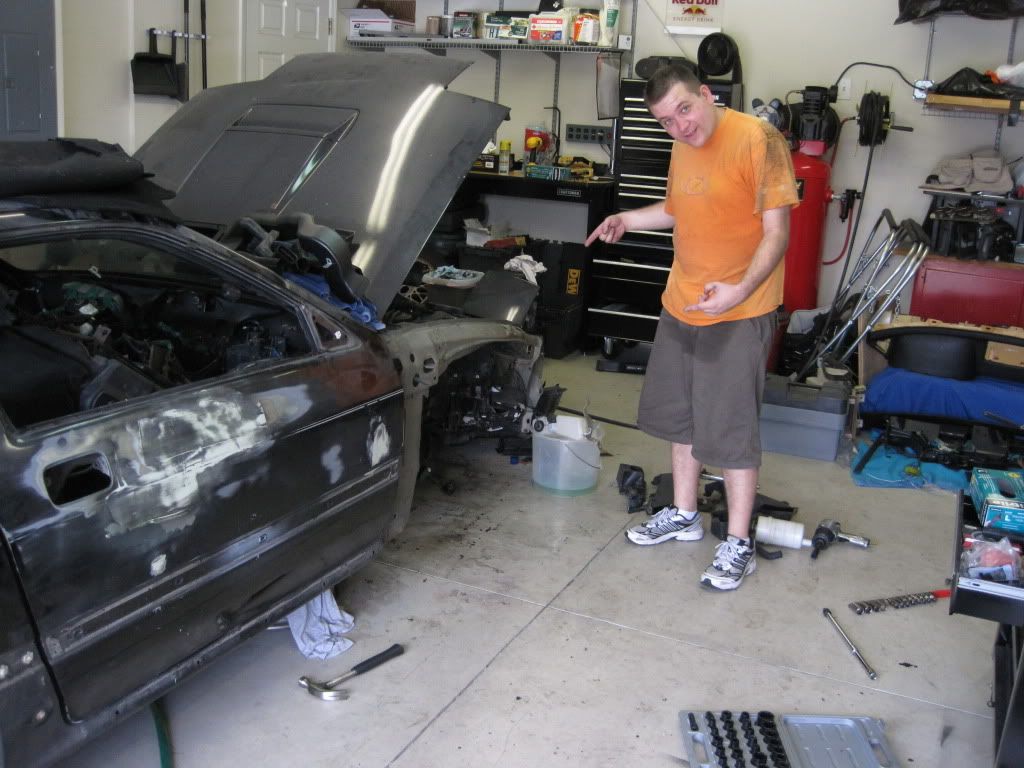
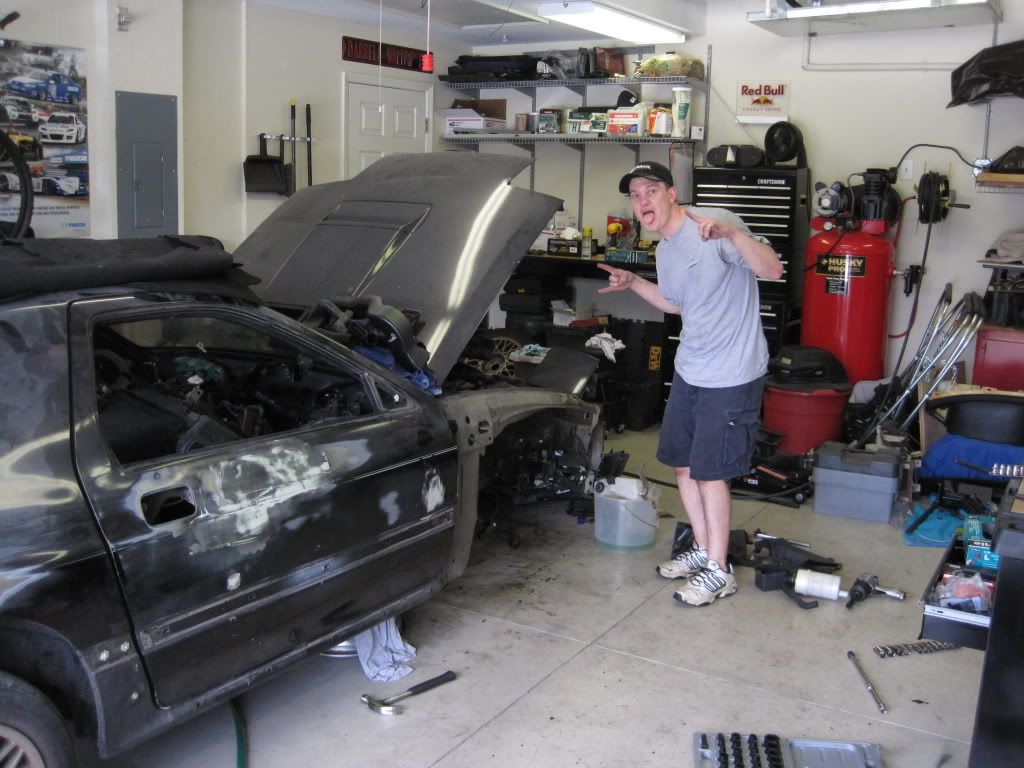
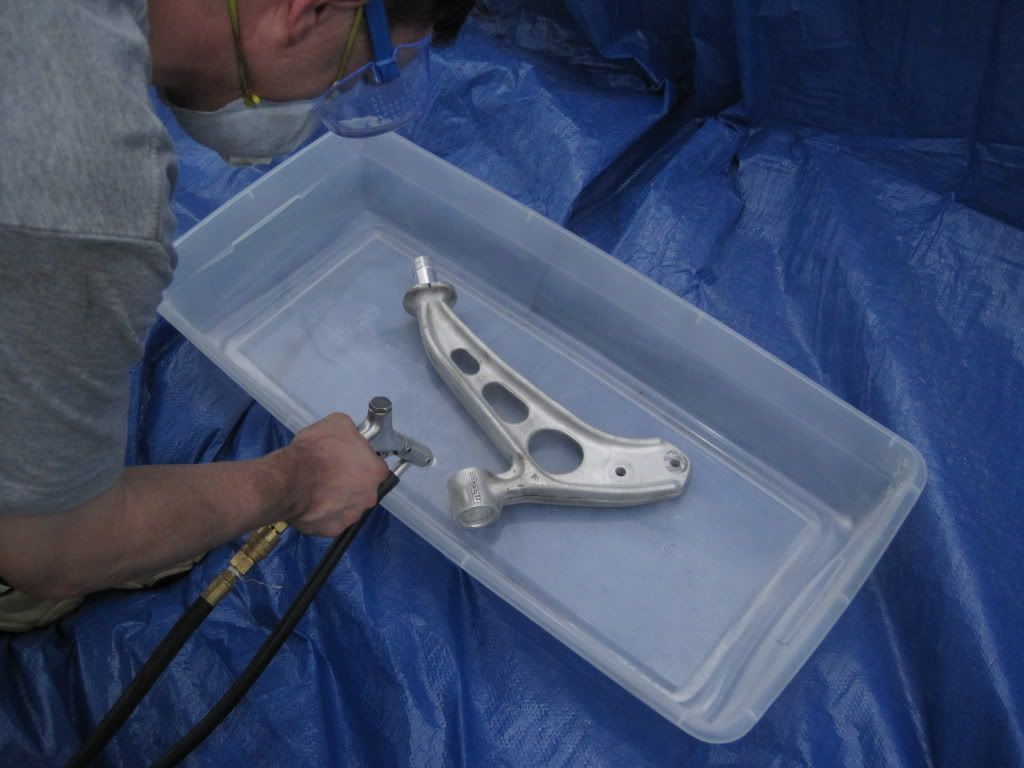
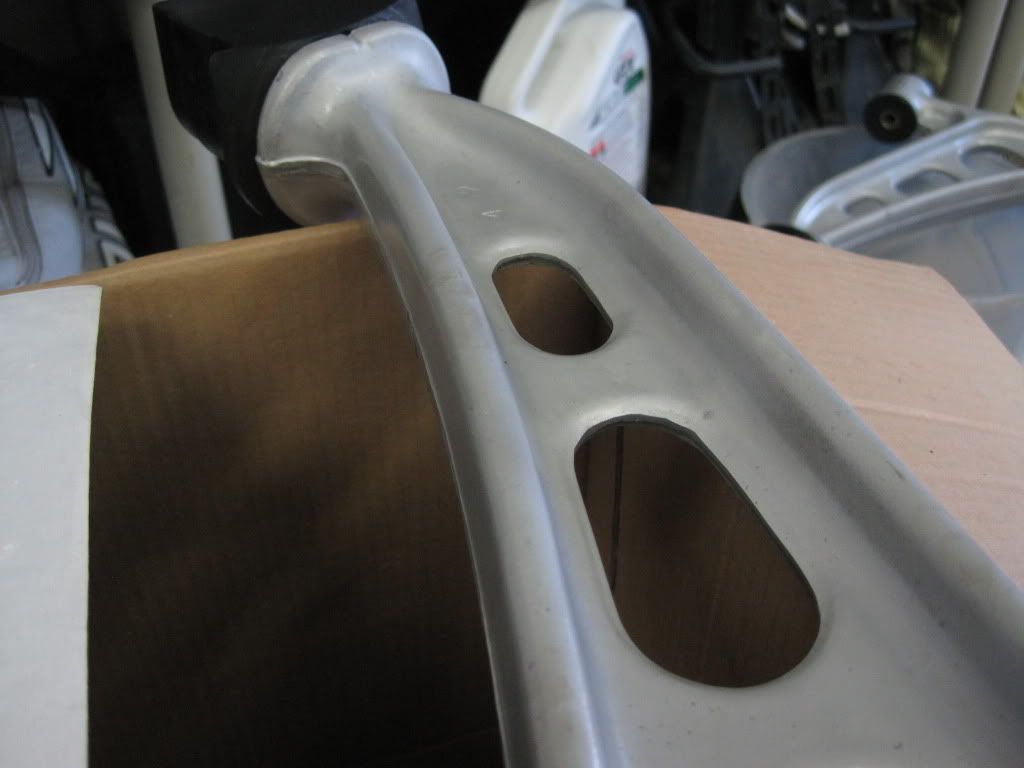
Then it was onto the cleaning. I bought a cheap media blaster at Harbor Freight yesterday. After some fiddling, we made it suitable for soda blasting. We filled it up and blasted away. The results speak for themselves.

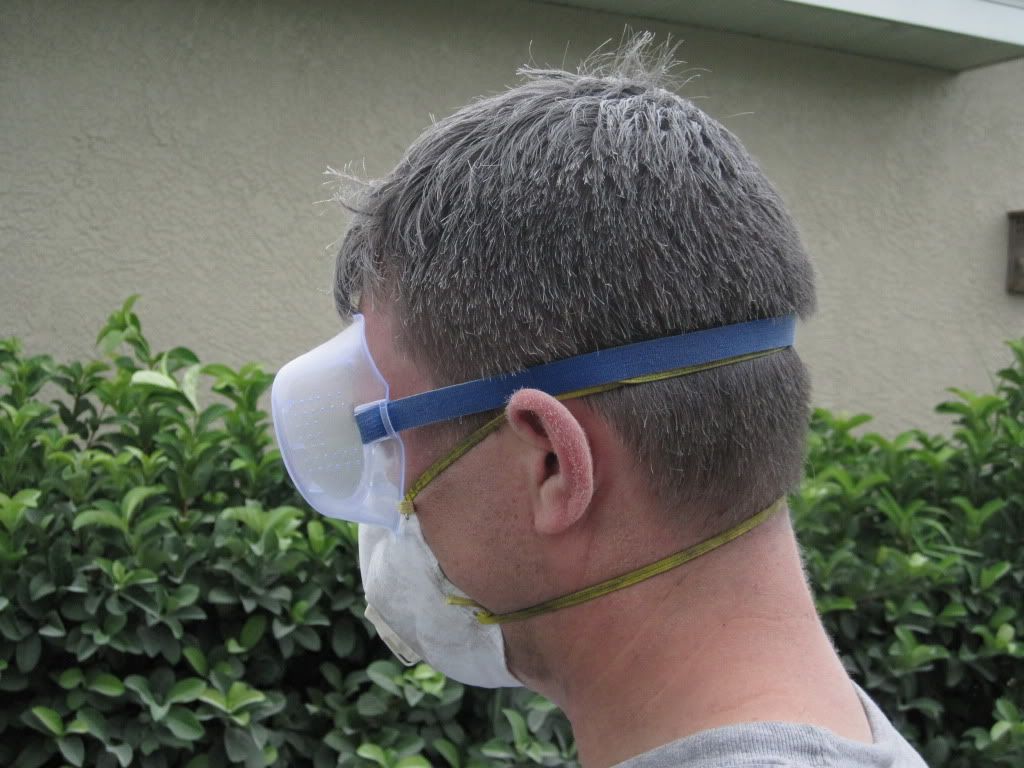
And my "Old Man Winter" look today:
Some people say bushing removal is not so hard, some say it is a pain. I say it is a pain. Perhaps if I had a hydraulic press, it would have been a breeze, but I really just don't have the space, so I made do with what I had. The rear most bushing is the hard one in my opinion. A reciprocating saw cut a groove down to the metal sleeve. And then a Dremel with a cut off attachment cut through the sleeve. The bushing was then "opened" with a screwdriver and wiggled off of the control arm.
The front bushing is much easier. A knife was used to cut away the outer lip of the rubber to give a puller something to grab onto. A couple of assorted sockets and we used the puller as a pusher and made fairly quick work of those bushings.
Then it was onto the cleaning. I bought a cheap media blaster at Harbor Freight yesterday. After some fiddling, we made it suitable for soda blasting. We filled it up and blasted away. The results speak for themselves.
And my "Old Man Winter" look today:
The following users liked this post:
B.slick (11-07-21)
07-28-11, 07:25 AM
#135
http://www.harborfreight.com/portabl...kit-37025.html
It's ultra cheap, it's being fed by a $400 compressor, but the blaster itself was cheap. It clogged up on us once, but it was very humid outside and taking the tip off real quick and blowing out the gun fixed the problem. We were also using household baking soda, which I believe has some different properties than soda you would buy for media blasting that make it a little less ideal. For a really cheap setup, I'm happy. I don't intend on doing this professionally, so I didn't see the need to spend more money on a "proper" media blaster that I wouldn't get much use out of.
Dude. You got some hairy ears.
07-28-11, 08:37 PM
#138
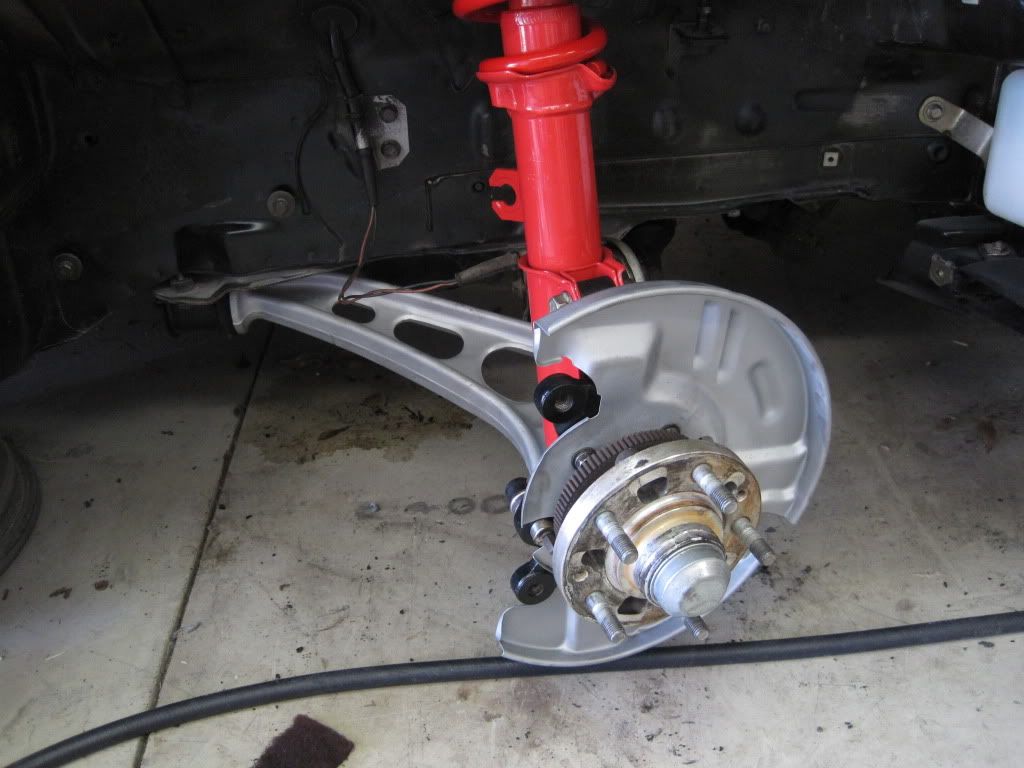
The front suspension is nearly complete, it just needs reassembly. The control arms received a couple coats of clear to keep their nice finish intact.
New Energy Suspension polyurethane bushings were then pushed in place.

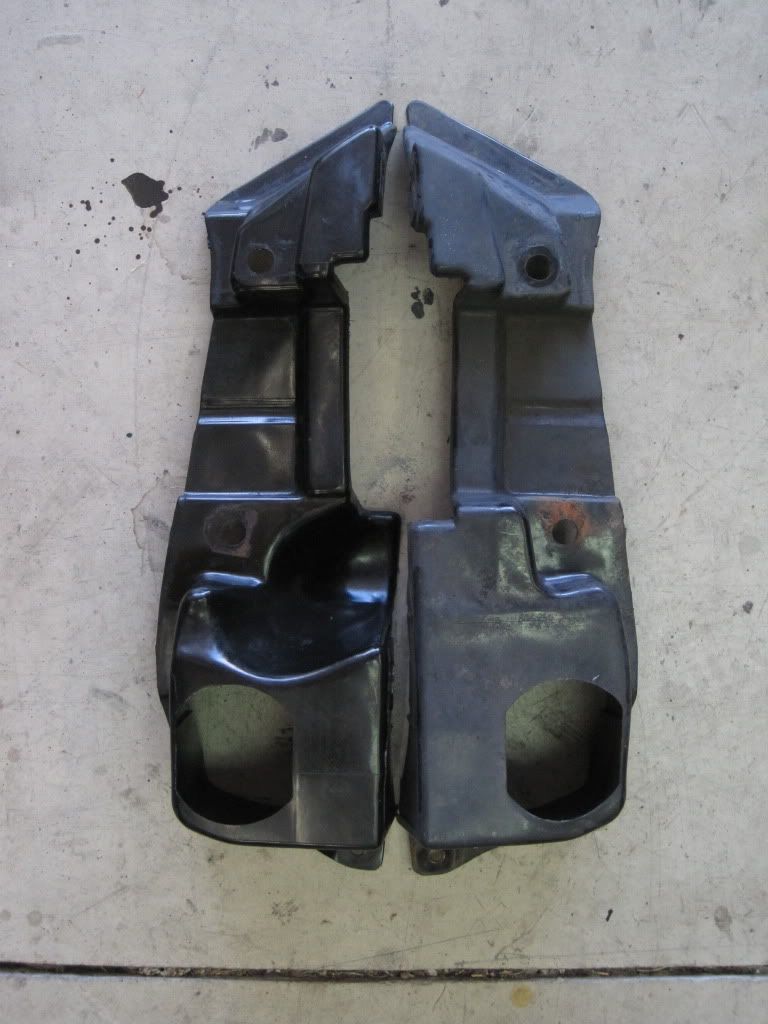
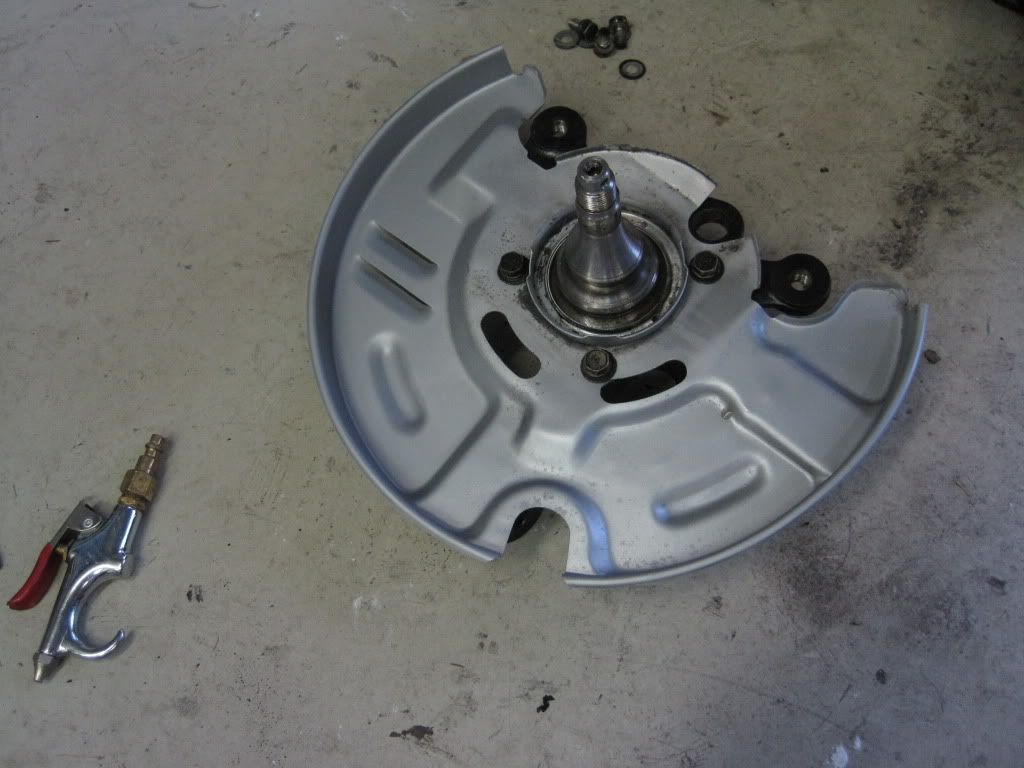
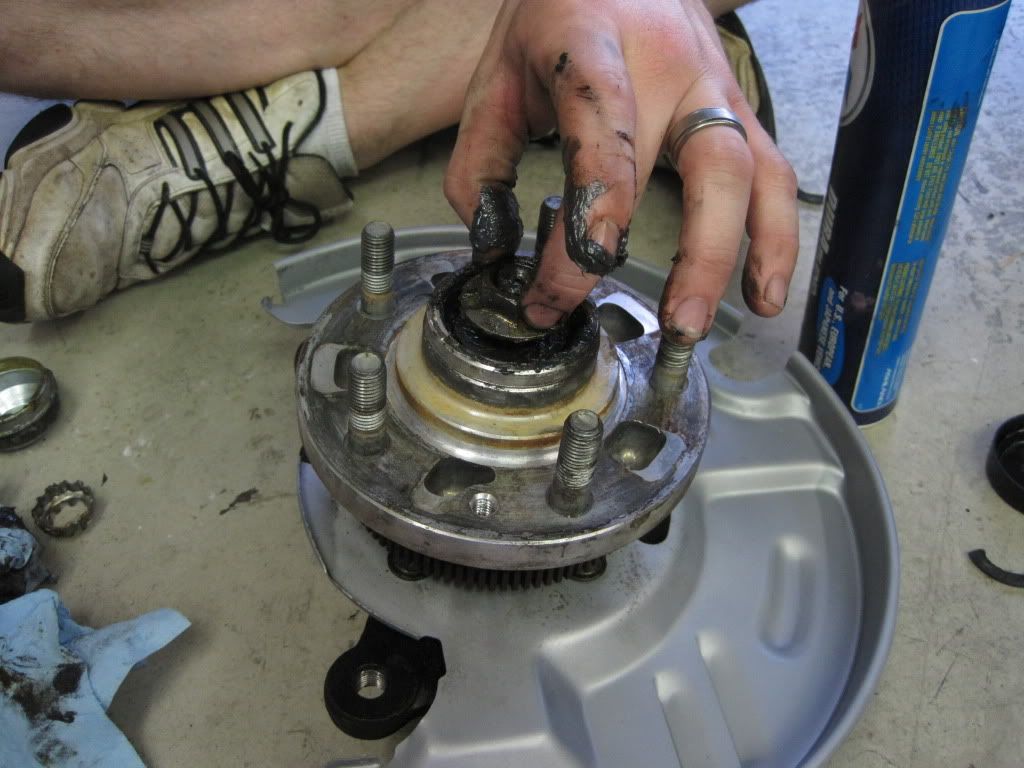
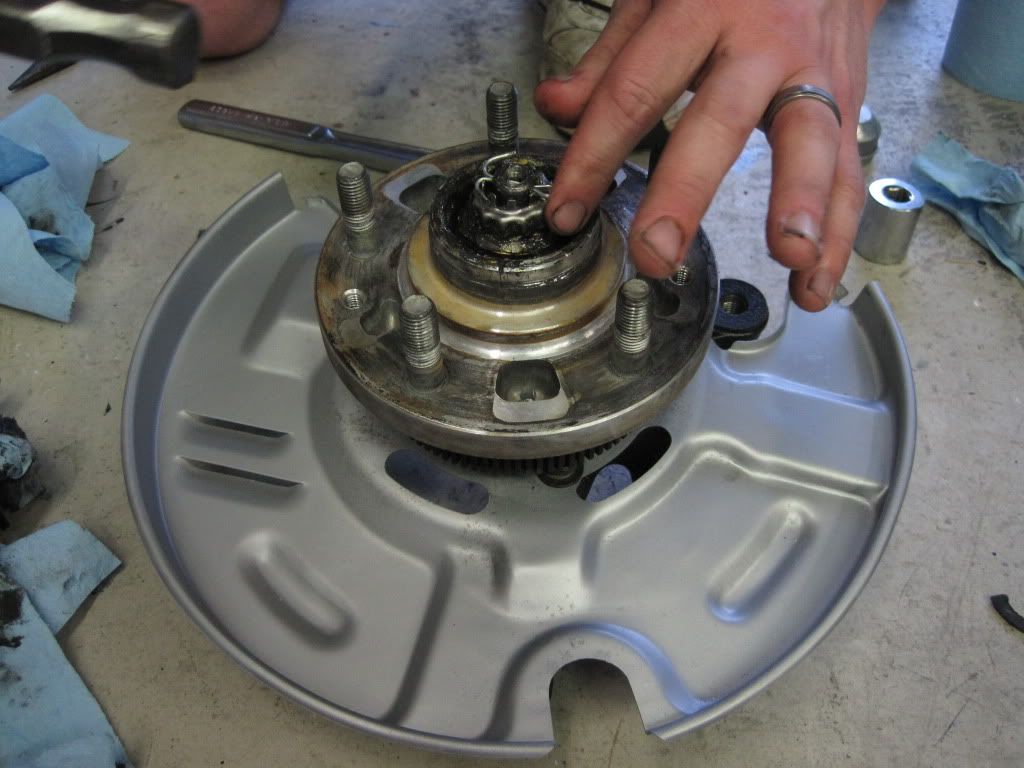
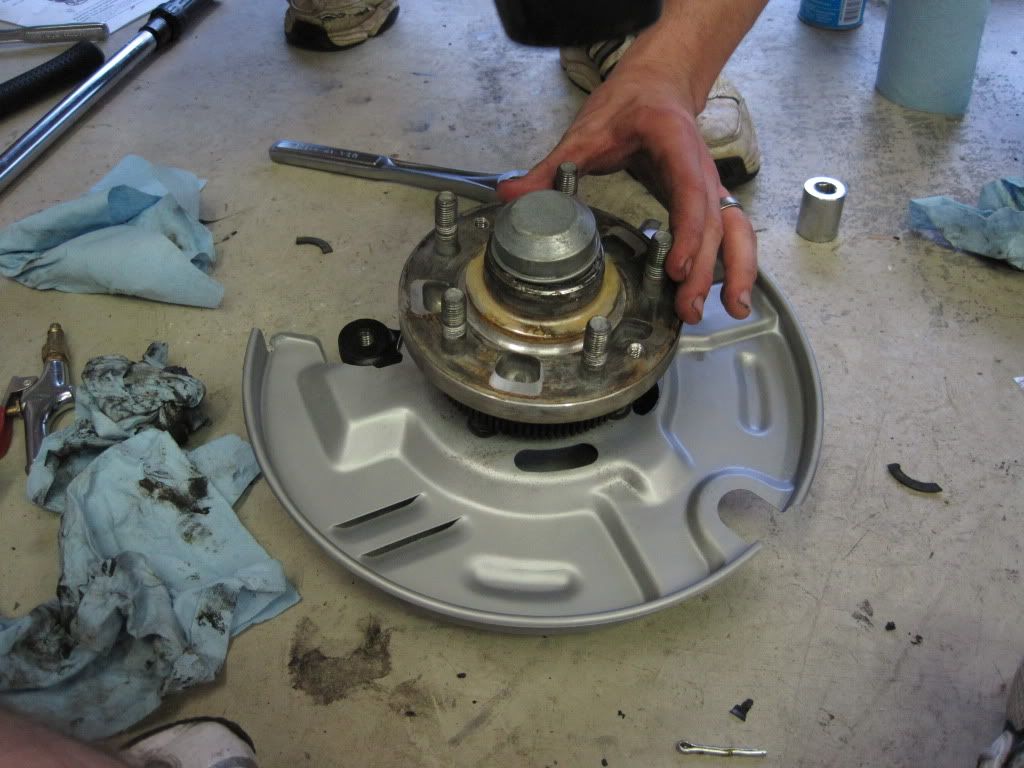
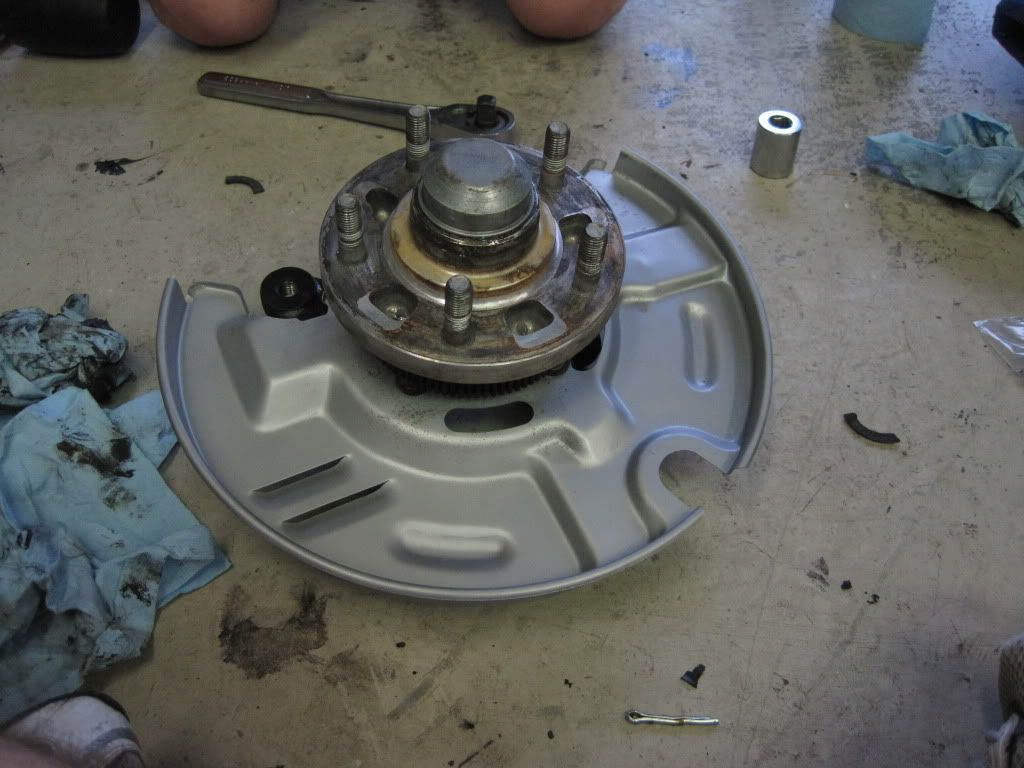
The brake rotor shields were a pain. We thought they would clean up okay, but in the end, we just ended up painting them with aluminum colored paint. They came out nice.
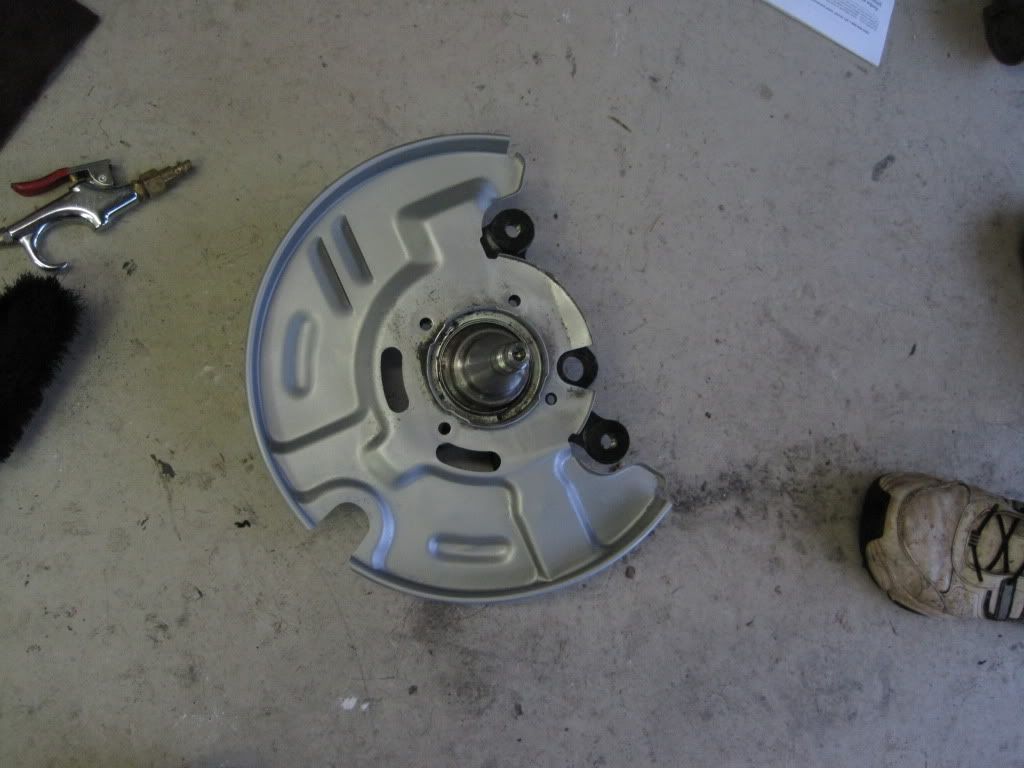
After the shields were finally painted and reattached to the steering knuckles, the front hubs could be regreased and repacked in preparation for reinstallation into the car.
New Energy Suspension polyurethane bushings were then pushed in place.
The brake rotor shields were a pain. We thought they would clean up okay, but in the end, we just ended up painting them with aluminum colored paint. They came out nice.
After the shields were finally painted and reattached to the steering knuckles, the front hubs could be regreased and repacked in preparation for reinstallation into the car.
The following users liked this post:
B.slick (11-07-21)
07-28-11, 08:39 PM
#139
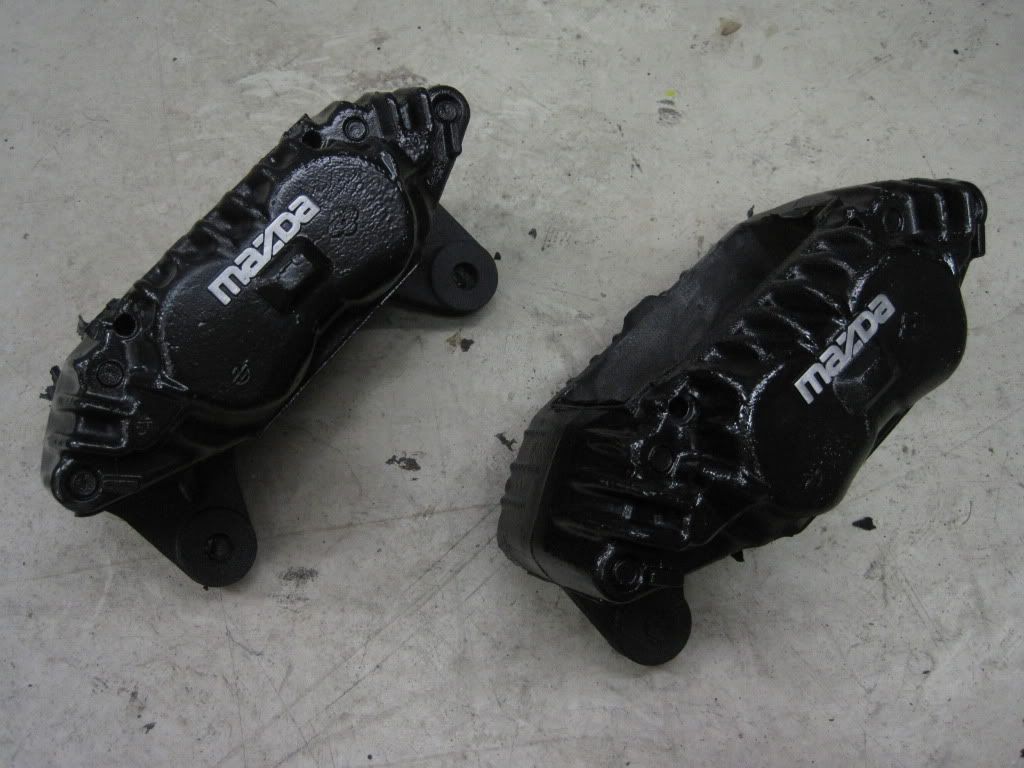
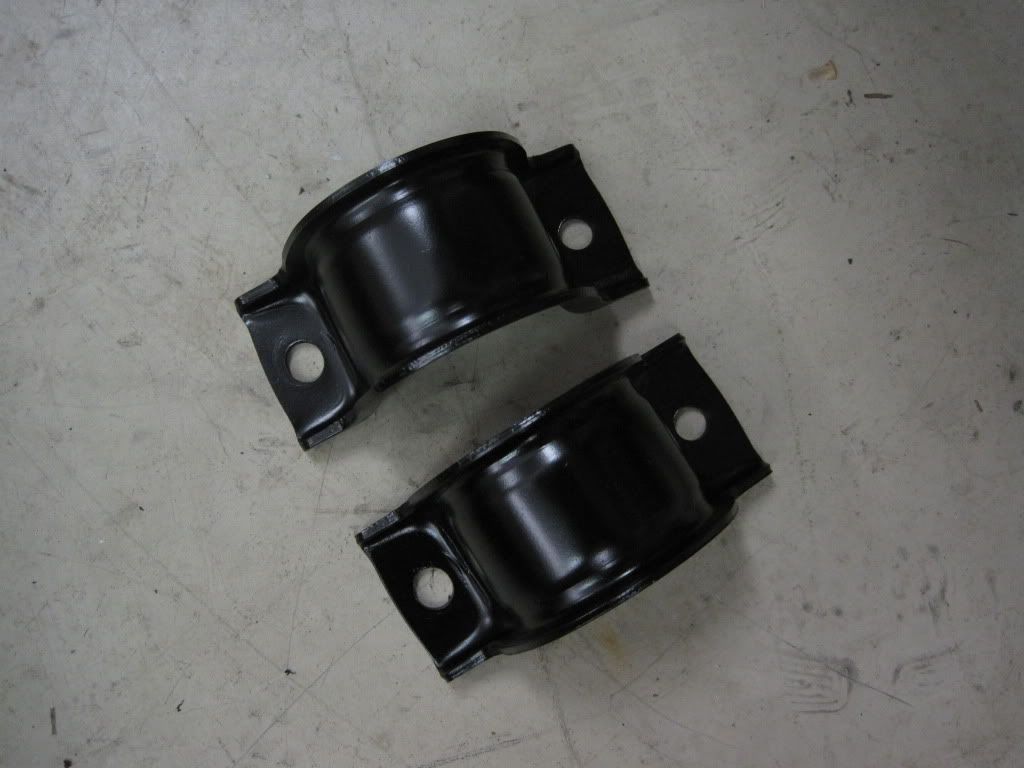
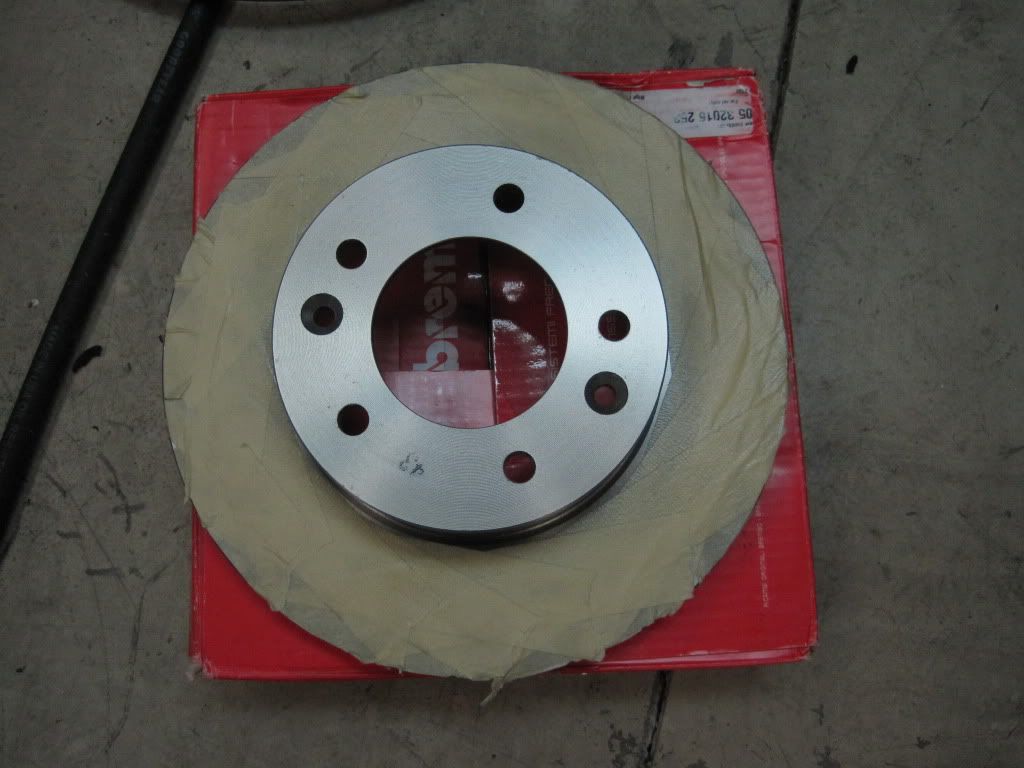
The brake calipers, control arm brackets, and brake rotors have all been painted and prepped. The brake rotors just got a couple of coats of hi-temp clear on the hat and around the circumference inside the vented portion.
The S4 endlinks were cleaned up (old bushing removal was a PITA) and painted and new bushings were pressed in:
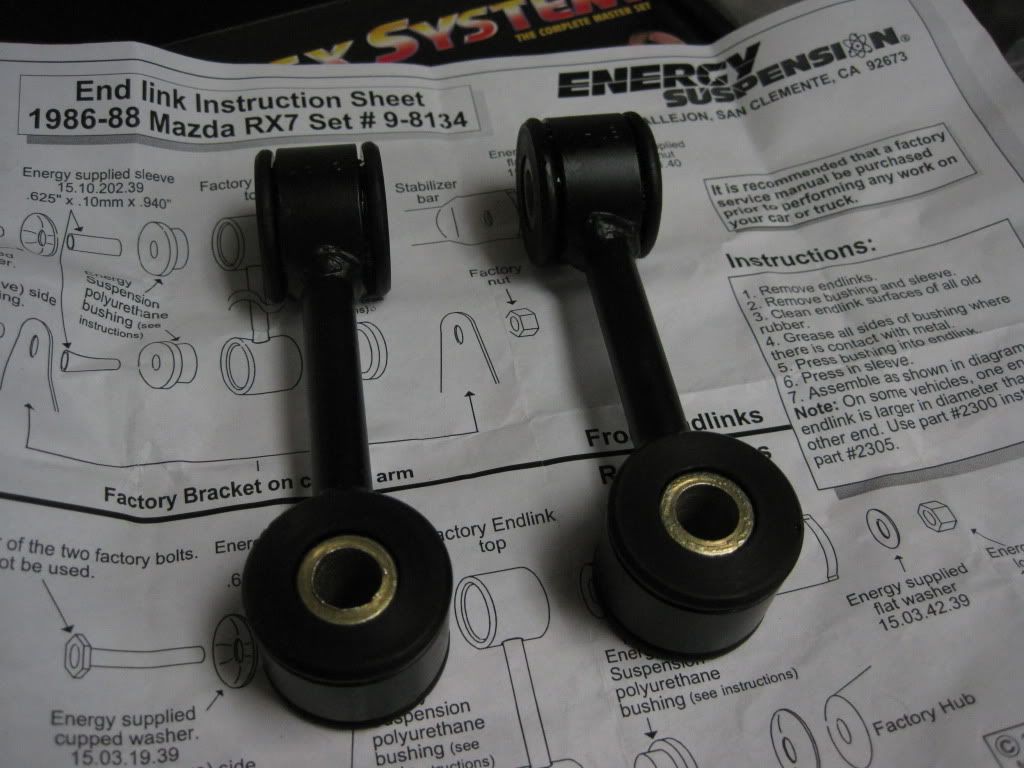
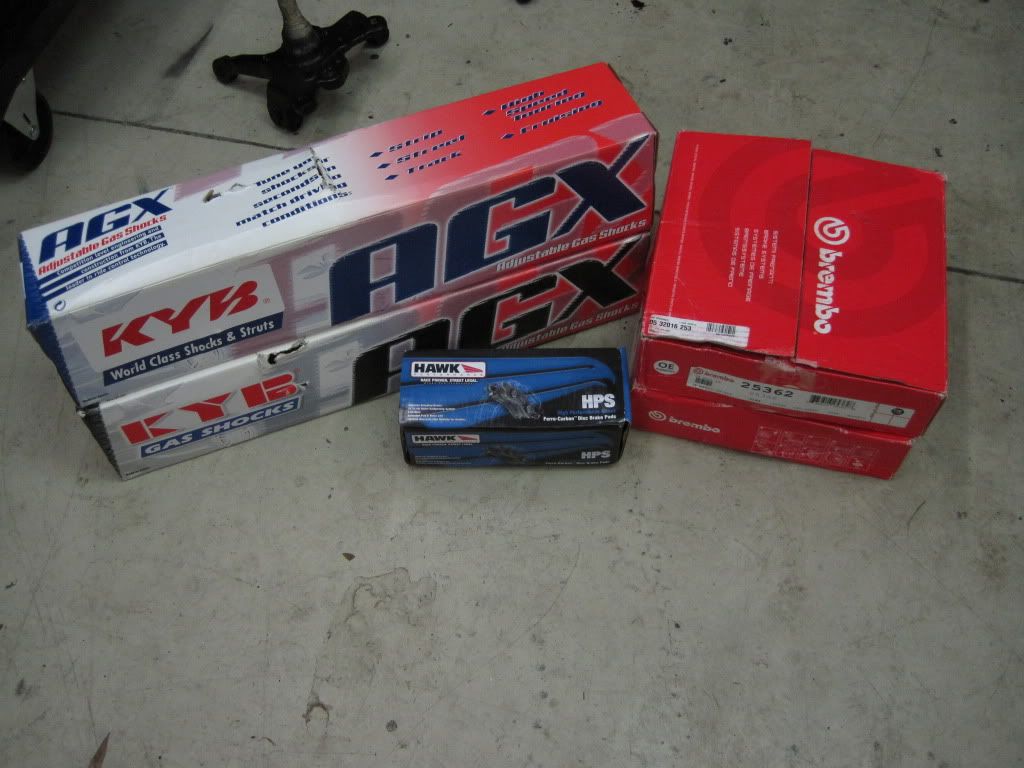
And today's delivery to complete the front suspension:
The S4 endlinks were cleaned up (old bushing removal was a PITA) and painted and new bushings were pressed in:
And today's delivery to complete the front suspension:
The following users liked this post:
B.slick (11-07-21)
07-29-11, 09:36 PM
#140
One last update for the week. I'm done working on the car for a few days as I need some time to recover before I have to go back to work - I'm beat!
The car is back on its wheels, after spending most of the week on stands - the passenger side has actually been on stands for almost four weeks, as disassembly of that corner happened earlier this month.
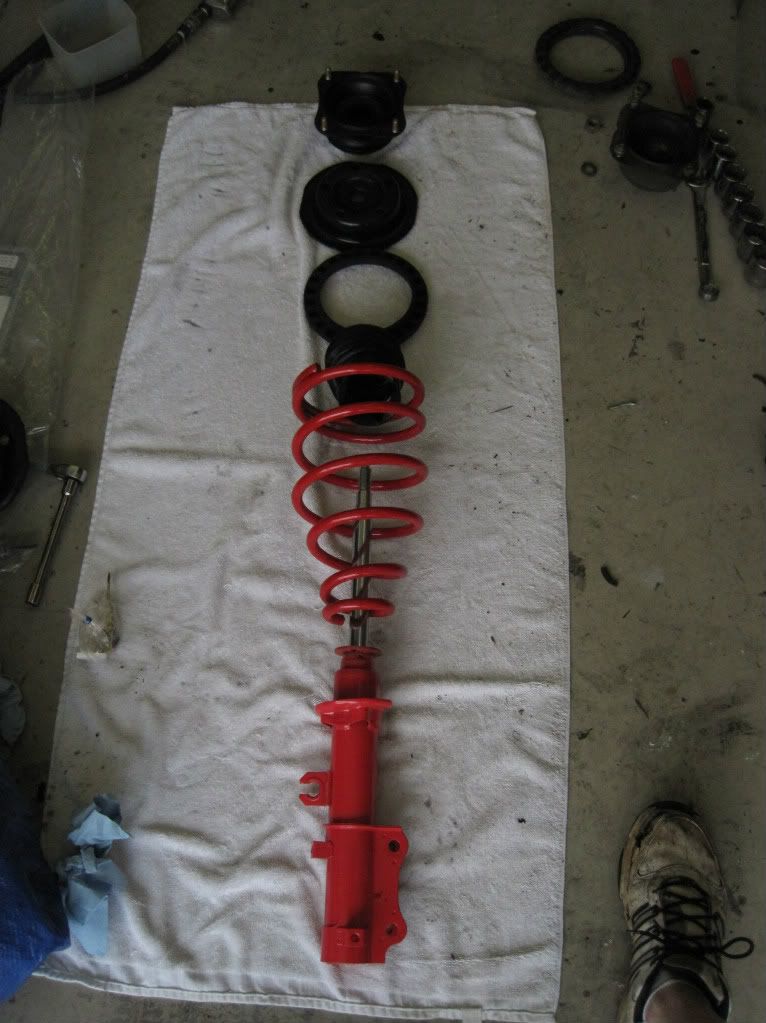
The old strut assembly needed to be disassembled, as two parts were needed, the boot, and the metal spring perch. Both items were cleaned up and reused. Renting of the spring compressor required trips to three different auto parts stores to finally find one that had it in stock. Given the fact that the spring compressor wasn't needed for reassembly of the new stuff, I almost wish we had used the dangerous cheater method.

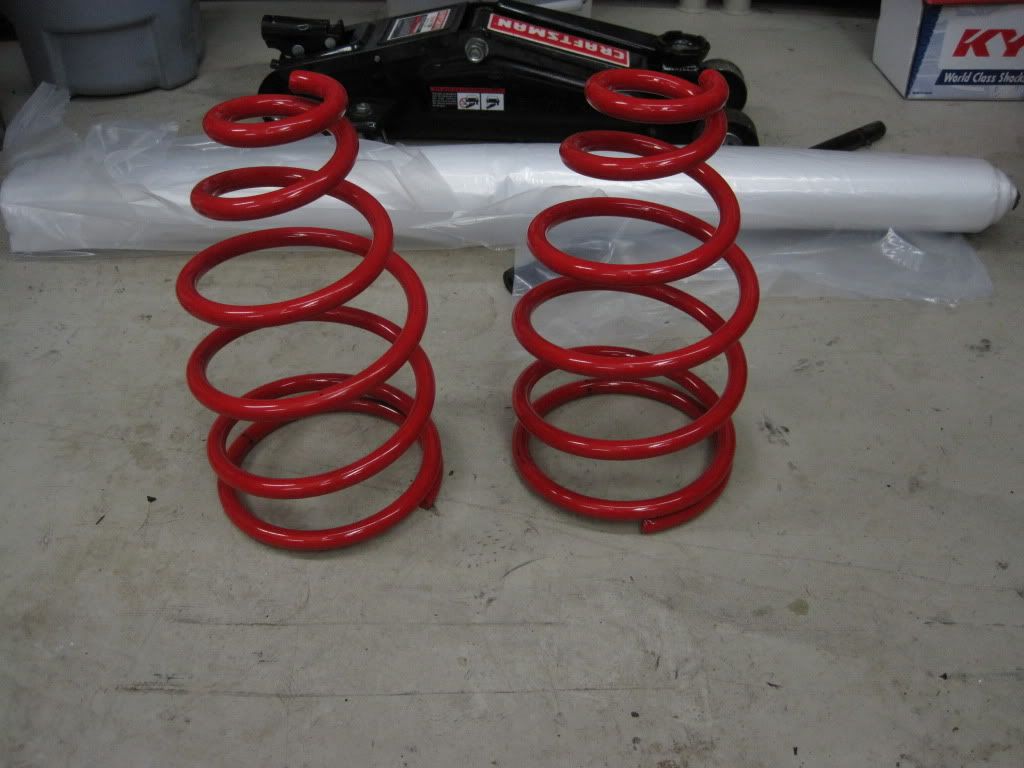
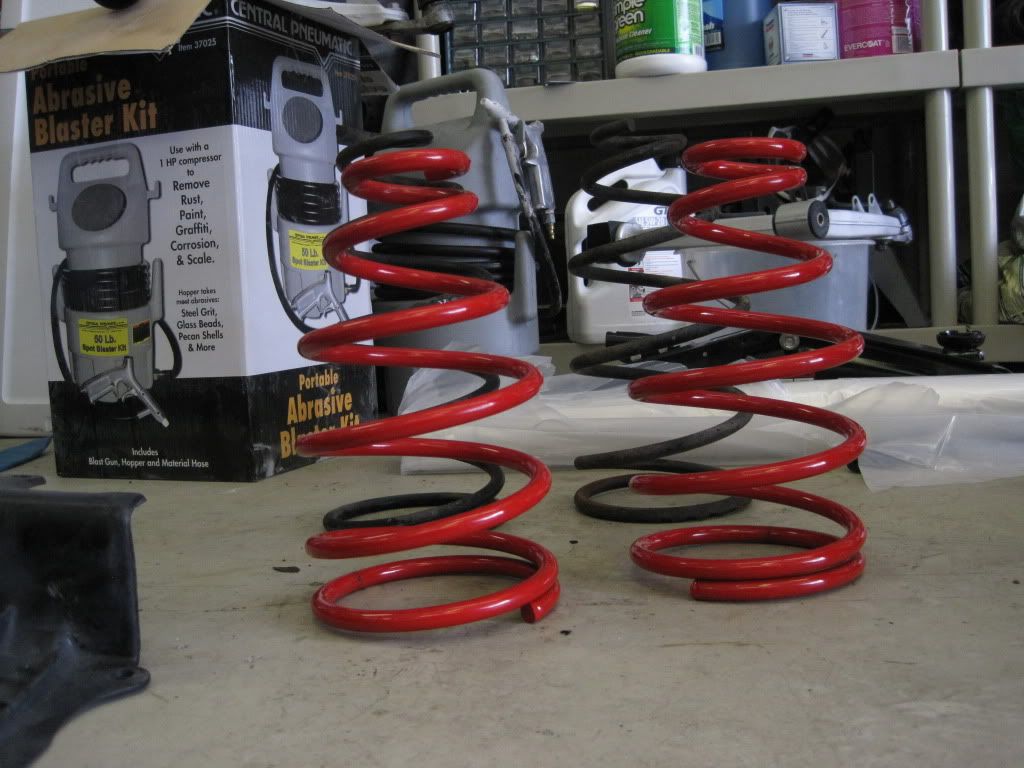
A quick comparison of the stock springs and the Racing Beat springs:
I managed to get new rubber spring seats with only a one day turnaround time from the local dealer to replace my dry rotting ones. New strut mounts were ordered from the parts store. They included the world's worst hardware. The nuts were a bear to get on, and we ended up taking them off and reusing the stock nuts. Here's the order of assembly of the strut "stack" with mostly new components:
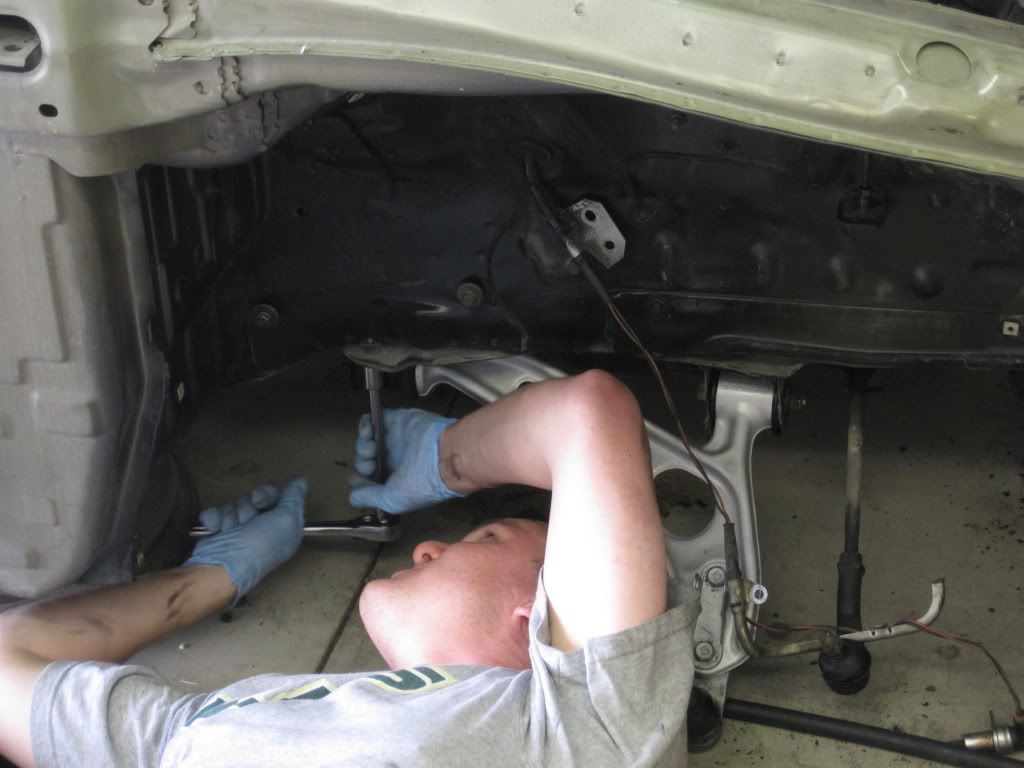
Things finally started going back in the car, here I am bolting in the cleaned up control arm with new poly bushings:
Almost there:
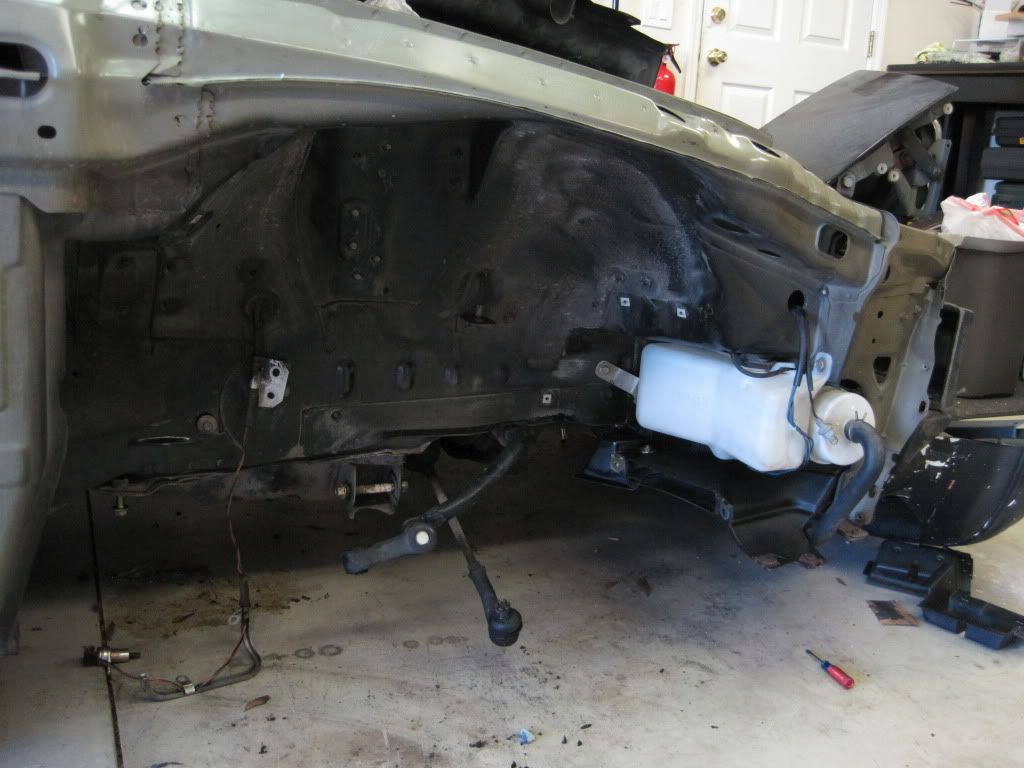
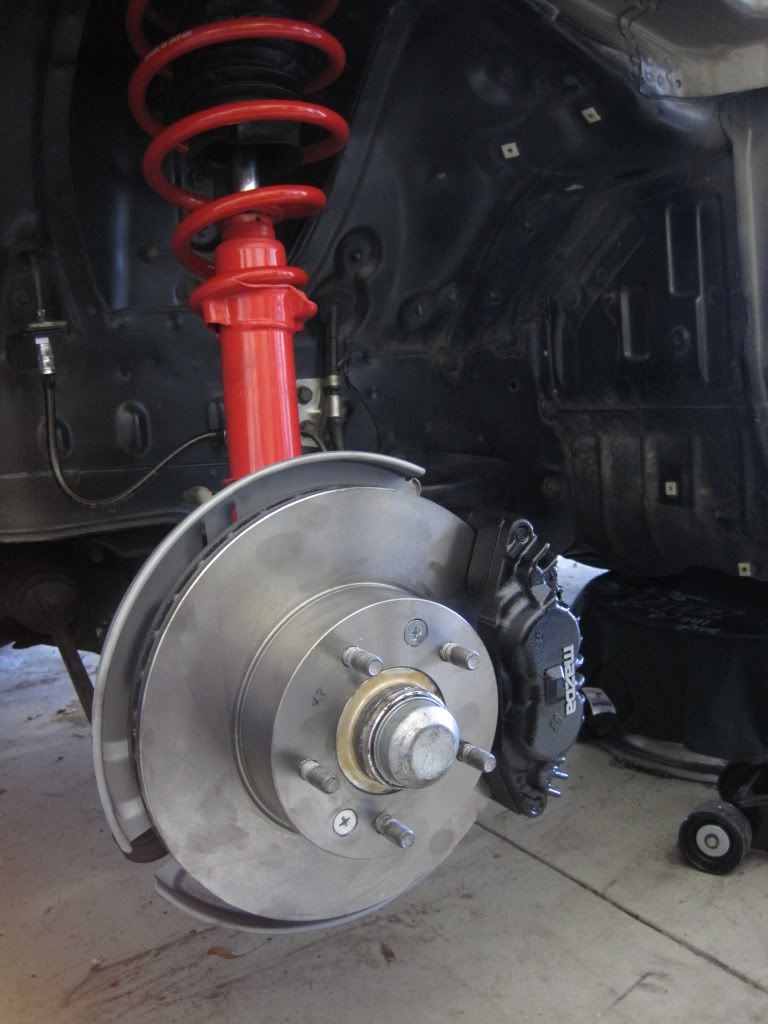
New stainless steel brake lines with a plastic coating were installed. The finished product on the right side:
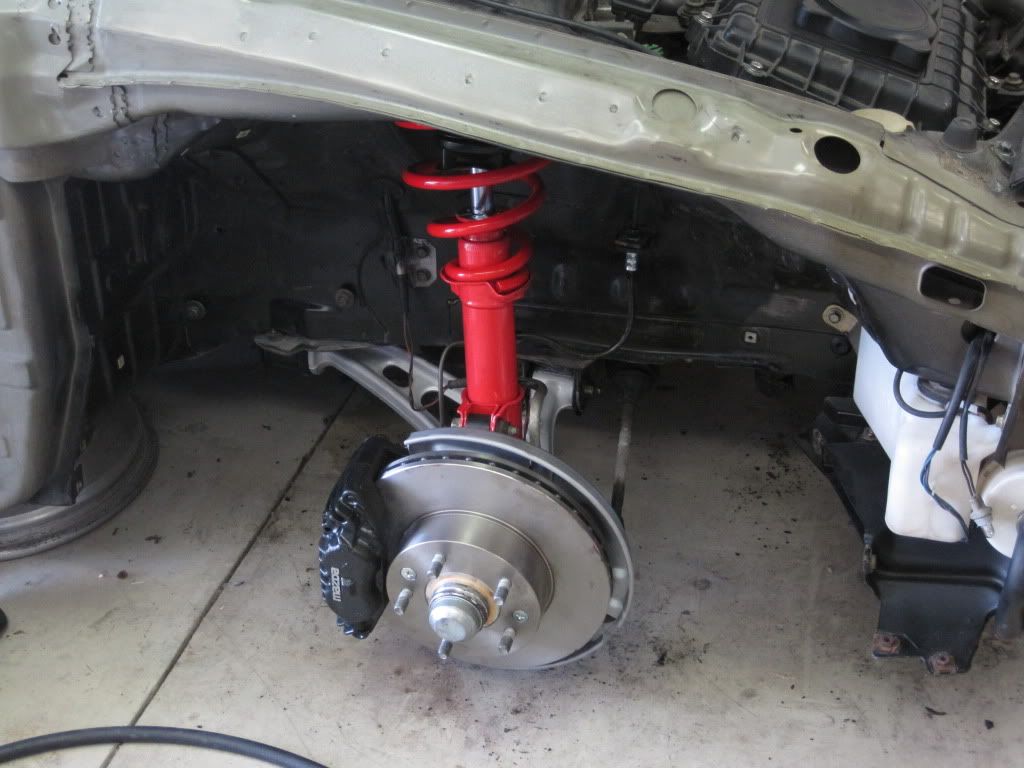
You may notice a lack of anti-roll bar. I will be replacing the stock one, so for now, I just removed the stock one and left the car without it. The outer tie rod boots and inner boots need replacing, but that will be done at a later date as well. Brake pads also haven't been put in yet and the system needs bleeding.
The other side:
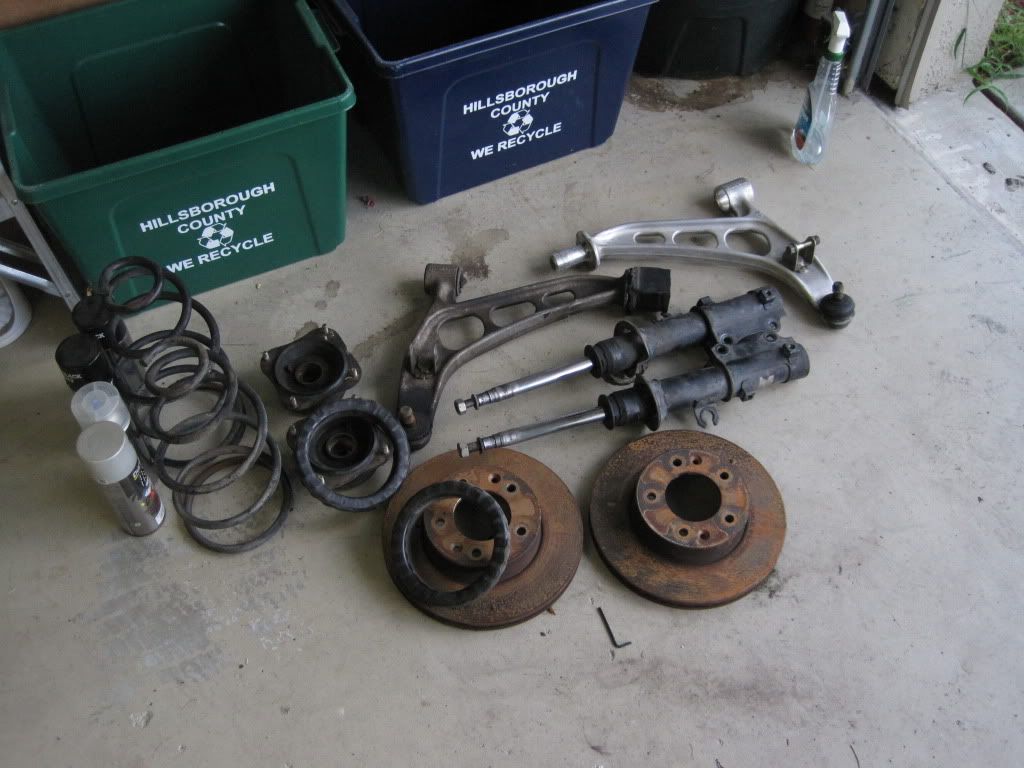
A big pile of junk - aside from maybe the control arms - somebody may find those useful. The ball joints felt good, but this was a good time to replace the arms and give myself some piece of mind down the road. The shocks were completely blown and could easily be compressed by hand.
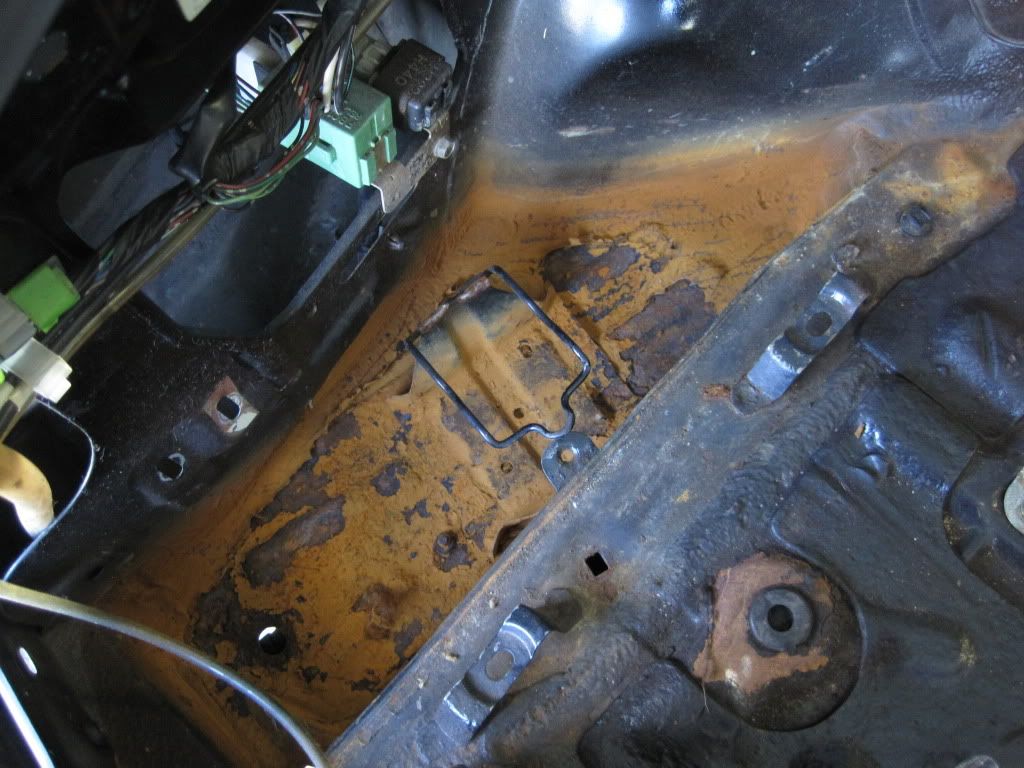
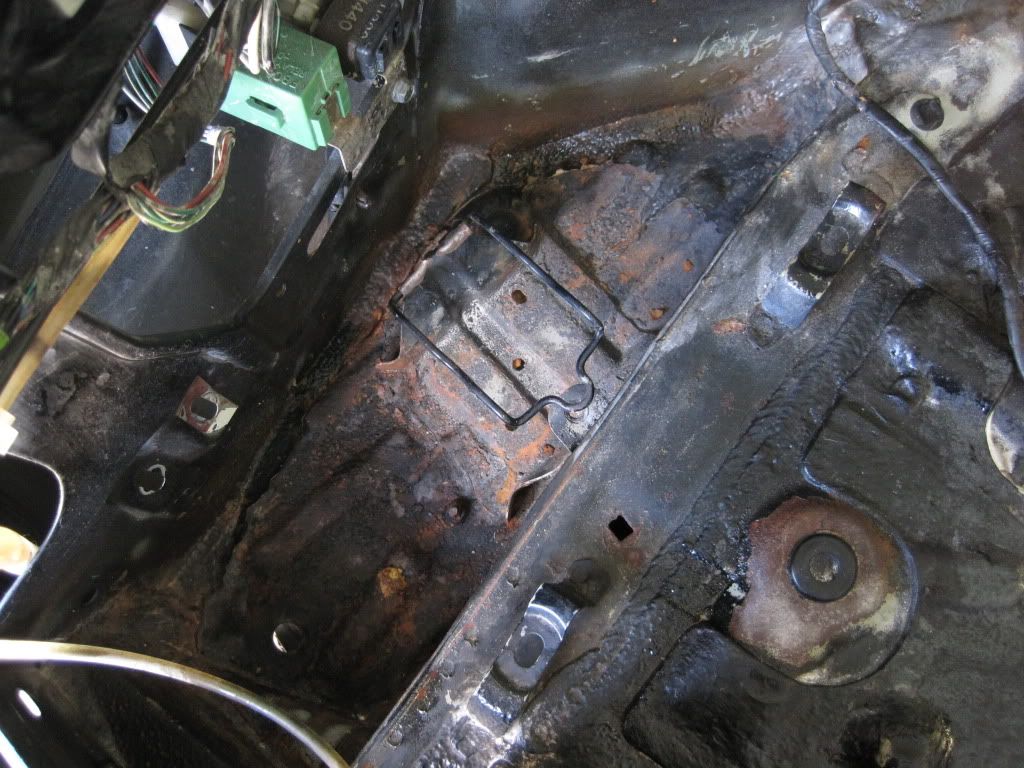
With the car finally back on its wheels, attention was briefly turned to the rust in the hatch. Some of it was rust, and some of it was rust particles clinging to undercoating, but a quick blast removed a lot of it.
Before:
After:
More work needs to be done in this area and down the left side of the interior to remove some trouble areas. Nothing looks bad, but it needs to be done. Once that is tidied up, I'll move onto the rear suspension and some body work. There's still lots of little tasks as well, but I moved a whole lot closer the past week.
The car is back on its wheels, after spending most of the week on stands - the passenger side has actually been on stands for almost four weeks, as disassembly of that corner happened earlier this month.
The old strut assembly needed to be disassembled, as two parts were needed, the boot, and the metal spring perch. Both items were cleaned up and reused. Renting of the spring compressor required trips to three different auto parts stores to finally find one that had it in stock. Given the fact that the spring compressor wasn't needed for reassembly of the new stuff, I almost wish we had used the dangerous cheater method.
A quick comparison of the stock springs and the Racing Beat springs:
I managed to get new rubber spring seats with only a one day turnaround time from the local dealer to replace my dry rotting ones. New strut mounts were ordered from the parts store. They included the world's worst hardware. The nuts were a bear to get on, and we ended up taking them off and reusing the stock nuts. Here's the order of assembly of the strut "stack" with mostly new components:
Things finally started going back in the car, here I am bolting in the cleaned up control arm with new poly bushings:
Almost there:
New stainless steel brake lines with a plastic coating were installed. The finished product on the right side:
You may notice a lack of anti-roll bar. I will be replacing the stock one, so for now, I just removed the stock one and left the car without it. The outer tie rod boots and inner boots need replacing, but that will be done at a later date as well. Brake pads also haven't been put in yet and the system needs bleeding.
The other side:
A big pile of junk - aside from maybe the control arms - somebody may find those useful. The ball joints felt good, but this was a good time to replace the arms and give myself some piece of mind down the road. The shocks were completely blown and could easily be compressed by hand.
With the car finally back on its wheels, attention was briefly turned to the rust in the hatch. Some of it was rust, and some of it was rust particles clinging to undercoating, but a quick blast removed a lot of it.
Before:
After:
More work needs to be done in this area and down the left side of the interior to remove some trouble areas. Nothing looks bad, but it needs to be done. Once that is tidied up, I'll move onto the rear suspension and some body work. There's still lots of little tasks as well, but I moved a whole lot closer the past week.
The following users liked this post:
B.slick (11-07-21)
08-01-11, 09:02 PM
#142
I think my engineered solution is just going to be not to let it clog again. In all seriousness, I think that's really the only thing that can be done. I wasn't very diligent about cleaning it when I first noticed it was clogged. There was a lot of crud inside the lip of the hatch at the top of the drain, and every time it rained that crud just kept clogging the line again.
When I was inside the car, I did notice an area that bothered me, that I really think shouldn't have rusted, but that will be for another update. As of now, I'm taking a week off from the car. I need to gather up all the duplicates and extras I have and sell some off or junk it if it isn't worth saving. Too much stuff in the garage is getting in the way of progress.
When I was inside the car, I did notice an area that bothered me, that I really think shouldn't have rusted, but that will be for another update. As of now, I'm taking a week off from the car. I need to gather up all the duplicates and extras I have and sell some off or junk it if it isn't worth saving. Too much stuff in the garage is getting in the way of progress.
08-01-11, 09:38 PM
#143
Did you have any difficulty putting the rear mounting bracket of the front control arm on? With the bracket over the new bushing, the holes on mine didn't quite line up. I had to push against it to get the bolts started. I got them both on, but it doesn't look 100% flush.
08-02-11, 07:32 AM
#144
I absolutely could not start them by hand. I had to use a socket, extension and ratchet to get the bolts started for the rear bracket. After that it seemed fairly easy and I didn't notice any crookedness to the bracket once it was on. It took a good amount of torque, as that new bushing has no give in it.
08-02-11, 08:02 AM
#145
i just changed mine and experienced the same thing you guys are talking about. i found it easier to not put the front LCA bolt in, get the rear bracket on by wiggling the arm around and then it should straighten out most of the way.
wish you had posted this 3 weeks ago when i decided to do mine...and i wish i could have cleaned up the arms...they look great!
I also have the KYB AGX's , though I have some eibach progressive style springs. it has a great feel to it!
wish you had posted this 3 weeks ago when i decided to do mine...and i wish i could have cleaned up the arms...they look great!
I also have the KYB AGX's , though I have some eibach progressive style springs. it has a great feel to it!
12-27-11, 04:22 PM
#148
Well, well, well....
It's been quite literally almost five months since I have touched the car. Life, as usual, gets in the way, but I have no complaints. My son is exactly one year and one week old today. Pretty incredible that time has gone by so fast. Christmas was good to the RX-7, as lots of new parts have arrived. The OEM collection is nearing completion. Parts for the rear suspension and brakes will soon be ordered and I will begin disassembly of the old stuff and reinstallation with new components.
I have no time schedule anymore, but I did mention to my wife it will be finished "in around a year". So, we'll see. I keep telling myself I'm closer than I think, but there's still the matter of seats, all that body work, a quality paint job, and of course, getting the engine running again after what will be certainly at least three years of non-use at that point.
 12-27-11, 08:52 PM
#150
Senior Member
iTrader: (12)
Join Date: Jul 2007
Location: New Jersey
Posts: 511
Likes: 0
Received 0 Likes
on
0 Posts
Absolutely. There's a lot of things I've been meaning to do that have already been addressed on here. Though I'm not cut out for any sort of full restoration, I can definitely appreciate this.
Let's be real here guys lol ...the majority of us (even if given all the time we needed) wouldn't have the diligence and motivation to take this much attention to detail. Cant imagine finding a way to do this if I eventually get married and have kids.
Awesome job, Jerry. Don't lose momentum on this. Subscribed