
Flash To Pass Lenses, How Do I Clean them anyone

Flash To Pass Lenses, How Do I Clean them anyone
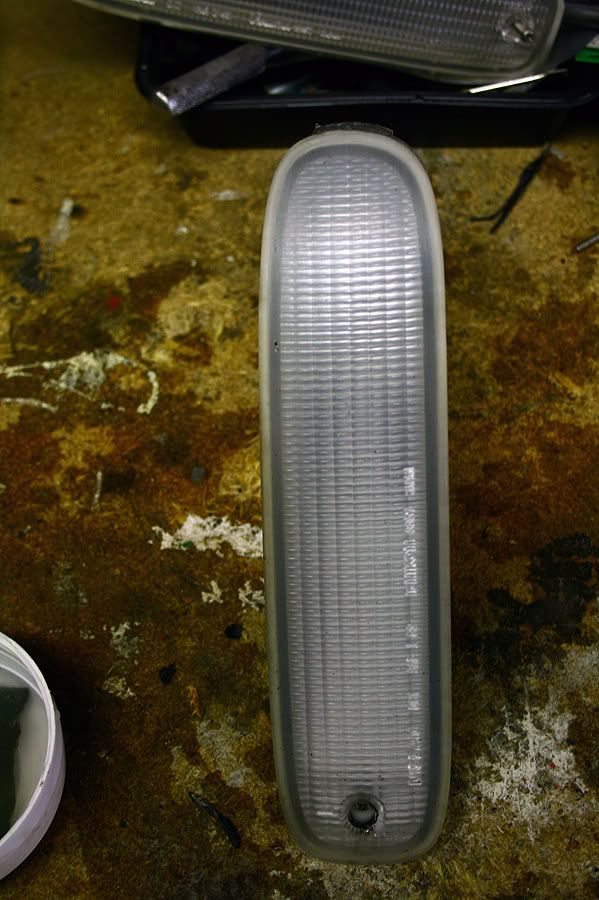
so i would like to know people's insight on how to clean the FTP's to make them look all shiny and nice anyone???
i would greatly appreciate people insight on their methods they use?
i would greatly appreciate people insight on their methods they use?


hmmm well what do you think i can do in this situation
my uncle said to use brake cleaner
and well i decided to try it
and it dried up the plastic nasty
and it ate up the surrounding plastic on one of the bolts on the ftp
so what do you guys suggest i do
trash them? or just try to fix them by cleaning them the right way?
and well i decided to try it
and it dried up the plastic nasty
and it ate up the surrounding plastic on one of the bolts on the ftp
so what do you guys suggest i do
trash them? or just try to fix them by cleaning them the right way?
Joined: Apr 2005
Posts: 3,785
Likes: 30
From: And the horse he rode in on...

i got a pair from the junk yard... get some fine grit sand paper and go over it... then rinse, go over it wiht toothpaste *toothpaste is a polish* ... rinse, then some plastic polish = pimpage.
Trending Topics

I fix planes...
Joined: Jan 2004
Posts: 559
Likes: 0
From: Murica
If its not too bad the plastix or whatever it is will work fine also, or just some polishing compound.
Jpk3200
Joined: Oct 2006
Posts: 824
Likes: 0
From: San Antonio, TX
Originally Posted by 87 t-66
there is a good link on the rotorwiki site
http://www.rotorwiki.com/index.php/Lense_Restoration
restoration
thanks a ton guys
rotorwiki helped out a ton
so did your guys suggestions
and i didnt even know you could clean up the fogs thats a big plus thanks
guys
ill see if i can restore these if not i have another pair thanks guys
rotorwiki helped out a ton
so did your guys suggestions
and i didnt even know you could clean up the fogs thats a big plus thanks
guys
ill see if i can restore these if not i have another pair thanks guys
Sin City 7
Joined: Nov 2008
Posts: 17
Likes: 0
From: Sin City
Play Well
Joined: Feb 2005
Posts: 4,218
Likes: 0
From: We're all fine here now, thank you. How are you?
***** please
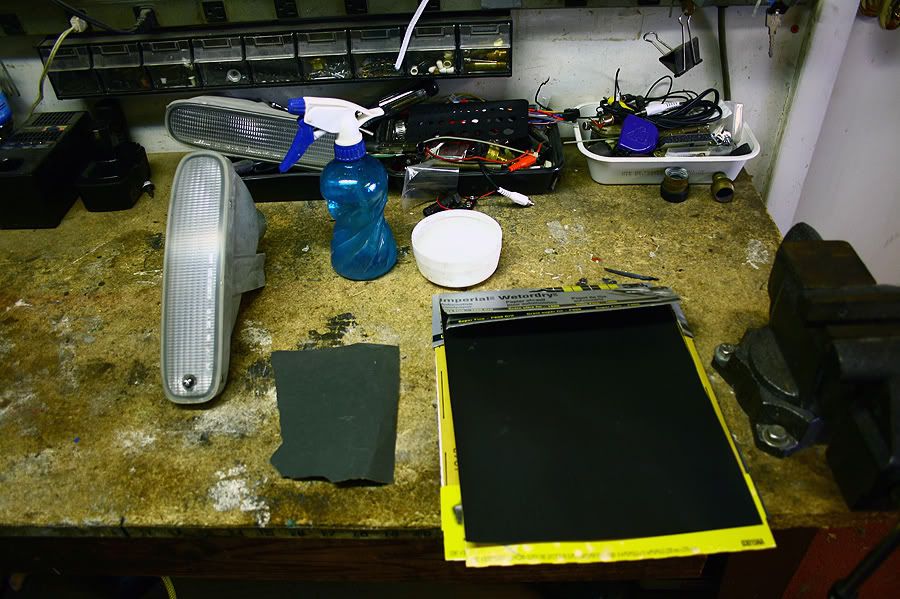
Items Required.
1 400 grit sandpaper
1 800 grit sandpaper
1 1000 grit sandpaper
(You can go all the way up to 2500grit. But 1000 gives me the oem i want)
1 Cup
1 Spray bottle or hose/sink
3 bottles:
Clear plastic cleaner
Plastic scratch remover
Plastic Polisher.
And some Patience.
Now, GO GO GO!
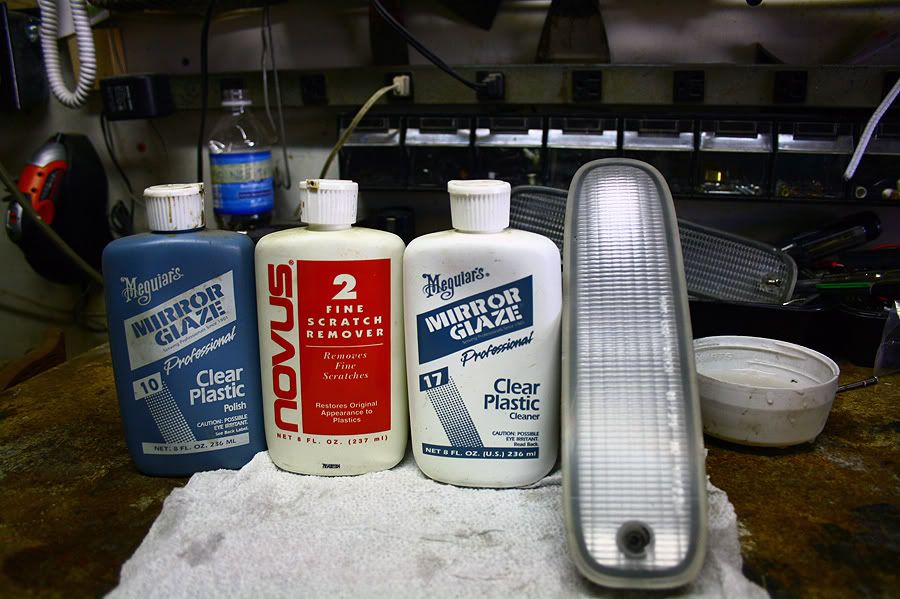
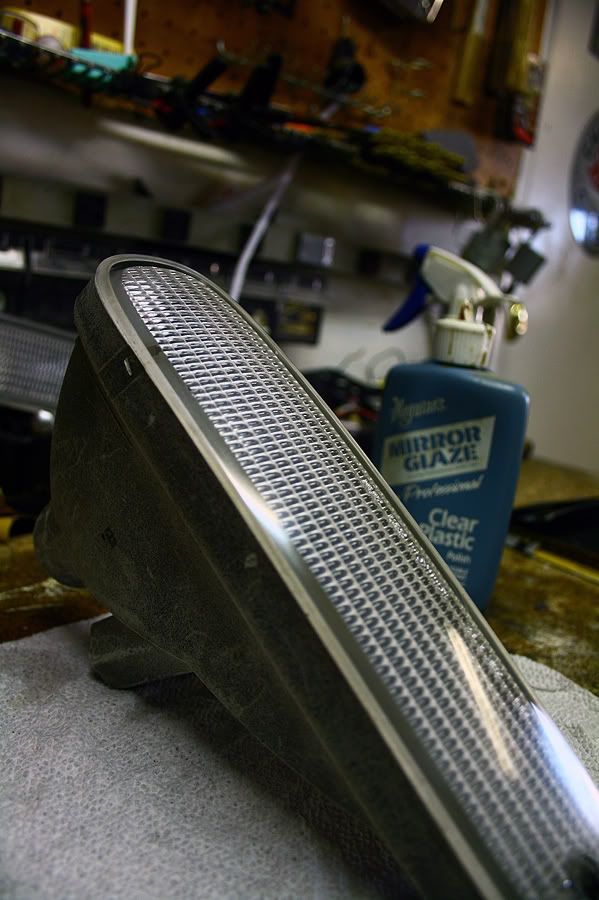
Pictured below is the items you will need to start your wet sanding.
First, You will want to fill your cup up with water, Doesn't really matter just fill it up. Take a square piece of your 400 grit sand paper, Soak it in the water for a few seconds.
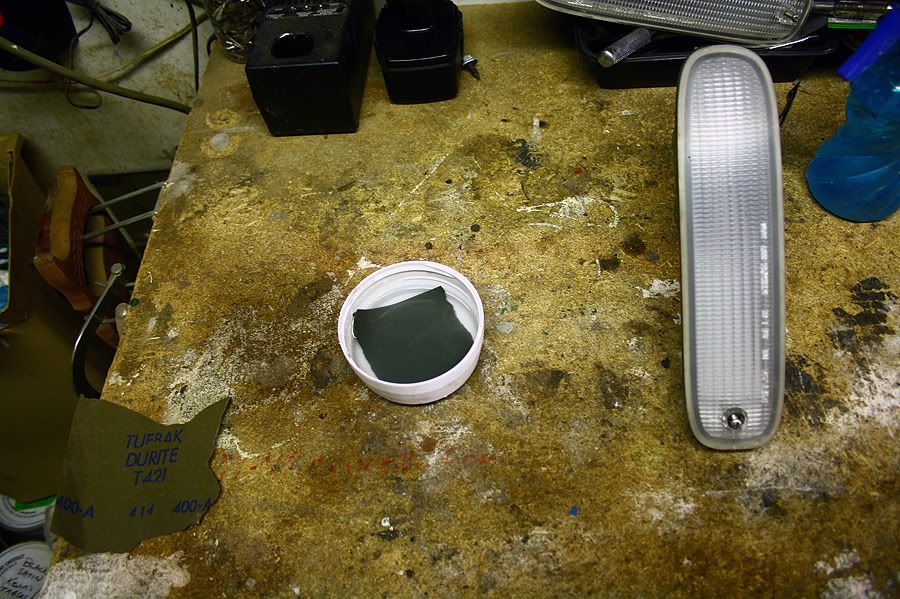
Now Spray your headlight with your water bottle or hose what ever you are using. You always want to keep your headlight and your sandpaper wet AT ALL TIMES!
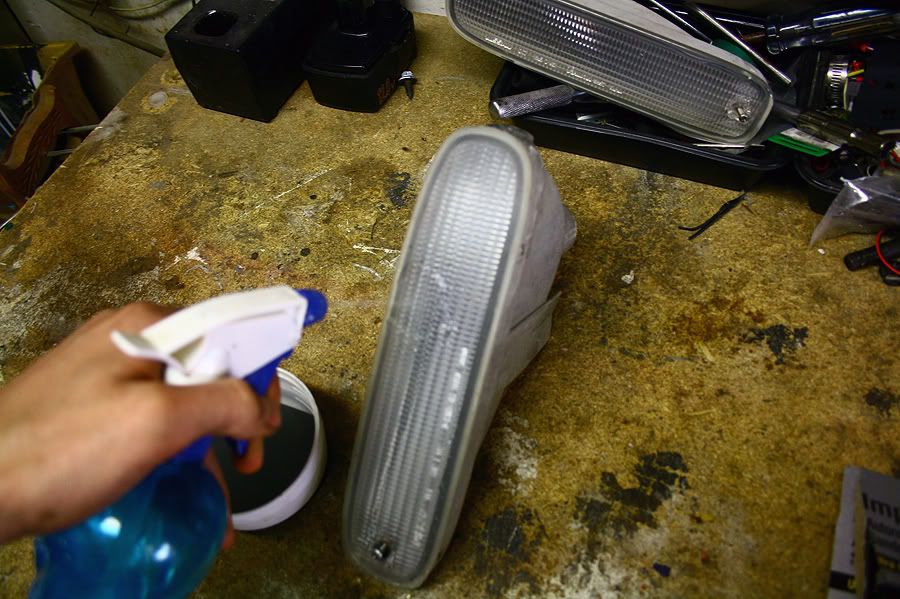
Now, Using your sandpaper, only apply the weight of your hand. More than this and you can risk scratching it more than you want. Go over the whole headlight. Keep the cup full of water so that you can periodically dunk your sand paper in the water to keep it wet, And keep your headlight wet. This is what it looks like with the 400 grit sand paper, I did two coats to make sure I got everything sanded.
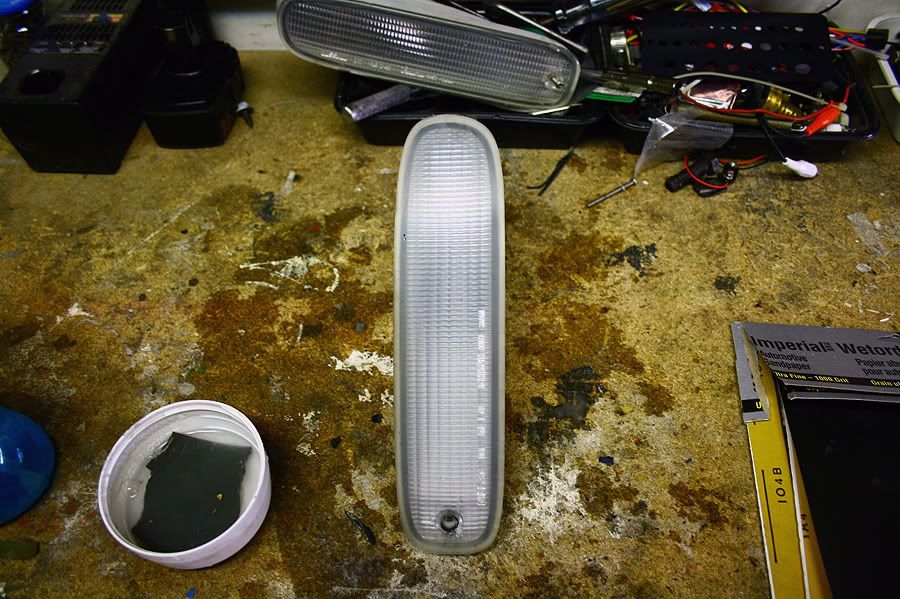
Now take your 800 grit sand paper, put it in the cup of water and let it soak for a few seconds, Remember to keep your headlight wet! Take the 800 grit and go over the whole headlight making sure you've sanded EVERY PART. Periodically dunk your 800 grit in the water to get the stuff that you're sanding off of the sand paper. Your water will turn a cloudy white, That's good. That means that you are getting all of the dirt and grime that is fogging up your headlight off. Go over more than once with the 800 and remember to keep both headlight and sandpaper wet.
Now take your 1000 grit sandpaper, And put it in the cup and let soak for a few seconds. Remember! Keep your headlight wet. Go over the whole area with your 1000grit sand paper and make sure you remember to keep it wet at all times.
Now comes the fun part
Go to your local Hardware store // Autozone // Auto parts store and look for Clear plastic cleaners, Scratch removers, and polishers. I used the ones pictured below, Because I had these laying around from when I used to make model cars.
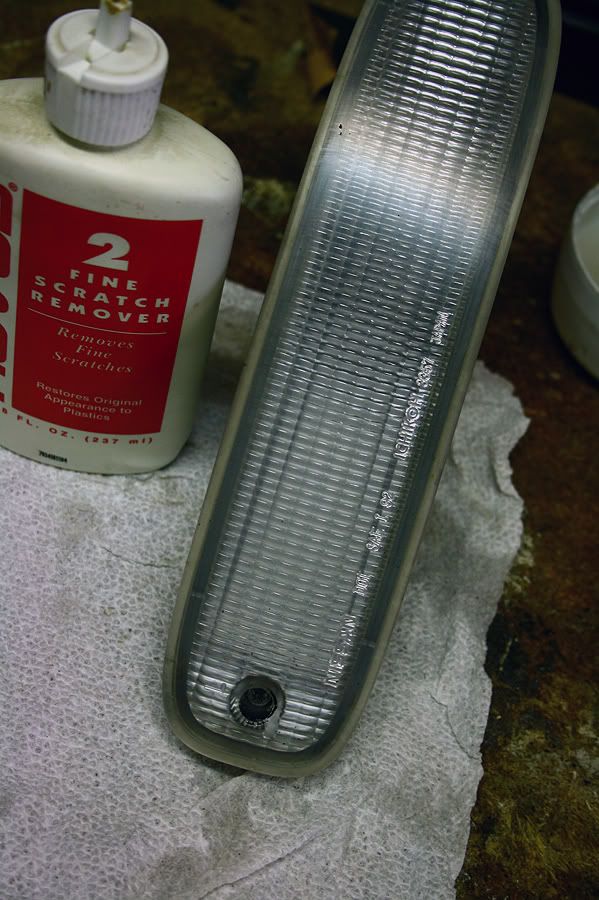
Take your scratch remover and with a soft terry cloth rag, Spray a liberal amount of scratch remover on the entire headlight, Using the terry cloth, Spread the remover around the whole area untill it starts to disappear. Take a clean part of the cloth, And buff out the whole headlight.
To get an even cleaner look, Repeat the process more than 2 times. I did 4 times.
Now take your Clear plastic Cleaner and spray a liberal amount of Cleaner on the entire headlight, Using the terry cloth, Spread the cleaner around untill it starts to disappear. take a clean part of the cloth and buff out the whole entire headlight.
Repeat process. ( I did 4)
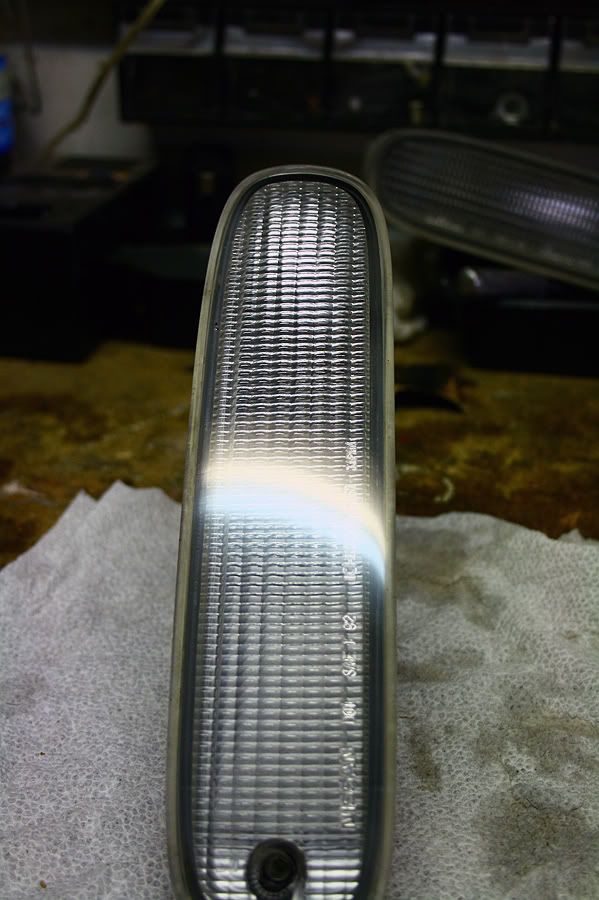
Now take your Clear plastic polish and spray a liberal amount all over the entire headlight, Using the cloth spread the polish around with a sufficent amount of pressure around the entire headlight untill it starts to disappear, Take a clean part of the cloth, and buff it out. Repeat the process untill you get the look you are going for. (I once again, Did it 4 times.)
Items Required.
1 400 grit sandpaper
1 800 grit sandpaper
1 1000 grit sandpaper
(You can go all the way up to 2500grit. But 1000 gives me the oem i want)
1 Cup
1 Spray bottle or hose/sink
3 bottles:
Clear plastic cleaner
Plastic scratch remover
Plastic Polisher.
And some Patience.
Now, GO GO GO!
Pictured below is the items you will need to start your wet sanding.
First, You will want to fill your cup up with water, Doesn't really matter just fill it up. Take a square piece of your 400 grit sand paper, Soak it in the water for a few seconds.
Now Spray your headlight with your water bottle or hose what ever you are using. You always want to keep your headlight and your sandpaper wet AT ALL TIMES!
Now, Using your sandpaper, only apply the weight of your hand. More than this and you can risk scratching it more than you want. Go over the whole headlight. Keep the cup full of water so that you can periodically dunk your sand paper in the water to keep it wet, And keep your headlight wet. This is what it looks like with the 400 grit sand paper, I did two coats to make sure I got everything sanded.
Now take your 800 grit sand paper, put it in the cup of water and let it soak for a few seconds, Remember to keep your headlight wet! Take the 800 grit and go over the whole headlight making sure you've sanded EVERY PART. Periodically dunk your 800 grit in the water to get the stuff that you're sanding off of the sand paper. Your water will turn a cloudy white, That's good. That means that you are getting all of the dirt and grime that is fogging up your headlight off. Go over more than once with the 800 and remember to keep both headlight and sandpaper wet.
Now take your 1000 grit sandpaper, And put it in the cup and let soak for a few seconds. Remember! Keep your headlight wet. Go over the whole area with your 1000grit sand paper and make sure you remember to keep it wet at all times.
Now comes the fun part
Go to your local Hardware store // Autozone // Auto parts store and look for Clear plastic cleaners, Scratch removers, and polishers. I used the ones pictured below, Because I had these laying around from when I used to make model cars.
Take your scratch remover and with a soft terry cloth rag, Spray a liberal amount of scratch remover on the entire headlight, Using the terry cloth, Spread the remover around the whole area untill it starts to disappear. Take a clean part of the cloth, And buff out the whole headlight.
To get an even cleaner look, Repeat the process more than 2 times. I did 4 times.
Now take your Clear plastic Cleaner and spray a liberal amount of Cleaner on the entire headlight, Using the terry cloth, Spread the cleaner around untill it starts to disappear. take a clean part of the cloth and buff out the whole entire headlight.
Repeat process. ( I did 4)
Now take your Clear plastic polish and spray a liberal amount all over the entire headlight, Using the cloth spread the polish around with a sufficent amount of pressure around the entire headlight untill it starts to disappear, Take a clean part of the cloth, and buff it out. Repeat the process untill you get the look you are going for. (I once again, Did it 4 times.)

I did my headlights using the sandpaper/polish method. I block sanded with 1000 grit and then 1500 grit, wet ofcourse and then laid on the polish. When you wet sand with the 1500, you can see how clear they will look finished as you rinse off all the sanding waste.
Power buffer pwns doing it by hand. I did mine by hand and it f-ing sucked. Then my mom and my girlfriend promptly insisted i do theirs.
Would i do it again, yeah but with a powerball.
Power buffer pwns doing it by hand. I did mine by hand and it f-ing sucked. Then my mom and my girlfriend promptly insisted i do theirs.
Would i do it again, yeah but with a powerball.
Play Well
Joined: Feb 2005
Posts: 4,218
Likes: 0
From: We're all fine here now, thank you. How are you?
Yep same deal with the tails. I took alot of extra time on mine, and when they are fully polished along with the S5 modernization to the tails they look awesome. So clear and shiny. If I can remember I will stop by the storage building and take a couple of pics of the ones on my street car.
Sin City 7
Joined: Nov 2008
Posts: 17
Likes: 0
From: Sin City

Thread
Thread Starter
Forum
Replies
Last Post
[For Sale] Scratch & Dent, Used, and Open-Box Sale!
SakeBomb Garage
Vendor Classifieds
5
Aug 9, 2018 05:54 PM
rx8volks
Canadian Forum
0
Sep 1, 2015 11:02 PM