
DIY Fog Light Tint

Thread Starter
Full Member
Joined: Jul 2013
Posts: 217
Likes: 0
From: Vriginia,
DIY Fog Light Tint
What's up guys&gals so I had some free time this weekend. And I decided to tint my fog lights. I always like the "JDM style" yellow fog but rather then spend the money of buying yellow fog lamps thought it be more fun to paint them. So here goes
1 REMOVE BUMPER(you can paint the fogs while still on the car but I chose to remove lamps from the body)
- after removing lamps from body
2 /OPTIONAL WET SAND(mines had a few rock chips the surface of the lamps had become a little rough so with hot water and 2000 grit)
3 CLEAN( I cleaned the fogs with Purple Power which you can get almost anywhere , and just to be on the safe side I used some glass cleaner as well any glass cleaner would work I imagine but in this instance I used Griots)
4 PAINT PREP(after lamps have been cleaned up as best as possible mask everything except for the lens. Then use a wax and grease remover or in this case Duplicolor prep wipe and wipe down with micro fiber towel)
4.5 OPTIONAL ADHESION PROMOTER ( now are lamps are ready for paint but if you want to go that extra mile on the prep I used some adhesion promoter
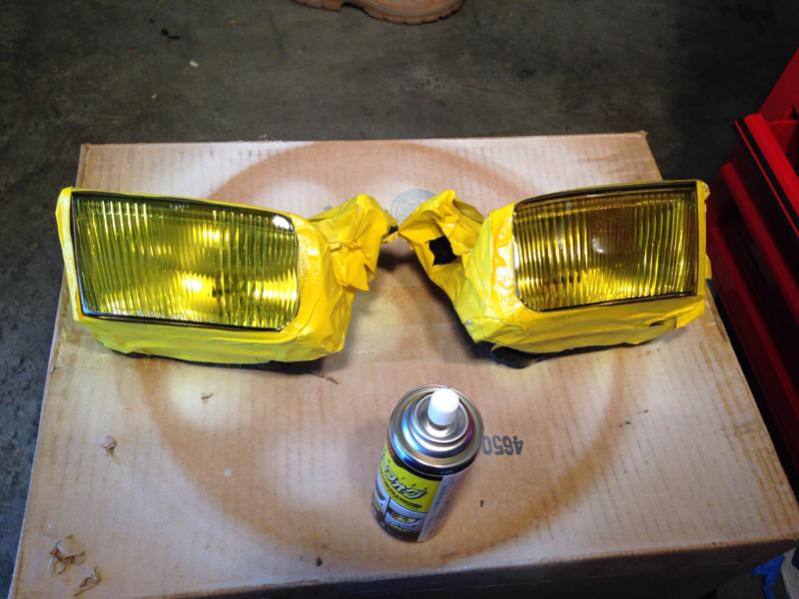
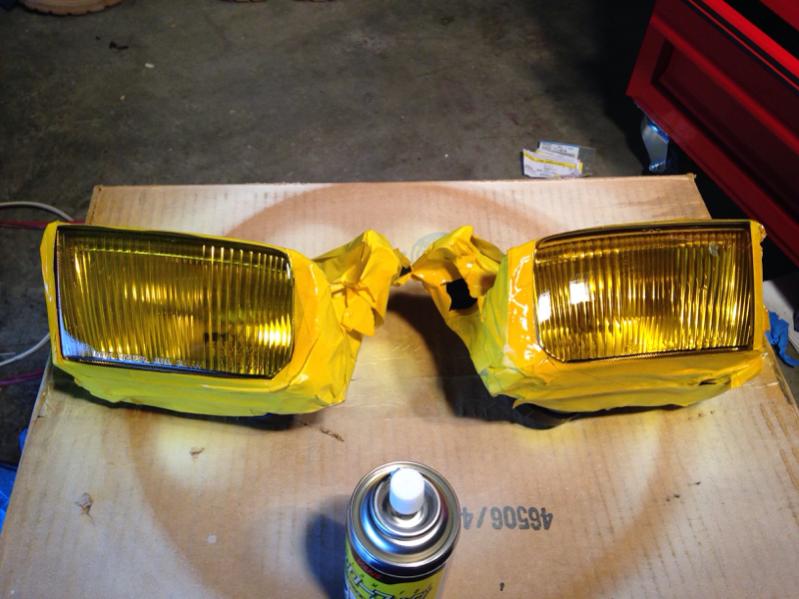
5 SPRAY TIME ( finally it's time to paint be sure hold the can 6-8 inches away while spraying nice solid and even lines. as far coats go that is up to you.)
*QUICK RECAP*
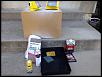
Materials
-Fog Lamps
-Purple Power Cleaner
-Glass Cleaner
-Micro Fiber Towels x3
-VANS JDM spray tint
-Duplicolor prep wipe
-Adhesion Promoter
-Acetone (if you know what your doing )
1 REMOVE BUMPER(you can paint the fogs while still on the car but I chose to remove lamps from the body)
- after removing lamps from body
2 /OPTIONAL WET SAND(mines had a few rock chips the surface of the lamps had become a little rough so with hot water and 2000 grit)
3 CLEAN( I cleaned the fogs with Purple Power which you can get almost anywhere , and just to be on the safe side I used some glass cleaner as well any glass cleaner would work I imagine but in this instance I used Griots)
4 PAINT PREP(after lamps have been cleaned up as best as possible mask everything except for the lens. Then use a wax and grease remover or in this case Duplicolor prep wipe and wipe down with micro fiber towel)
4.5 OPTIONAL ADHESION PROMOTER ( now are lamps are ready for paint but if you want to go that extra mile on the prep I used some adhesion promoter
5 SPRAY TIME
( finally it's time to paint be sure hold the can 6-8 inches away while spraying nice solid and even lines. as far coats go that is up to you.)*QUICK RECAP*
Materials
-Fog Lamps
-Purple Power Cleaner
-Glass Cleaner
-Micro Fiber Towels x3
-VANS JDM spray tint
-Duplicolor prep wipe
-Adhesion Promoter
-Acetone (if you know what your doing )
Thread Starter
Full Member
Joined: Jul 2013
Posts: 217
Likes: 0
From: Vriginia,
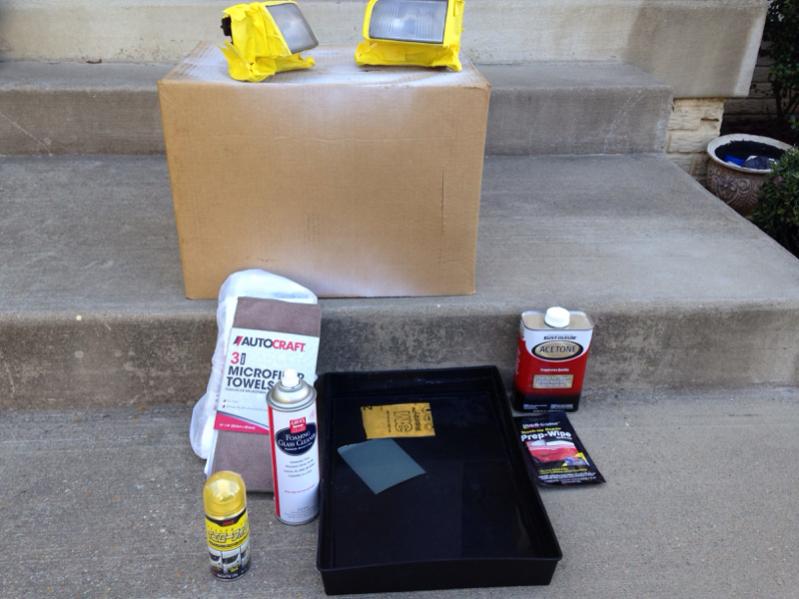
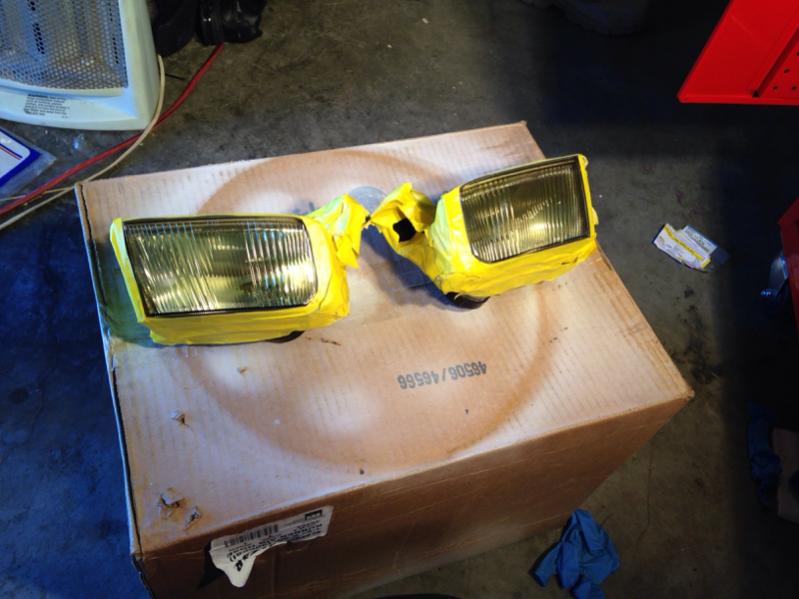
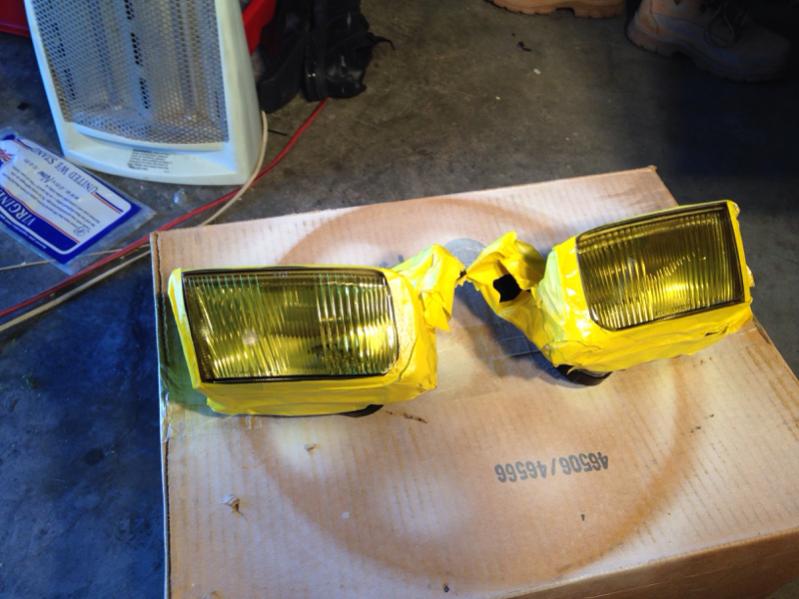
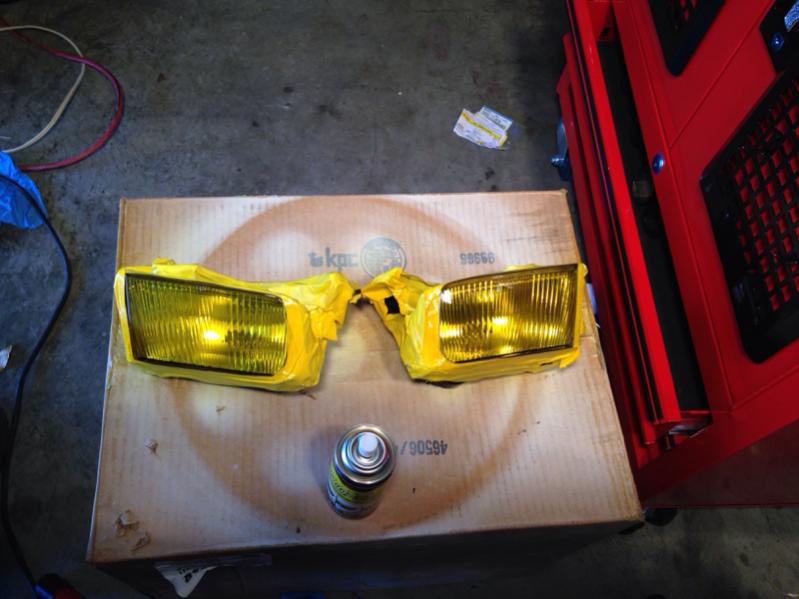
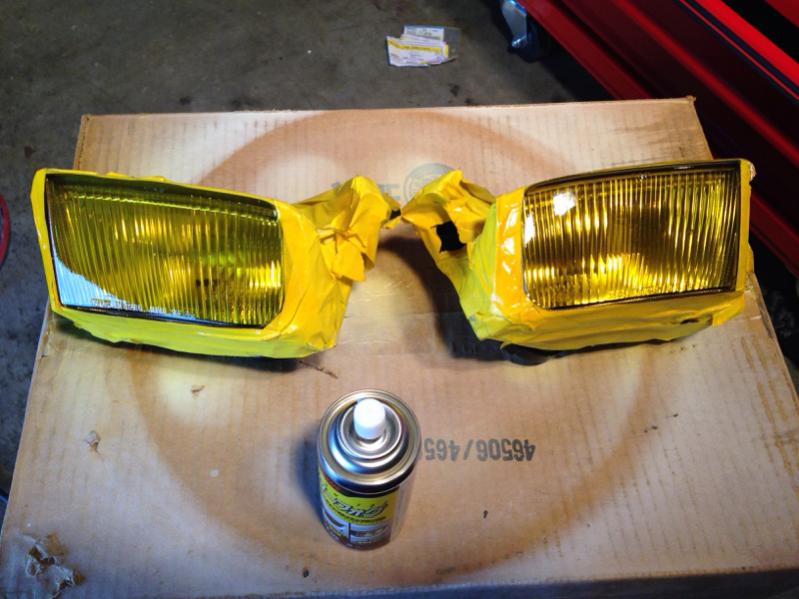
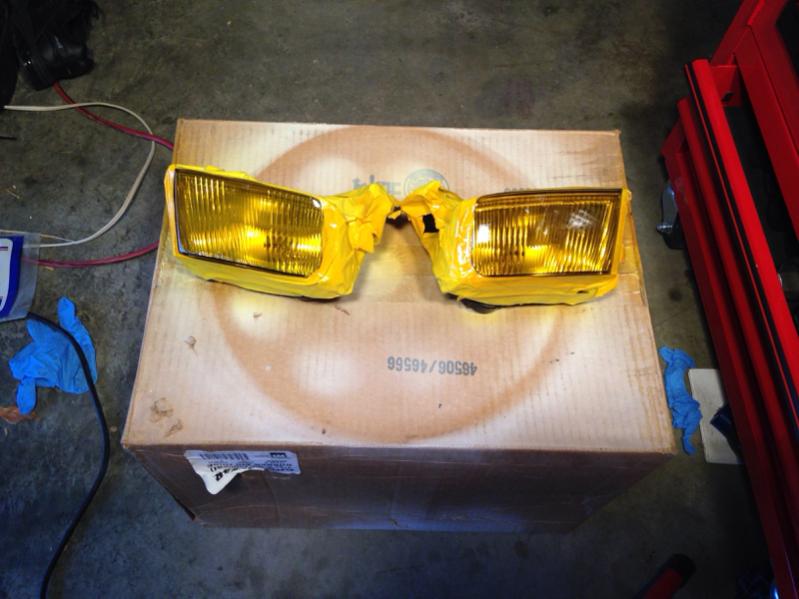
8th (final coat)

And there you have it nicely tinted JDM yellow Fogs. Now I'll let them dry overnight. And post pics I. The morning before I head to class.
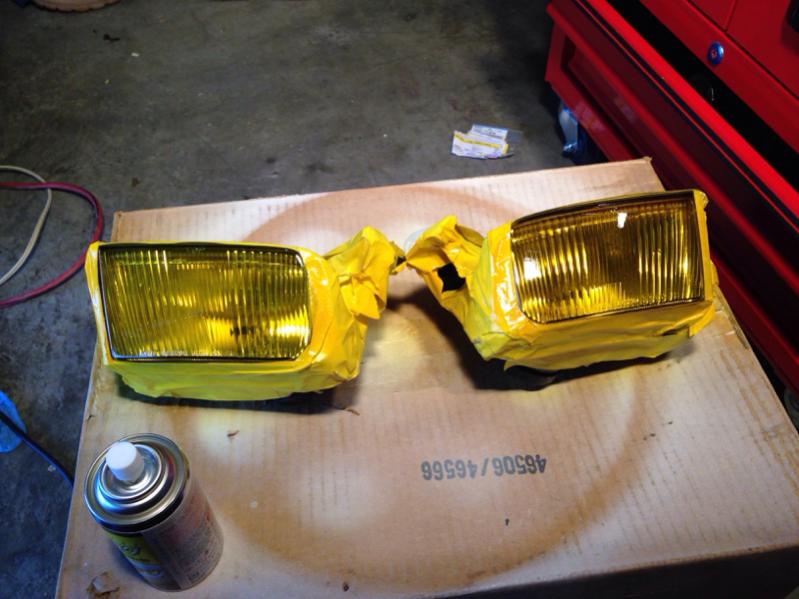
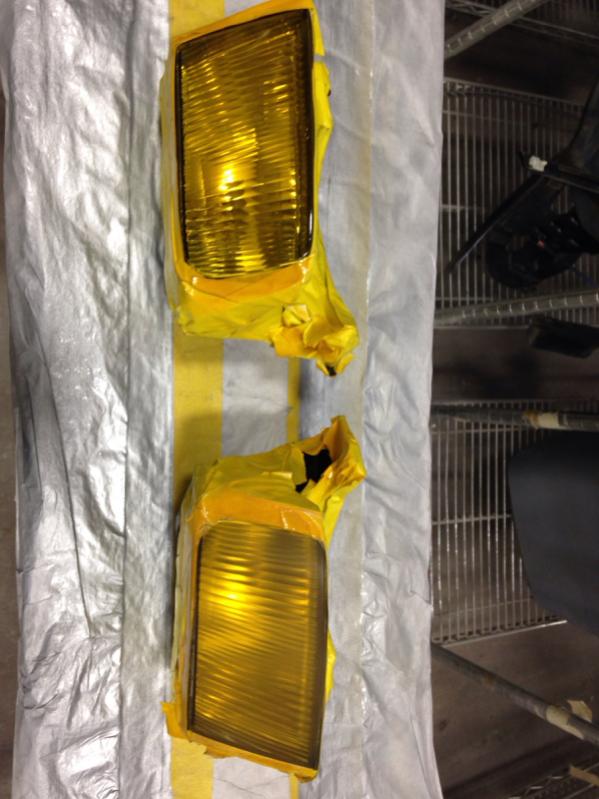
Now I'm going to throw a extra step that is optional during this whole time I've been debating to them cleared. So I'll show you guys to pics tomorrow obviously without clear and with clear
And there you have it nicely tinted JDM yellow Fogs. Now I'll let them dry overnight. And post pics I. The morning before I head to class.
Now I'm going to throw a extra step that is optional during this whole time I've been debating to them cleared. So I'll show you guys to pics tomorrow obviously without clear and with clear
Thread Starter
Full Member
Joined: Jul 2013
Posts: 217
Likes: 0
From: Vriginia,
Trending Topics


NA-BOOSTIN
Joined: Oct 2004
Posts: 1,200
Likes: 2
From: austin,tx
I've also painted my set of fogs like above with no problems . I went ahead and took the housing apart and painted the insides of the lens so rock chips wouldn't happen to the paint . Also adding yellow bulbs makes it that much nicer
Thread Starter
Full Member
Joined: Jul 2013
Posts: 217
Likes: 0
From: Vriginia,
for a few reasons
1 everyone seems to go the film route so i wanted to decided to paint instead
2 im far to clumsy for film and i know id mess it up painting is easier for me
3 Painting is alot more fun IMO
thank you though its best paint job ive done so far
1 everyone seems to go the film route so i wanted to decided to paint instead
2 im far to clumsy for film and i know id mess it up painting is easier for me
3 Painting is alot more fun IMO
thank you though its best paint job ive done so far
Thread Starter
Full Member
Joined: Jul 2013
Posts: 217
Likes: 0
From: Vriginia,
im way to clumsy to use film but I think both ways are valid but no one ever seem to cover how go about painting them though. Ive never done a DIY post before so i thought id give it a shot and show people my process for painting them.
Thread Starter
Full Member
Joined: Jul 2013
Posts: 217
Likes: 0
From: Vriginia,
that is a sexy beast of a car. glad to see im not alone on the paint side of things. I was thinking the yellow bulbs to some HID yellow which are about 3000k but I want something around 5 or 6 though. But havent found anyone who makes them in yellow . So ill start with 3k yellows and see how they look.

Thread
Thread Starter
Forum
Replies
Last Post
The1Sun
New Member RX-7 Technical
5
Sep 15, 2015 04:45 PM