
Airbox Vs. upper radiator hose... advise?

Thread Starter
the multicultural garage
Joined: Feb 2011
Posts: 133
Likes: 0
From: Everett, WA
Airbox Vs. upper radiator hose... advise?
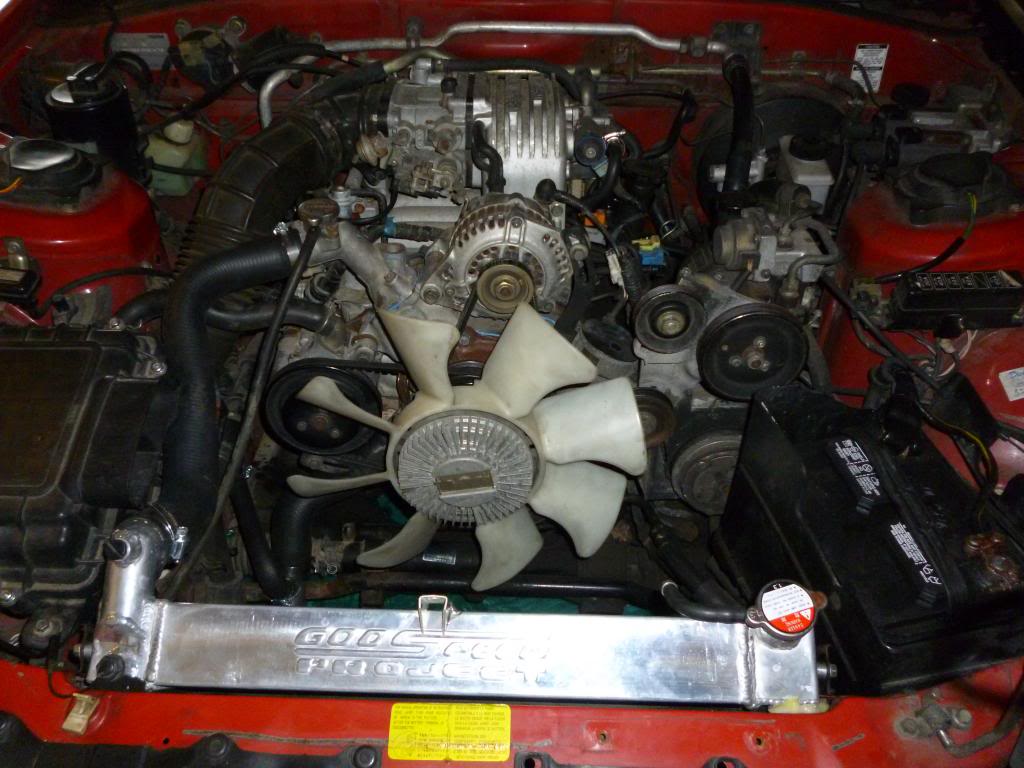
Before anyone says anything about the godspeed, I did have it properly welded. And the owner of the weld shop does cars as well, so he pressure tested it to 20 psi, then I had it independently tested by a local radiator shop, and they pressure tested it to 25, and it passed everything with flying colors.
And it was still cheaper than a koyo. So no knocking my godspeed.

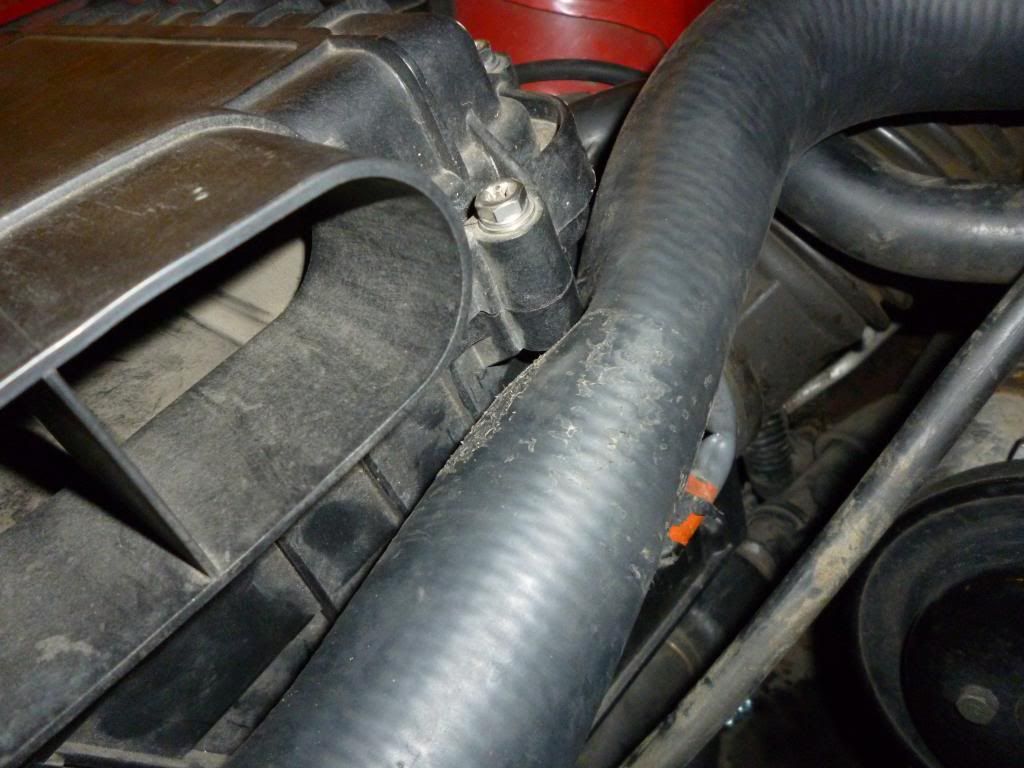
My question is- I *think* I can chop the upper radiator hose a little shorter to clear the airbox. I would like to keep the stock intake (the fan shroud has since been slightly modded and reinstalled) since finding or building something similarly capable will be a solid handful, and I still need to put a few more miles on her before the second coolant flush.
I'm taking advice and suggestions from the other big radiator N/A guys. Five pages of pictures and build threads hasn't derived anything more useful than slapping a k&n filter on the MAF, which is not what I want to do.
Joined: Sep 2005
Posts: 25,581
Likes: 136
From: Smiths Falls.(near Ottawa!.Mapquest IT!)
I've had to chop my upper silicone rad hose and give it a twist,so If you look at yours,it looks like you can cut about an inch off the hose at the thermoneck,and turn it counterclockwise (staring at the engine from the front) .It should give you enough room.
BEFORE you Try that you can always try twisting with the original length on there.
ALSO,if that doesn't work,raise the stock air box up a touch with some washers in between the air box and it's mounts.That For sure should clear the hose.
BEFORE you Try that you can always try twisting with the original length on there.
ALSO,if that doesn't work,raise the stock air box up a touch with some washers in between the air box and it's mounts.That For sure should clear the hose.


Thread Starter
the multicultural garage
Joined: Feb 2011
Posts: 133
Likes: 0
From: Everett, WA
Clokker, I'll post up how I get all of this together once it's a little more properly done and a little less half-assed (like the overflow neck on the radiator.)
It's still an 'I have to be at work in 3 hours' Sunday night job.
Trending Topics
The only aftermarket radiator i've ever got to work with the stock intake, including the air duct across the fan shroud (or lackthereof in your picture) is the Koyo single pass. Ive tried to fit about 5-6 different radiators, none worked with the stock intake except that one. I think you are going to need to figure out another option.
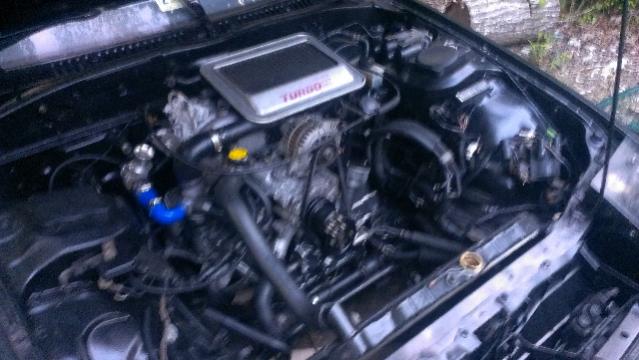
BTW the intakes for the N/A and the turbo are the same all the way to the AFM.
But, yes you have the rad hose on backwards as well.
BTW the intakes for the N/A and the turbo are the same all the way to the AFM.
But, yes you have the rad hose on backwards as well.
2 things:
that radiator kind of looks like dog **** in there, maybe the lighting but is that sealant holding it in place?? I see brackets but whats that jizz looking stuff on the right?
second- flip ze hose
that radiator kind of looks like dog **** in there, maybe the lighting but is that sealant holding it in place?? I see brackets but whats that jizz looking stuff on the right?
second- flip ze hose
Thread Starter
the multicultural garage
Joined: Feb 2011
Posts: 133
Likes: 0
From: Everett, WA
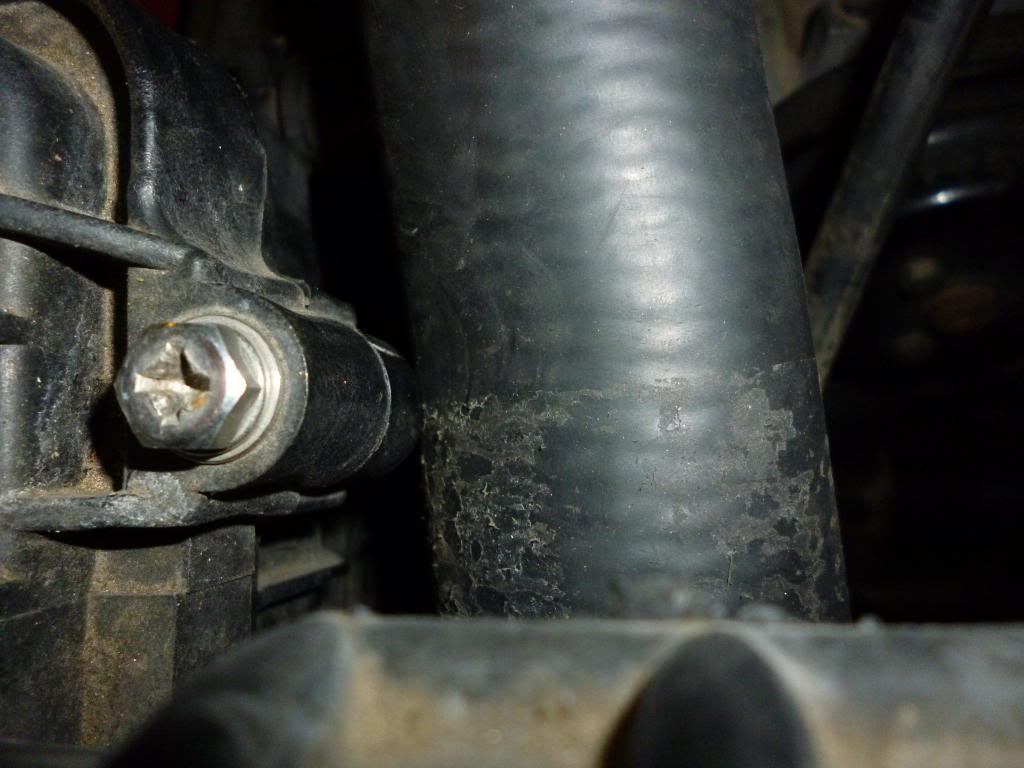
So the answer was, everyone was kinda right. Flipped the hose, chopped off another inch or so, dropped a half inch of washers on the airbox.
Please excuse the zipties and general crassness, go figure that work called right when I was making progress. Still need some bolts/washers and the fan shroud needs a little more chopping to make it perfect, but I should be able to lay it out this week. Fan spins beautifully- AND the hood closes.
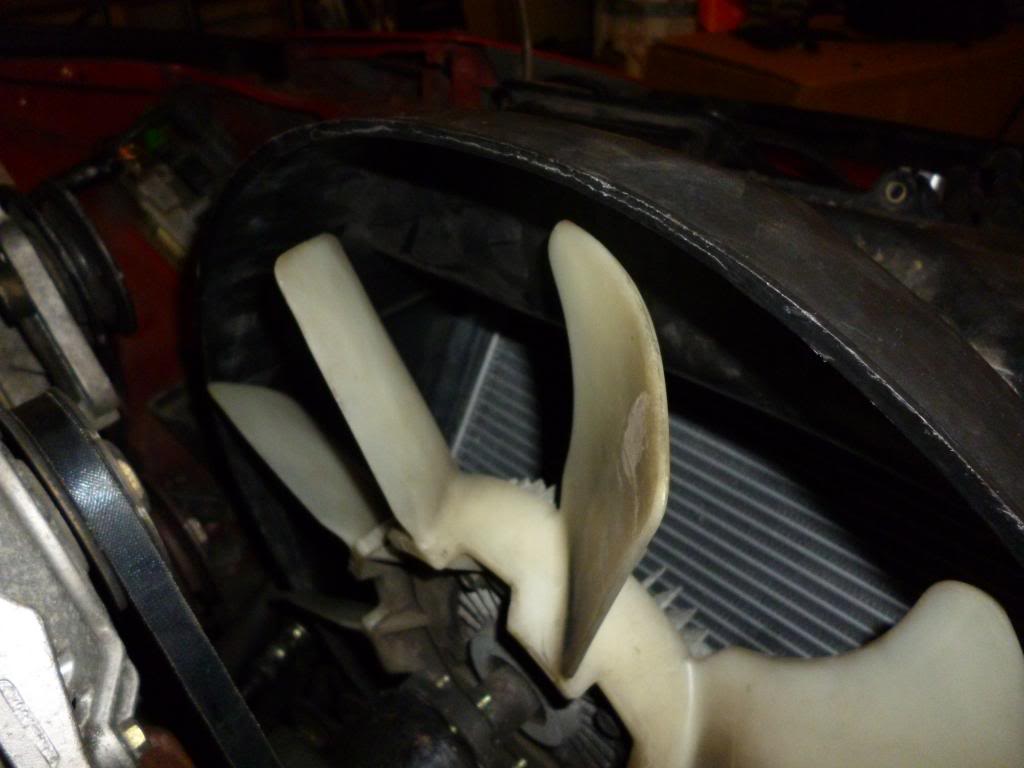
The original issue...
Actually chopped it a bit more after this, but you can see the improvement.

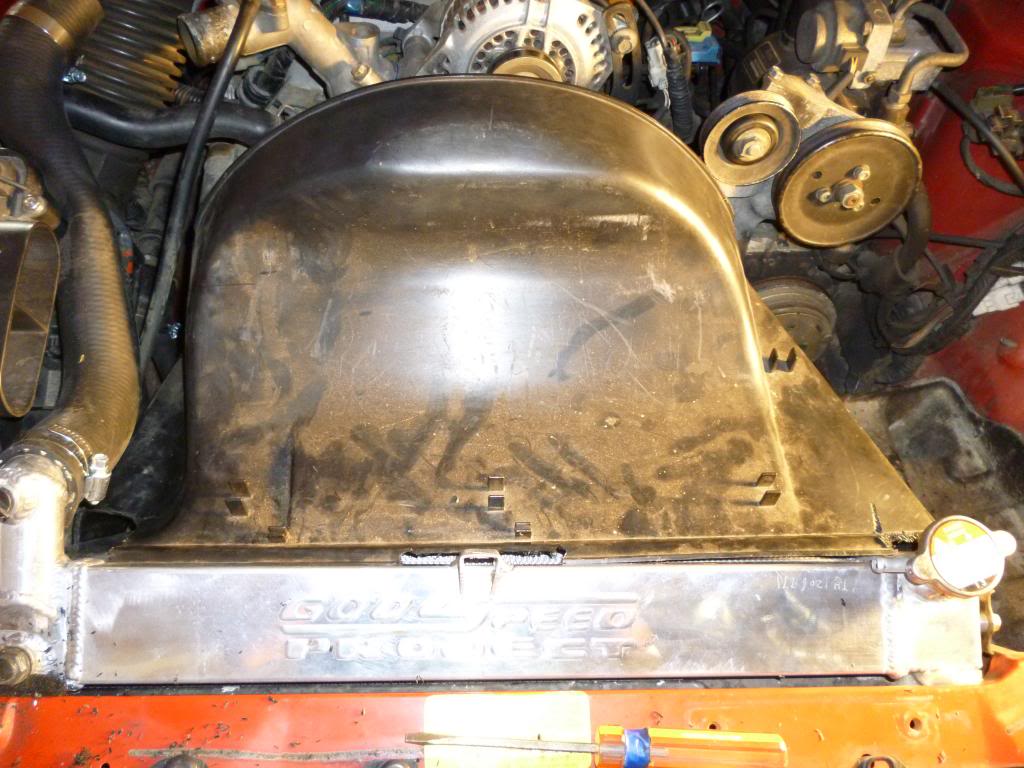
Covered in plastic shavings, but mostly back together. The rubber connection from the airbox is still really tight, but I can't dig into it anymore without actually putting holes in it. One more corner of the shroud needs to be played with for the oil cooler lines, and from there it's mostly figuring out bolts to put it back together.
From the back... clearance is still pretty good.
Please excuse the zipties and general crassness, go figure that work called right when I was making progress. Still need some bolts/washers and the fan shroud needs a little more chopping to make it perfect, but I should be able to lay it out this week. Fan spins beautifully- AND the hood closes.
The original issue...
Actually chopped it a bit more after this, but you can see the improvement.
Covered in plastic shavings, but mostly back together. The rubber connection from the airbox is still really tight, but I can't dig into it anymore without actually putting holes in it. One more corner of the shroud needs to be played with for the oil cooler lines, and from there it's mostly figuring out bolts to put it back together.
From the back... clearance is still pretty good.
Thread Starter
the multicultural garage
Joined: Feb 2011
Posts: 133
Likes: 0
From: Everett, WA
Foam, actually. Condenser bolts rub against the end tanks, so had to come up with something.
Joined: Sep 2005
Posts: 25,581
Likes: 136
From: Smiths Falls.(near Ottawa!.Mapquest IT!)
If you take that top tab and cut it off,you can use some door molding on the edge of the shroud and it will make the shroud flush with the rad.
I did that on my Install.
I did that on my Install.

Thread Starter
the multicultural garage
Joined: Feb 2011
Posts: 133
Likes: 0
From: Everett, WA
It's actually still hanging up on the oil cooler line. I hadn't cut quite far enough. But I have plenty of spare door seal, so I'll try that once I get it to sit level.
Joined: Sep 2005
Posts: 25,581
Likes: 136
From: Smiths Falls.(near Ottawa!.Mapquest IT!)
The old shroud on the car was cracked anyways and I still had this one in good shape so I swapped in a stock rad and the shroud..
Thread Starter
the multicultural garage
Joined: Feb 2011
Posts: 133
Likes: 0
From: Everett, WA
Quick update, although I haven't bothered to actually bolt the thing down yet, as there is quite a bit more to rip off first.
Mostly final fit- I shaved another half inch off the tab for the radiator cap, and it sits flush unbolted- part of the trick was to have it a little lower, so the upper segment of the radiator is above it. Otherwise it was too high for the fan, and I would've had to cut into parts of it that would have mitigated the value of the entire project.
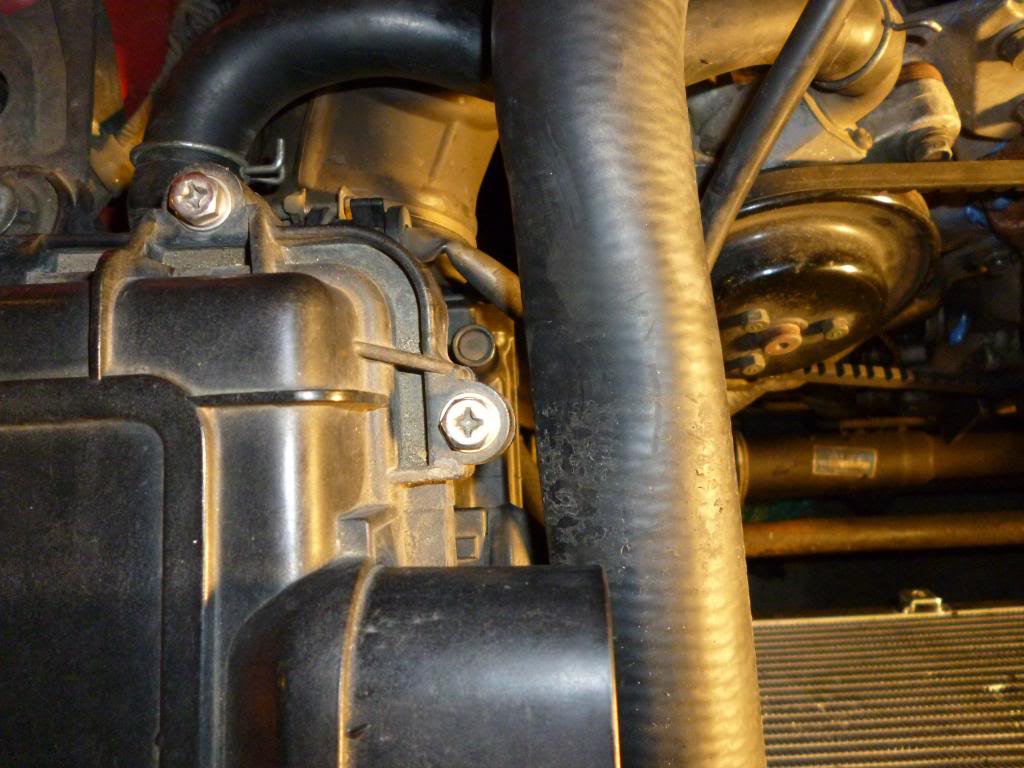
Current clearance on the upper hose...
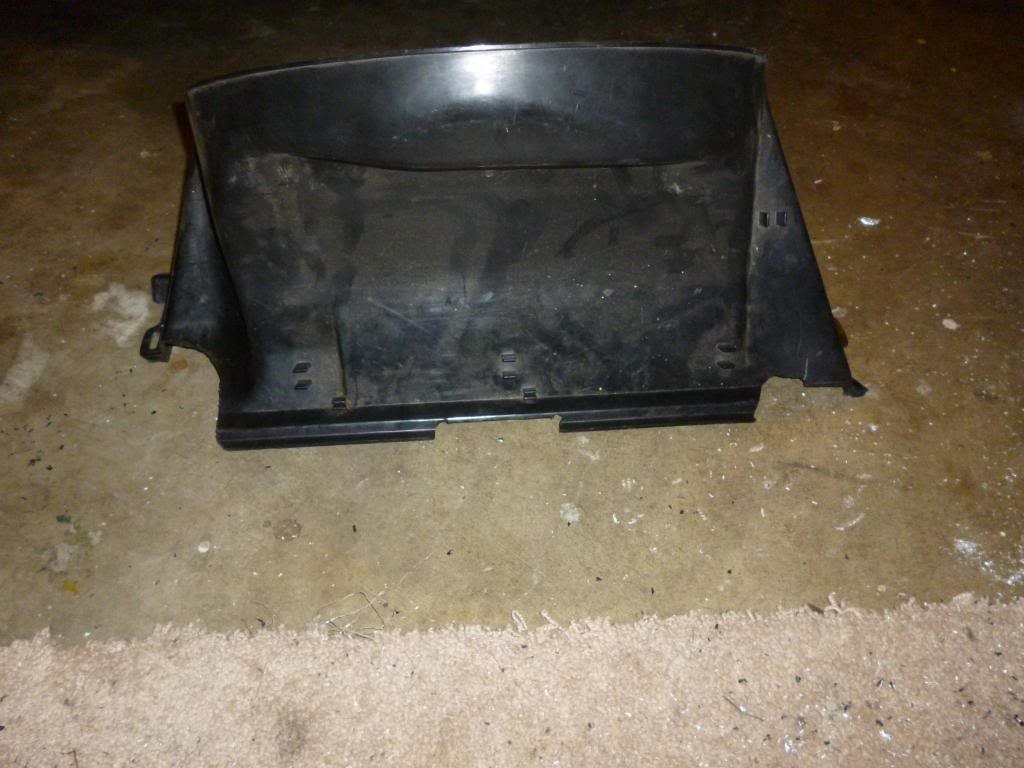
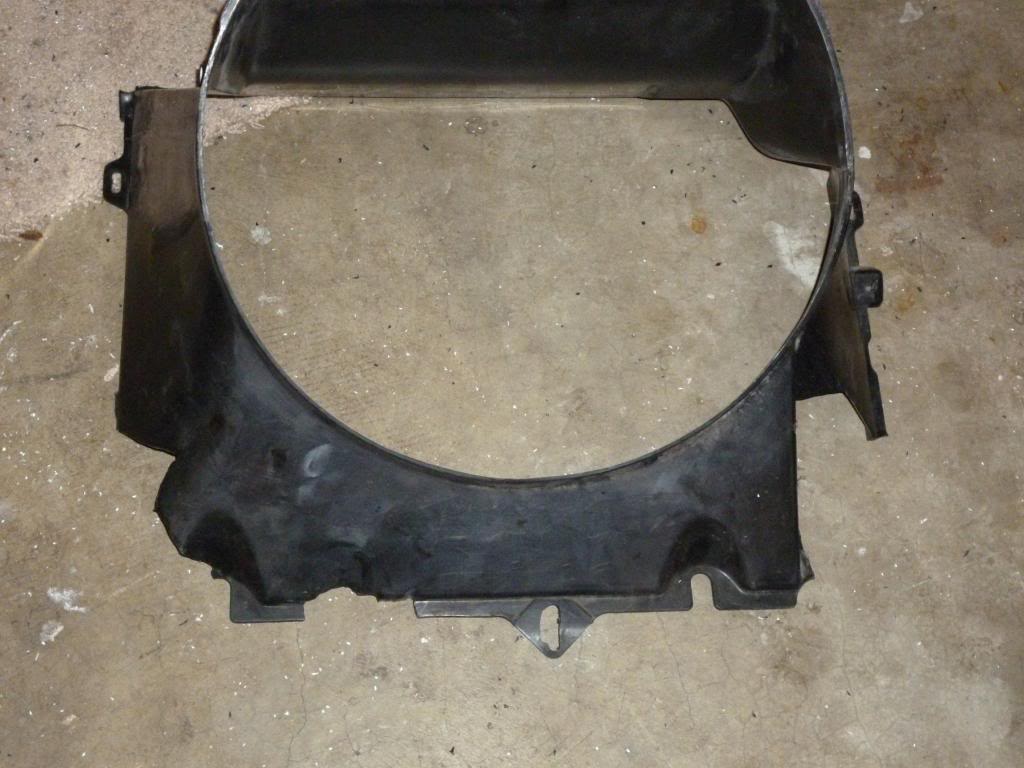
For clokker, here's the basic chop diagram. S4/S5 rails, cooler lines, and fitment will make them all a little different, I'm sure, and it will need some kind of custom S bracket setup for bolting. I won't get it finished for a while, but I'll get it posted when I do.
Tomorrow's the rest of the cooling hoses (and probably a laundry list of vacuum lines) and starting the teardown for the integra mc/booster swap. Maybe if I'm lucky I'll even get the calipers off and start rebuilding them. Thanks for the help.
Mostly final fit- I shaved another half inch off the tab for the radiator cap, and it sits flush unbolted- part of the trick was to have it a little lower, so the upper segment of the radiator is above it. Otherwise it was too high for the fan, and I would've had to cut into parts of it that would have mitigated the value of the entire project.
Current clearance on the upper hose...
For clokker, here's the basic chop diagram. S4/S5 rails, cooler lines, and fitment will make them all a little different, I'm sure, and it will need some kind of custom S bracket setup for bolting. I won't get it finished for a while, but I'll get it posted when I do.
Tomorrow's the rest of the cooling hoses (and probably a laundry list of vacuum lines) and starting the teardown for the integra mc/booster swap. Maybe if I'm lucky I'll even get the calipers off and start rebuilding them. Thanks for the help.