
86 GXL Project-Car buildup!

Thread Starter
Joined: Dec 2006
Posts: 1,307
Likes: 0
From: Beaverton, OR
86 GXL Project-Car buildup!
Alright, some of you may know that I found a white GXL for sale, and have decided to restore it as well.
Here is some pics I took after I got it back home:


Just went and got several interior pieces to replace the red interior with black:
I'll be posting more as I get it.
Here is some pics I took after I got it back home:
Just went and got several interior pieces to replace the red interior with black:
I'll be posting more as I get it.

Thread Starter
Joined: Dec 2006
Posts: 1,307
Likes: 0
From: Beaverton, OR
Started in with vacuuming out the new interior, still have to scrub it tomorrow.


Also, started tearing out the old red interior, which I will be probably selling to whoever wants it.

Also, started tearing out the old red interior, which I will be probably selling to whoever wants it.
Trending Topics
Thread Starter
Joined: Dec 2006
Posts: 1,307
Likes: 0
From: Beaverton, OR
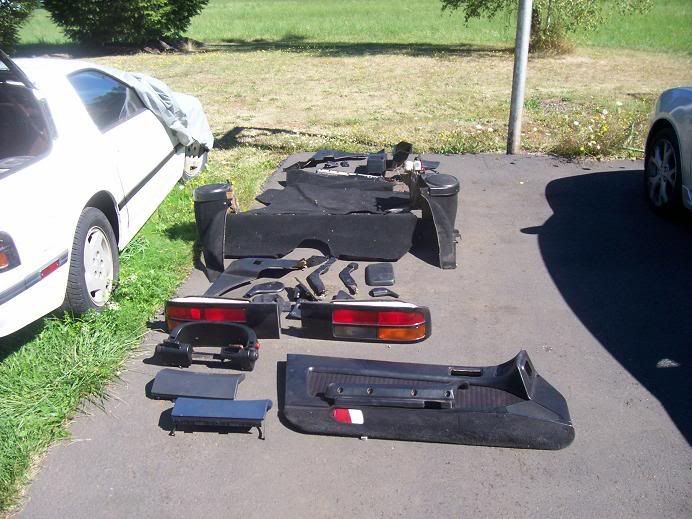
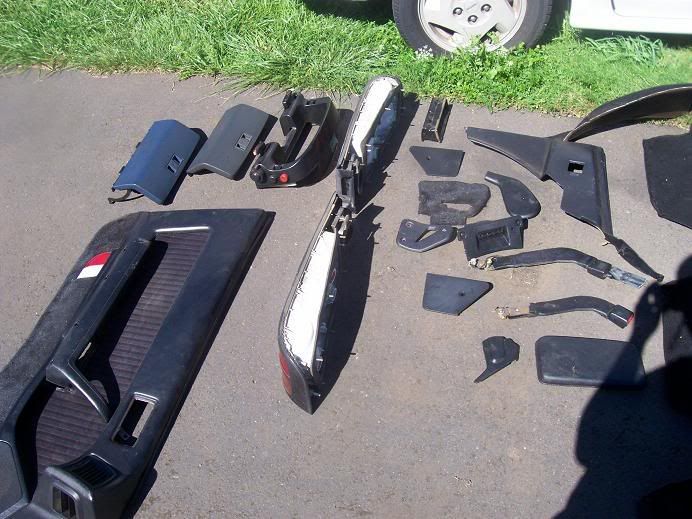
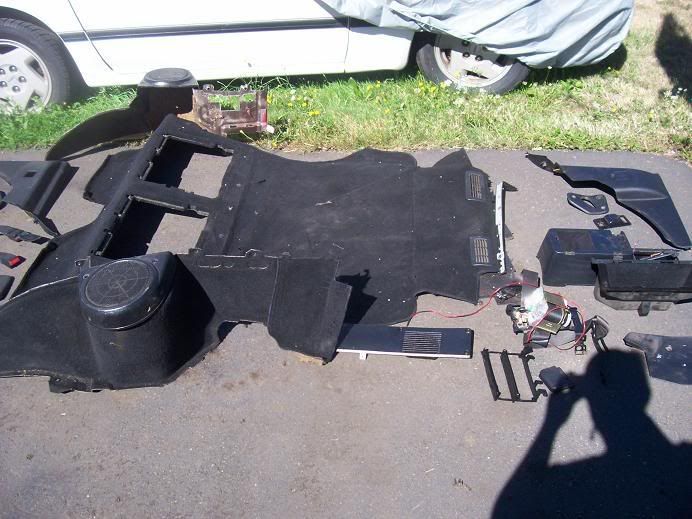
More stripping done, I might be done for the day - not quite sure yet, it's getting to the point where I'm not sure how to proceed with the stripping:


Also, a question - how would you possible be rid of these scratches in the surface of the taillight section? It's on all 3 sets of mine, and not sure about the best route of cleaning them up is...

Also, a question - how would you possible be rid of these scratches in the surface of the taillight section? It's on all 3 sets of mine, and not sure about the best route of cleaning them up is...
Well for the tail light if they are that bad get a can of spray paint. About the only way those will look good. The krylon fusion is supposed to stick to plastic really good.

Start at 400 and work your way up to about 800 if you want them smooth, If you want them really smooth then spray em, clear em, and wet sand them starting at 1000 and working up to 2000.
You can do the same for the lenses, starting at like 1500 and ending with a buffing with plastic X
You can do the same for the lenses, starting at like 1500 and ending with a buffing with plastic X
Thread Starter
Joined: Dec 2006
Posts: 1,307
Likes: 0
From: Beaverton, OR
Another question, how do you pull the dashboard out? It's one of the pieces that's blocking the last piece of carpeting, and I'm not sure how to get the whole thing off.


Remove the vents at the base of the windshield and you can then remove the bolt that holds that part on. That gives you access to the bolts along the top of the dash.
On the sides of the dash, remove the plastic panels and there are more bolts.
On either side of the radio, remove the one screw that holds the triangle parts on. There are bolts behind there.
Remove the bolts that hold the column on.
Make doubly sure that all harness connectors are disconnected
Vince
Thread Starter
Joined: Dec 2006
Posts: 1,307
Likes: 0
From: Beaverton, OR
Still haven't gotten the dashboard off yet, but it's much closer at least.
Had a friend (burnin_streets) come up and help me with getting my engine out, he's the one who's going to be rebuilding my engine. If it's good quality work, I will for sure be recommending him to others as well.
I will have pics posted up hopefully later tonight of the work we got done today before it started raining too heavily.


DETROiT RiOT RACiNG
Joined: Aug 2008
Posts: 58
Likes: 0
From: 313 michigan
im in the process of doing the same thing myself. Did you just disconnect the power stearing and a/c? and what part of the motor did you use to attach it to the picker? and btw keep up the good work 
Thread Starter
Joined: Dec 2006
Posts: 1,307
Likes: 0
From: Beaverton, OR
I'm keeping the power steering and ac for now at least.
I went out and started the cleaning of the bay, and holy hell it was dirty as a porno from a motel 6...

What color of white exactly is my FC? Apparently there's multiple white's for the 86, and I'm not sure how to diagnose which one mine is.
I went out and started the cleaning of the bay, and holy hell it was dirty as a porno from a motel 6...
What color of white exactly is my FC? Apparently there's multiple white's for the 86, and I'm not sure how to diagnose which one mine is.
The short answer is to check the vin plate on the firewall and look at the paint code, then reference one of the stickies in the 2nd gen section, one of them 'should' have the paint codes in them.
After the first cleaning, let it dry and then go back and get the places you missed.
Might have to do it a third time.
Clean all the components before putting them back in.
Replace rusty hardware and use anti-seize on all hardware.
Clean electrical connectors and use dielectric grease where appropriate.
Scrub all plastic/rubber parts (intake tube. etc.), let dry and use a protectant (I prefer low gloss or satin as opposed to high gloss/"wet-look").
Combine this initial cleaning with some new car preventive maintenance and it gets even easier.
For instance, it will never be easier to replace the master cylinders than now, with the engine out. Remove the vacuum booster to clean behind it and paint it before reinstalling.
The engine bay is littered with empty holes- unused capture nuts and holes for accessories you may not have- cruise through the junkyard and pick up the plastic caps used to plug such holes, you'll have a much more finished look and it costs nothing.
Remove the bezel under the wipers (remove wiper arms first) and clean all the debris in that cavity (there will be lots). Lube the wiper linkages and check for broken plastic bushes at the pivot points.
All of this is so much simpler with the engine out and you standing in the bay rather than hanging over the sides.
Your back will thank you.
Resist the urge to go crazy on a few parts (painting/polishing) unless you're going to renovate everything. One shiny part nestled among a bunch of grotty ones looks worse than a uniform level of finish.
Figure two, maybe three, days to spend on this.
Pay special attention to things low in the bay (like wire harnesses) that will be harder to reach/work on with the engine back in place.
Once you're done, not only will you appreciate the transformation but keeping it clean will be much simpler.
Plus, it's nice to pop the hood and perform general maintenance without getting random grease/dirt smears all over yourself.
If you spend some time looking through the forum, you'll see lots of examples of cars that have immaculate exteriors and engine bays that have been neglected.
I find this jarring and weird...personally, I'd rather see a bay that's been massaged and a normal body- kind of a "sleeper" attitude.
Anyway, good luck.