
Project GXL DRFT!!! (pics)


Thread Starter
Full Member
Joined: Jun 2007
Posts: 133
Likes: 0
From: Sac Town
Yeah i have a LSD (stock) old and slips so im thinking of gettin it welded!!!
And That is Dry Ice.... I just broke it up and smeared it around.... Come to think of it, leaving it in the bag would have been easier... Oh well!
And That is Dry Ice.... I just broke it up and smeared it around.... Come to think of it, leaving it in the bag would have been easier... Oh well!
Thread Starter
Full Member
Joined: Jun 2007
Posts: 133
Likes: 0
From: Sac Town
I used 3M outdoor double side adhesive strip, floor molding, machine screws, and this flat metal stuff...
This is a pic done from my supra... haven't made the brace for the seven yet!
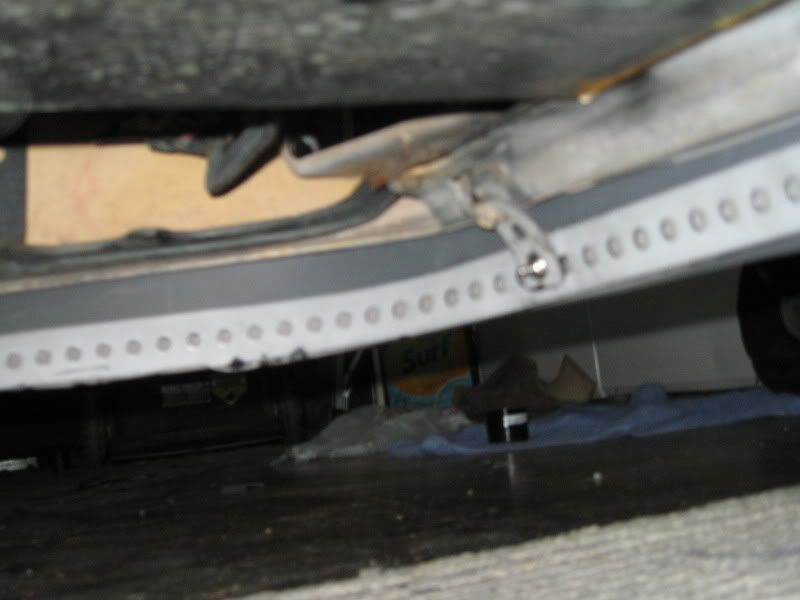
It works great!!!
This is a pic done from my supra... haven't made the brace for the seven yet!
It works great!!!
FYI, the "HIKKUS" system on the z32TT is only operational between the speeds of 20 and 70 mph and will only correct by one degree in either direction. It is a hydraulic/mechanical system (which is why many z32TT owners install the N/A rear differential and completely delete the HIKKUS system), whereas the DTSS is simply a flexible bushing set. Whenever the is enough pressure/stress against the rear wheels in a turn (or slide) they give to a certain degree to "correct" driver error. DTSS Eliminators are a set (of 2) stiff poly or other material bushing to disable this feature.
Also, the GXL (as well as the T2 and s4 GTU) came with a LSD. If my memory serves me correct, the GXLs came with a clutch type LSD (most preferred for ease of rebuild and durability), the T2's (not sure if the years made a difference) came with a viscous type LSD which is said to be the strongest, but after the "magic lube" inside of it wears out, it operates as an open differential and is not rebuildable. The s4 GTU (as there was no GTU-S in s4) came with an LSD, but I'm not sure which type. In 89-91, the GTU became the base model and had an open diff while the GTU-S (GTUs) was premiered and was the "sport" model under the T2. The GTU-S came with a clutch type LSD and was lightened as much as possible through the factory.
There is no reason to weld an LSD differential. If the differential is operating correctly then it should lock up on both decel and accel as needed. If you listen to this (IMO redundant idea), then please destroy or "weld" an open differential.
Also, the "deadening mat" is easily removed with an air hammer with a flat chisel tip. It becomes very easy to rip a hole in the floor, but if you take your time and get used to how to use the air hammer, then it comes off pretty easily.
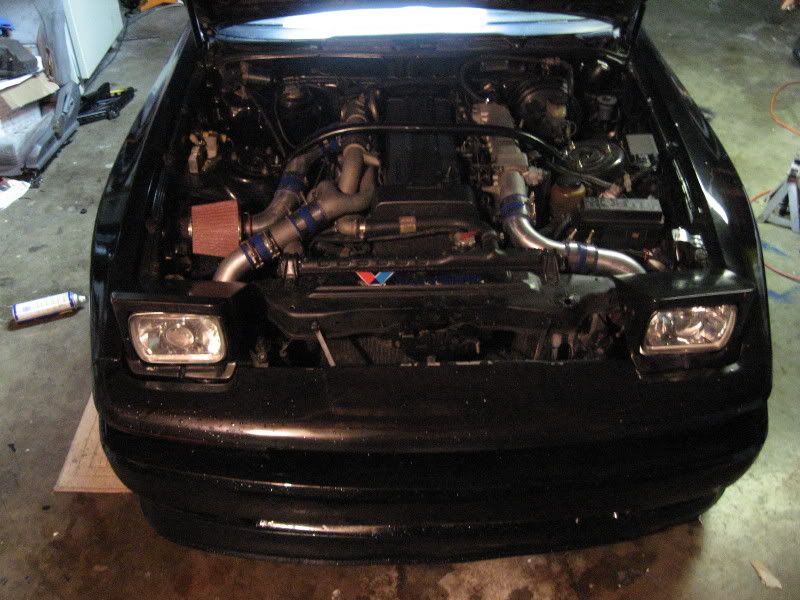
Please, remove the extra weight that you aren't using. Delete all the A/C components (under the dash isn't really necessary unless you are already removing the dash for something) and toss the power steering pump and A/C compressor. That's a good 30 pound or more diet. Also, between Pineapple racing and Racing Beat, you can get all the necessary block-off plates to completely remove your emissions. As far as removing the air pump, there is a thread here on how to build your own electronic Aux. port opener. It's not an expensive mod and it's fairly simple to build. I mean he uses a air pump from Wal-Mart for Christ's sake. If you need anymore help, give me a shout via PM or on AIM. Check out my profile for my AIM name.
Also, the GXL (as well as the T2 and s4 GTU) came with a LSD. If my memory serves me correct, the GXLs came with a clutch type LSD (most preferred for ease of rebuild and durability), the T2's (not sure if the years made a difference) came with a viscous type LSD which is said to be the strongest, but after the "magic lube" inside of it wears out, it operates as an open differential and is not rebuildable. The s4 GTU (as there was no GTU-S in s4) came with an LSD, but I'm not sure which type. In 89-91, the GTU became the base model and had an open diff while the GTU-S (GTUs) was premiered and was the "sport" model under the T2. The GTU-S came with a clutch type LSD and was lightened as much as possible through the factory.
There is no reason to weld an LSD differential. If the differential is operating correctly then it should lock up on both decel and accel as needed. If you listen to this (IMO redundant idea), then please destroy or "weld" an open differential.
Also, the "deadening mat" is easily removed with an air hammer with a flat chisel tip. It becomes very easy to rip a hole in the floor, but if you take your time and get used to how to use the air hammer, then it comes off pretty easily.
Please, remove the extra weight that you aren't using. Delete all the A/C components (under the dash isn't really necessary unless you are already removing the dash for something) and toss the power steering pump and A/C compressor. That's a good 30 pound or more diet. Also, between Pineapple racing and Racing Beat, you can get all the necessary block-off plates to completely remove your emissions. As far as removing the air pump, there is a thread here on how to build your own electronic Aux. port opener. It's not an expensive mod and it's fairly simple to build. I mean he uses a air pump from Wal-Mart for Christ's sake. If you need anymore help, give me a shout via PM or on AIM. Check out my profile for my AIM name.
Thread Starter
Full Member
Joined: Jun 2007
Posts: 133
Likes: 0
From: Sac Town

Thread Starter
Full Member
Joined: Jun 2007
Posts: 133
Likes: 0
From: Sac Town
Ok... Something is Bent either, my control arm ( i doubt it), my control arm mount on the sub-frame, or the little bonus thing at the end of control arm to brake assembly...
You guy's notice anything bent???
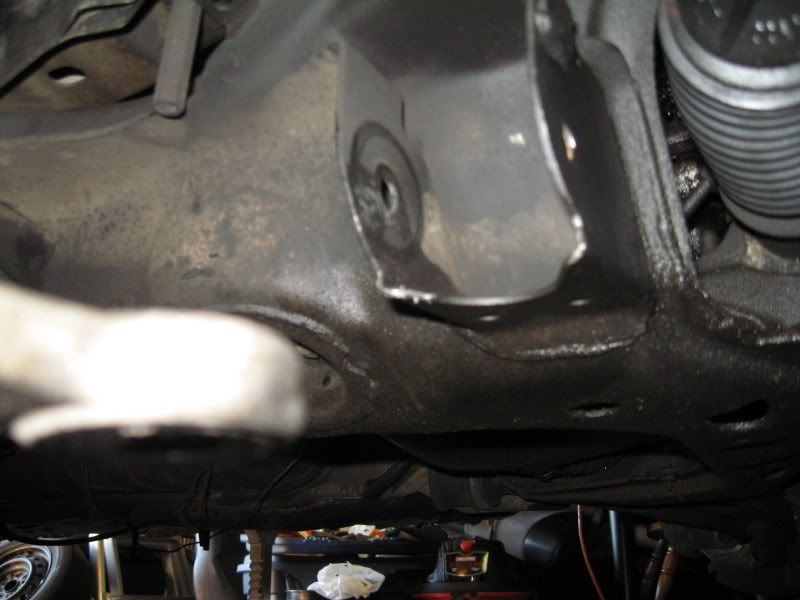
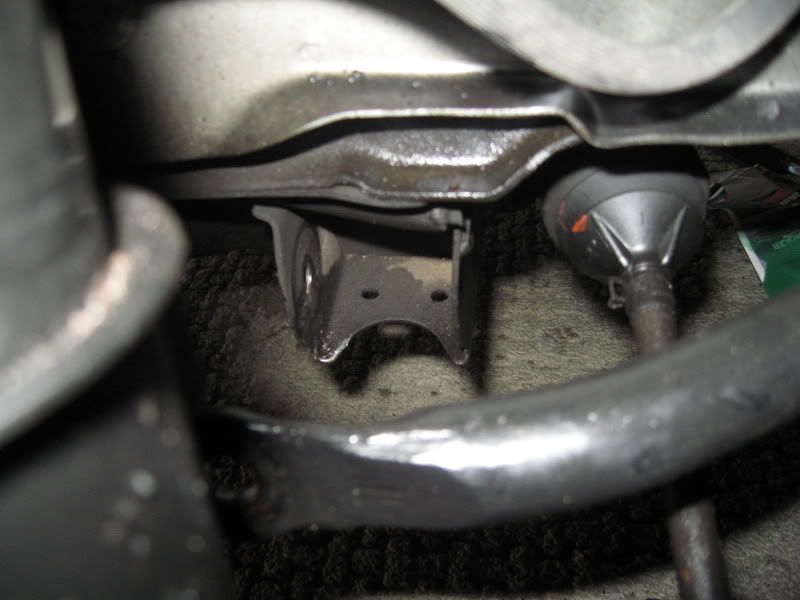
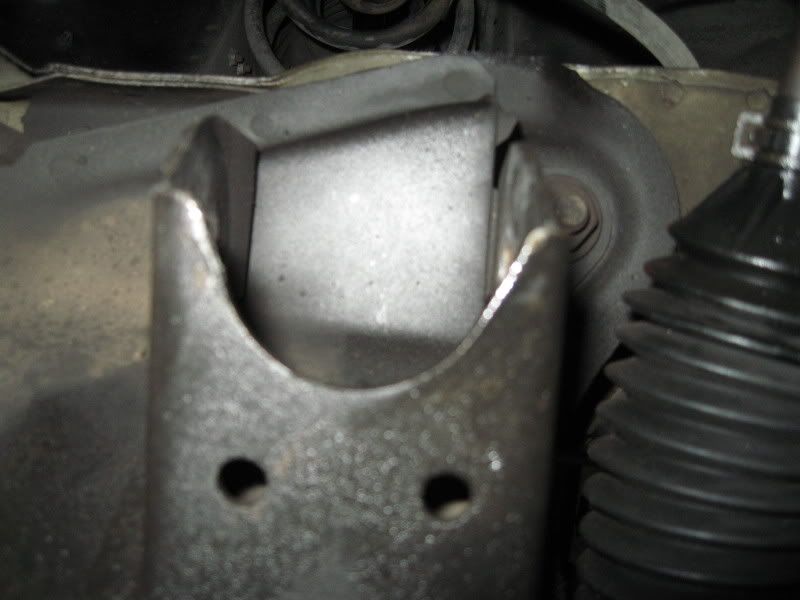
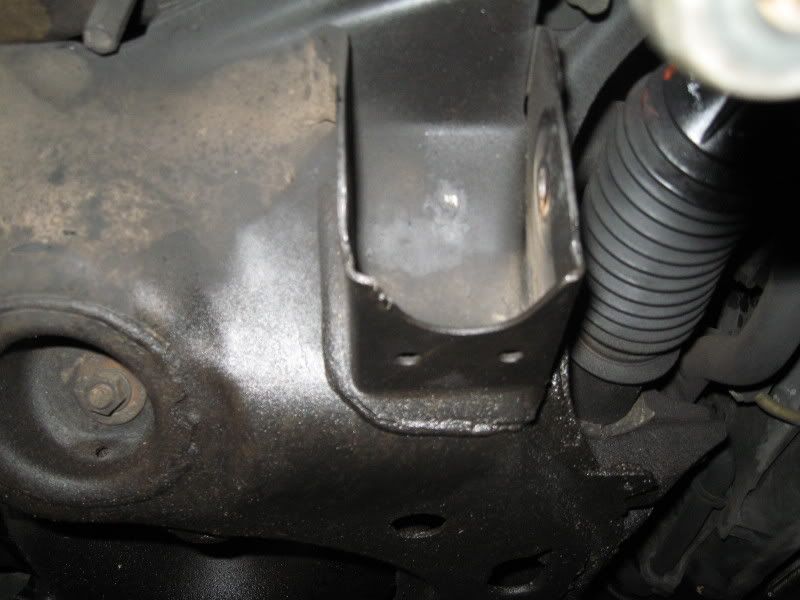
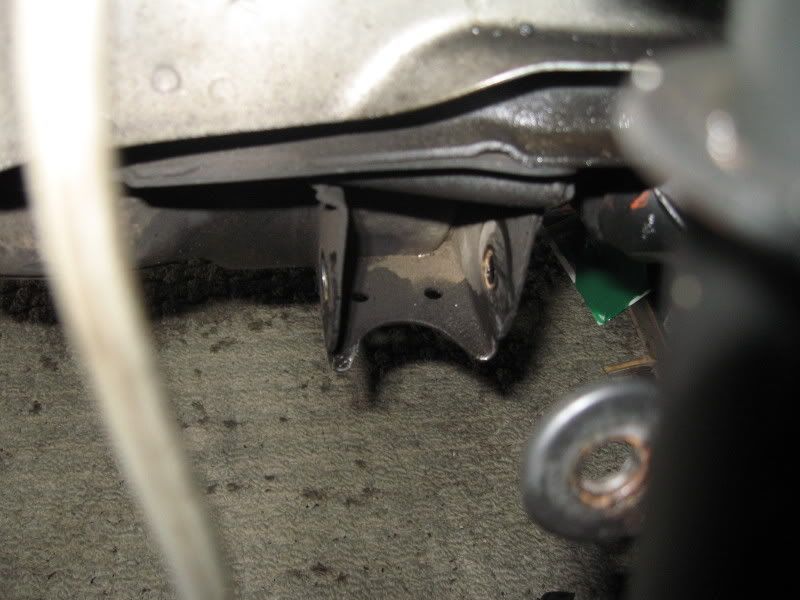
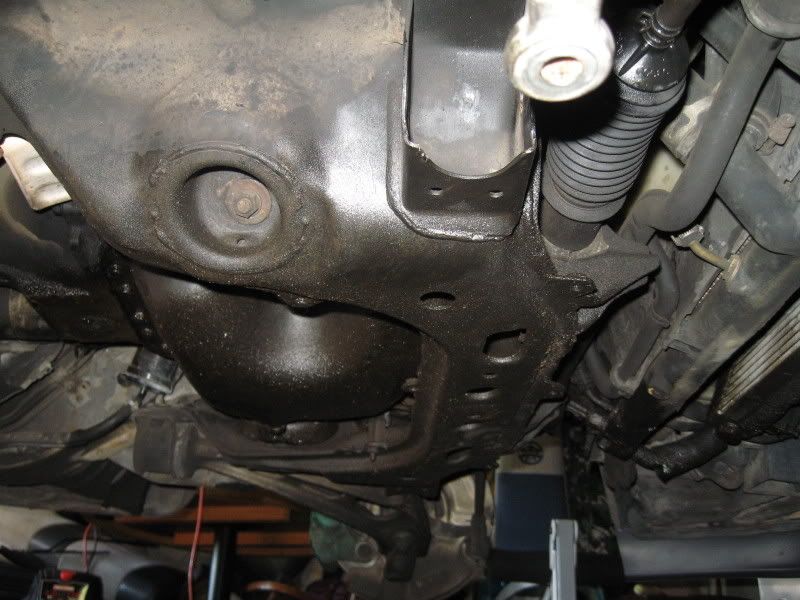

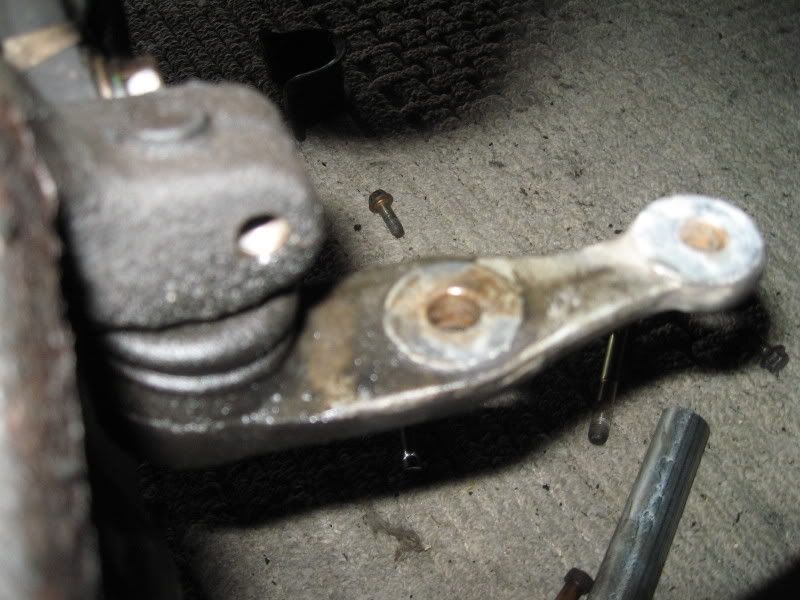
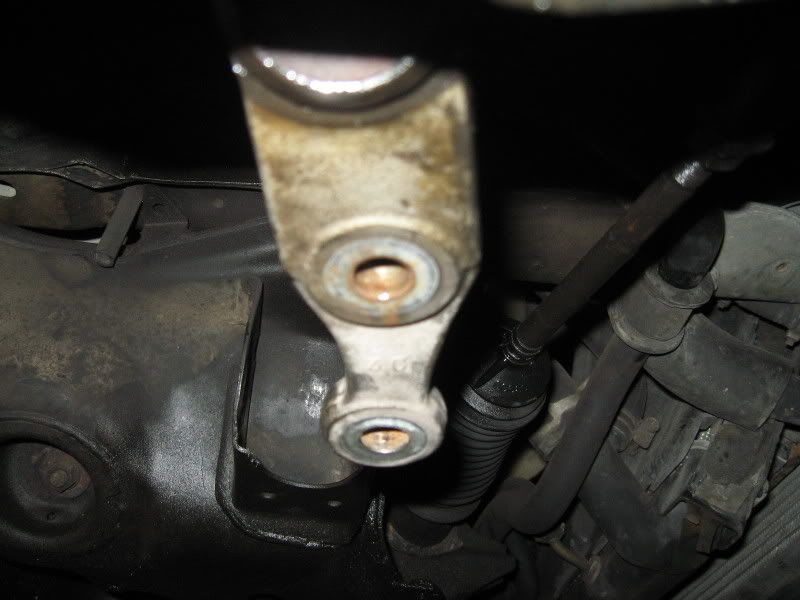
This happen when i rammed into a curb going like 30+
You guy's notice anything bent???
This happen when i rammed into a curb going like 30+


Thread Starter
Full Member
Joined: Jun 2007
Posts: 133
Likes: 0
From: Sac Town
I think it might be the mount and maybe a bit of that little two bolt thing that goes to the control arm..
Im just going to hammer the thing eyeball straight and snag the control arm piece from the junk yard!
Does any one know how to get that piece separated from the brake assembly??? I cant seem to get mine off!!!
Im just going to hammer the thing eyeball straight and snag the control arm piece from the junk yard!
Does any one know how to get that piece separated from the brake assembly??? I cant seem to get mine off
!!!
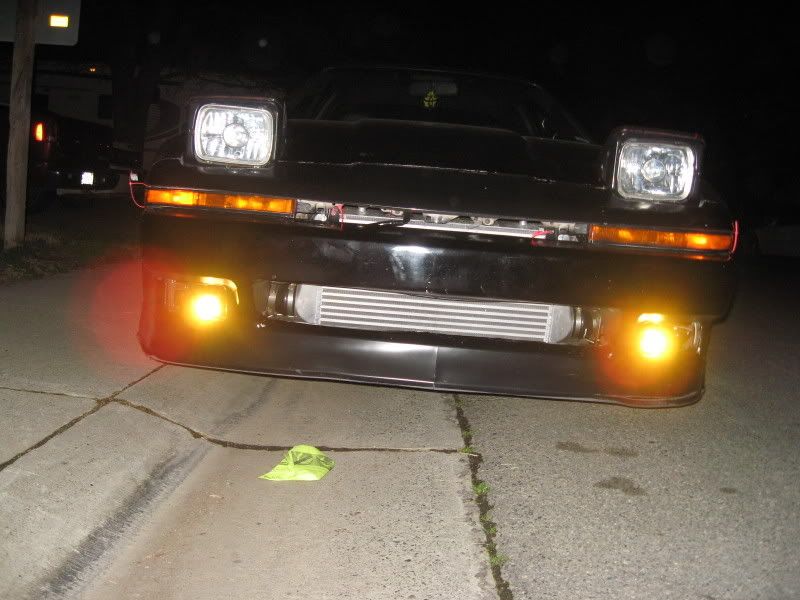
lip looks pretty sick. Im gonna have to try it 2mrw. I was hesistant on making my own lip. but now I see the material you used it looks good. Way better than that garden lining stuff.
Remove the bolt (which it looks like you have done, but I can't be sure because of the angle of the picture) and then give it some "reassurance" with a hammer and some love taps. It also may help to get a flat head screwdriver after that clamp on the hub assembly. BTW, that and the control arm (as you should plainly see) are made of aluminum. The chances of those bending and not breaking are very slim. Generally, if it starts to bent then it will crack or break. If you say something is just not matching up, then I would assume that it is either the sub-frame mounting pointing point for the damper that you have pictured, or the sub-frame itself.
You realize that the "control arm to hub assembly" piece will turn and flex right? Not the aluminum piece itself, but that is a ball joint. Also, it's not supposed to be cake putting suspension parts on. If it were, then you would have the loosest suspension ever. Things will be tight and sometimes extra tight. You may have to fight for a minute to get one or two bolt holes to line up. Before you go beating on your sub-frame, try installing it one more time and try a few different methods.
Thread Starter
Full Member
Joined: Jun 2007
Posts: 133
Likes: 0
From: Sac Town
The problem isn't installation... I removed it for the pictures to see if my sub frame was tweaked. I was driving the car about 6 months ago and some guy pulled some dumb *** sh*t onto the on ramp and i didnt want to get hit so i veered into a center divider... (long story) but yeah the whole wheel was chunked and sat all the way toward the door side of the wheel well, Something is bent from that accident and i was trying to discover what the real problem was...
Thanks
Travis
Thanks
Travis
Thread Starter
Full Member
Joined: Jun 2007
Posts: 133
Likes: 0
From: Sac Town
Oh!!!
It sounds like the hica system in my buddy's Z32... He hates it and im not sure if i would like it either...
I am use to a stiff slide in my JZa70
Thanks for the option though, that is exactly the kinda things this thread is for, i am quite new to this FC and would love to know more!!!!
How about some quick 13b mods... Dont worry i will be using the search button a lot so dont feel as if im milking this thread... Just feel free to give me your Two cents...
Thanks
-Travis
got any pics of the brace/structure for the lip on the s4. Im having a hard time thinking about how to screw it on to something without going through the front of the lip. and it looks on like on your supra there isn't any screws going through the front of it. Wonder how this was acomplished.
freaking finally! another FC drifter/owner in Sac. i've lived here almost 4 months and have only found a handful of drifters, let alone FC drivers. where are you located in Sac? i can show you how to do the emissions removal, already done to my motor and it runs fine except for the gay factory coolant seals are blown, and i've got a friend that has a couple FC's in his backyard here in Sac if you need parts on the cheap.
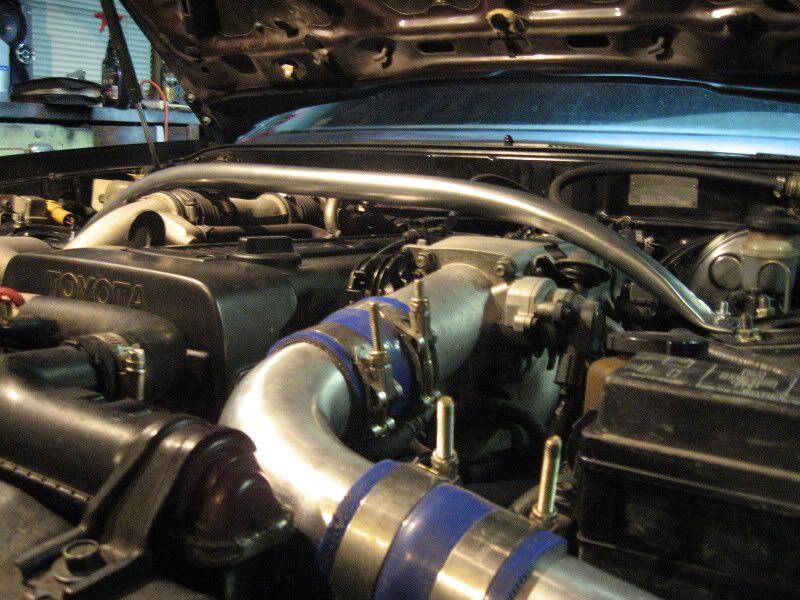
also, coilovers are the **** but your on a budget much like me. aftermarket springs and struts will be fine for getting your project started and you can spend the money you saved there on the dtss eliminators, brake lines, camber plates, maybe slotted rotors or a mazdatrix steering angle kit. speaking of, why did you take out the power steering anyway? i'm trying to figure out how to put it in my car (non-power steering sport model) so that i don't have to fight so hard lock to lock while drifting. maybe it' a personal preferance thing. i dunno.
also, coilovers are the **** but your on a budget much like me. aftermarket springs and struts will be fine for getting your project started and you can spend the money you saved there on the dtss eliminators, brake lines, camber plates, maybe slotted rotors or a mazdatrix steering angle kit. speaking of, why did you take out the power steering anyway? i'm trying to figure out how to put it in my car (non-power steering sport model) so that i don't have to fight so hard lock to lock while drifting. maybe it' a personal preferance thing. i dunno.