
20BEAST FD build.


Its a 5/8 cold cut steel block flange, 1/2 in mild steel t4 flange and the rest is 11 gauge 304 stainless.
To 20B or not to 20B
Joined: Jan 2013
Posts: 113
Likes: 0
From: Copenhagen
midpipe and a single tip Racing Beat muffler. I always liked the way the Racing beat sound
(not that there is much left of it!
 )
)You may be right on the 20b vs 4 rotor but I never had one so its still on my bucket list!
update
Well i have been hard at work.
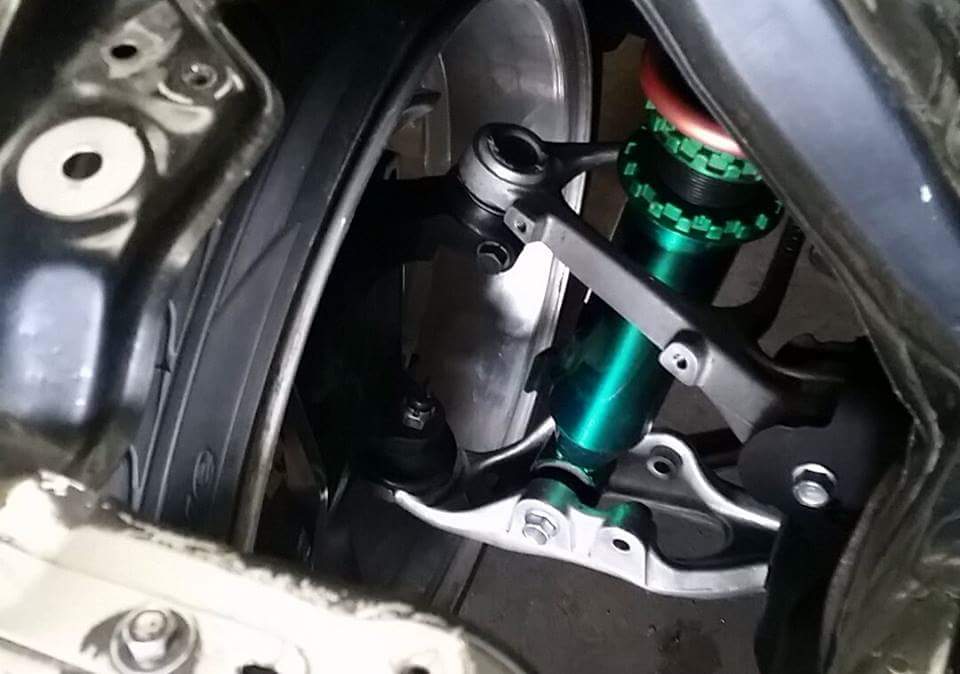
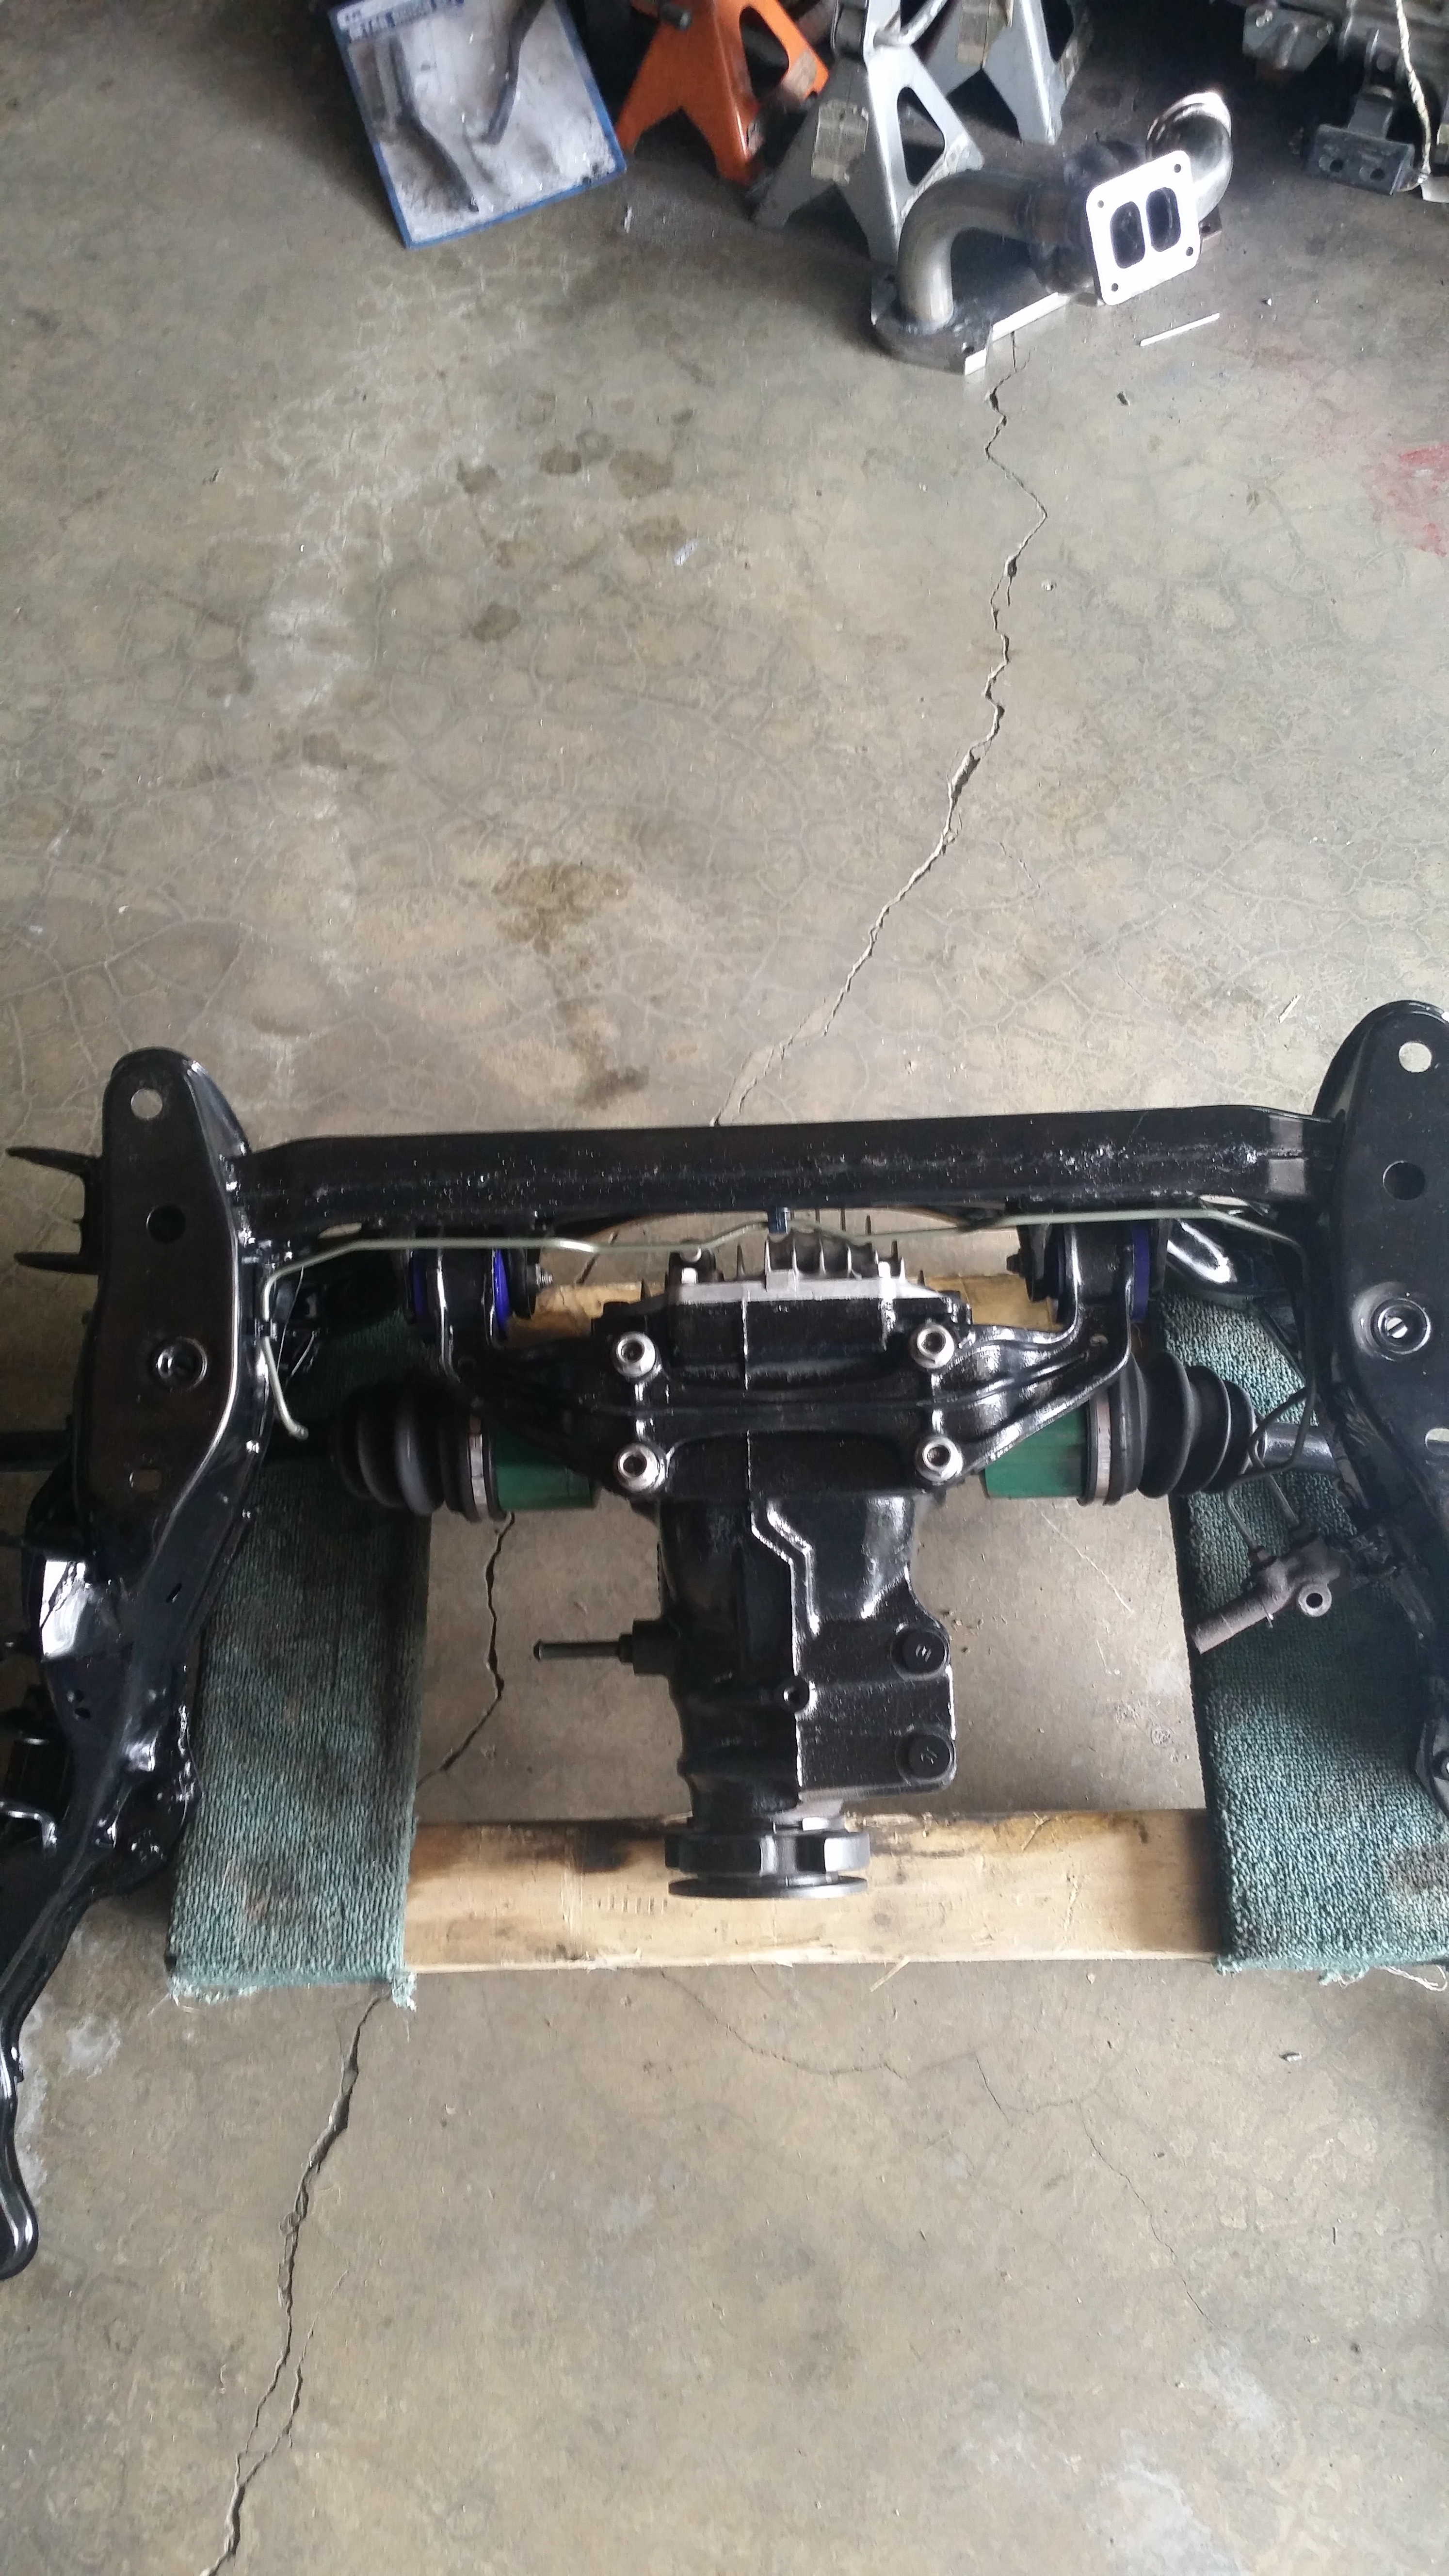
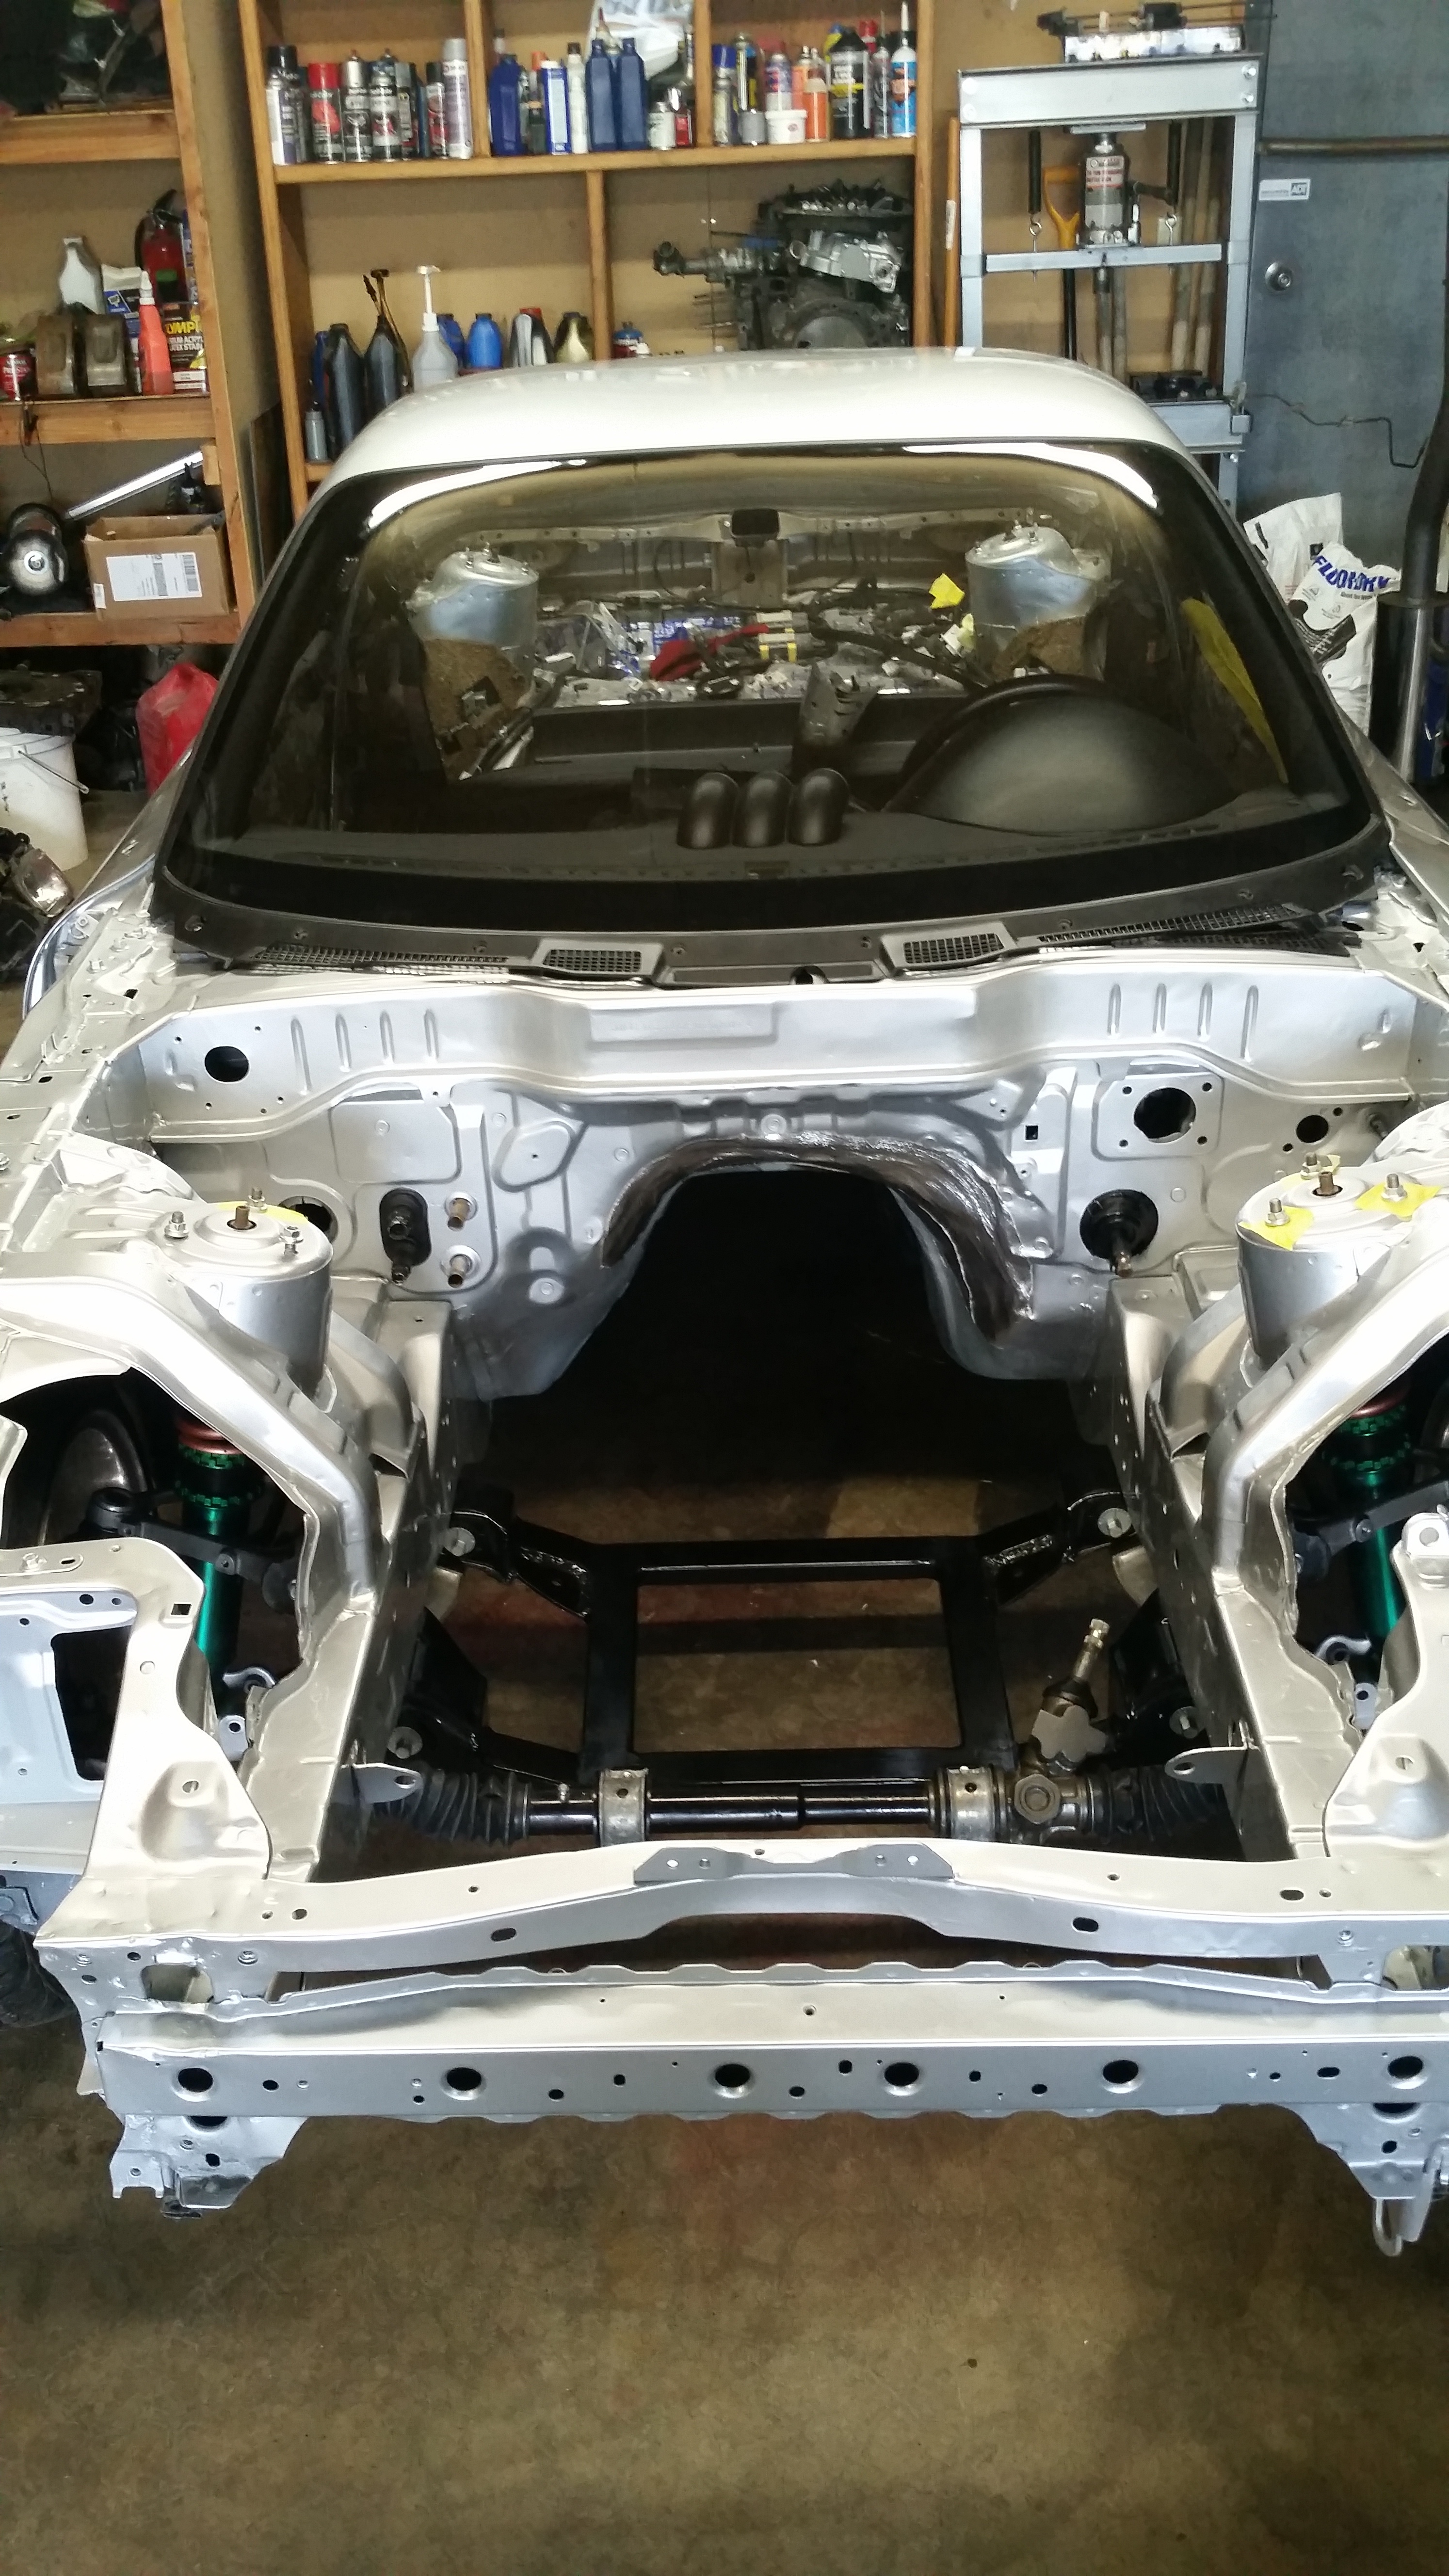
stripped the car down. Powder coated a bunch of stuff. replaced all the bushings with urethane and jauto pillowballs new suspension, bought new adjustable control arms and toe links in the rear. Got evrything put back together and the car off to paint.
I also picked up a authentic Mazda sp hood and a authentic feed hood. I cant decide which to run so im going to paint both and decide later.
Enjoy


Update:
The car is still at paint, the feed hood should be here in the next month, and I have everything to put the car back together.
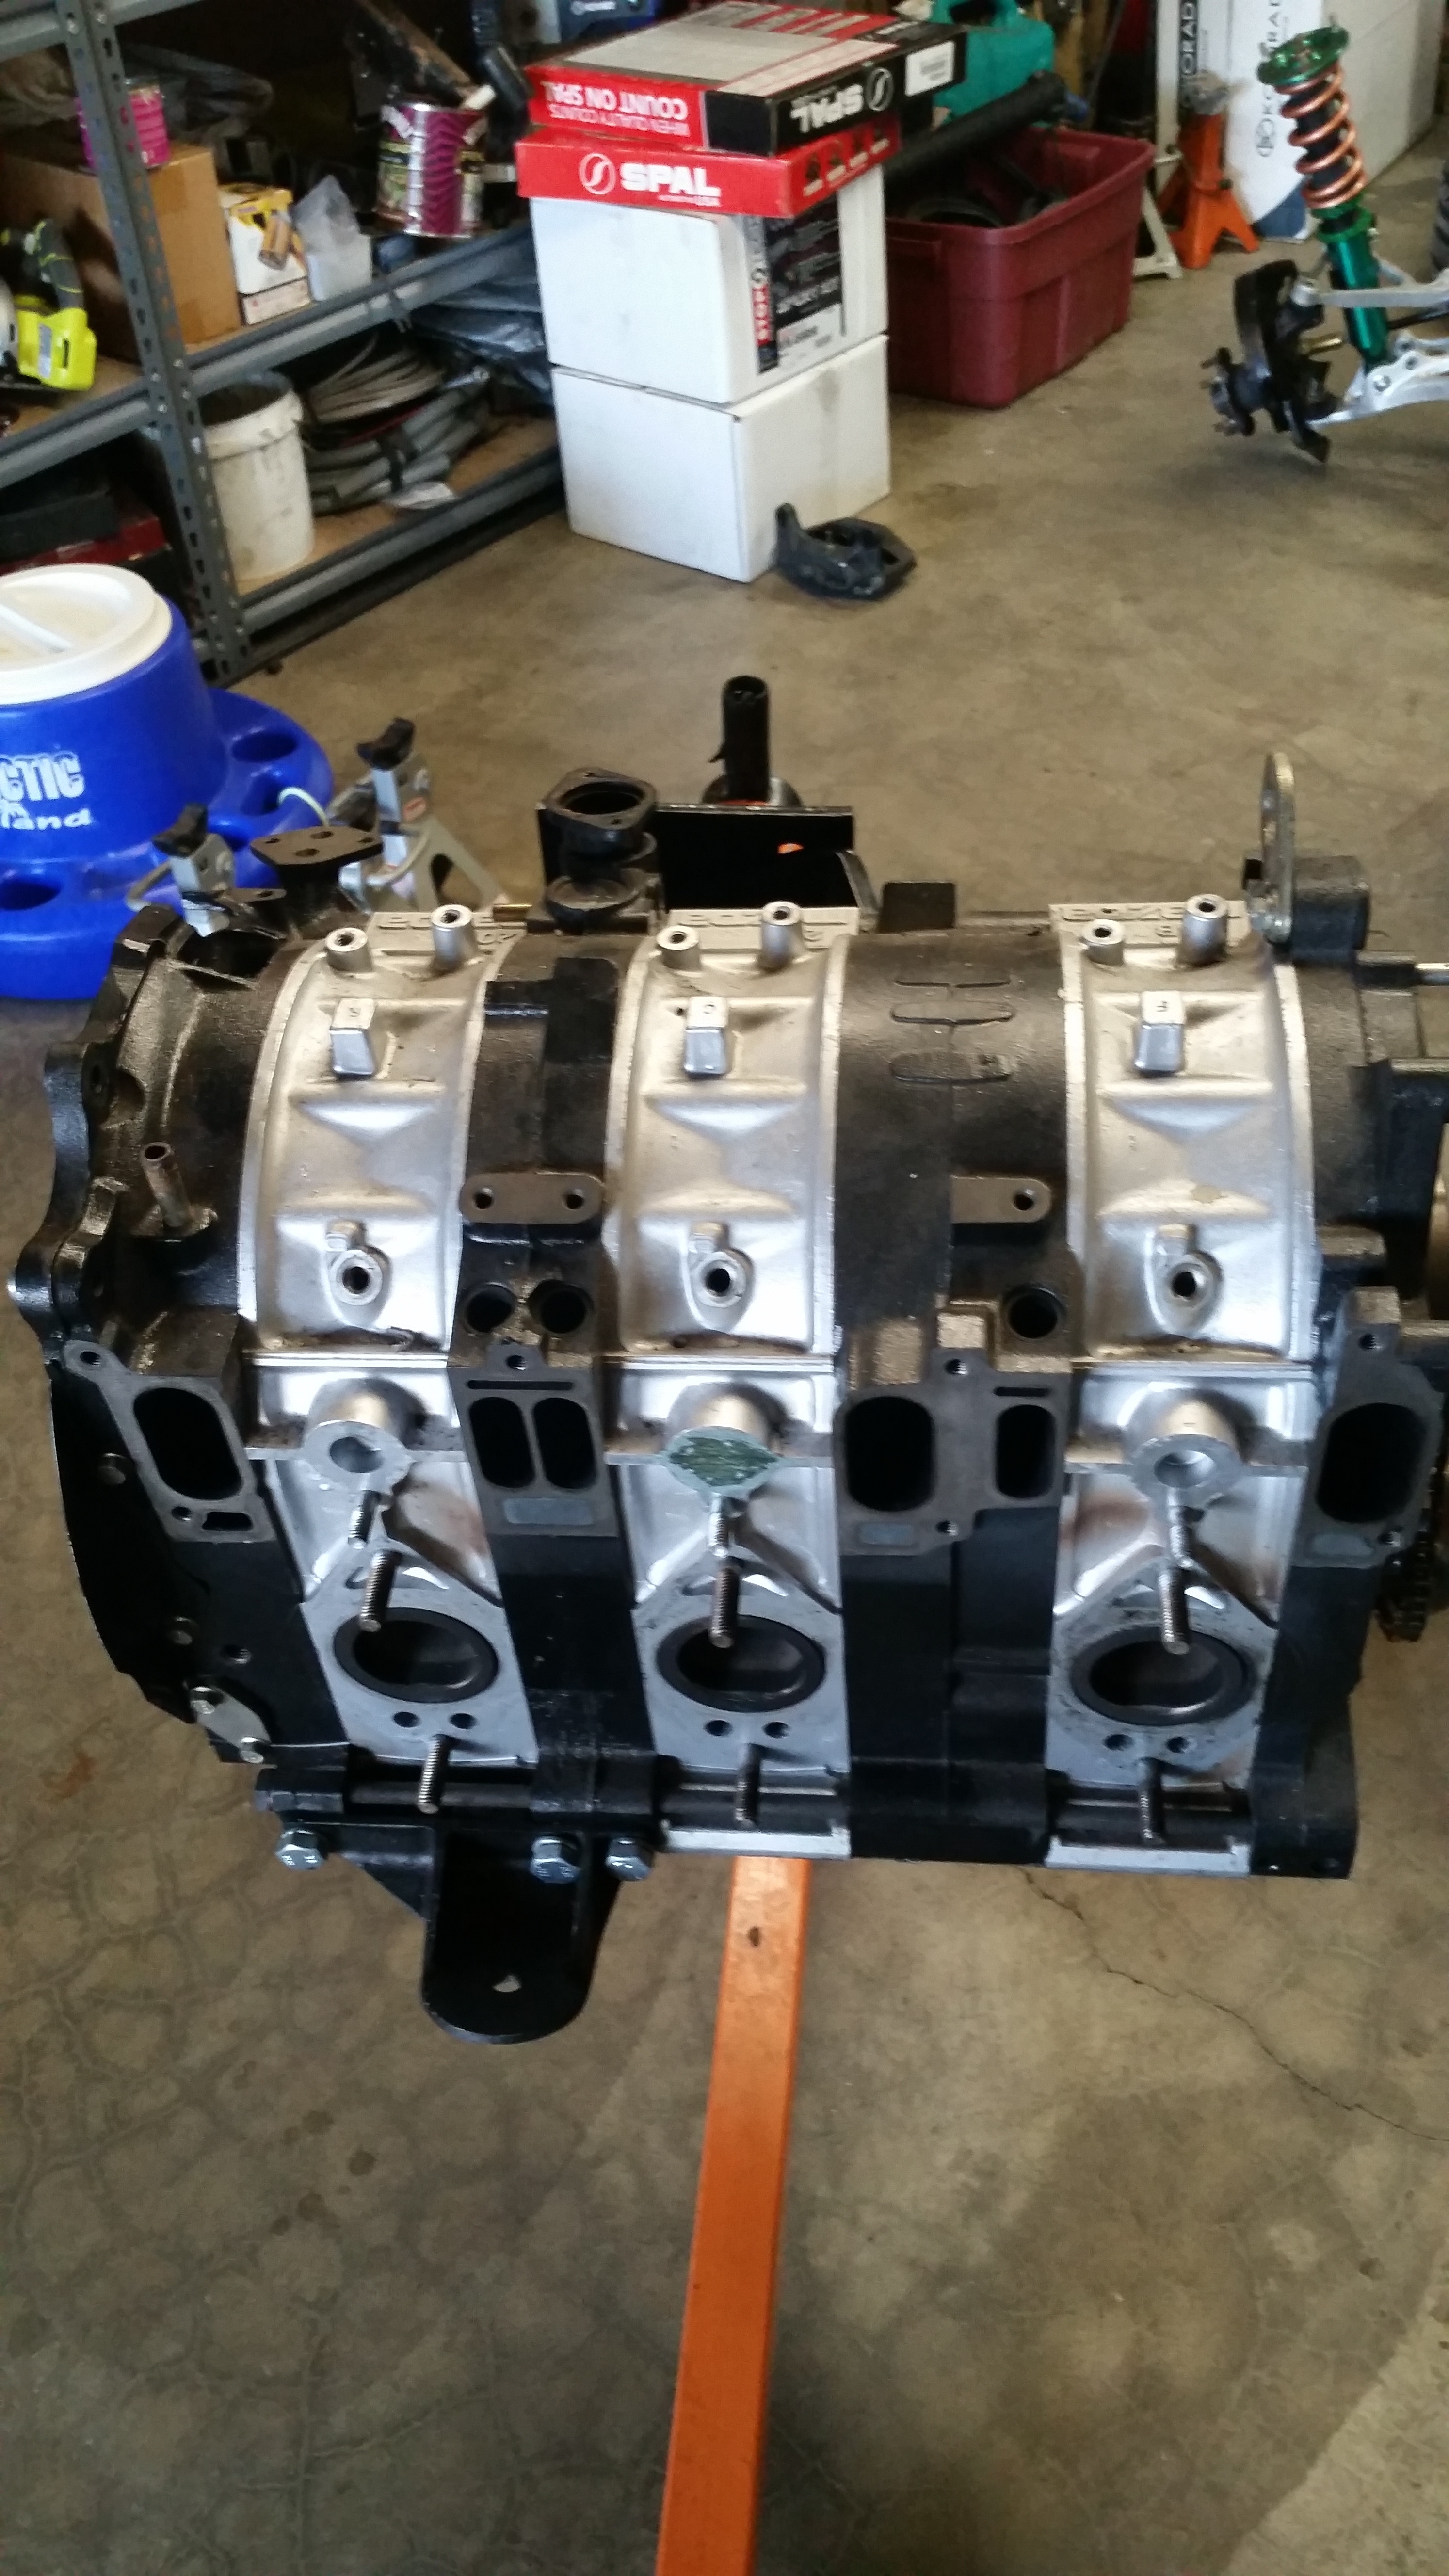
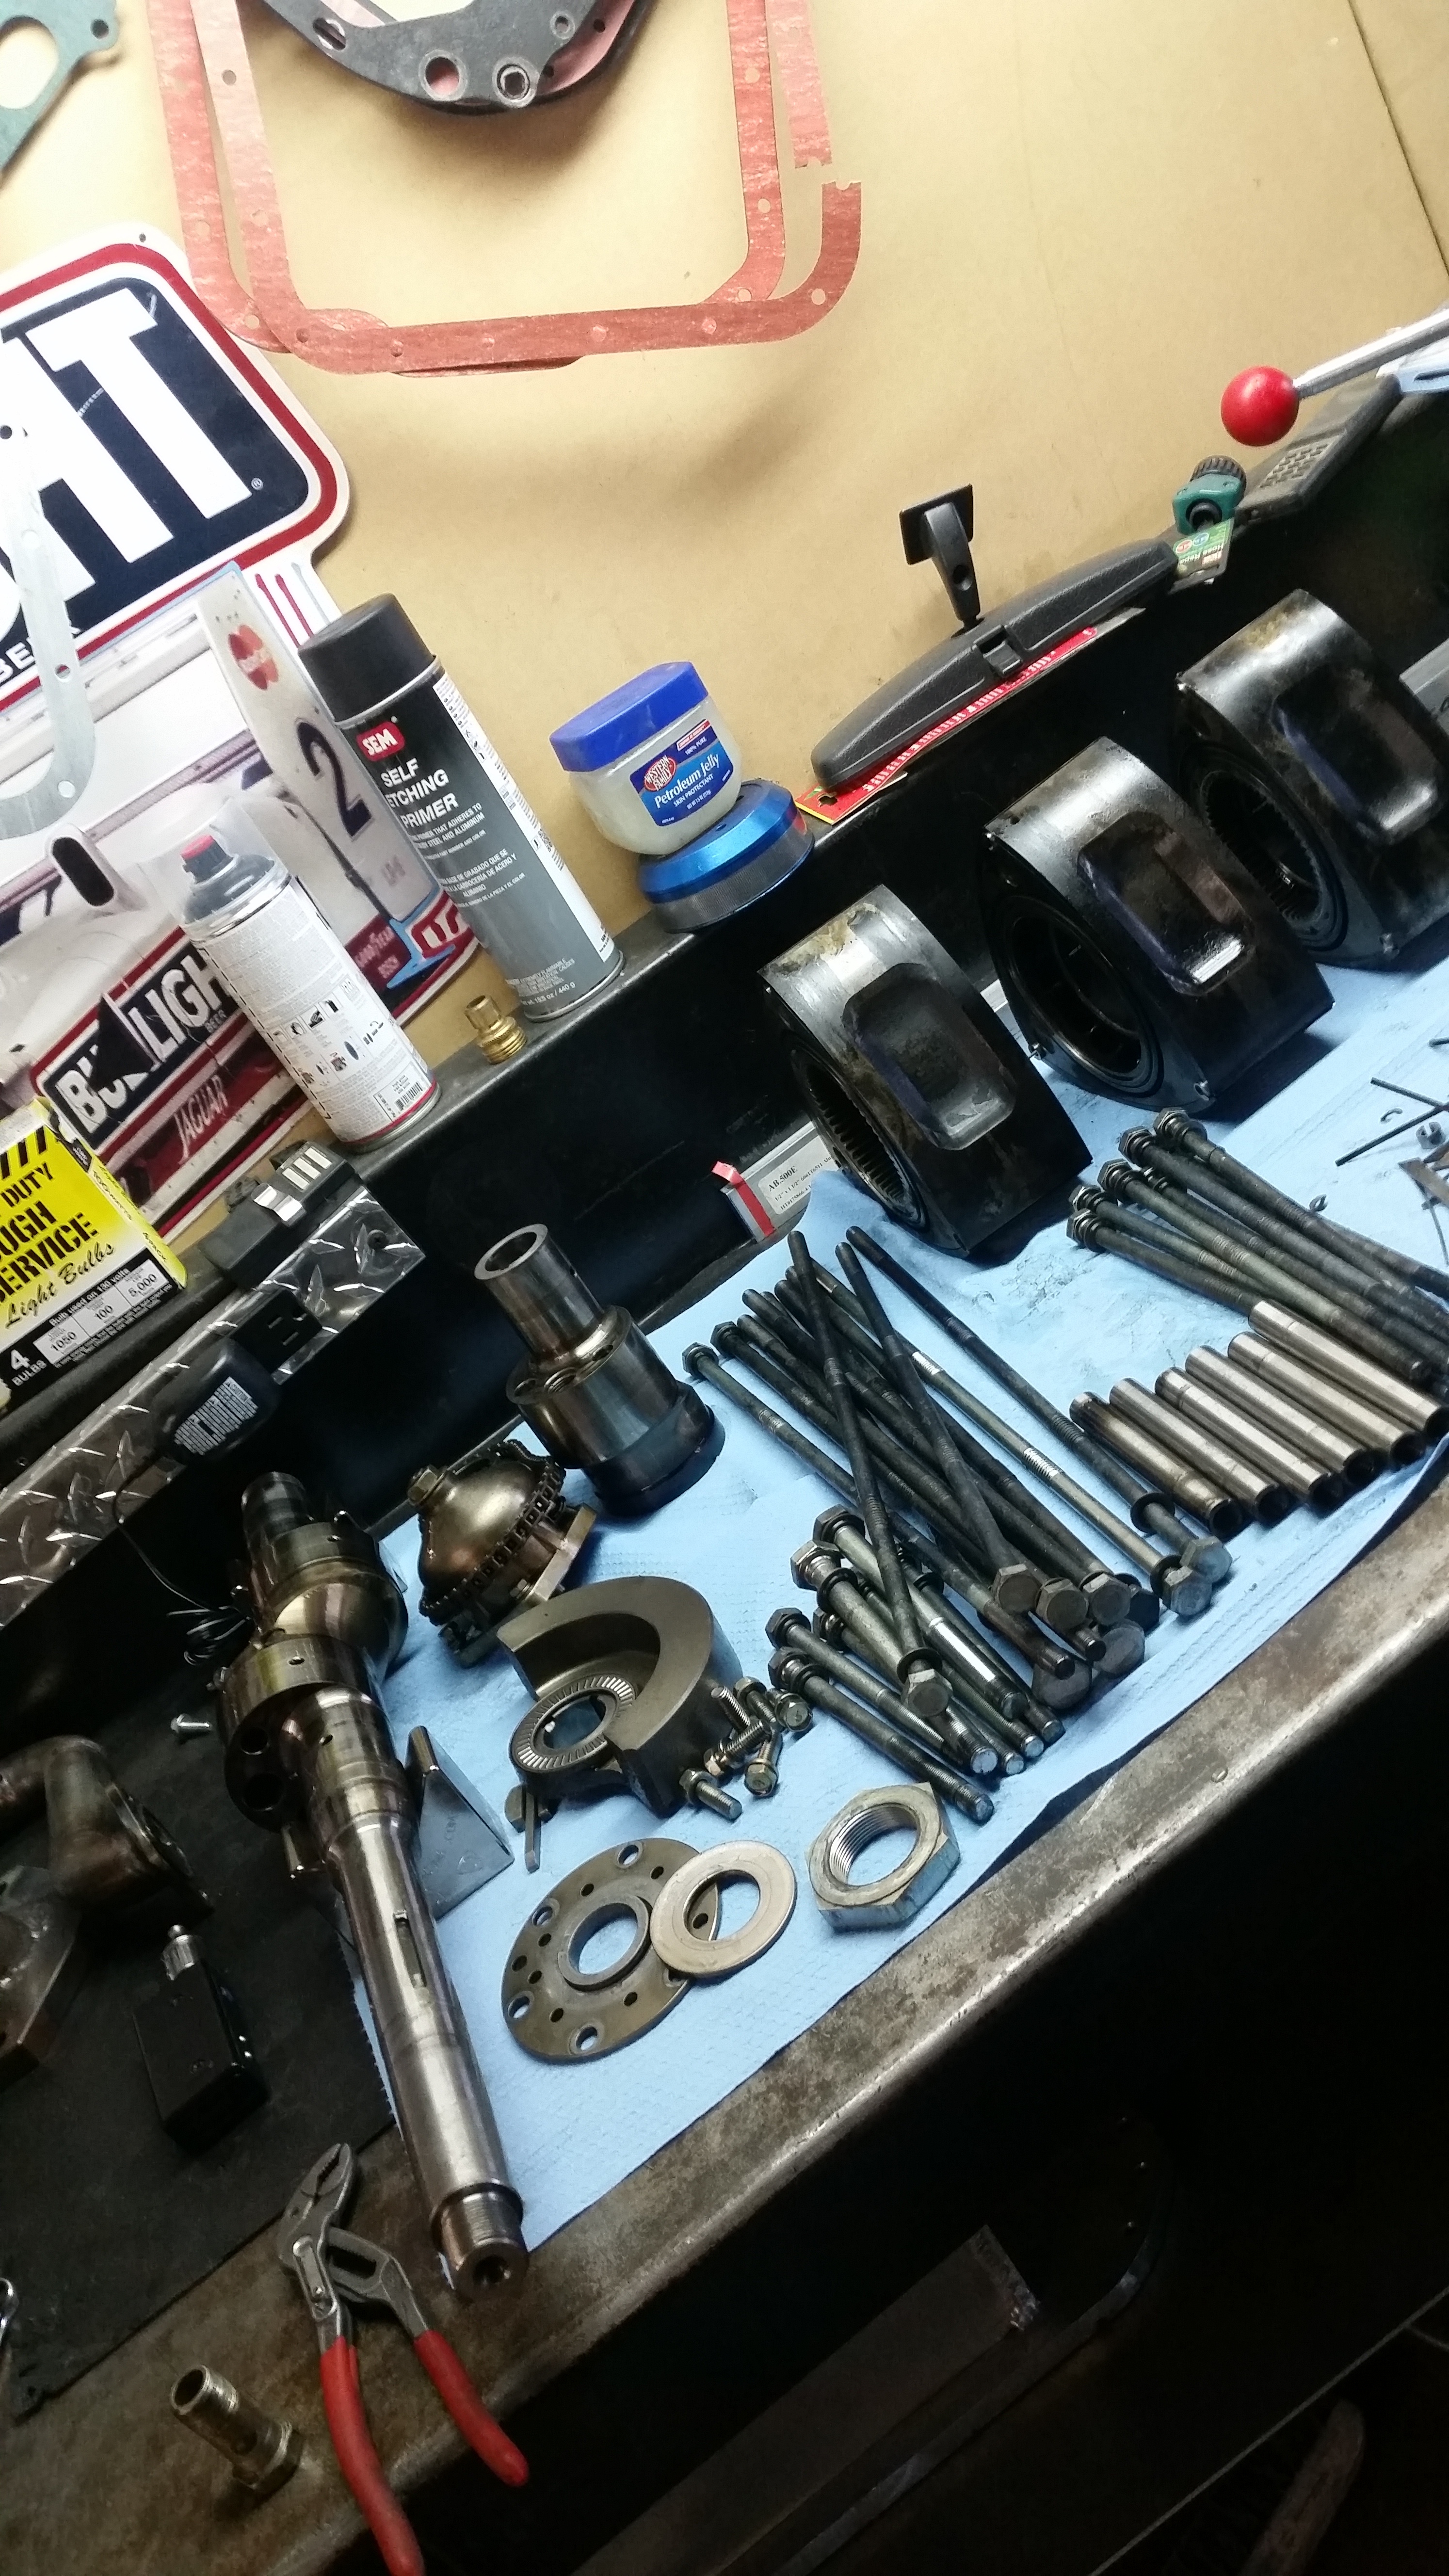
Finally got the motor stipped down everything looks great! The motor definetly had little to not time on it after it was rebuilt. I sent the housings off to ARP to judge ITO for resurface work.
The COP adaptors are on their way.
I decided againsed solid dowels and studs per carlos lopez's recommendation. Instead I will be doing a trick he came up with thats secret but eliminates any chance of cracking the iron. I decided to let the front iron "float" like factory to eliminate any chances of bearing wear or failure due to the chance that the machine work that i would have had done was done incorrectly.
Everything is going smooth.
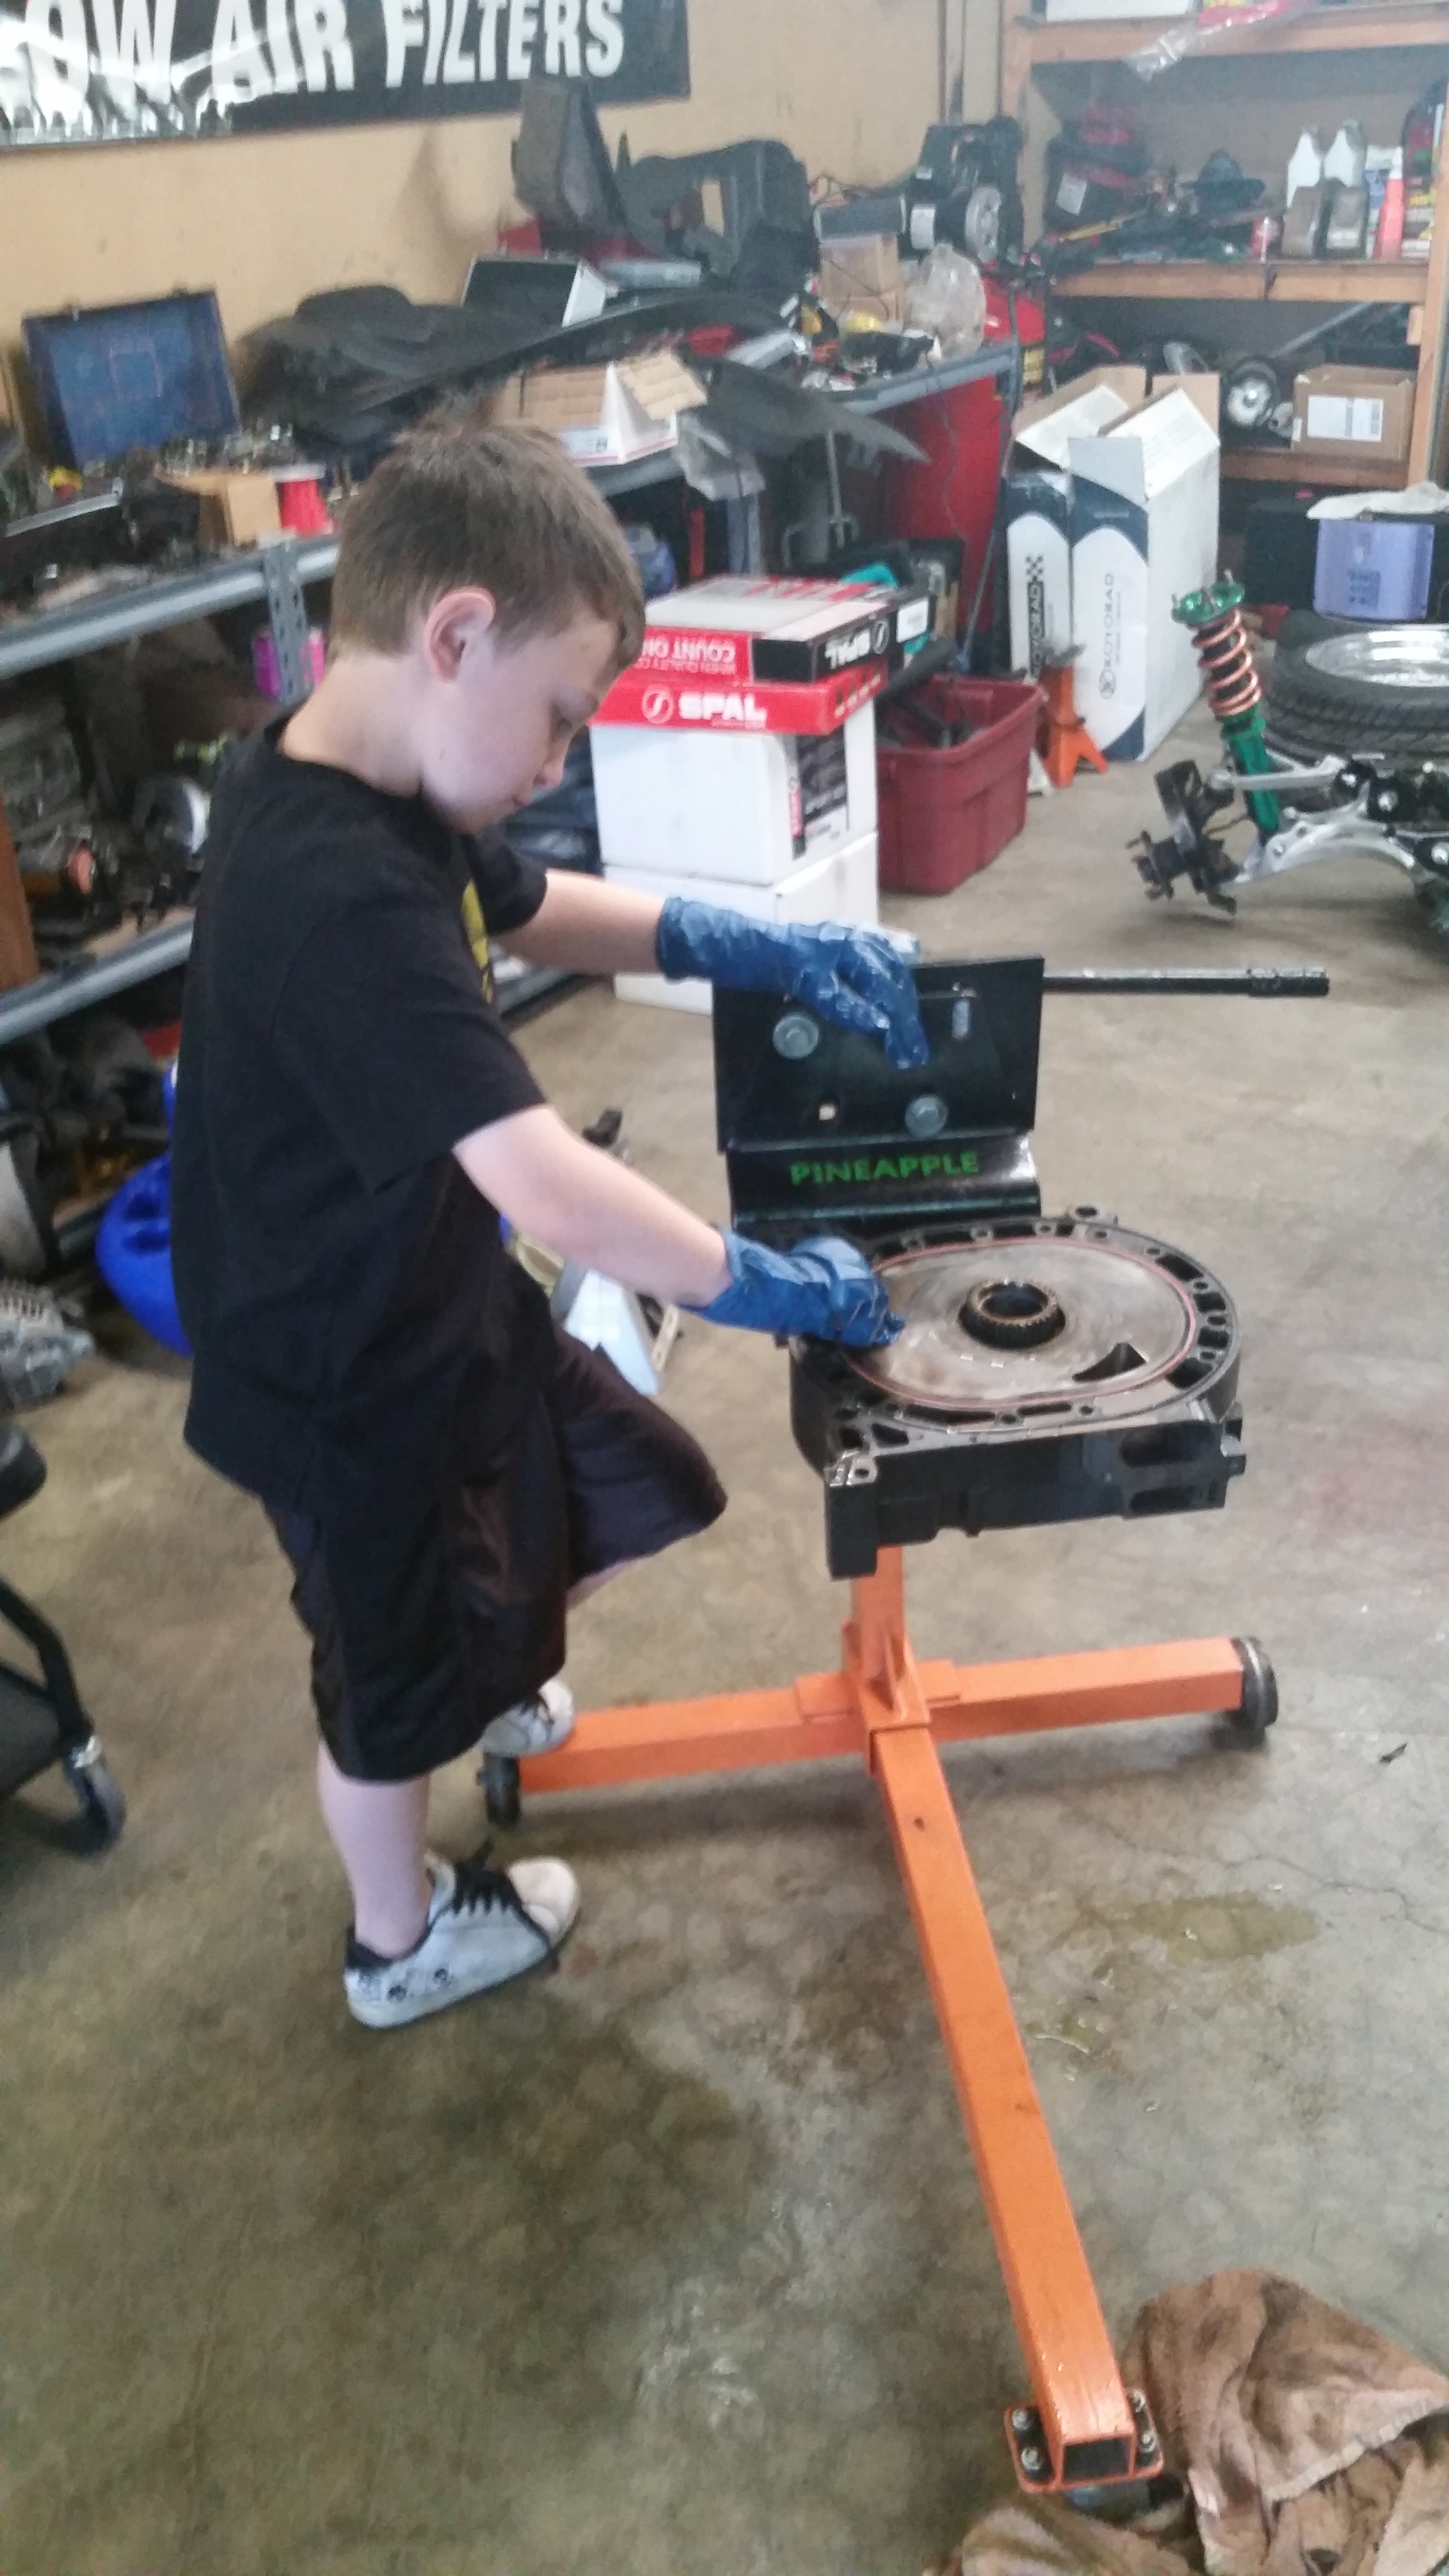
Here is some picturea of my 7yr old son helping me with the motor.
The car is still at paint, the feed hood should be here in the next month, and I have everything to put the car back together.
Finally got the motor stipped down everything looks great! The motor definetly had little to not time on it after it was rebuilt. I sent the housings off to ARP to judge ITO for resurface work.
The COP adaptors are on their way.
I decided againsed solid dowels and studs per carlos lopez's recommendation. Instead I will be doing a trick he came up with thats secret but eliminates any chance of cracking the iron. I decided to let the front iron "float" like factory to eliminate any chances of bearing wear or failure due to the chance that the machine work that i would have had done was done incorrectly.
Everything is going smooth.
Here is some picturea of my 7yr old son helping me with the motor.


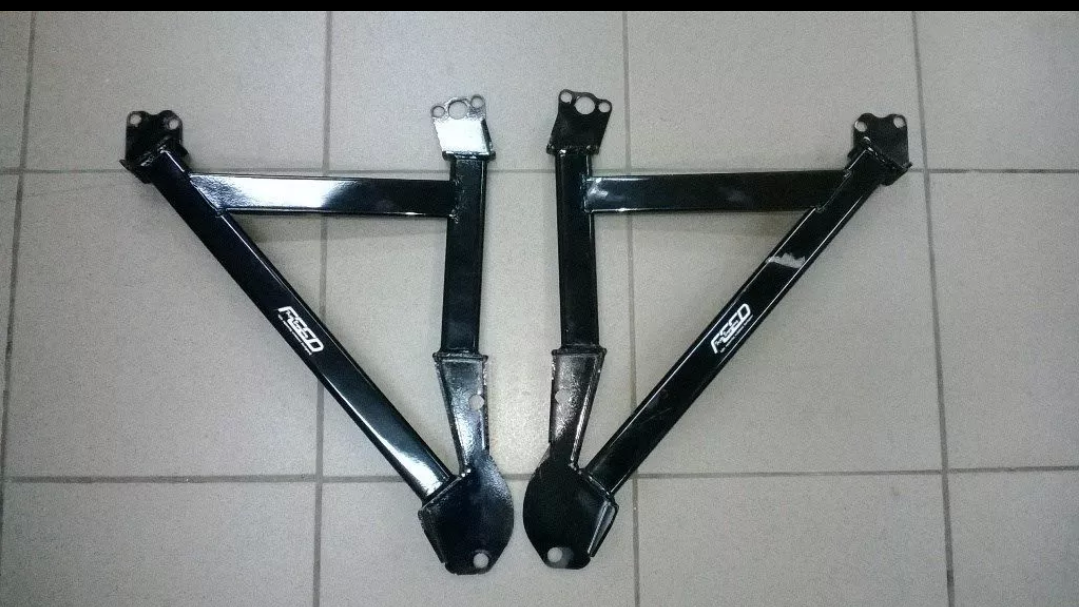
Picked up some authentic feed fender braces to stop any front end flex and to preserve the now straight fenders.
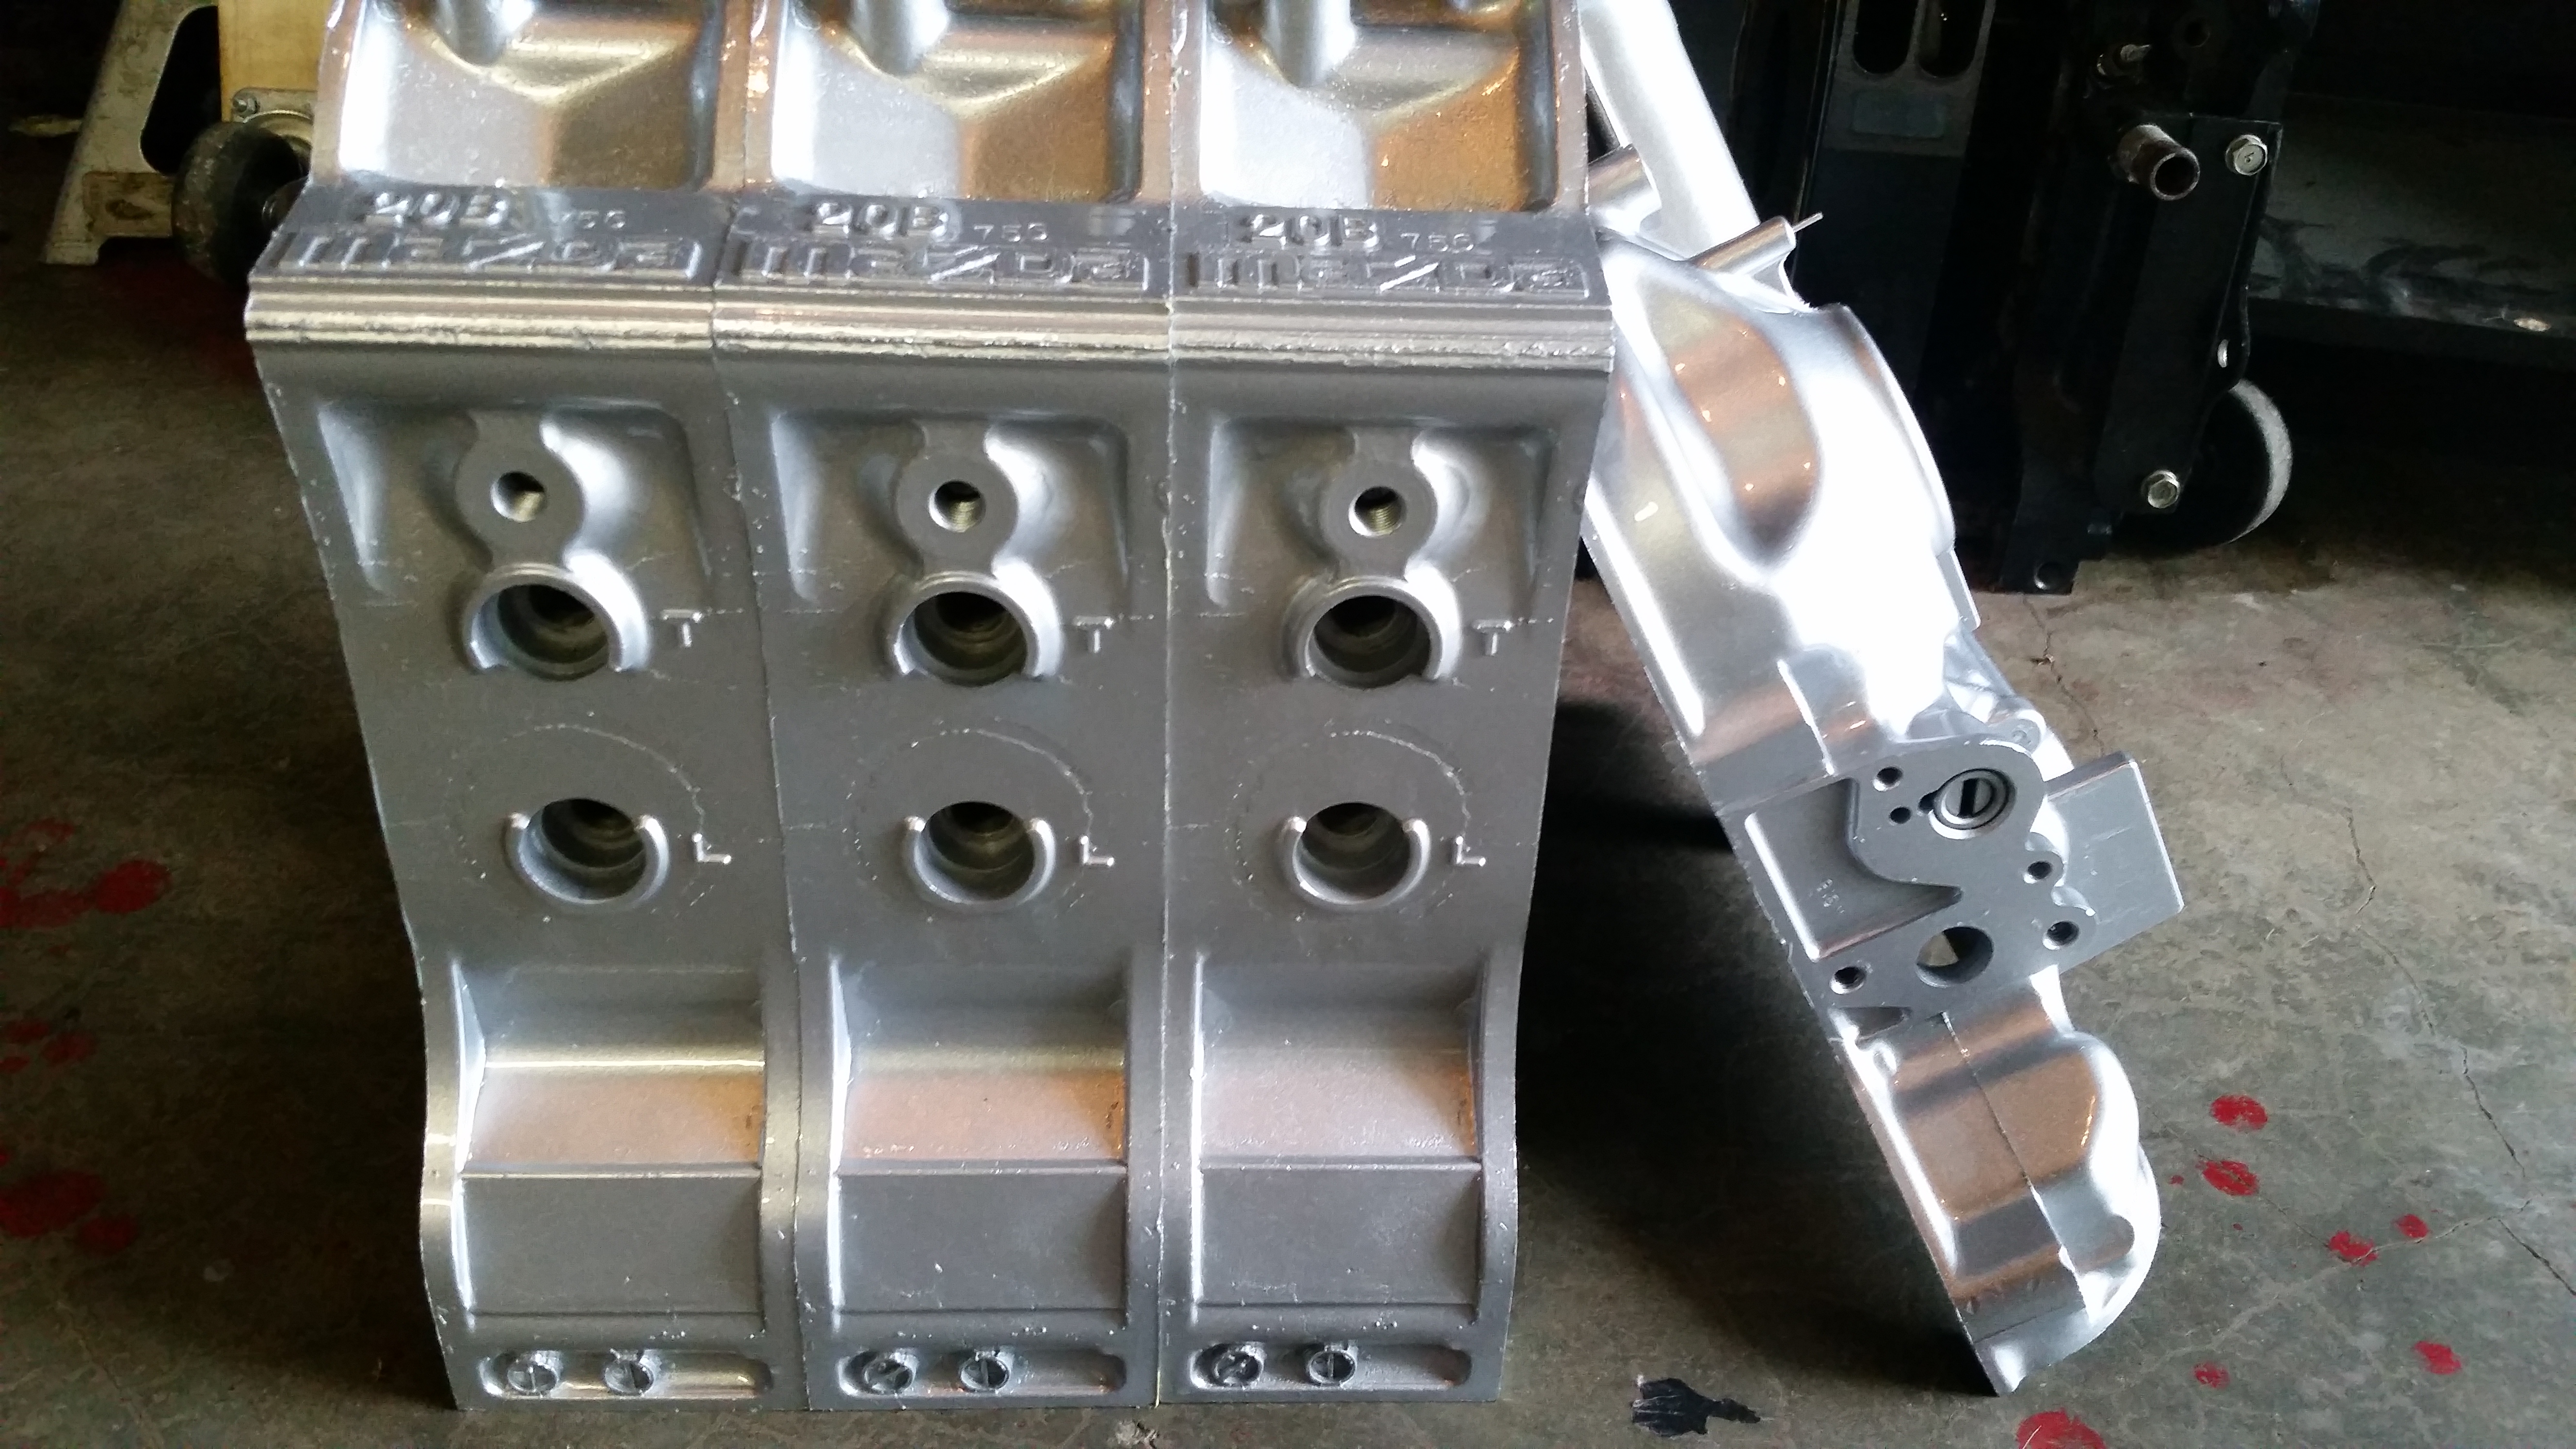
Painted the rotor housings and front cover to match the 2013 ingot silver paint.
Ported the 20b very large intake ports and exhaust ports with a little bit of over lap, that will give it a nice beestly idle I want.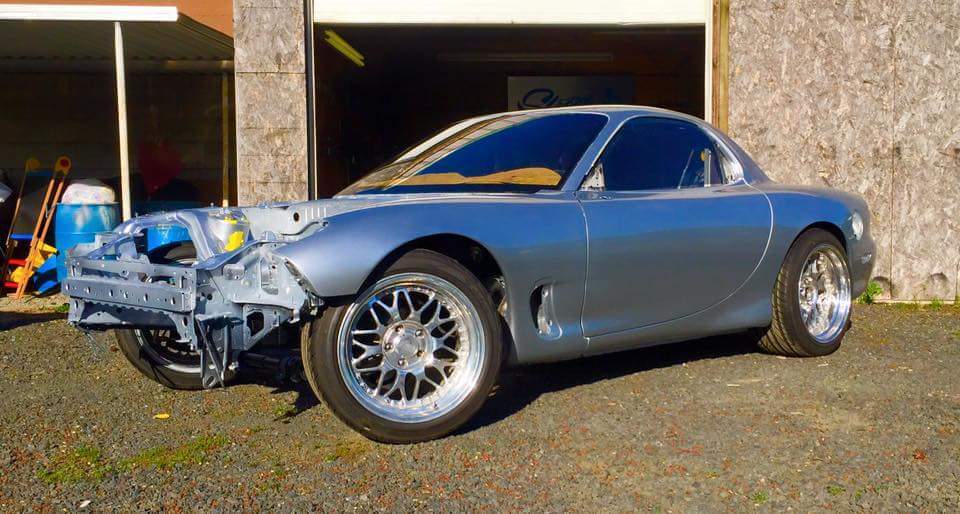
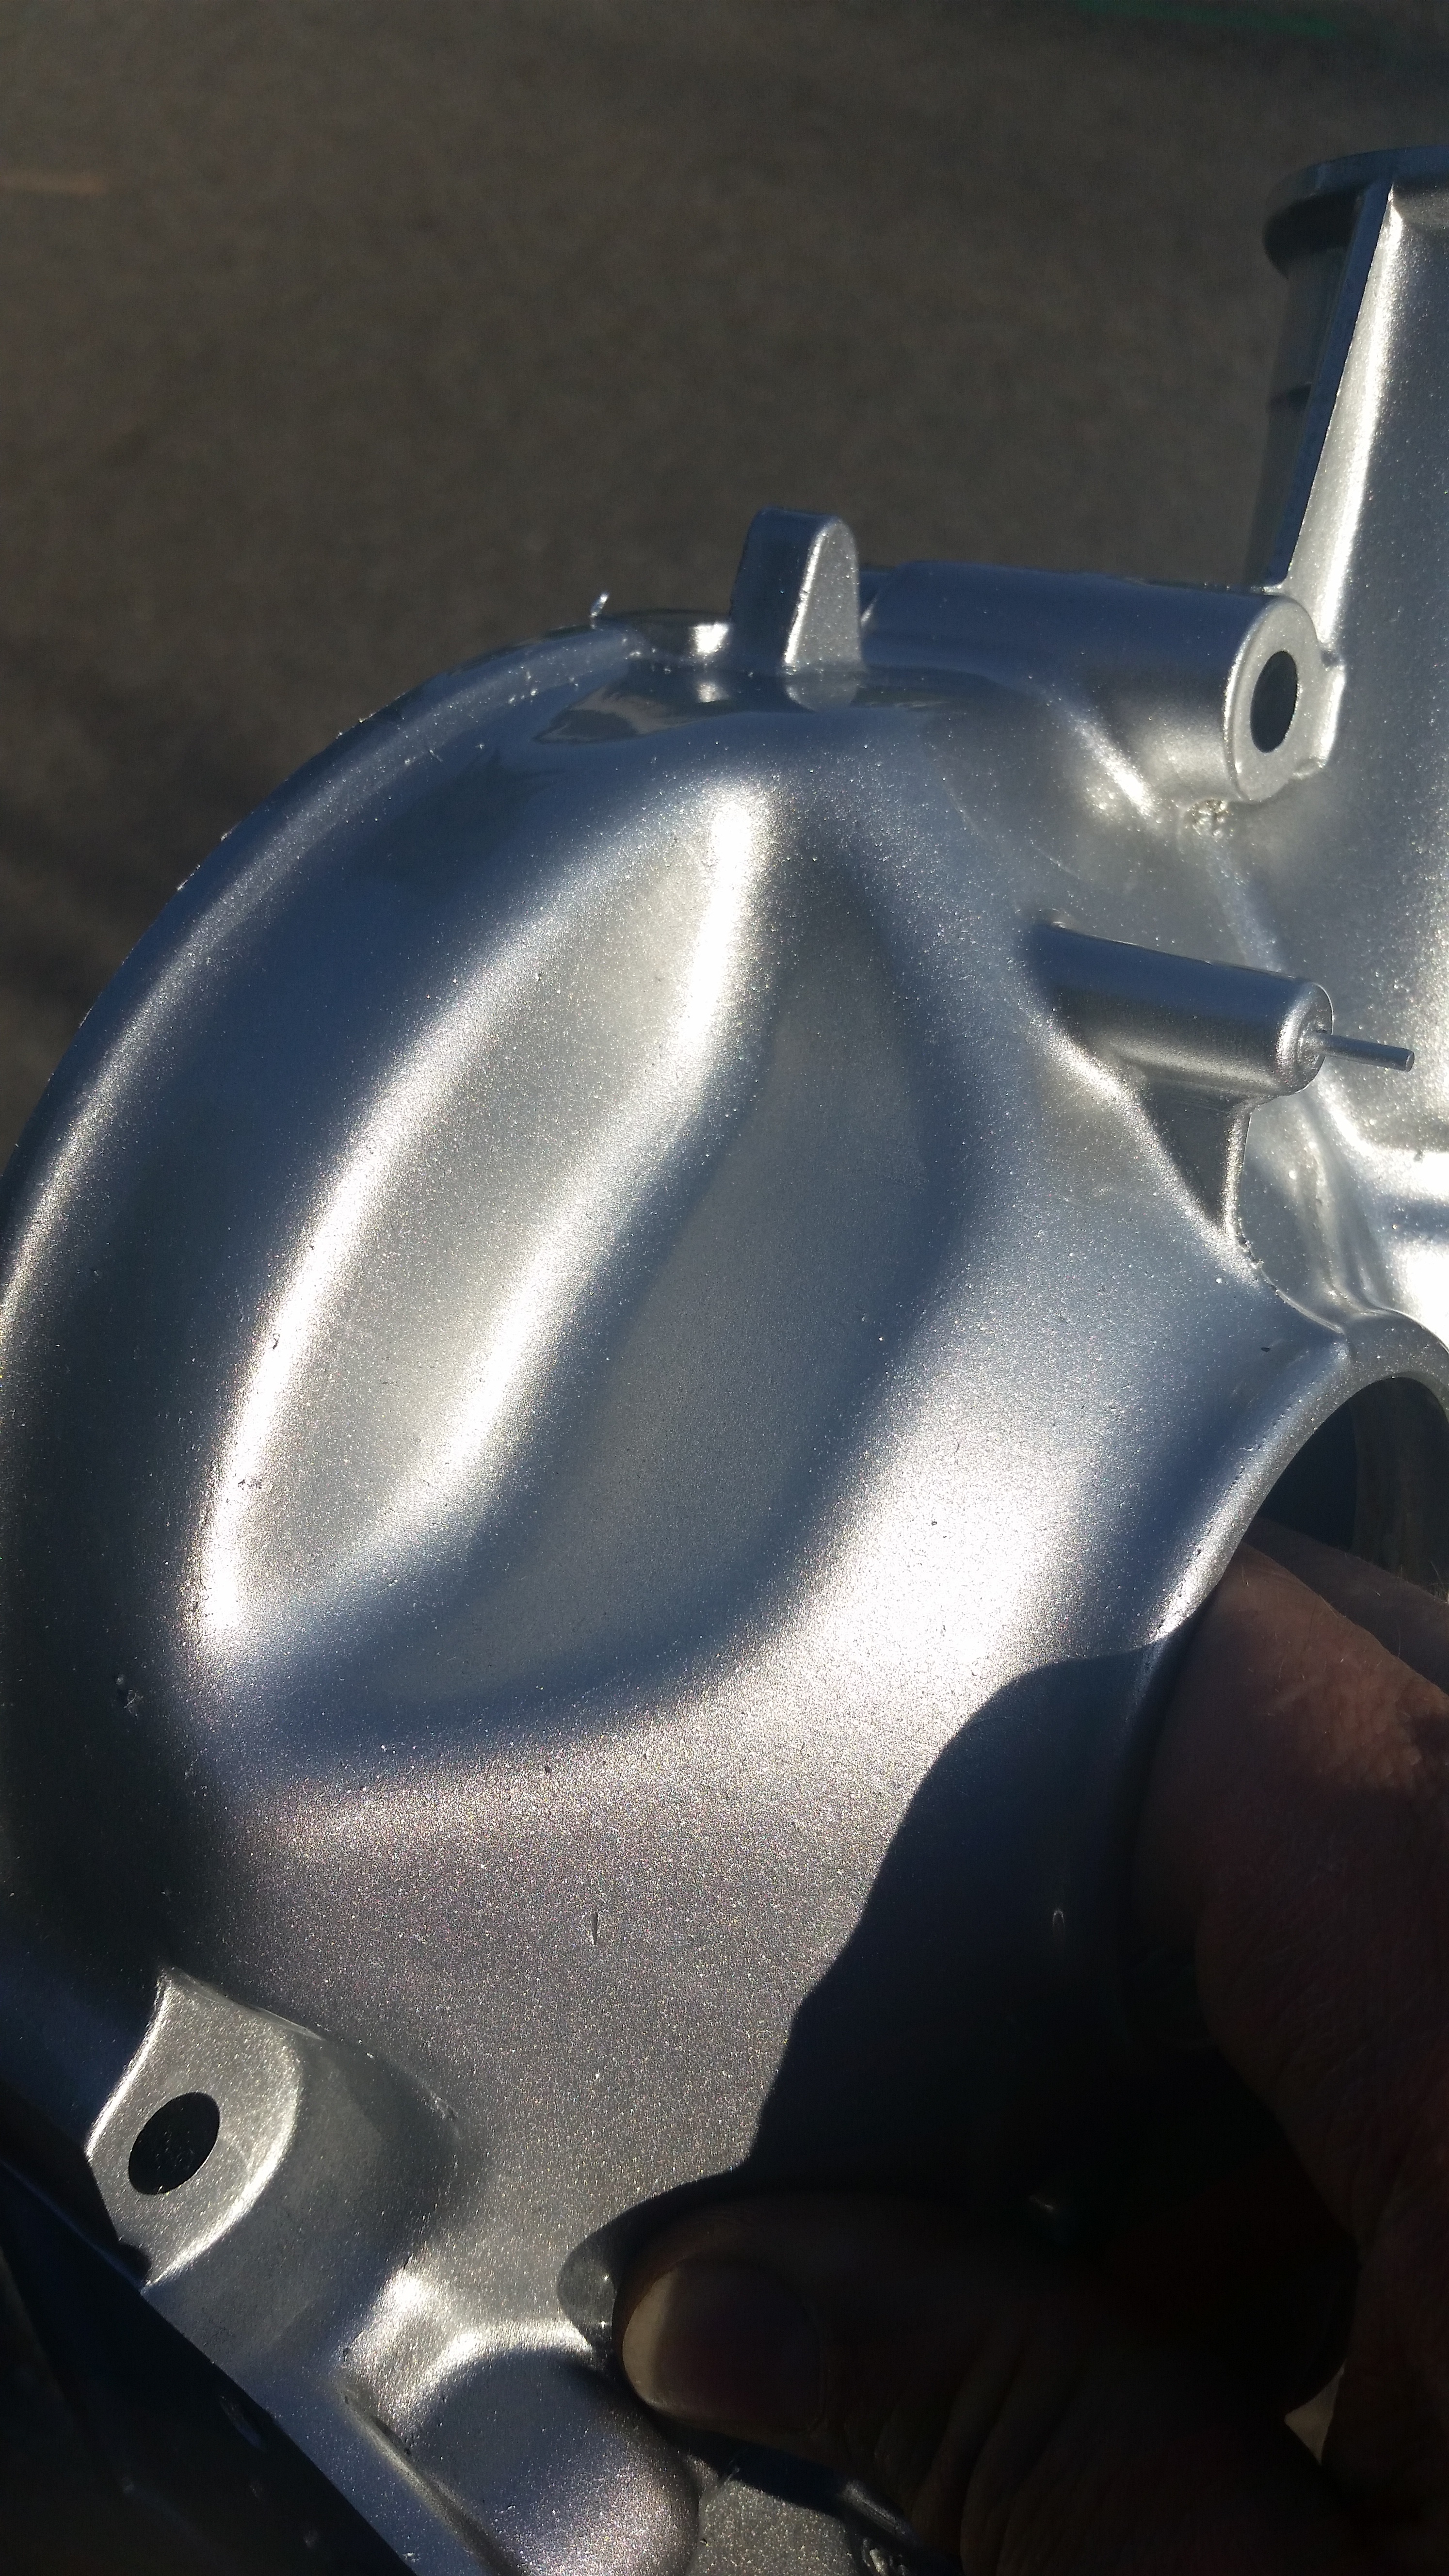
Painted the rotor housings and front cover to match the 2013 ingot silver paint.
Ported the 20b very large intake ports and exhaust ports with a little bit of over lap, that will give it a nice beestly idle I want.


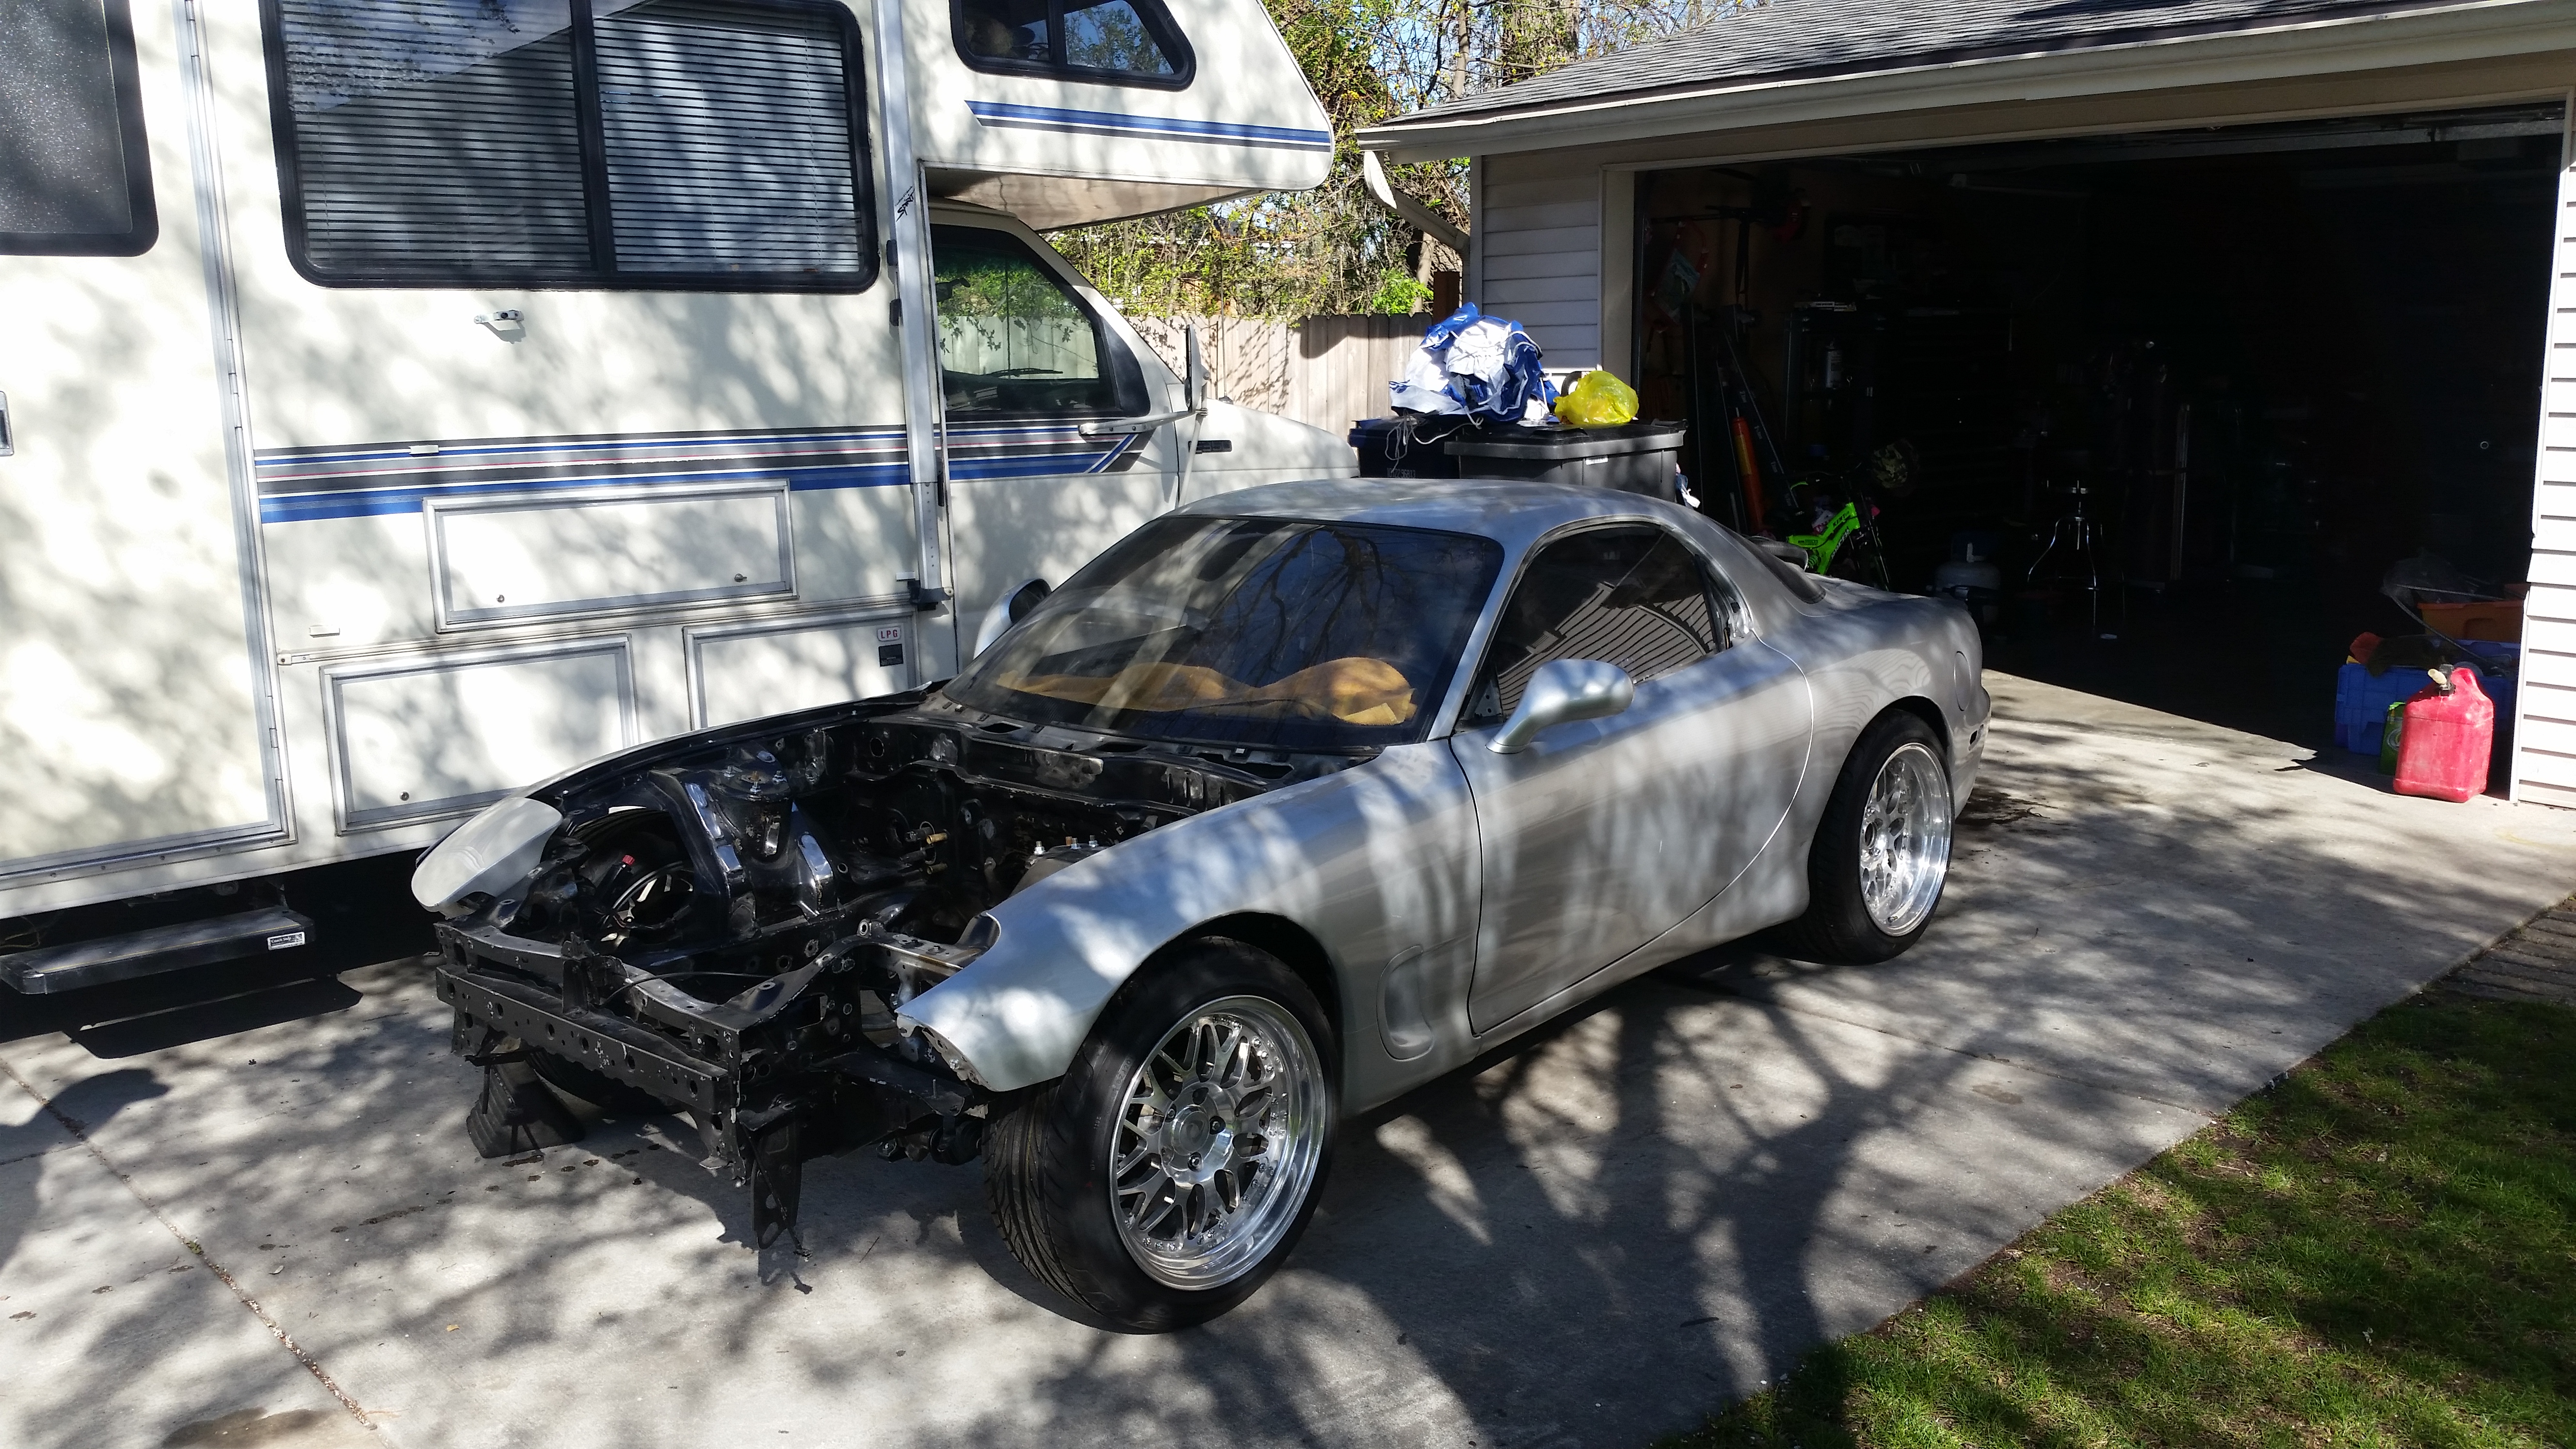
Got the car back on sunday. I must say its 1000% stunning.
Stsrted working on puting it all back together already.
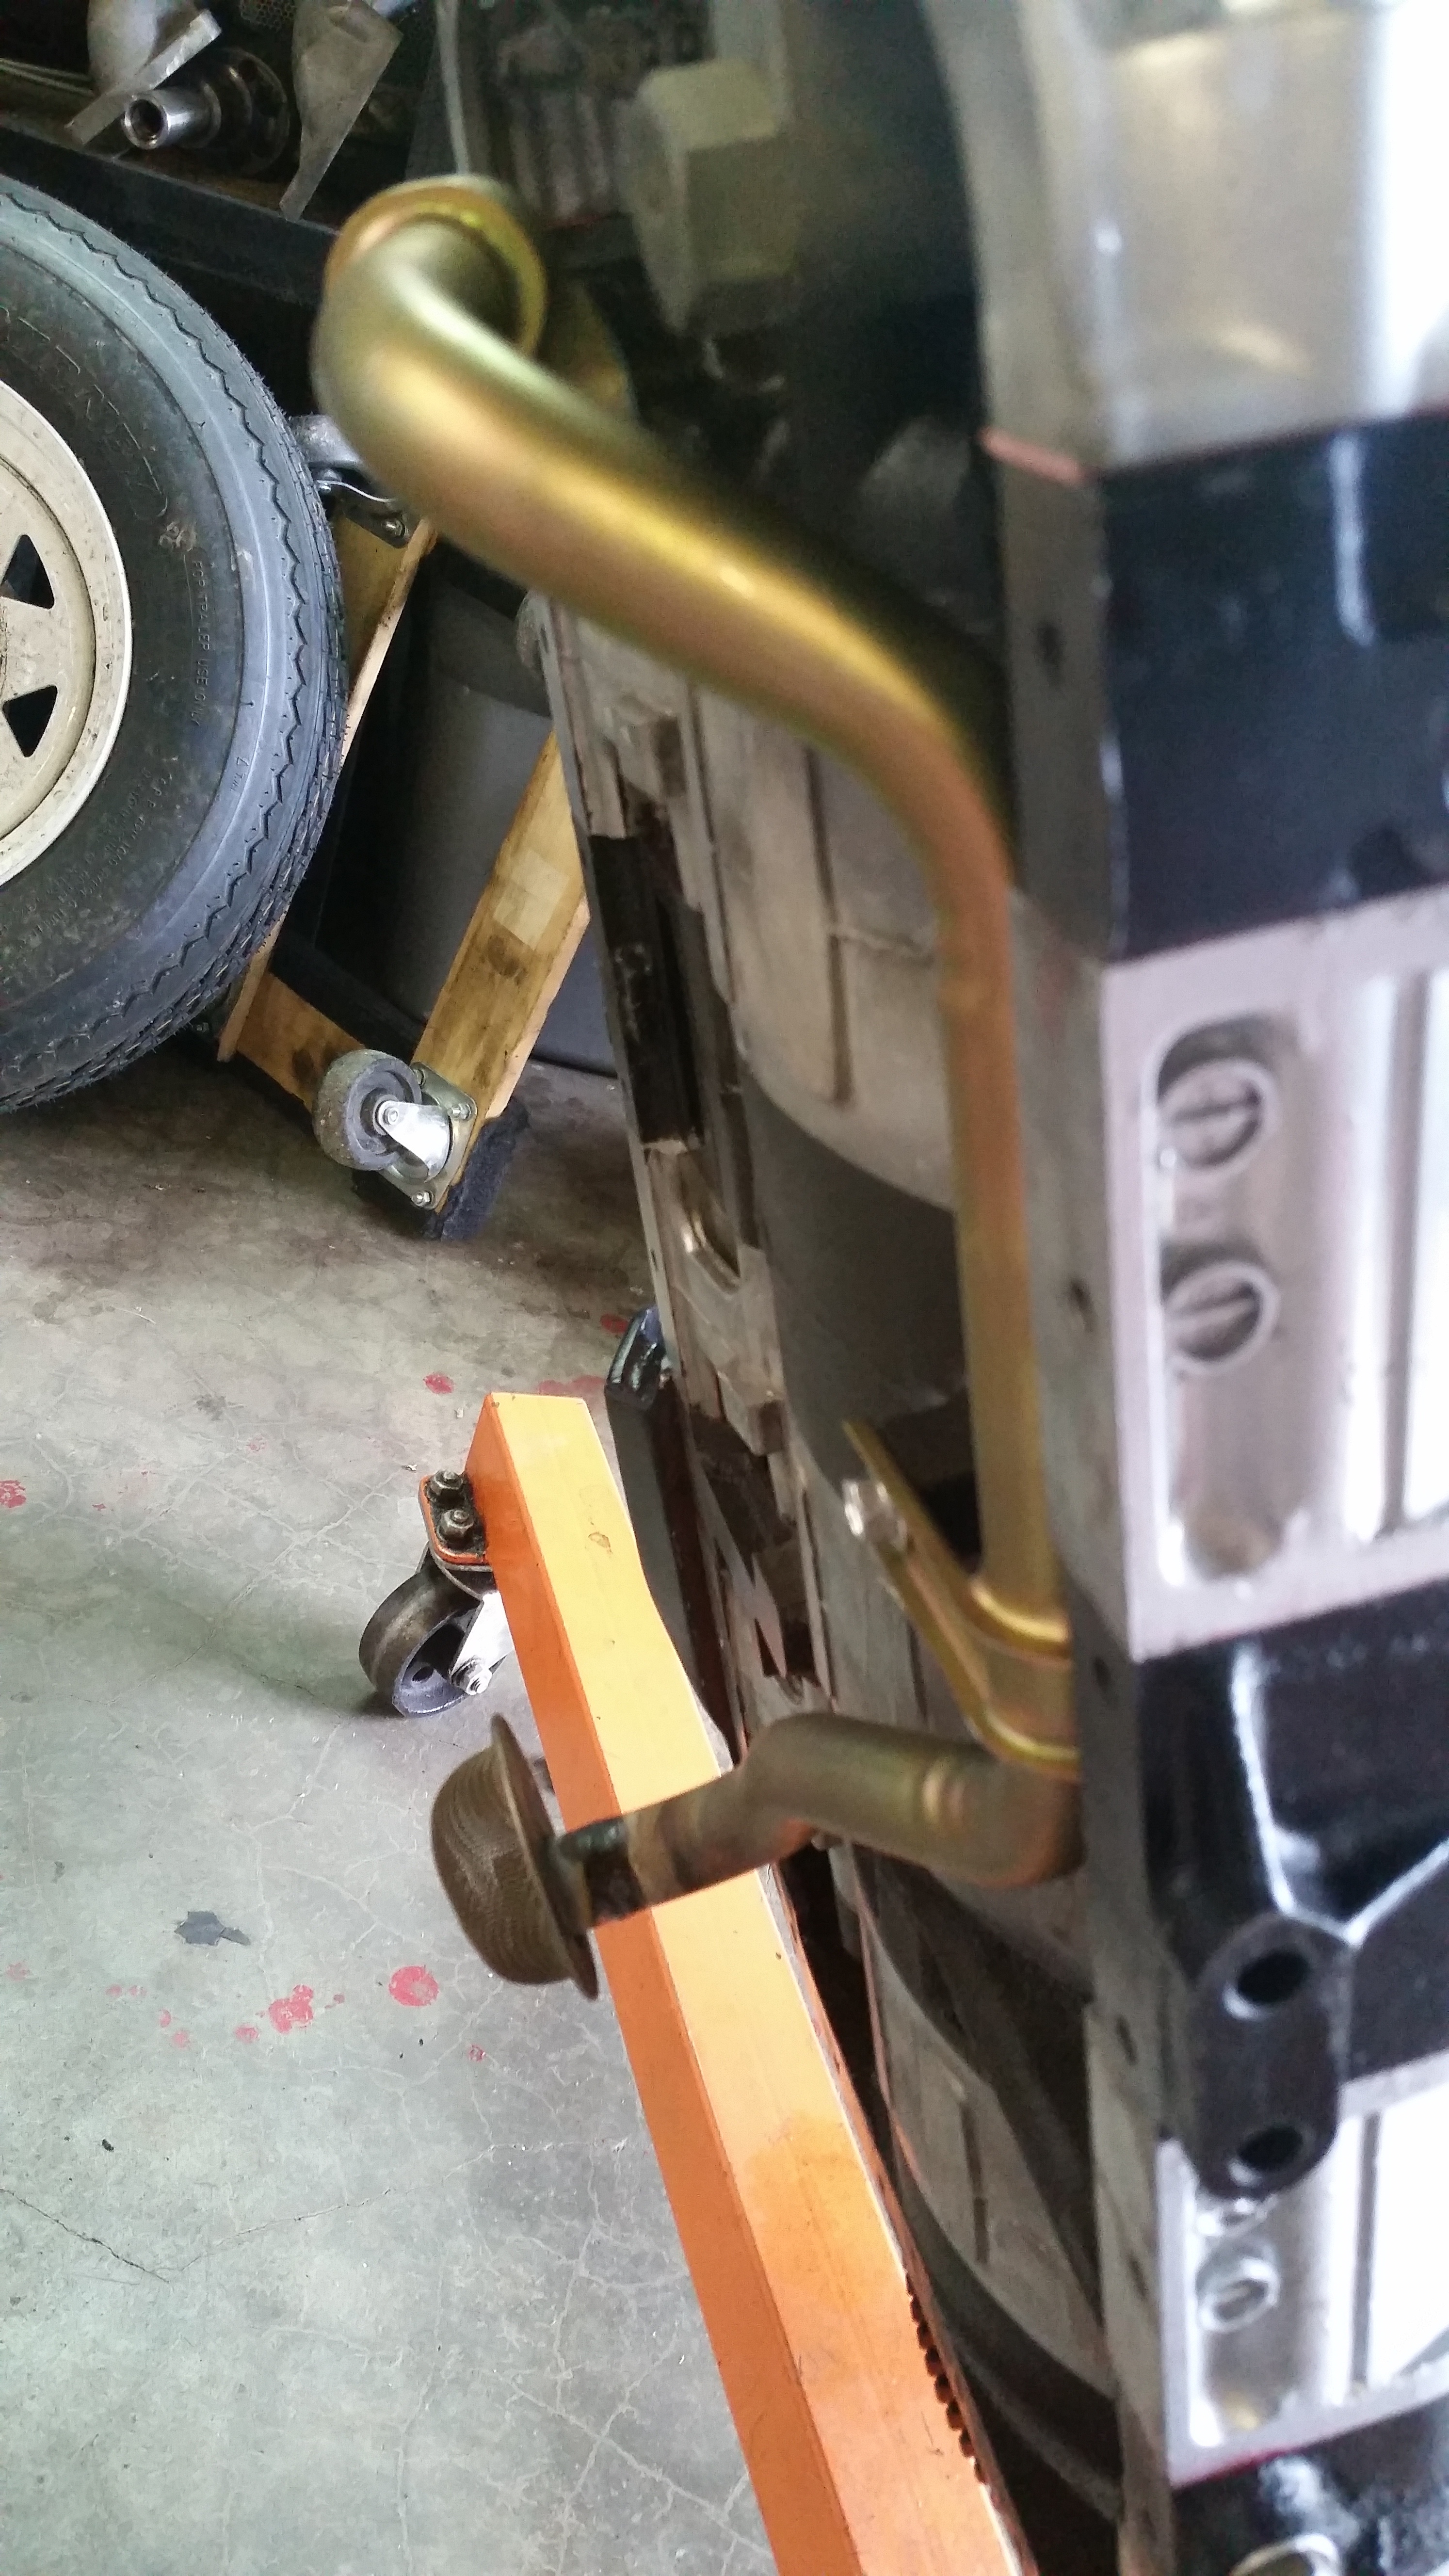
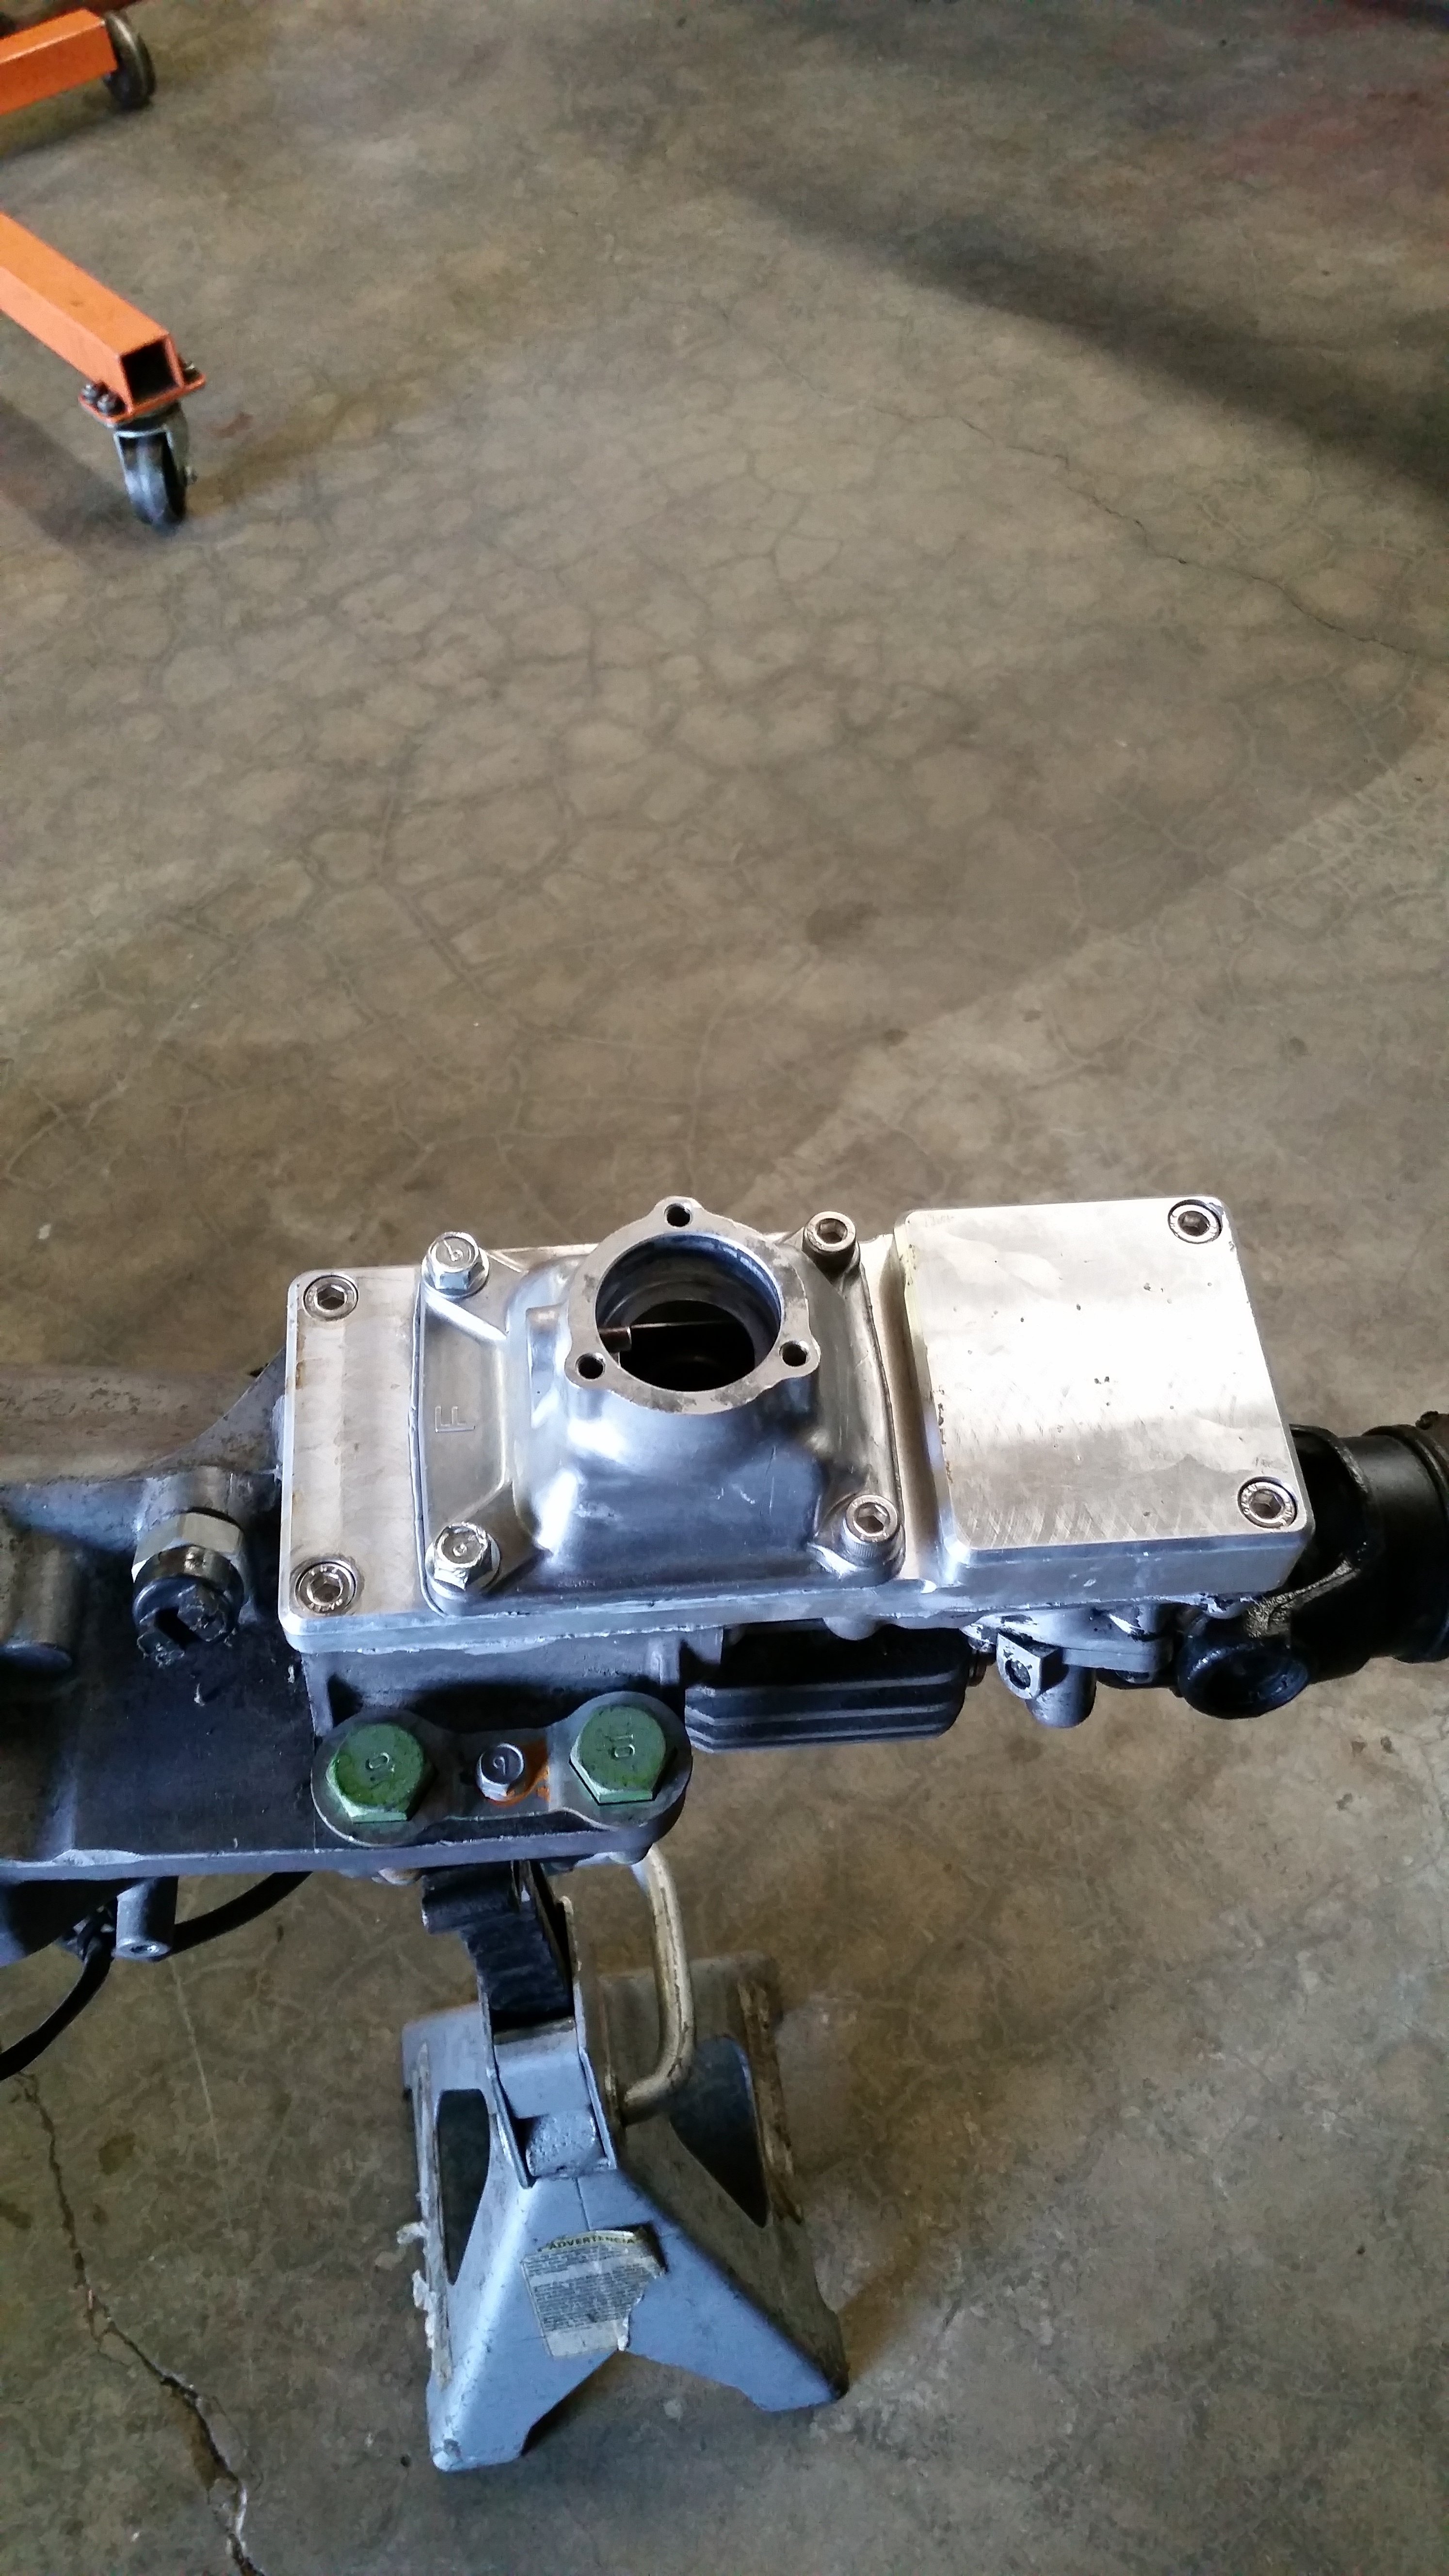
Finished modifying my shifter relocation. Also finished my oil pickup tube.
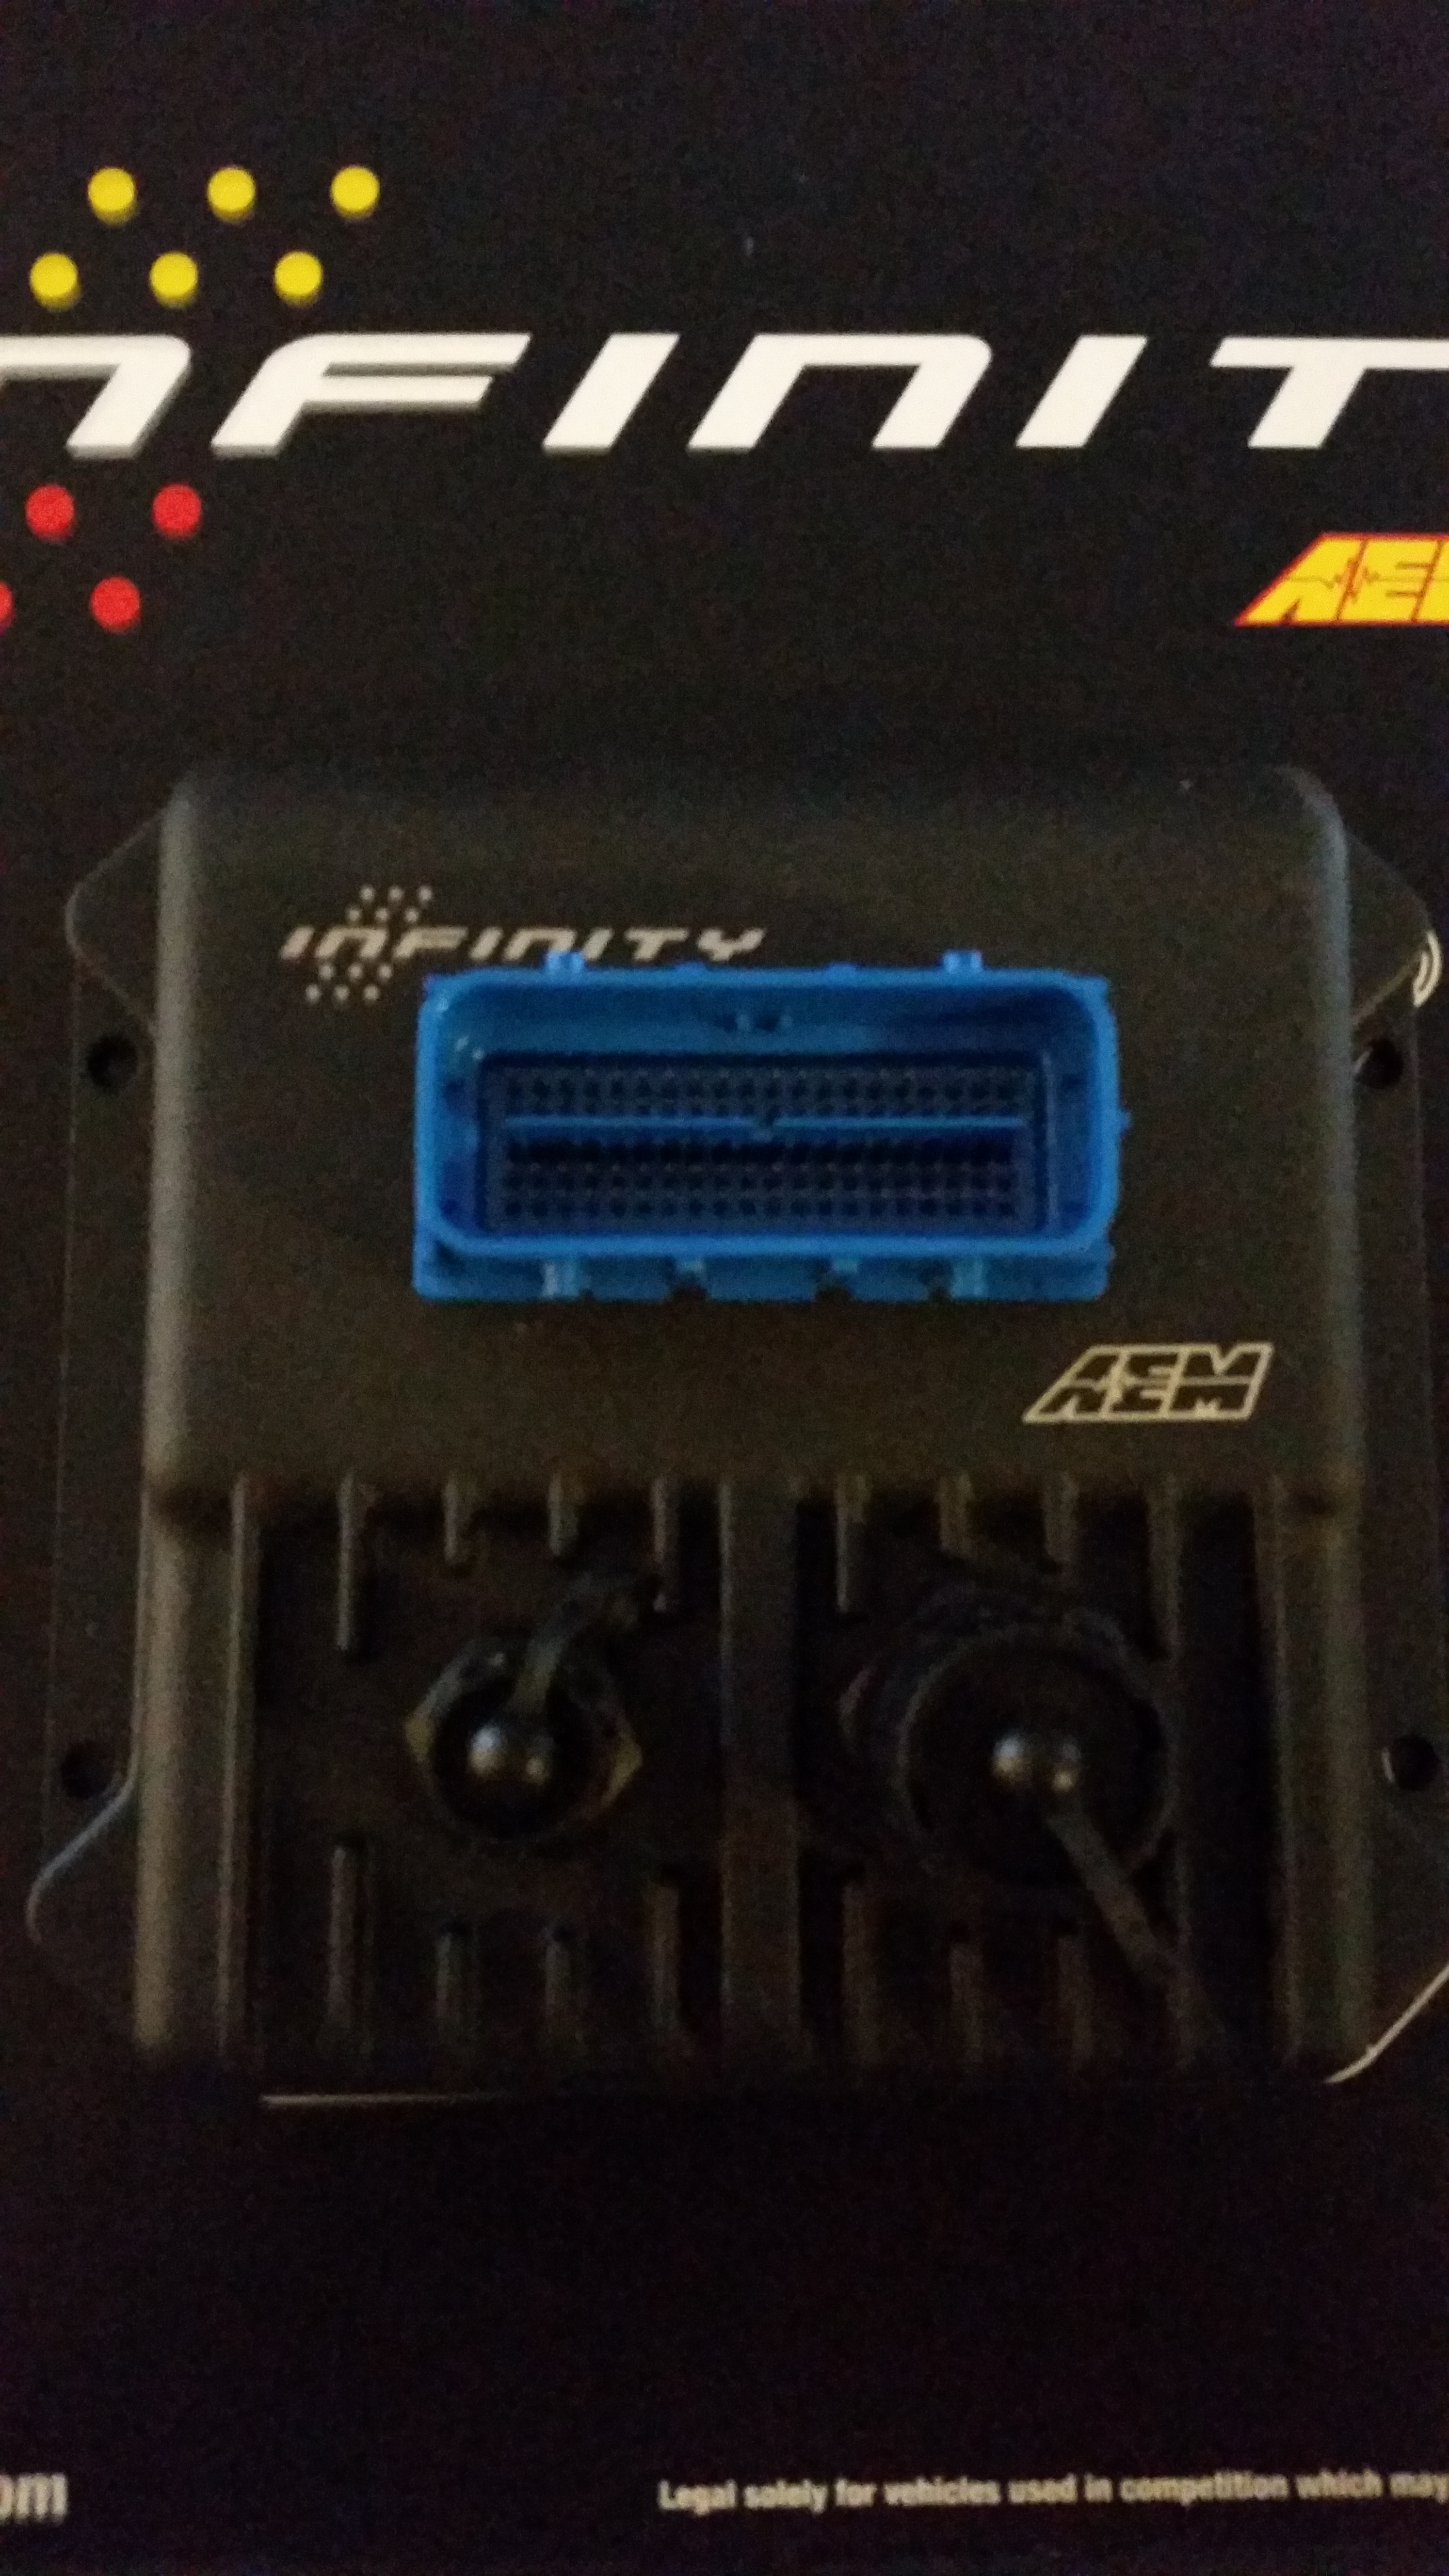
Also got my Aem Infinity from cody (ebturbo). Its been tested, updated and already setup with a base map to startup the 20b. He is truely a badass dude.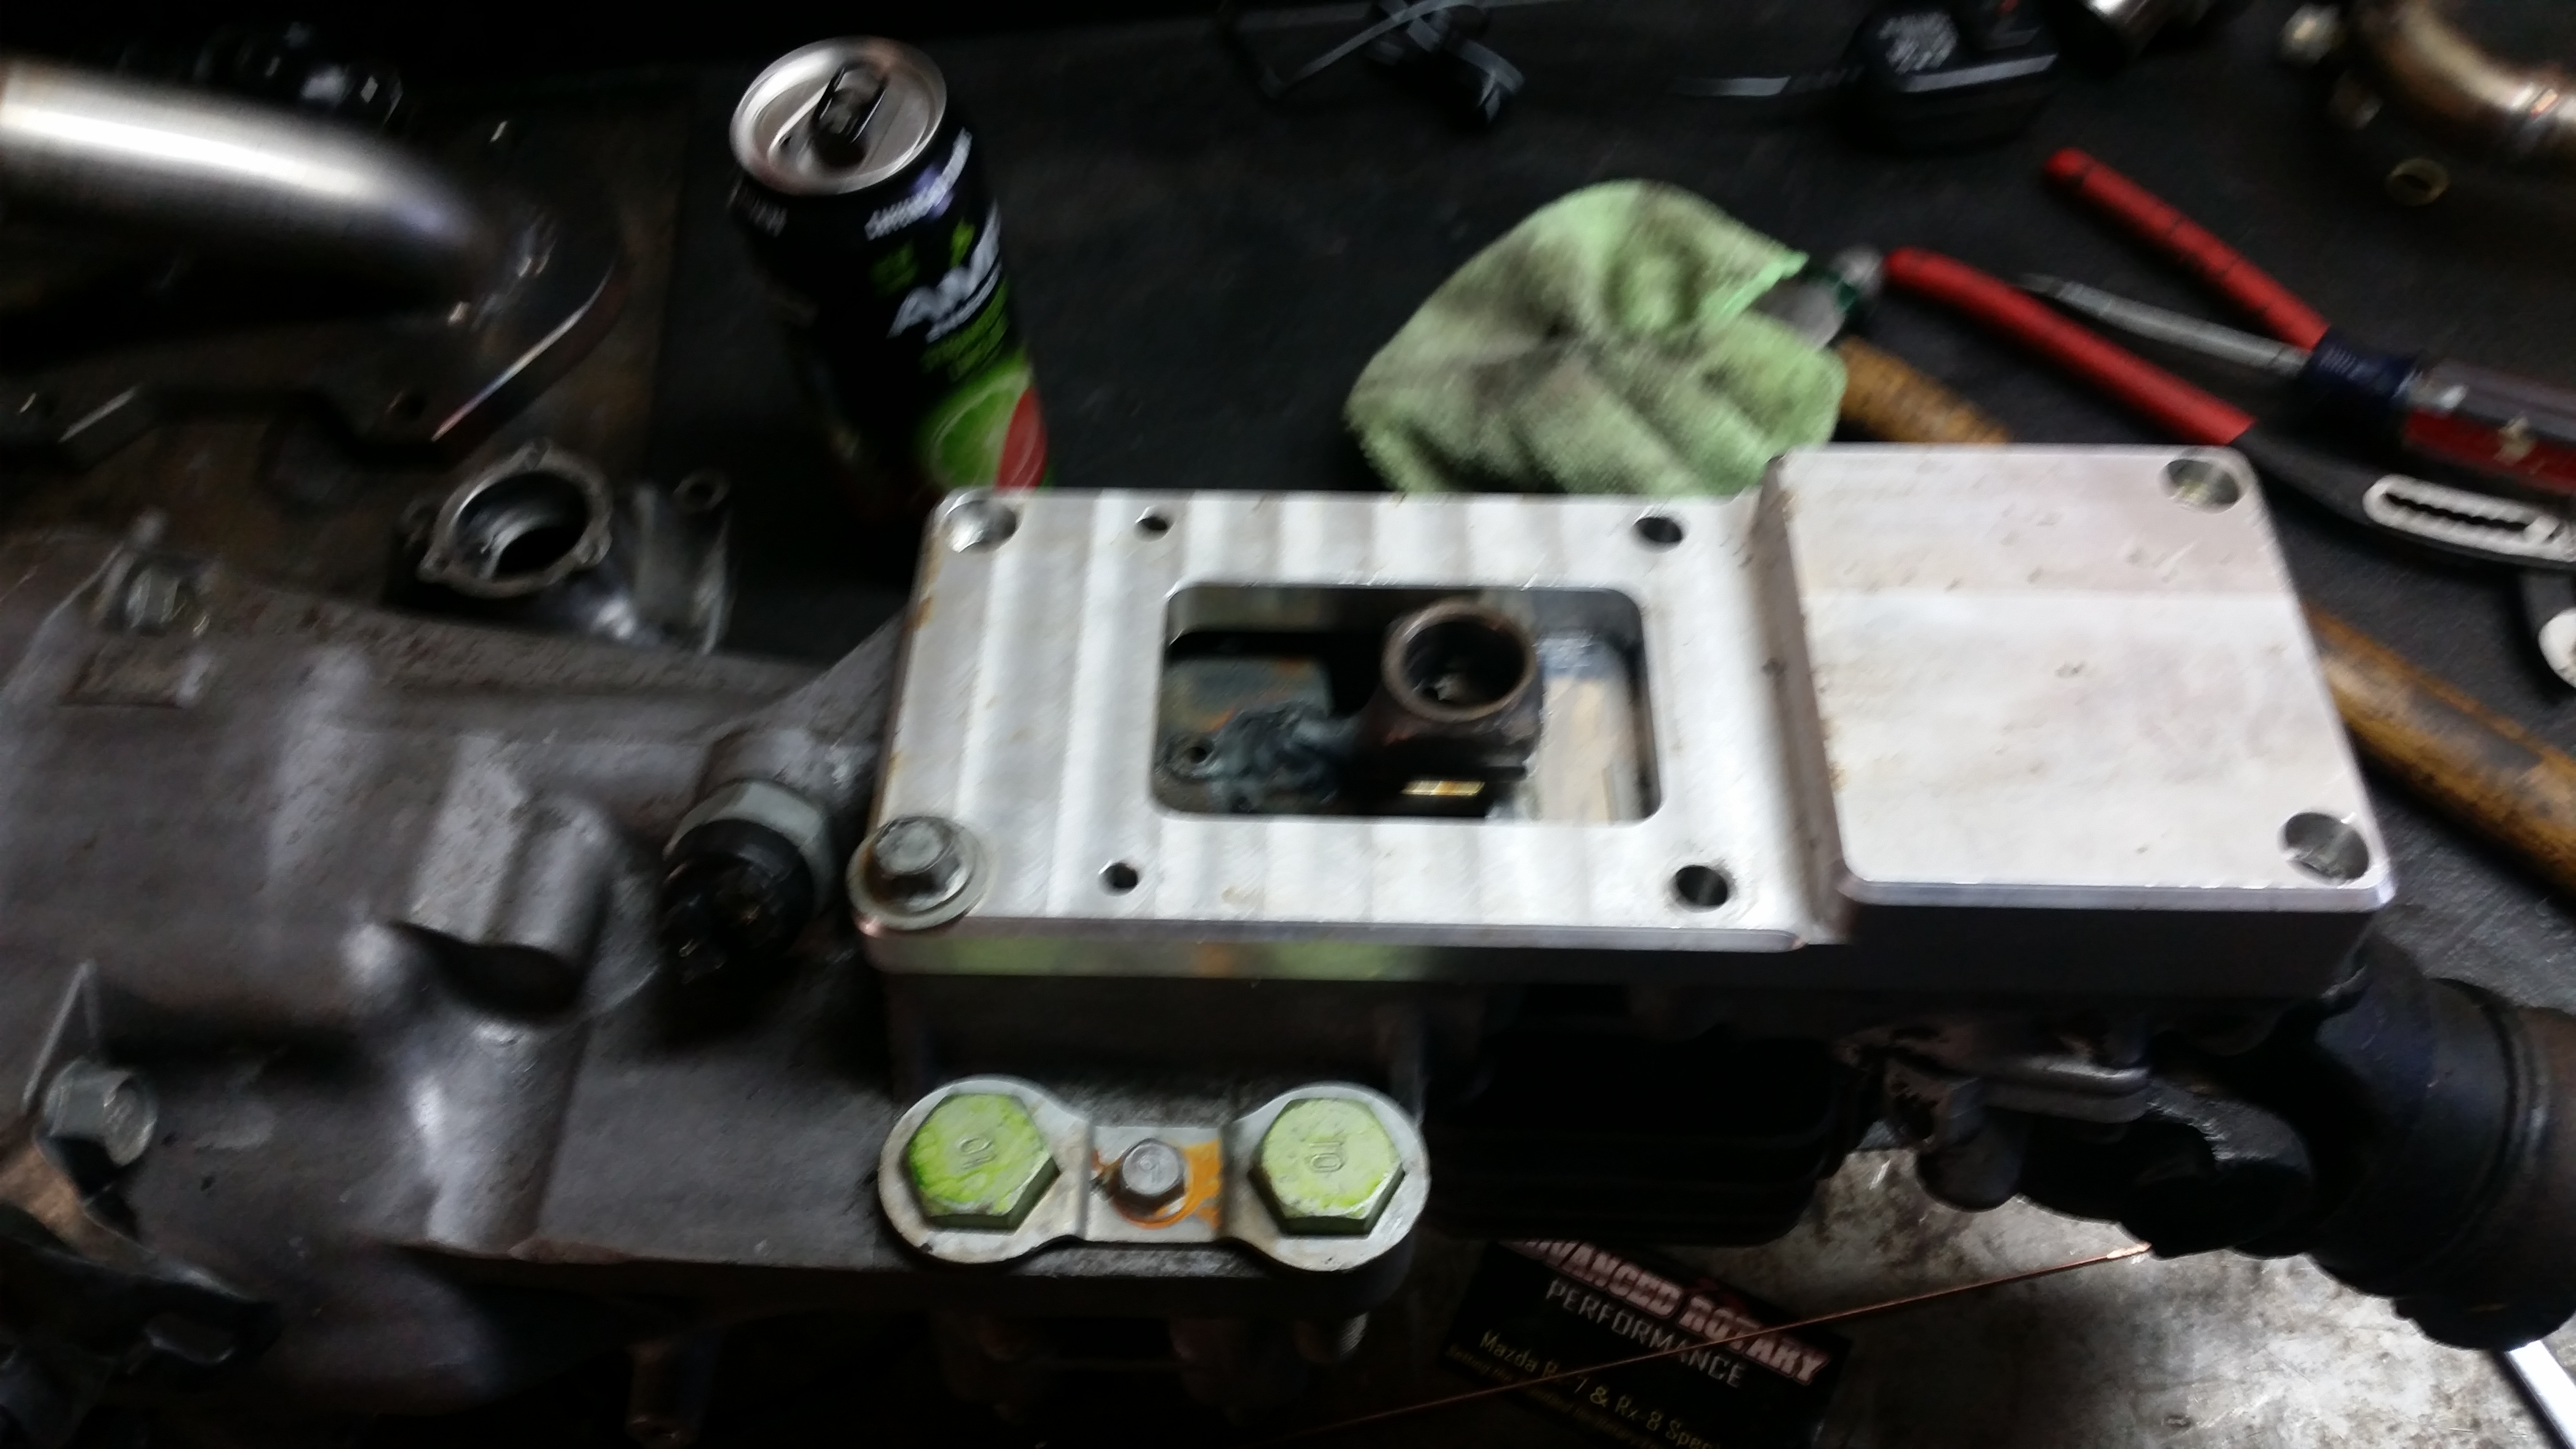

Stsrted working on puting it all back together already.
Finished modifying my shifter relocation. Also finished my oil pickup tube.
Also got my Aem Infinity from cody (ebturbo). Its been tested, updated and already setup with a base map to startup the 20b. He is truely a badass dude.


Shifter plate bolted together.
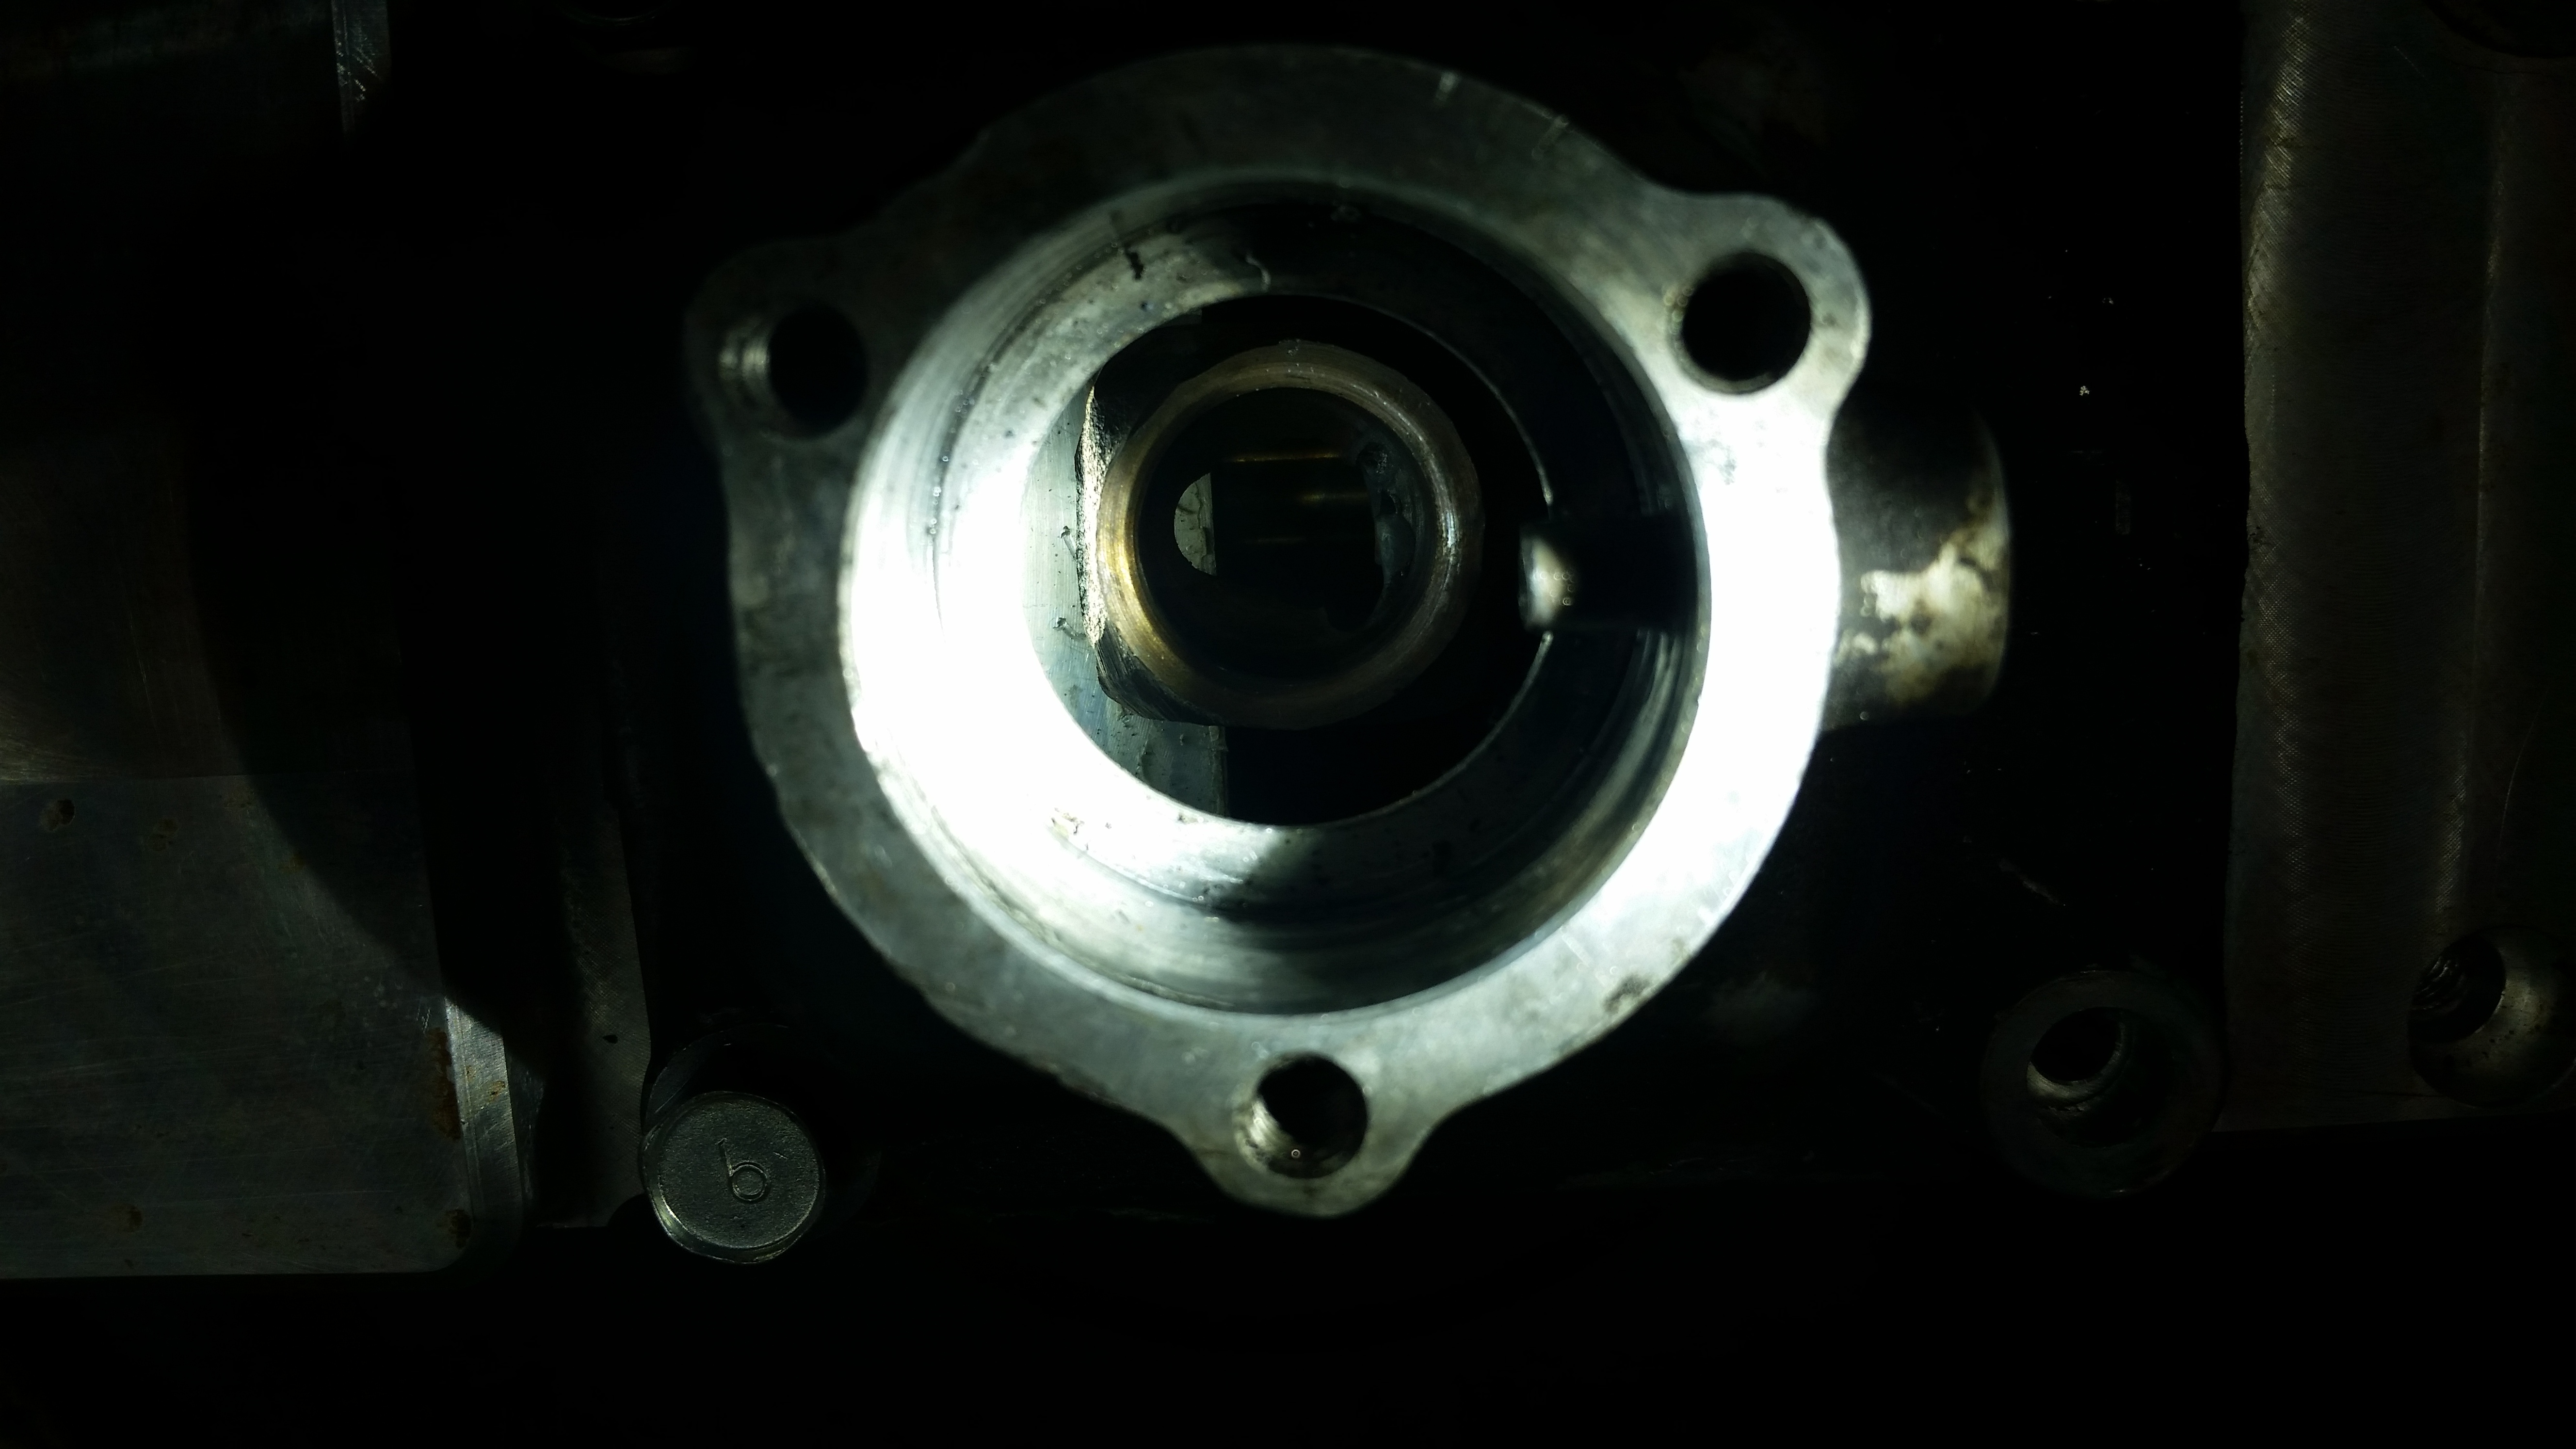
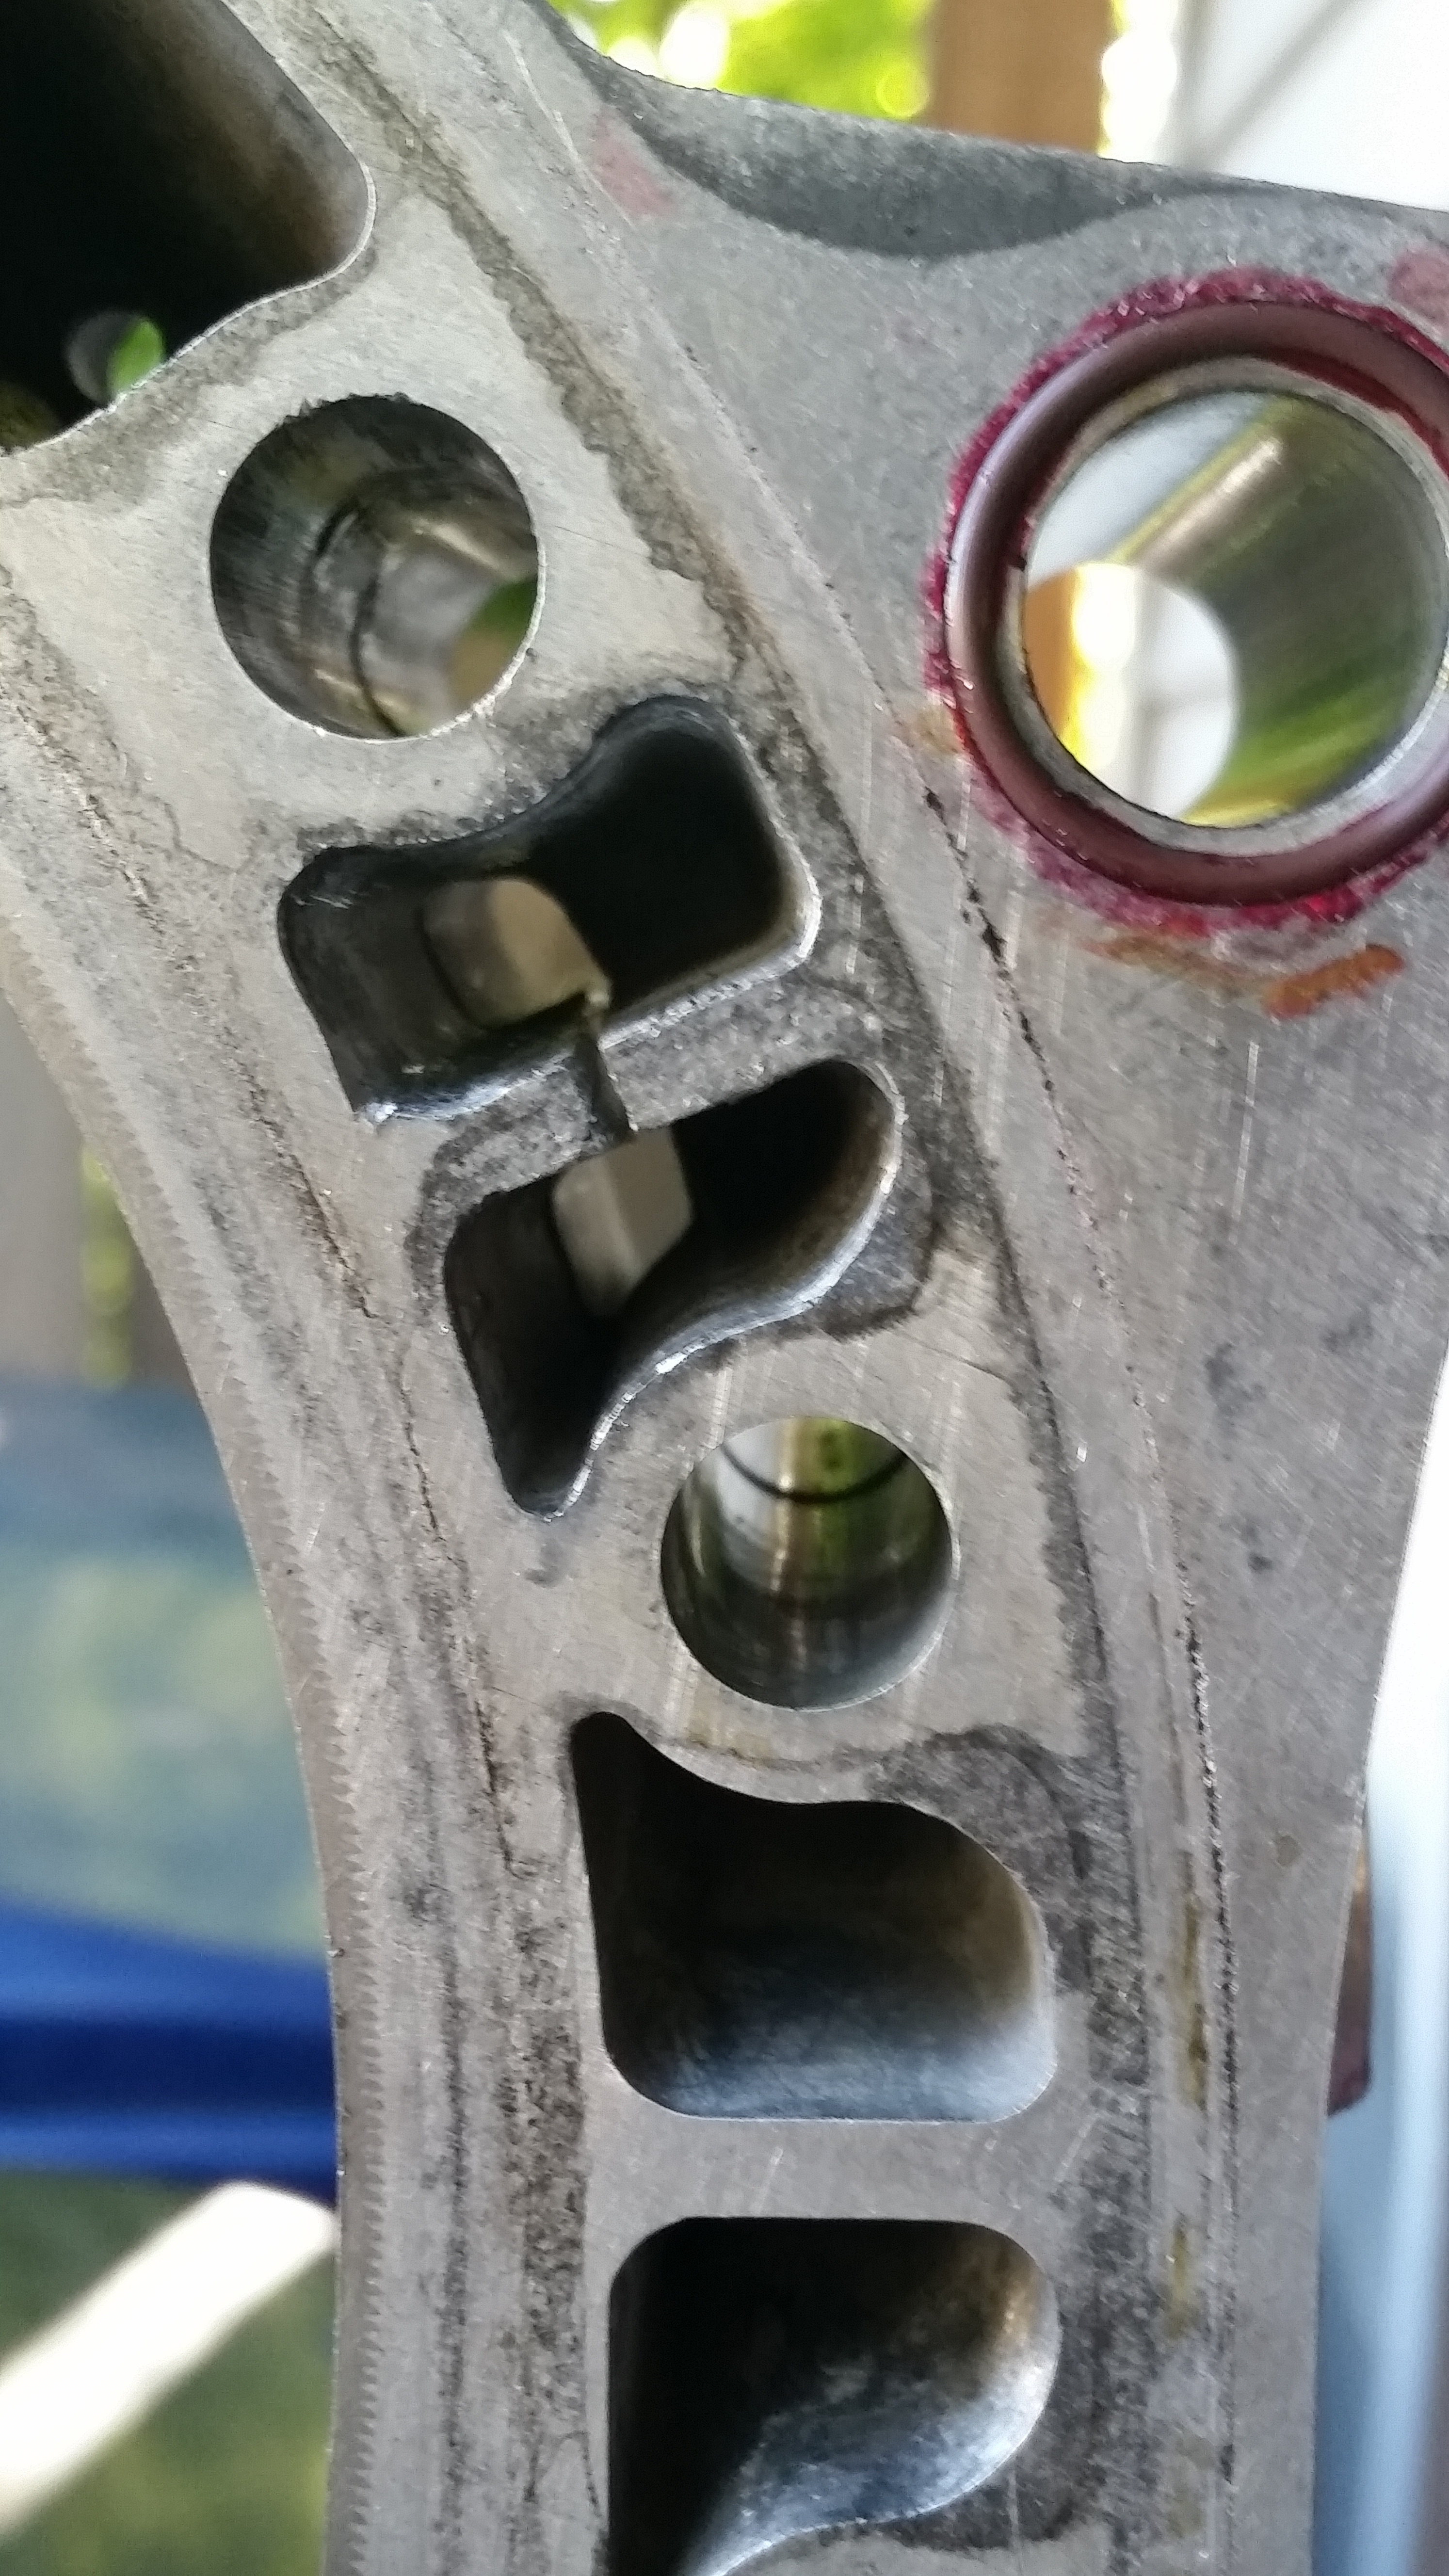
Here is a mod taught by a man who has is the top builder in america. Guarantees not to crack a dowel land on any series 20b within reason.
And the motor is finally in for the last time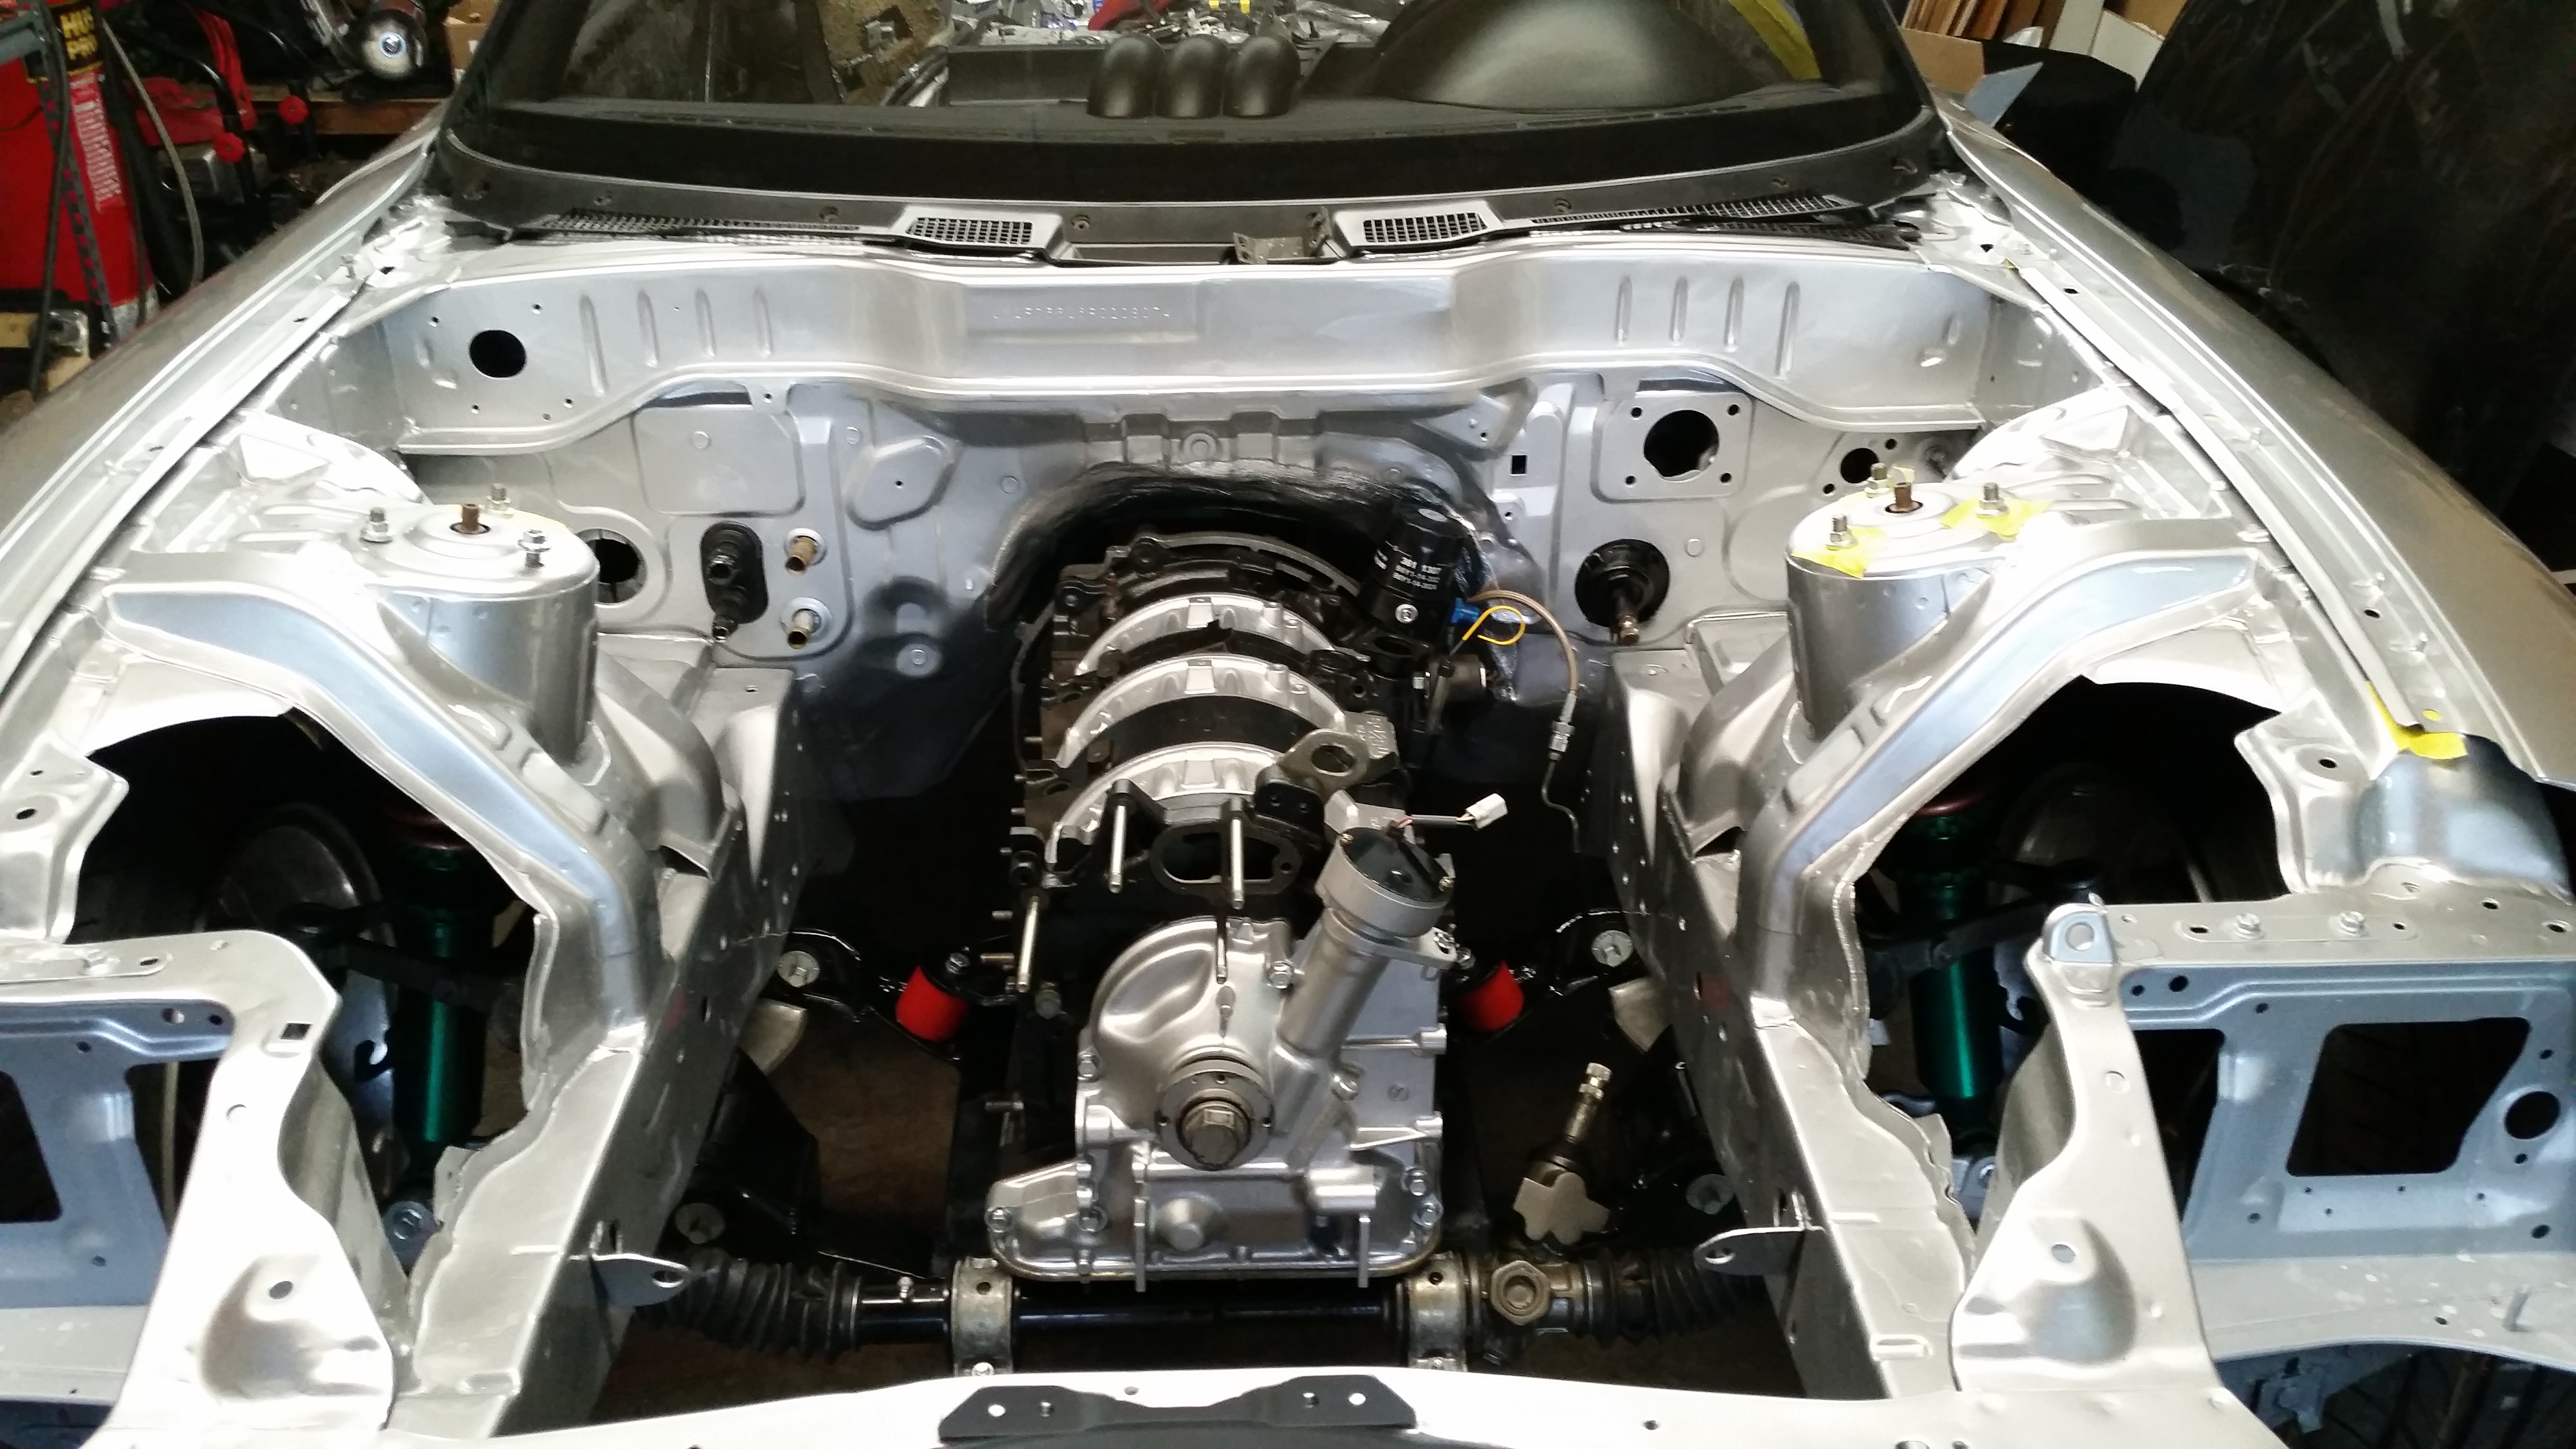

Here is a mod taught by a man who has is the top builder in america. Guarantees not to crack a dowel land on any series 20b within reason.

And the motor is finally in for the last time

Full Member
Joined: May 2011
Posts: 144
Likes: 1
From: Australia
Love the build! Car will look mint when finished.
Interesting modification to the housings, you'd be chasing decent power to need this. But I like it!
I'd been meaning to ask what did you decide on for your tension bolt torque & sequence?
-Dave
Interesting modification to the housings, you'd be chasing decent power to need this. But I like it!
I'd been meaning to ask what did you decide on for your tension bolt torque & sequence?
-Dave

Rotary Enthusiast
Joined: Aug 2008
Posts: 1,101
Likes: 13
From: Portsmouth UK
Build is coming along well. Don't jinx yourself, I thought my engine was in for the last time at least twice!
is the mod to the housing the cut on the webbing of the water jacket? Or have you added an extra hole? Sorry, but I have not got a housing to refer to right now. Will be rebuilding mine next year at some point and have thought about the best way to get over the cracking issues of dowels/housings.
Looking forward to seeing this finished. Great work.
Rotary Enthusiast
Joined: Aug 2008
Posts: 1,101
Likes: 13
From: Portsmouth UK
Just noticed your depowered rack. If you are binning the A/C too. can I ask how you are going to support the alternator mounting bracket. I am just debating if/how to do this on mine. I believe the bracket might flex a bit too much without this support there.
Everyone I talked to said same fd
Build is coming along well. Don't jinx yourself, I thought my engine was in for the last time at least twice!
is the mod to the housing the cut on the webbing of the water jacket? Or have you added an extra hole? Sorry, but I have not got a housing to refer to right now. Will be rebuilding mine next year at some point and have thought about the best way to get over the cracking issues of dowels/housings.
Looking forward to seeing this finished. Great work.
is the mod to the housing the cut on the webbing of the water jacket? Or have you added an extra hole? Sorry, but I have not got a housing to refer to right now. Will be rebuilding mine next year at some point and have thought about the best way to get over the cracking issues of dowels/housings.
Looking forward to seeing this finished. Great work.
This was highly highly recommended by Carlos Lopez at CLR. he said he has yet to see a dowel land crack when this is done .
Last edited by silverfdturbo6port; Jun 23, 2015 at 11:02 AM.
Alternator mounts on the waterpump housing.
Rotary Enthusiast
Joined: Aug 2008
Posts: 1,101
Likes: 13
From: Portsmouth UK
Must remember that block mod when I get around to it!
Regarding the alternator. I am running fd powersteering bracket and alternator bracket. This mounts to the waterpump body and has a support bolt through the powersteering bracket too. Not sure if any other brackets mount differently? Not sure if the one bolt on the waterpump body is enough?
Changing subject. I presume you converted your own rack to manual. Everyone seems to cut the seal ring off the rack shaft with a grinder. To me the ring must be pressed or popped on? That would imply you could possibly pop it back off? Would I be right? Do you remember what's under the ring? A split ring by any chance?
Cheers
Lee