When you click on links to various merchants on this site and make a purchase, this can result in this site earning a commission. Affiliate programs and affiliations include, but are not limited to, the eBay Partner Network.
They have created special CNC spindles for the steering rack to compensate for bump steer and they supplied lengthened end links for the stabilizer bar.
The consensus on the forum is most people were disappointed with the bumpsteer on these units. From what I have researched Defined auto has the best solution , unless you do what I did and move the firewall 7 inches back.
So, the 2-in-1 diff brace works with the oversized Greddy rear diff cover? I've been holding off ordering the cover since I thought there might be fitment issues. Would be interested to see a pic with the bolt holes lined up, when you get a chance. Thanks!
Yep. That's what several of the earlier conversions did. Chris Carlisi used to work for me and did most of his build in my garage. I had a chance to see what went into cutting the firewall and moving the motor back behind the rack. I drove Phil Hamlin's 20b when Peter Farrell was tuning it and Peter did the same thing. Some people adjusted the transmission, because it does move the shifter back otherwise. I am very happy with the Defined Autoworks mount setup and don't think handling is effected at all, but I could be wrong. My NA setup lightens the front end considerably and that may be part of it.
Gmonsen can you describe what was causing your issue as well?
So, the 2-in-1 diff brace works with the oversized Greddy rear diff cover? I've been holding off ordering the cover since I thought there might be fitment issues. Would be interested to see a pic with the bolt holes lined up, when you get a chance. Thanks!
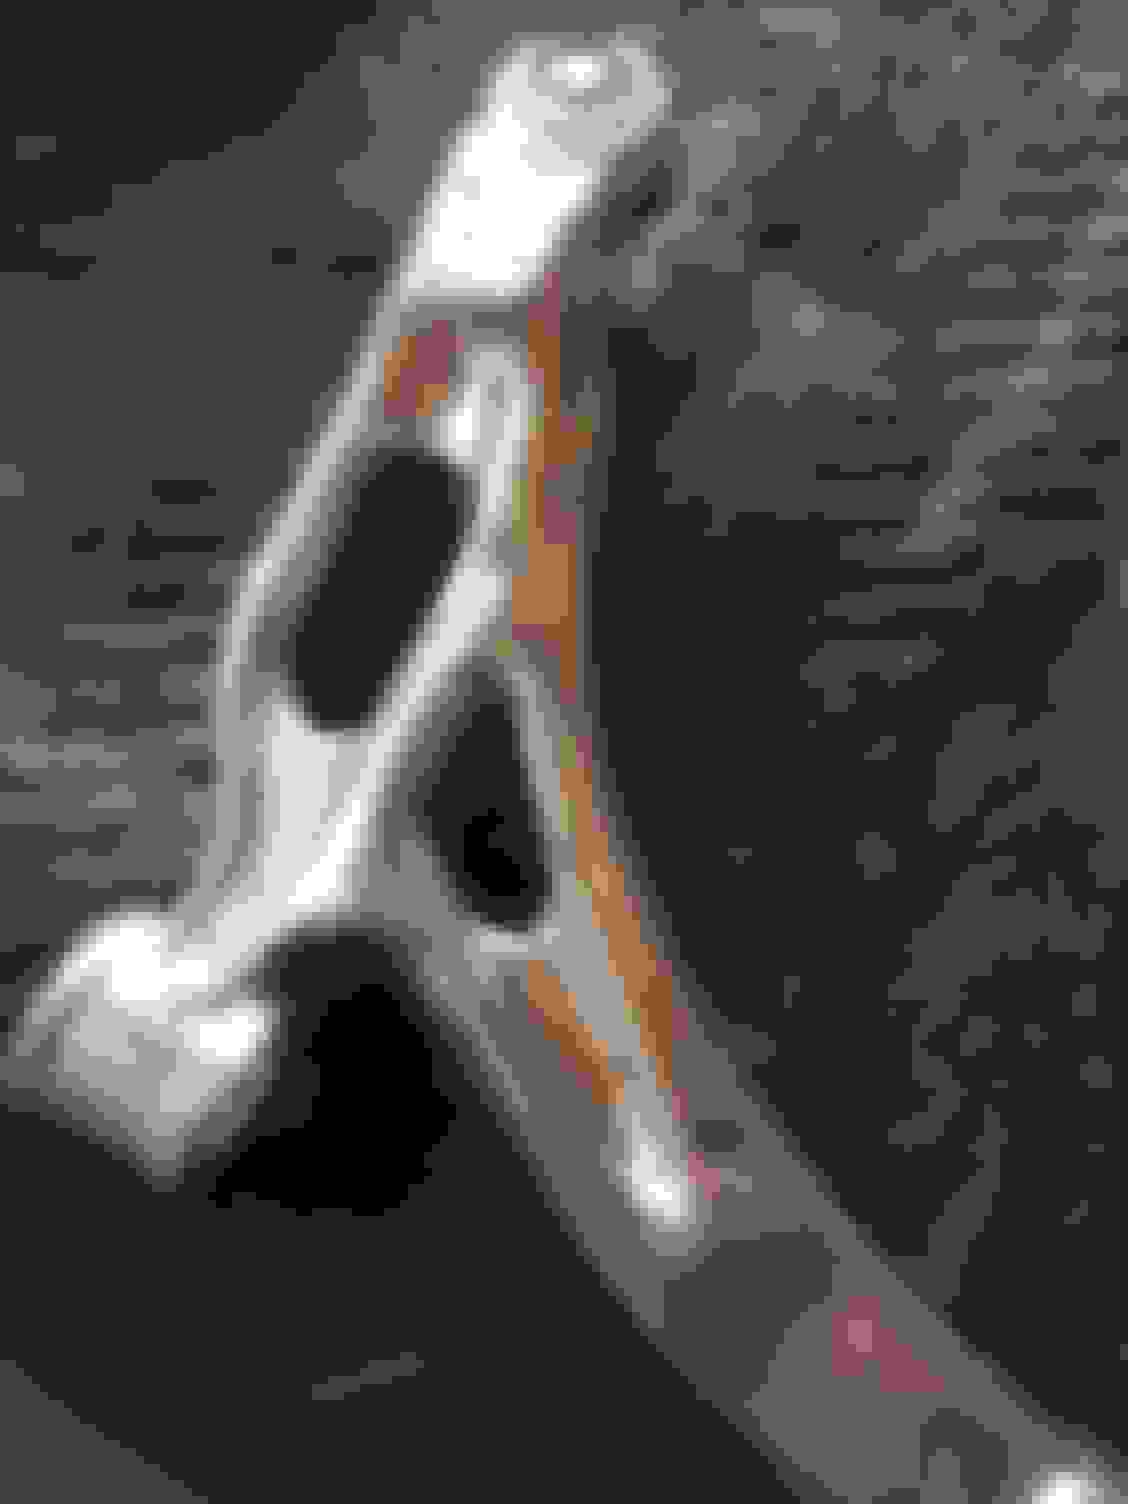
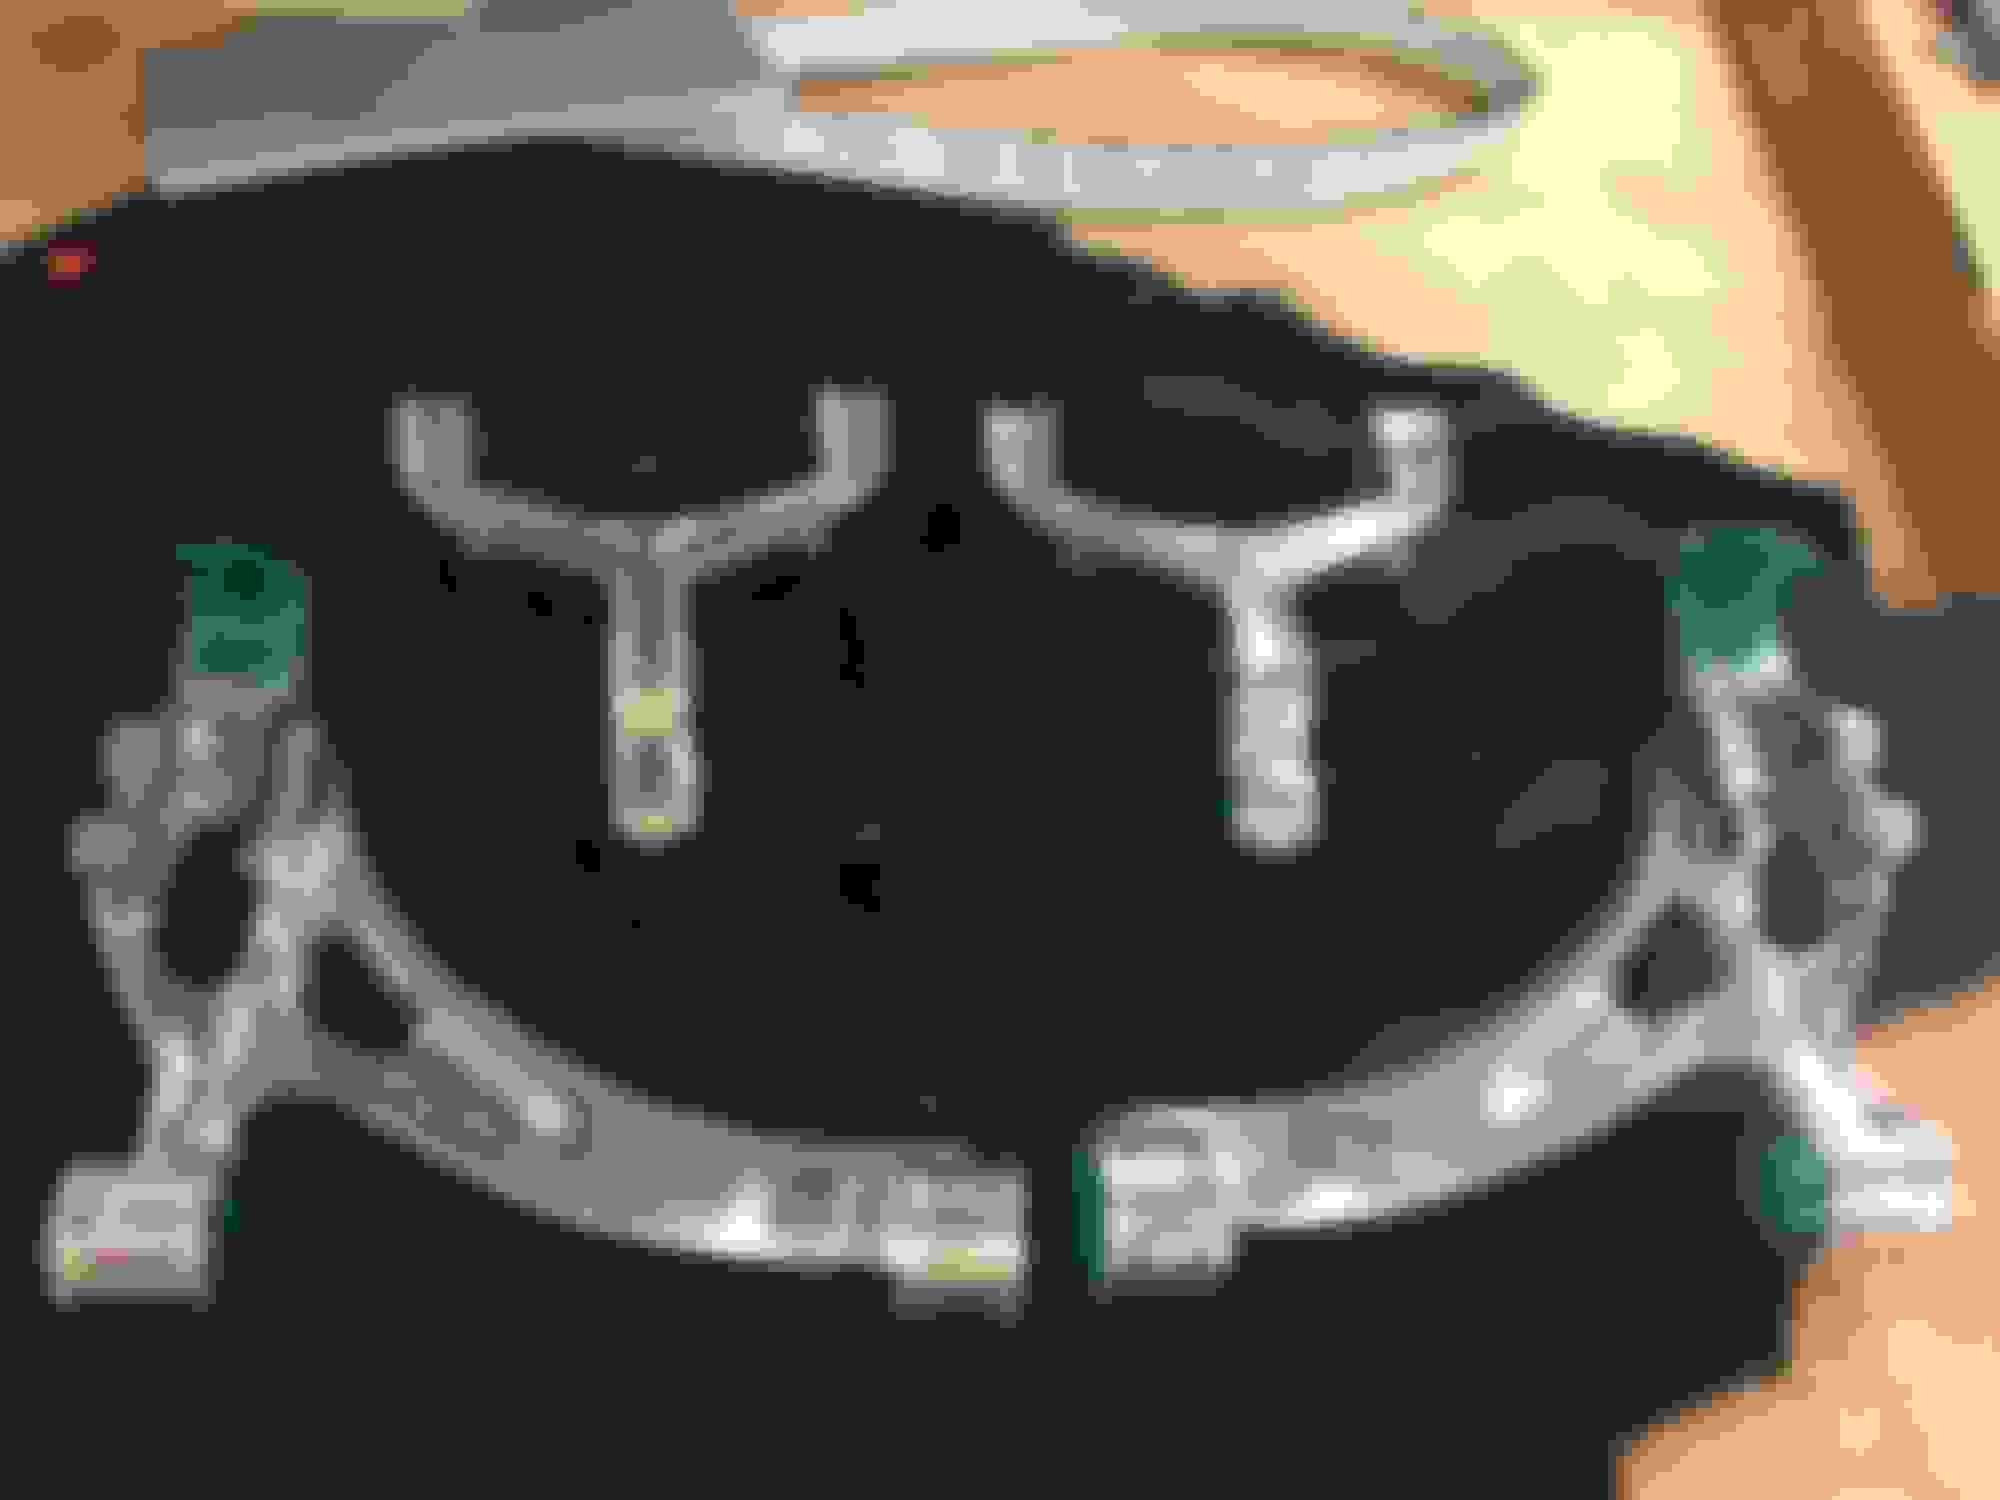
We are currently working on polishing the lower front and upper rear control arms and then having the powder coated clear. Once they are completed we will be working on the Rear Diff and we will show this for you.
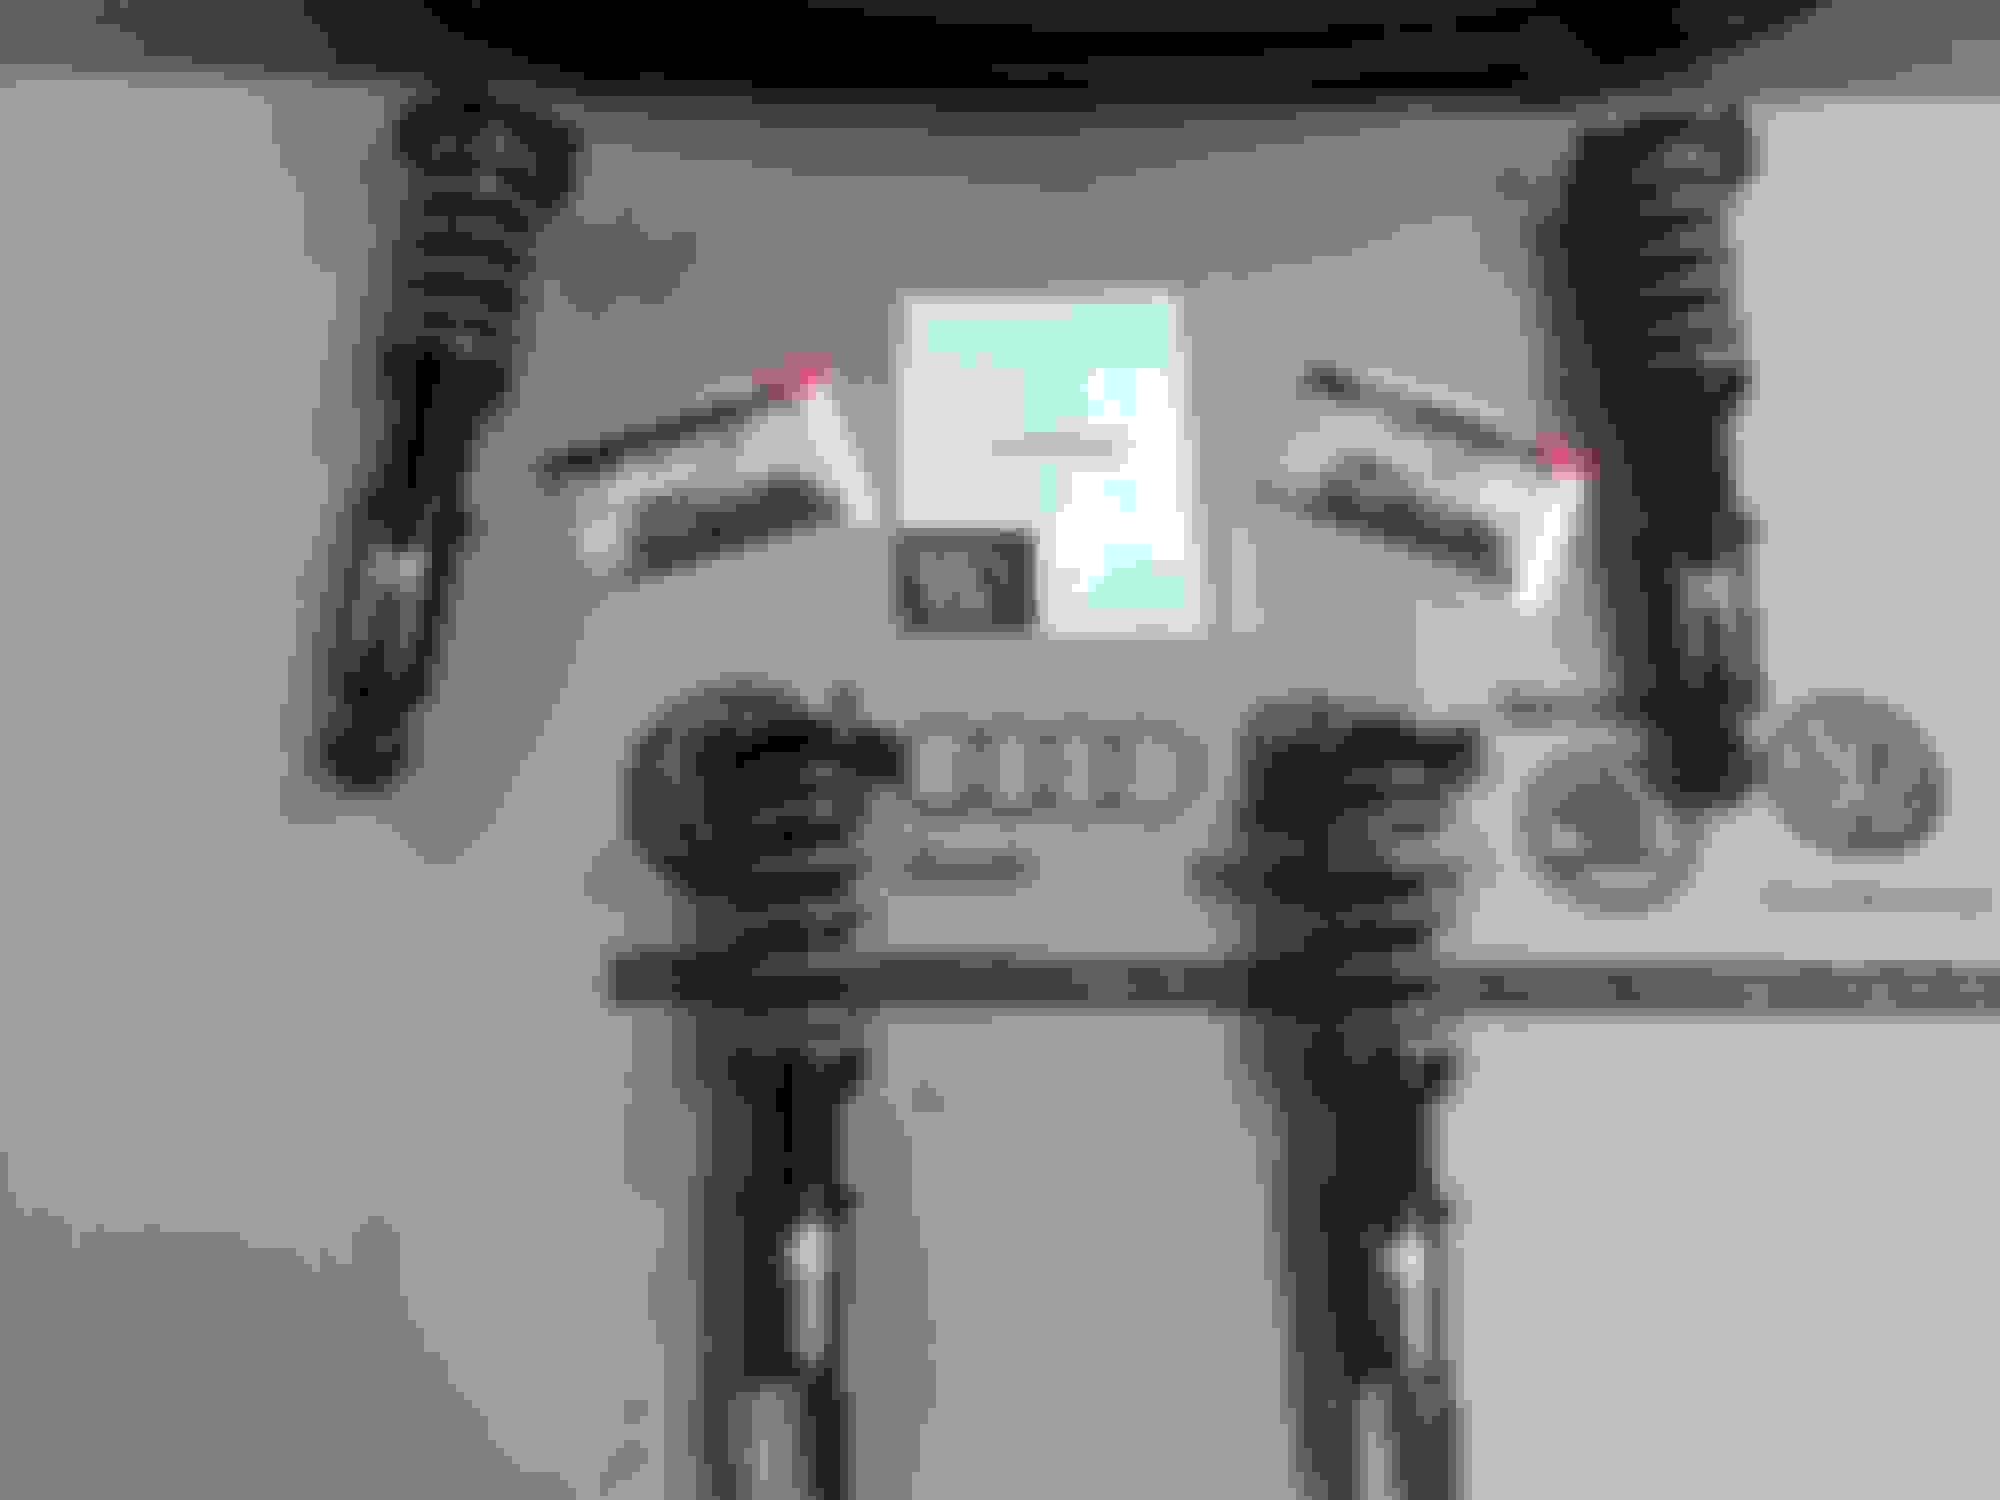
Here is what we have been working on for the past few weekends.
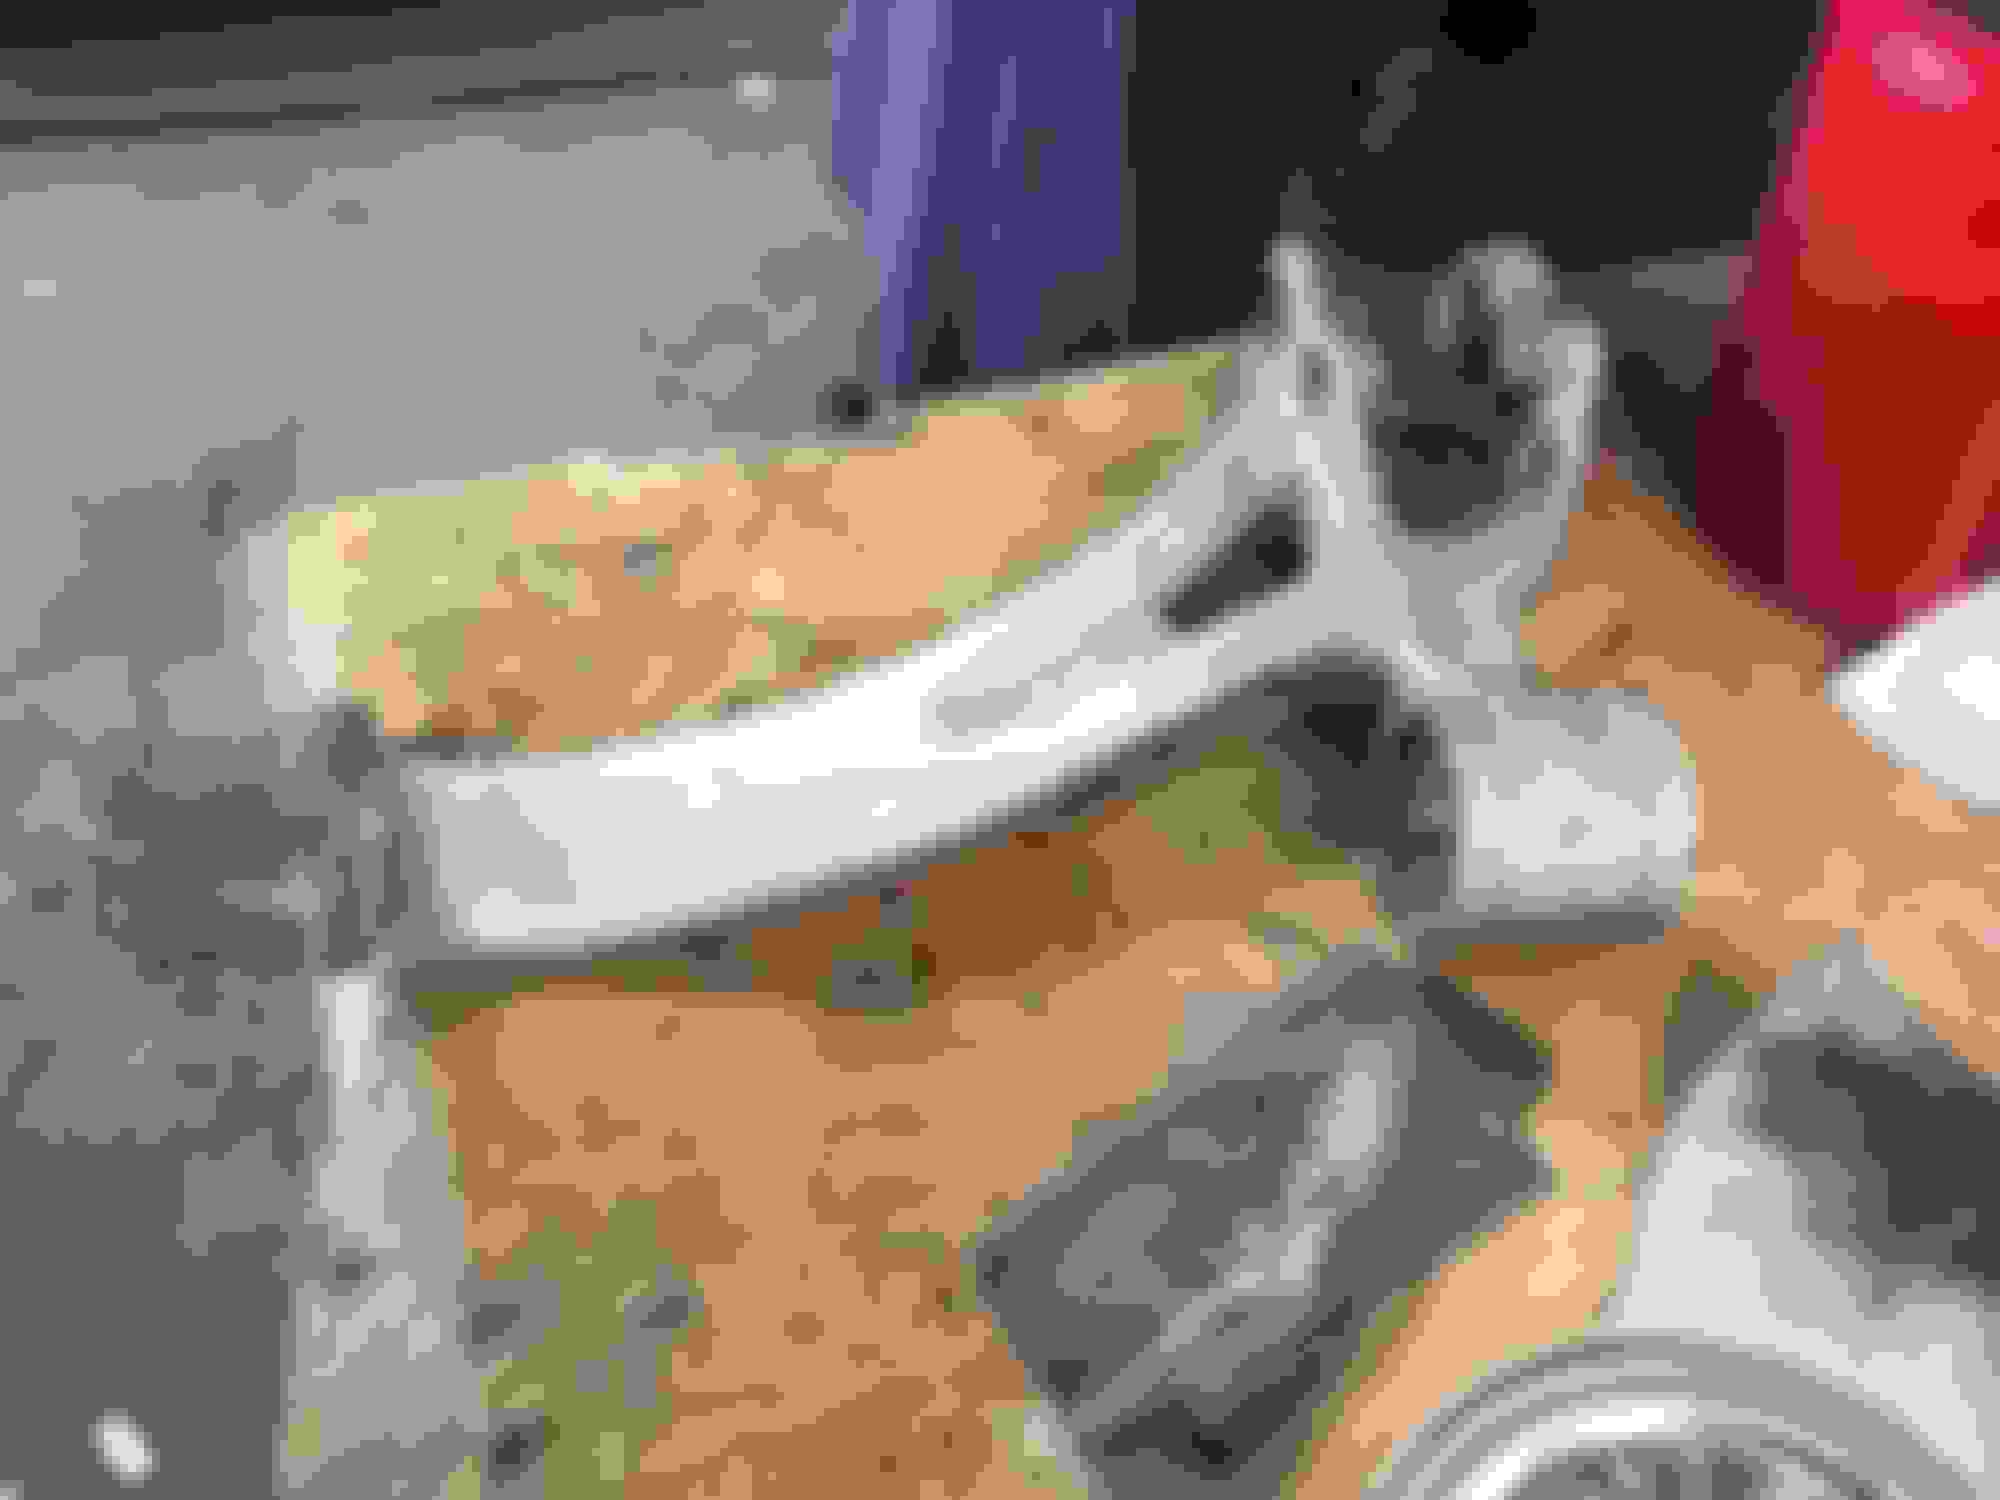
Dissembled the front driver and pass suspension.
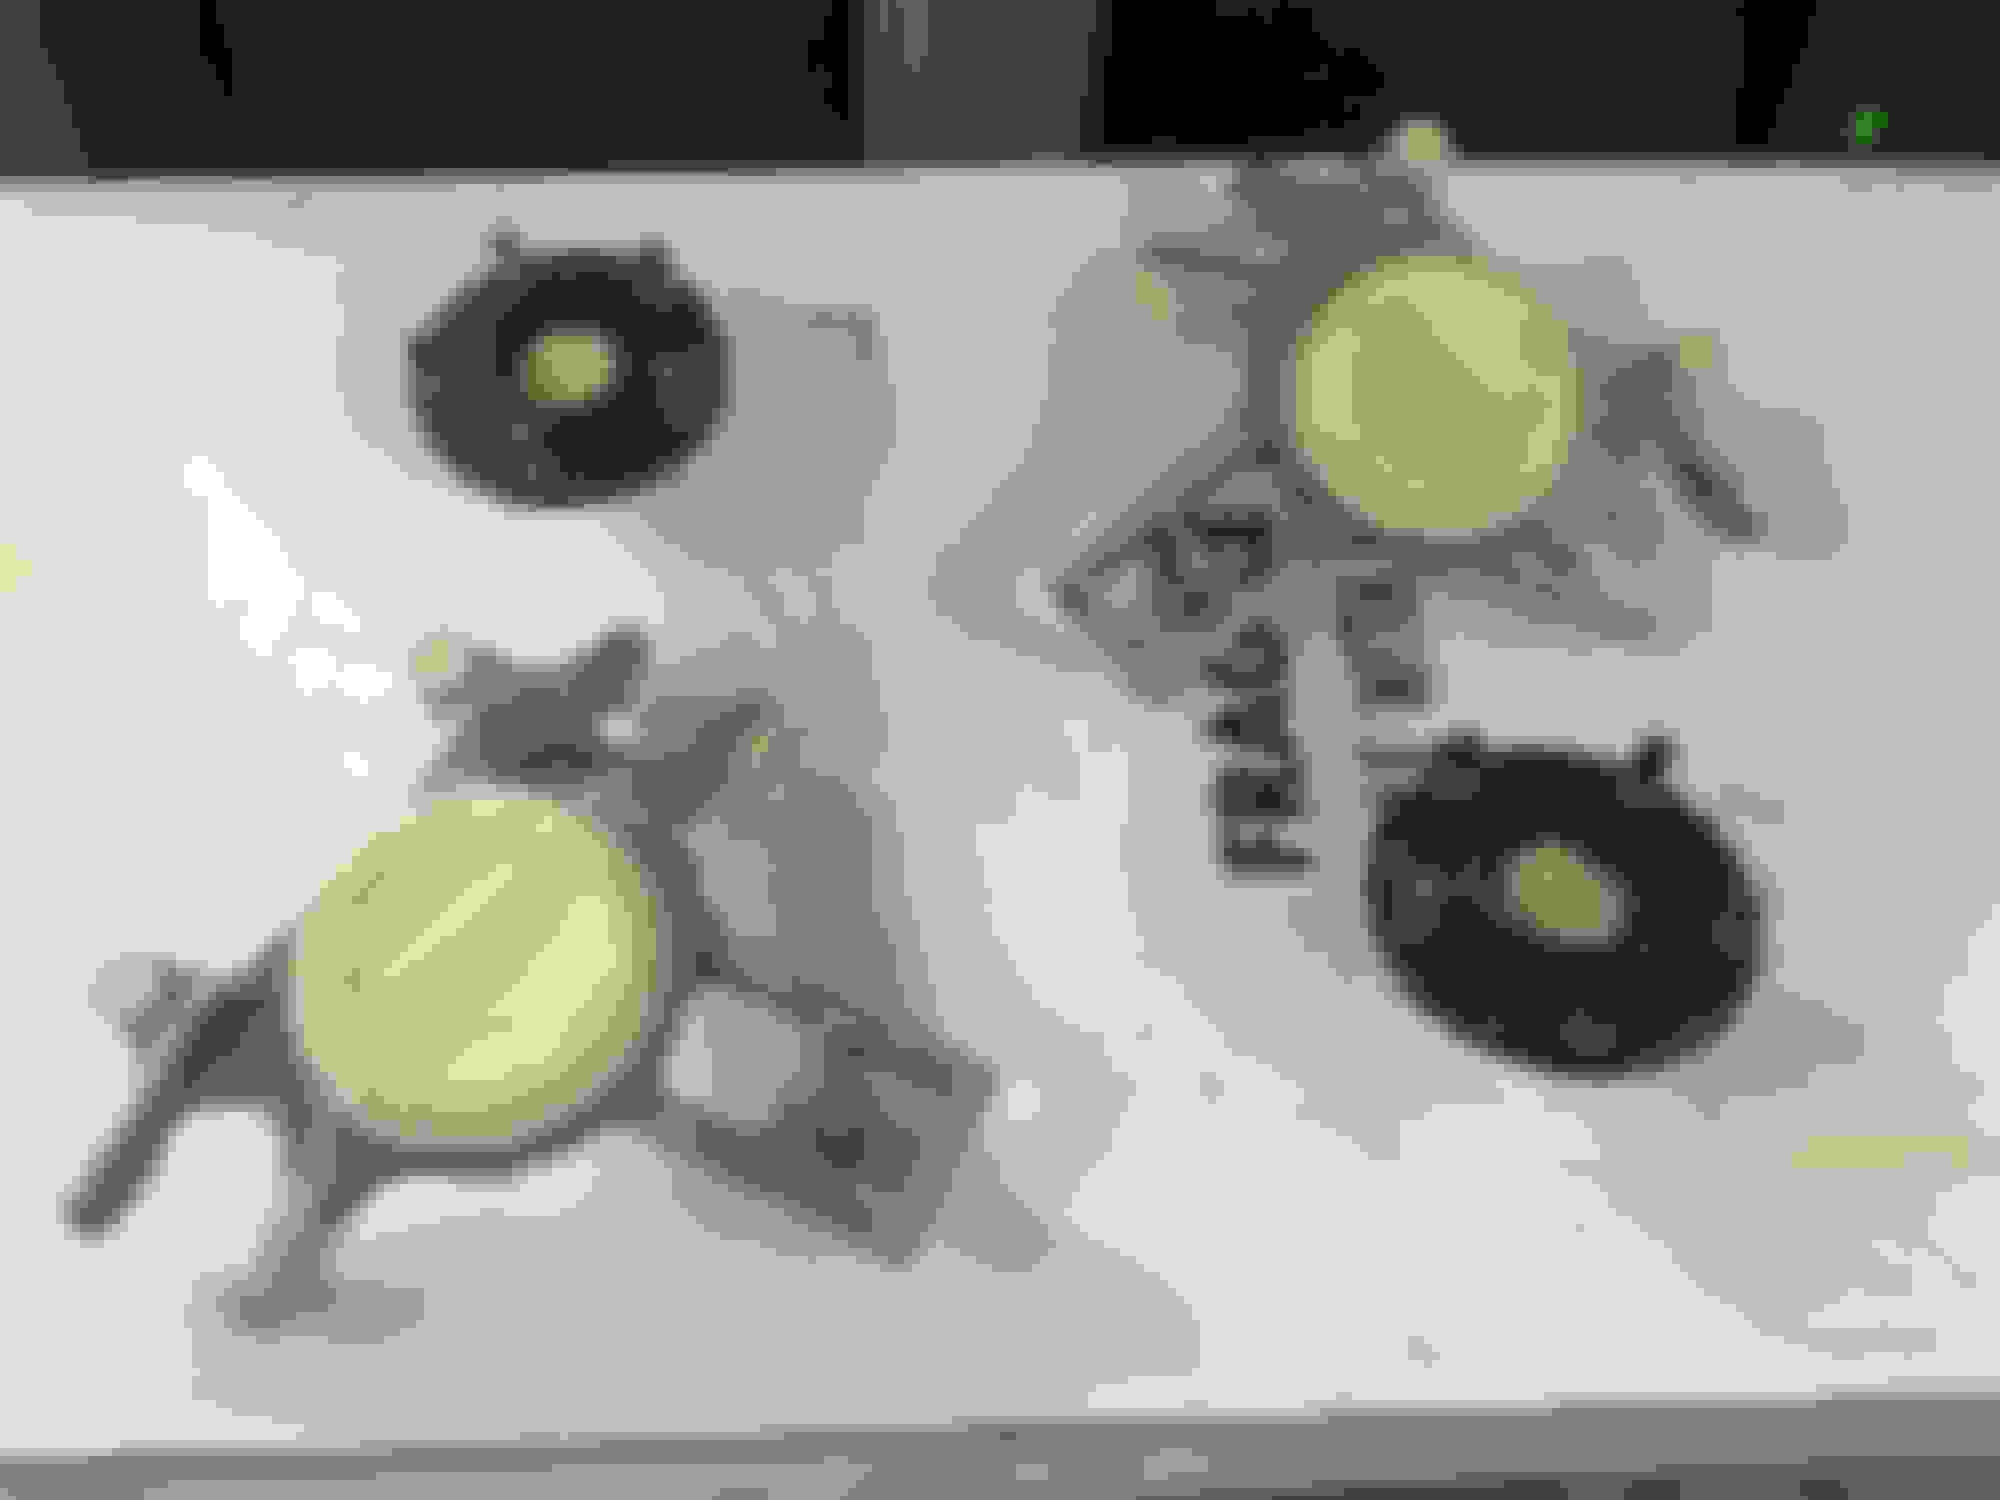
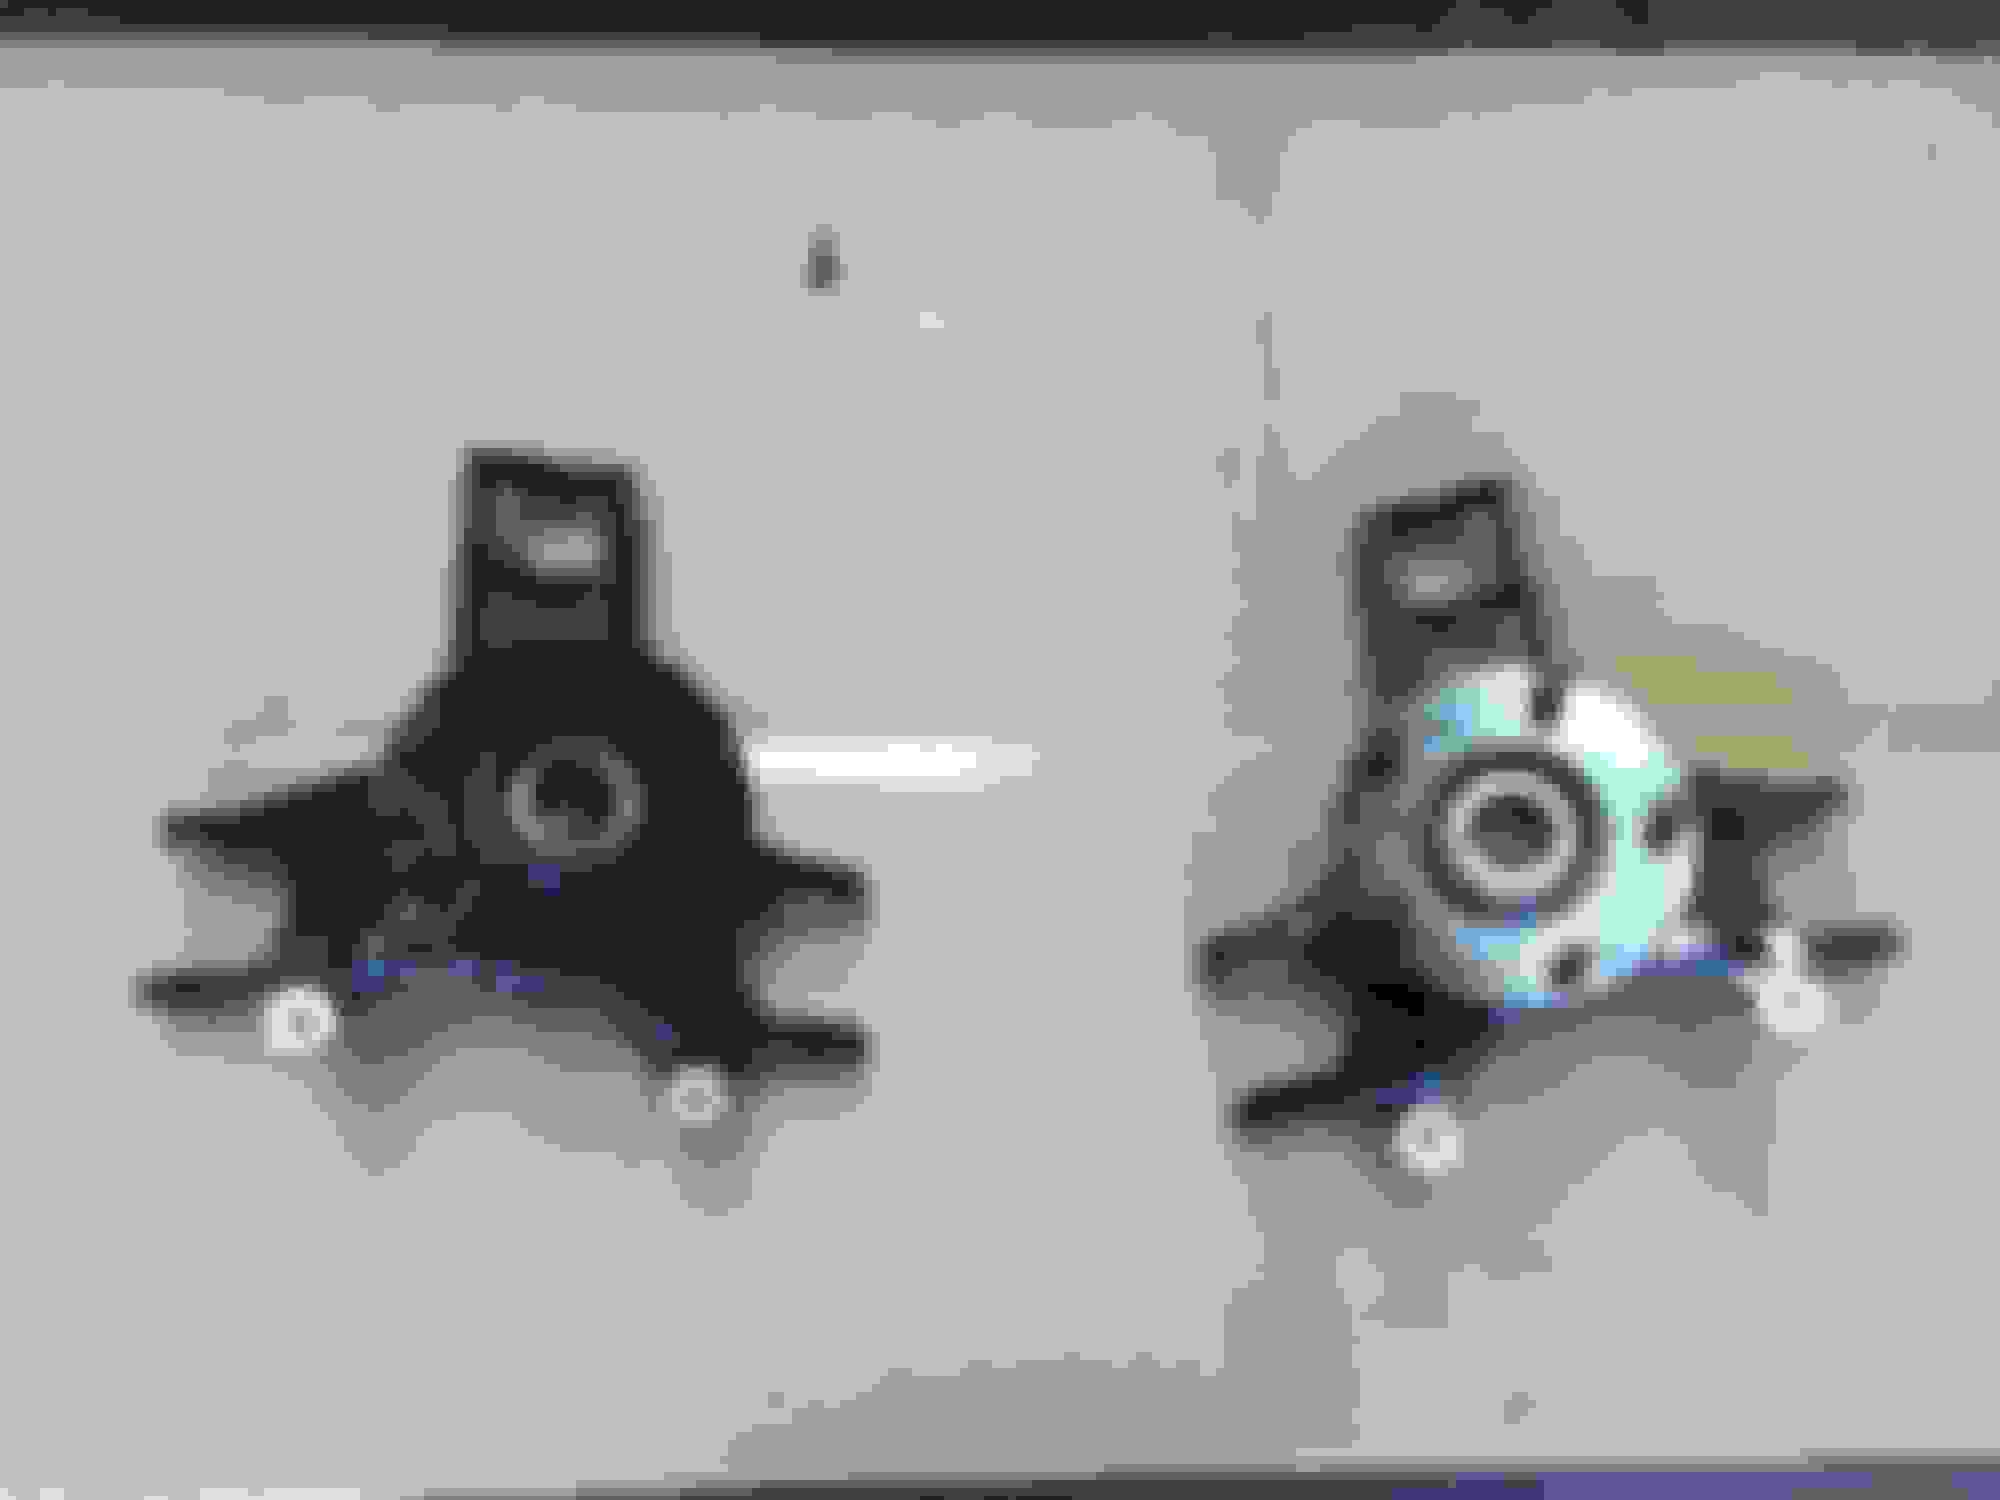
Lower control arm removed from the knuckle. Removed the bushing Completely dissembled. Stage 1 of the cleaning and sanding Stage 3 sanding Stage 4 polishing Stage 1-2 Stage 3-4 Stage 4 polishing Rear Knuckles bushings pressed out and cleaned Prepped for painting
Just a note. I used one of their subframes with the spindles you speak of and was not that happy. I ended up with motor mounts made by Defined Autoworks that have no bumpsteer. They could have changed something in the last few years, but it is not clear to me that this could ever be made to truly work without issues. It's very nice, but I was extremely focused on handling rather than power (an NA 20b) and so this was very important to me.
Ok, I spoke with Adam from Rotary Engine.com
He explained that they have made changes to their system to fix the issues you might have experienced in the past. Anytime the steering rack is relocated, moved or adjusted for the fitting of the 20B, they will need bump steer adapters. Now each company will have their own design to accomplish extending the spindles and relocating the tire rods, but we feel that ours is the best to do this and we stand behind our product and will work with you to get it right.
We have shops and people come back for these who used them before which tells us they are perfectly happy. We have clients that use the kit for street to race.
Now, I know that Adam stands behind his product and once we cross this bridge that you are talking about I will post what we did to make this work.
yeah its the same on my end and my rack isnt even dropped as much as that kit but it all comes down to the bumpsteer issue i wonder if the bumpsteer kit from them would work on mine if its better
yeah its the same on my end and my rack isnt even dropped as much as that kit but it all comes down to the bumpsteer issue i wonder if the bumpsteer kit from them would work on mine if its better
Hey LOU,
Once we complete the install we can give you more info on this. I understand and we spoke with so many different companies about this and each had their own way of doing it. Some we liked and some we didn't. We felt that any modification to the oil pan was not really the direction we wanted to go. We have pondered on do the dry sump but that would entail us losing the AC. We live in Texas and Hell No on that LOL. So we just felt that what Adam does works. There are a few things that we have to do to make it work correctly. Adam is sending us a list of instructions on what has to be done. We will post everything we do to help everyone we can. We are trying to create a car that is Street and Track worthy. Not Drag.
Thank you for you concerns and following us on the journey.
Last edited by 20b Carbon; Jul 6, 2017 at 11:00 PM.
So, the 2-in-1 diff brace works with the oversized Greddy rear diff cover? I've been holding off ordering the cover since I thought there might be fitment issues. Would be interested to see a pic with the bolt holes lined up, when you get a chance. Thanks!
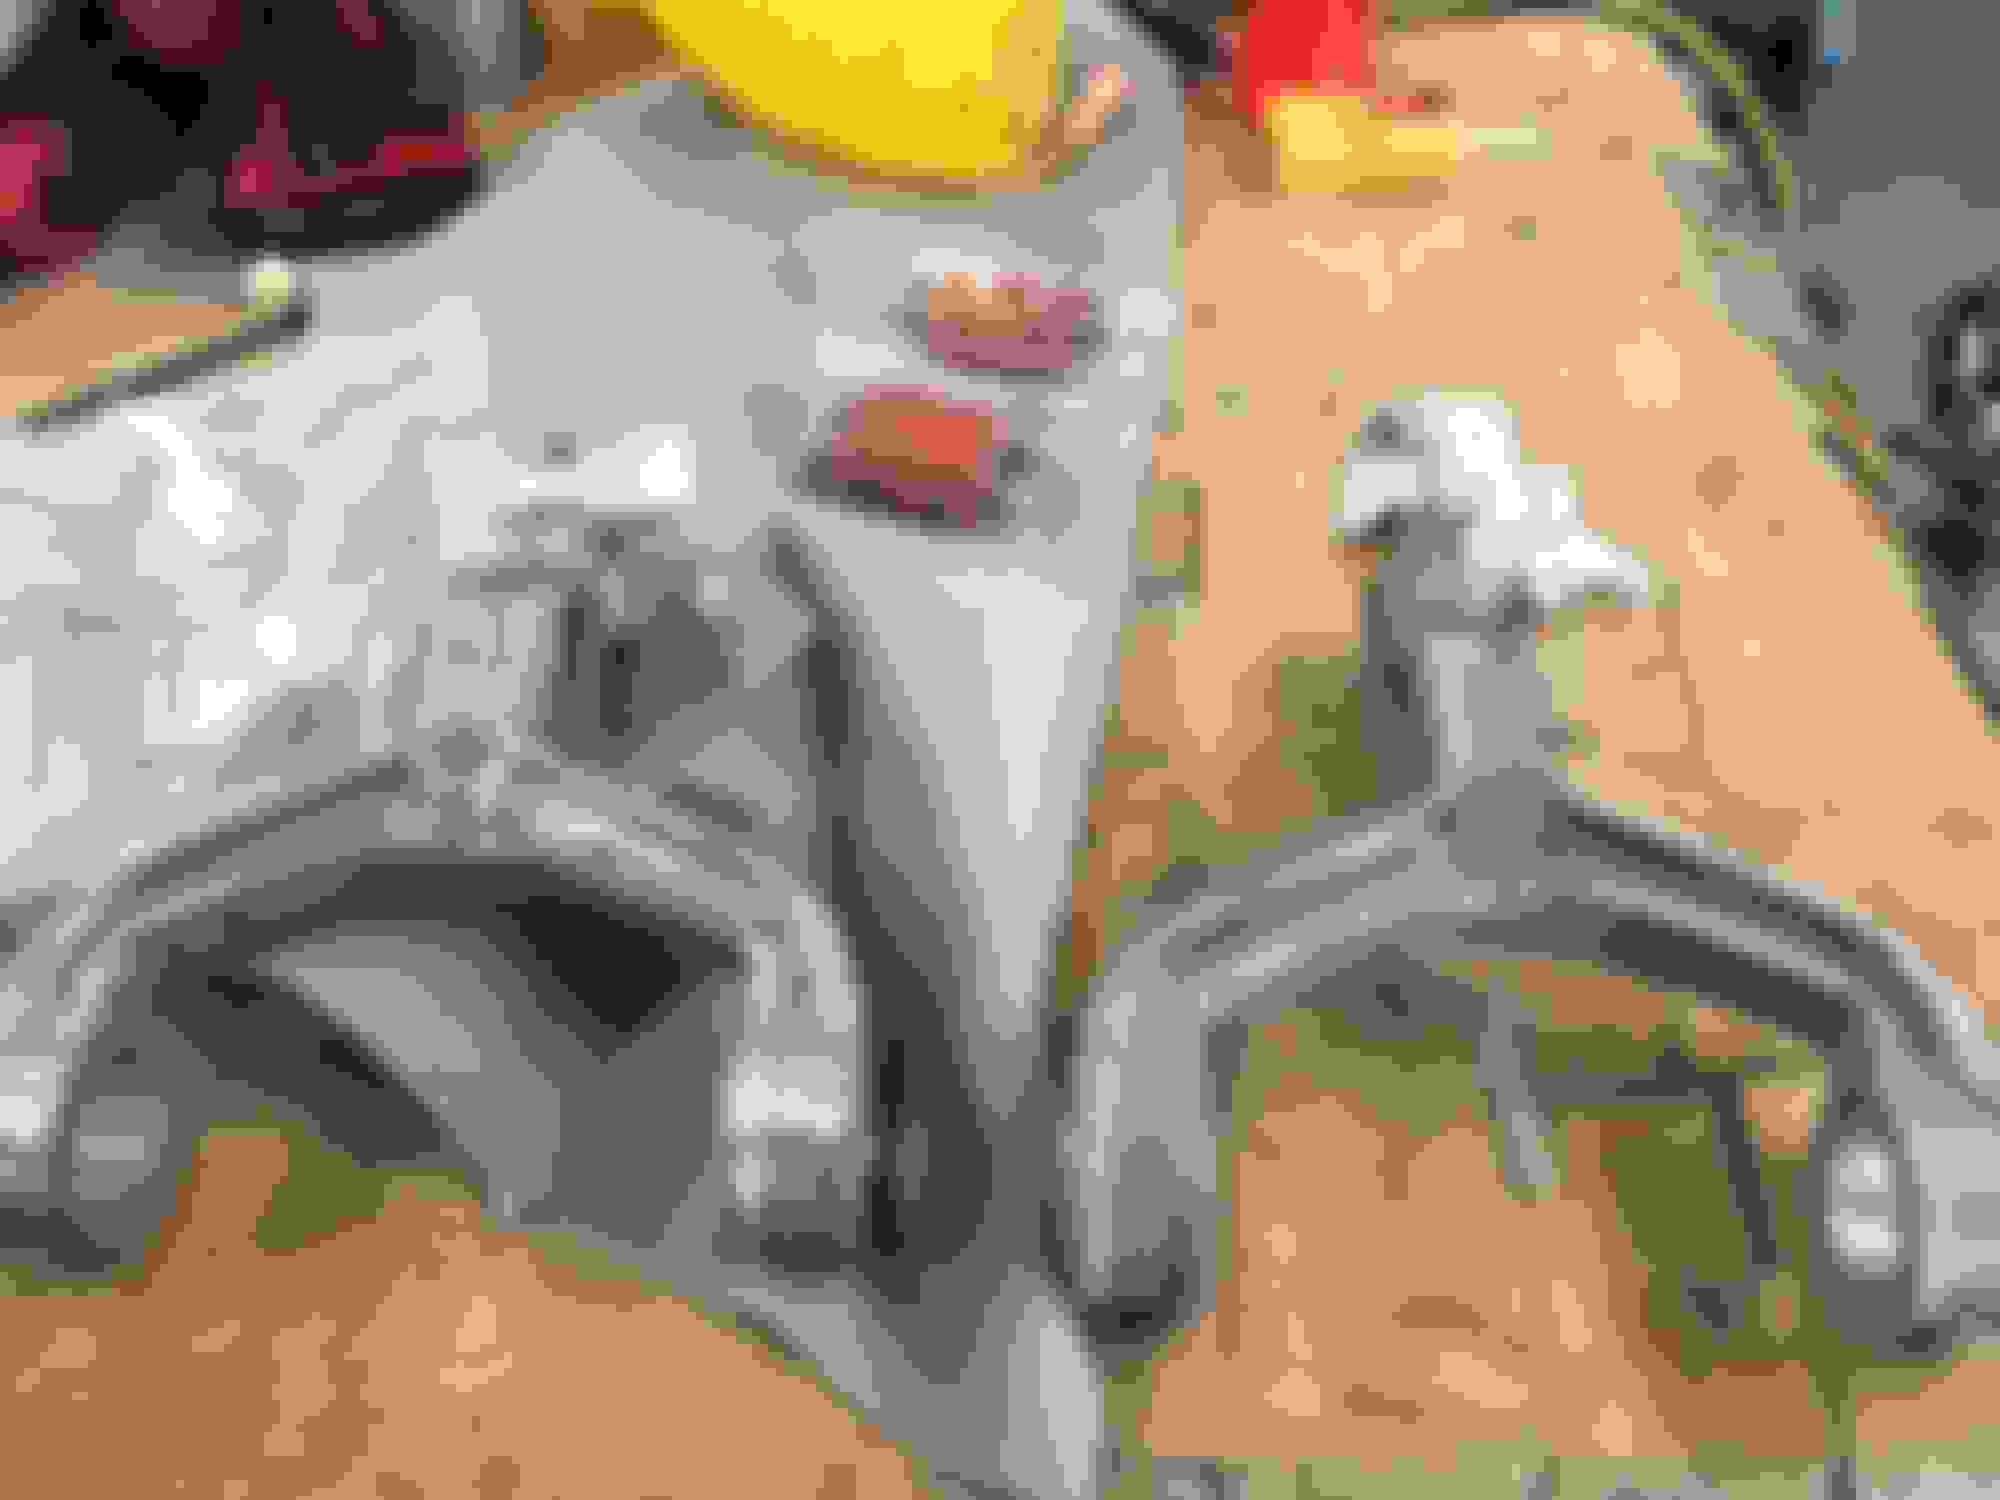
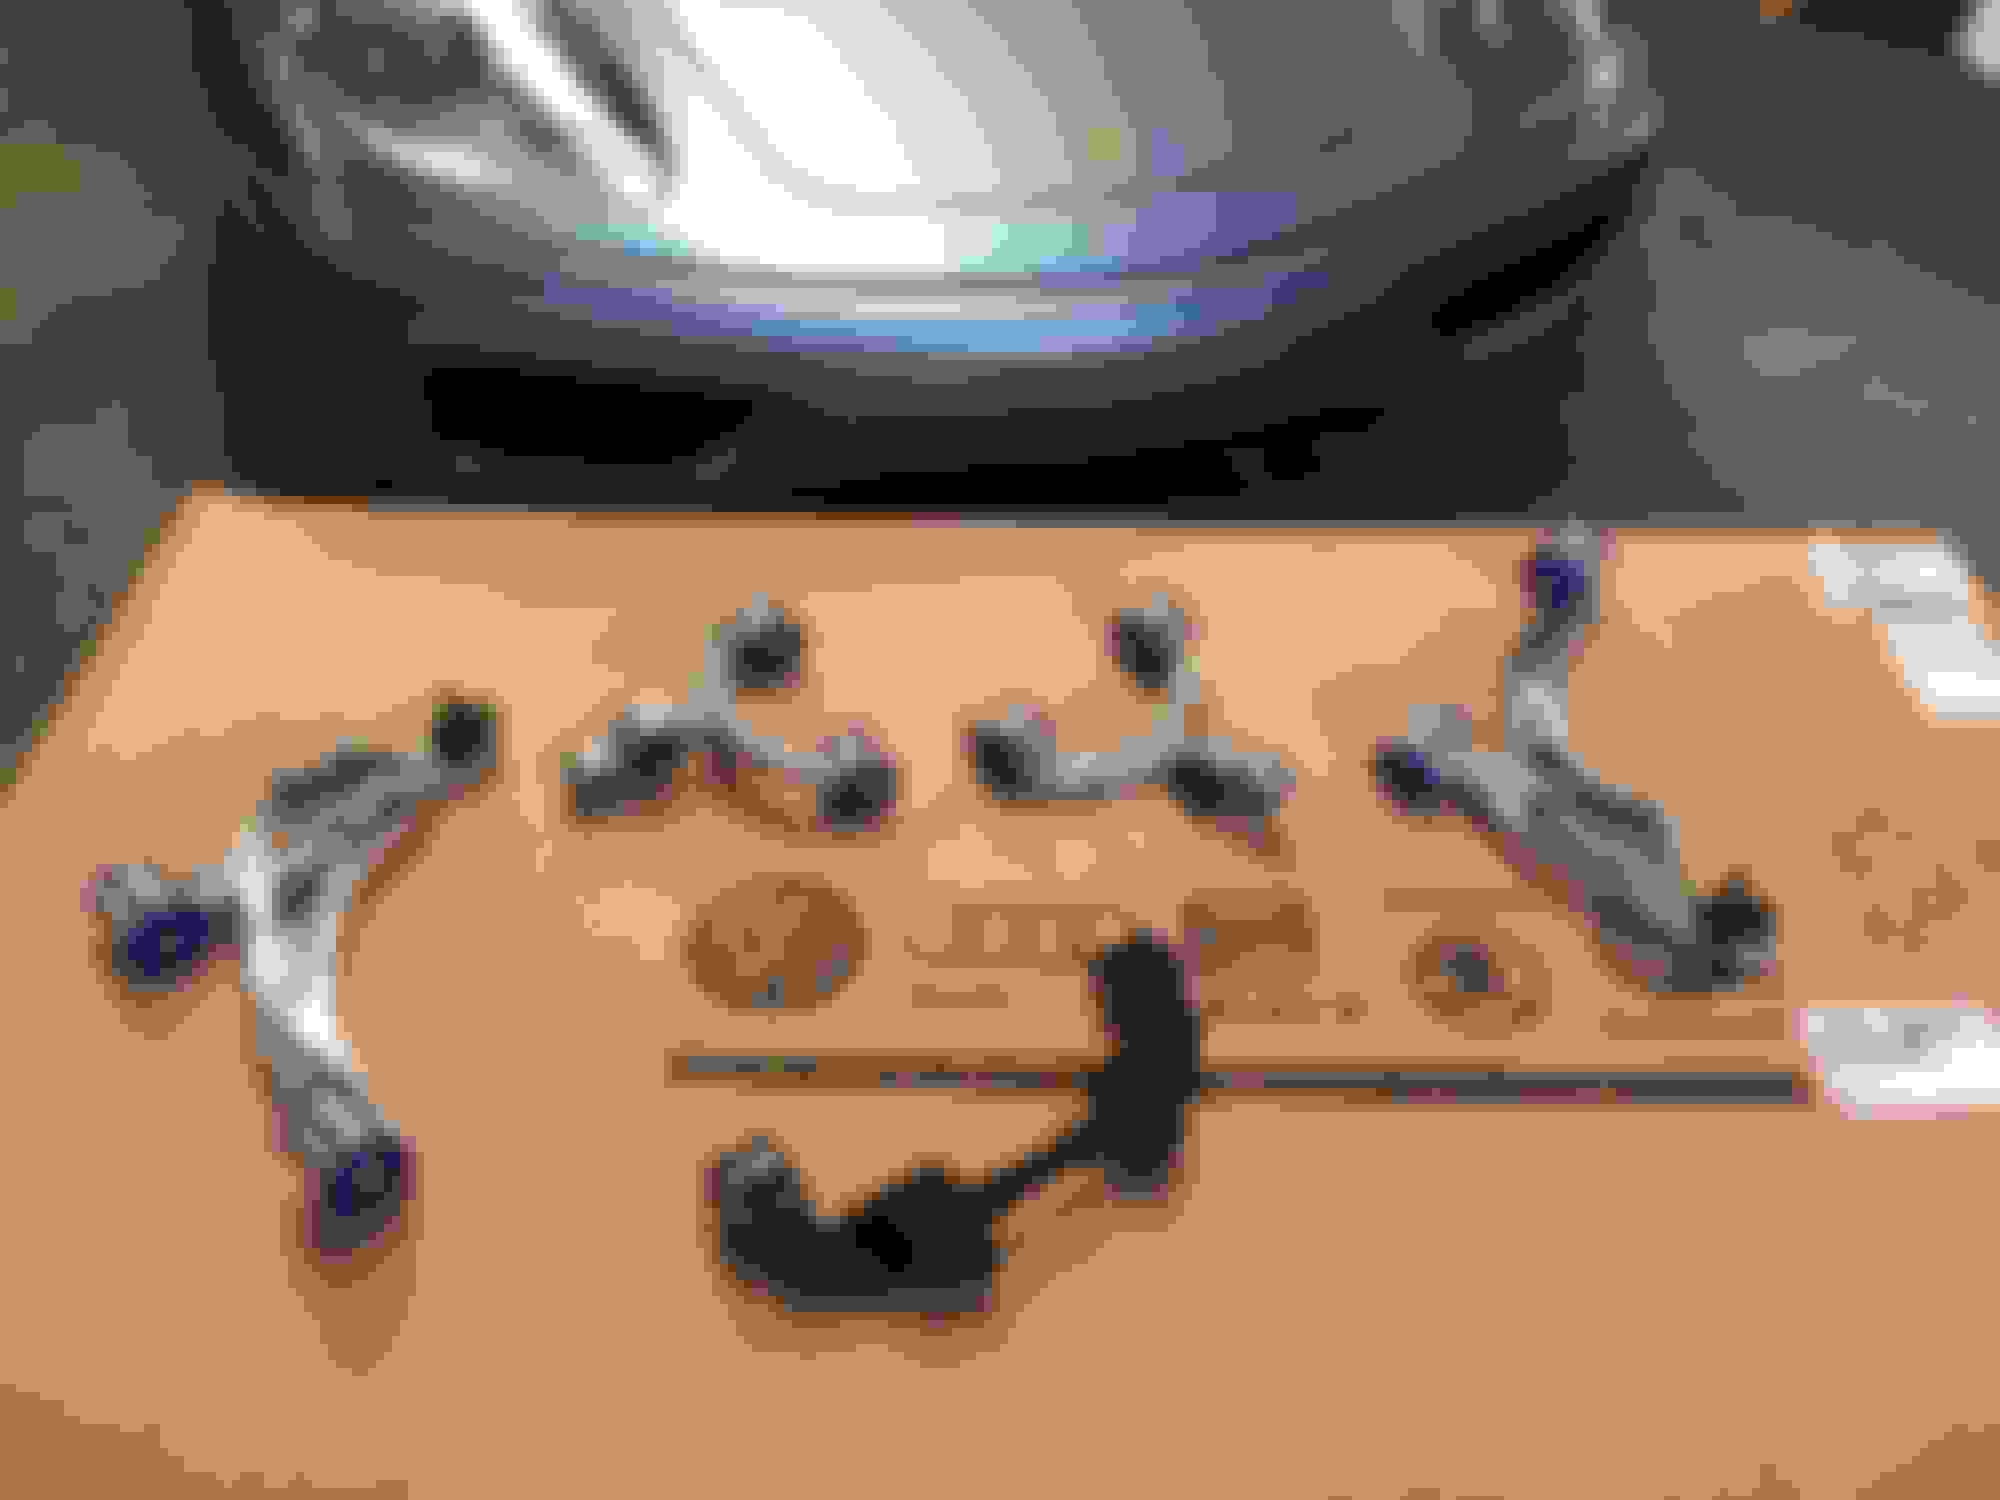
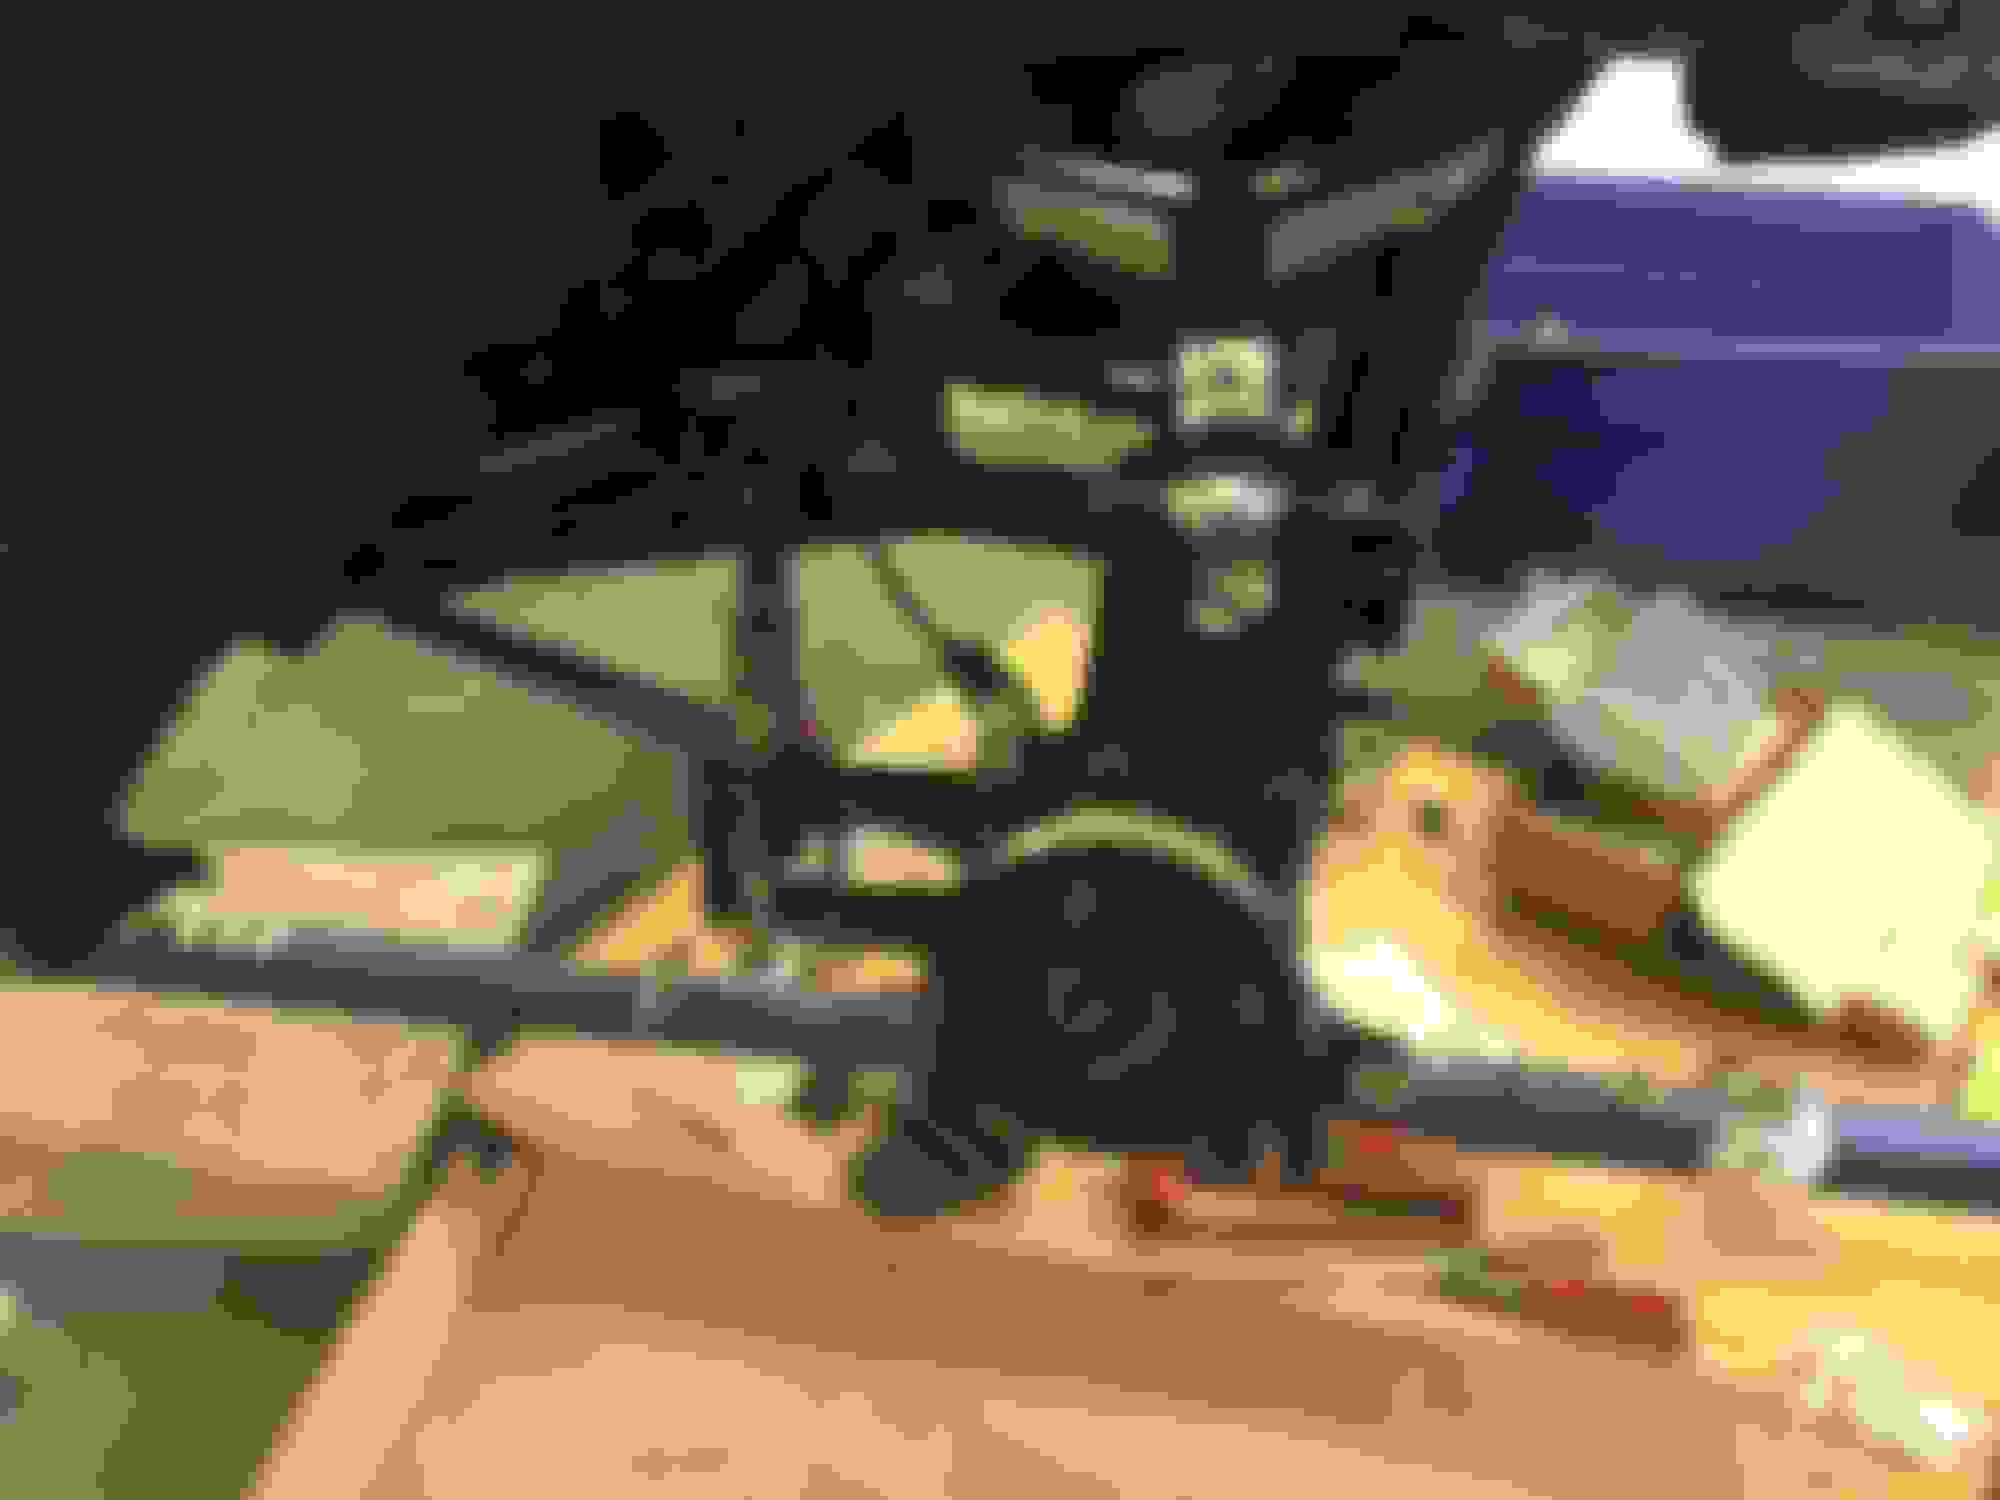
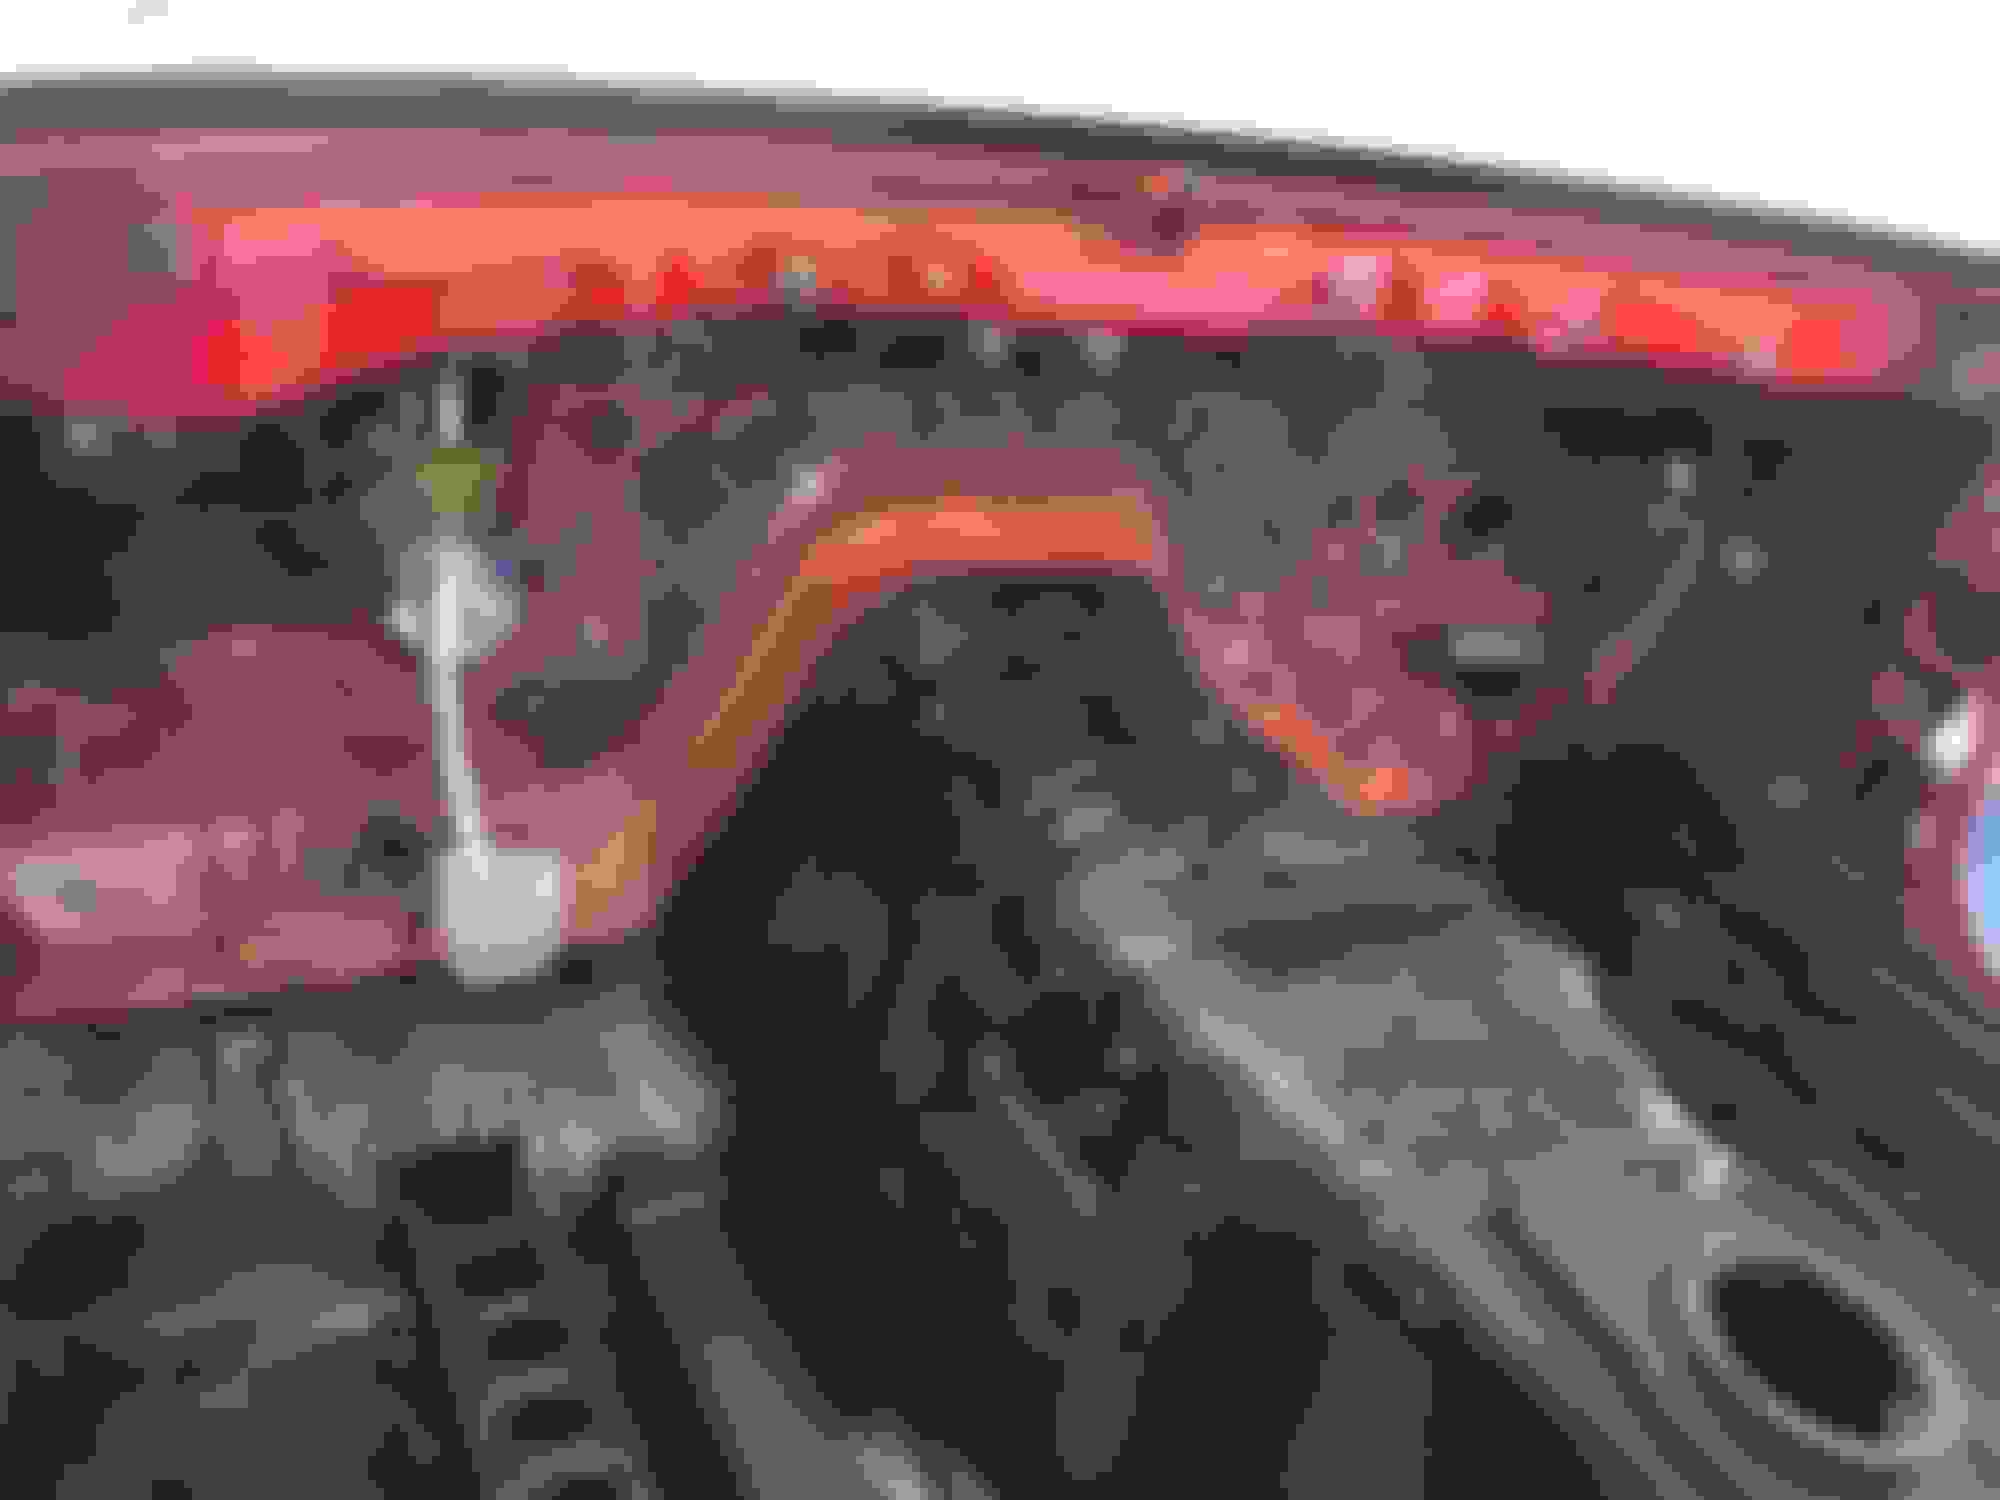
So this weekend we worked on the rear diff. We disassembled the axles and check all aspects of the diff. Once we confirmed everything met spec we reassembled them and repacked the CV Joints, place new boots, added the Greddy large capacity diff cover and attached the 2-in-1 diff brace. We are still waiting on our arms to arrive back from powder coating. Once in we will start the the reassemble of the suspension.
Step 1 Chemical wash rear diff to remove all the oil and built up dirt
Step 2 Power washed rear diff
Axle removed from pumpkin
Axle cleaned and ready for reassembly.
Pumpkin painted
CV bearings cleaned
Repacking the CV joint and bearings
Rear diff reassembled
Factory diff cover removed and inspected
2-in-1 brace installed (now this is not as easy as it looks it is a very tight fit, but it works great, i do not recommend doing this with the diff attached to the car because you have to put the cover and brace on at the same time.)
When we contacted them to purchase what we have they stated to us that they were discontinuing all of them. So we bought what they had at the time. If you can find a vendor that still has them in stock you should get them.
We apologize for no real update, but we are hard at work getting our 13B TT ready for a car show next weekend. We will be attending Heatwave here in Austin TX. Don't worry we will post pics of the show.
We want to apologize for our delay but lets get everyone caught up. We left off that we were going to a car show and we won first place for our 93 RX7 13B TT.
But, Lets talk about what we have done lately on the 20B Carbon Car. Starting with reassembly of the rear end and rear suspension.
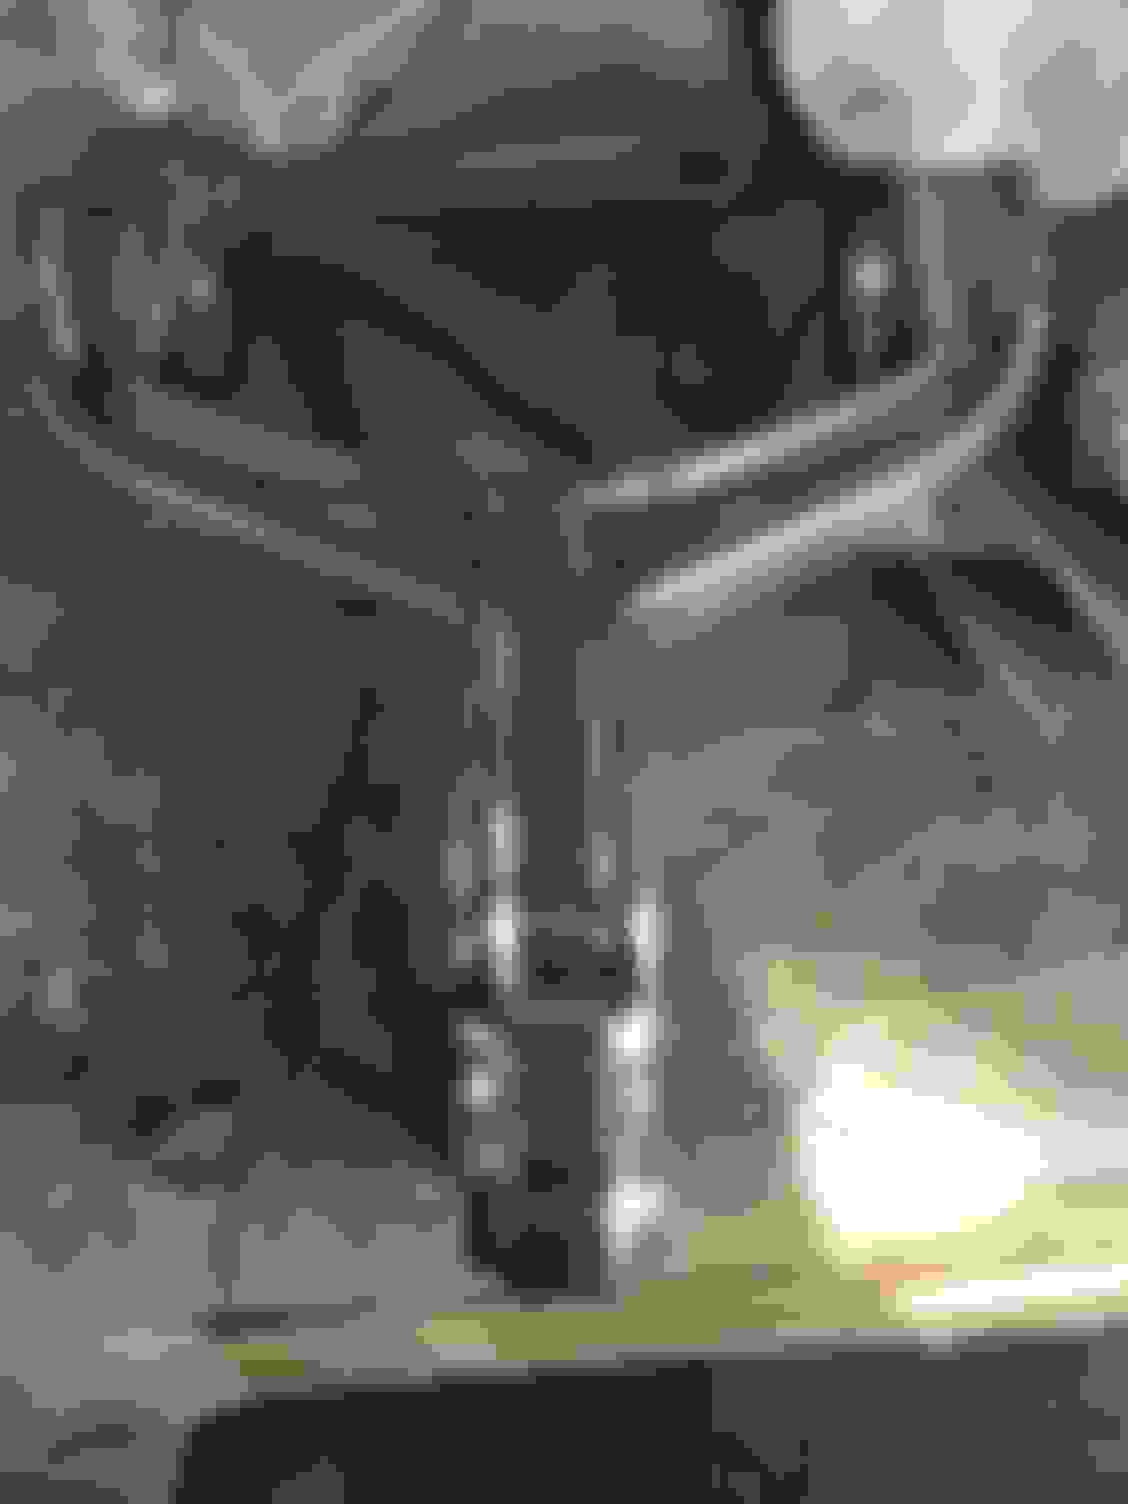
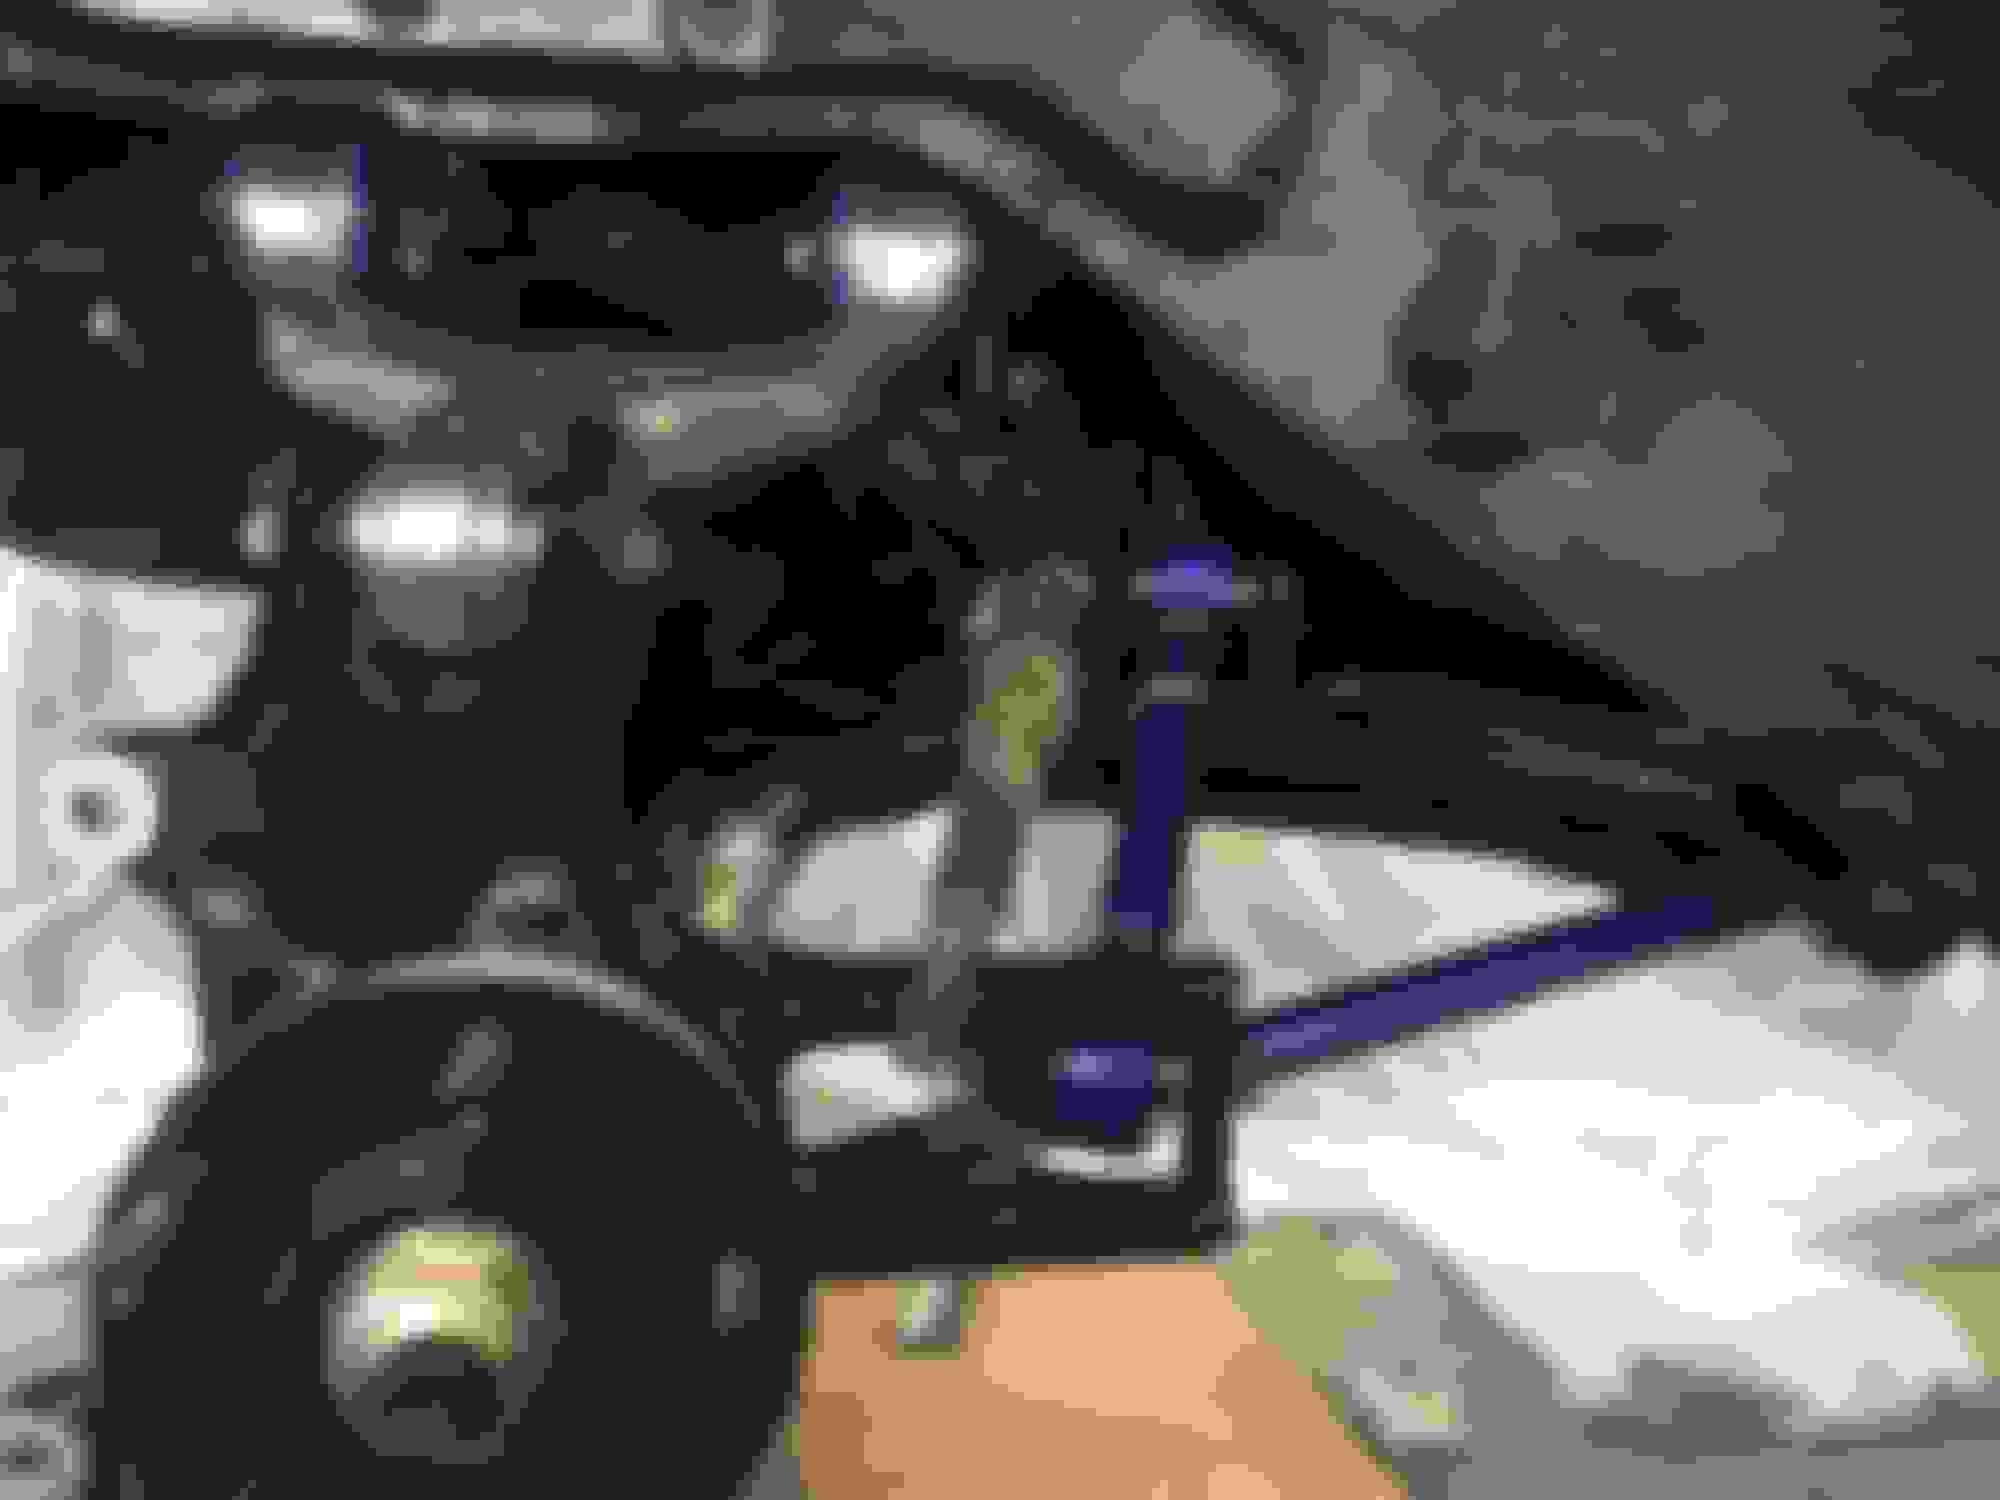
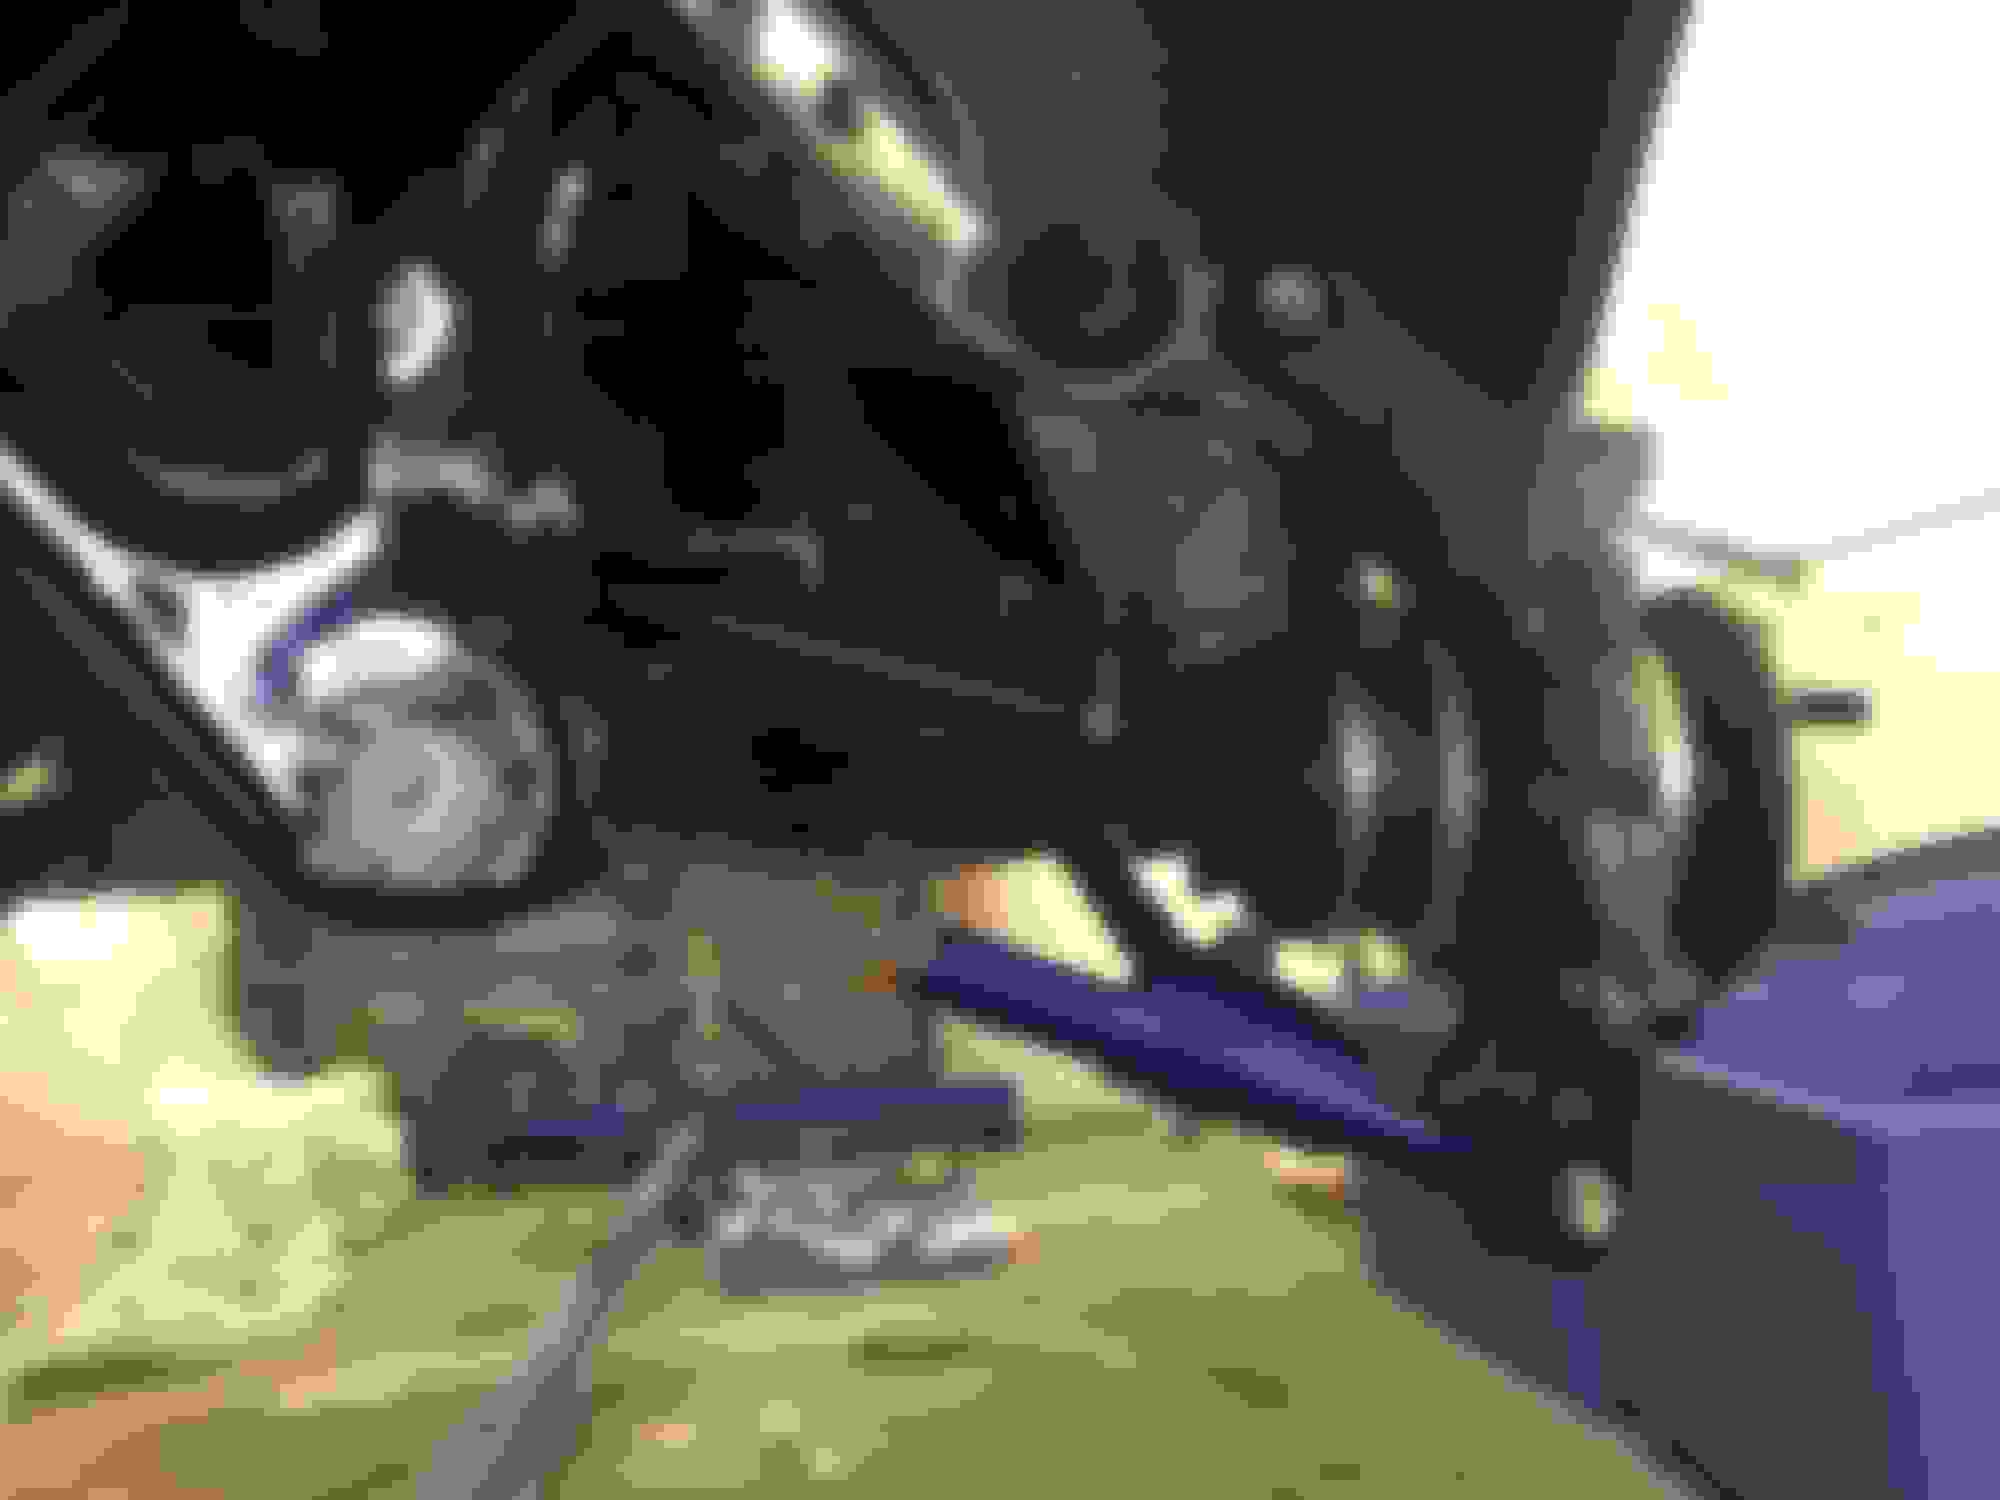
New bushings Powerflex New bushings Powerflex Rear sub-frame and diff installed driver side view Rear diff cradle brace Rear sub-frame and diff installed pass side view Driver side traction and toe bars Driver side rear axle installed Rear knuckles reassembled Driver side rear knuckled installed Driver side rear end and suspension installed
We have not posted in a while, but today is the day to catch you up. We have been posting on Instagram under the 20B Carbon. We welcome our new sponsors Stance #ssusa #stancesuspension Stance rear coilsovers installed
Pics of the rear and side bracing being added. Rear lift brace/protection diff plate custom tabs for rear lower brace right custom tabs for rear lower brace left Close view of the rear lower brace Side floor braces inside connection points Side floor brace side floor brace View of the lower bracing