
On my way to painting


Car Quest is where i got the por 15 and all the Nason paint products. Some stores have it on the shelf others you have to ask for it and they have it in the back. I never knew car quest had so much
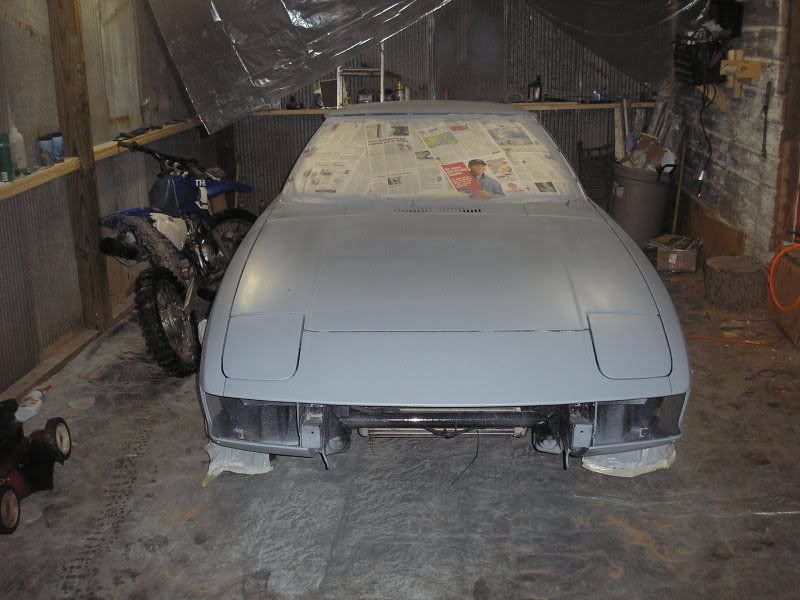
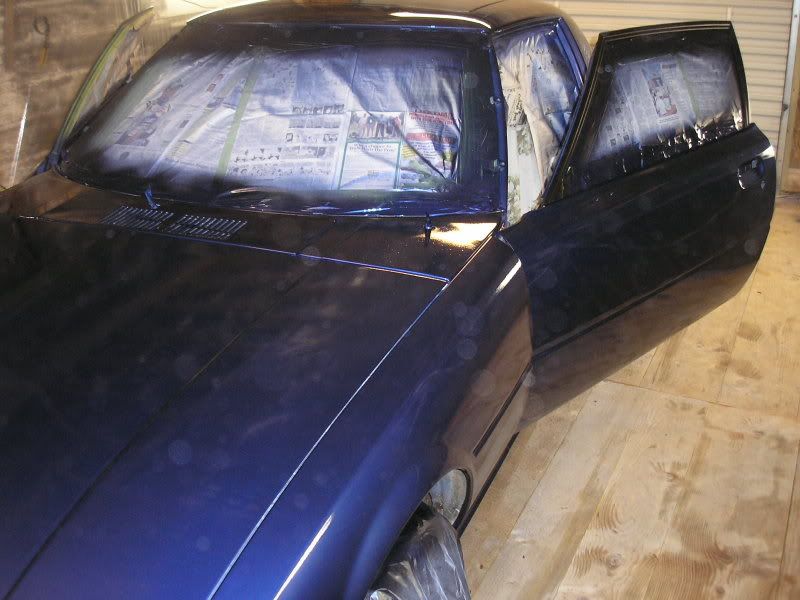
1st try at primer
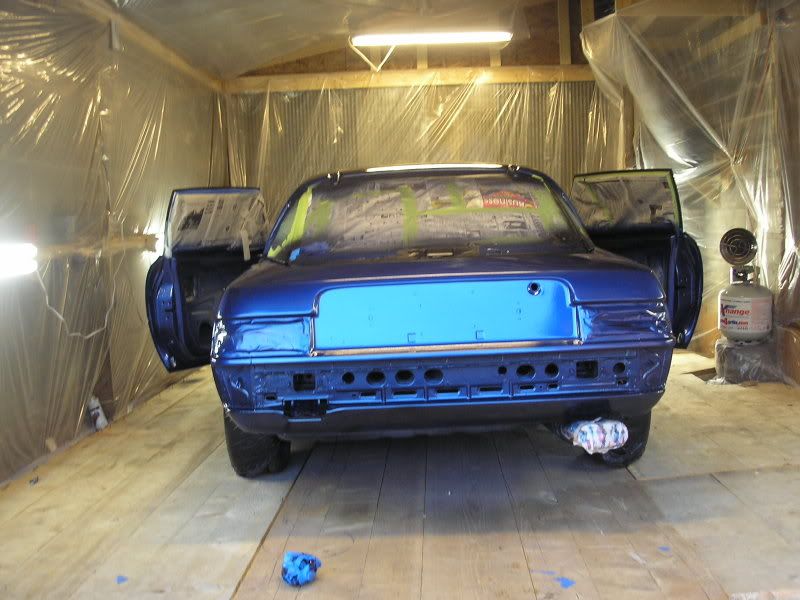
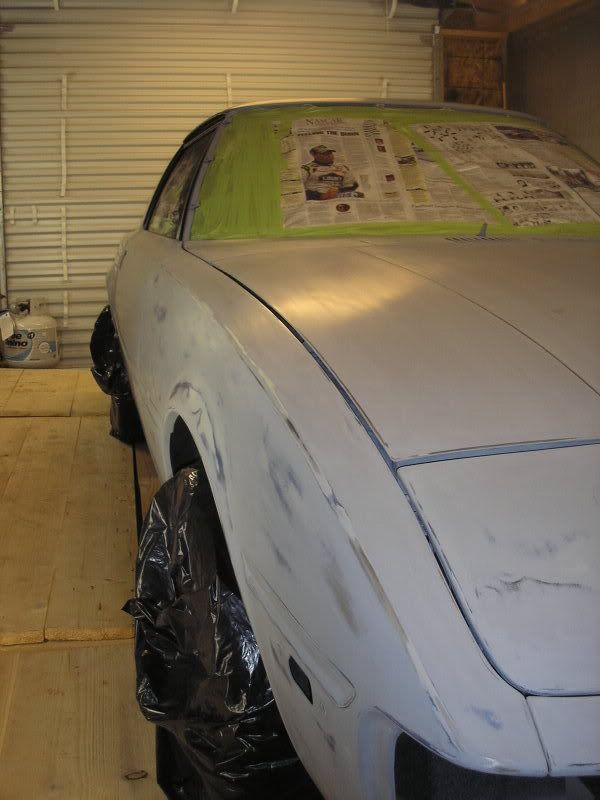
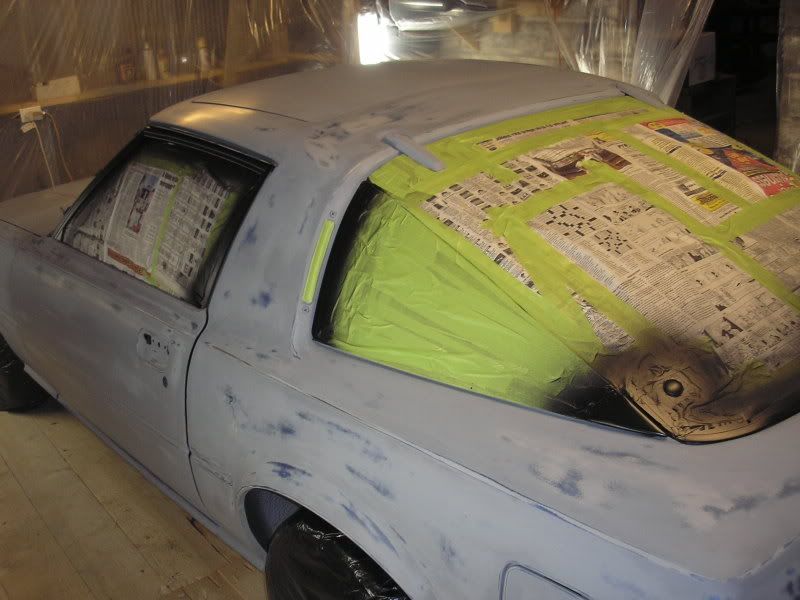
Well after sanding and finding more and more problems, i finally got to the point where i thought i could primer it. Not that its perfect but i needed a solid color to look at to determine the low spots and dings, ect.... Well it cooled off a hair this afternoon so i wiped the car down and mixed my paint and started at it. well at first i was shooting a little heavy and got a orange peel feel. I adjusted the gun and got it a little smoother, it still has some texture to it but i plan on blocking the whole car and fixing a few areas, then shooting 2-3 more coats. Then seal it with 2 coats then the acrylic enamel top coat. well here are some pics from tonight. The shop got rigged alittle at the end, being it started POURING DOWN RAIN, and the roof had one leak, thats why the tarp is hanging down and the other crap is moved inside.
here are pics of my first attempt to use a paint gun
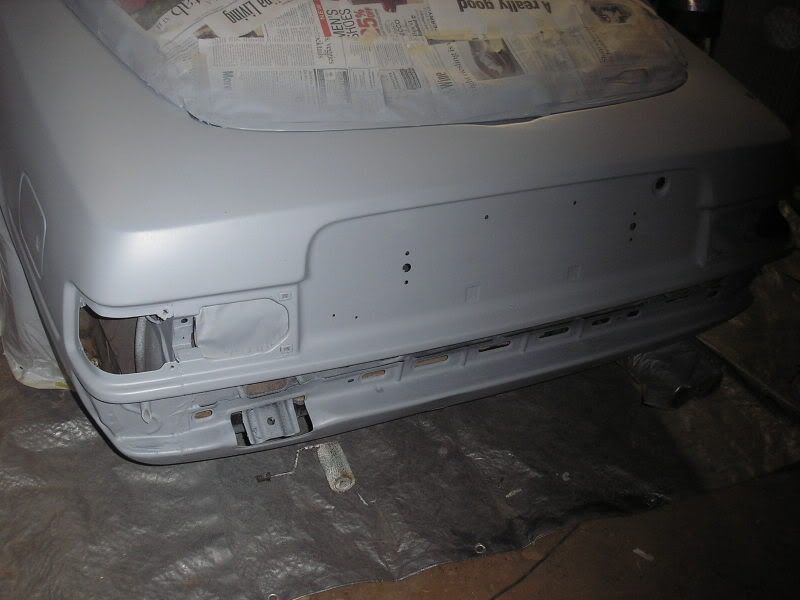
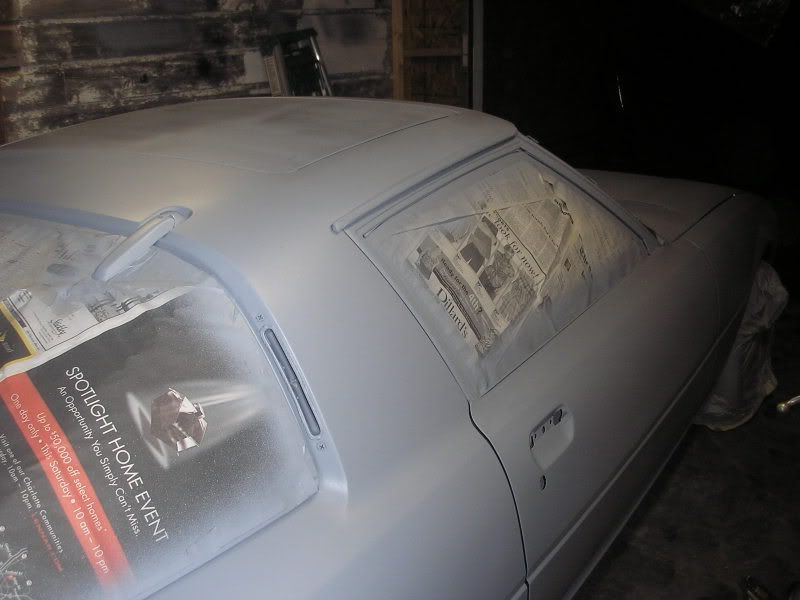
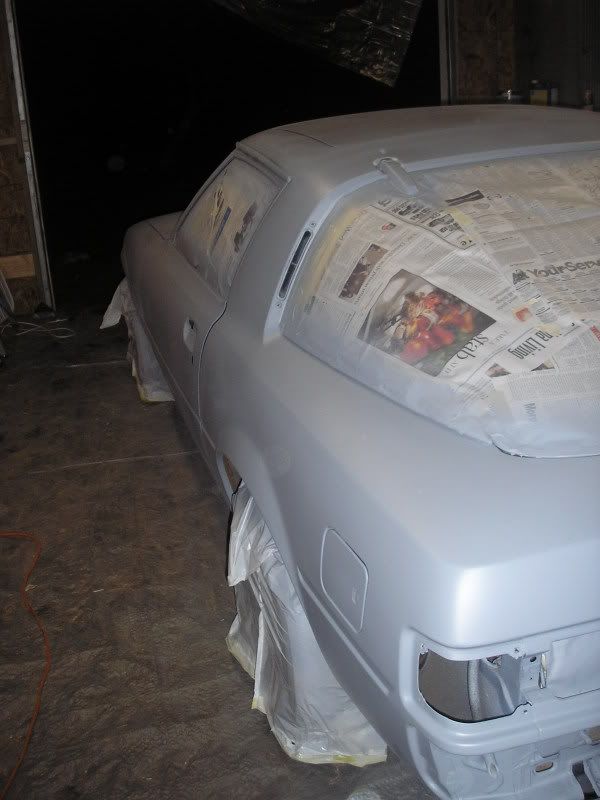
here are pics of my first attempt to use a paint gun
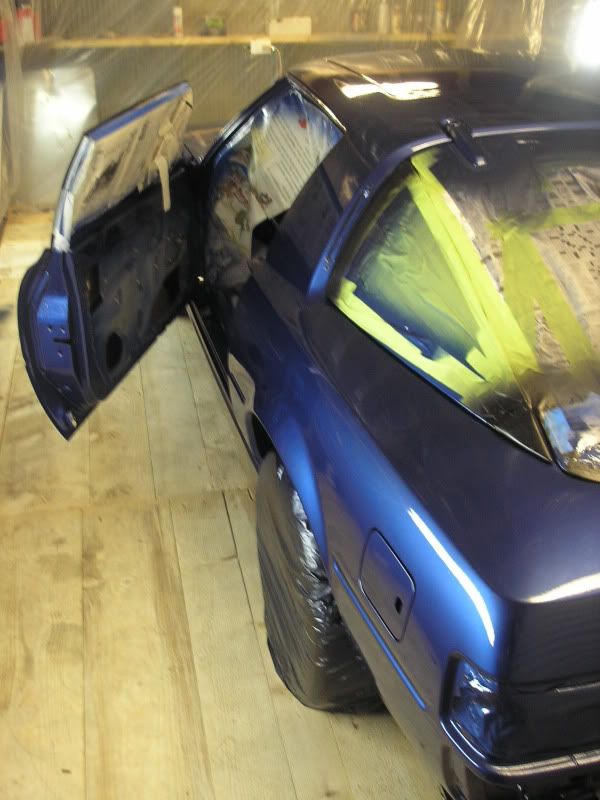
Well here is the near completed year long job. I just sprayed the color and clear yesterday, did the door jams on friday night. and hopfully everything looks good,i did get a little sag on my passenger door in the clear coat but hey if thats all thats wrong a little wetsand and buffing should bring it back. I plan to do a nice write up this afternoon with more pics, but here is just a teaser pic for a few.
I thought it turned out pretty good for a garage paint job and considering the only other thing i even painted was my wife's gas tank on her motorcycle, and there is a HUGE difference in painting a car. It was a high of 60 degrees here yesterday so i had to heat up the entire place to get the temp of the metal warm enough to keep the paint from running. I got a little dust in the clear but hey i only spent a total of maybe 300 bucks and from 10 feet away its ok
Holy crap! Man what a differance! I don't care what you say, that is an awsome job. That thing is going to look killer in the sun light. I can't wait to see that in person. Damn fine job sir.
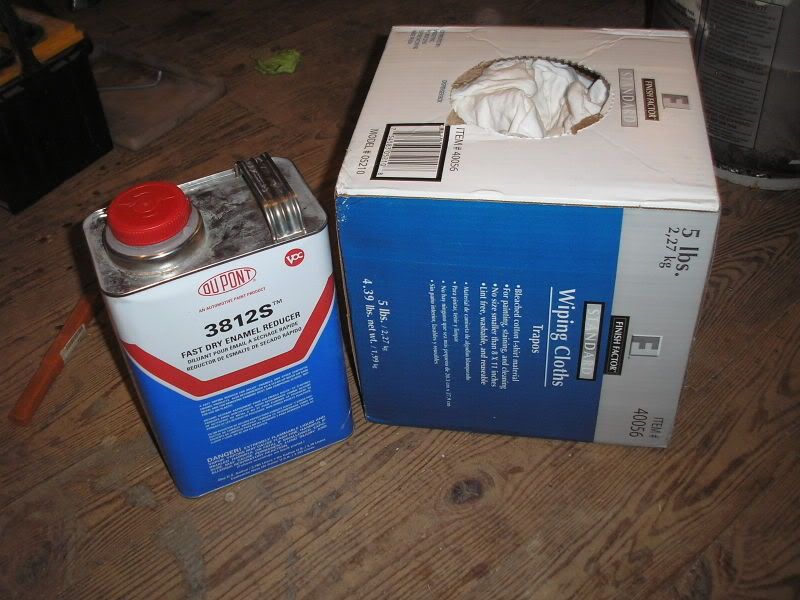
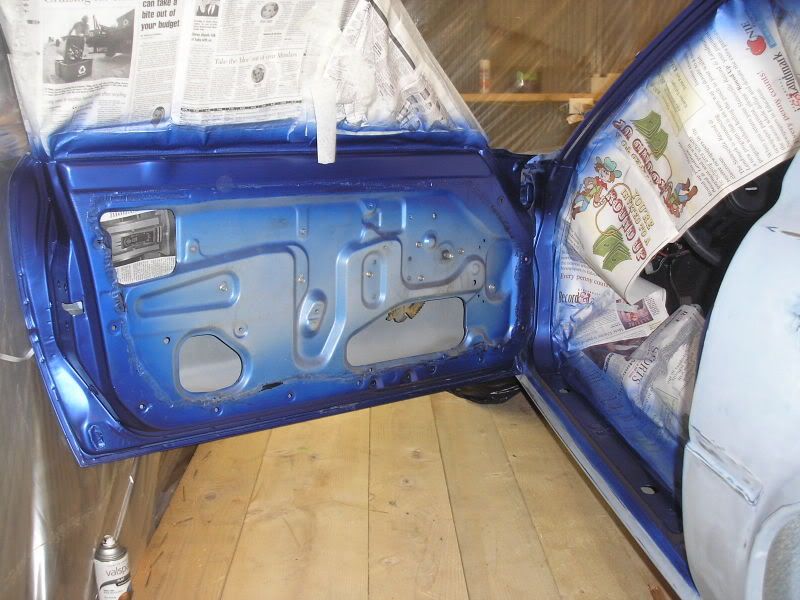
Ok I will try to do this in order. Basically where i left off last july was with it primered. I know i took forever to get it going again but with personal things going on, owning an old house and needing repairs, and also just wanted to put it back together and drive it a while it has taken longer then i thought. So over the last month or so i have been spending my time sanding and sanding and sanding. After i shot my primer i realized i shot it way to low pressure. i had splatters and heavy area all throughout the car. i started sanding with 180 grit paper. I used it just to knock off the high spots. I lightly went over the entire car to keep everything as consistent as possible. Once i got done with 180 i moved to 220, then 320, and finally 360 grit paper. Between each grit of paper i used either a air nozzle or my wife's master blaster air pump to blow the dust from the cracks and clean the car off before i started again. After i got completely done with the sanding it was time to clean it down. I used Nason 2k Urethane primer so to clean the car after dusting and blowing off i used Dupont 3812s to wipe the car. I bought a box of 5lb rags from Lowe's Home Improvement and used one rag to wipe with and one rag to dry with. I works best and quicker with two people. You have to keep the wet rag to wipe with soaked or it evaporates to quickly. Make sure you wipe it dry and not evaporate or it can leave a slight residue.
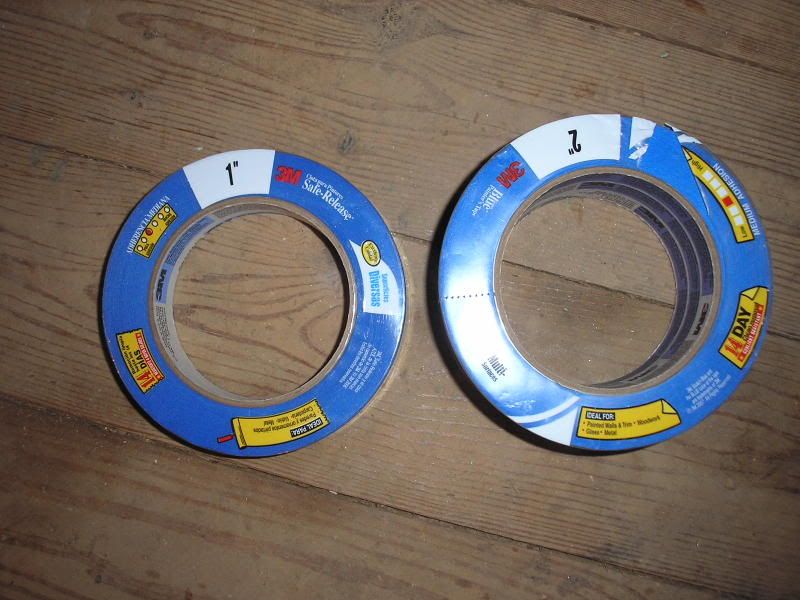
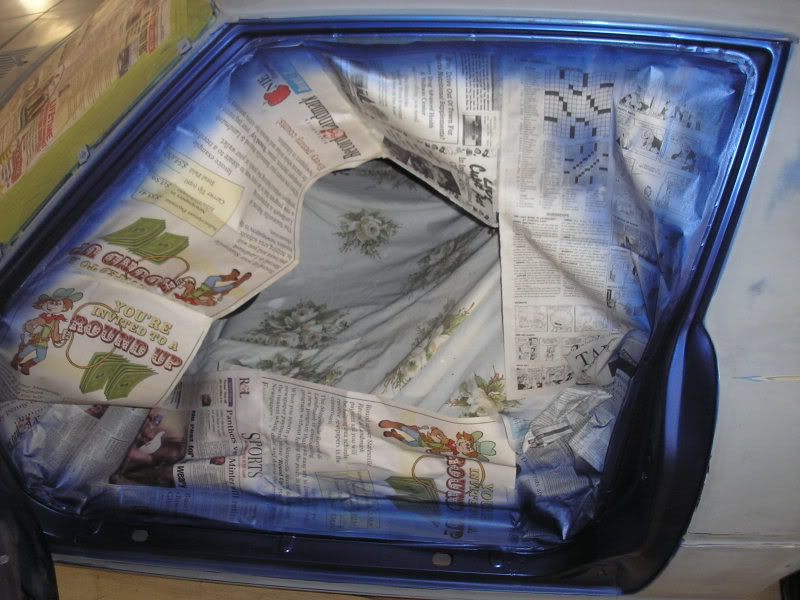
Once the entire car, door jams and all were wiped clean. I covered the seats with a sheet and taped off the door jams, windows, hatch glass, and windshield with 3M High Adhesion masking tape and newspaper. When taping off the glass and large areas use newspaper to cover and just tape the edges, tape each edge of each piece or dust will get under and come out during painting, also dont use the glossy newspaper ads, i found the tape did not stick well and they would fall off. Once taped off i went ahead and painted the top piece around the driver and passenger window, the trim around the side hatch glass and the trim corners and bottom of the hatch with Valspar rattle can flat black paint from Lowe's.
Once the was painted i let it dry while i mixed up my color for the door jams. I used Nason Ful-Base B/C and Nason 441-21 Meduim Reducer. I mixed it 2 parts paint to 1 part reducer and used a gravity feed gun to paint the jams, I put on 2 coats. Once the jams were painted the flat black was dry and i used 3M Delicate Surfaces Low Adhesion masking tape to cover all the flat black.
I let it all sit over night and the next morning i went out and turned on all 4 propane heaters. I had to forced air heaters to quickly heat up the car's metal and get the temp up then used 2 Mister Heaters to control the temp and not blow dust. I was able to get the car lukewarm and the ambient air temp up and maintain 85 degrees. Being how my car had areas i sanded too deep and had light spots i shot a base coat with 3 parts color 1 part gloss black and 2 parts reducer using the Nason Ful-Base. I started with the Driver B-Pillar(get pretty wet) and then the center of the rough back toward the Drivers Side. Went to Passenger side B-pillar then went toward the center. Once the B-pillars and roof were done i started at the passenger front fender worked up to the hood across the hood and lower valance toward the center of the hood. Then moved to the driver side started at the center of the hood and worked toward the bottom of the driver fender. Once the fender was complete i worked top to bottom on each panel working my way around the back of the car back to the passenger door. This is why you must work quickly and wet the heck out of the passenger B-pillar, if its dry when you get back to it you will get a faded dry spot where you overlap. I was using a 24 oz gravity feed gun and went through 2 1/2 cups to get the whole car. Once i got down with the first coat i waited 20-30 mins and then shot the 2nd coat. This time only use the final color which is a 1998 Nissan Bright Blue. I mixed it 2 parts Nason Ful-Base B/C to 1 part Medium Reducer. I went the same method across the car and back around. This time trying to concentrate on overlapping 1/2 of each spray pass with the next and trying to stay 6-8 inches from the car. After the 2nd coat i let it sit 30-40 mins. Then after using a flash light and inspecting the paint looking for dry spots, light spots or heavy dirt. i was ready to shot the clear i used Smart FPL 3900 Polyurethane Clear, and Smart FPL 3902 Overall Activator. I mixed 4 parts clear to 1 part activator. The first coat i put on slightly wet using the same method to spray over the car. The first coat you let tack up a little. Once it tacked up i shot the 2nd coat pretty wet. i got all the way around the car and noticed the passenger door looked dry. I shot over it again immediately and all looked well, after a couple hours went back out and the door and B-pillar on the passenger side that i went over a little extra sagged just a little.
For now i am letting it cure but tomorrow i plan on using 1200 grit paper and wet sand the clear on that door and pillar. once it is smoothed i will use a electric buffer to buff the whole car. I will update with that info in the next couple days.
thanks for all the compliments guys, i have to get all my trim back on, and paint my bumpers, the bumpers were not ready so they will get done this week some time. then its all got to get back together. cross your fingers on that
The POR15 worked nice under the hood and will be put in all the fenders and under the car but i tried coating some areas with it and i dont know if i did somthing wrong or what but when it is sanded it will come off in strips like its peeling. its pretty tough and good stuff for certain things. I found the biggest thing in all this was prep and taking my time, dont try and rush things
well i was outside tonight looking at things and un taped the entire car. I saw where i taped off the rear lights really far down. I held a taillight up to it and its going to be close if you could see the primer. So instead of the risk i took my wifes airbrush, just a cheap Paasche airbrush and lightly painted the primer exposed area, then waited a little while mixed my clear and shot it too. It blended perfect, you can still see a line where the tape from the complete painting was but it blended nice and color matched so now if there is a little showing it will not be noticeable. Next task is buffing and finishing the bumpers

Rotary Enthusiast
Joined: Dec 2007
Posts: 1,079
Likes: 0
From: Texas
The POR15 worked nice under the hood and will be put in all the fenders and under the car but i tried coating some areas with it and i dont know if i did somthing wrong or what but when it is sanded it will come off in strips like its peeling. its pretty tough and good stuff for certain things. I found the biggest thing in all this was prep and taking my time, dont try and rush things

I plan to do my first paint job in next month... i can only hope it turns out half as good as yours!! Well done - and great color choice... I'm a sucker for blue (I used IBM for my FC)...
Holy $^*#ing cow man! That is a fantastic job! I seriously thought this was going to be a corolla blue or something but that is definitely a top 2 of my favorite colors on this car!
 I think I settled on a color. Hot Rod Red Flatz from House of Kolor. With a flat clear on top.