
I'm a pragmatist, so my upgrades having been very dull very boring (replacing OEM electrical controls with toggle switches, battery cables), ya boring as whale ****!. 
But would like to hear others' upgrades.
But would like to hear others' upgrades.
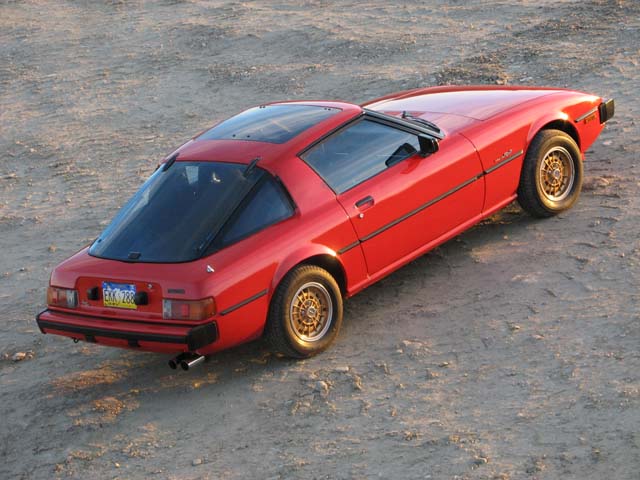
Most satisfying? Basically just a damn good cleaning of the engine bay, and tearing out anything that didn't have to be there. The paint under the hood is usually in excellent condition, once you dig down to it. And an immaculate engine bay does wonders for the value of the car, and it shows that the owner takes good care of it too.
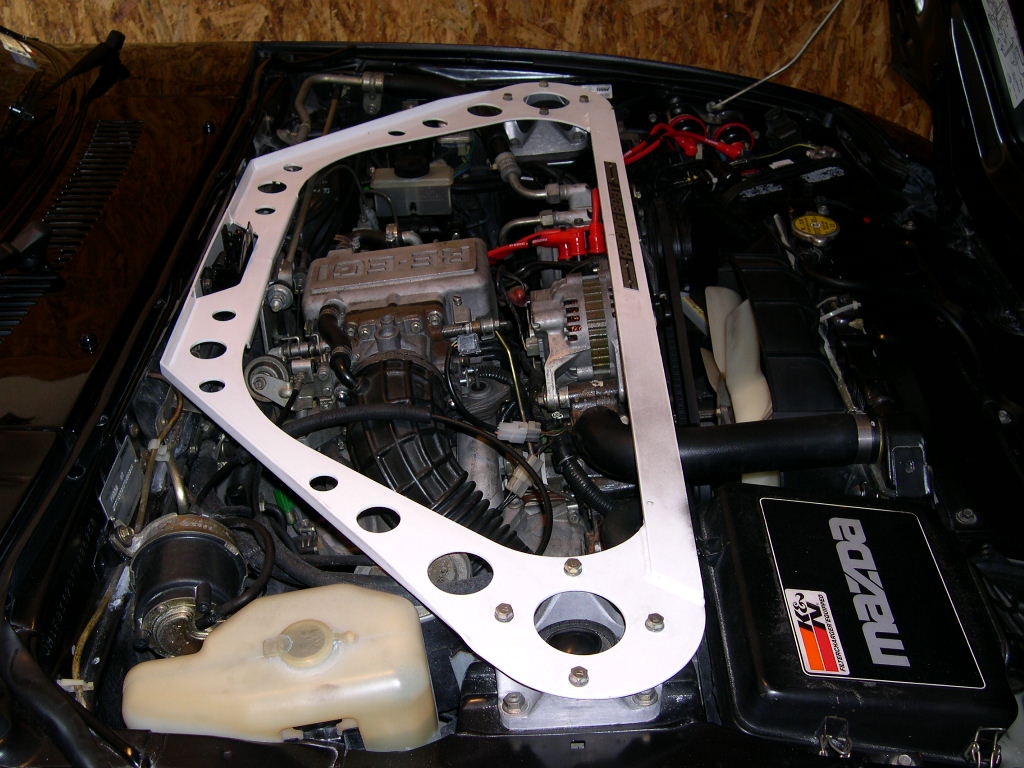
Other than that, I love my Sterling carb and Respeed suspension. But one of the biggest performance upgrades would have to be the Transistor Trick ignition system because, holy ****, did it ever make a difference!
.
Other than that, I love my Sterling carb and Respeed suspension. But one of the biggest performance upgrades would have to be the Transistor Trick ignition system because, holy ****, did it ever make a difference!
.
Yeah, a real housecleaning in the engine bay is quite satisfying - - and can be quite a chore to do right!
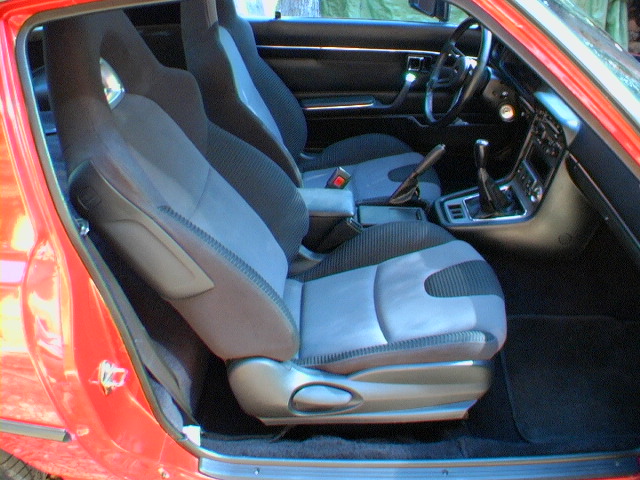
I'm still (somewhat unreasonably) proud of my electric window conversion, re-upholstery, & in-console gauge installation, mainly because they were 100% "self-engineered" making them work out - - had nobody to tell me how it should be done - - and because they continue to work exactly as planned.
For me, most of the satisfaction comes from solving puzzles successfully. The rest of it comes from executing the plan competently.
direct fire ignition box, and alternator upgrade. Made a HUGE difference in the car responsiveness and the lights quit dimming down which is really nice.
Quote:
I'm still (somewhat unreasonably) proud of my electric window conversion, re-upholstery, & in-console gauge installation, mainly because they were 100% "self-engineered" making them work out - - had nobody to tell me how it should be done - - and because they continue to work exactly as planned.
For me, most of the satisfaction comes from solving puzzles successfully. The rest of it comes from executing the plan competently.
Originally Posted by DivinDriver
Yeah, a real housecleaning in the engine bay is quite satisfying - - and can be quite a chore to do right!I'm still (somewhat unreasonably) proud of my electric window conversion, re-upholstery, & in-console gauge installation, mainly because they were 100% "self-engineered" making them work out - - had nobody to tell me how it should be done - - and because they continue to work exactly as planned.
For me, most of the satisfaction comes from solving puzzles successfully. The rest of it comes from executing the plan competently.
" - had nobody to tell me how it should be done - -"<<---I like that.
Did you use Victoria British's seat upholstery kit?

No question, exhaust. First the Bonez race pipe to replace the cats, then the full RB system.
On the other end of the expense spectrum, the 2GDFI installation comes in second, $25 and an hour's work for direct fire ignition.
On the other end of the expense spectrum, the 2GDFI installation comes in second, $25 and an hour's work for direct fire ignition.
Ditching the red interior for the grey did WONDERS for my sex appeal and self-esteem. All they ladies dig grey. 2GDFI would be a good mod for the near future, if I knew anyone that could help.
kidding, Ray.
kidding, Ray.
Quote:
Did you use Victoria British's seat upholstery kit?
Nope; they didn't exist at the time, as far as I know. Made my own patterns by unstitching the original upholstery, piece by piece, then tracing onto paper (have pix on other computer; will post shortly)Originally Posted by speedracer_not
" - had nobody to tell me how it should be done - -"<<---I like that.Did you use Victoria British's seat upholstery kit?
Built up the damaged seat buns by layering on 1" foam and carving it with an electric turkey knife.
Another of my favorite upgrades, Crit's mint red leather driver's seat that he gave me when he went with that sexy gray interior:
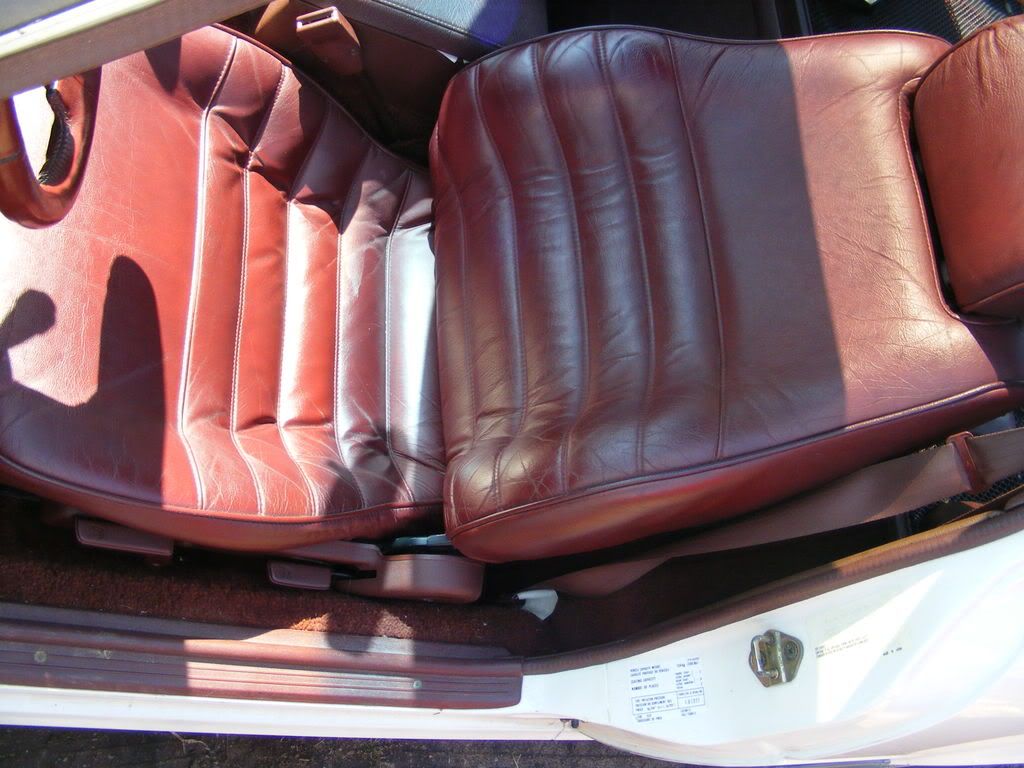
It replaced my original red leather upgrade, which is now in storage:

Which replaced the original red velour seats:

It replaced my original red leather upgrade, which is now in storage:
Which replaced the original red velour seats:
DIY upholstery in several painful steps:
1) Strip the cloth off by removing all the hog rings and hardware; turn inside out.
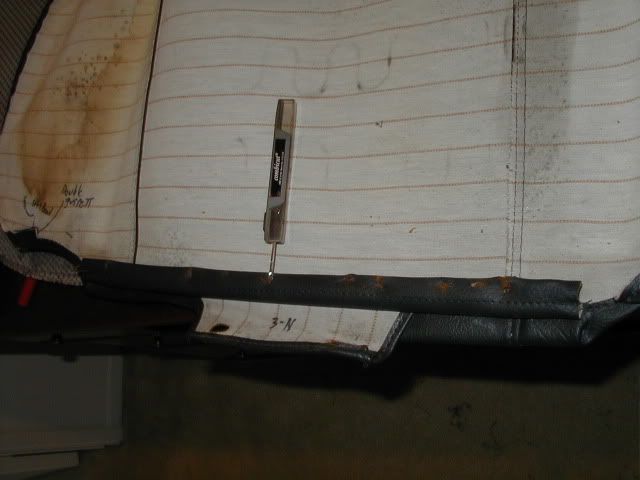
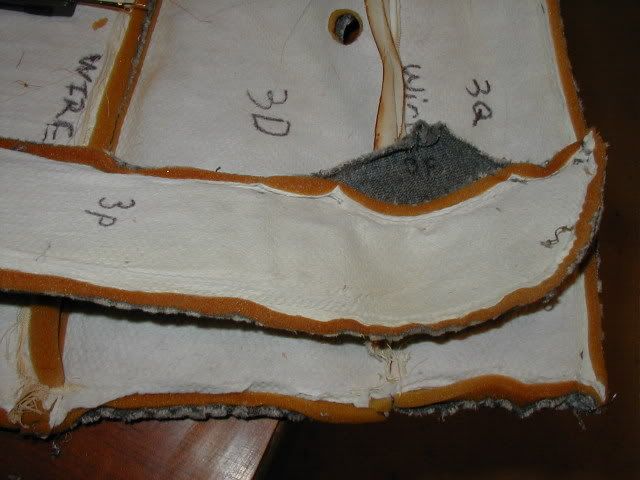
2) Mark each piece with a number, and with the locations of the tuck wires:
3) Make a sketch and notes of which piece goes over which, how things tuck around, etc.
4) Start ripping seams; use care not to cut the cloth.


5) Vinyl parts (like the backs) can be laid out and traced right onto the vinyl backing; transfer all insructions.
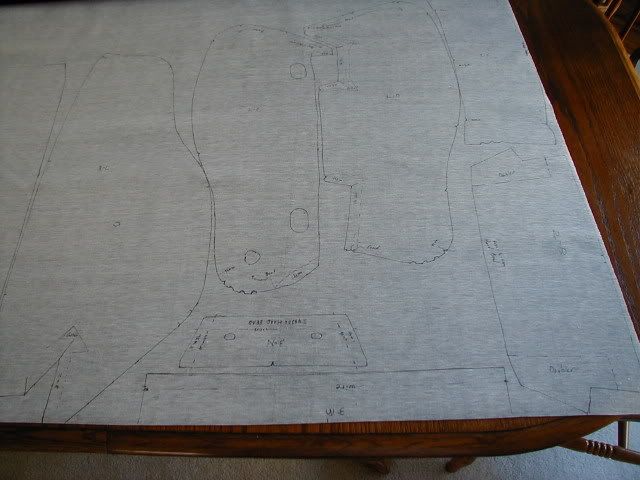
6) Cloth stretches too easily, and can bleed marks thru, so paper patters must be made. Notice step-by-step disassembly notes.

7) Pin, cut, and sew, with foam and cloth backing where found on original pieces. Use hogrings and hogring pliers to reattach to the seat frames/buns.
8) Finished product:

1) Strip the cloth off by removing all the hog rings and hardware; turn inside out.
2) Mark each piece with a number, and with the locations of the tuck wires:
3) Make a sketch and notes of which piece goes over which, how things tuck around, etc.
4) Start ripping seams; use care not to cut the cloth.
5) Vinyl parts (like the backs) can be laid out and traced right onto the vinyl backing; transfer all insructions.
6) Cloth stretches too easily, and can bleed marks thru, so paper patters must be made. Notice step-by-step disassembly notes.
7) Pin, cut, and sew, with foam and cloth backing where found on original pieces. Use hogrings and hogring pliers to reattach to the seat frames/buns.
8) Finished product:
The most satisfying for me was the last two weeks before DGRR08. Being home about 4 days (if that) of those two weeks and scrambling to get the car ready for the trip. Got the FMOC mounted properly, which made a huge difference in the temperature gauge reading, taking nearly half a day to get my Carter fuel pump mounted and working, and then the very night before the trip, scrambling to get the Sterling on and get the car fired up. Went for a spin 11 pm that night with a huge smile on my face. Buy extra trouble lights. Working with only 1 in the dark can be a pain. I guess I could also count my suspension work as satisfying considering the improvements. But I don't think it was as rewarding since I took a lot longer to do the work, and it wasn't rushed. Up next, suspension overhaul!! Everything that RE-Speed carries is going on the car. Hopefully by April.
7aull
RX HVN
close
Mar 10, 2023
- Join DateJan 2003
- LocationArizona
- Posts:3,889
-
iTrader Positive Feedback100
-
iTrader Feedback Score(2)
-
Likes:330
-
Liked:229 Times in 169 Posts
1) glass roof panel!!
-almost like a convertible
-transformed my driving experience
2) RX-8 seats!
(with all due respect to DivinDriver's excellent handi-work!-)
3) gold waffles
Stu Aull
80GS
Alaska
-almost like a convertible
-transformed my driving experience
2) RX-8 seats!
(with all due respect to DivinDriver's excellent handi-work!-)
3) gold waffles
Stu Aull
80GS
Alaska
The RX8 seats look damn good in there! Did they bolt straight up, or did you have to do some rigging?

Seniorchief
seniorchief
close


Jun 20, 2026
- Join DateFeb 2001
- LocationIndianapolis, IN
- Posts:632
-
iTrader Positive Feedback0
-
iTrader Feedback Score(0)
-
Likes:430
-
Liked:365 Times in 187 Posts
From a "handling" standpoint I would have to say the addition of my strut tower brace and 1.125" front swaybar from RB.
7 uall, you retrofitted in a glass roof panel??
how much were the rx-8 seats? they make the car look brand new!!
how much were the rx-8 seats? they make the car look brand new!!

I know nothing!
Rebuilt my carb, does that count? I had no clue what I was doing, and I screwed up plenty of times, but after I finally got it fully working I had a sense of pride like no other.
I know it's not really an upgrade, but it was the most satisfying thing I've done to my RX-7.
I know it's not really an upgrade, but it was the most satisfying thing I've done to my RX-7.
Quote:
I know it's not really an upgrade, but it was the most satisfying thing I've done to my RX-7.
I'd count it; you "upgraded" it from tired to like-new! Carb work is intimidating the first time, if you've no safety net.Originally Posted by Simple Echo
Rebuilt my carb, does that count? I had no clue what I was doing, and I screwed up plenty of times, but after I finally got it fully working I had a sense of pride like no other. I know it's not really an upgrade, but it was the most satisfying thing I've done to my RX-7.
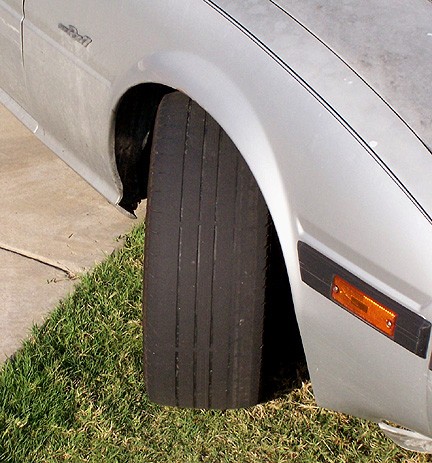
Suspension work incl running hard compound scrubbed F1 tires on the street...
Seriously, though, it was getting the exhaust finally done right so the car had an English burble.

Seriously, though, it was getting the exhaust finally done right so the car had an English burble.
