When you click on links to various merchants on this site and make a purchase, this can result in this site earning a commission. Affiliate programs and affiliations include, but are not limited to, the eBay Partner Network.
Ray - that train wreck story is incredible. And there is a notebook? Makes me slightly regret quitting that job with the machine shop (albeit the only positive thing about that place.)
I'm embarrassed I didn't see those parts. Sorry.
My problem now is I tried so hard to break the engine without opening - it's really on there. Then I finally decided to jump in - I forgot the break the front bolt before splitting the case. Now I have to fight that. I might have to reassemble the rear rotor etc. Anyone know of a trick to holding the shaft while I break this bolt without having to reassemble everything? Maybe there is a trick where you put something soft in with the rotor to hold it?
Happy Mardis Gras.
Last edited by bmorgan5; Mar 5, 2019 at 09:37 AM.
Reason: Responded to wrong person
To get the front bolt, you will need to reassemble to engine. You might also need to use heat depending on how much locktite was used. Leave the rear rotor out and put the irons and housings back in along with the long tension bolts, and flywheel. Use a flywheel stop. Whatever you do, do not use the rear iron trans holes by the oil filter. I mistakenly used an old alternator bracket with those holes and cracked the rear iron. Also do not put the keg together loosely. I made that mistake before and the rear rotor gouged the rear housing and ruined it.
Guess I'm buying a flywheel stop. No loctite - I just had this bolt off but I put it back to try to break the engine free.
I reinstalled the rear housing and iron (no rotor) but I need to stop the flywheel. I just bent a small diameter black iron pipe trying. It's always something. Thanks for the advice on the bolt holes. I'll steer clear.
Can you put engine in back of your car and take it to a shop and have them remove front bolt and gland nut on flywheel with impact gun. Probably wouldn�t charge you much and you can move forward with disassembly and order flywheel stop for reassembly
Gland nut is 54mm or 2 1/8�
Maybe you already have the socket,if not,try a truck shop,they will surely have that size socket.
Don't worry about the rear iron/housing. Just put the flywheel back on with the key way in place. Get a piece of angle iron or flat bar (i'd prefer angle cause of the extra strength) and drill two holes in the bar. The two holes in the angle iron should match to two bolt holes on the flywheel. Bolt the flatbar/angle iron to the flywheel. Use the angle iron/flatbar as a brace to give you leverage to break the front bolt free.
Yeah - I tried an impact gun. My largest is an electric 300fl-# variety. No go. The gland nut is loose. It's my own fault - I had it all loose, but I REALLY didn't want to break the engine apart, so i was using that front bolt to try to break it free. I'm guessing it's on there at around 350fl-# (gauging on the bar I used and that I usually use that with my large torque wrench to put on my land cruisers main crank @-300.)
I ordered a flywheel stop and it should be in on Thursday. I'll report back after that (hopefully with pictures so y'all can tell me if the gods are with me or not.)
I thought you were trying to turn the engine over with the gland nut... no wonder the front bolt is so tight,very fortunate you didn't snap that bolt off in eshaft..I think you're going to need impact power to loosen that at this point. My previous recommendation stands,there's a difference in smooth torque and impact torque to loosen a seriously overtightened fastener.
But seriously it would be worth it to get a piece of angle iron and drill a pair of holes in it to brace the flywheel.. Even if you have a flywheel stop tool you are still going to need to hold the engine still while you twist.
With a good air powered impact gun I doubt you would even need to secure the flywheel, the flywheel inertia alone should be sufficient to hold the eshaft fixed while the impact breaks the bolt free.
With a good air powered impact gun I doubt you would even need to secure the flywheel, the flywheel inertia alone should be sufficient to hold the eshaft fixed while the impact breaks the bolt free.
Sorry - I was traveling for work yesterday. I'll get that flywheel stop today. I have borrowed my friend's dewalt dw297. https://www.dewalt.com/products/powe...t-wrench/dw297. It has 497 ft-#s. Is this still not as good as the air? If not, I'll have to take it to a shop. I'll go ahead and put a little lube on it.
100% those Milwaukee guns are epic, but I have NEVER cared for the snap on impact guns. Ingrasol rand all day long.
EDIT: OP- the air gun is what you want though. The air gun will give you more speed rather than pure torque like the electric.
Larger quality air impact guns have larger hammer mechanisms than majority of electric impacts AND you can turn up air pressure to increase impact torque which you can't do with battery or electric impact guns.
Op,if you can't loosen what you need to with Dewalt gun,take engine to truck(tire)shop,for a few bucks guaranteed you'll be driving home with a smile on your face in a couple minutes.
So... I was using the impact gun and it wasn't budging it. I started to go back to the breaker bar but I started getting worried about snapping off the bolt, so I put a little heat to it and went BACK to the impact. It wasn't working. Then - I swear this happened - I was joking with my buddy that the guy on the forum said I should say a mantra - I started saying vrooom and I pulled the trigger - vrooom and pull the trigger - the bolt started to turn. That happened.
I broke the rest of the engine down and put it all out on the workbench. Tomorrow I'll take some good pictures and some measurements. Some of the seals aren't moving in the rotor. A few want to fall out (but they have not.)
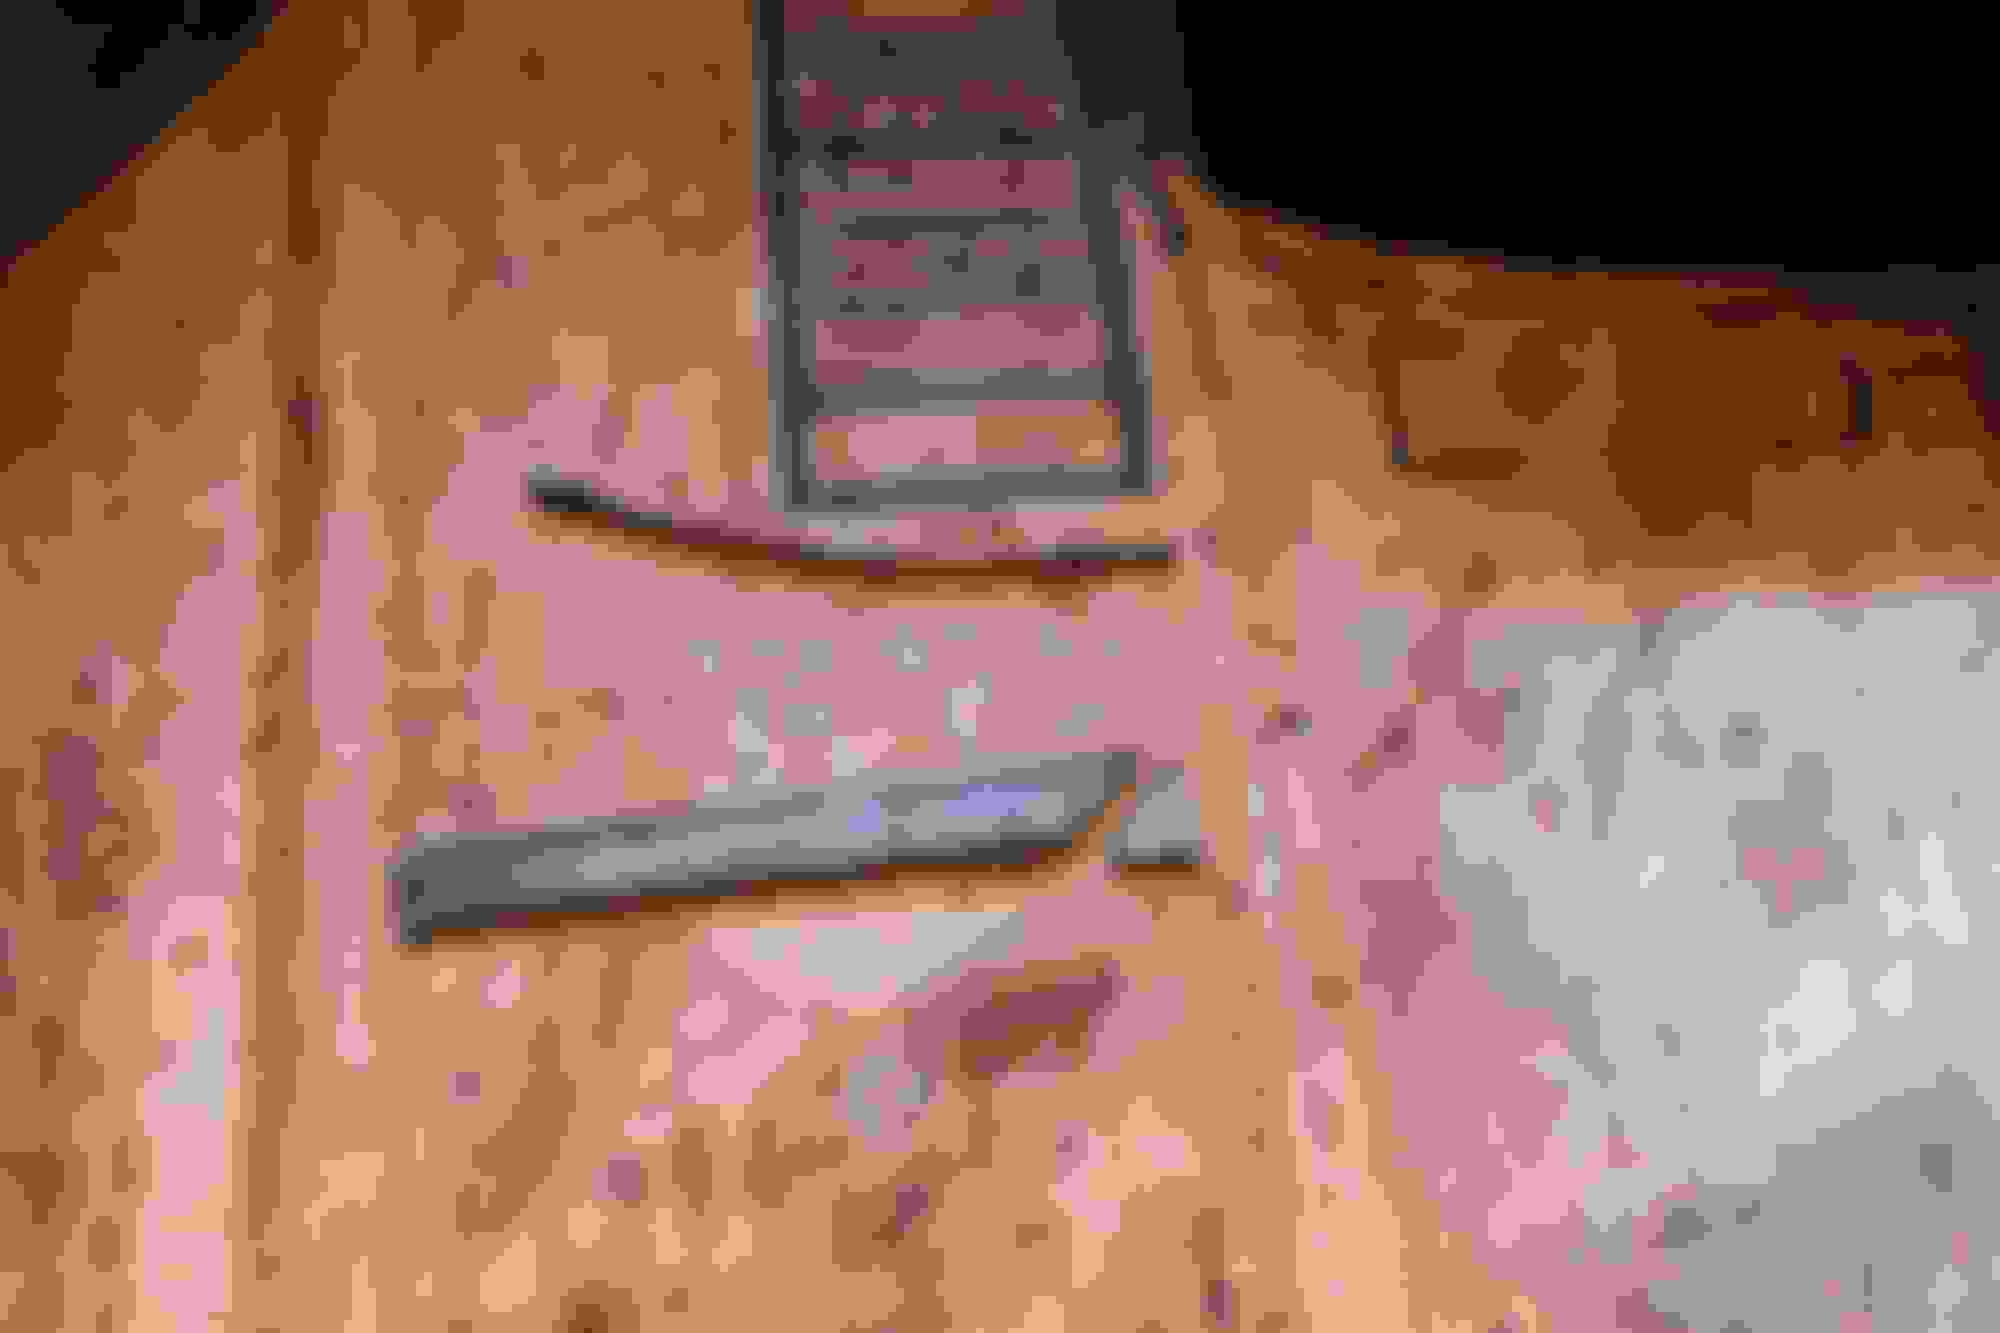
Here are a few pics. Only one corner seal was free and it was broken. All other seals are really stuck in their respective slots. I don't see any grooves but at the bottom edge of one of the housings - the edge seems a little rough. After a little light scraping to get the big stuff off. The only seal that was free was also broken. I don't see any wear but i'll measure them. little concerned about this bottom edge - looks kinda rough. is this a problem?
That seal is not broken. It is designed as two pieces. What does the recess in rotor look like that seal cane from,is it rust or dirt-crud?
I would use carb cleaner,PB blaster or some other type of penetrating oil to soften whatever is holding seals in place and let it sit overnight.
I�m aware the engine has low miles on it since last rebuild,so these parts have run in some. You�ll need to document where each seal(pieces)spring came from regarding which part of each rotor and original orientation in the rotor. When rebuilt there were measurements made for each individual seal. Depending on condition of engine at rebuild,builder may have been able to reuse the original seals so you want them to go back as you took it apart.
I�m viewing your pics from my phone at the moment and can�t make out a lot of detail but I did see the last set of pics you posted from my pc. Large amount of gunk in engine,was it rust or combination of rust,dirt,etc...
Did engine run well after rebuild,do you happen to know what was done,parts replaced? How long did car sit dormant til now,where stored?
Again at this time I can�t see much detail in your pics,but I believe if a proper rebuild was done only 3k miles ago,most if not all of your hard parts will be reusable. These are the $$ parts and a soft kit could be all you need to put back together. I have used the Fel-Pro soft kit with consistent results and it�s priced favorably.
I've seen MUCH worse housings work well. Those will be fine. Look for pitting on the irons; the chrome housings won't rust with time but rather wear with age. The irons where the coolant sits will corrode over time and not wear due to mileage. If that makes sense.