
Did some mods over the week, some fabing a CAI Efans and so on.

Thread Starter
Passing life by
Joined: Feb 2005
Posts: 4,028
Likes: 2
From: Scotland, USA
Did some mods over the week, some fabing a CAI Efans and so on.
Ok here is what was done.
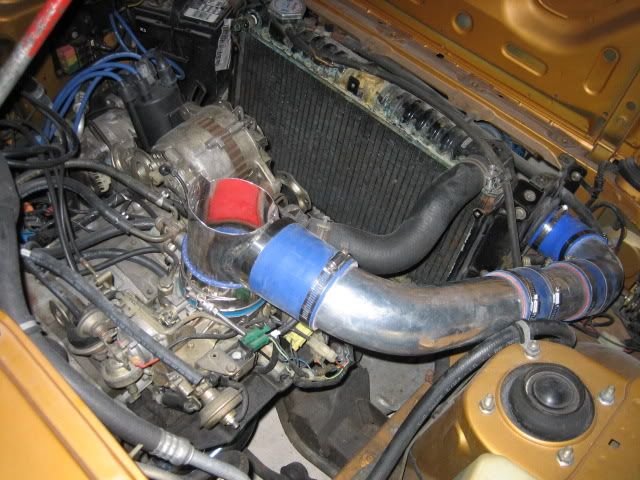
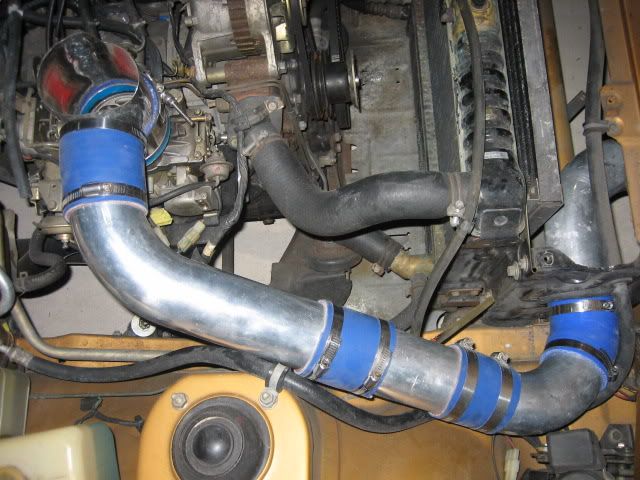
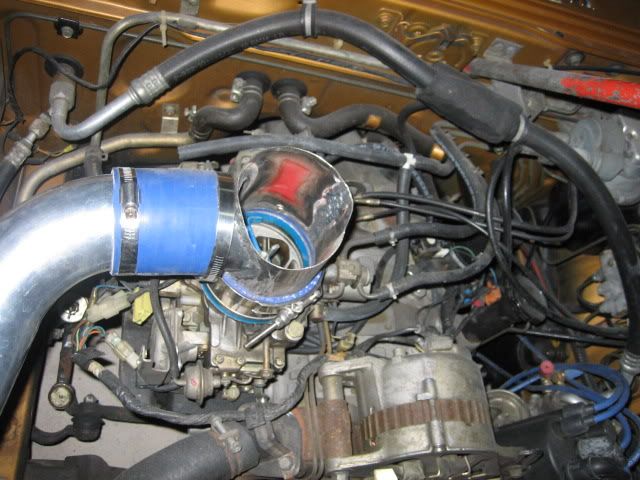
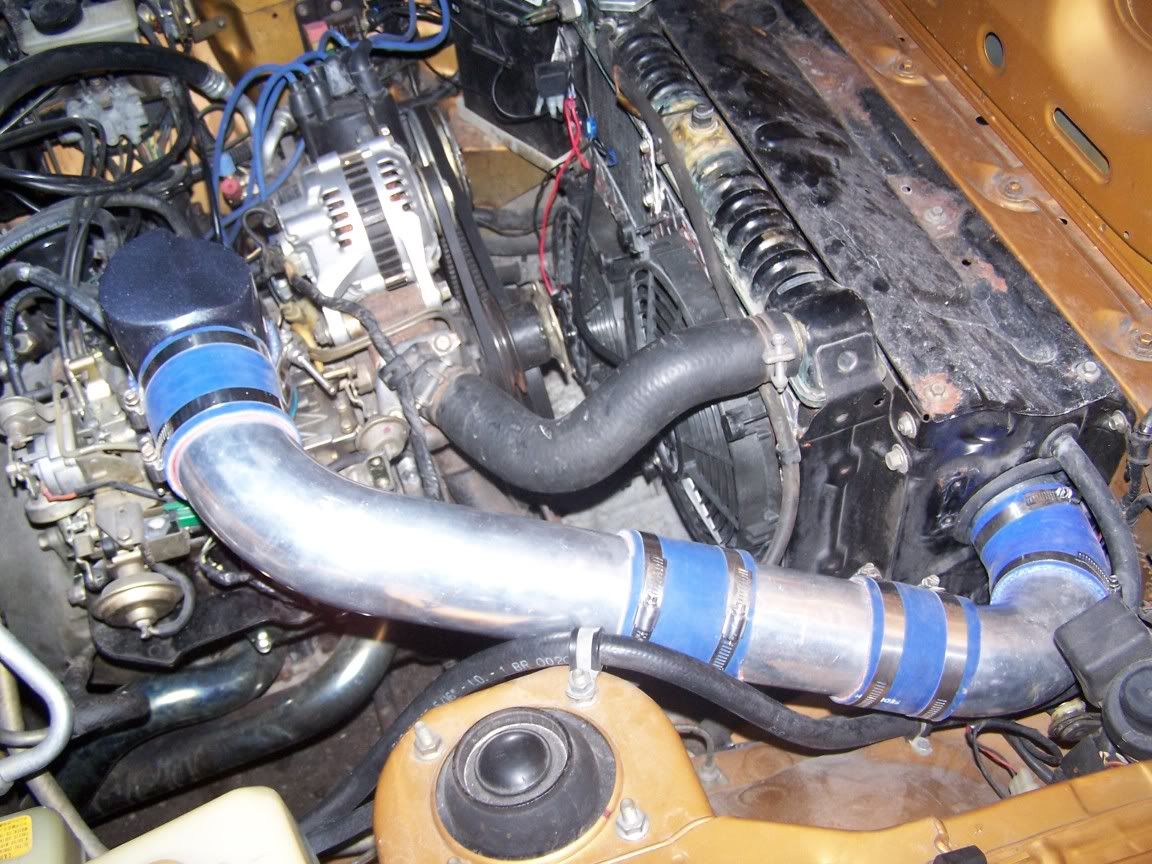
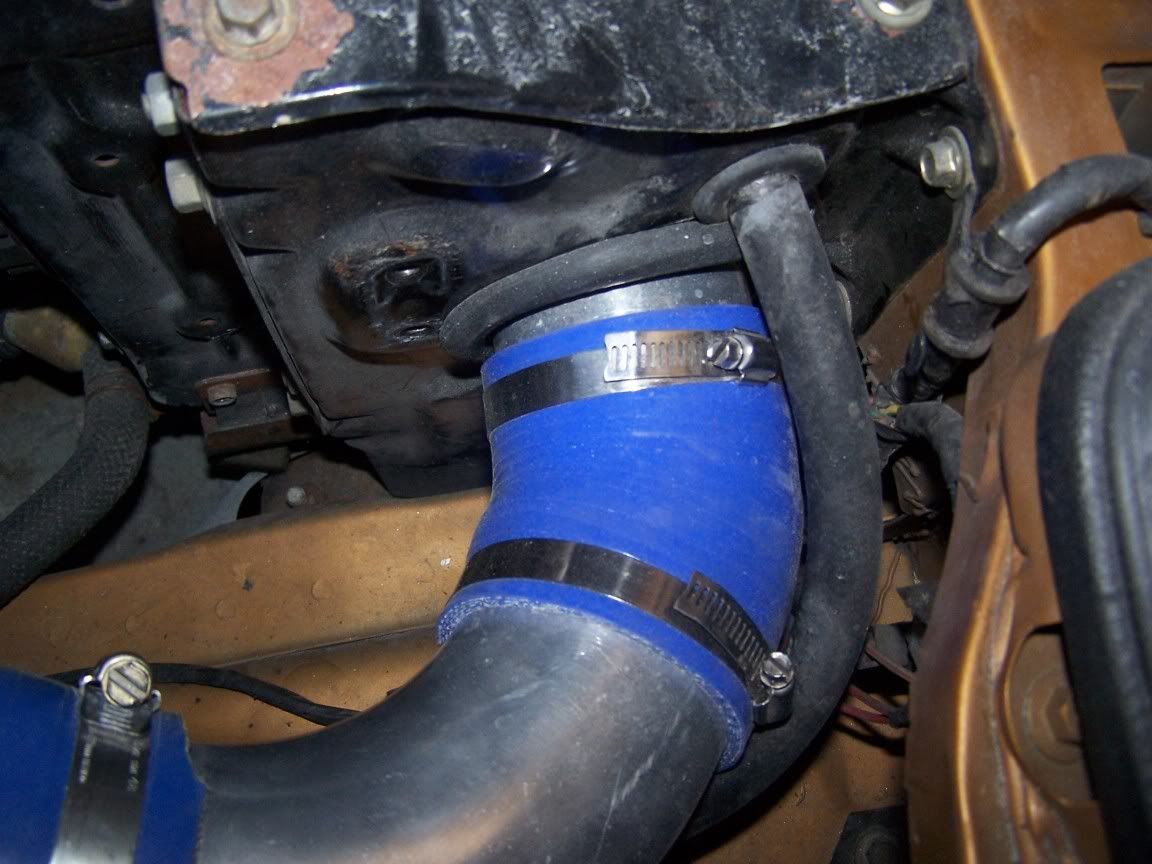
1. Fabricated a carb hat out of a sheet of steel. Took a few attempts to get hood clearance. The outlet is 3in to match the 3in pipe I used. The first attempted was welded together �TIG� then mated and checked. Not enough clearance so it was modified some until clearance was found. The pipe was then cut to fit. A 3.25in hole was drilled into the side cover for the pipe to exit then a 5/8th hose was split to surround the edges.
As you will see in the pics the hat being cut for fitment. I then cut new pieces and placed them over. The can was dollied out round again and the pieces were bump hammered and dollied to conform. After they were tacked and dollied the items were welded from the inside.
The hat was then coated in bondo and sanded smooth. I coated 4 coats of white base primer with 3 coats of black base. Followed with a dry pearl and 5 coats of clear. You can see the finished product below.
I took the old carb filter cover and cutout the bottom to create a nice sealing item for the carb and utilize the OEM wing nut and then used a 3/75in pice of silicone with 2 T clams to hold the items together. 3py silicone was also used to hold the pipes together.
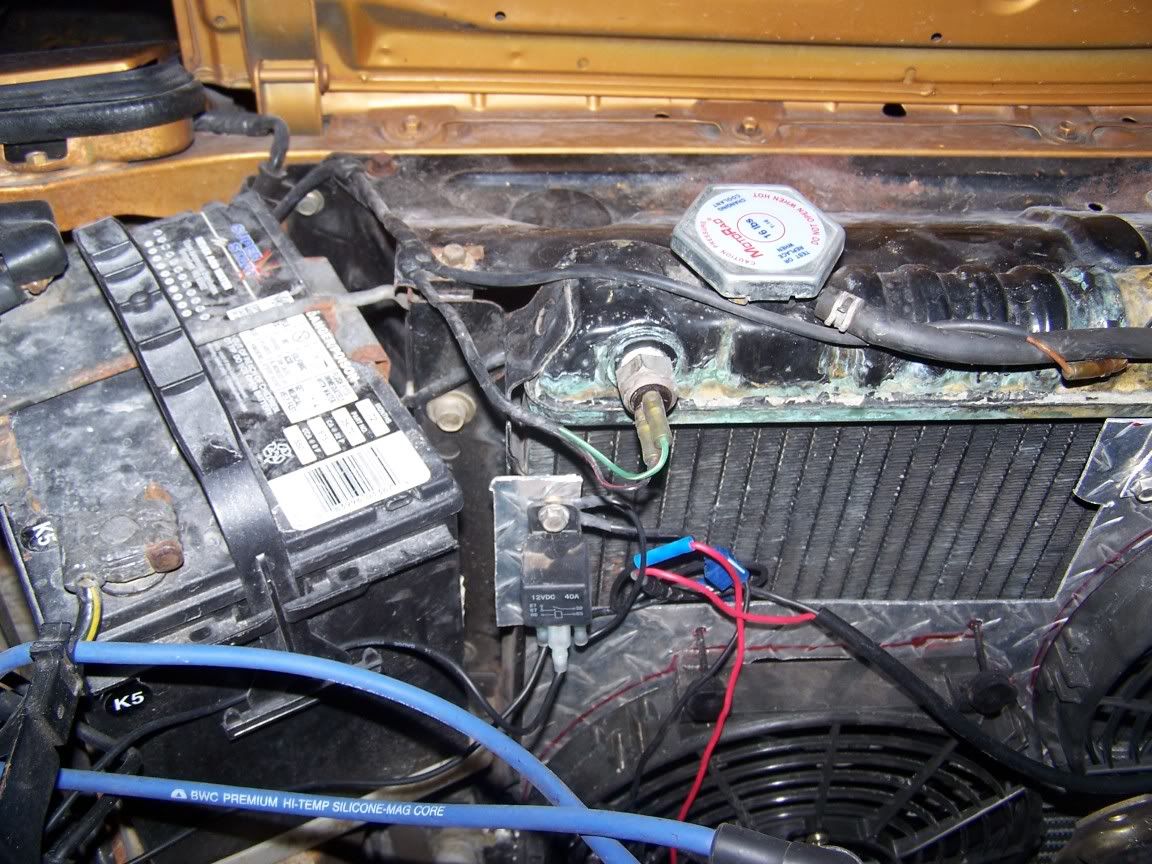
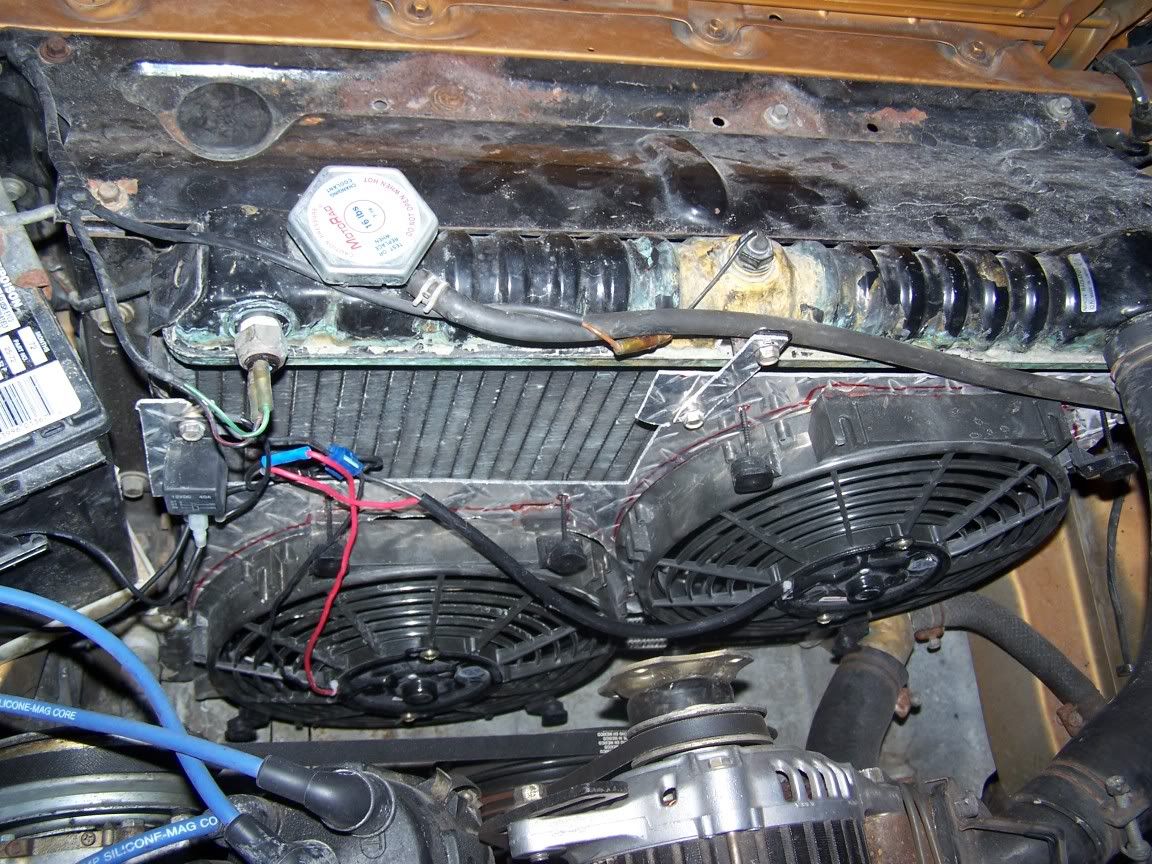
The subzero start was removed and the RAD over flow tank was then relocated into it's position.

1. Fabricated a carb hat out of a sheet of steel. Took a few attempts to get hood clearance. The outlet is 3in to match the 3in pipe I used. The first attempted was welded together �TIG� then mated and checked. Not enough clearance so it was modified some until clearance was found. The pipe was then cut to fit. A 3.25in hole was drilled into the side cover for the pipe to exit then a 5/8th hose was split to surround the edges.
As you will see in the pics the hat being cut for fitment. I then cut new pieces and placed them over. The can was dollied out round again and the pieces were bump hammered and dollied to conform. After they were tacked and dollied the items were welded from the inside.
The hat was then coated in bondo and sanded smooth. I coated 4 coats of white base primer with 3 coats of black base. Followed with a dry pearl and 5 coats of clear. You can see the finished product below.
I took the old carb filter cover and cutout the bottom to create a nice sealing item for the carb and utilize the OEM wing nut and then used a 3/75in pice of silicone with 2 T clams to hold the items together. 3py silicone was also used to hold the pipes together.
The subzero start was removed and the RAD over flow tank was then relocated into it's position.
Last edited by iceblue; Apr 29, 2006 at 07:58 PM.
Thread Starter
Passing life by
Joined: Feb 2005
Posts: 4,028
Likes: 2
From: Scotland, USA
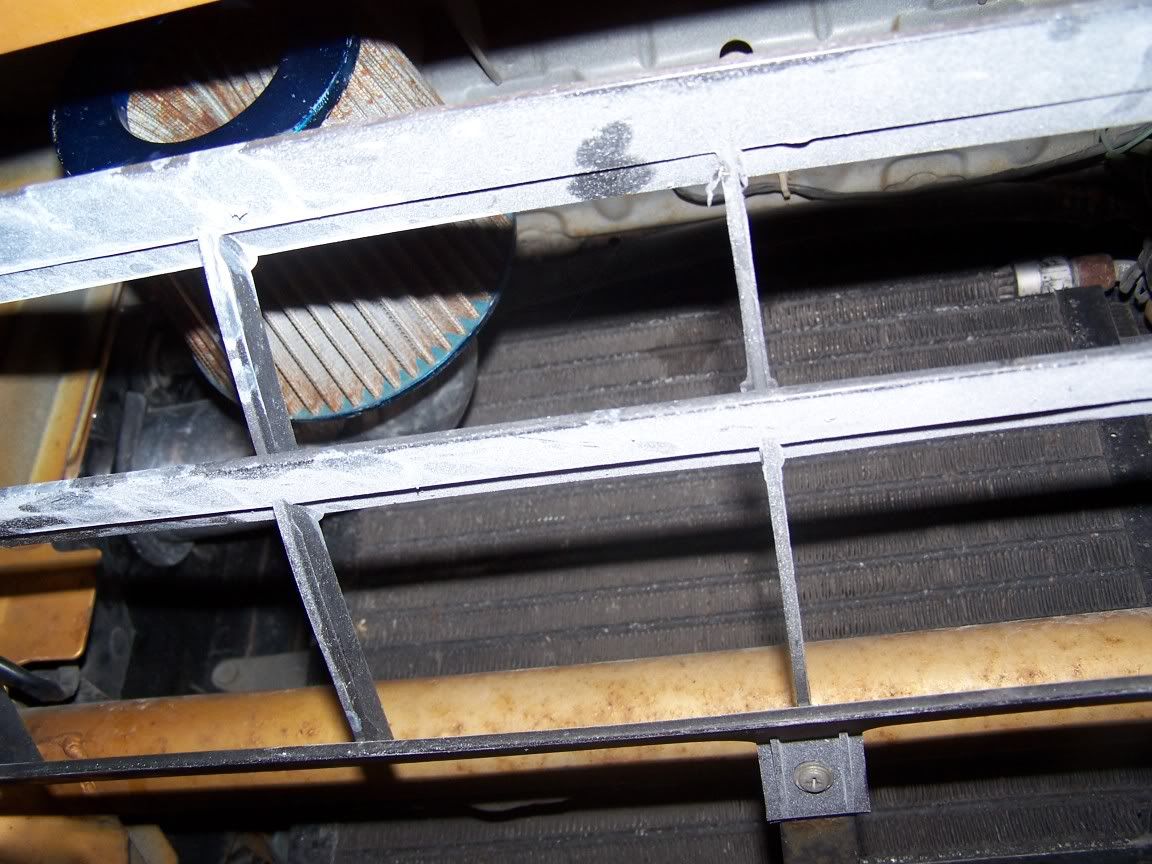
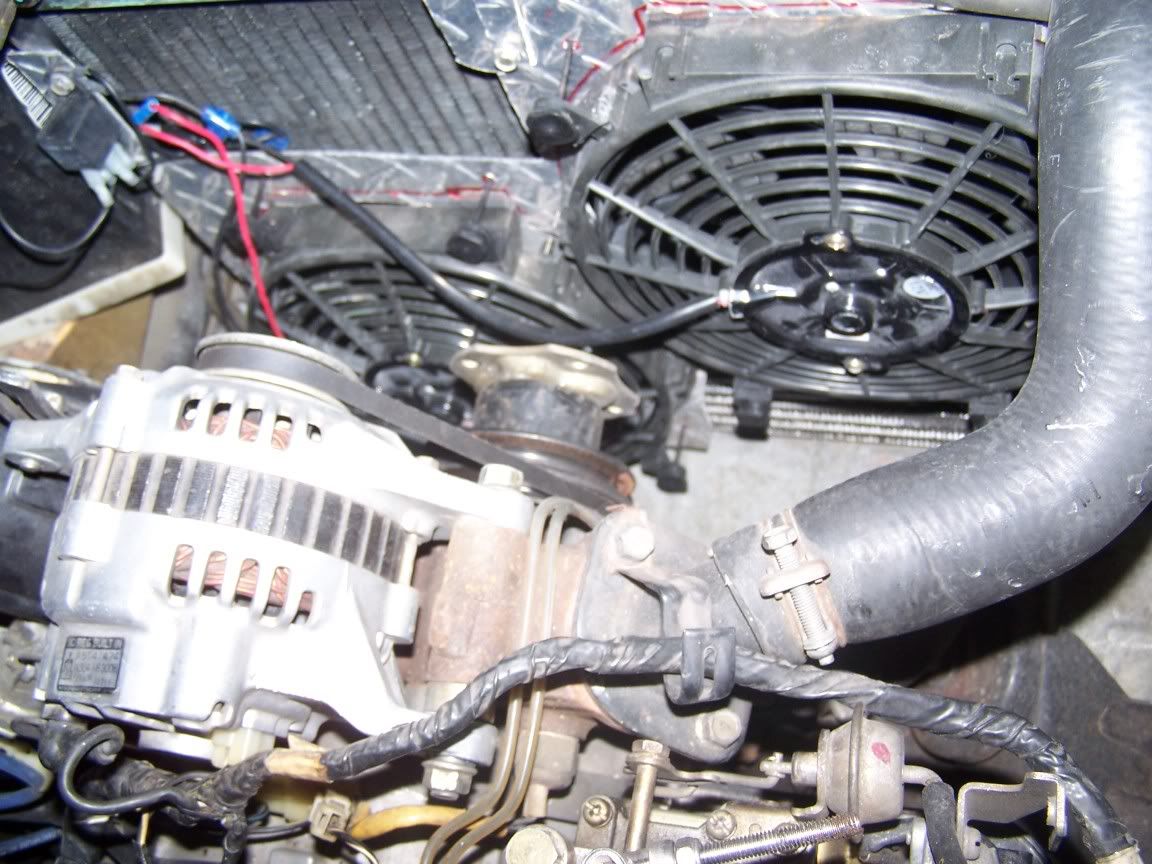
2. Two 10in Efans were added and a custom shroud was cutout to mount them. The fans would not fit against the RAD in pair and I hate them laying against it causes many RADs to fail. Sorry for the crude wiring I wired them both all the time to the relay for now because I did not have my temp switch yet. I just got it tonight in the mail so the new wiring will be as follows.
The shroud still has to be trimed out nicely and cleaned up. So it looks icky right now.
Lower fan supporting 50%Oil cooler and 50% Rad cooler will be set to all the time with key ON. The second RAD only fan will be set to Temp switch with constant power and pigged over to the AC exciter wire.
The shroud has not had the foam place in yet to seal the gaps. I will still do this but it has proven unnecessary so far. The fans pull mass amounts of air through the coolers and I have no heating issues thus far.
Thread Starter
Passing life by
Joined: Feb 2005
Posts: 4,028
Likes: 2
From: Scotland, USA
3. A FC alternator was also added to withstand the added draw of these fans and Stereo AMP.
4. CD player was added https://www.rx7club.com/1st-generation-specific-1979-1985-18/cd-player-into-my-sa-who-new-would-take-fabricating-534543/
4. CD player was added https://www.rx7club.com/1st-generation-specific-1979-1985-18/cd-player-into-my-sa-who-new-would-take-fabricating-534543/
Rotary Freak
Joined: Jun 2003
Posts: 2,604
Likes: 1
From: Land Of Confusion southern MI, USA
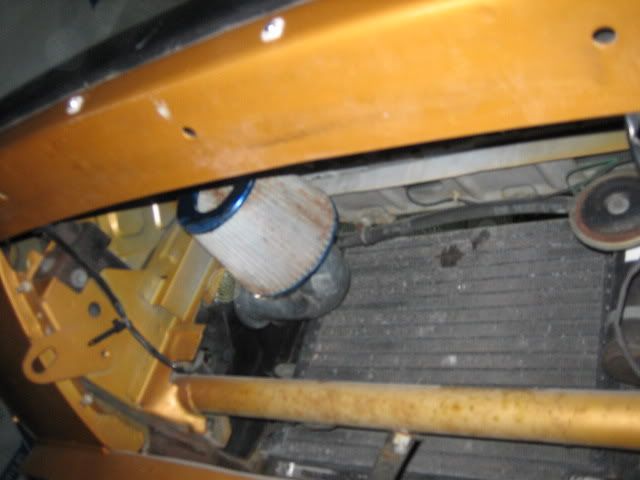
was there any noticeable incerease in power from the CAI?? and that filter looks a little..umm tired. but otherwise, looks like you did an excelent job with the fabricating!
Thread Starter
Passing life by
Joined: Feb 2005
Posts: 4,028
Likes: 2
From: Scotland, USA
hehe thx I used all old parts laying around the shop. I noticed about jack didaly from the CAI lol maybe -5hp or so. That is speaking of overall stuff but the power band is a little stronger I guess. I also took allot of load off the motor to include into this because of the engaged clutch fan.

Thread
Thread Starter
Forum
Replies
Last Post