Custom Light Cover Scoop (Pics)
 10-22-07, 08:13 PM
#1
Rotary Enthusiast
Thread Starter
Join Date: May 2007
Location: Canada
Posts: 770
Likes: 0
Received 0 Likes
on
0 Posts
Custom Light Cover Scoop (Pics)
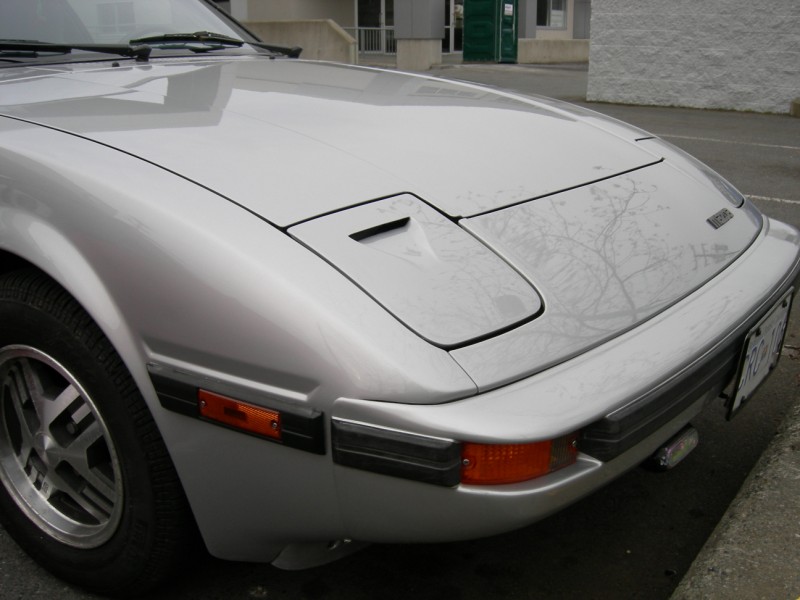
Here's the progress so far.
I have spare headlight buckets from a parts car, I was feeling creative. Cut out the design with a Dremel. Using glass to fill in the gap.
Once the resin is hard I will sand it, bondo the crap outa it, get it to the desired shape, prime and paint it. We'll see how it turns out.
Looks like a hacked POS now...but we'll see.


Why waste your money buying it from a company if you can make it yourself?
I have spare headlight buckets from a parts car, I was feeling creative. Cut out the design with a Dremel. Using glass to fill in the gap.
Once the resin is hard I will sand it, bondo the crap outa it, get it to the desired shape, prime and paint it. We'll see how it turns out.
Looks like a hacked POS now...but we'll see.
Why waste your money buying it from a company if you can make it yourself?

 10-22-07, 08:50 PM
#3
Rotary Enthusiast
Thread Starter
Join Date: May 2007
Location: Canada
Posts: 770
Likes: 0
Received 0 Likes
on
0 Posts
Shhhhh 
Seriously thou, I seen these headlight scoops way before I seen it on that guys FB at the show. They've been around a while.
Example.

He just inspired me to do it myself.
Seriously thou, I seen these headlight scoops way before I seen it on that guys FB at the show. They've been around a while.
Example.
He just inspired me to do it myself.
Last edited by '84-12A-GSL; 10-22-07 at 08:56 PM.
10-22-07, 09:10 PM
#4
Full Member

Join Date: Aug 2007
Location: NS Canada
Posts: 136
Likes: 0
Received 0 Likes
on
0 Posts
o ya i know you already knew about it. I'm sure yours will also be better then the one we seen at the show.
10-22-07, 09:19 PM
#7
Rotary Enthusiast
Thread Starter
Join Date: May 2007
Location: Canada
Posts: 770
Likes: 0
Received 0 Likes
on
0 Posts
I suppose you could hook it up to the carb. But the carb is on the pass side and mine is the drivers headlight.
More less just for looks. It does draw cool air into the engine bay, but prob not enough to make a difference.
More less just for looks. It does draw cool air into the engine bay, but prob not enough to make a difference.
Trending Topics
10-22-07, 09:33 PM
#8
Wrkn Toyota, Rootn Wankel
Join Date: Sep 2007
Location: "Haystack" Hayward, CA
Posts: 1,642
Likes: 0
Received 1 Like
on
1 Post
Hmm... That looks very interesting. T.T I wish I knew how to work with FG/CF and had access to it...
But I agree with you mate! Why pay thousands of bucks for parts when you can fabricate them your self!
In my case, why spend money on a hood, when you can just get a cheap junkyard one and make your own custom vented hood?
I'd love to see how this turns out!
And let that be a lesson for you all! Start getting creative! Power tools were made to be played with!
 10-23-07, 05:21 PM
#14
Rotary Enthusiast
Thread Starter
Join Date: May 2007
Location: Canada
Posts: 770
Likes: 0
Received 0 Likes
on
0 Posts
Bondo over primer!?!? I realized the primer will show the highs and lows and the dimples, but I like bondo on bare metal, or bondo on bondo, not bondo on paint.
 10-23-07, 06:37 PM
#16
Rotary Enthusiast
Thread Starter
Join Date: May 2007
Location: Canada
Posts: 770
Likes: 0
Received 0 Likes
on
0 Posts
^^^ That would be nice, but isn't gonna happen.
Primed after 2nd coat of bondo and more sanding. You can see a little pin hole on the left side of the scoop that I fixed. I cant get the 4 screws that hole it to the rest of the headlight bucket out. I even slotted them with my dremel. They're stuck in there good, so im gonna have to swap the whole bucket.


Primed after 2nd coat of bondo and more sanding. You can see a little pin hole on the left side of the scoop that I fixed. I cant get the 4 screws that hole it to the rest of the headlight bucket out. I even slotted them with my dremel. They're stuck in there good, so im gonna have to swap the whole bucket.
 10-23-07, 08:24 PM
#19
Rotary Enthusiast
Thread Starter
Join Date: May 2007
Location: Canada
Posts: 770
Likes: 0
Received 0 Likes
on
0 Posts
Wow your's turned out awesome.
I'm guessing you made it and got the car painted after you made it, cause the paint matches perfectly.
Did you use the same method as me?
I'm guessing you made it and got the car painted after you made it, cause the paint matches perfectly.
Did you use the same method as me?
10-23-07, 09:35 PM
#20
Yeah... I got the paint matched.
I cut, firberglassed then sanded and sanded and sanded.
Then I used spot glazing putty for the small bits.
After that I followed with filler primer and sanded some more
then final few coats of primer, base and clear.
I cut, firberglassed then sanded and sanded and sanded.
Then I used spot glazing putty for the small bits.
After that I followed with filler primer and sanded some more
then final few coats of primer, base and clear.
10-24-07, 09:40 AM
#22
Bubble Gum's Good
iTrader: (1)
Join Date: May 2005
Location: Norfolk, VA
Posts: 625
Likes: 0
Received 0 Likes
on
0 Posts
I had the same problems with the screws last week. Stripped 5 of 8 with the phillips, hacksawed to flat head and got out 3 more, and had to drill the last two. Its like they used threadlocker or welded those ******* in. Think of it as reason to buy a tap and die set.
10-24-07, 04:49 PM
#23
Rotary Enthusiast
Thread Starter
Join Date: May 2007
Location: Canada
Posts: 770
Likes: 0
Received 0 Likes
on
0 Posts
Yeah, I swapped the whole bucket. Major pain in the *** to get the 2 bolts that hold it in, in. My white doesn't match the rest of the car at all. I'm currently making one for the passenger side. Pic's soon.
10-24-07, 06:16 PM
#24
Rotary Enthusiast
Thread Starter
Join Date: May 2007
Location: Canada
Posts: 770
Likes: 0
Received 0 Likes
on
0 Posts
Hmm, too dark out, the pic's are crap.
Do you guys think 2 scoops (one in each light) will look stupid? Also what if I paint the light covers black. Cause the 2 different whites don't look good.
Do you guys think 2 scoops (one in each light) will look stupid? Also what if I paint the light covers black. Cause the 2 different whites don't look good.