When you click on links to various merchants on this site and make a purchase, this can result in this site earning a commission. Affiliate programs and affiliations include, but are not limited to, the eBay Partner Network.
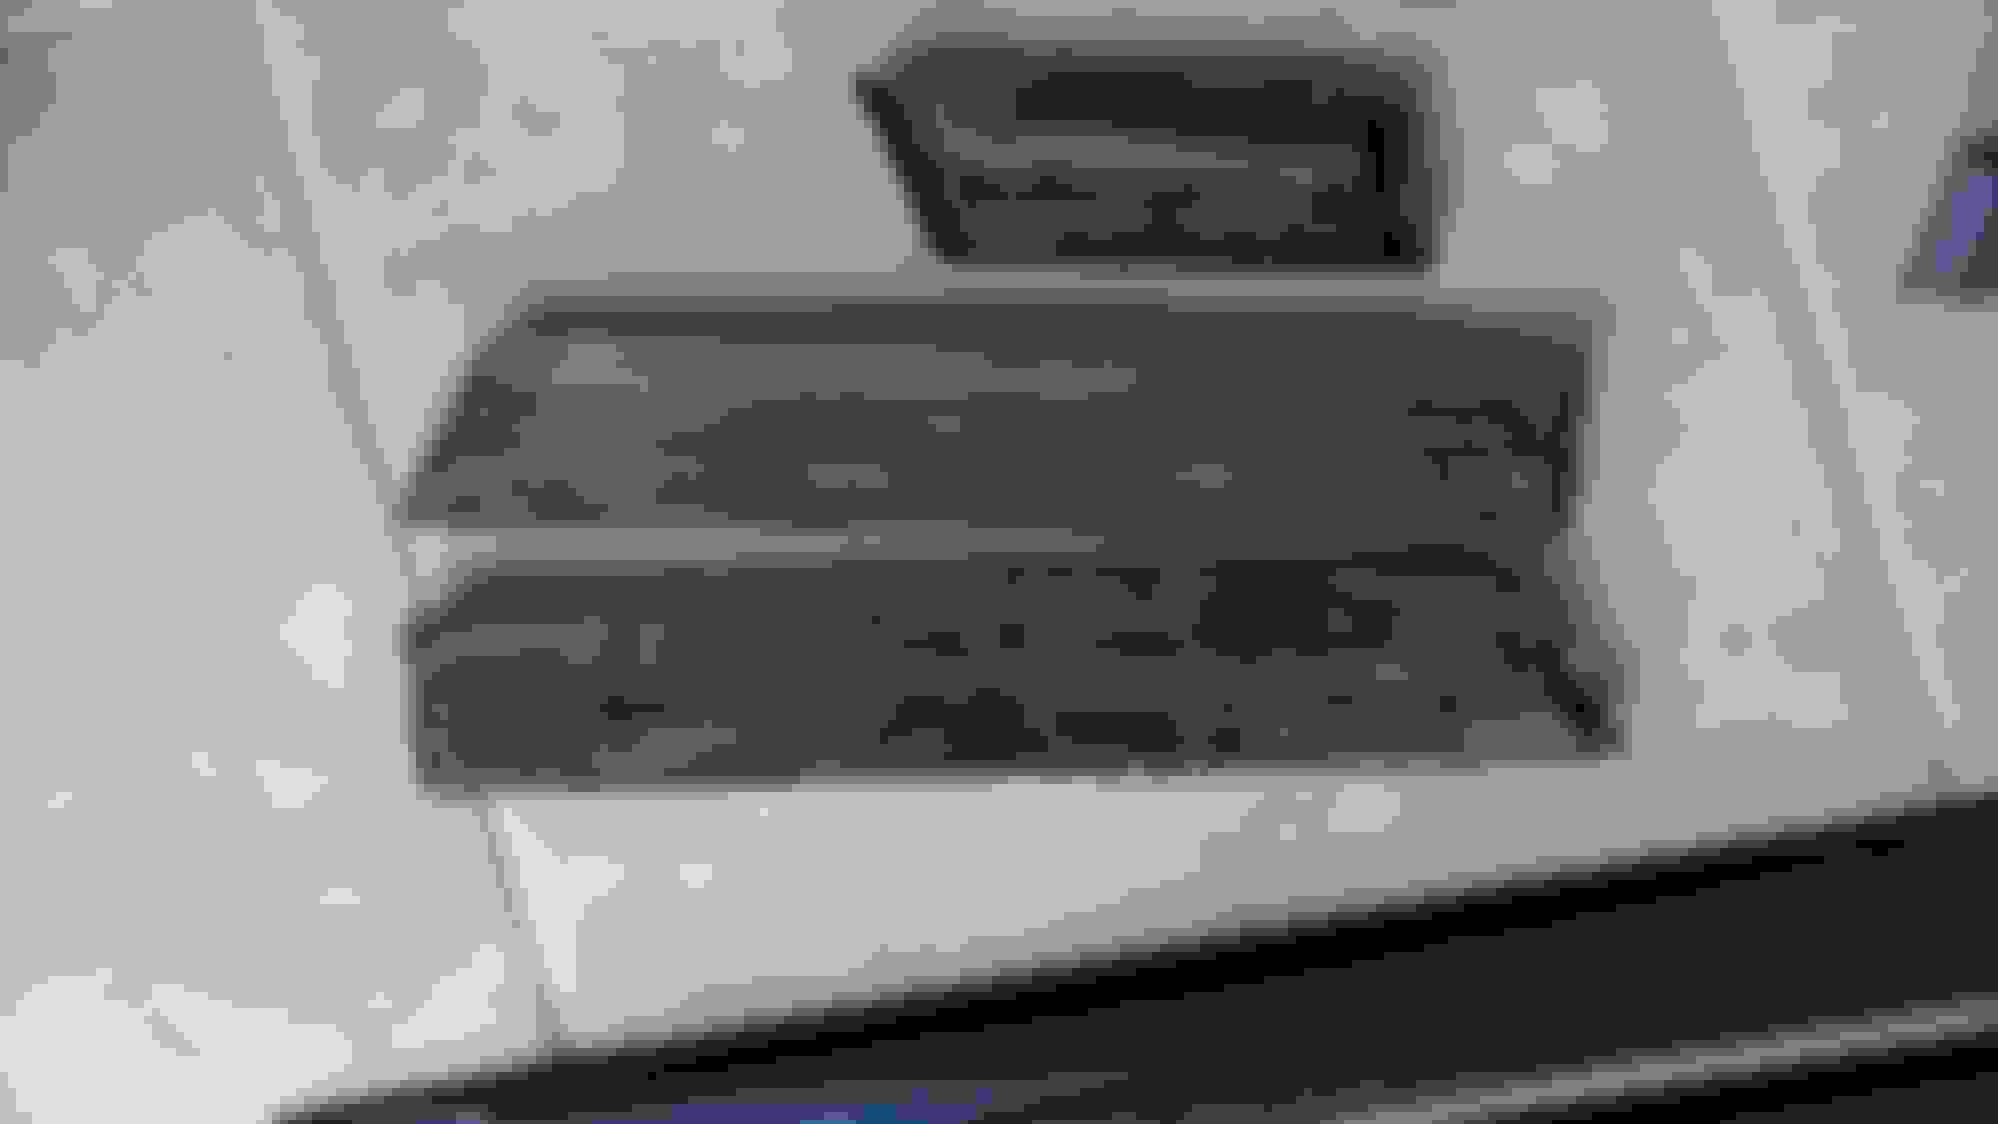
I am lucky to have all the pieces of black trim. They came off the car in good shape, very little to no bending.
I am soliciting any advice on the best way to clean so they can be applied back once we finish painting.
Attached are some pictures. The outside seems easy enough to clean up with soap and water.
However, I'm open to any advice to remove the old glue on the back side. Are there any solvents that will make this an easy job or is it simply razor blade and/or sandpaper that's most effective. All advice is welcome.
Google "3M Scotchbrite Molding Adhesive & Stripe Removal Disc" I've used these to remove adhesive/tape left behind when an emblem or trim or molding is removed. Also works on adhesive residue left behind when removing vent visors on doors.
It does not damage paint underneath,there will be no evidence left of it having been there previously.There's no real heat developed,surface is slightly warm to touch.Can also used to remove tape pin stripes.
Recommend Washing the area where adhesive is to be removed so possible dirt/grit won't scratch paint surface. In your application i would wash/rinse and dry the moldings for same reason.
I think you'll need a couple of these discs as they wear down from friction. When new the diameter of disc is larger which relates to a higher speed at the surface you're working. As it wears down the working speed is slower-still works but not as fast.
Should lay the moldings on a towel or something soft so you don't scratch the outside surface. Tape or have someone hold or put some heavy books on moldings to hold them down as you'll need both hands on drill to steady it. When done you should see the original surface of the back of the molding as it was before tape strip was applied. I intend to use this same method to do my SE moldings. I would post a picture of the 3M discs i have but am currently having an unresolved issue posting pics to this forum.
The discs come in two sizes 4" and 6" For adhesive removal on this amount of moldings i'd get a couple of 6" discs.
if you need to straighten these out you can lay them in the sun for a while and they get pliable.
when you go to put them back on the car, i would put the front and rear moldings on, as these are located by the lights, and then use some tape or something to lay out the position of the other moldings, as these are just located by you
I used a "whizz wheel" or cookie; I think that is shop slang for the correct name for those tools. I think GSLSE is using the actual name for the tool in his post lol.
Do take caution on those plastic end caps on the door moldings as the ends will come off. Mine broke off prior to my restoration, but I don't have very high bodywork standards so I'm not upset.
Rotary , Armchair,
Thank you both for the quick feedback.
Looking into the 3M product with a couple of searches shows the product at Advance Auto Parts ~ $28 a disc. Not too bad price wise, but still checking other merchants in the area.
I'll post pics with mine as I get it started.
I also noticed the trim seamed to lay flat naturally in our warm sun room in direct sunlight.
Both great tips - much appreciated.
Goose
Share a pic of your tool when you have a chance.
Teej
If referring to me,i would but having no luck posting pics to the site,was able to previously,something must have changed on the site as i've logged in with different browsers with same result. Still trying to figure it out. I will post pic if i can.
Haha "goose" is the motorcycle guy from "Mad Max".
If you get these two things you can attach the little discs or "cookies" that you can purchase separately. I actually see them in the last pic above my battery symbol.
I can 100% attest to the HF quality of this tool. I have used it almost every workday for over 5 years and it still works wonders. I got it so long ago it was 4.97 when I bought it LOL.
^^^Yeah,i know and was 1st thing i thought when i saw it. I'd forgotten you have that under your screen name.He also referred to two responders to his post as Rotary,Armchair which is why i responded to his post in that manner,lol.
The "whiz wheel"or cookie you describe is not what i was referring to,it's a foam/plastic several layer wheel stacked like 3 pancakes on an arbor that removes all tape/glue residue without marring the surface it was on. I prefer to use a cordless drill as trying to do the job faster i have imploded the wheel using it with a die grinder as they can overspeed very easily. A drill can be more infinitely controlled. One of those situations where i learned faster was not better after i had to go buy another...
Ok...Wishi I would have seen this post earlier (however will keep Harbour Freight in mind.)
I rummaged through my garage and found some alternatives.
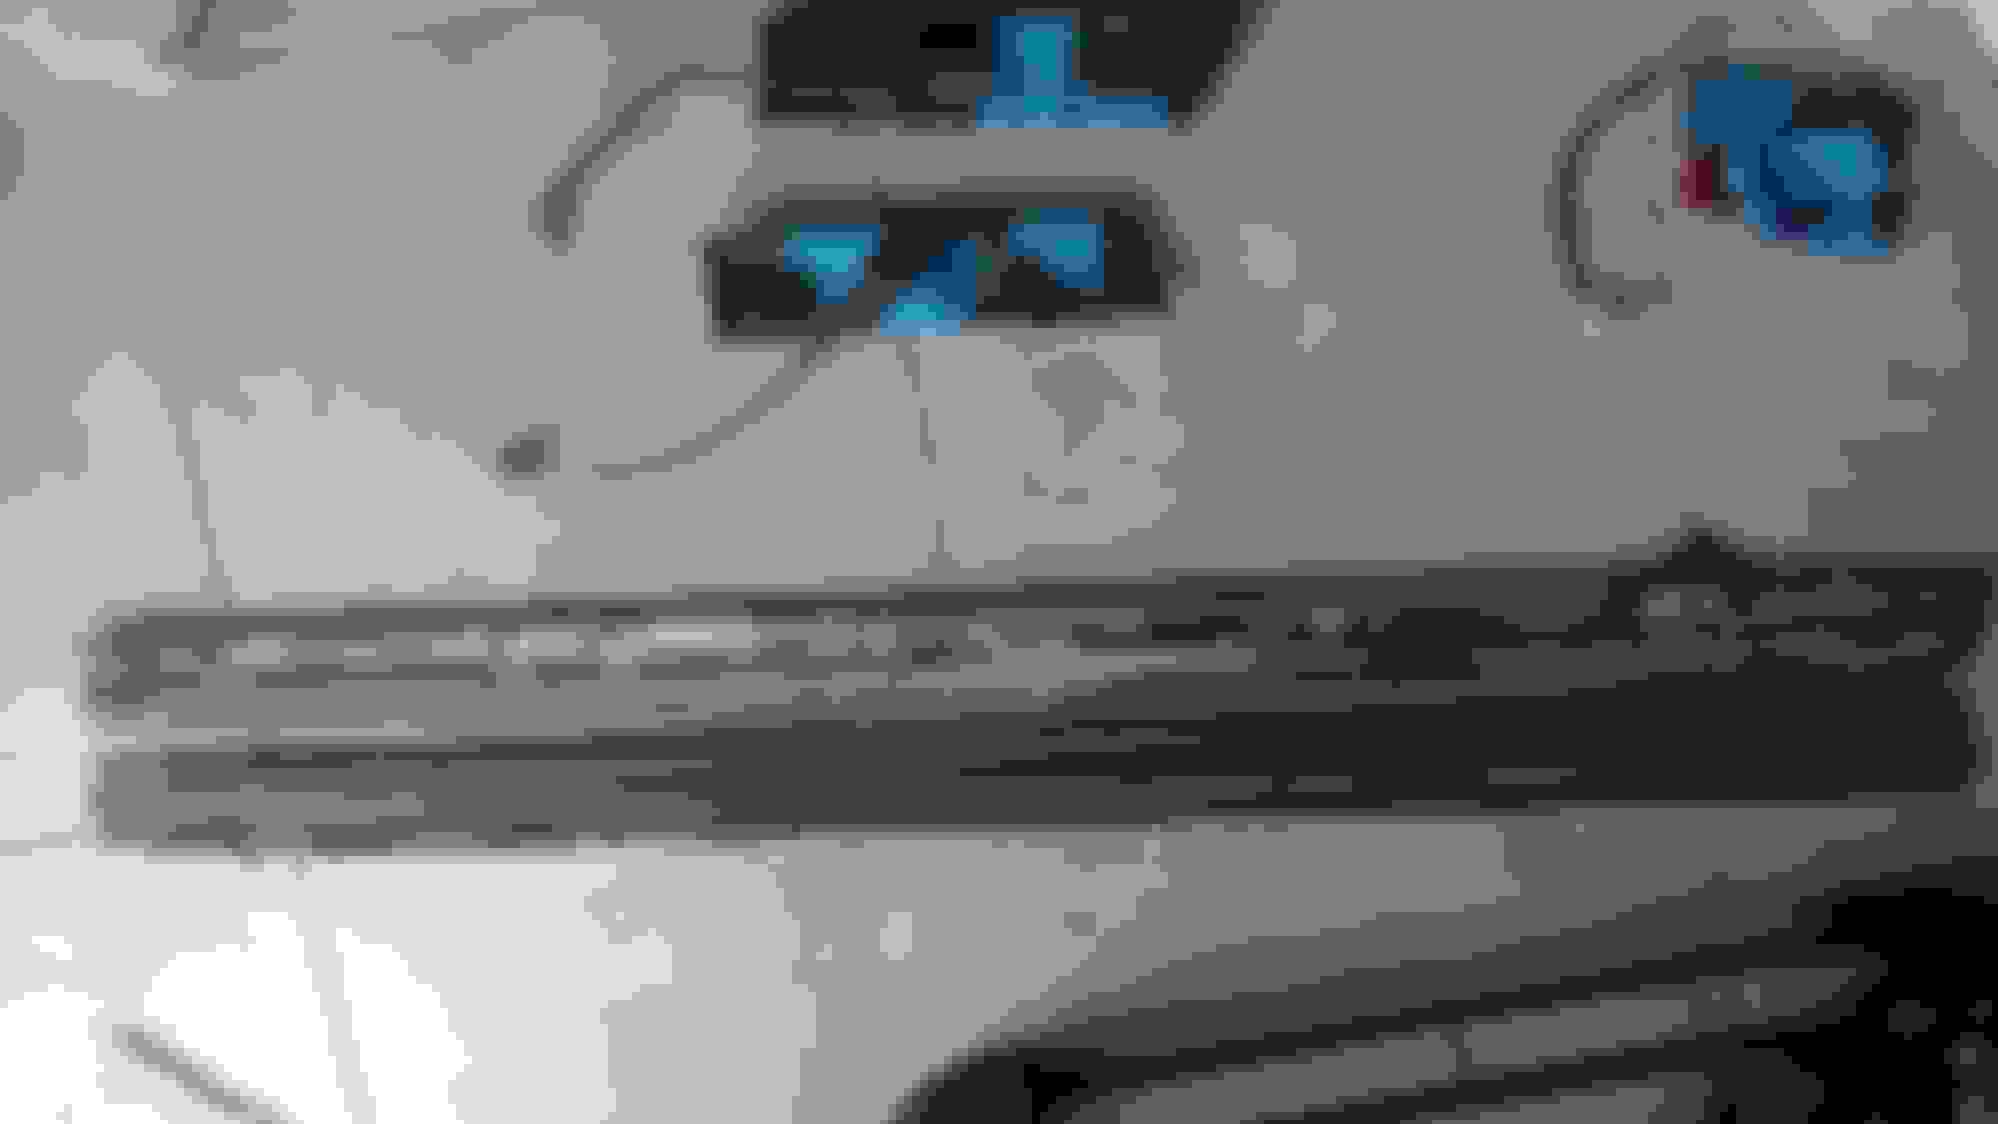
I attached the thin spinner to my drill and went to town to remove the top layer glue. I then sprayed with GoofOff and let it sit for about 5 minutes before wiping it off. Then used the scraper to clean off the difficult glue. Finally I used some sand paper to remover the remaining glue. Took about 45-60 minutes. I still have a few pieces to complete, but here are the before and after pics.
Bottom of the two door moldings. One side had incredible glue applied. Total set showing the bottom (attach side) Total set showing top side.
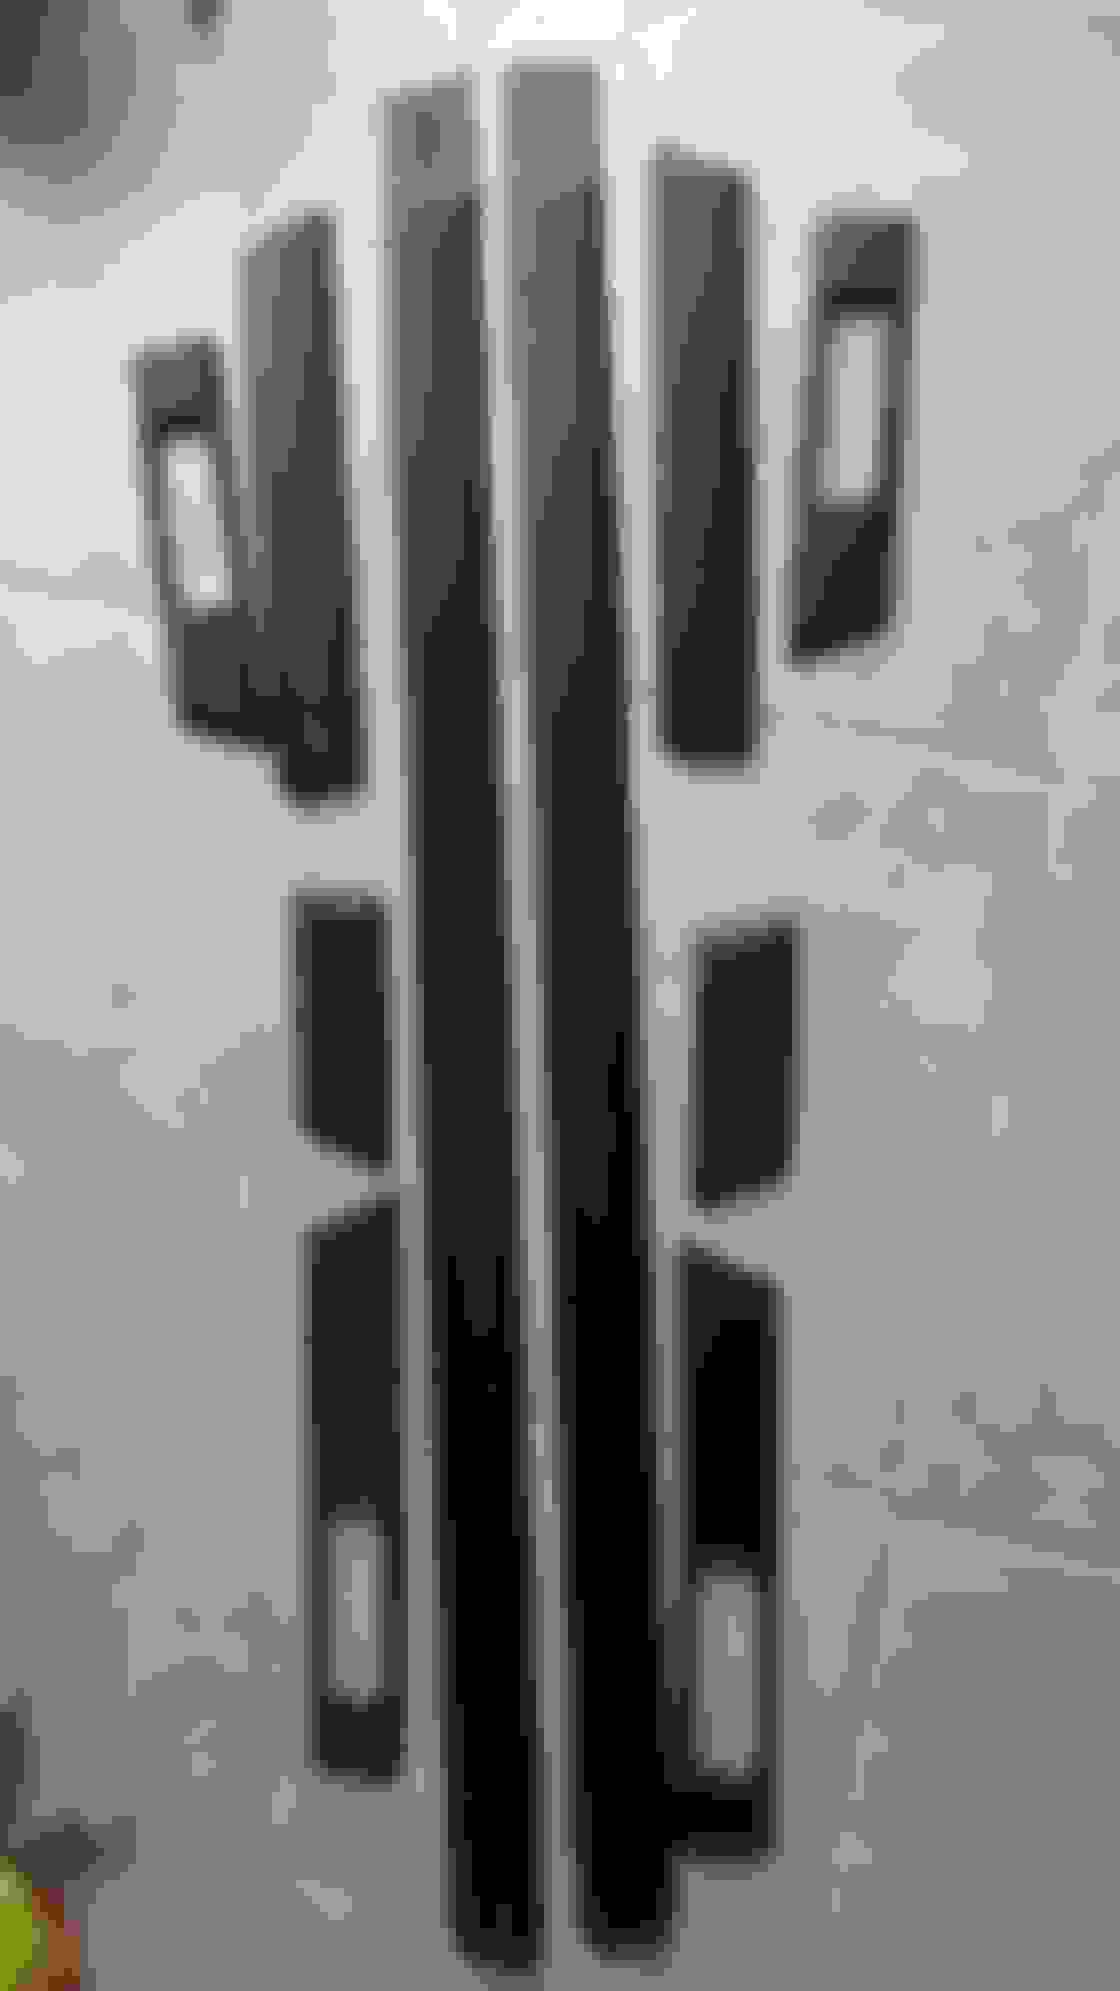
Still have a 3 pieces to completely clean up, but I feel this is pretty close to being finished.
Also appears that several pieces must have come from a different trim set, as they are not identical when comparing the driver vs passenger side.
Please share your thoughts on putting these back on the care after it's been painted.
What technique or material did you use to reattach? As I was cleaning, it appeared that most of the trim was applied with some type of "two-sided" tape strip. However one piece (as you can see in the before picture - appears to have been re-applied with some type of white glue - pain to remove.
All comments welcomed.
3m Scotch Mount molding tape 1/2" wide. Comes in 5' rolls. About $4 a roll. Each molding requires two pieces,do the math and figure out how much you need. Also available in larger rolls at Body Shop suppliers.
Also appears that several pieces must have come from a different trim set, as they are not identical when comparing the driver vs passenger side..
its supposed to be like that. most of them are mirror images, but not all. its one of those little details that make the car special. the FC is like this too, the car looks so square, but it is not. the lock ***** are actually designed to look square from the seat, so when you have them out of the car they are all screwy
Ok all... This weekend is supposed to be the weekend to get the 85 finally painted. I have 2 quick question about the side trim.
Assuming I use the two-sided 3m Scotch tape, after attaching is there any type of weather treatment to keep water from building up between the body and trim piece? is there any "caulking" on top of the trim piece to keep water from getting trapped between the trim and body? If so, what do you recommend?
Although the trim pieces cleaned up well, they look worn and weathered. Any recommendations on making them look new? I've heard apply black trim paint and I've heard black restorer spray that only last till next wash.
Thanks in advance for the feedback. I will be posting pics of restoration in my build thread now that we're headed to the finish line.
There's no special sealant to prevent water from getting behind them, but if you use continuous strips of the 3M tape, it won't be a problem. There's still paint under there that will protect the metal underneath. On your 2nd question, when I had my car painted, the painter used regular matte black trim paint which has held up well in the sun. It's dark and completely flat finish, designed for use on rubber and it's very thin paint - i.e., it doesn't flake or crack. Check with your painter about doing something similar.
Oh, and post pics when you get it done! Like you, I really think the side mouldings add a period correct look to these cars and break up an otherwise butter-side design, so I kept mine all these years.
There is a fantastic trim restorer product that I use for auto detailing called Solution Finish. You can find it on Amazon or auto detailing suppliers.
It's a plastic and rubber restorer with a black dye in it. Really easy to apply. Basically clean the parts with a 50/50 mix of rubbing alcohol and water to remove any dirt and grease, then apply the product with a foam applicator or microfiber cloth (I used one of those cheap foam paint brushes). Also recommend that you wear latex gloves as the stuff will stain fingers. The results are amazing and it lasts a long time (unlike those spray on restorers). I have trim pieces on a SUV that I coated years ago that still look like new. You can also apply a protective coating such over Solution Finish once it has cured for added protection... such as a trim shine product or ceramic coating.