When you click on links to various merchants on this site and make a purchase, this can result in this site earning a commission. Affiliate programs and affiliations include, but are not limited to, the eBay Partner Network.
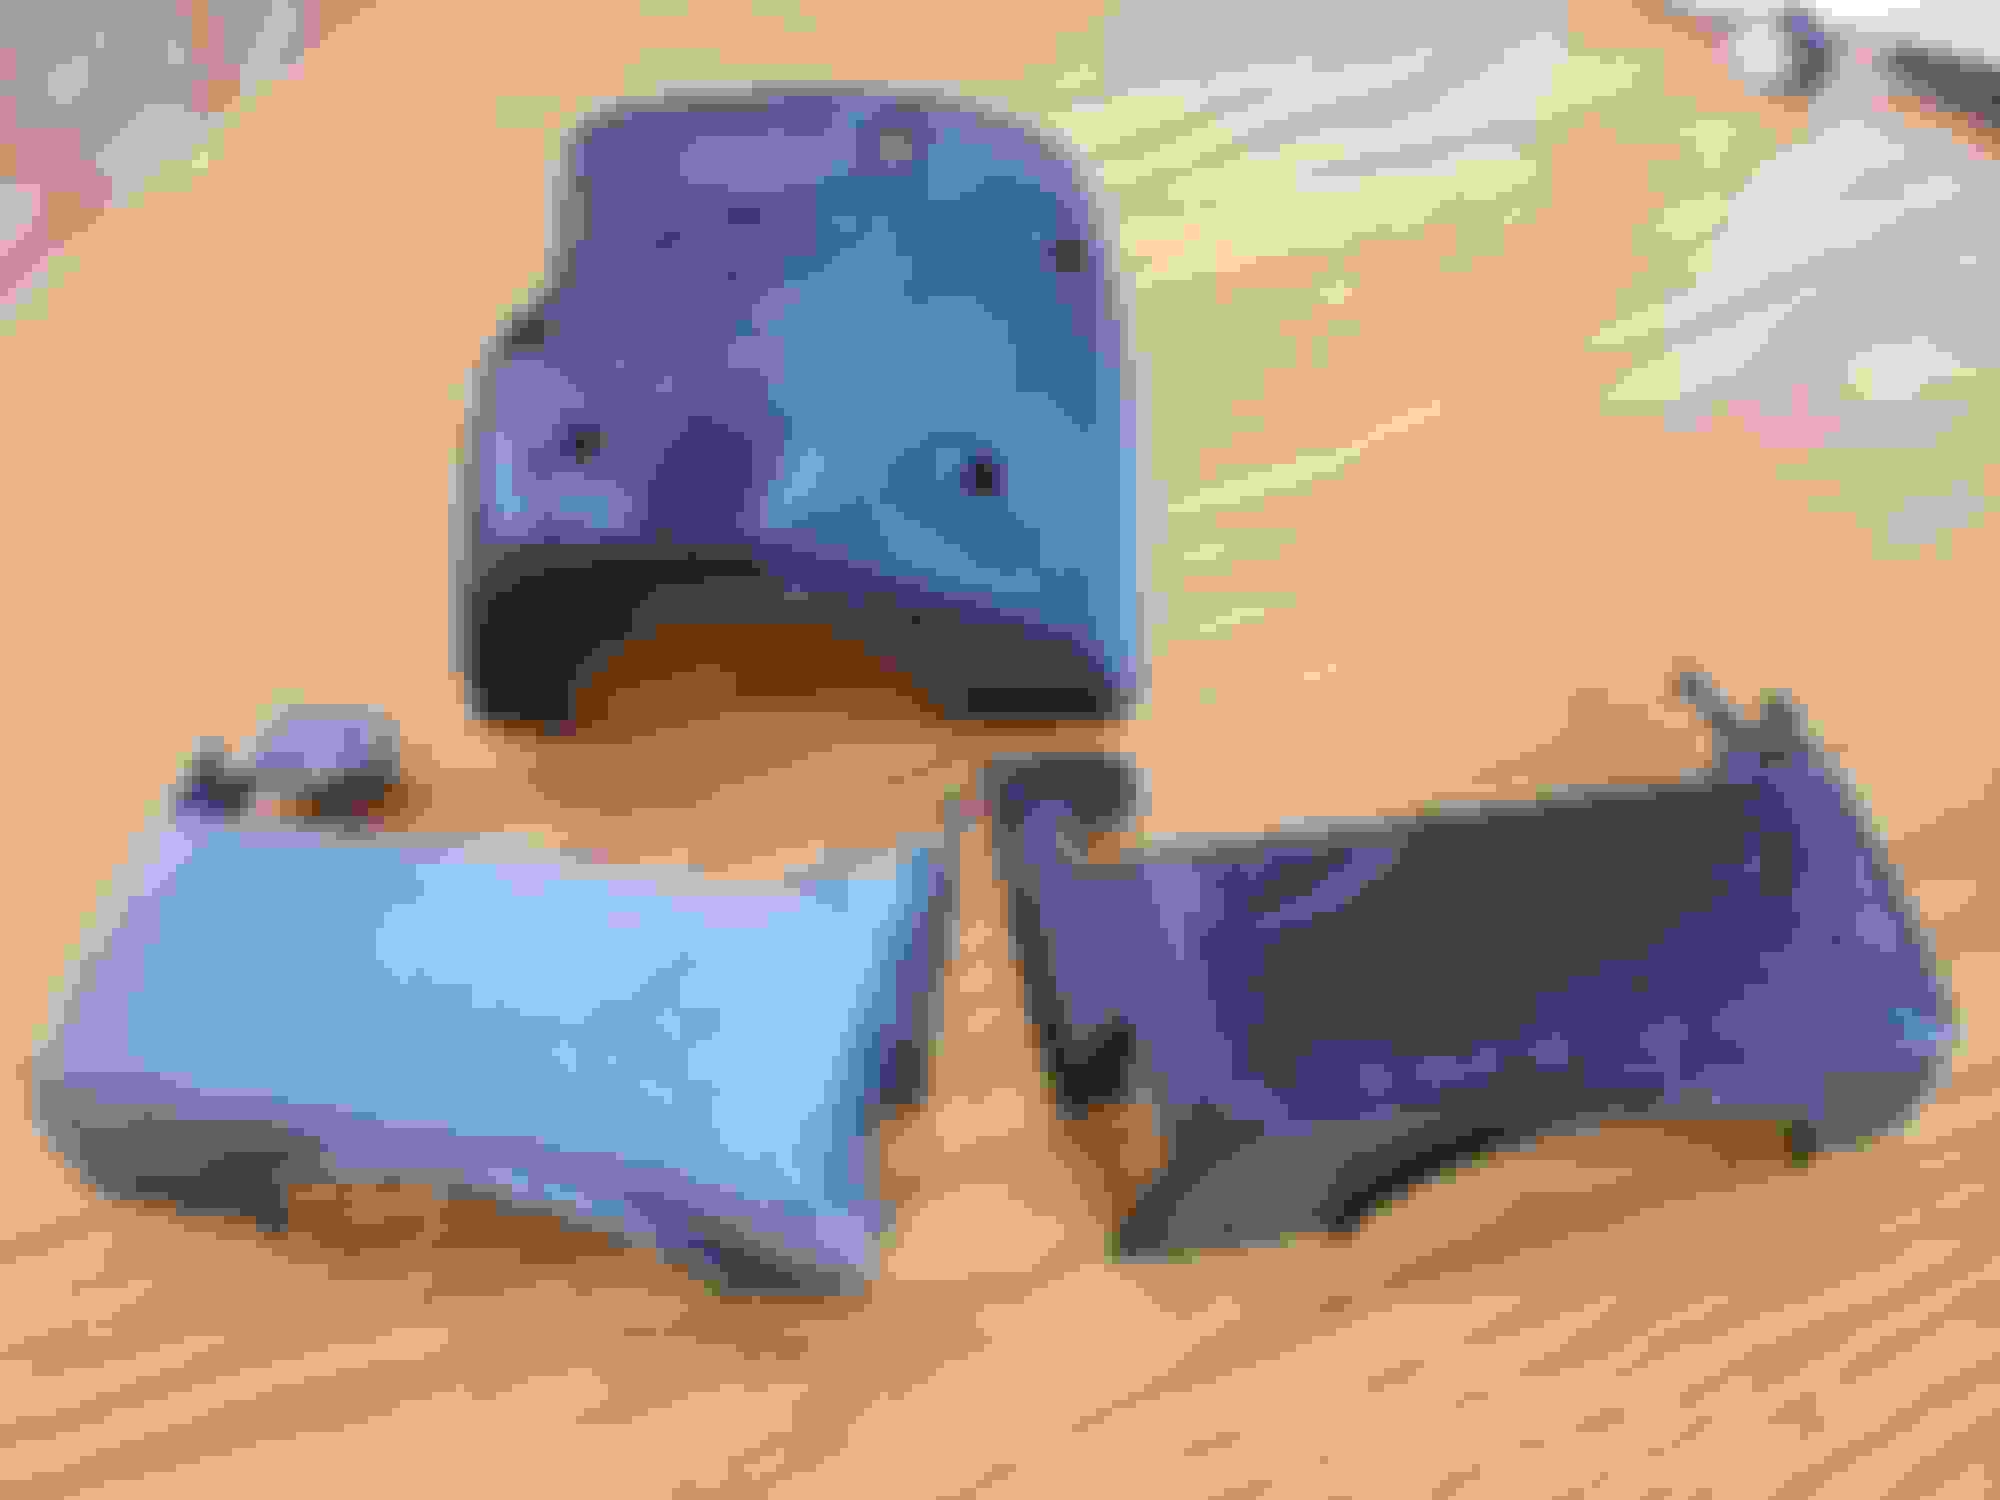
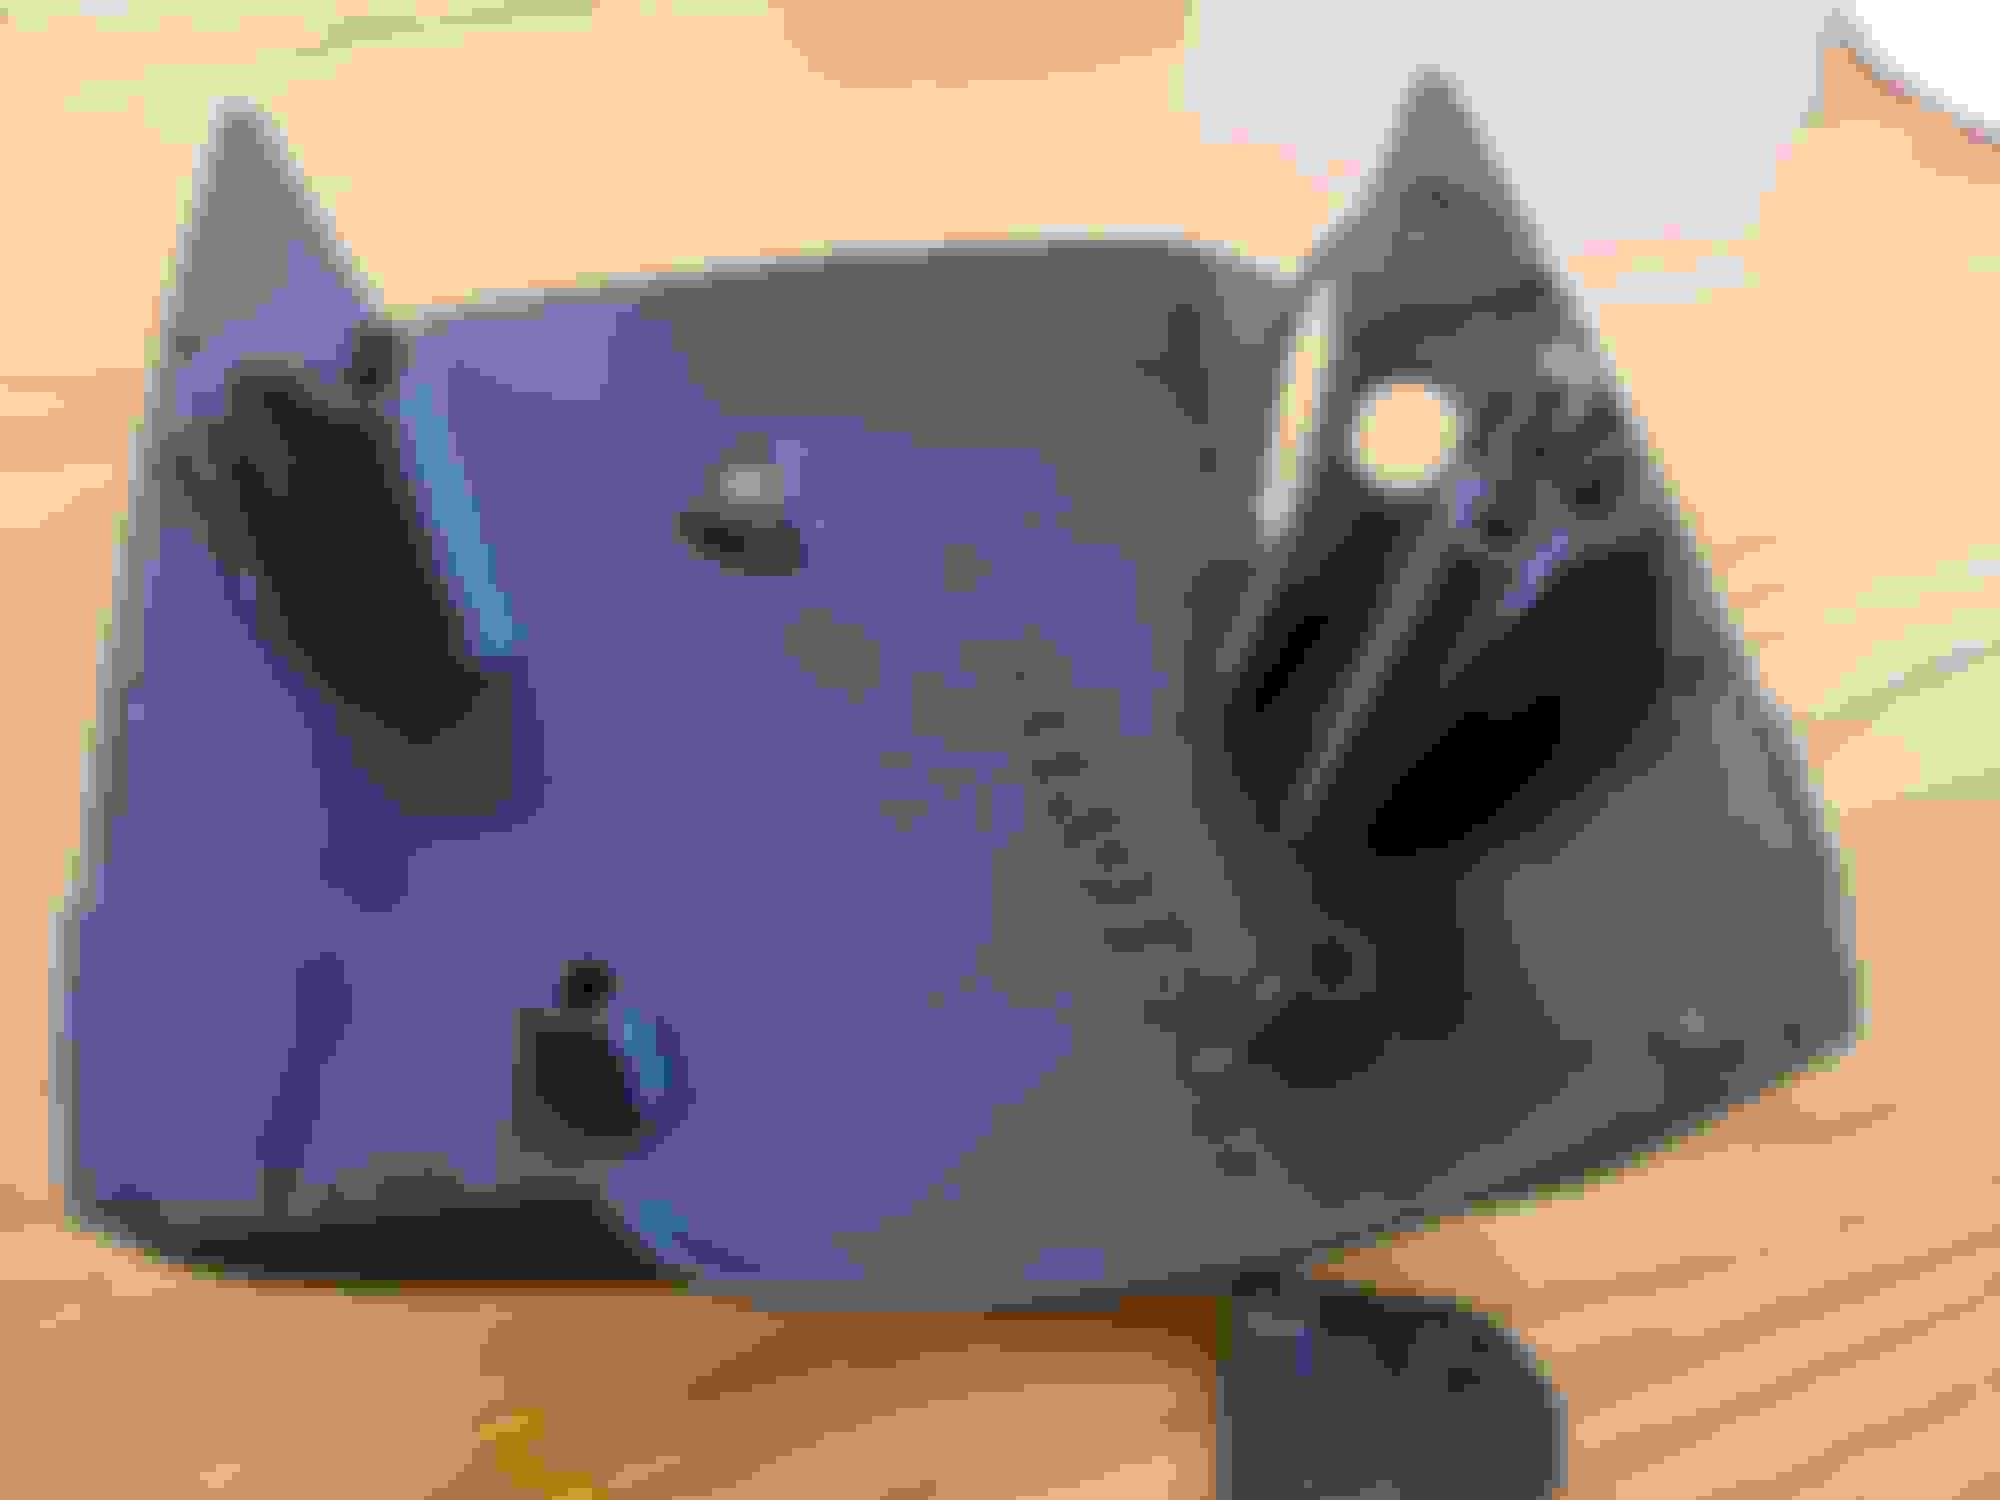
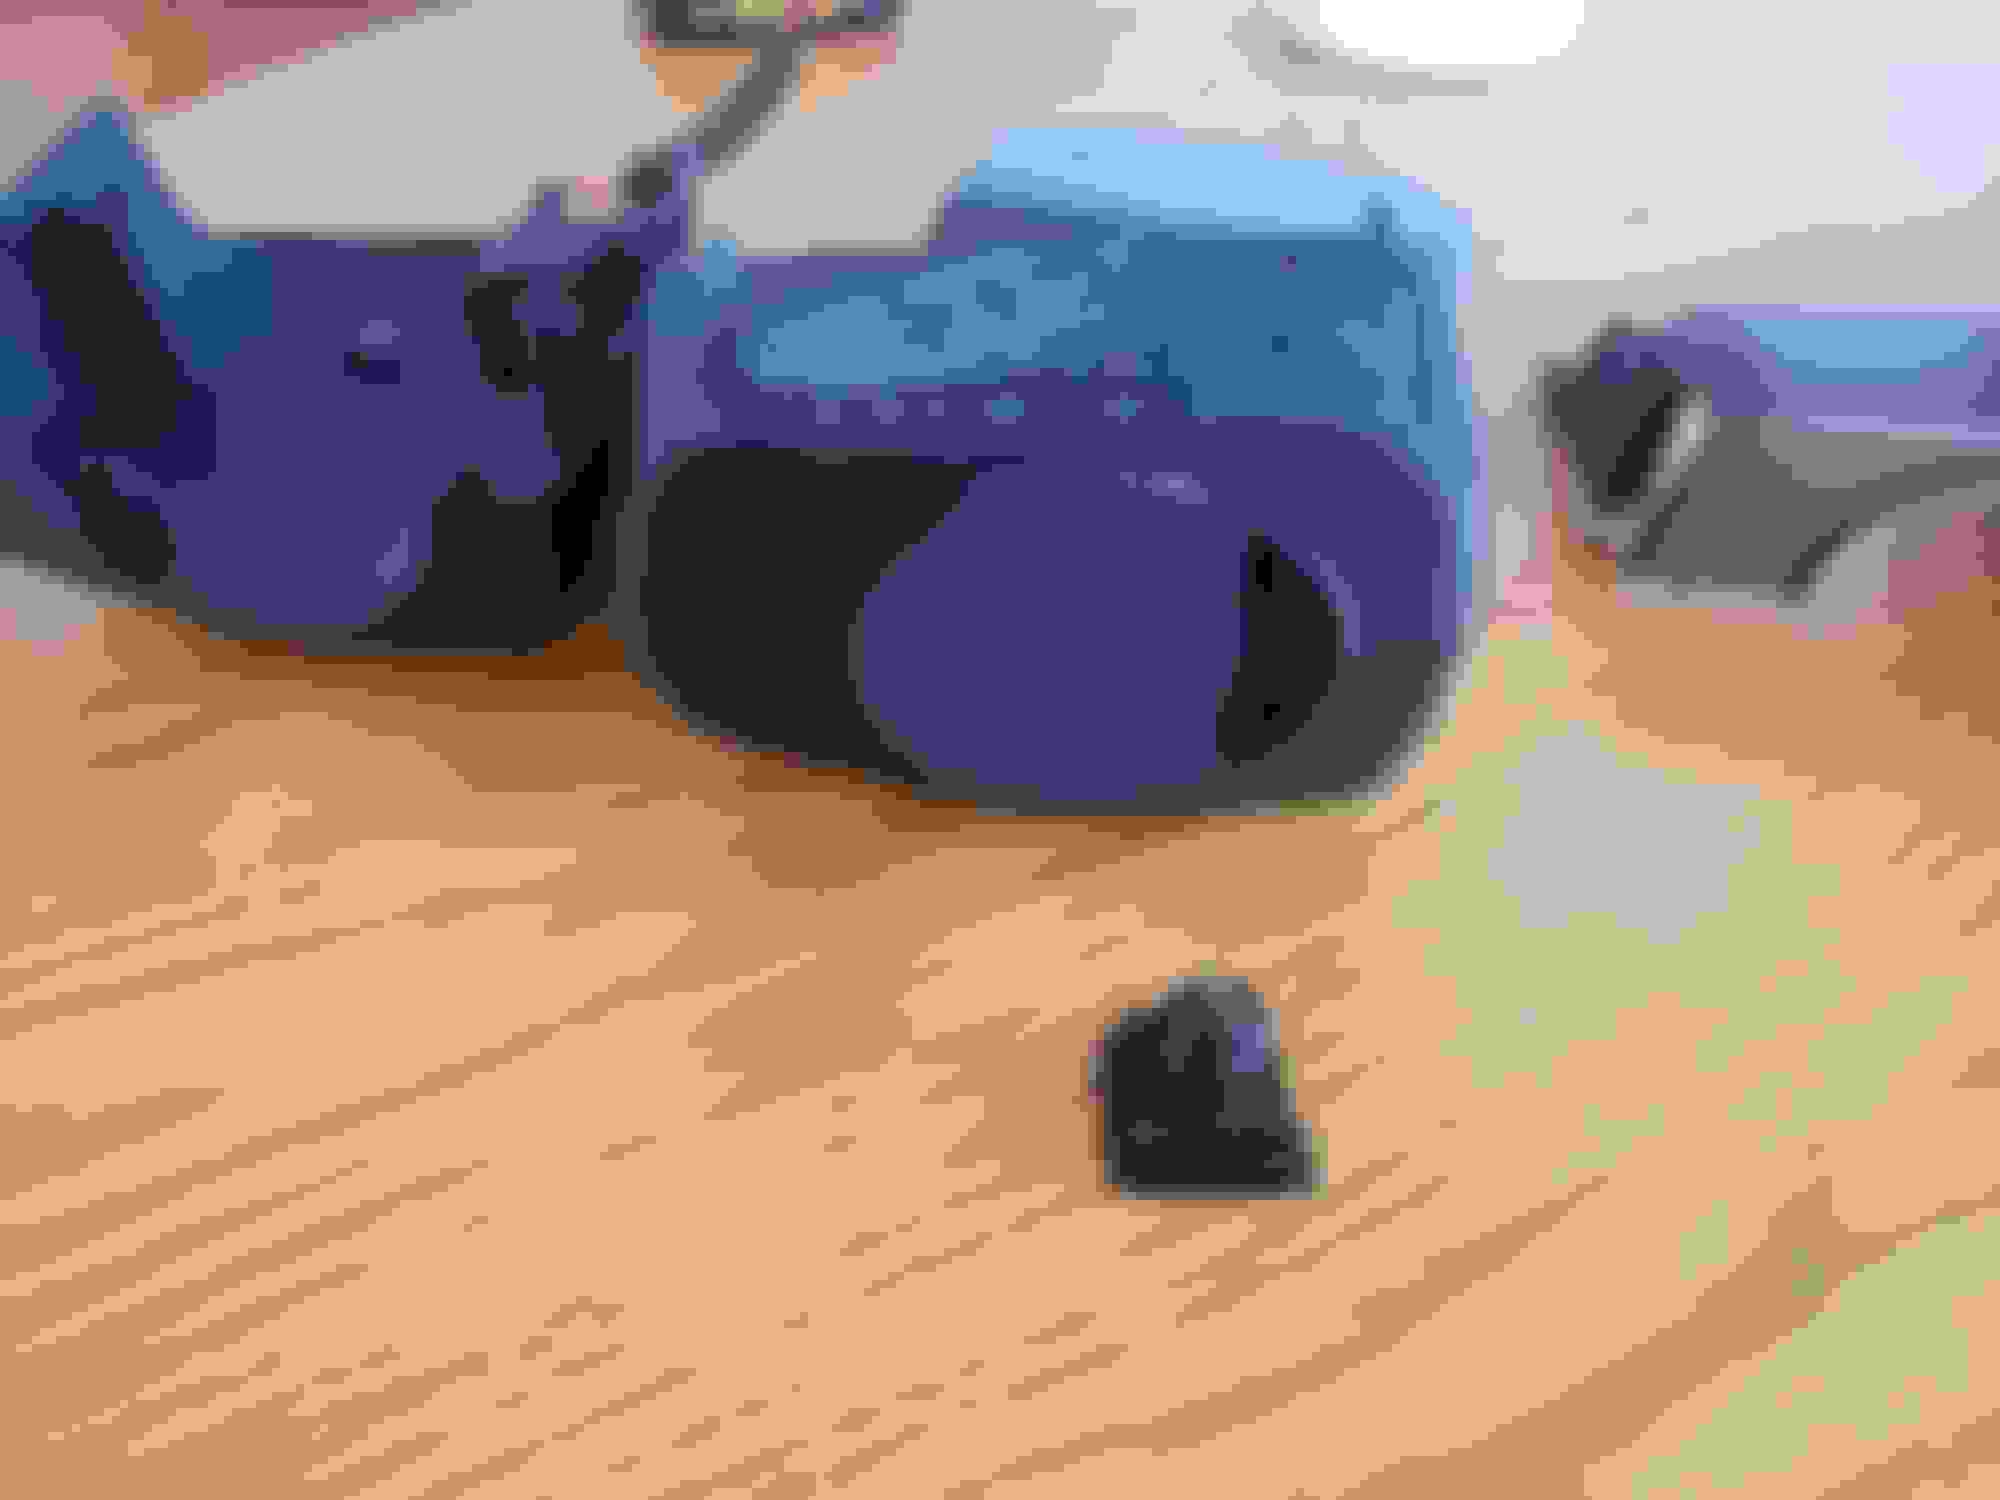
Bit of a photo dump here. Can see how they look fresh off the printer, and with some 80 grit sanding. Also have the threaded inserts working great with the stock ignition switch light. Havent put the inserts into the top part yet.
This is excellent work. How long do the parts take to print? How much time do you have into finishing?
The top takes 12 hours and the bottom takes 34. I spent two full evenings on the surface finishing for both, so I'd say about 3 hrs on the top and 5 on the bottom. Longer than I thought unfortunately!
Nice video. It is hard to tell through writing just how much work goes into projects like this, seeing you do it on video really shows the time and effort it takes.
The top takes 12 hours and the bottom takes 34. I spent two full evenings on the surface finishing for both, so I'd say about 3 hrs on the top and 5 on the bottom. Longer than I thought unfortunately!
You are doing amazing work on this. I watched the video, and from what I could see the inside of the part appeared to be much smoother than the outside. That caused me to wonder whether it's possible print the parts with the support structure on the inside rather than the outside. If so it seems like the finishing time would be cut down dramatically.
Shameless plug but I think I've made enough upgrades to qualify as maybe better than original haha. Metal threaded inserts and thickened/reinforced those long screw holes on the top and bottom so hopefully they're a bit more resistant to snapping.
These are fantastic ideas though, thanks! An unfinished print option would be a great way to lower the price for sure. I could maybe put up some kind of guide on youtube or something too in that case.
Have you heard of Shapeways.com? -Might be a viable option.
All very cool and promising. Hoping I can replace my top steering bezel that is "welded" together with duck tape and gorilla glue! I hope you release these some day
Have you heard of Shapeways.com? -Might be a viable option.
I've looked into outsourcing the prints and everywhere I've gone has said they won't print them because the "geometry isn't ideal for 3D printing" ie no flat bottom.
Another announcement - I've thrown together a store using wix. Here's the link
Right now I just have the steering column bezel, but I've been test printing the radio surround panel and defrost vents so hopefully they'll be available soon.
I really hoped I'd be able to keep costs way, way lower, but unfortunately these bloody things wound up taking way more time/effort/material than I'd hoped. However, I've discounted a bunch of items that are older designs or prototypes to try and recoup some material cost, so maybe that will help make them a bit more accessible.
Sorry to keep spamming this post, but I've been putting a lot of time in and making a lot of progress.
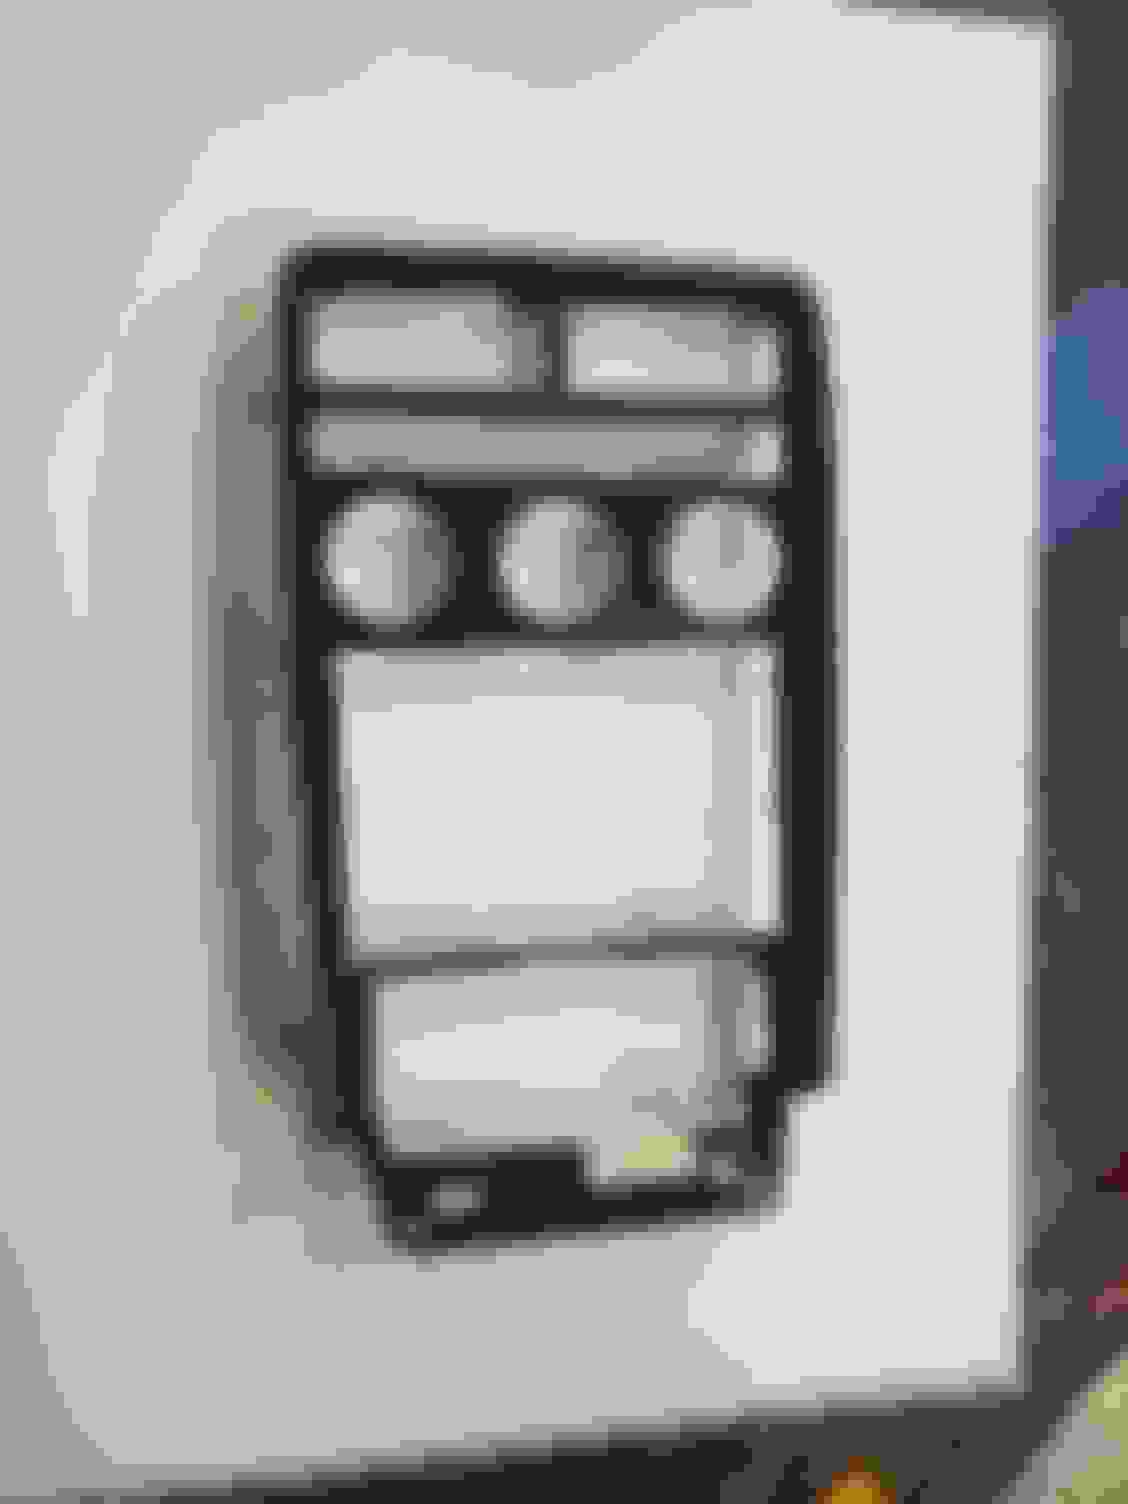
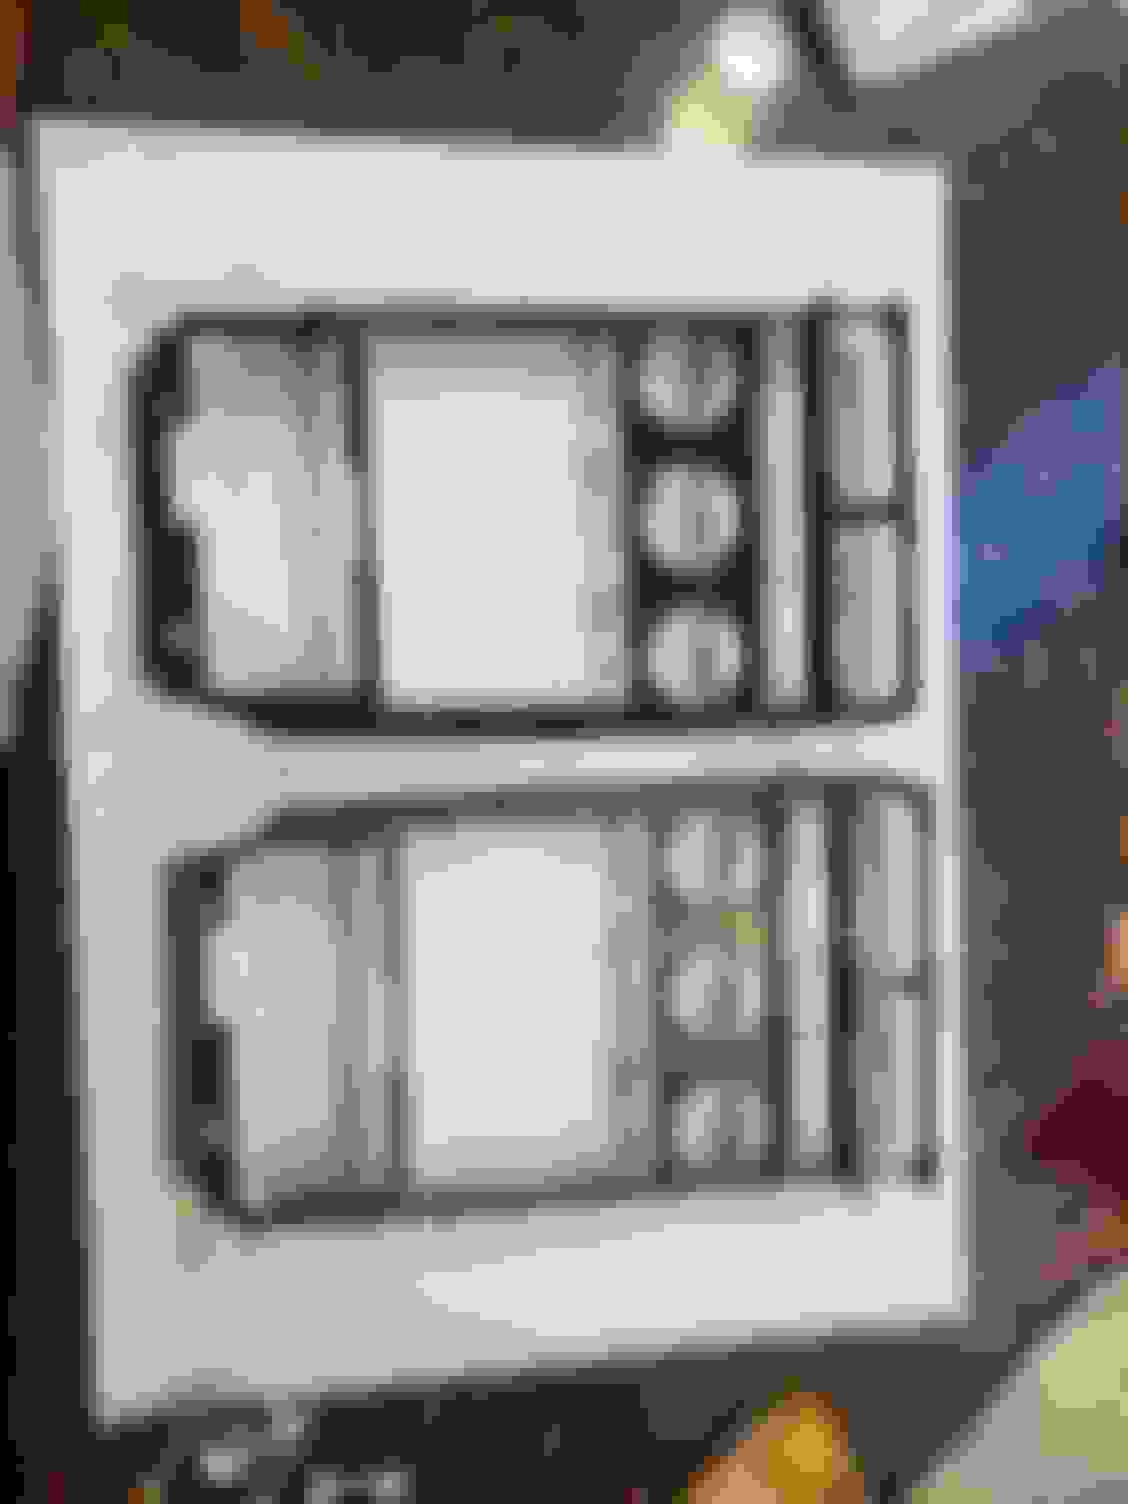
This is my first attempt at printing the radio bezel:
I was wondering, would it be better to have a flat panel section instead of the bottom where the little compartment goes, or even optionally where the radio goes? That way you could drill a hole and mount custom gauges or switches if you dont have a radio (weight reduction!!) or the compartment.
I just figured (after i finished the CAD design of course) that if you don't have this panel, you also don't have the bottom compartment for it (which I can't print).
Wow those look great! I'm envious of your scans, haha. Modeling those panels with just basic tools takes so terribly long. I can't offer an opinion on the bottom flat area as I don't have that on my SA, but I'm sure it'll do well either way.
Another announcement - I've thrown together a store using wix. Here's the link
Right now I just have the steering column bezel, but I've been test printing the radio surround panel and defrost vents so hopefully they'll be available soon.
I really hoped I'd be able to keep costs way, way lower, but unfortunately these bloody things wound up taking way more time/effort/material than I'd hoped. However, I've discounted a bunch of items that are older designs or prototypes to try and recoup some material cost, so maybe that will help make them a bit more accessible.
Roland
It's a lot of money. On the other hand, the alternative is that the parts are unobtainable any other way. So if we want to keep these cars going and looking good, (not held together with duct tape) we have to pay the guy willing to sink the time into making them.
It's a lot of money. On the other hand, the alternative is that the parts are unobtainable any other way. So if we want to keep these cars going and looking good, (not held together with duct tape) we have to pay the guy willing to sink the time into making them.
Yeah it totally is mega pricey. I first started this project because I needed these parts for my car, and when I decided to give selling them a go I hoped the price would be closer to 100 USD or lower. Then once I got going and started really looking at the costs, I kinda realized that wasn't super feasible - I've been working on these for 7 or 8 months now and there have been some tough hurdles to get over.
I've also started offering the finished smoothed part for sale through Riggs Vintage Mazda. It's a bit more, but 275 USD for a finished part vs 240 USD a fresh-off-the-printer part felt like a good way to add some value. The main driver of costs is how long these parts take to print (about 2 days) and then I'm taking a bit of a hit on the time I'm putting into filling/sanding/priming. I'm hoping that new parts going forward are a bit less expensive, and I'm trying to work on streamlining my processes to reduce costs and lighten my workload.
And yeah, there is the fact that these are pretty tough to find, although I'm really trying to be transparent with my costs/effort so it's clear I'm not tryna gouge anyone!
I don't mean to pry or throw any shade, but I am very curious how you arrived at $240 as the cost for a part hot off the printer. You of course don't need to answer that, I would just find it interesting to know if you're willing to divulge some of your arithmetic.
The material itself surely isn't much more than 10-15 bucks, so is the additional cost coming primarily from machine time (you mentioned 2 days per part), wear and tear, scan costs, etc.? I ask mainly because I've debated this same thing myself, and it just seems like a lot more than I would have expected given my own metrics. And again, you don't need to answer those questions if you would prefer not to, I would understand completely.
Either way the progress is great and it's awesome to see people working on these sorts of projects. Also I know I've mentioned it before but seriously consider looking into dual material with soluble supports. It would really help clean up those rough support areas and speed up post-processing.
Soluble supports, or more specifically the lack thereof, are the reason I stopped development on my center console "tombstones" a while back. I'm not willing to do nearly as much post processing as you do, so getting parts that are presentable straight off the printer was a big hurdle for me personally. I'm also surprised that your finished parts only add $35 to the total, even though that seems like an awful lot of work; evidently our math works quite differently. Anywho, very cool stuff!
Wonderful work you're doing here! I've managed to recreate some parts myself using 3d printing. I was wondering if we could maybe work out a price to buy the cad files you got. I have no intentions of making and selling the parts. It would purely be for personal use while I restore my car, and seeing as I don't have the original bezel ect. I cant scan them myself. If not I totally understand.
Once again, massive respect for the work you're putting in here.
I don't mean to pry or throw any shade, but I am very curious how you arrived at $240 as the cost for a part hot off the printer. You of course don't need to answer that, I would just find it interesting to know if you're willing to divulge some of your arithmetic.
The material itself surely isn't much more than 10-15 bucks, so is the additional cost coming primarily from machine time (you mentioned 2 days per part), wear and tear, scan costs, etc.? I ask mainly because I've debated this same thing myself, and it just seems like a lot more than I would have expected given my own metrics. And again, you don't need to answer those questions if you would prefer not to, I would understand completely.
Either way the progress is great and it's awesome to see people working on these sorts of projects. Also I know I've mentioned it before but seriously consider looking into dual material with soluble supports. It would really help clean up those rough support areas and speed up post-processing.
Soluble supports, or more specifically the lack thereof, are the reason I stopped development on my center console "tombstones" a while back. I'm not willing to do nearly as much post processing as you do, so getting parts that are presentable straight off the printer was a big hurdle for me personally. I'm also surprised that your finished parts only add $35 to the total, even though that seems like an awful lot of work; evidently our math works quite differently. Anywho, very cool stuff!
Basically I assigned an hourly rate to my printers, and added a flat rate for the cost of the scans plus materials, power and consumables (acetone, sandpaper, fasteners/threaded inserts) plus a bit of a markup so I'm not just breaking even. I also recognize that 240 is a bit high for a raw part, which is why I only went up 35 bucks after adding post processing.
As for dual extruder/soluble supports, I had a tight budget when I was selecting my printers. I do want to upgrade eventually. Dual extruders and soluble supports will require a lot more r&d (I spent nearly 2 months doing test prints on 3 printers around my 9-5 job). The main challenge I had wasn't support removal, rather that these scanned parts just dont really lend themselves well to printing, especially the steering bezel. I basically accepted that I'd need to do post-processing no matter what, so it wasn't worth spending an additional 500-1000 bucks on fancy printers if I'd still have to sand to get them to a point I'm comfortable selling.
Wonderful work you're doing here! I've managed to recreate some parts myself using 3d printing. I was wondering if we could maybe work out a price to buy the cad files you got. I have no intentions of making and selling the parts. It would purely be for personal use while I restore my car, and seeing as I don't have the original bezel ect. I cant scan them myself. If not I totally understand.
Once again, massive respect for the work you're putting in here.
The jury's still out on selling cad files haha. On one hand it'd be a great way to help people diy these parts, but on the other I've invested dozens of hours modifying them, not to mention the raw scans themselves were a decent chunk of $. I'm not sure if I'd be comfortable letting them go for much less than what I'm asking for a part, but that's motly because of how I'm valuing my time haha. Hours of labour tends to make things expensive...
The other thing I considered is selling the original raw scan, since technically anyone with an original part could get their hands on that without my help. Would that still be of interest to you?
Basically I assigned an hourly rate to my printers, and added a flat rate for the cost of the scans plus materials, power and consumables (acetone, sandpaper, fasteners/threaded inserts) plus a bit of a markup so I'm not just breaking even. I also recognize that 240 is a bit high for a raw part, which is why I only went up 35 bucks after adding post processing.
As for dual extruder/soluble supports, I had a tight budget when I was selecting my printers. I do want to upgrade eventually. Dual extruders and soluble supports will require a lot more r&d (I spent nearly 2 months doing test prints on 3 printers around my 9-5 job). The main challenge I had wasn't support removal, rather that these scanned parts just dont really lend themselves well to printing, especially the steering bezel. I basically accepted that I'd need to do post-processing no matter what, so it wasn't worth spending an additional 500-1000 bucks on fancy printers if I'd still have to sand to get them to a point I'm comfortable selling.
Understood, thanks for the clarification. And I can certainly agree that some parts just don't work well with 3D-printing, or at least not without a lot of extra work.
rx7club market link
Can't seem to link the Riggs Vintage Mazda Fb page, but I have a pic in an earlier post or search for "Riggs Vintage Mazda". Apparently they get a lot of scammers trying to imitate them though, the real one has about 12k followers on facebook, so watch for that.
Ok so I've kinda burnt out in the R&D department, but I have three parts for sale - steering column bezel, radio surround, and defrost vent. Thanks everyone for your feedback, and requests/suggestions are always welcome! I realize I'm asking a lot of money, but I think I've been fairly transparent on how much effort these took and what goes into each one. I've been looking into getting an injection molding machine, but basically unless I'm selling like 1000s I'm not sure if it's worth it, so that probably wont happen.
I'm also selling the raw scan files if anyone else wants to giver a go: I have the driver and passenger defrost vent, steering column bezel, radio surround, shifter surround, the front vents facing the driver, and a few others. If you're interested, ask away!
You can also find me on instagram if you prefer link
Last edited by UnregisteredSA22C; Apr 20, 2023 at 08:06 PM.
Reason: links not working


 but I'm making progress slowly.