
Diy modifications (those of us on a budget)


Thread Starter
Senior Member
Joined: Oct 2008
Posts: 380
Likes: 3
From: palmetto


Thanks
Last edited by XXXJ; Nov 6, 2012 at 03:20 PM.
Is that directed at me or rotaryjunkee? I cut mine with a cutting wheel. If you're bending the metal, you want to use something behind it like a metal pipe so you can gently roll the metal in a uniform curve. There's a lot of good videos on youtube about sheet metal fab and shaping.


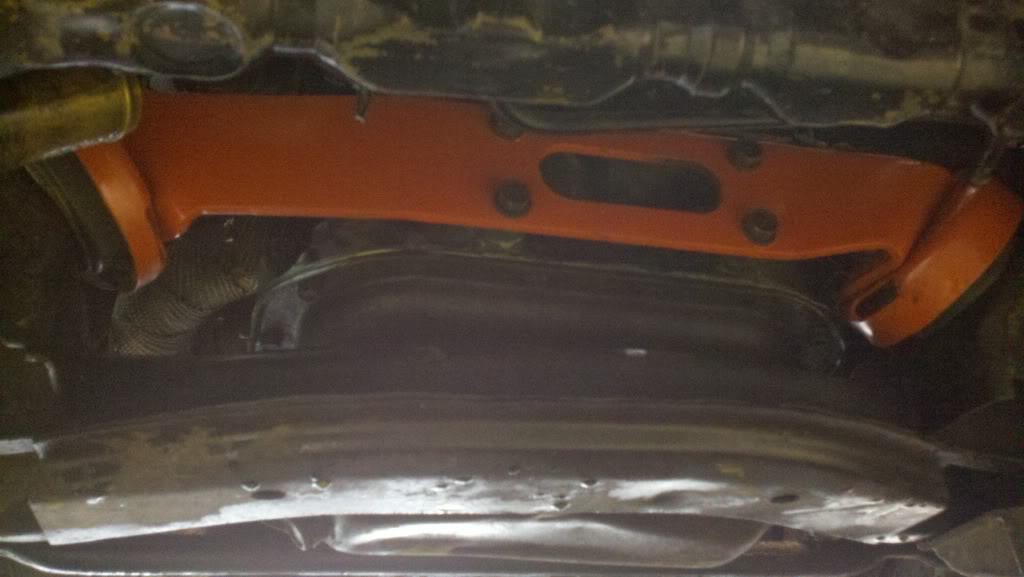
Backyard "competition" style transmount. Filled the gap between square section and plate with some sikaflex-227 i had left over and a couple pieces of 4mm rubber sheet. levered it open a bit to get it in, let it go, all the goo squeeses out, tight as a drum. just smeared the excess all over the rubber mount. Took all of 2min and 0$. Should have a bit less movement now!!
Backyard "competition" style transmount. Filled the gap between square section and plate with some sikaflex-227 i had left over and a couple pieces of 4mm rubber sheet. levered it open a bit to get it in, let it go, all the goo squeeses out, tight as a drum. just smeared the excess all over the rubber mount. Took all of 2min and 0$. Should have a bit less movement now!!
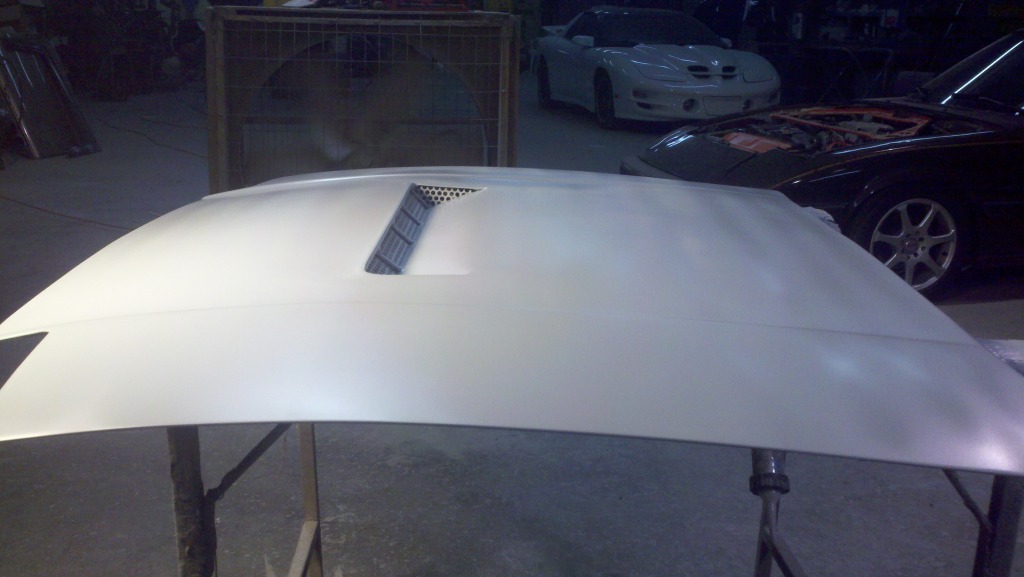
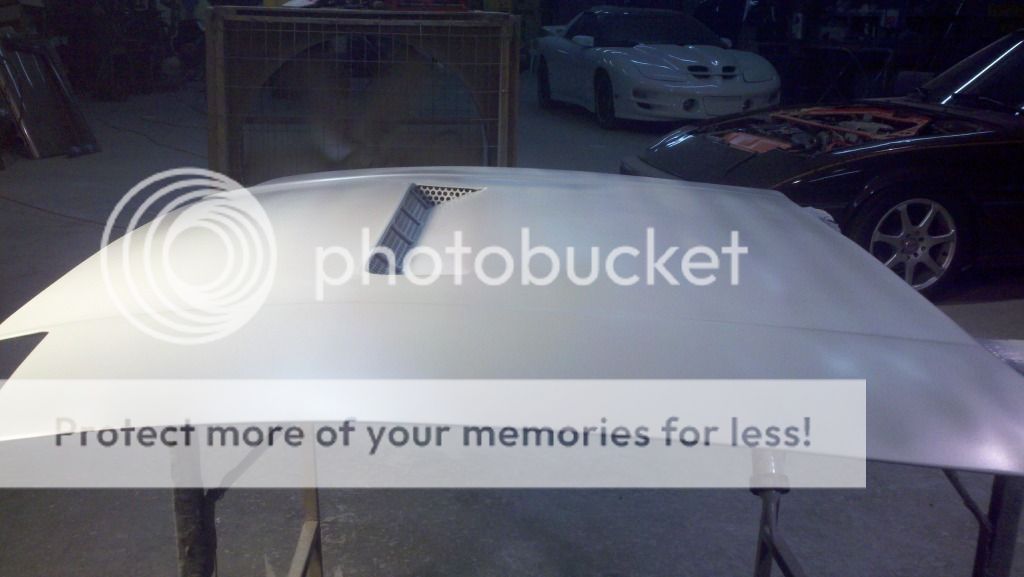
My bad, I meant XXXJ. I think he was asking about his hood... it's a vent, not a scoop. Air flows through the front and out the vent on the hood. Helps with cooling.
I just used cutoff wheel to cut my hood. You have to cut some of the hood bracing out to make the bend. So what I did at where the bend starts is take some 1/4" round stock and spot welded it across the hood and to the bracing, this gave me a solid point to bend from with out much sheet metal flex. Then I clamped a piece of flat bar to the cut side to give me a solid flats surface to pull on the metal with by hand. I have.
On the top side you may notice that I have a small lip prior to where the vent starts, that is another piece of 1/4" round stock welded in place. When I had the "flap" bent to the angle I wanted I welded those vertical rods to the flap and to the upper horizontal rod.
From there I did my body work, finished the lip and blocked and primed the hood.
If you can cut your hole really precise you could use the lips that are on most scoops and glue it from the underside. This would give you a more "clean" look. If you decide to finish it out, it would require less effort and materials.

Resident Rotard
Joined: May 2009
Posts: 908
Likes: 0
From: Belleville, Illinois
I don't have any pictures but my fc caught on fire going down the road one night and burnt my wiring harness. I got picked up, went back the next day and made a custom wire harness out of speaker wire and duct tape. It got me home which was about 2 hours away. This is while in college and living on a diet of Ramen noodles and the occasional free meal from working on cars.
You can go a little easier route and just buy a scoop, cut your hood out and use some 3M Panel Bond(or similar glue) to glue it in place.
If you can cut your hole really precise you could use the lips that are on most scoops and glue it from the underside. This would give you a more "clean" look. If you decide to finish it out, it would require less effort and materials.
If you can cut your hole really precise you could use the lips that are on most scoops and glue it from the underside. This would give you a more "clean" look. If you decide to finish it out, it would require less effort and materials.
Thread Starter
Senior Member
Joined: Oct 2008
Posts: 380
Likes: 3
From: palmetto
I don't have any pictures but my fc caught on fire going down the road one night and burnt my wiring harness. I got picked up, went back the next day and made a custom wire harness out of speaker wire and duct tape. It got me home which was about 2 hours away. This is while in college and living on a diet of Ramen noodles and the occasional free meal from working on cars.
Lives on the Forum
Joined: Jun 2004
Posts: 11,359
Likes: 14
From: Grand Rapids Michigan
Cheapest mod?
1. Remove everything that doesn't have to be there to make the car run.
2. Clean the crap out of everything that's left.
Here's a thread detailing most of what I removed from under the hood, along with how I cleaned years of crap off the paint in the engine bay:
https://www.rx7club.com/1st-gen-arch...e-pics-441703/
.
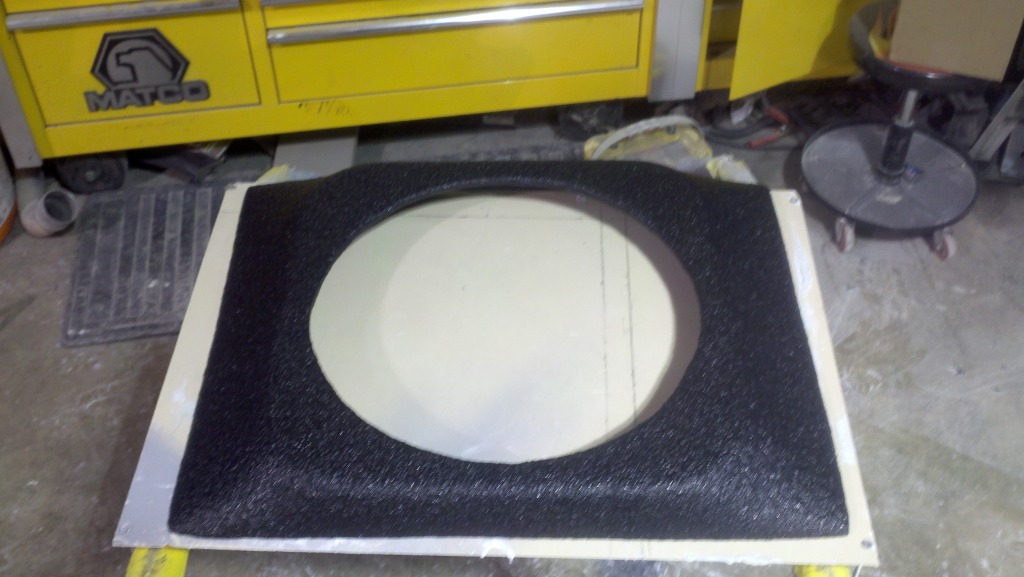
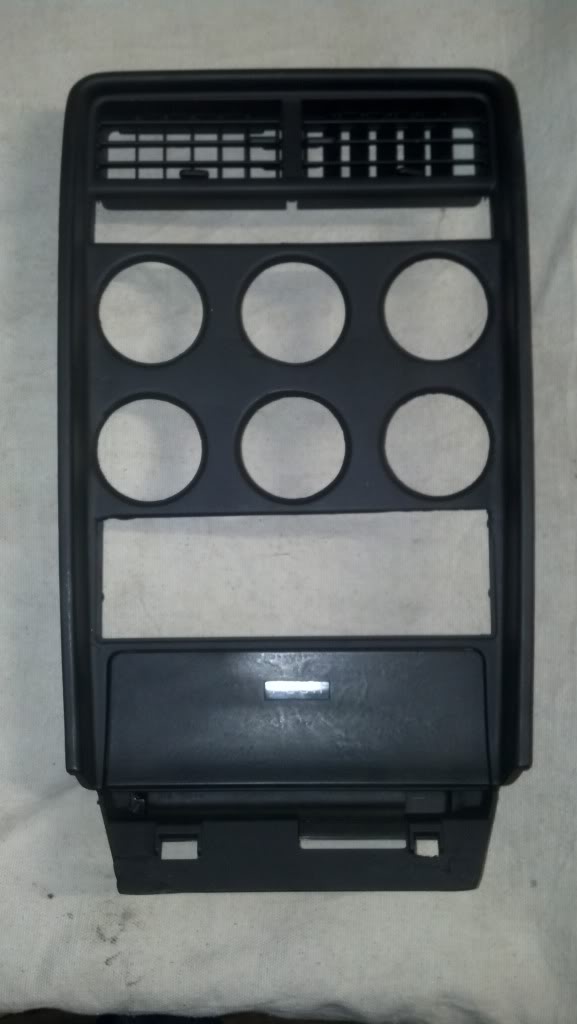
I've got a couple radio surrounds and a couple that have broken or smashed in shipping, so I made this, then painted in black.
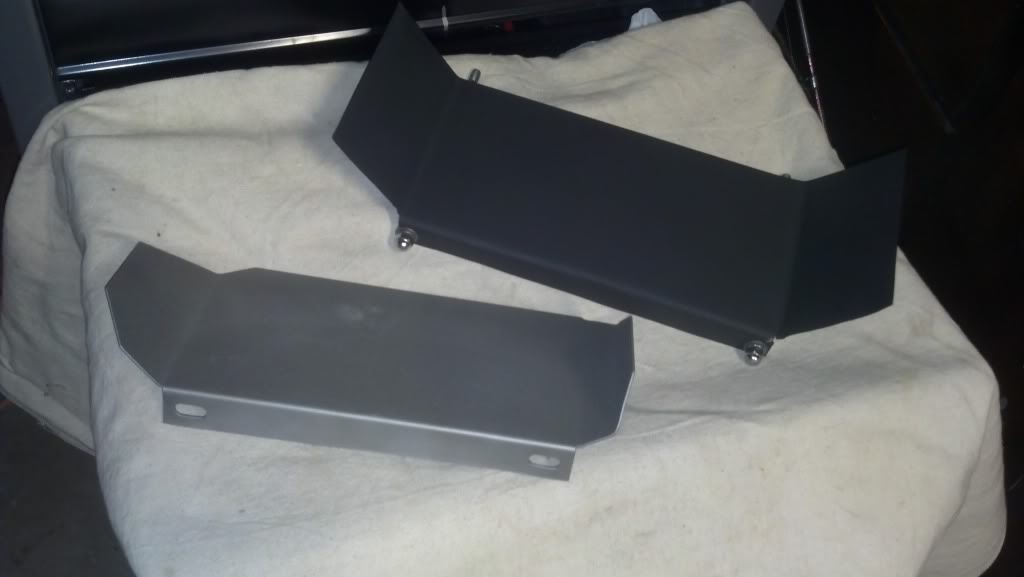
Also bought a heat shield that I was told was 13b, it ended up being 12a. So I ceramic coated it, then made my own for 13b, copying it, and painted it high temp black.
Ended up deciding I'd rather see my intake/exhaust I also ceramic coated, so they're all sitting in my garage still.
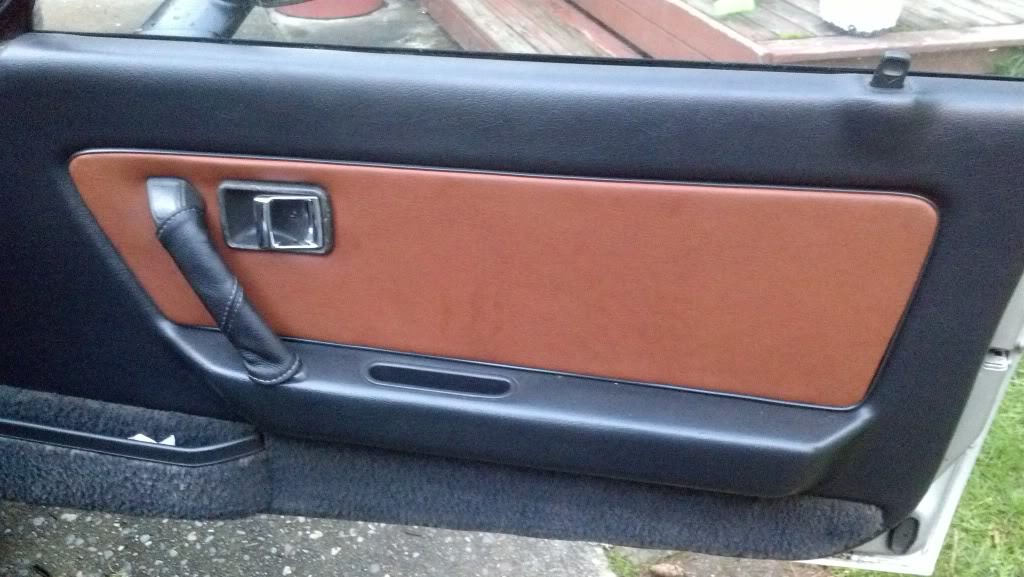
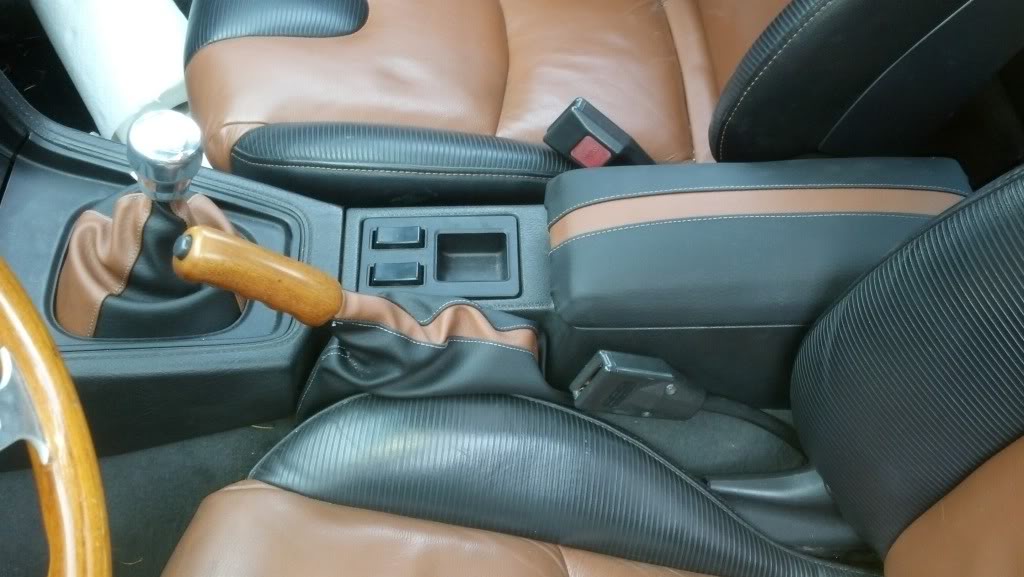
Door cards were pretty easy to do. Found some vinyl that matched the black/brown Rx8 seats (vinyl is called Cinnamon whisper) and only took about an hour to do both doors.
Also did shift/brake boots and re-covered center console lid.
Also bought a heat shield that I was told was 13b, it ended up being 12a. So I ceramic coated it, then made my own for 13b, copying it, and painted it high temp black.
Ended up deciding I'd rather see my intake/exhaust I also ceramic coated, so they're all sitting in my garage still.
Door cards were pretty easy to do. Found some vinyl that matched the black/brown Rx8 seats (vinyl is called Cinnamon whisper) and only took about an hour to do both doors.
Also did shift/brake boots and re-covered center console lid.
Had the exhaust blasted locally, and I did the Cerakote.
Cerakote Coatings
The smell will kill a horse at 20', but was pretty easy to use. I used their air cure, and also got some of their chromex. I did not like the way the chromes came out. I don't have access to a big enough tumbler and I didn't spend a lot of time trying to polish it myself. Once I saw the exhaust done, I did the intake with it as well. I have some of both still leftover.
A friend and I went in on some of each. He's refinishing old camp stoves with it.
Thread Starter
Senior Member
Joined: Oct 2008
Posts: 380
Likes: 3
From: palmetto
Well I changed my battery cables on my Rex, I removed the stock cables and upgraded to welding cable that I had laying in the garage.
Ill have to tell you that "wow" what a difference in startability and accessories being used now. The car turns over like u wouldn't believe, I can run my high beams and the a/c blower with hardly a noticeable drop in rpms.
This is probably the best upgrade I've done to this day, i reccomend everyone do this mod
What gauge is welding wire?
Thread Starter
Senior Member
Joined: Oct 2008
Posts: 380
Likes: 3
From: palmetto
This welding cable can transfer 250 amps of current, I'm a welder trust me I know
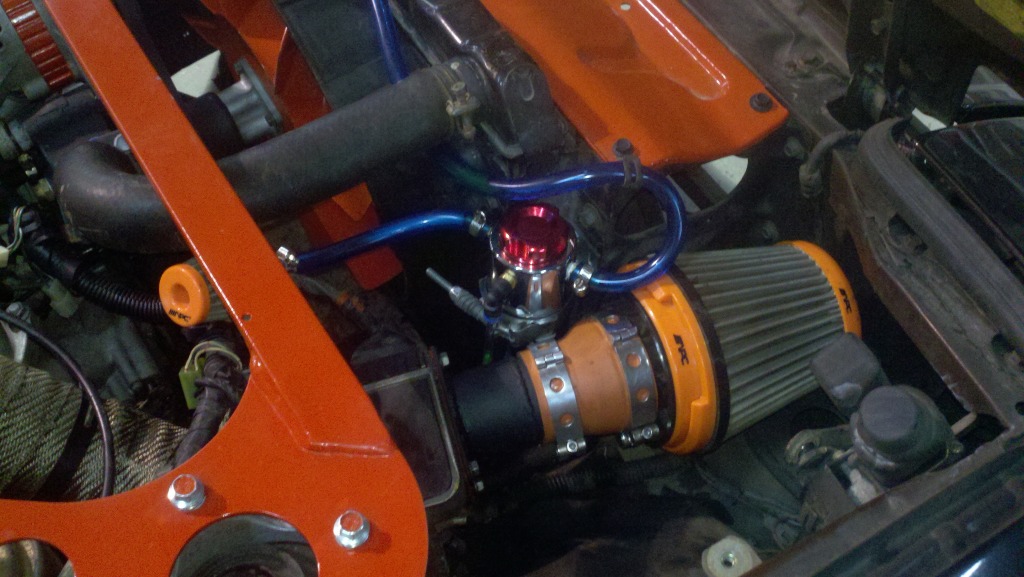
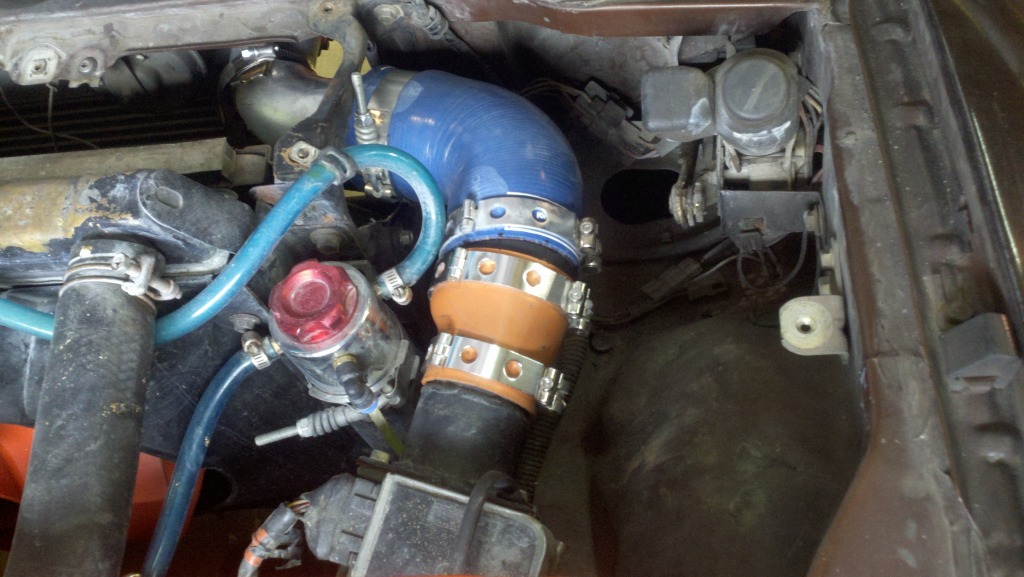
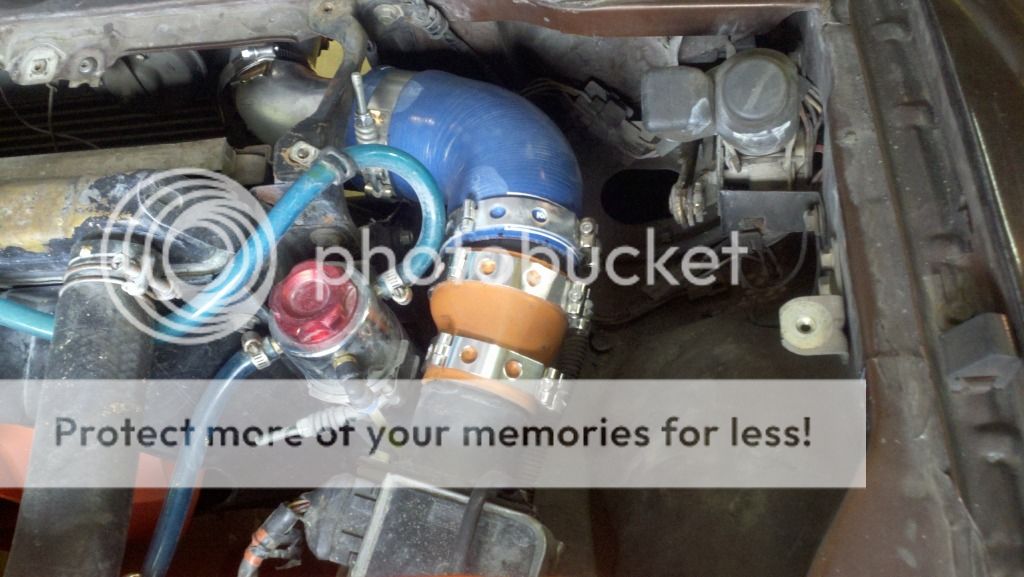
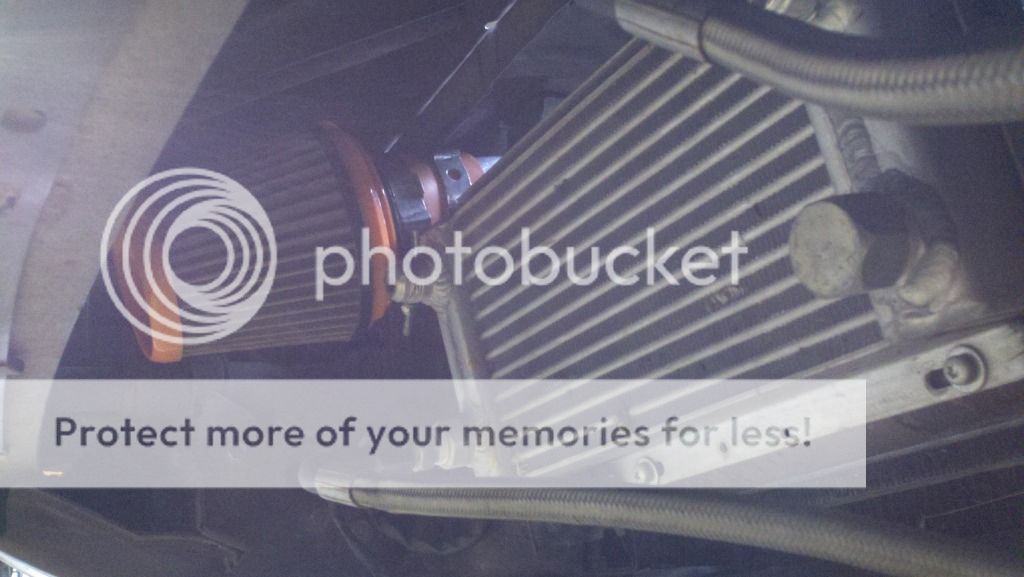
I decided to make more of a real CAI then what I have posted up earlier in this thread. This was pretty much free to me, but I have a pile of parts and t-bolt clamps laying around, or it would have added up.
I have braces that holds the MAF sensor and ducting in place, the filter mounts right underneath the header panel. I have driven it in the rain and didn't notice too much water around it. However since it is turning in the wet season around here I did add a water repellent prefilter. I may go back and add on of those filter universal heat shields as a splash shield until summer gets here.
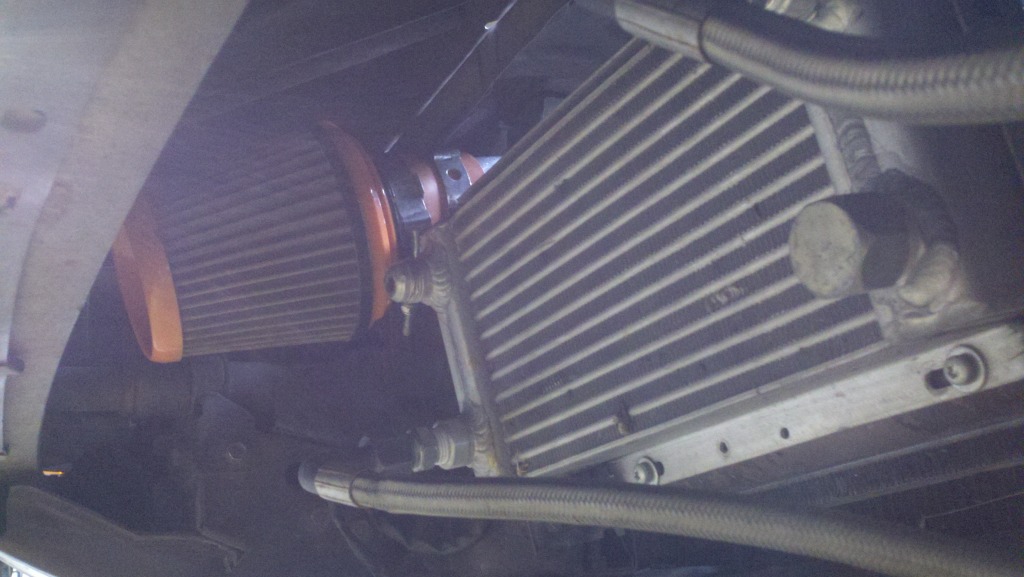
I have braces that holds the MAF sensor and ducting in place, the filter mounts right underneath the header panel. I have driven it in the rain and didn't notice too much water around it. However since it is turning in the wet season around here I did add a water repellent prefilter. I may go back and add on of those filter universal heat shields as a splash shield until summer gets here.
Thread Starter
Senior Member
Joined: Oct 2008
Posts: 380
Likes: 3
From: palmetto
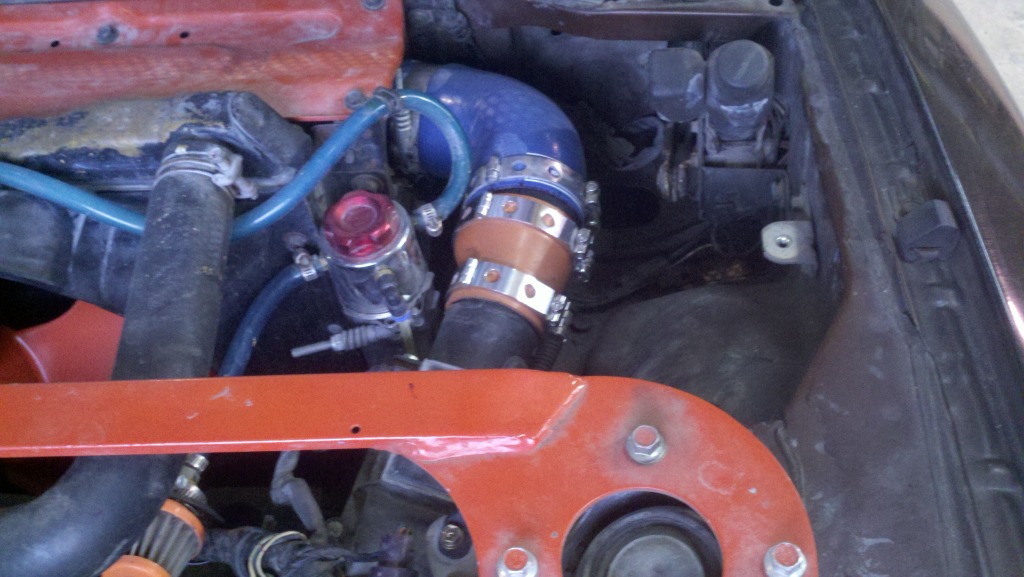
I decided to make more of a real CAI then what I have posted up earlier in this thread. This was pretty much free to me, but I have a pile of parts and t-bolt clamps laying around, or it would have added up.
I have braces that holds the MAF sensor and ducting in place, the filter mounts right underneath the header panel. I have driven it in the rain and didn't notice too much water around it. However since it is turning in the wet season around here I did add a water repellent prefilter. I may go back and add on of those filter universal heat shields as a splash shield until summer gets here.

I have braces that holds the MAF sensor and ducting in place, the filter mounts right underneath the header panel. I have driven it in the rain and didn't notice too much water around it. However since it is turning in the wet season around here I did add a water repellent prefilter. I may go back and add on of those filter universal heat shields as a splash shield until summer gets here.