When you click on links to various merchants on this site and make a purchase, this can result in this site earning a commission. Affiliate programs and affiliations include, but are not limited to, the eBay Partner Network.
Nice update on the badges! Yes, the Limited ones have been NLA for years, so its great yours are in fine shape.
FWIW even tho the taillight gaskets are NLA here, still avail in Australia via ebay (you need to change your search settings to "Worldwide").
There were a few small parts, fasteners broken or missing when the car came back. Most of them are not a big deal since I am replacing the seals, weatherstrips and as many of the screws etc that I can. Unfortunately, the fasteners attaching the moon roof to the opener were missing. Not sure if they were stripped or just lost but either way they were missing, too bad they didn't realize they didn't need to take them off to get the moon roof off but that doesn't matter now anyway. So I had to fabricate something while I find some original ones to replace them. I took a stainless carriage bolt, polished the head and cut them to length, added a rubber washer and used jam nuts to attach them. They came out a little better than I actually hoped.
Nice update on the badges! Yes, the Limited ones have been NLA for years, so its great yours are in fine shape.
FWIW even tho the taillight gaskets are NLA here, still avail in Australia via ebay (you need to change your search settings to "Worldwide").
Stu A
80GS
AZ
Crazy, I wouldn't have ever expected they would still be available anywhere. Thank you for the tip though.
Quite a bit of progress again over the past week, I replaced the weather seals on both doors.
The original clips that hold the seal in place were the hardest thing about the entire process. Although overall it was very simple
One of the only things I am doing to the car that isn't stock is adding splash guards. I live on a gravel road and that isn't going to change anytime soon. So I was able to find a set of NOS Mazda splash guards.
Period correct and I think they look pretty good and saving the new paint is a must.
The trim was removed for the repaint and needed some cleaning before putting it back on the car. I used abrasive open mesh for the particularly bad spots, scotch bright pads then extra fine steel wool. Once cleaned I wiped with mineral spirits, cleaned with forever black detergent and then wiped with forever black "dye". With just the cleaning they actually looked great and I almost thought about not using the forever black. However I am glad I did, it actually darkened the black color and I am very happy the results.
I also replaced the chrome accent trim on the inside door panel.. I used the technique shared an an earlier link in this post. It was vehicle wrap, contact cement and a heat gun.
Nice! Chrome door panel trim renewal (which I also need) is inspired.
Now. How 'bout the hatch and sunroof seals? Have your POR15-or-Fav rust touch up ready when you pull the old ones
Nice! Chrome door panel trim renewal (which I also need) is inspired.
Now. How 'bout the hatch and sunroof seals? Have your POR15-or-Fav rust touch up ready when you pull the old ones
Stu A
80GS
AZ
The sun roof seal and rear hatch were pulled and rust fixed for the repaint and the hatch is in pretty good shape, the sunroof rim under the seal is a bit crusty but still functional. Thankfully the drains are still functional and there wasn't much damage.
My Rx7 like many others had the sub zero bottle removed. I understand they were removed per Mazda but since its an original part I wanted to replace it. I was happy to find one online.
Nice TLC to the Limited ! Makes me miss mine. If you ever come across a Canadian "Toonie" ( two dollar coin) , it fits perfectly in the largest coin slot in the console., Also if you dont smoke , an early Miata accessory is a cup holder that snaps perfectly into the removeable ash tray spot.
Nice TLC to the Limited ! Makes me miss mine. If you ever come across a Canadian "Toonie" ( two dollar coin) , it fits perfectly in the largest coin slot in the console., Also if you dont smoke , an early Miata accessory is a cup holder that snaps perfectly into the removeable ash tray spot.
Thanks for the tip, I don't smoke so I might have to look for one of the cup holders.
Mat
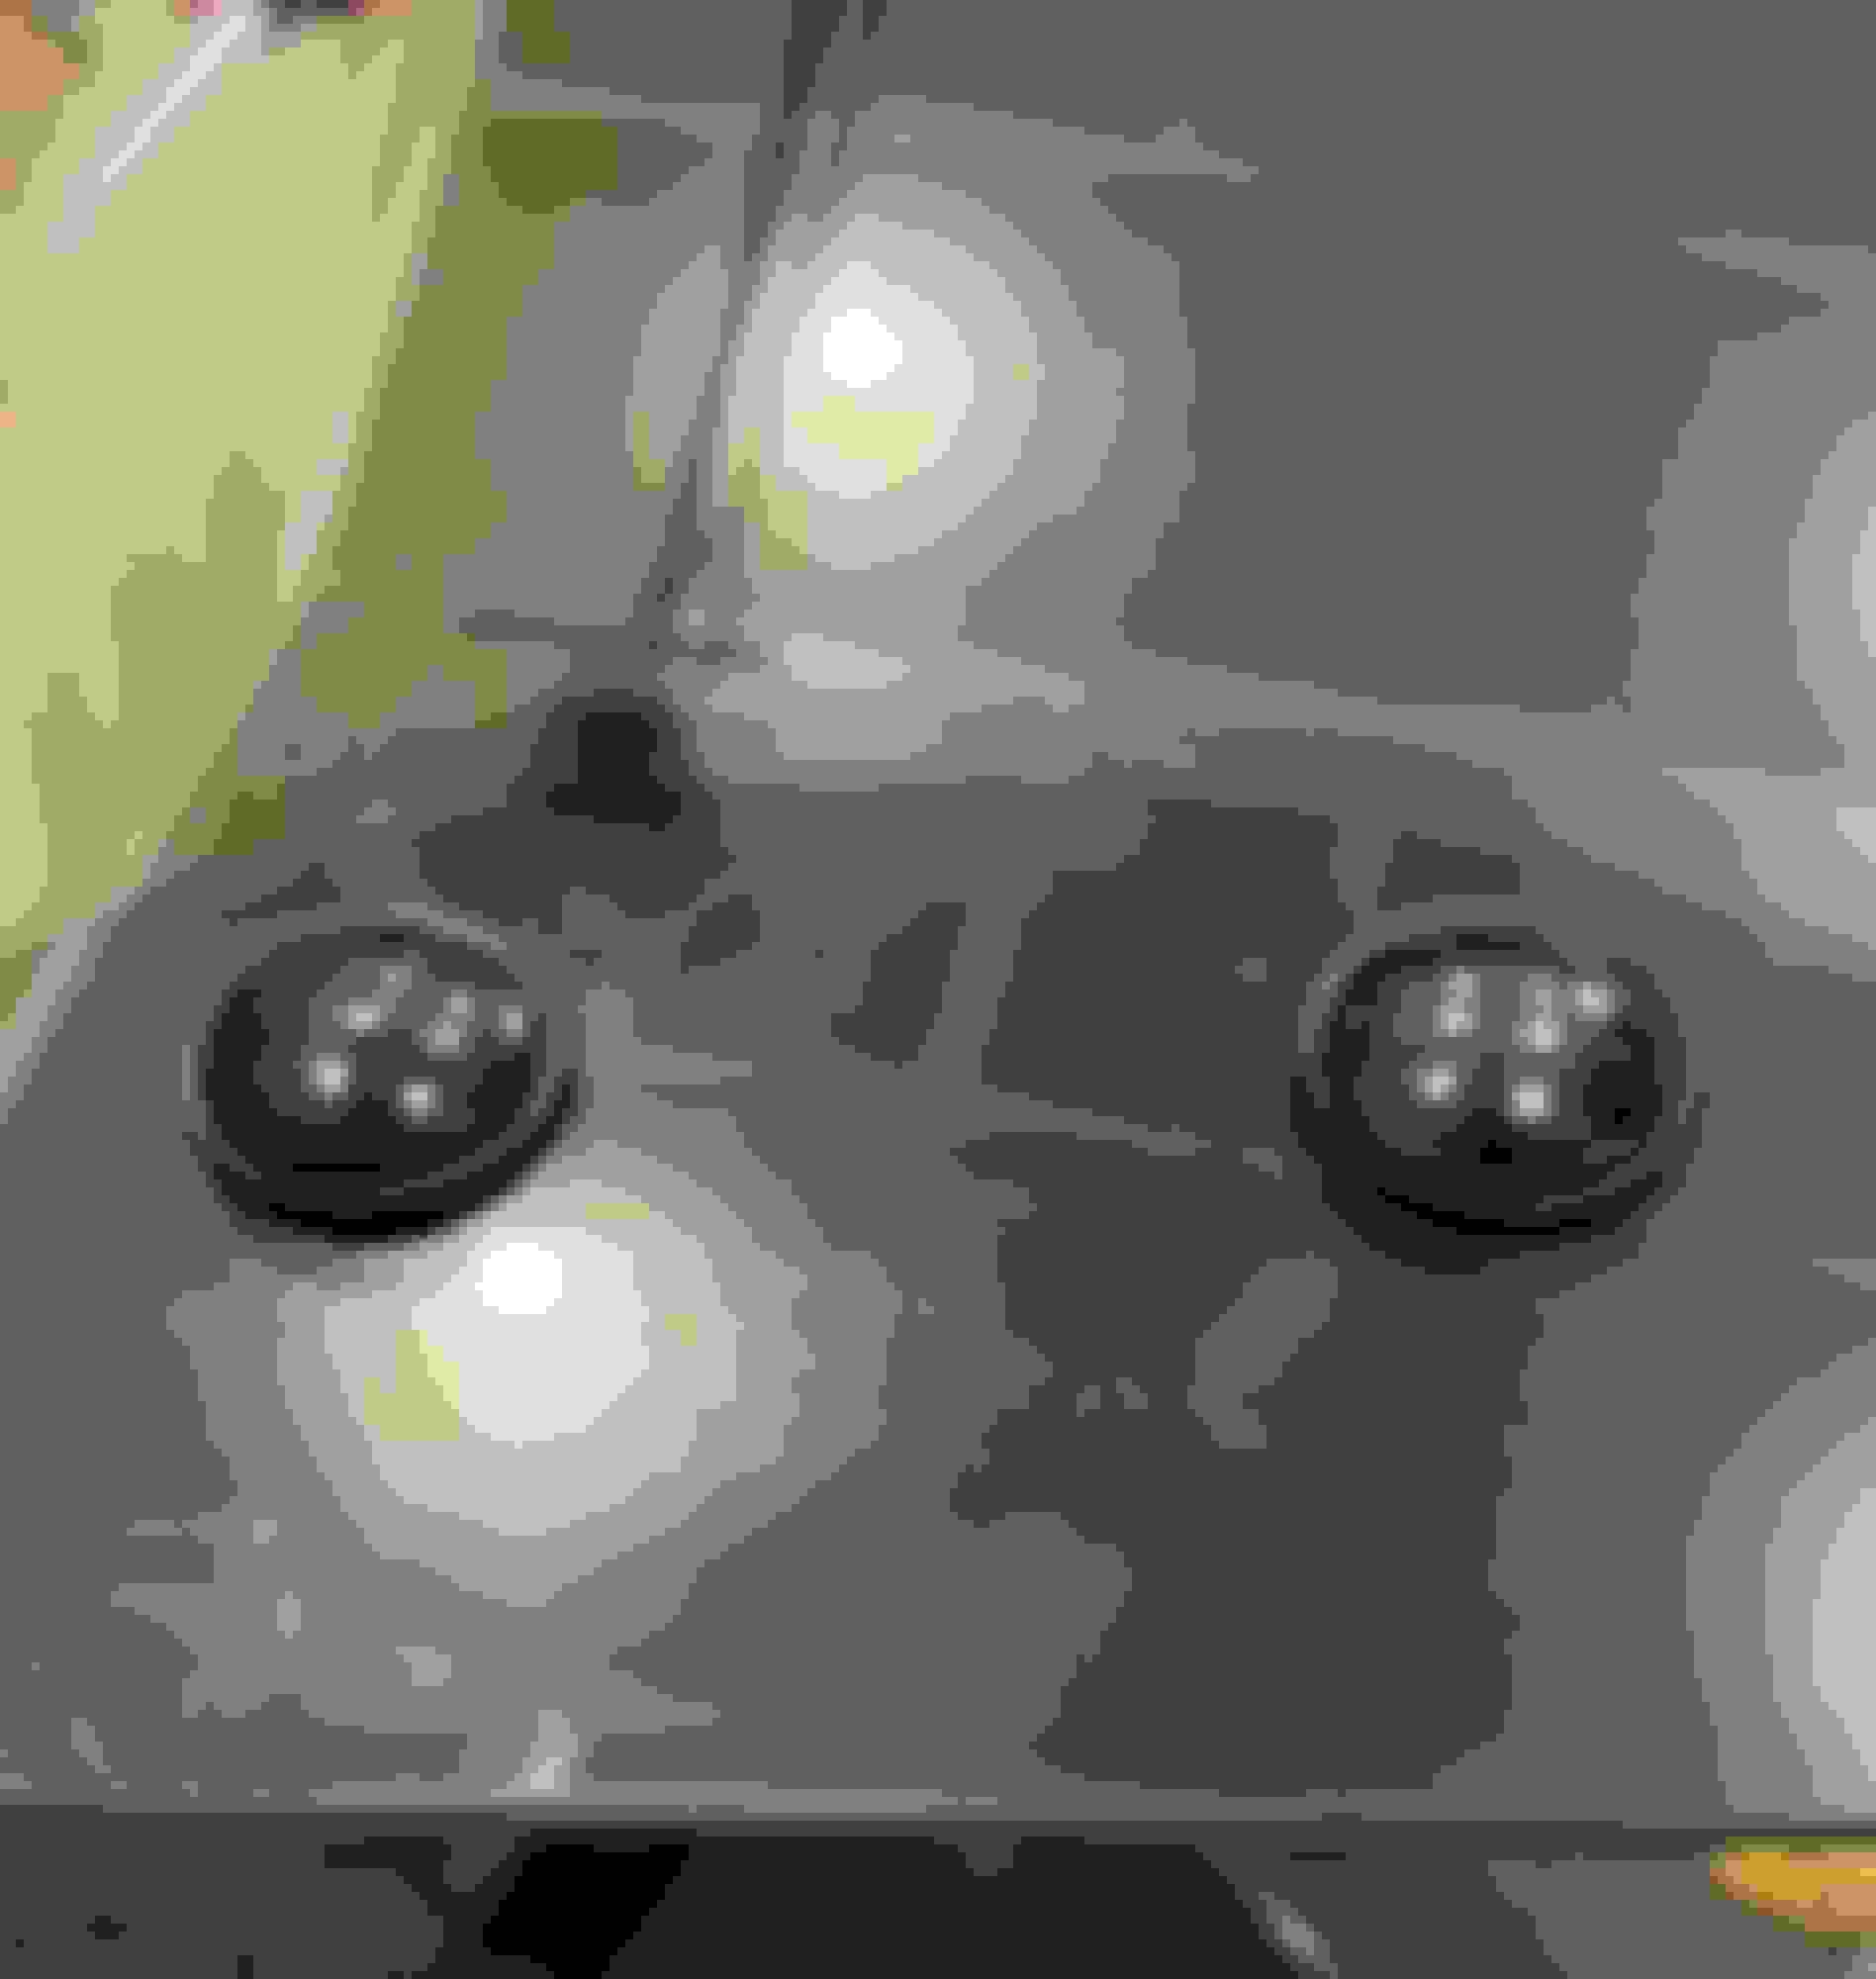
When I purchased the 79 the air conditioning didn't work. I was told the fuse blew as soon as it was put into the fuse block and the belt wasn't even on for the compressor. So I started off last weekend to fix the AC. First the to find the short, I started at the clutch relay and removed all of the connectors. the odd part was there was a two prong blue connector connected to one of the prongs on the relay. it was only connected with the one prong into one of the two slots in the connector. So I looked up the wiring diagram and position 2 on the relay is not used, so that goes along with the fact that that connector doesn't even look like it would go on this relay. here it the picture of the relay at the start.
Unfortunately, even with the short now fixed the AC still did not turn on with the switch, so now to get the AC at least switching on. I started with the AC clutch, energizing the black wire engaged the clutch, next I jumpered between the red (hot) switched wire of the relay to the black wire on the relay and it engaged the clutch. Next if I energized the 4 and 5 terminal on the relay the clutch would engage. So now I knew the relay worked. The blue wire coming from the dash switch to terminal 4 did not have 12 volt at any time. So i looked the wire over for a break and it looked good. Then I took out the glove box and examined the wiring under the dash. There is one connection along the passenger side near the right side of the glove box, this was disconnected. Reconnected that and voila the dash switch now works, engages the AC clutch and the blue light on the switch turns on. Replaced the belt and everything electrical seems to work correctly now. I did run the AC for a few min to see if by chance the system was still charged but no cold air. I didn't want to run it for more than a few min since I am sure the freon is all gone and there is moisture in the system. Next I am going to remove the mechanical components and rebuild and recharge the system with R152.
The right tail light was no longer sealed and the gasket was falling apart. So i opened it up cleaned it and decided to seal it with RTV and used a foam seal on the outside.
You are either a very brave man or have lots of money to be taking those apart haha! Mine are mint except for the corner where I gently tried to pry it apart from that cracked. I just used silicone to seal them trapping the old crap inside, Not worth cracking them. Glad your's survived the process!
You are either a very brave man or have lots of money to be taking those apart haha! Mine are mint except for the corner where I gently tried to pry it apart from that cracked. I just used silicone to seal them trapping the old crap inside, Not worth cracking them. Glad your's survived the process!
Thankfully they did but mine separated without any real effort, so the seal must have already been broken enough to make it an easy job. If they would have taken a lot of prying I would have just added the inner seal only.
On the subject of tail lights, the body gaskets are available again through Phill's. They are having them made from a rubber based material instead of the OEM foam.
 09-04-20, 07:45 PM