JerryLH3's RX-7 Turbo II Restoration

 06-06-11, 04:07 PM
#77
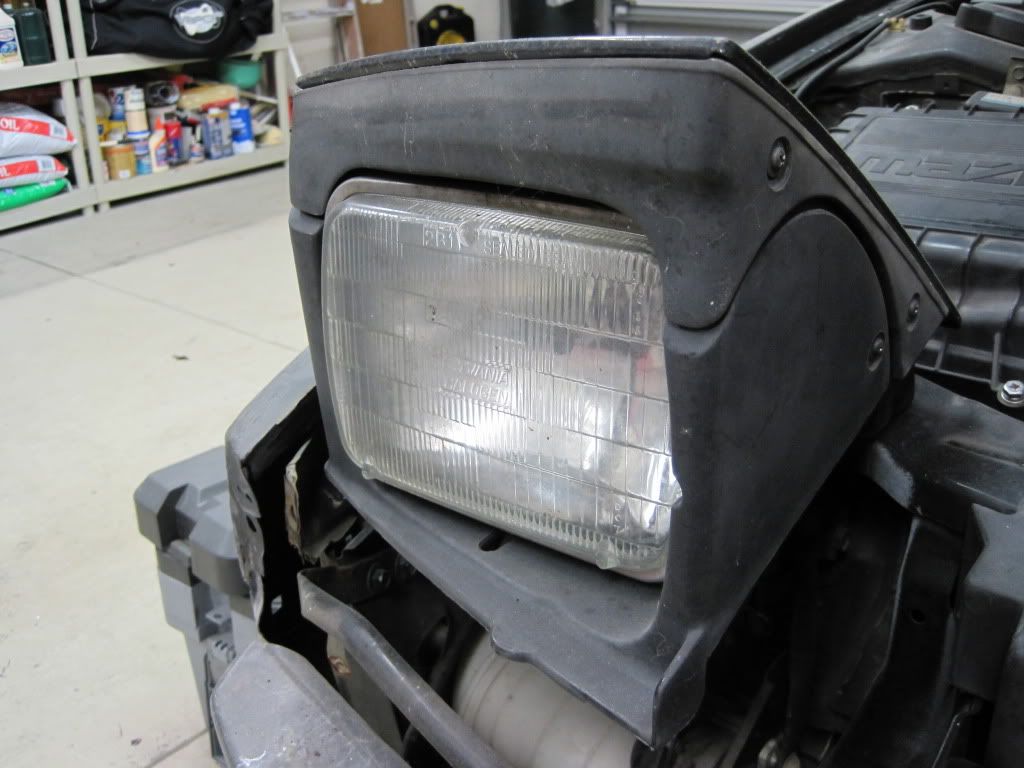
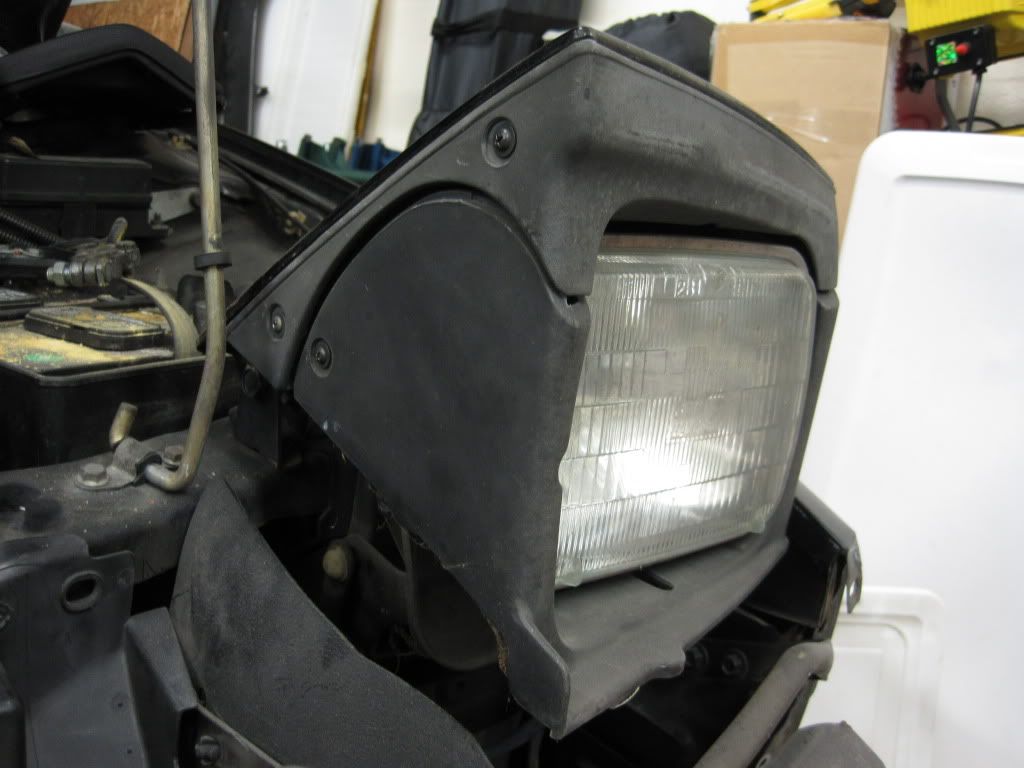
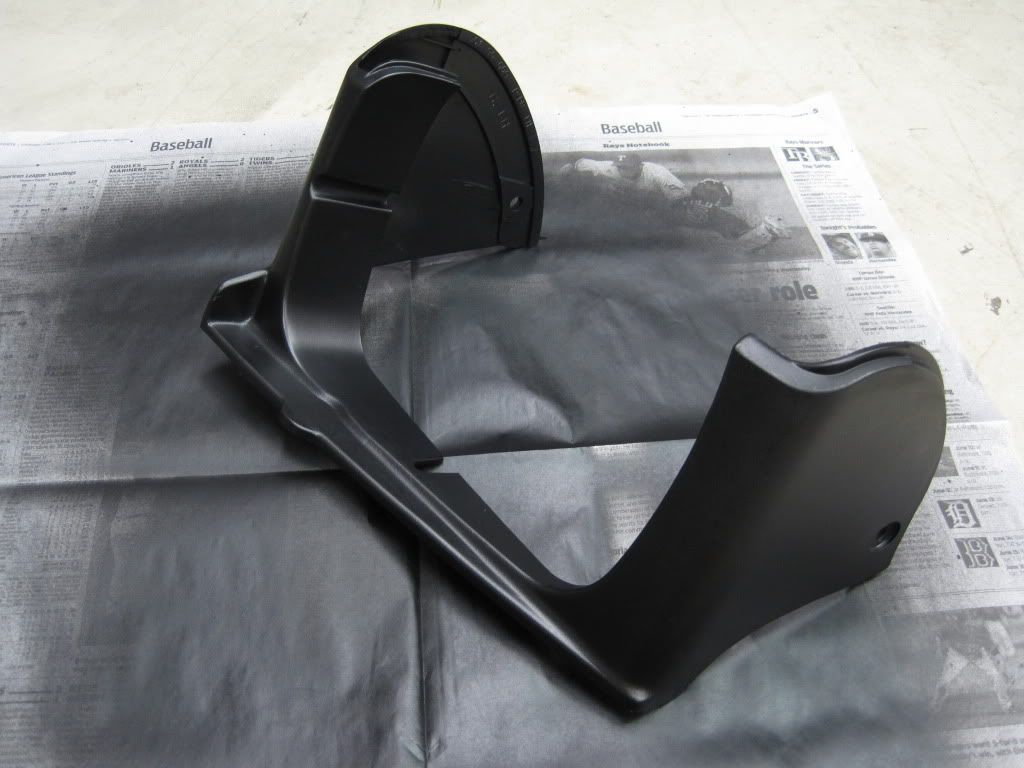
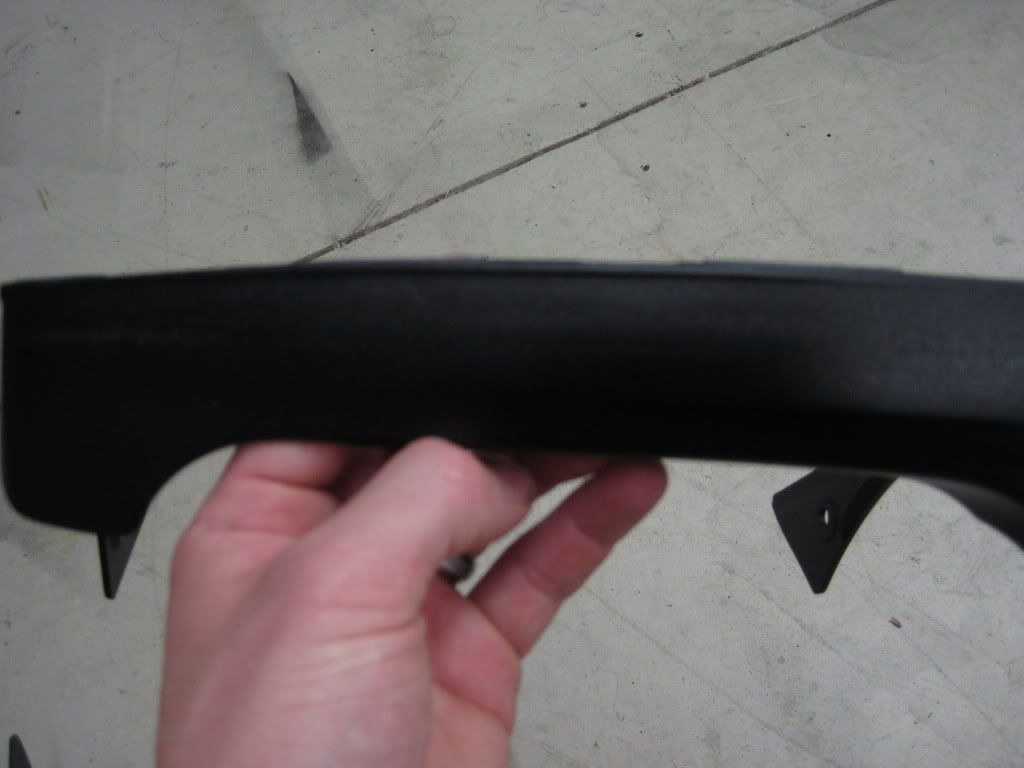
According to the To Do List I made for myself, my efforts should be focused on the dashboard right now. There are problem areas that need to be reinforced, some potential rewiring and then reassembling everything. I'm mulling some things over, so I took a bit of time to paint the headlight surround trim.
Some before shots of the faded nastiness:
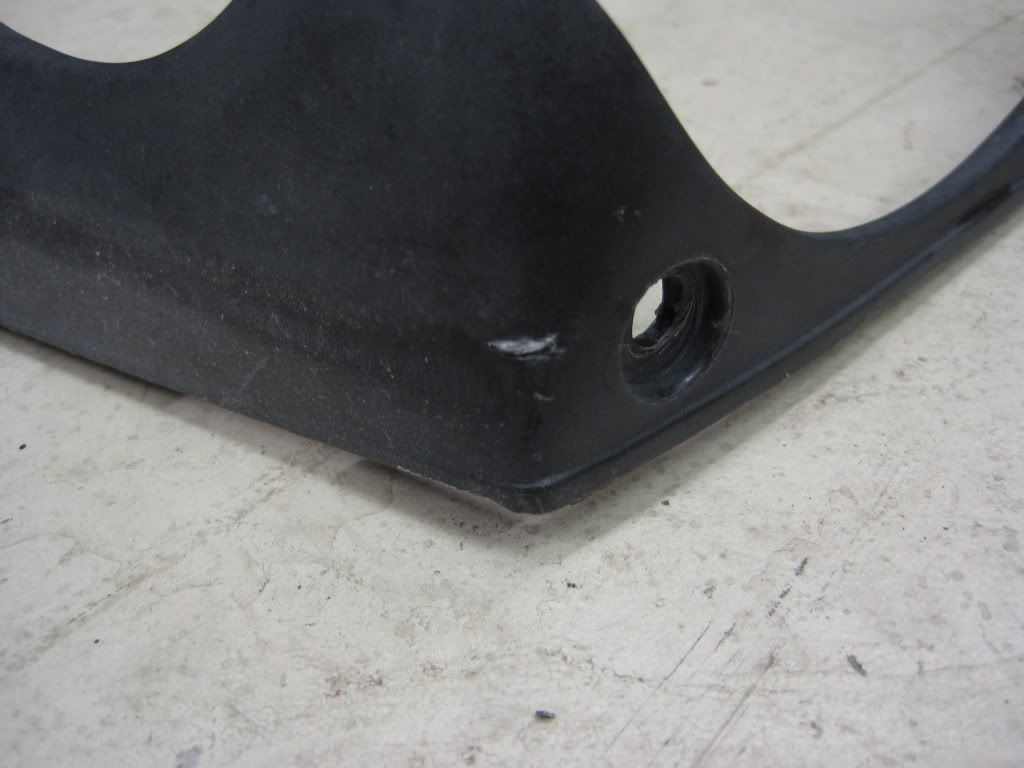
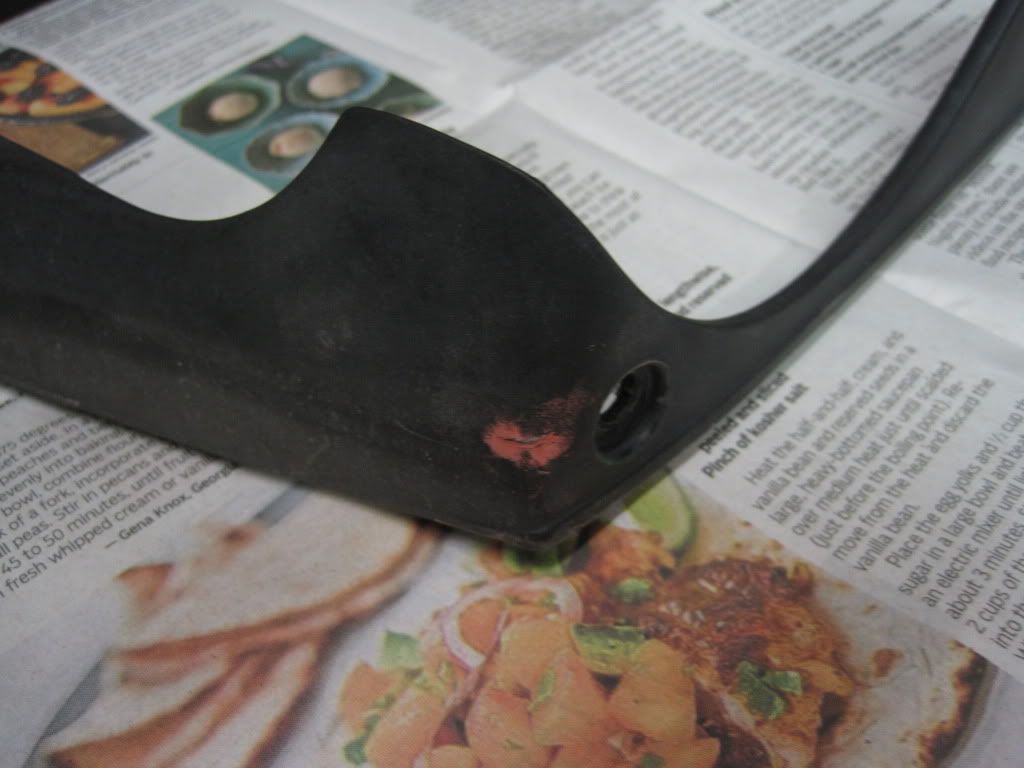
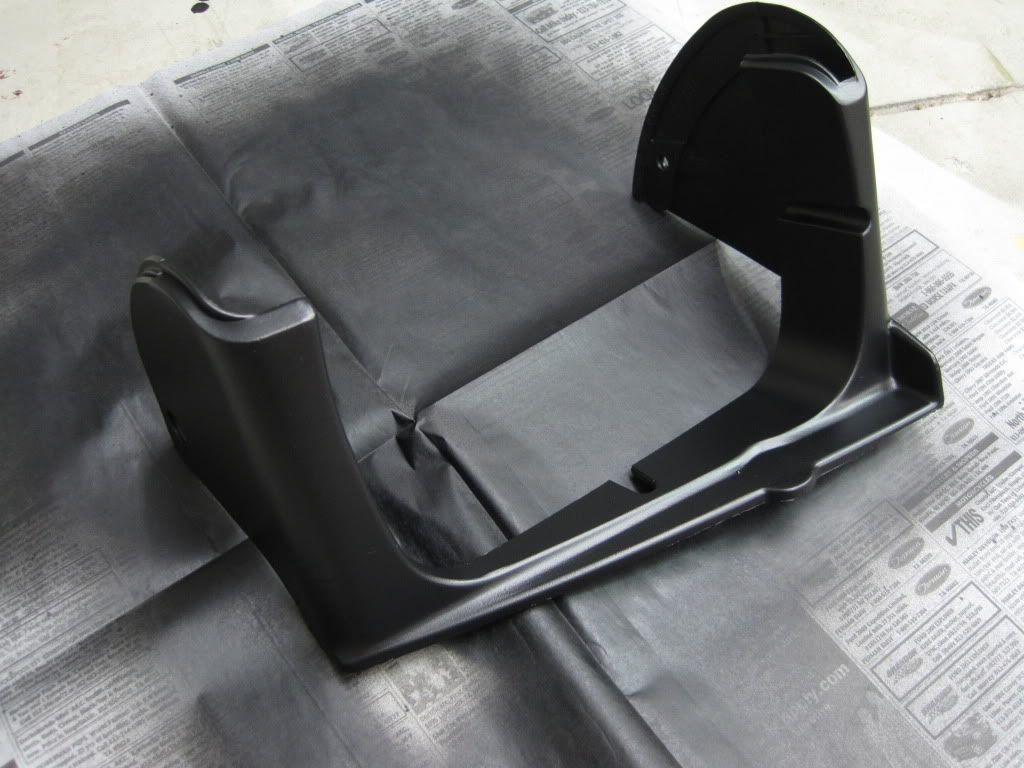
I cleaned everything up with some degreaser and then I took the time to spread some putty in some of the deep gouges on a few pieces:
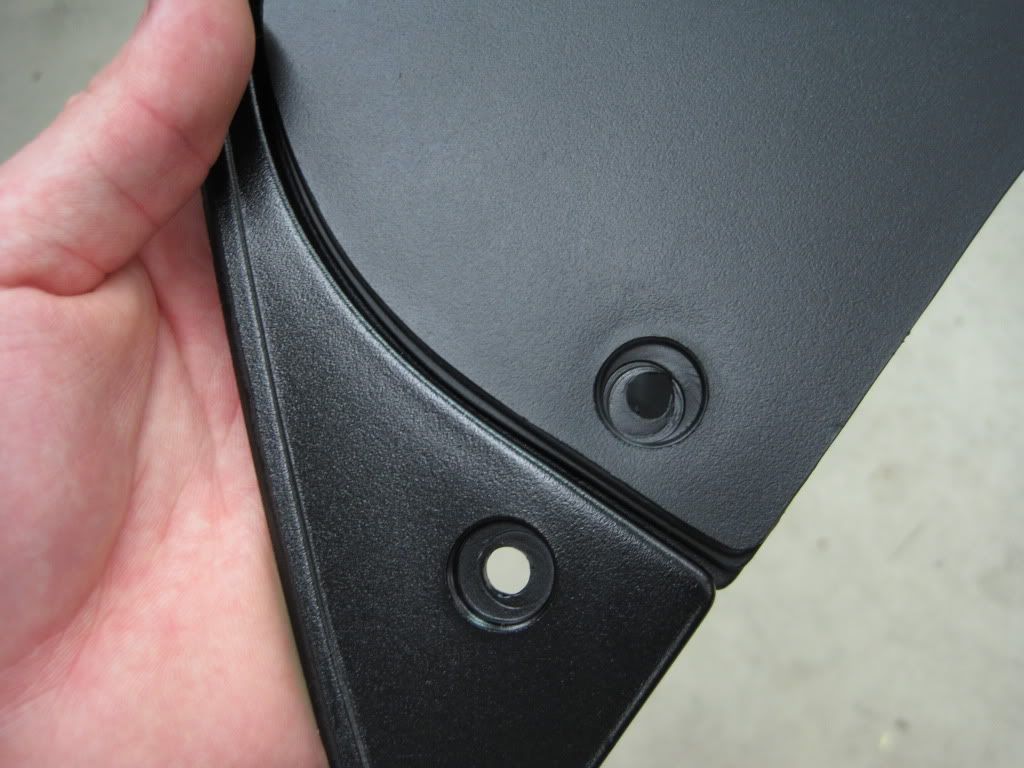
I used Dupli-Color Trim Black, which is a flat black paint meant for moldings, side view mirrors, etc. I was pleased with most of my results. The top pieces on each side need to be redone though. I underestimated just how scratched up they were. A little bit of sanding and some primer and then a repaint is probably in order.
Some before shots of the faded nastiness:
I cleaned everything up with some degreaser and then I took the time to spread some putty in some of the deep gouges on a few pieces:
I used Dupli-Color Trim Black, which is a flat black paint meant for moldings, side view mirrors, etc. I was pleased with most of my results. The top pieces on each side need to be redone though. I underestimated just how scratched up they were. A little bit of sanding and some primer and then a repaint is probably in order.
06-13-11, 02:06 PM
#81
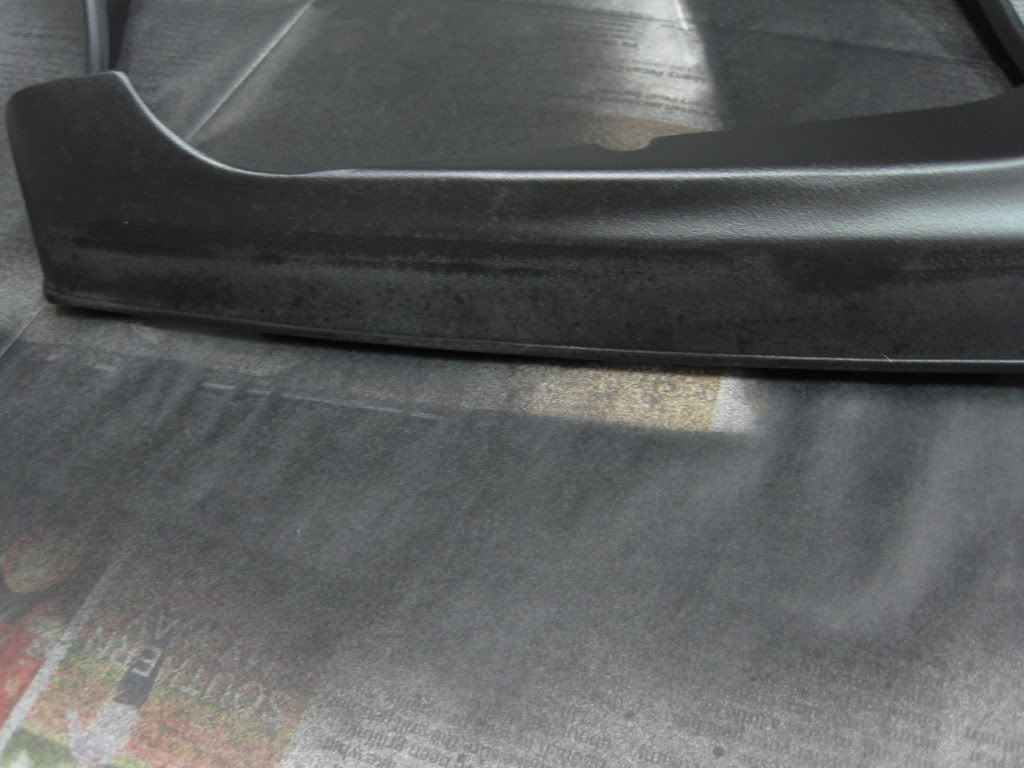
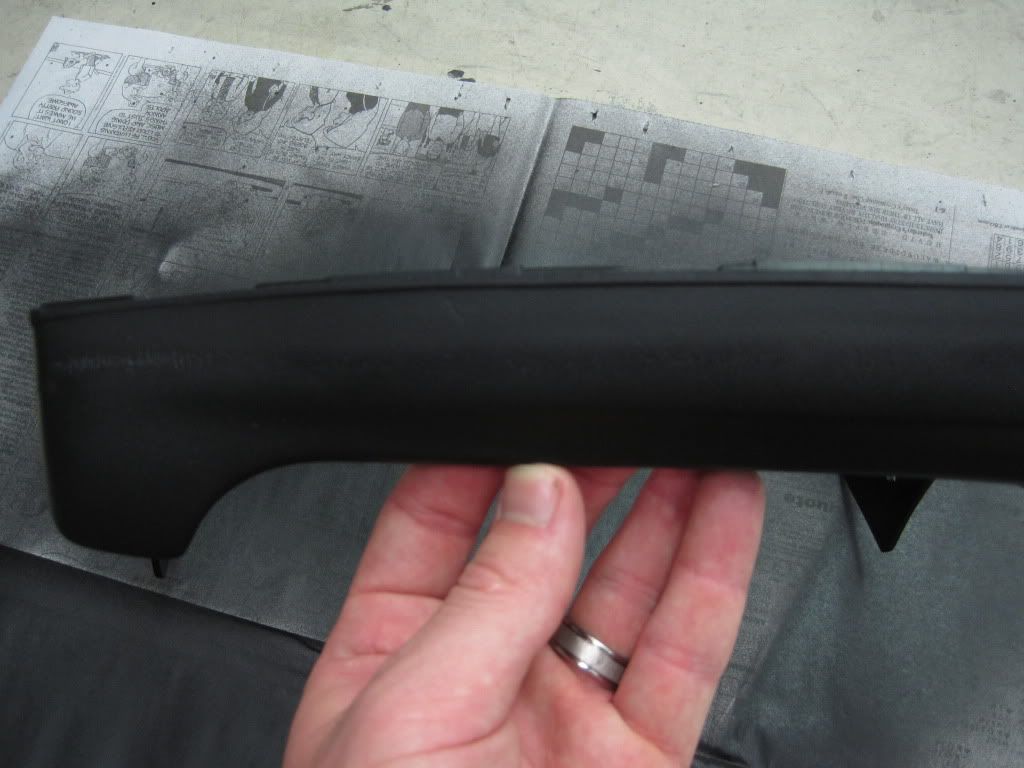
First an update to my last side project. I redid the top headlight trim pieces, but I'm not entirely happy. I think they look better, but now the finish does not match the lower piece. As headlights are on in the dark, and these pieces will not really ever be scrutinized, I will leave well enough alone.
Now on to the next project. If you are not a fan of removing stock wiring and leaving things so that they are not easily returned to a stock configuration, then you may consider what follows a "hack job". In my opinion, the finished result will be a very clean hack job that serves my purposes. As I never (I know, never say never) intend on selling this car, it does not matter anyway. What I am doing is fairly intuitive, but will leave the car's audio system virtually unable to return to stock condition.
Since I refinished the dash frame, I had complete access to the dash harness. Plans for the audio system include an Alpine head unit and four Polk Audio speakers. I will have two front door speakers and two rear shock tower speakers and will forgo the two stock dash speakers. As is customary for many aftermarket systems with a new head unit and speakers, I intend to run new speaker wire. As I wanted things to be clean and easily discernible, I wanted different color wire for each speaker. That led me to buy this:
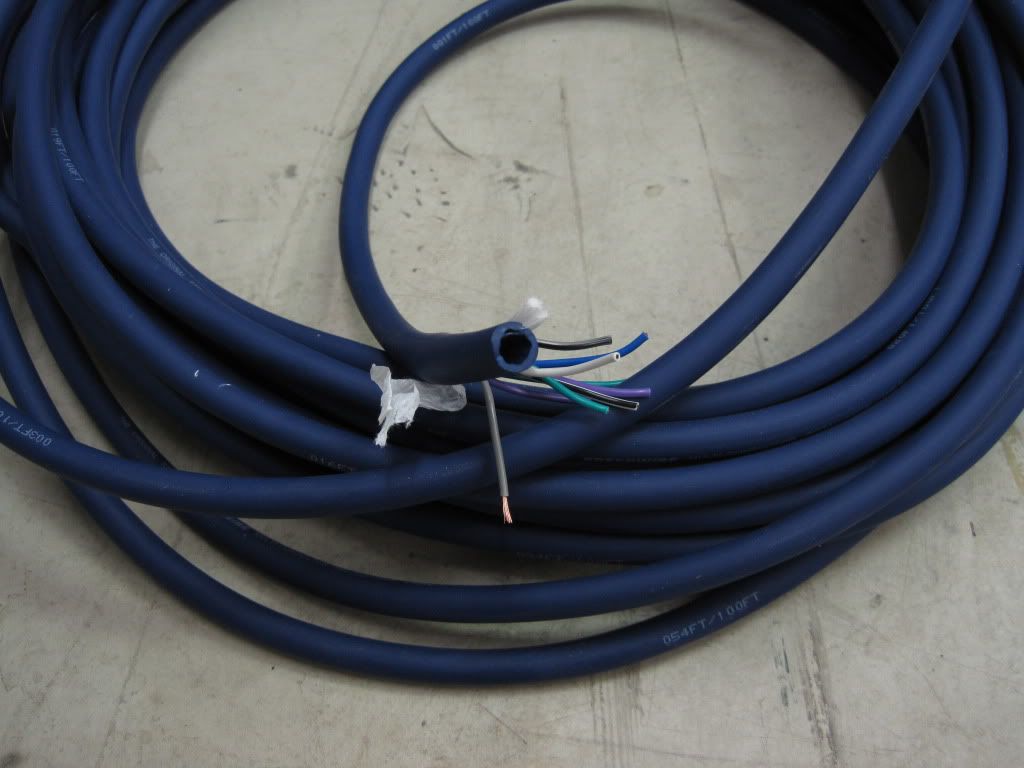
It's nine conductor amp hookup wire. The outer insulation is easily stripped off, leaving me with industry standard color coding for my new speaker wire.
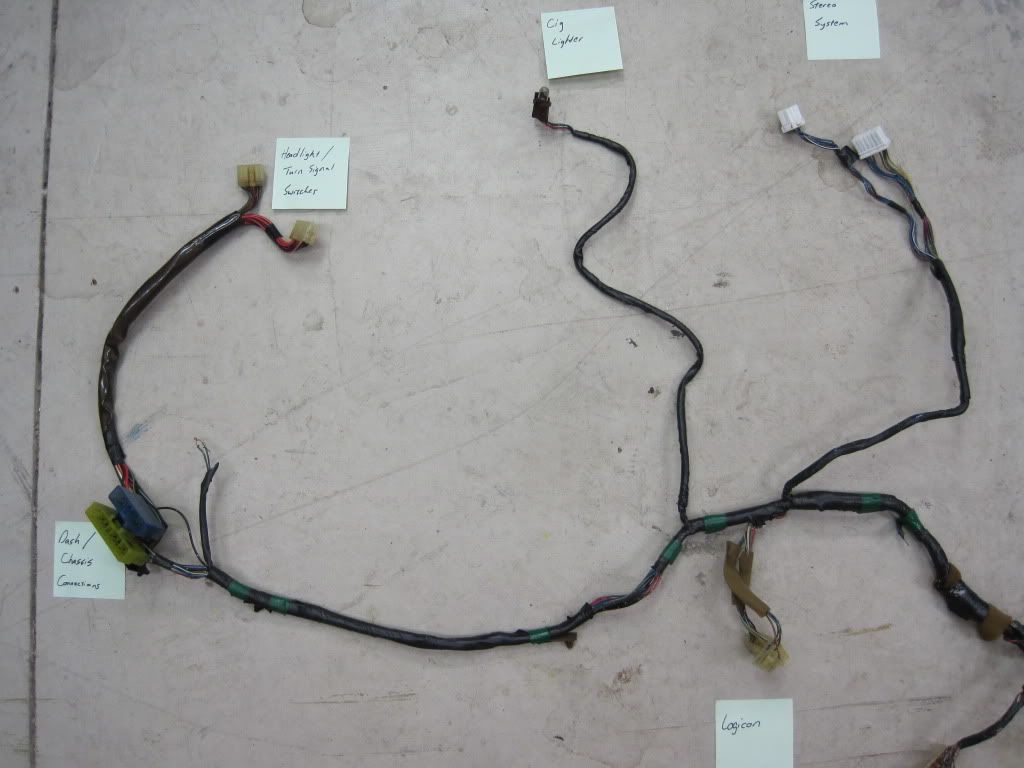
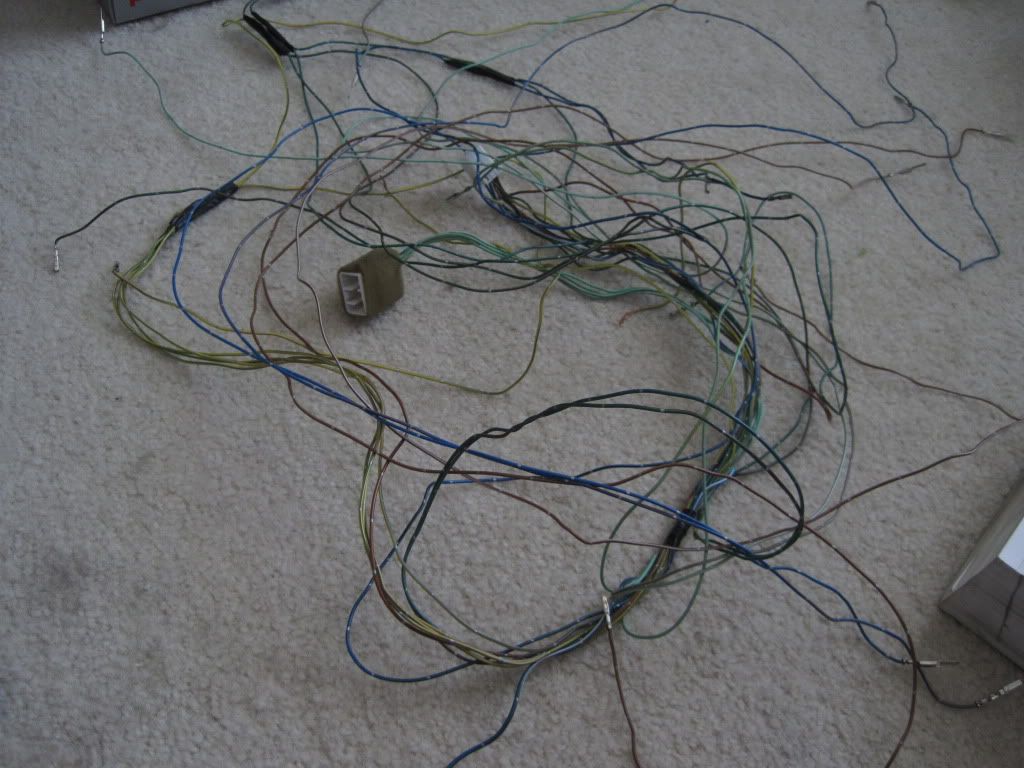
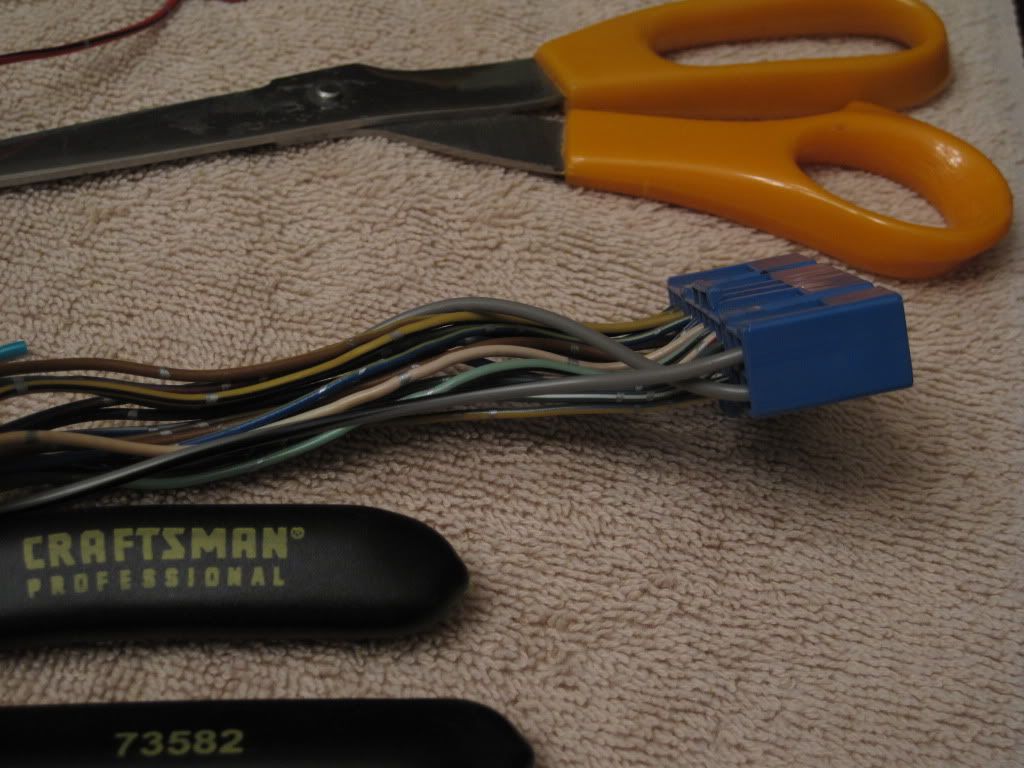
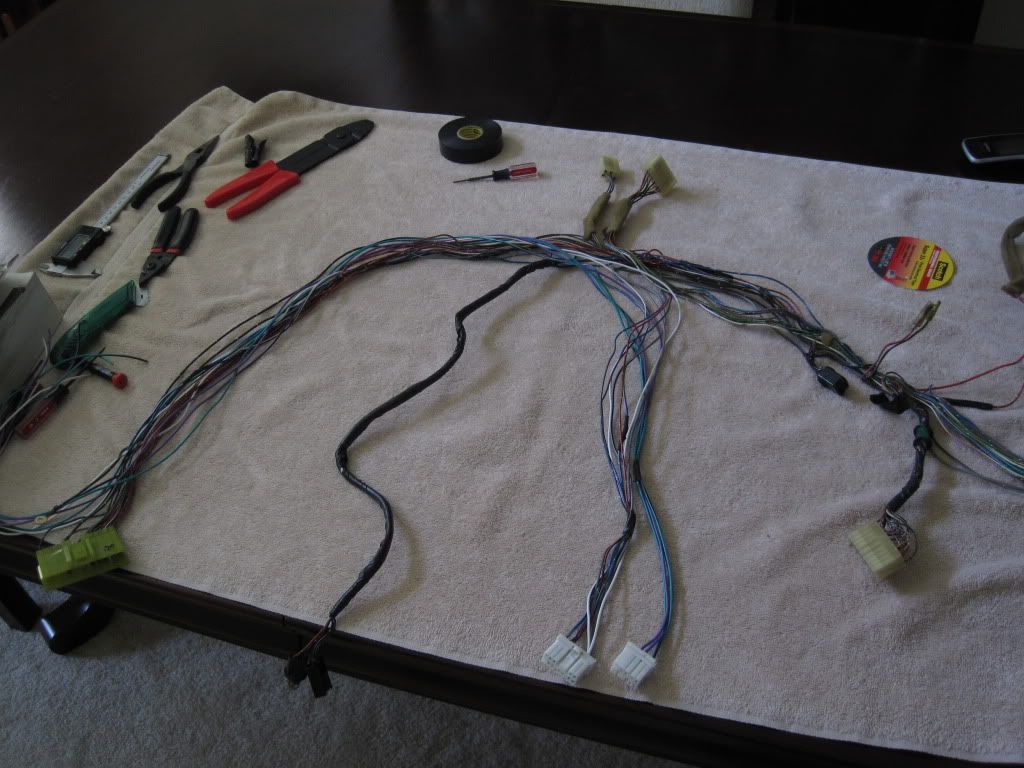
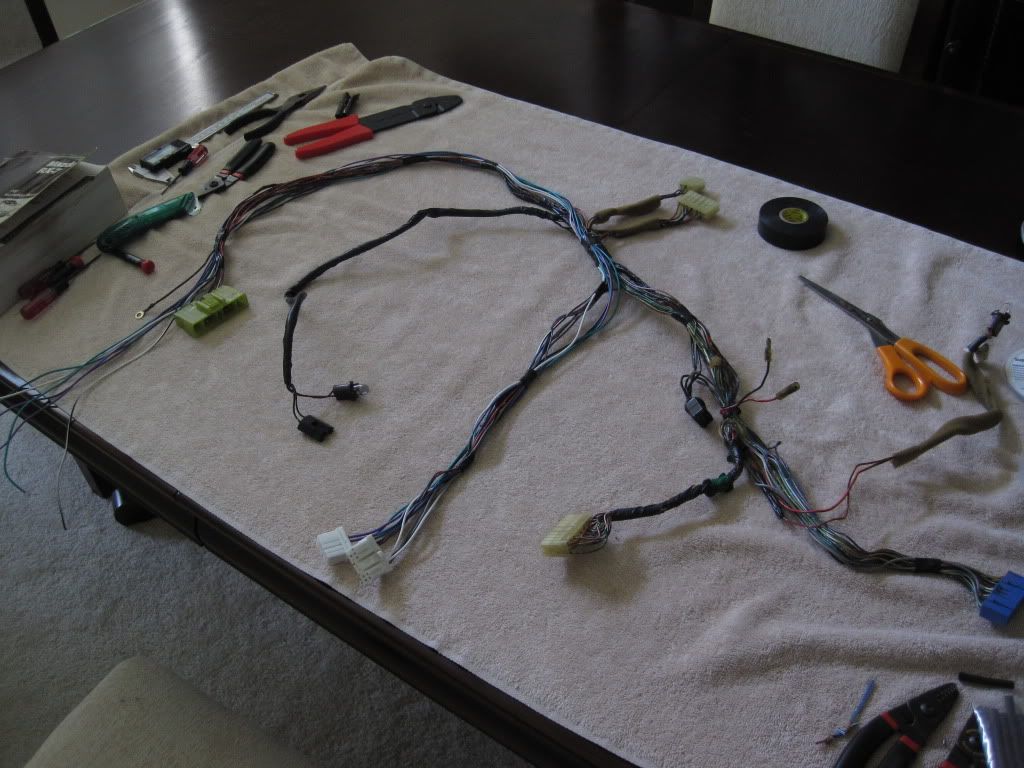
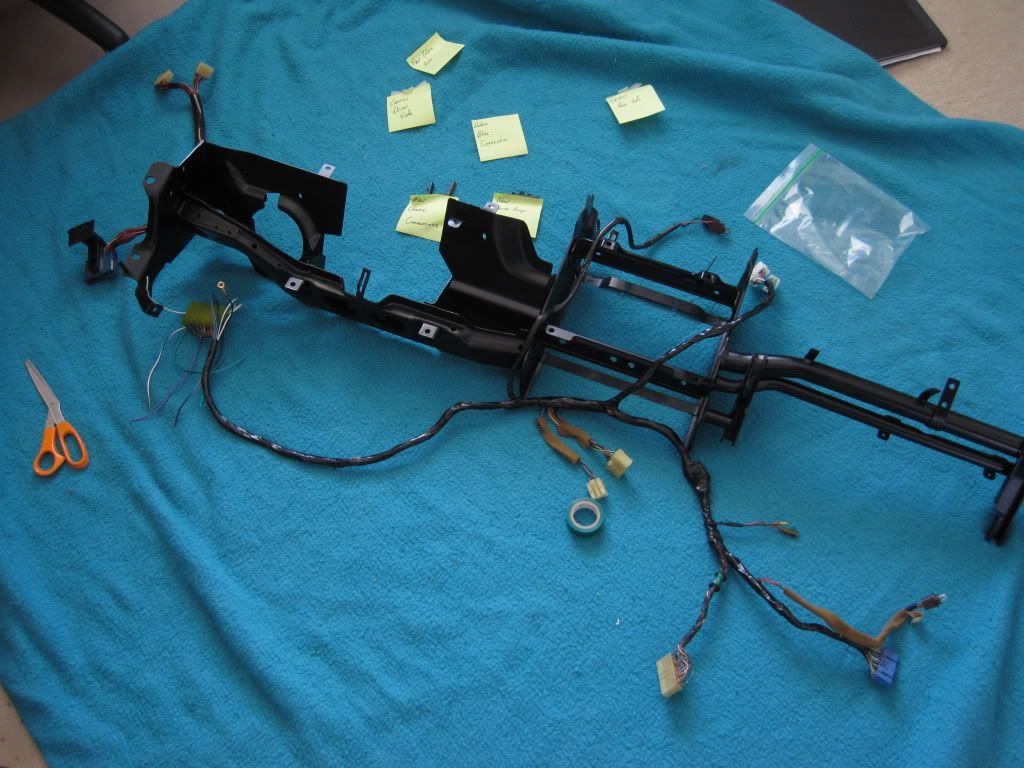
Back to the dash harness. This was the harness as I removed it from the frame back in February:

As I will be ditching the stock amplifier for the door speakers, that leaves a lot of unnecessary wire and connectors on the dash harness. Yes, the amp can just be removed and the connectors plugged into one another, but I still don't like unnecessary things, especially when I intend to run new speaker wire.
The initial goal was to be a completely clean installation of new speaker wire by integrating it into the stock connectors. However, there are a couple of different sized terminals used on the wires' run to the speakers on those stock connectors, and some of these proved difficult to source. So, for a semi clean installation, I will pull all of the old speaker wire out of the dash harness and replace with new. The terminals for the connectors at the factory stereo are easy to source and were ordered today.
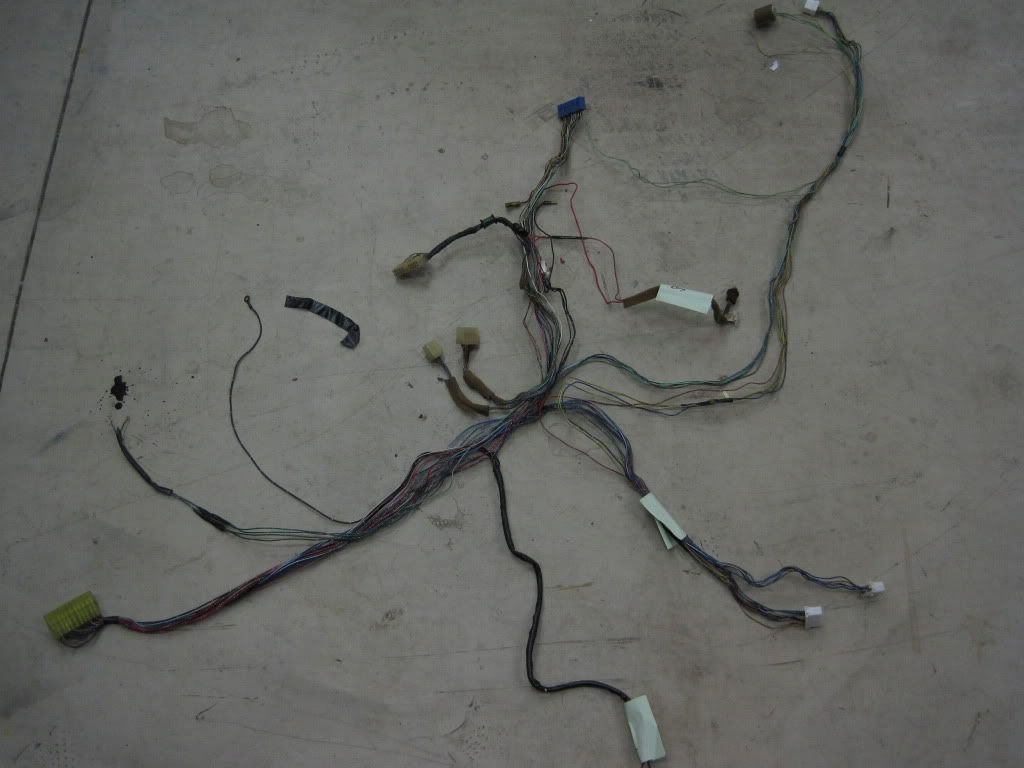
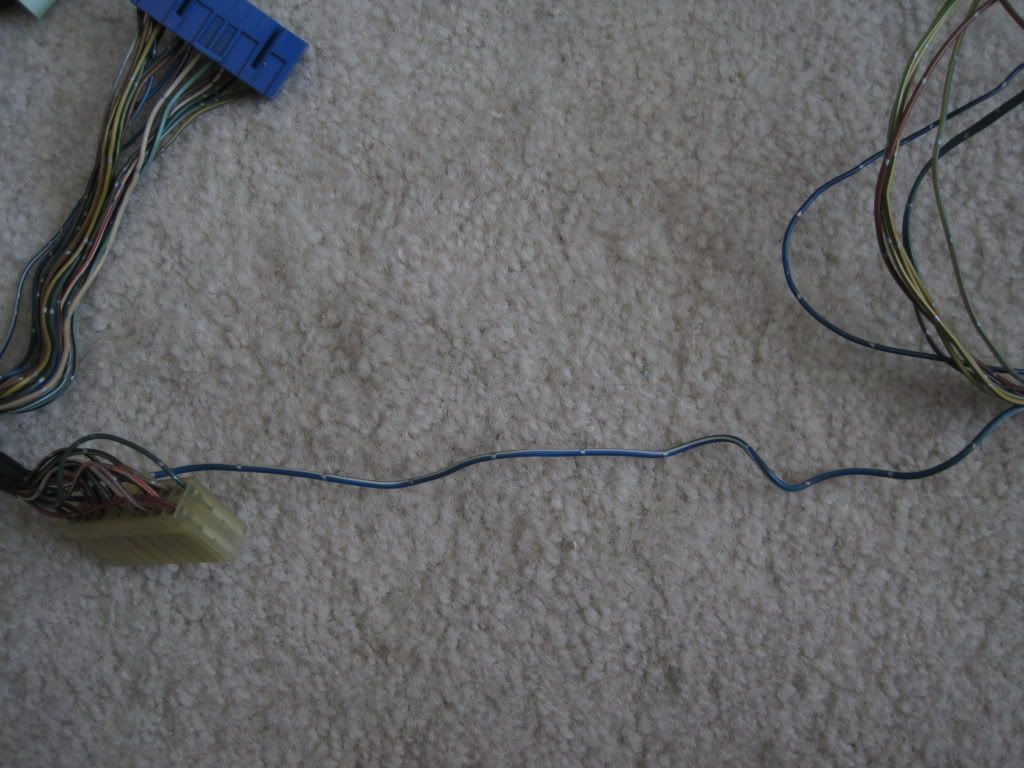
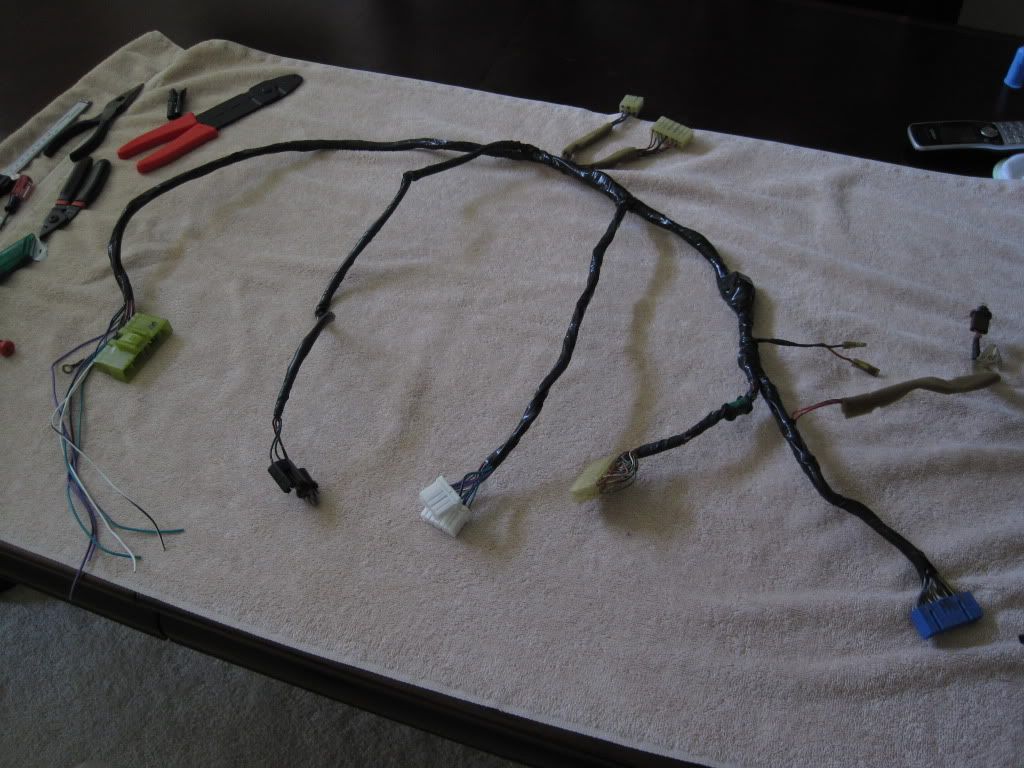
Here is the dash harness after unwrapping the factory tape. It's a little disheveled as I have transported it from garage to house a few times. No worries as I have pictures and can use them as reference if I forget the correct grouping.
Now on to the next project. If you are not a fan of removing stock wiring and leaving things so that they are not easily returned to a stock configuration, then you may consider what follows a "hack job". In my opinion, the finished result will be a very clean hack job that serves my purposes. As I never (I know, never say never) intend on selling this car, it does not matter anyway. What I am doing is fairly intuitive, but will leave the car's audio system virtually unable to return to stock condition.
Since I refinished the dash frame, I had complete access to the dash harness. Plans for the audio system include an Alpine head unit and four Polk Audio speakers. I will have two front door speakers and two rear shock tower speakers and will forgo the two stock dash speakers. As is customary for many aftermarket systems with a new head unit and speakers, I intend to run new speaker wire. As I wanted things to be clean and easily discernible, I wanted different color wire for each speaker. That led me to buy this:
It's nine conductor amp hookup wire. The outer insulation is easily stripped off, leaving me with industry standard color coding for my new speaker wire.
Back to the dash harness. This was the harness as I removed it from the frame back in February:
As I will be ditching the stock amplifier for the door speakers, that leaves a lot of unnecessary wire and connectors on the dash harness. Yes, the amp can just be removed and the connectors plugged into one another, but I still don't like unnecessary things, especially when I intend to run new speaker wire.
The initial goal was to be a completely clean installation of new speaker wire by integrating it into the stock connectors. However, there are a couple of different sized terminals used on the wires' run to the speakers on those stock connectors, and some of these proved difficult to source. So, for a semi clean installation, I will pull all of the old speaker wire out of the dash harness and replace with new. The terminals for the connectors at the factory stereo are easy to source and were ordered today.
Here is the dash harness after unwrapping the factory tape. It's a little disheveled as I have transported it from garage to house a few times. No worries as I have pictures and can use them as reference if I forget the correct grouping.
06-13-11, 02:07 PM
#82
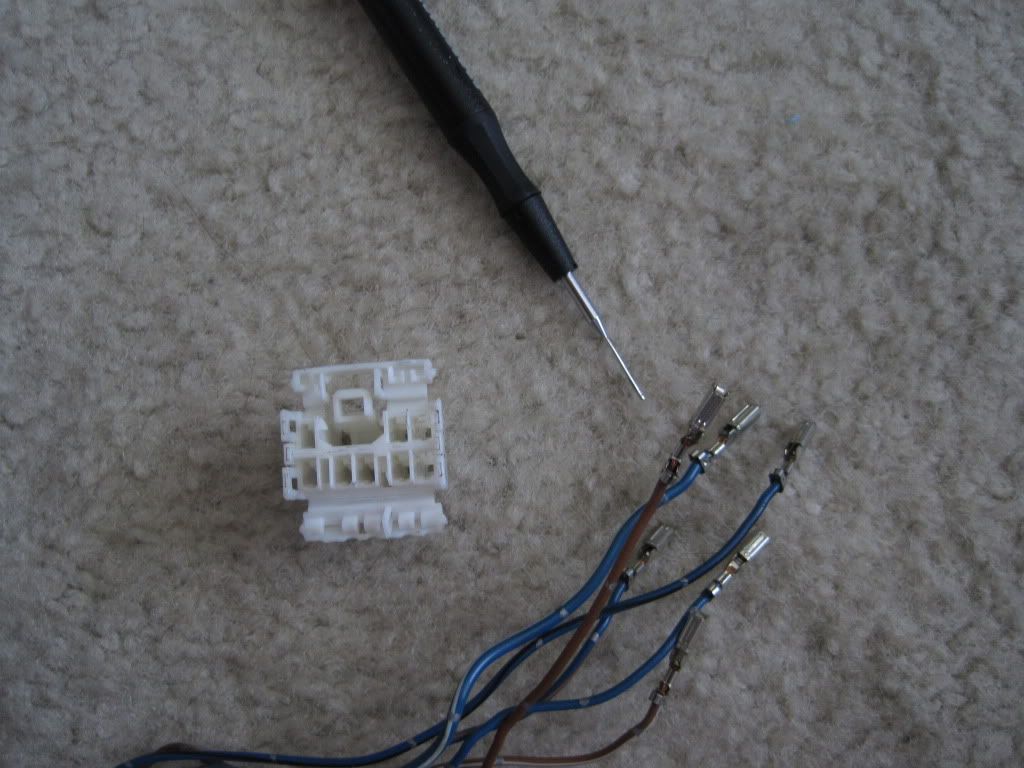
Now, it's time to start removing wires. To avoid having to reference the wiring diagram multiple times, I plugged in the aftermarket connectors and simply used that to jog my memory as to which one was a speaker wire.
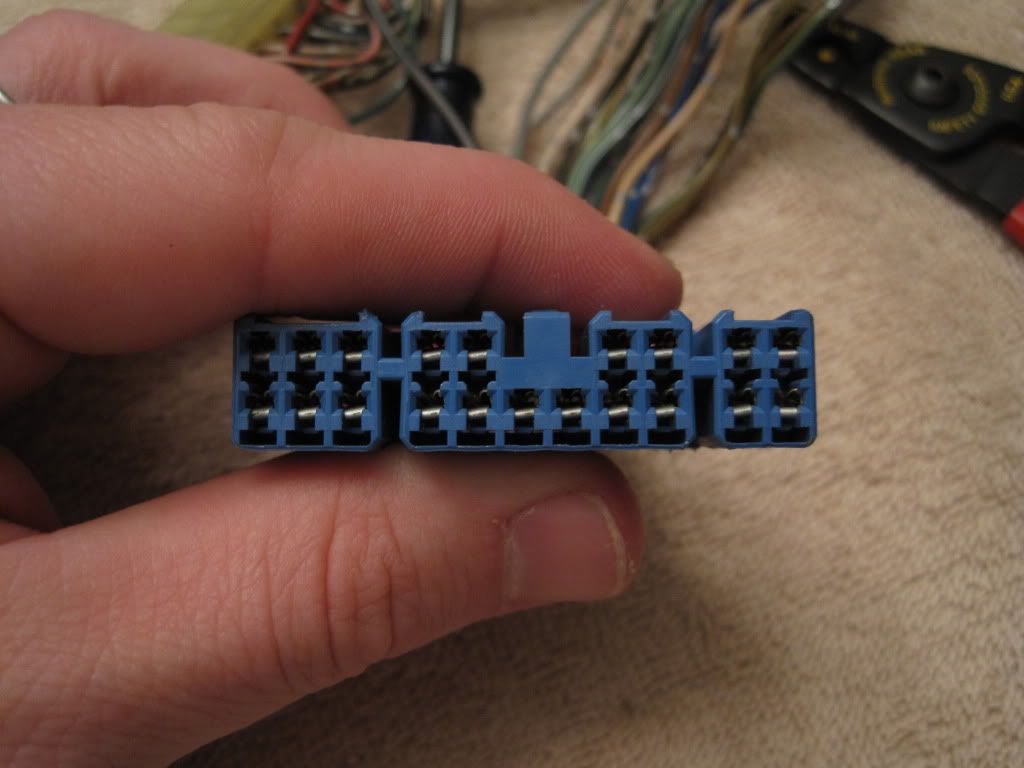
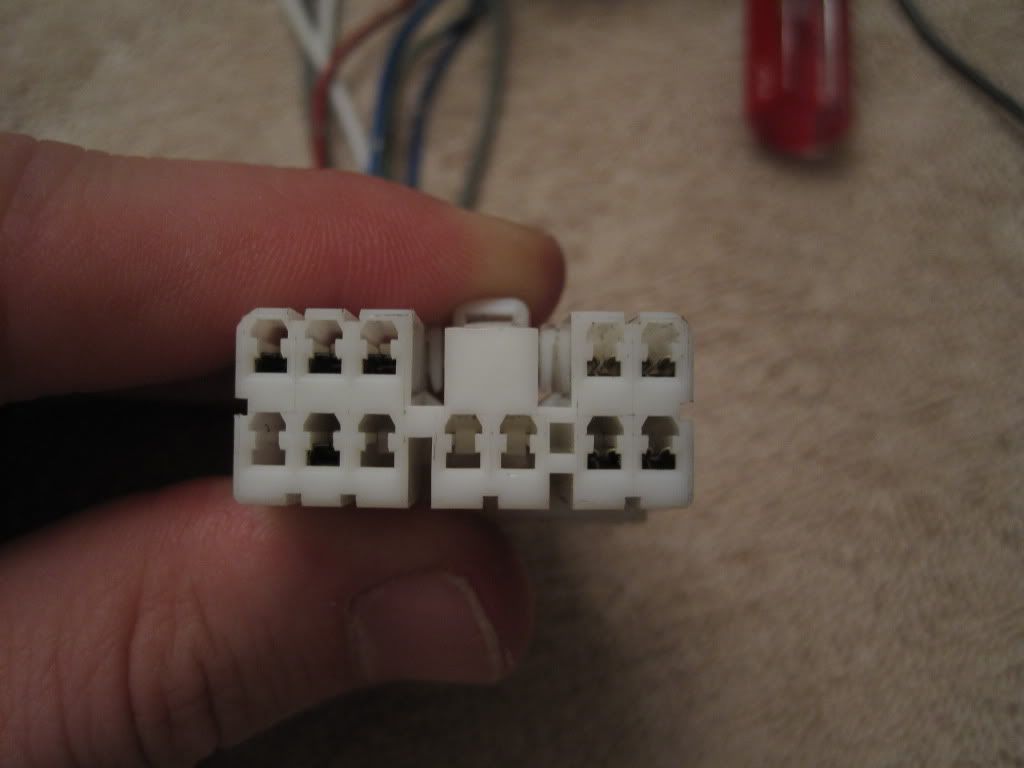
The stock connectors at the stereo need to be disassembled slightly before the terminals can be removed. A couple of tabs and some dexterous work with a screwdriver and your hands, and you end up with this:
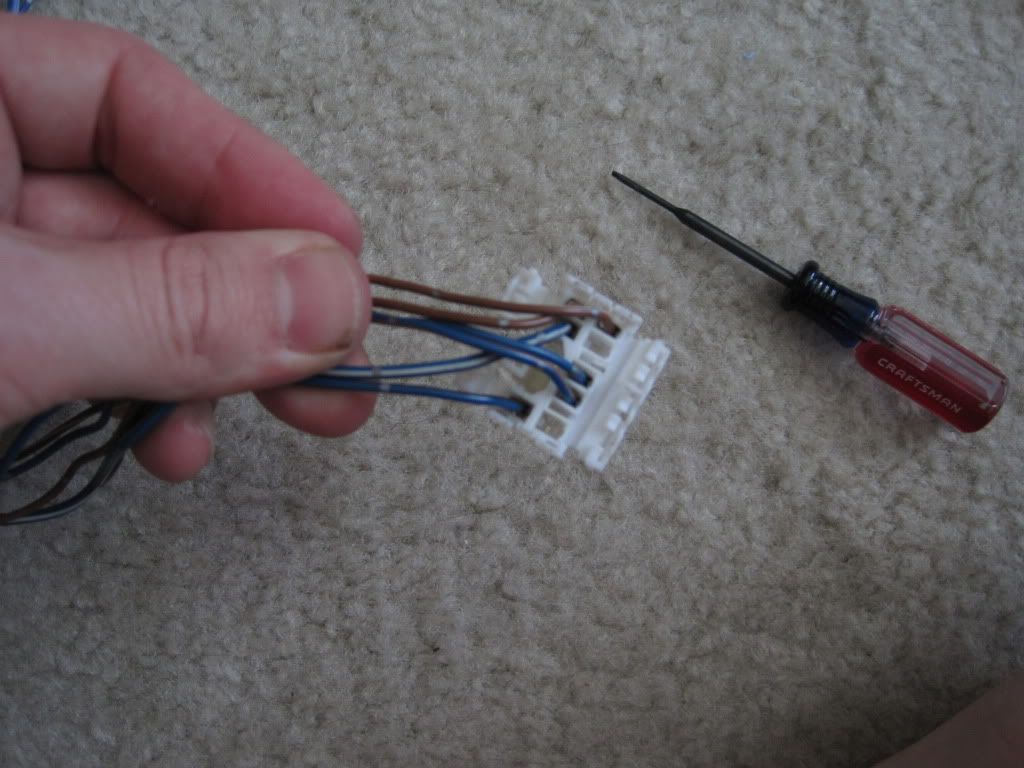
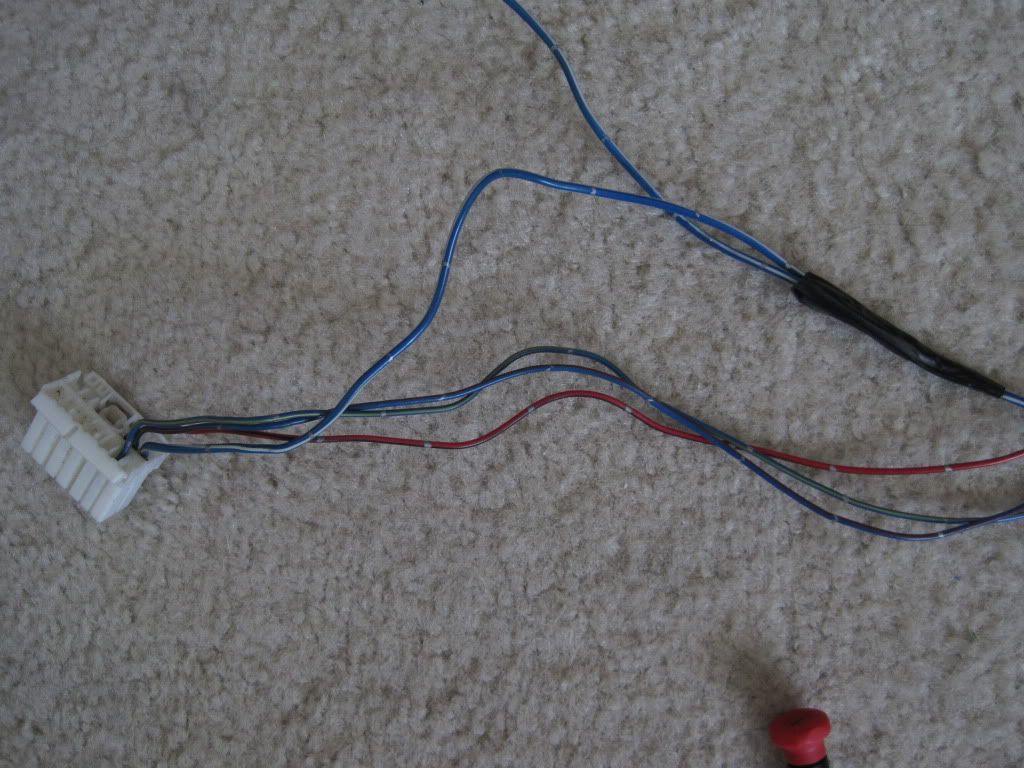
The picture on top is the connector for the Acoustic Equilibration System on the factory stereo, labeled J-02 on factory wiring diagrams, and the bottom picture is the connector for the stock head unit, labeled J-01. Aside from the speaker wires themselves, all other wiring on connector J-02 is useless in an aftermarket head unit installation. I removed them all.
On to the next connector, J-01. What I removed here is the four speaker wires, Y/L, Y/G, G/L, and G/R, and the amp turn on wire which is BR/R. The speaker wires are spliced along the dash harness, one leads to a dash speaker, one to the stock amp. I could have left the amp turn on wire there, but I don't know if or where I will have a four channel amp in my set up. Alpine makes a "mini" amp that simply installs between the head unit and factory wire harness that has pretty good reviews for people who just want moderate power out of their audio system. I may go with that.
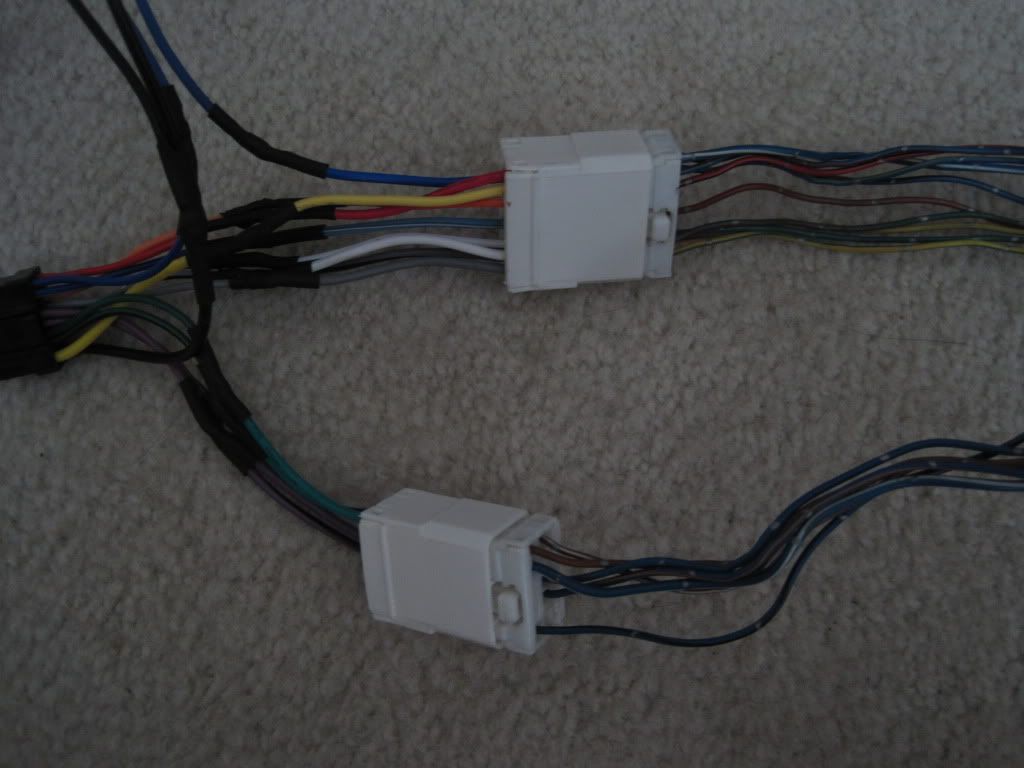
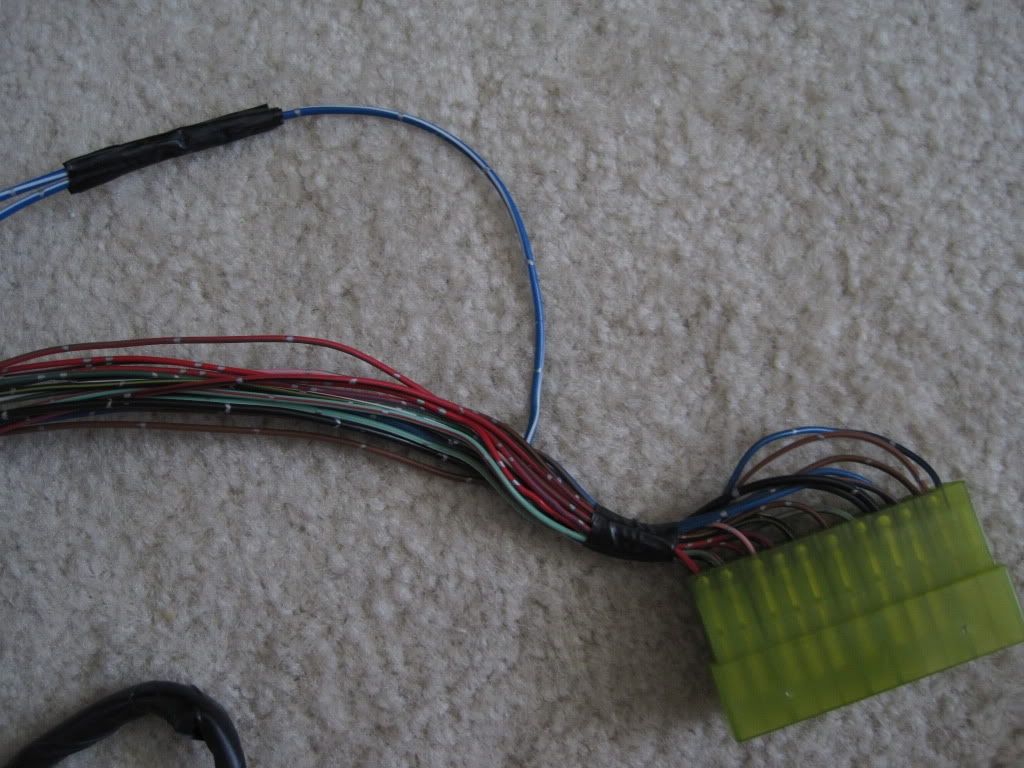
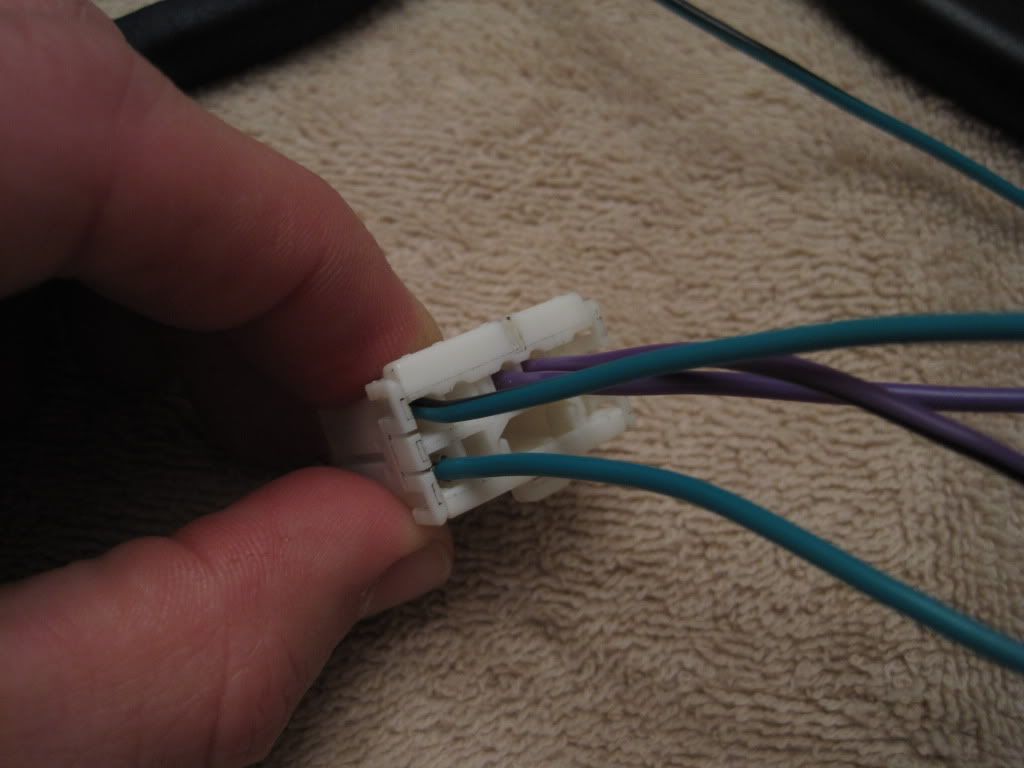
The unnecessary wiring is almost ready to be removed. Six wires need to be removed from connector X-20, a translucent green connector on the driver's side of the dash. They are easy to just trace from the amp wiring, but they were LG/R, LG/W, BR, BR/W, L and L/O. They are the wires for both rear speakers and the driver's side door speaker. Two wires also needed to be removed from connector X-19, a blue connector above the evaporator. They were a LG and a LG/Y for the front door speaker.
Connector X-20:
Connector X-19 (top left):
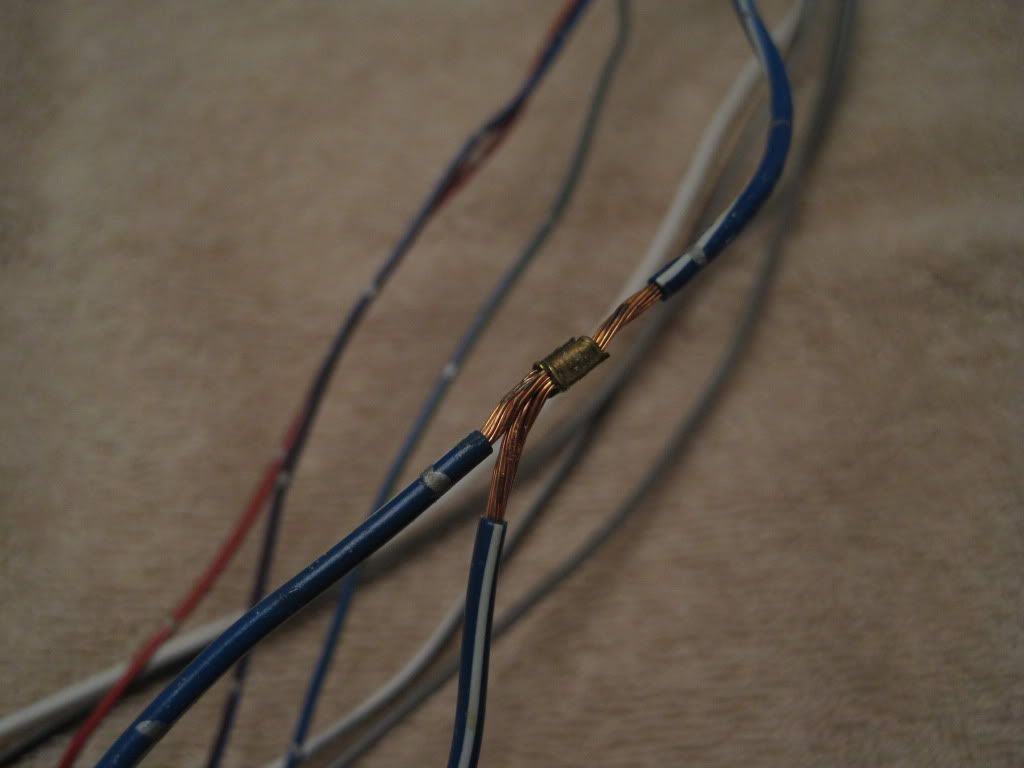
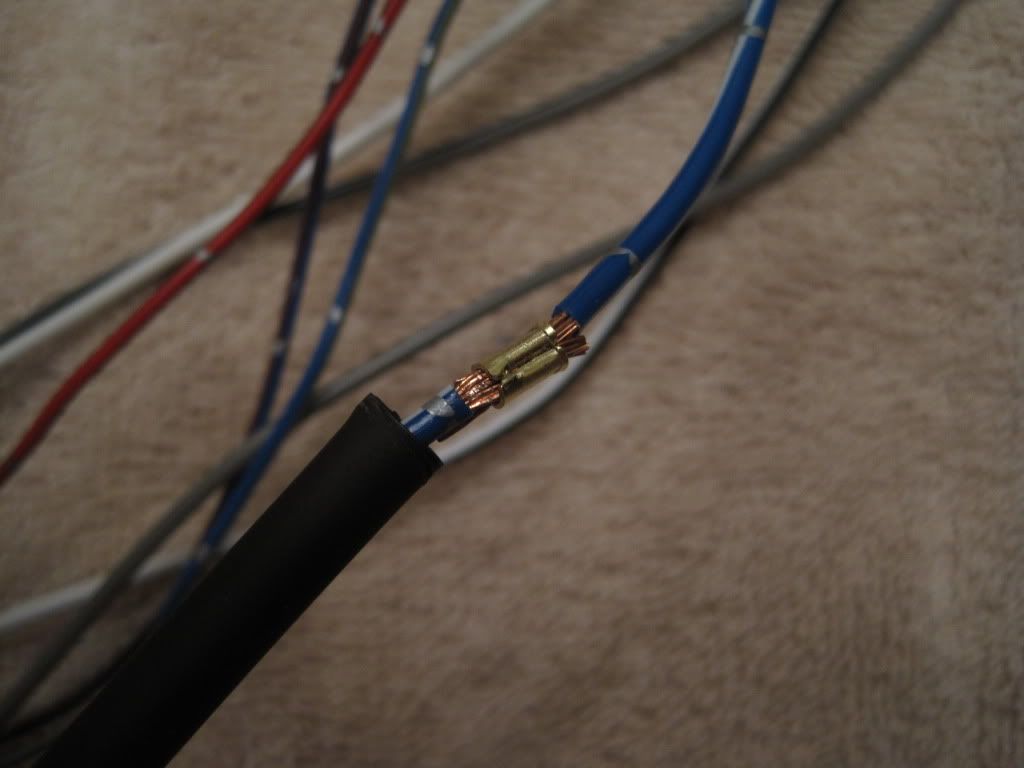
One thing to note about connector X-20. The L/W wire is immediately spliced coming out of the connector. One leads to connectors J-01 and J-02 (it is spliced again before reaching these connectors) to provide power to both the stock head unit and AES. The other leads to the stock amp. At this point, it is the only thing connecting the unnecessary wiring to the rest of the stock dash harness.
I cut it at the splice for the time being and will take care of that at a later date. The same goes for the L/W wire at J-02 that is now unnecessary with my setup.
After I was done, here is what was removed. It will go in a box for safe keeping in case "never" comes along.
The stock connectors at the stereo need to be disassembled slightly before the terminals can be removed. A couple of tabs and some dexterous work with a screwdriver and your hands, and you end up with this:
The picture on top is the connector for the Acoustic Equilibration System on the factory stereo, labeled J-02 on factory wiring diagrams, and the bottom picture is the connector for the stock head unit, labeled J-01. Aside from the speaker wires themselves, all other wiring on connector J-02 is useless in an aftermarket head unit installation. I removed them all.
On to the next connector, J-01. What I removed here is the four speaker wires, Y/L, Y/G, G/L, and G/R, and the amp turn on wire which is BR/R. The speaker wires are spliced along the dash harness, one leads to a dash speaker, one to the stock amp. I could have left the amp turn on wire there, but I don't know if or where I will have a four channel amp in my set up. Alpine makes a "mini" amp that simply installs between the head unit and factory wire harness that has pretty good reviews for people who just want moderate power out of their audio system. I may go with that.
The unnecessary wiring is almost ready to be removed. Six wires need to be removed from connector X-20, a translucent green connector on the driver's side of the dash. They are easy to just trace from the amp wiring, but they were LG/R, LG/W, BR, BR/W, L and L/O. They are the wires for both rear speakers and the driver's side door speaker. Two wires also needed to be removed from connector X-19, a blue connector above the evaporator. They were a LG and a LG/Y for the front door speaker.
Connector X-20:
Connector X-19 (top left):
One thing to note about connector X-20. The L/W wire is immediately spliced coming out of the connector. One leads to connectors J-01 and J-02 (it is spliced again before reaching these connectors) to provide power to both the stock head unit and AES. The other leads to the stock amp. At this point, it is the only thing connecting the unnecessary wiring to the rest of the stock dash harness.
I cut it at the splice for the time being and will take care of that at a later date. The same goes for the L/W wire at J-02 that is now unnecessary with my setup.
After I was done, here is what was removed. It will go in a box for safe keeping in case "never" comes along.
 06-19-11, 10:51 PM
#86
One more little side project and then back to dash harness wiring.
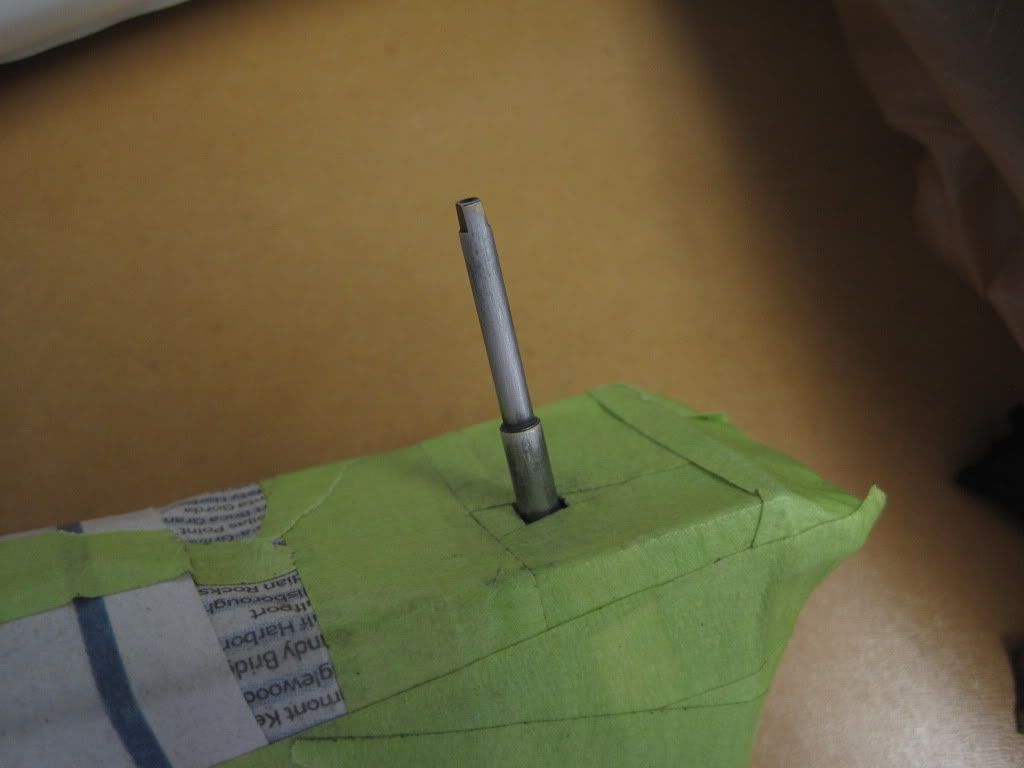
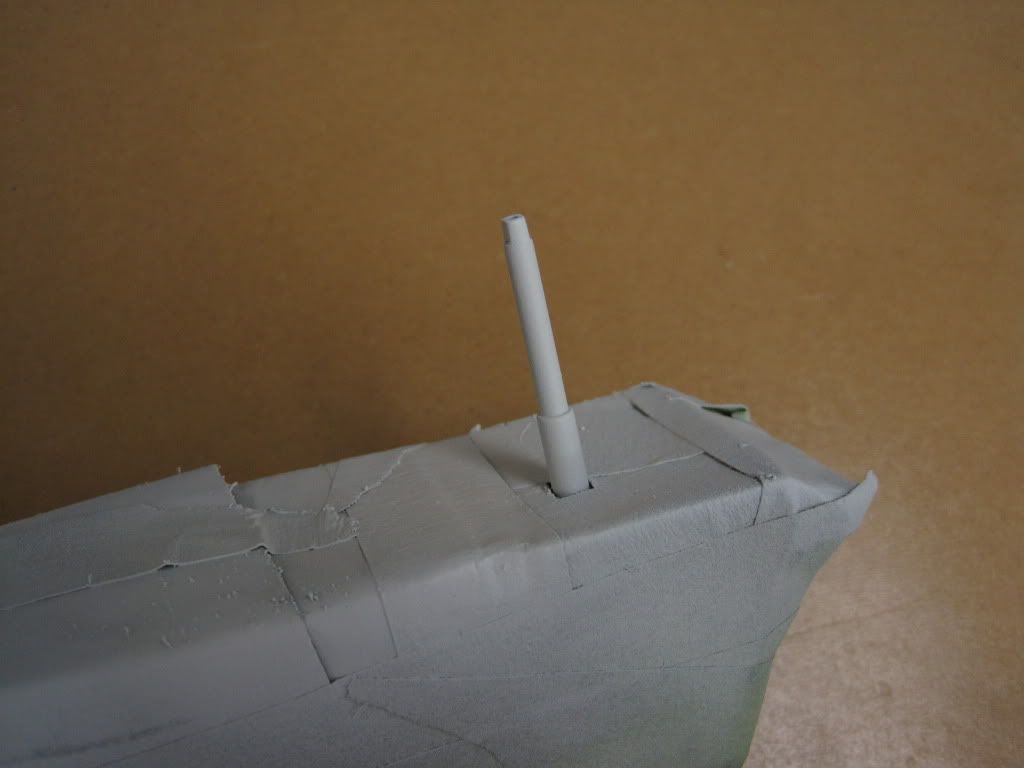
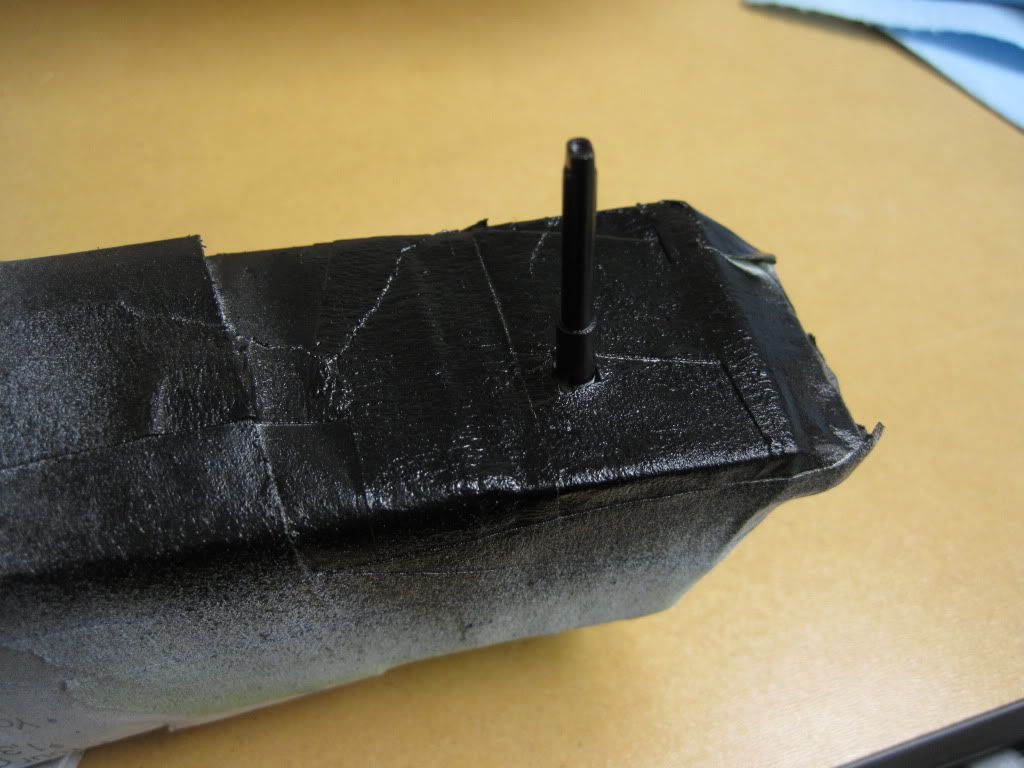
I took the warning light cluster apart and ages ago (probably a couple months) installed new bulbs. I put it all back together and noticed there was some corrosion on the clock reset ****. So, I stripped it down, and then layed down some self etching primer, regular primer, and finally some trim black. It looks good enough that I just might have to give the same treatment to the odometer reset **** for symmetry.
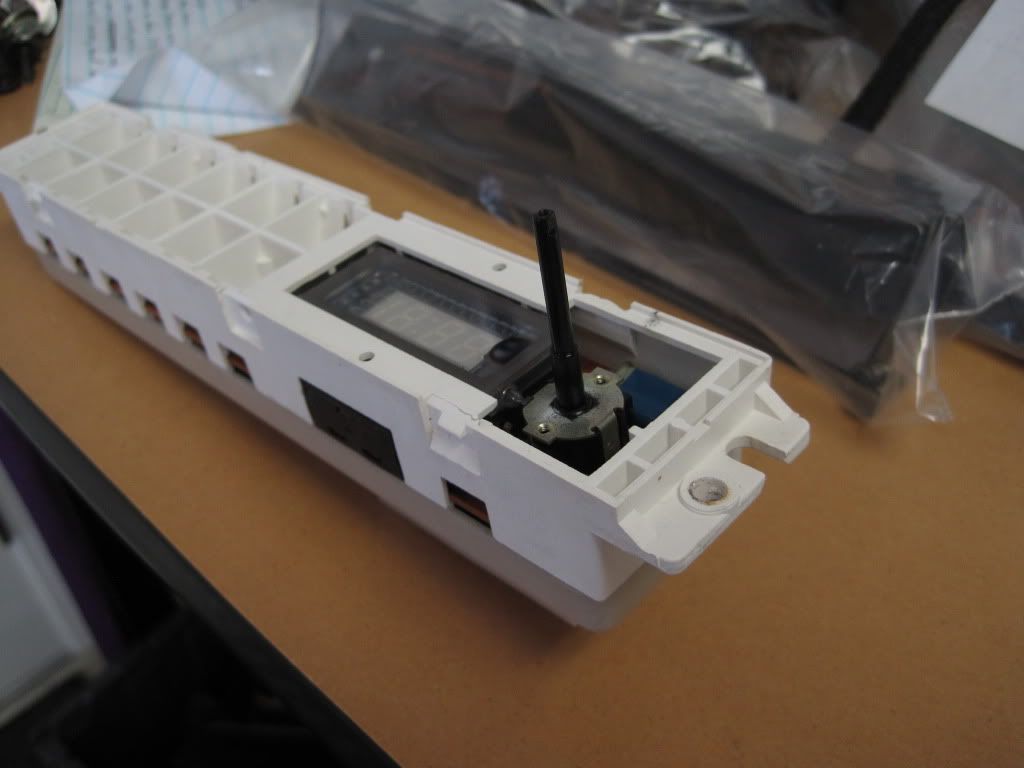
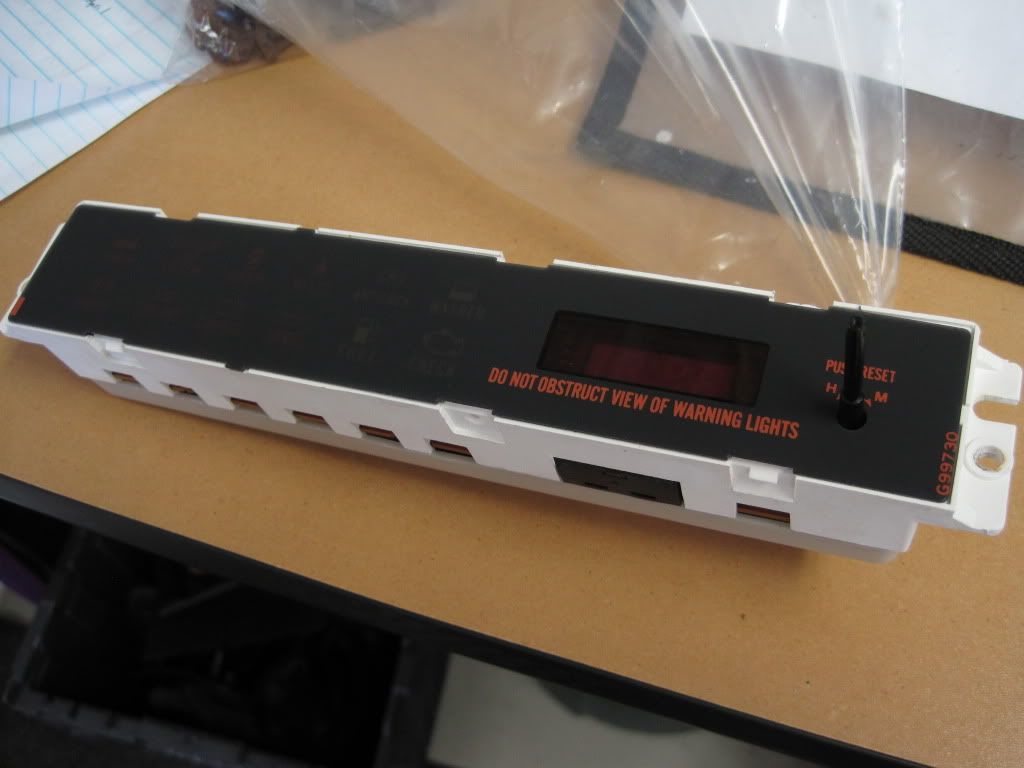
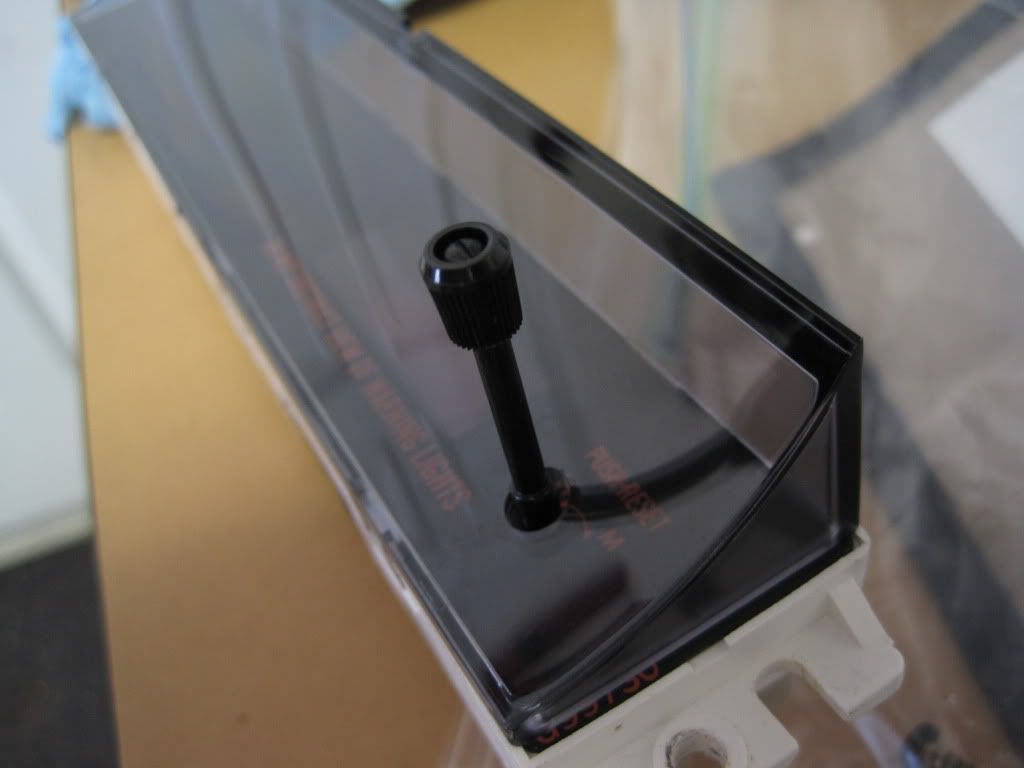
I took the warning light cluster apart and ages ago (probably a couple months) installed new bulbs. I put it all back together and noticed there was some corrosion on the clock reset ****. So, I stripped it down, and then layed down some self etching primer, regular primer, and finally some trim black. It looks good enough that I just might have to give the same treatment to the odometer reset **** for symmetry.
06-19-11, 11:48 PM
#88

And I'm not even done for the night!
My package of electrical connectors and terminals arrived very quickly, especially considering it was shipped from Japan. I ordered on Monday and if I would have been home to sign for it, I would have had it Friday. I was able to pick it up Saturday and did some wiring tonight.
I took over the dining room table for the evening, and for anyone wondering, yes, my wife gave me permission.
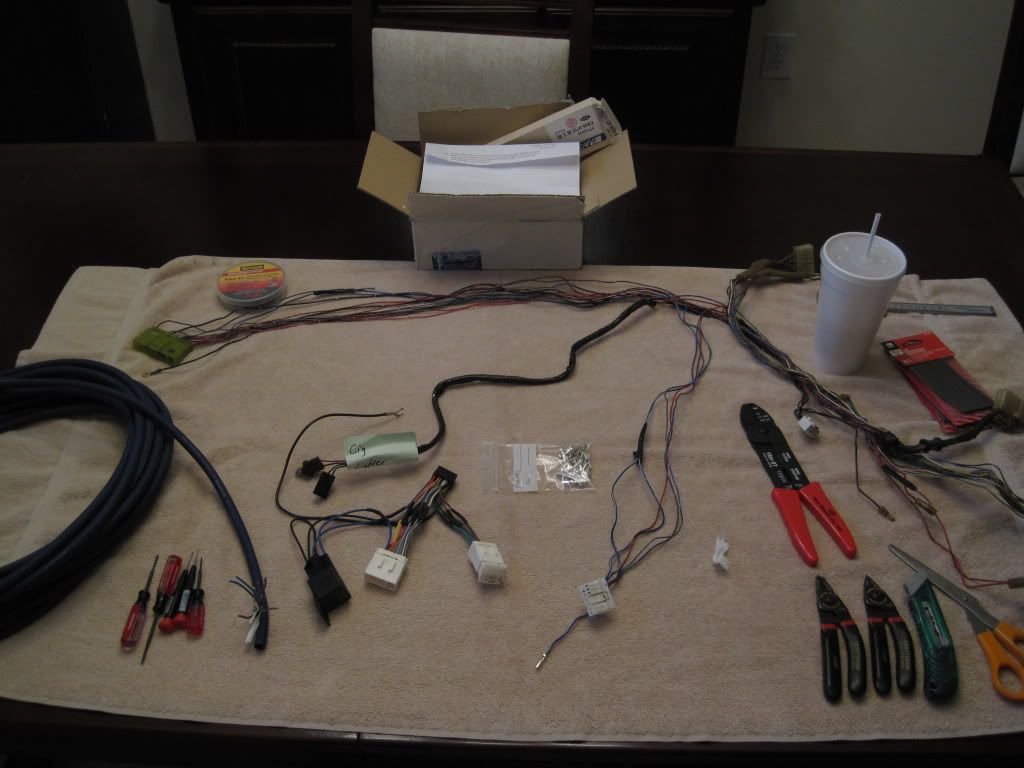
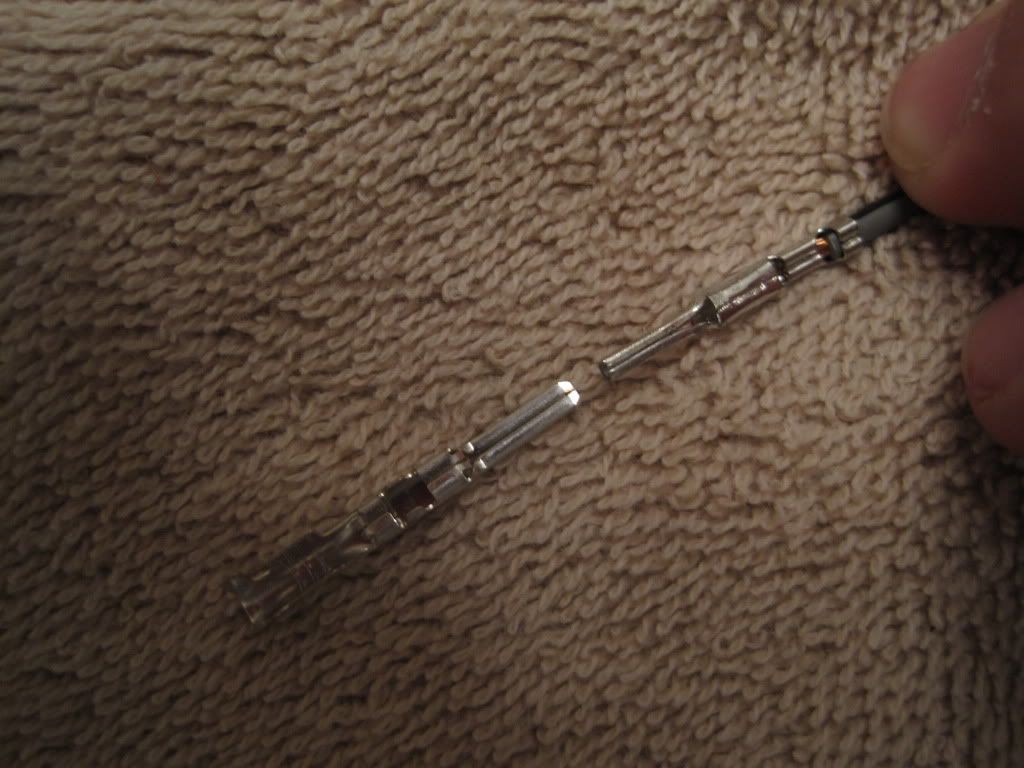
I'm using Sumitomo 0.090" terminals that I got from Eastern Beaver. These terminals are not an exact match, but the closest available, and with a little finesse, fit inside the stock stereo connector shells. They fit in other shells much easier and are pretty much a direct swap.
Here is the first wire and terminal ready for crimping and then the crimp. This was my first crimp and I had an excellent case of beginner's luck. I ended up wasting around six terminals throughout the evening until I think I got the hang of it.
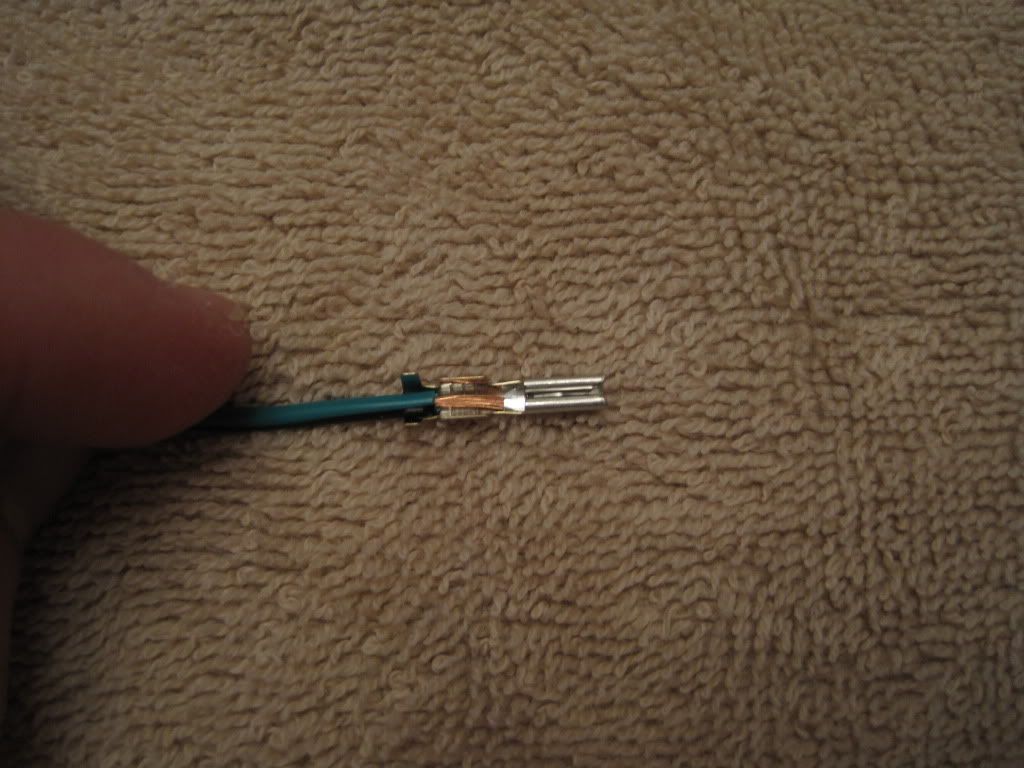
And slid inside a stock connector shell:
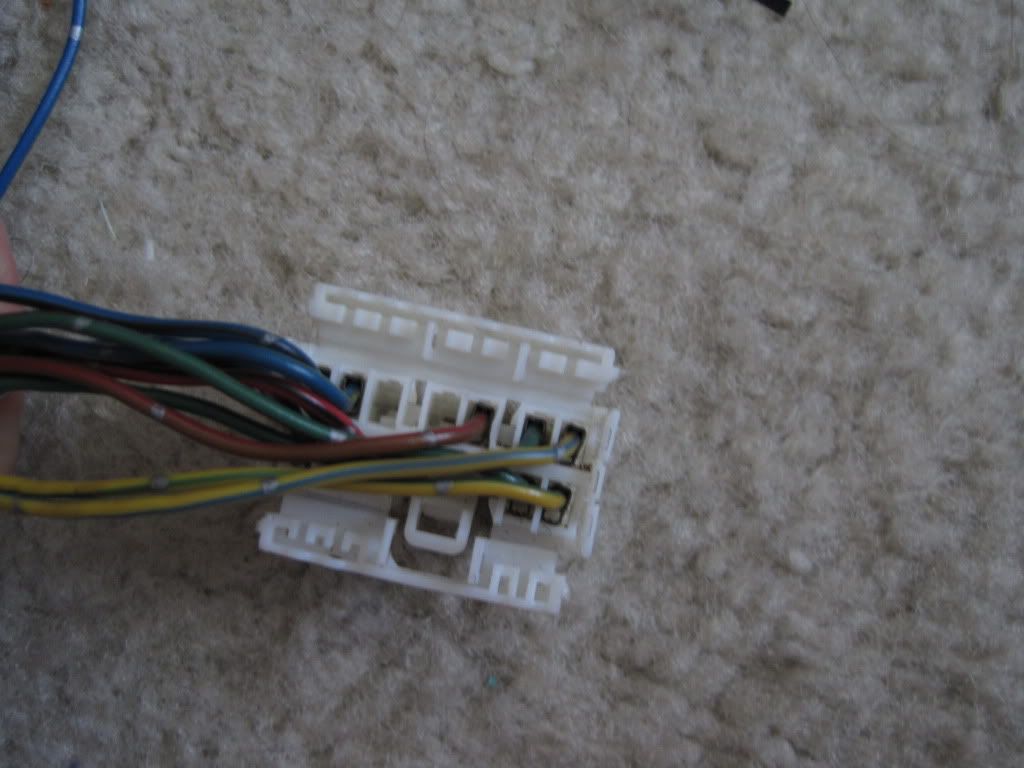
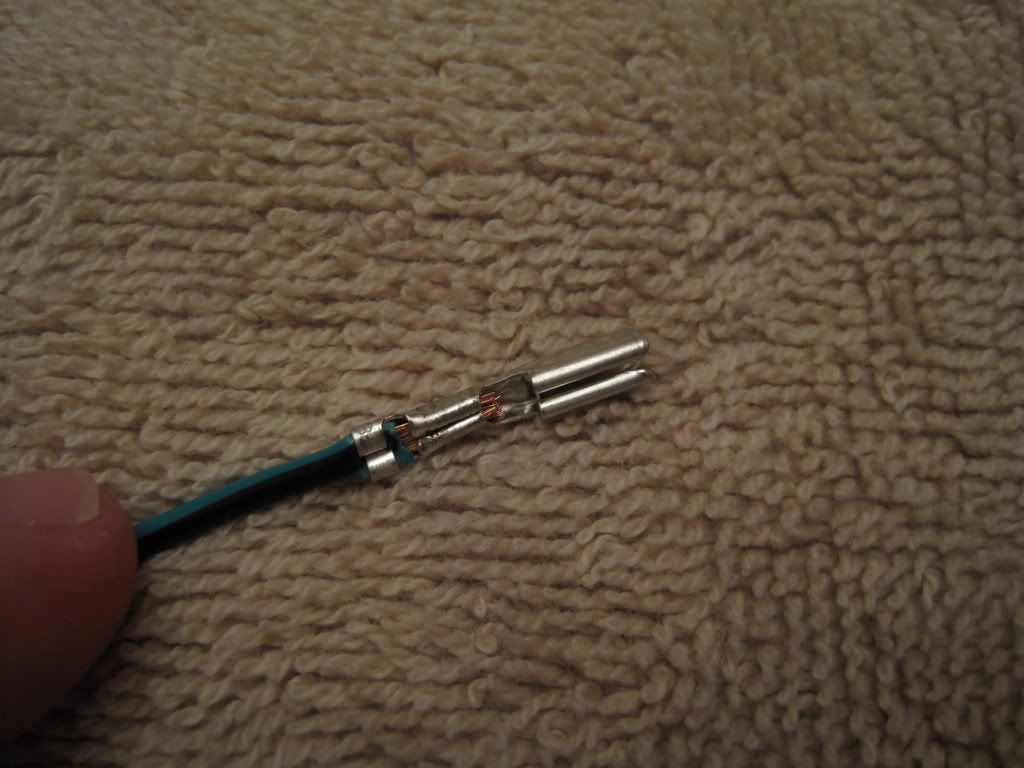
Here is stock connector J-02 completely done with new speaker wire:
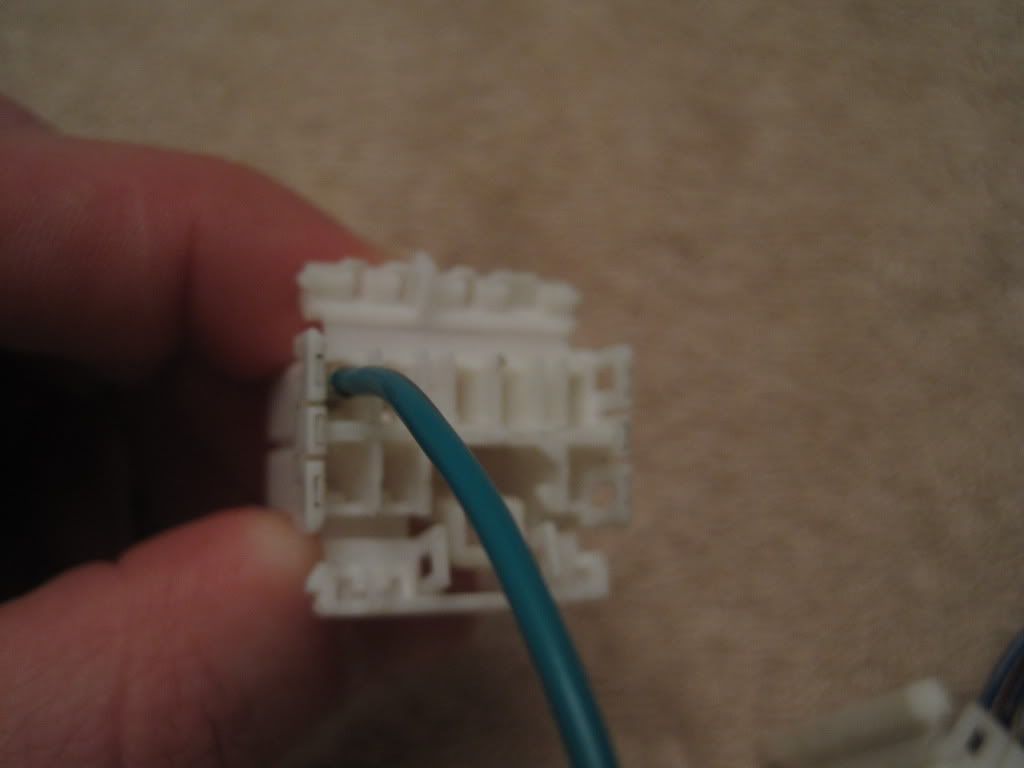
I'm able to integrate the wires for the right front door speaker a little further along the OEM path. Here are the wires and terminals inside connector X-19:
Viewing from this angle, other than the newness, it is hard to tell which are the non-OEM terminals:
Here is the stock splice of the power wire before it reaches J-01 and J-02. I don't need power to J-02, so it went bye-bye. I have heat shrink ready to go on that, but thought the wife might not enjoy the sound of a heat gun while she was trying to sleep in the next room.
Here is a view of J-01. It may be hard to tell from the picture, but there is a difference here in the stock terminals and the new ones.
This leads me to what I started tonight and will finish tomorrow (or today I guess, as of the time I write this). Here is the difference between the male terminal that is in the aftermarket patch connector supplied by Crutchfield and the male terminals that match the ones I just purchased (patch connector top right, new male terminals bottom left):
The engagement between the female terminals I just installed in the OEM connectors and the male terminals in that Crutchfield supplied connector are not great. So I'm cutting off the male terminals on the Crutchfield connector and replacing with the male terminals I just bought. I started this process tonight and finished half of it, but was a little too tired to continue and decided to finish tomorrow.
If all goes well, I hope to have the dash harness wrapped and back on the dash frame tomorrow. Depending on what areas of the dashboard needed reinforcing I may have the entire dash assembly (vents, frame, harness, dash) back together by the end of the week.
06-20-11, 08:07 AM
#91
I have actually considered marking out a spot for the tripod to go during reassembly or some of the body and paint work to show a time lapse. I have a fairly good HD camcorder, so I'm considering doing actual video at some point.
I'll see both of you at a Jacksonville or Gainesville meet at some point and it will be in this RX-7!
06-20-11, 06:43 PM
#93
Finished up the dash harness for the most part this afternoon and started attaching it back to the dash frame.
Here's a few shots of the progress. Everything here is fairly self-explanatory. For the OEM look, I even found some green electrical tape I had in one of my tool drawers to attach the harness to the clips that hold it to the frame.

Here's a few shots of the progress. Everything here is fairly self-explanatory. For the OEM look, I even found some green electrical tape I had in one of my tool drawers to attach the harness to the clips that hold it to the frame.
06-20-11, 07:23 PM
#94
High Comp Booster
iTrader: (4)

Join Date: Apr 2009
Location: Oakville, Ontario
Posts: 1,907
Likes: 0
Received 0 Likes
on
0 Posts
Very cool Im sort of going along the same way with my car, mine doesnt really need so much body work Ive already replaced all the gas lines, brake lines, gas tank, all the front end suspension hardware and bushing with new oem parts (cept for the bushings poly all the way)
I also redid my entire interior when i swapped my black S5 interior over (Canadian car doesn't have the auto seat belts :P)
good to see someone else doing it, I think my engine bay will be next All new hardware should look good
I also redid my entire interior when i swapped my black S5 interior over (Canadian car doesn't have the auto seat belts :P)
good to see someone else doing it, I think my engine bay will be next All new hardware should look good
06-20-11, 08:08 PM
#96
I dislike those auto belts with a passion. I've thought so many times about trying to find a nice set of black S4 or Canadian S5 trim to ditch that garbage, but I've read other people's stories of trying to track it all down and it just seems like a big headache. Especially considering if the piece isn't darn close to perfect, I won't be happy. I have the seat belt control box on my workbench and was going to clean it and attach it to the dash frame, but I had done enough today and couldn't bring myself to have that be the last thing I work on for the day.
06-21-11, 09:06 AM
#99
Very nice indeed. Some of the new parts replaced some that didn't look _that_ bad. Just saying so the cost of the resto doesn't go out of control.
I wouldn't bag some of the larger parts (i.e. doors) because you may be trapping humidity.
Label ALL hardware (I see you're doing this, but just reiterating). Take lots of pictures of where grommets and screws go if you don't put a good description on the bag. Sometimes this is quicker.
Nothing wrong with getting some bodywork experience on the fenders, but having said that, a new (CAPA certified is a must) fender is not that expensive, if someone other than mazda makes one. You can get them for a lot of cars, but haven't looked for one for an RX-7 recently.
Pay close attention to rust prone spots like rear wheelwell arches and rocker panels. Rustproof these at least if you're not cleaning them up to slow down the rust. Now's a good time since the interior is off and you have to drill less holes to get to these spots.
Avoid the large chain paint places when it comes time to paint. Find someone who owns ***** in his shop and can do a better job for the $. You can even get a pro to touch up some spots that may have complex curves.
Good luck....and subscribed.
edit: lol, wth man...you loose points for cutting that plug...you should have a set of picks, tweezers, small pliers and small sloted screwdrivers....just giving some grief, lol. Oh, and some trim tools. And that horizontal trim outer weatherstrip is bad on all the cars up here. Got one more to replace.
edit some more: FORGOT THE MOST IMPORTANT PART. GET THE CAR APPRAISED AND MAKE SURE YOUR POLICY COVERS THE AMOUNT IN CASE OF LOSS. Otherwise, they won't care about all the money in it.
06-21-11, 10:32 AM
#100
Unrelated, but noticed you didn't use a Mazda Oil filter.
FWIW, some filters don't have the anti-drainback valve.
Since our filters are upside down, it's good to have this so you don't start the car on an empty filter, since it takes a couple seconds to fill.
FWIW, some filters don't have the anti-drainback valve.
Since our filters are upside down, it's good to have this so you don't start the car on an empty filter, since it takes a couple seconds to fill.