
Racing Beat Oil Pressure regulator Install

Today I installed the racing beat oil pressure regulator. It ups the oil pressure to 85psi.
can be found here;
http://www.racingbeat.com/RX7-1986-1...tem/11810.html
Was a pretty easy install, The most difficult parts where removing/cleaning the old oil pan gasket material off.
this is a good time to add these mods while you have her apart,
-oil pan baffle plate;
http://www.racingbeat.com/RX7-1986-1...tem/11825.html
-Oil pan brace, If you have problems with constant oil pan gasket leaks... should not be a problem if you use Honda Ultra Flange (avail. at Honda dealerships);
http://banzai-racing.com/store/FC_oil_pan_brace.html
any builders or anyone else who did this job please chime in with tips or suggestions.
-First off, make sure you have the right stuff, Lots off weird sockets and wrench sizes, make sure you have a 19,22,24,mm wrenches or sockets, I believe I used a size up from that as well, 1in or 1 and 1/8. Also have a 1/4 in drive 10mm swivel socket with a nice extension, it makes getting the front oil pan bolts easier to get off.
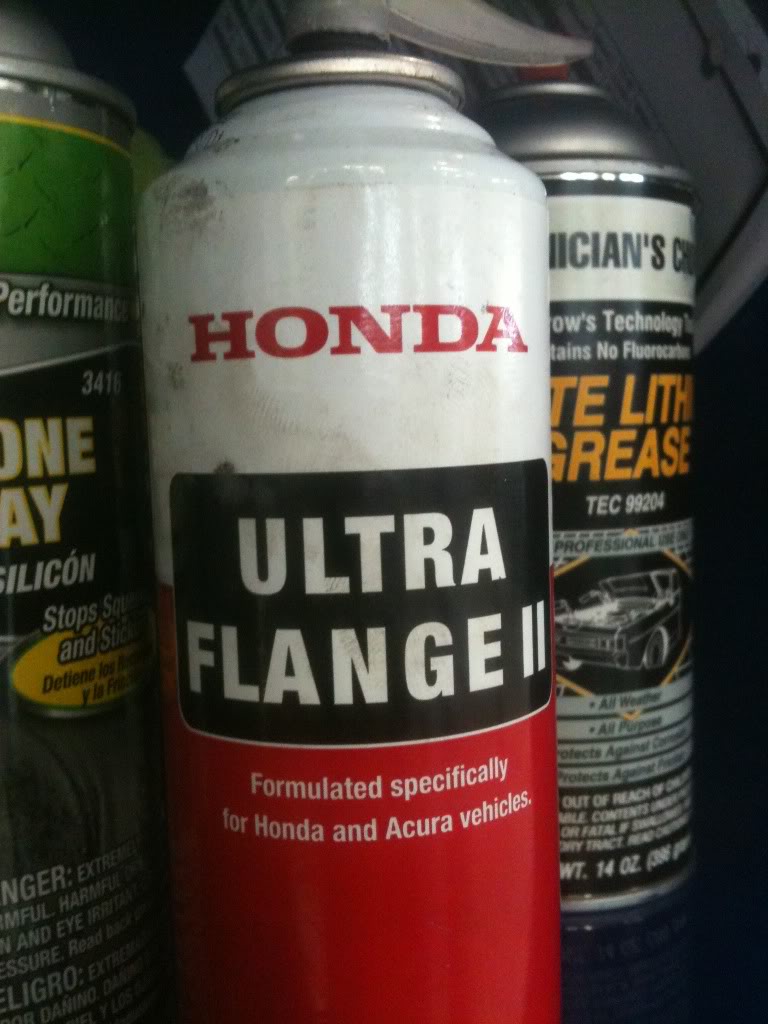
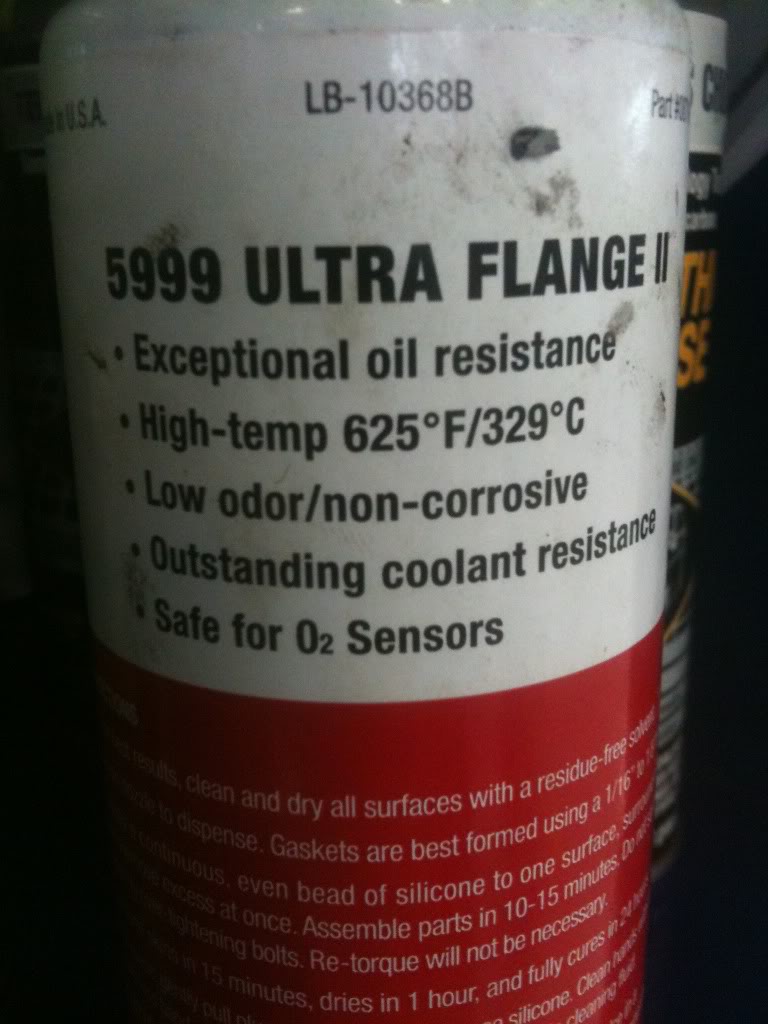
I recc using HONDA ULTRA FLANGE see pic, for sealing the oil pan gasket, I�ve been using this stuff for years at the dealership and never had a problem with it, it resists oil really well and is hi temp resistant.
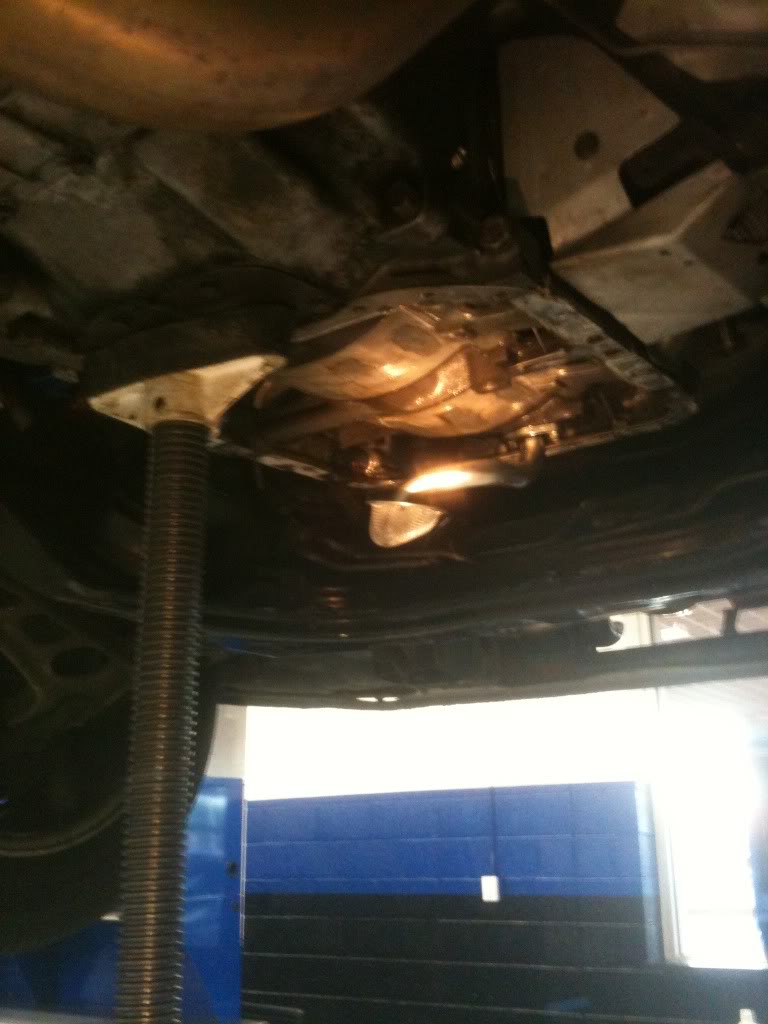
-ok now drain your oil, then jack up the trans to support the motor. use a block of wood, your basically supporting the motor/trans so you can take off the 2 14mm nuts on both the motor mounts.
-now take out the 3 17mm bolts on the passenger side mount removing the mount assembly from the oil pan.
-with both the mounts loose, (passenger side mount off) you can now jack up the trans/motor higher to have proper clearance to pull out the oil pan.
-Undo both connectors to the oil pan sensors
-Undo all the 10mm bolts holding the oil pan on. Use the 10mm 1/4 in swivel socket with extension to get the pain in the *** bolts in front above the p/s rack.
-once all the bolts are out, take a flat head screwdriver and a hammer and pop the oil pan off the block, mine took quite a bit of persuasion. just don�t bend the pan, kind of work it 2 places and pry.
-Now with the pan off, Clean it out and the oil pickup screen.
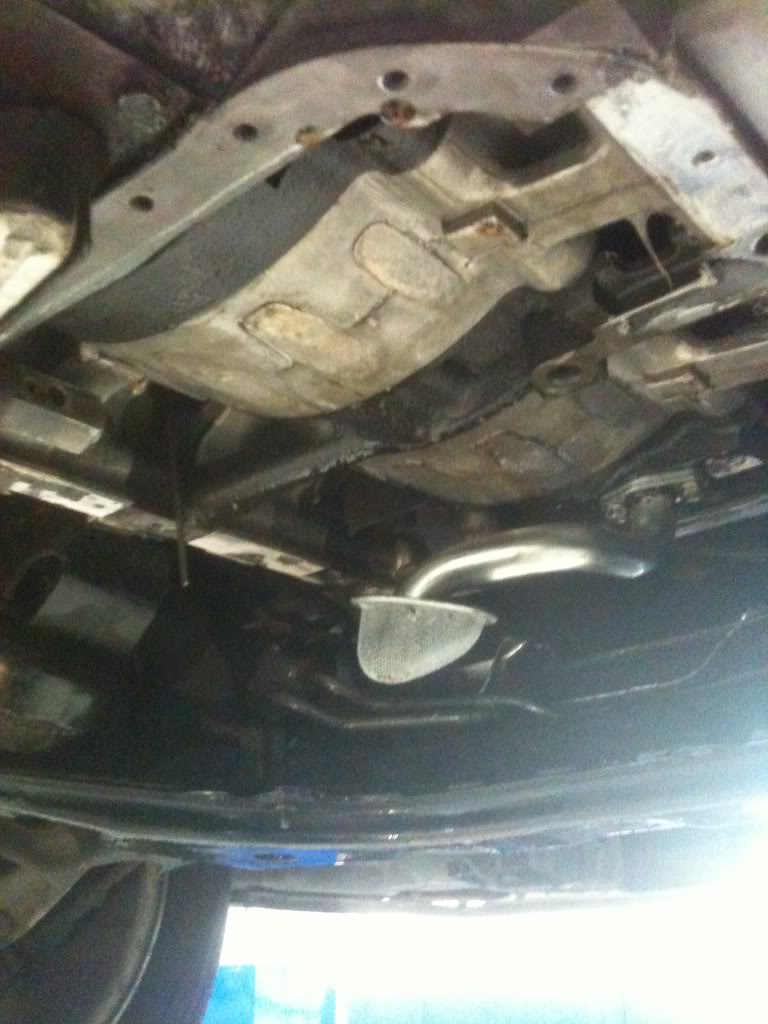
-Clean the block mating surfaces with a razor and rag till it is clean.
-next find the front oil pressure control valve. it is in the front,
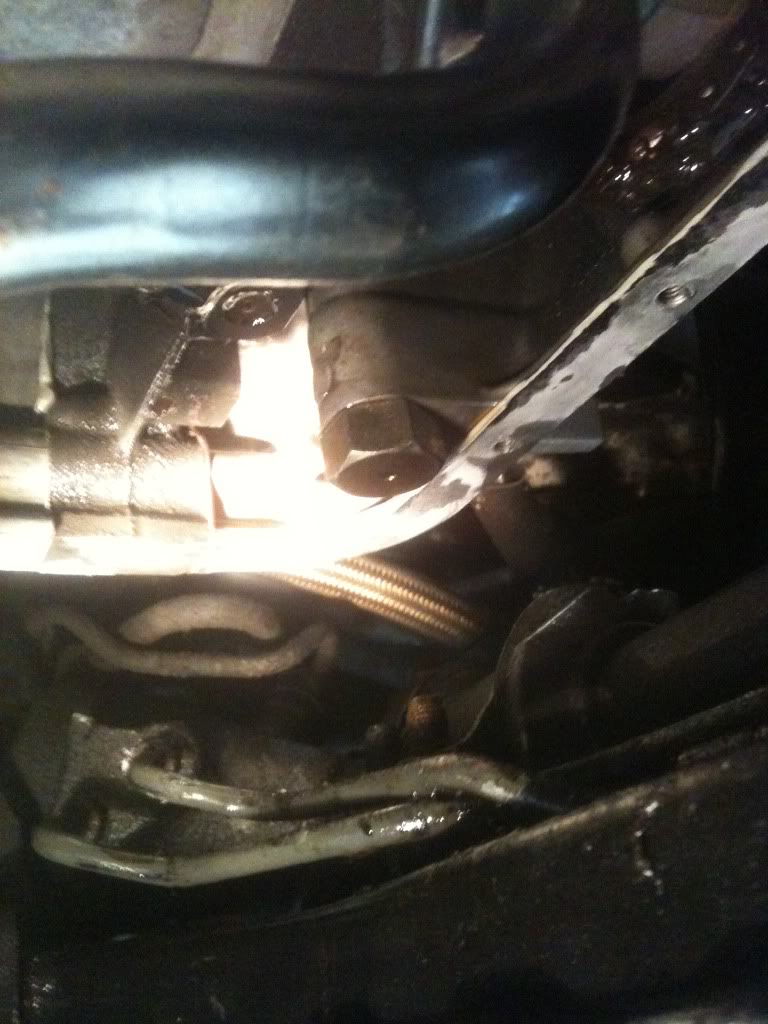
undo the bolt, (pain in the *** tight)
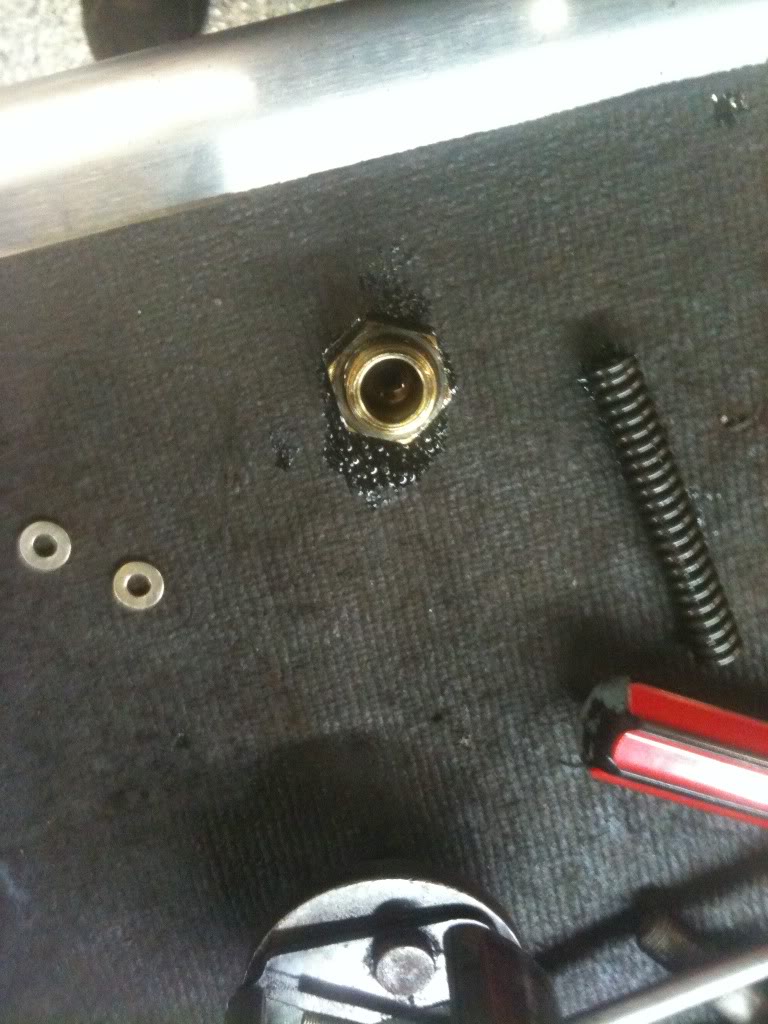
you are left with these
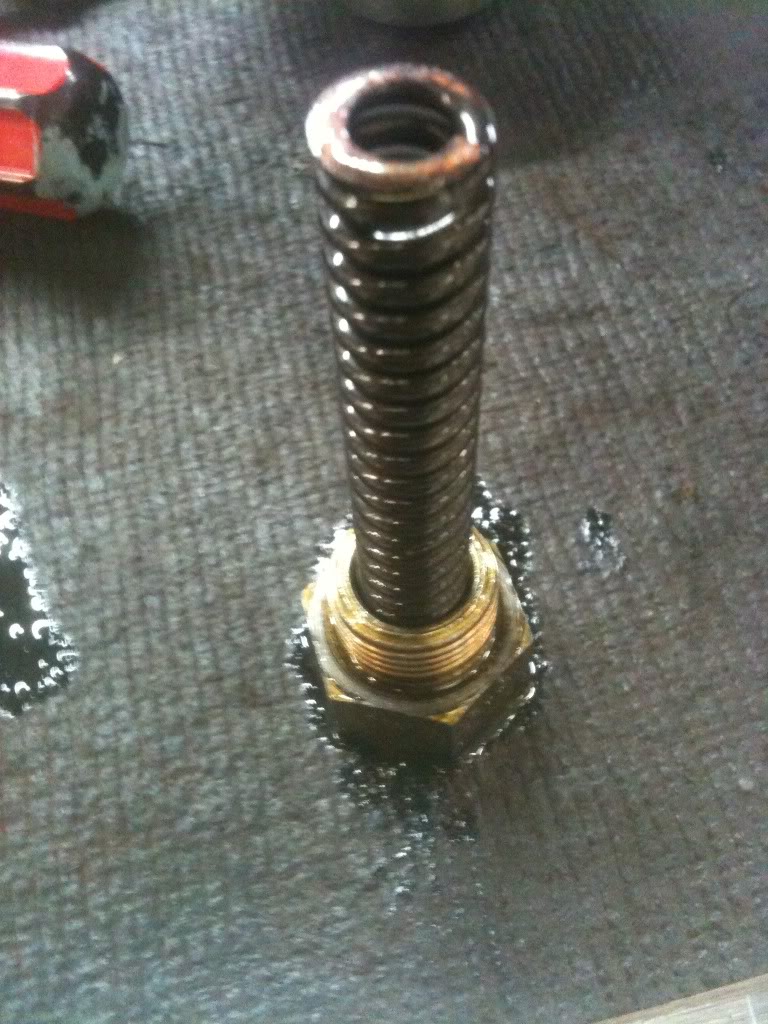
now the kit comes with 2 washers. you pull the spring out and insert the 2 washers. Put the spring back on top of the 2 washers.

now re-install it. torque it back down, I believe its 60ftlbs I couldn�t get a torque wrench in there so I torqued it in.
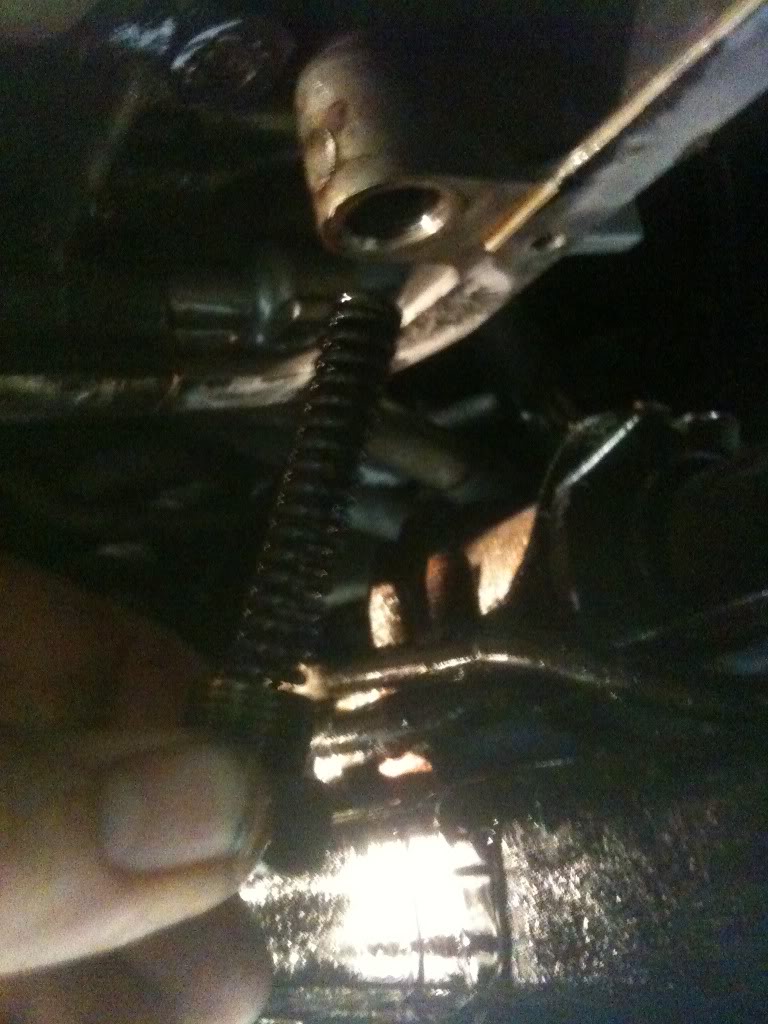
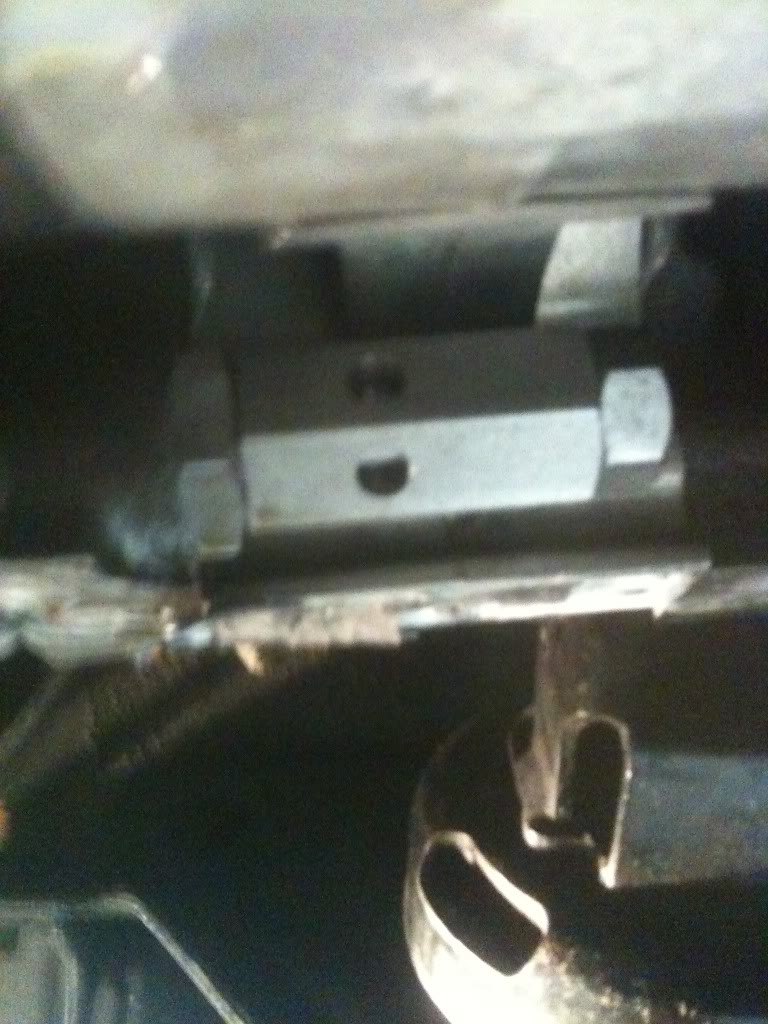
now find the oil pressure regulator..
it just unscrews, be careful as once its out a bunch of oil will come out of the hole.
install the new one, I installed it and torqued it down then tightened the small nut on the regulator, the nut did not move much.
make sure you have everything torqued and cleaned out, then take your cleaned off oil pan and use the ultra-flange to make a bead around the oil pan staying on the inside of the bolt holes.
Install the oil pan. Have a buddy hold it in place as you install 2 bolts.
Reinstall, torque bolts down. Start up and enjoy. If you are still running stock oil cooler lines keep a eye on them for leaks.
can be found here;
http://www.racingbeat.com/RX7-1986-1...tem/11810.html
Was a pretty easy install, The most difficult parts where removing/cleaning the old oil pan gasket material off.
this is a good time to add these mods while you have her apart,
-oil pan baffle plate;
http://www.racingbeat.com/RX7-1986-1...tem/11825.html
-Oil pan brace, If you have problems with constant oil pan gasket leaks... should not be a problem if you use Honda Ultra Flange (avail. at Honda dealerships);
http://banzai-racing.com/store/FC_oil_pan_brace.html
any builders or anyone else who did this job please chime in with tips or suggestions.
-First off, make sure you have the right stuff, Lots off weird sockets and wrench sizes, make sure you have a 19,22,24,mm wrenches or sockets, I believe I used a size up from that as well, 1in or 1 and 1/8. Also have a 1/4 in drive 10mm swivel socket with a nice extension, it makes getting the front oil pan bolts easier to get off.
I recc using HONDA ULTRA FLANGE see pic, for sealing the oil pan gasket, I�ve been using this stuff for years at the dealership and never had a problem with it, it resists oil really well and is hi temp resistant.
-ok now drain your oil, then jack up the trans to support the motor. use a block of wood, your basically supporting the motor/trans so you can take off the 2 14mm nuts on both the motor mounts.
-now take out the 3 17mm bolts on the passenger side mount removing the mount assembly from the oil pan.
-with both the mounts loose, (passenger side mount off) you can now jack up the trans/motor higher to have proper clearance to pull out the oil pan.
-Undo both connectors to the oil pan sensors
-Undo all the 10mm bolts holding the oil pan on. Use the 10mm 1/4 in swivel socket with extension to get the pain in the *** bolts in front above the p/s rack.
-once all the bolts are out, take a flat head screwdriver and a hammer and pop the oil pan off the block, mine took quite a bit of persuasion. just don�t bend the pan, kind of work it 2 places and pry.
-Now with the pan off, Clean it out and the oil pickup screen.
-Clean the block mating surfaces with a razor and rag till it is clean.
-next find the front oil pressure control valve. it is in the front,
undo the bolt, (pain in the *** tight)
you are left with these
now the kit comes with 2 washers. you pull the spring out and insert the 2 washers. Put the spring back on top of the 2 washers.
now re-install it. torque it back down, I believe its 60ftlbs I couldn�t get a torque wrench in there so I torqued it in.
now find the oil pressure regulator..
it just unscrews, be careful as once its out a bunch of oil will come out of the hole.
install the new one, I installed it and torqued it down then tightened the small nut on the regulator, the nut did not move much.
make sure you have everything torqued and cleaned out, then take your cleaned off oil pan and use the ultra-flange to make a bead around the oil pan staying on the inside of the bolt holes.
Install the oil pan. Have a buddy hold it in place as you install 2 bolts.
Reinstall, torque bolts down. Start up and enjoy. If you are still running stock oil cooler lines keep a eye on them for leaks.

Junior Member
Joined: May 2012
Posts: 23
Likes: 0
From: United States
Looks cool man. I just bought one of the pineapple pans and am going to modify a spare OPR for 80psi. I'm cheap!
Do you wish you installed a stud kit? I've been thinking about it, but the pineapple pan came with new bolts.
Do you wish you installed a stud kit? I've been thinking about it, but the pineapple pan came with new bolts.


yeah i used a 26 socket with a rachet. barley cleared. but the racing beat was a smaller size so it was easier putting in
Trending Topics

so instead of running to sears every 3-4 weeks to warrenty broken tools you start to buy nice tools from snap-on mac or matco. they come every week to the shop to collect monthy no interest payments on the tools you buy and if it breaks you only wait less than a week for a replacement.
Joined: May 2006
Posts: 3,881
Likes: 3
From: Jacksonville, Tampa & Tallahassee
True. If it were a tax write off I'd have all kinds of snap on tools (especially that sexy electric impact). However I had a substantial discount when I worked at sears, so that's where most of my stuff came from. Plus there's a Sears everywhere, and the Snap On truck doesn't stop by my house often.
All that said, the point still remains that the 85 psi "kit" could easily be duplicated for 12 cents and 2 minutes of your time, leaving more money for tools or other items.
All that said, the point still remains that the 85 psi "kit" could easily be duplicated for 12 cents and 2 minutes of your time, leaving more money for tools or other items.

Thread
Thread Starter
Forum
Replies
Last Post
trickster
2nd Generation Specific (1986-1992)
25
Jul 1, 2023 04:40 PM