
89’ convertible rim restoration


Thread Starter
Senior Member
Joined: Aug 2005
Posts: 303
Likes: 0
From: willis, VA
89’ convertible rim restoration
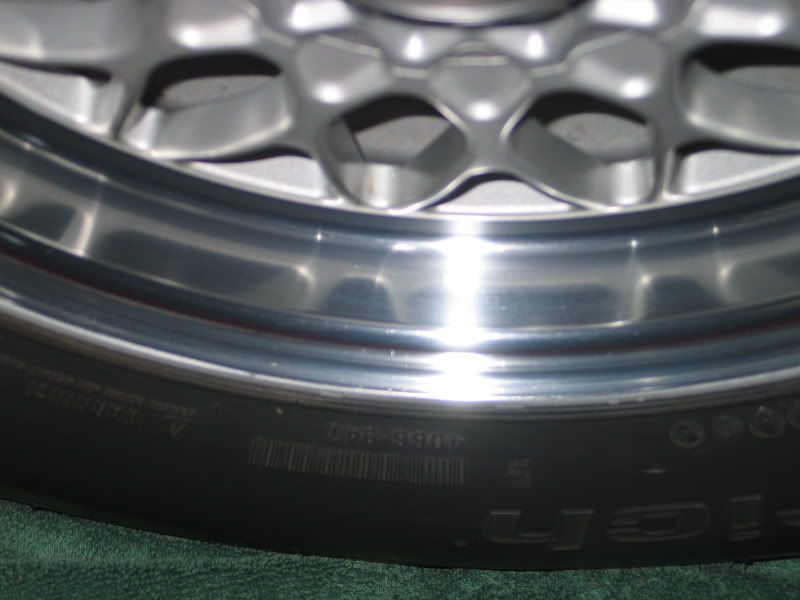
I had a extra 5 or so hours today so I decided to pull of my stock convertible rims and polish the lip. This seems to work quite well if you put the time in. all you need is some o steel wool and some oooo steel wool and some strong thumbs, but In the end its worth it.

Last edited by RX drift; Sep 30, 2006 at 09:02 PM.
Thread Starter
Senior Member
Joined: Aug 2005
Posts: 303
Likes: 0
From: willis, VA
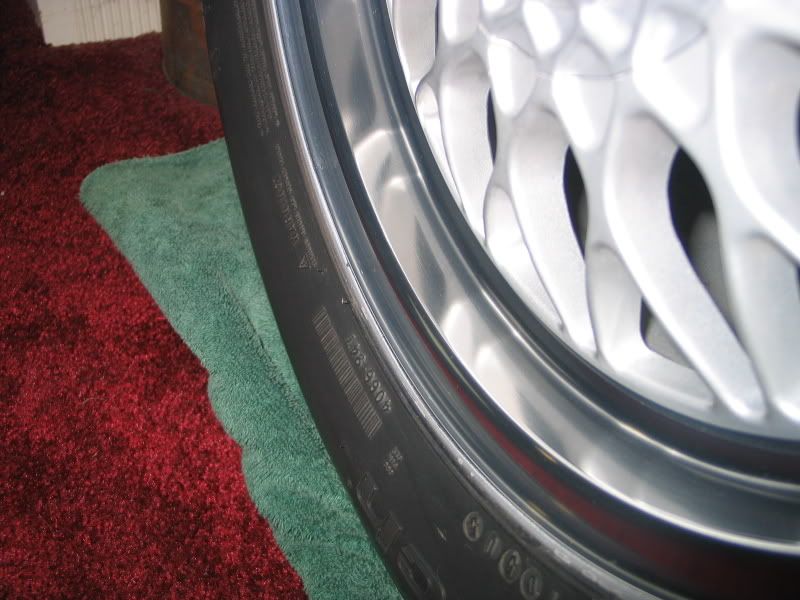
You can see where I haven’t go to it yet around the valve stem. Before that is what the whole lip looked like. I guess that it was years of build up of some sort.
-if any one has any opinion on what that stuff is, like some very important coating, the info would be appreciated.
-if any one has any opinion on what that stuff is, like some very important coating, the info would be appreciated.

Thread Starter
Senior Member
Joined: Aug 2005
Posts: 303
Likes: 0
From: willis, VA
The way I did it yesterday was 5 hr a rim, but the way I did it today was I used some wet or dry 320 grit to take off the bad clear coat. Then after all that was taken off I polished it off with some oooo steel wool and some rubbing compound.
-I am in the middle of the one where I am using the new process bus I figure from start to finish about 3hr, but the big thing in not the time saver it is using the paper is much easier on your hands and fingers.
If any one wants a more step by step procedure to the restoration after I finish this one and see how it goes I can do a short write up on it tonight.

Junior Member
Joined: Sep 2006
Posts: 27
Likes: 0
From: Orlando, FL
Hard work pays off...
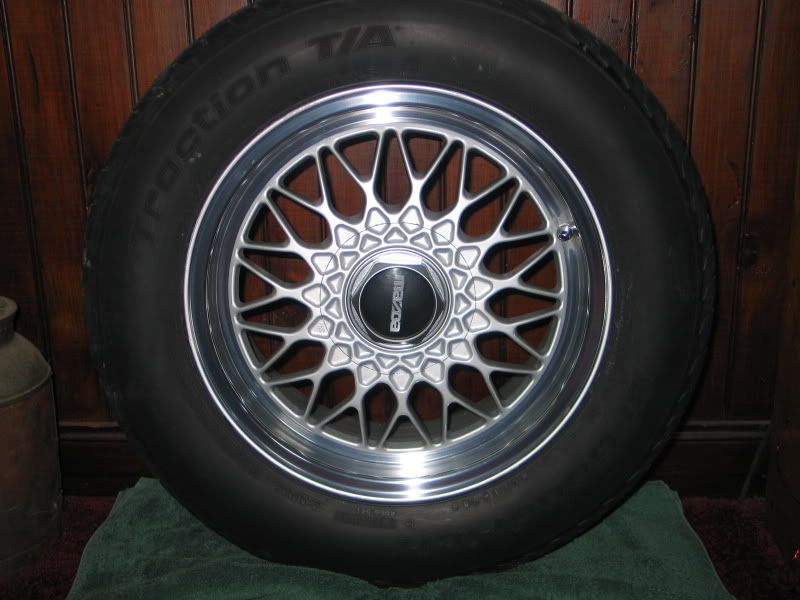
I got 1 done !
You're right. I had a sanding kit for my old plastic headlights on my Dodge that has 5 different sandpapers... the last one keeping the lens clear and scratch free. I used the last 3 on my rims to help take off all that clear coat, then bought some Mother's metal polish. What a difference!
Someone down at the auto parts suggested that it is esier to remove the clear coat finish with a light paint stripper. Brush it on, let it sit for an hour or so, then scrub away with a terry towel. Said it would be less owrk and less damaging than the sand paper or steel wool. I still have alot of pitting that will need to be smoothed out, but still might cut the work down to 2 hours each....
I also searched the internet and found some nice polishing tips that fit on Dremel or drill at a hobby shop. 5 different shapes and sizes of felt that could speed it up even more, and help get all those little nooks and cranny's. Set of 5 is only 8 bucks, so I bought 2 sets to help off set the cost of shipping. Will let you know how it works whe i get them.
Last edited by RXpilot; Oct 6, 2006 at 11:22 PM.

Thread
Thread Starter
Forum
Replies
Last Post