what did you do to your rx7 today
 12-19-13, 09:45 PM
#2226
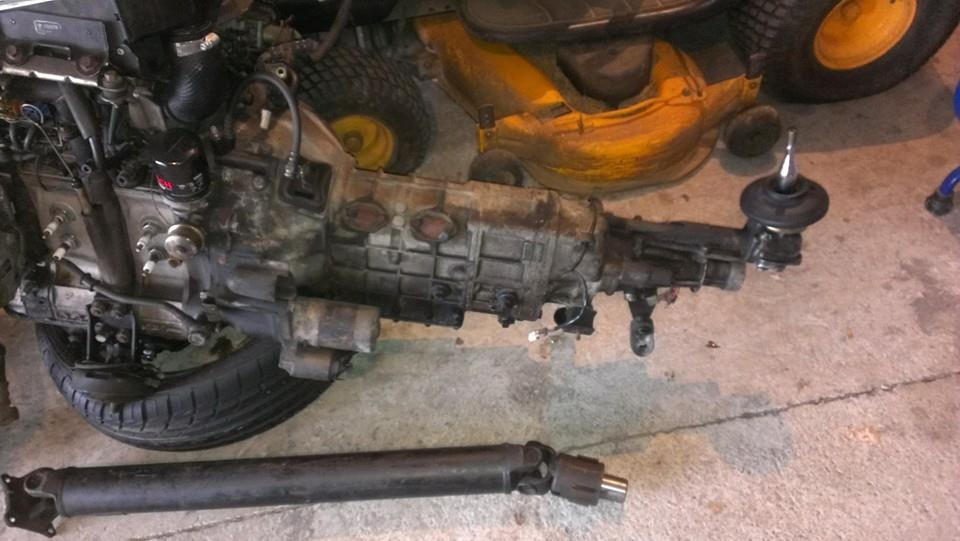
Hey guys, haven't posted here for awhile, been busy with work and military stuff. Anyway, I've made some progress on my fc since its been down. pulled the motor and broke it down (oil control ring decided it wanted to go kaput), took out all the a/c hoses and other miscellaneous whatnots. Yesterday, I bought a full s4 TII swap for 500 bucks. Motor has roughly 130,xxx to 135,xxx miles on it. Came with pretty much everything i need to do my swap, minus a tii diff. Super stoked! More updates as progress is made. I'll take more pictures as the week goes on.
Nice man!
 12-24-13, 01:48 AM
#2228
Today i pulled the intake manifold (again) to pull the Haltech harness and plan out the tucked Megasquirt harness. Noticed the VDI and 6ports were seized again. Also noticed a black, gritty grime in the primaries. Closer inspection of the intake manfiold reveals that the ceramic coat overspray that they left in there is totally flaking and disintegrating into the a/f mixture. I'm not happy.
Going to source a new S5 intake manifold and go down to the shop (Performance Coatings, Auburn) in person - they need to fix what they broke and do it agian for free. If they do, I will gift them with my continued patronage and have them ceramic coat my header, cold air intake duct, hood prop, heater and vacuum hard lines.
If they don't honor their work, Ill talk mad smack about them here, there, and every car show I attend.
In other news - sorting out the engine bay harness and getting a much better idea of what I can pull, what to extend, and what to leave for the tuck. Hung out with the Randall's today (TurboGSLSE) and checked up on their builds. He lets his kids slam their cars WAY too low. I like it
Was great to hang out with some fellow rotorheads and swap ideas. Daves doing an AMAZING job on his wiring, has a special set of crimps and a full box of weatherpack connectors. Definitely the route I'll be going, i'm inspired!! Thanks man! Was great kicking it!
~Geoff


 01-06-14, 03:23 AM
#2230
Deep in the flow on the MSIII & FC ignition install and tuck.
I've finally given up on the idea of keeping the air conditioner, and pulled the main unit from under the dash.
I used to have a sort of sentimental attachment to it, a creature-comfort that was top-of-the-line, factory installed on this premium GSL-SE. and anyways it already had the unit, condenser, and hard lines, all it needed was the pump. Why get rid of a system that was meant to be there?
Well, in my quest for the most optimal NA/FB configuration, I've already had to ditch the condenser to fit the cold air induction. I then decided to move the radiator overflow bottle up there as well to clean up the engine bay. Yet I was still not convinced to ditch the whole thing. Surely there was some way to retrofit some small form-factor, aftermarket condenser into the OEM system?
*Sigh,* this was starting to sound rare and expensive, two things I don't want to be building into my car.
I came to a realization - honestly, the only reason I would keep A/C in the car would be to keep a lady comfy. But ladies prefer to be warm, not cold. And when ladies are warm, they wear less clothing. I would prefer ladies that wear less clothing. No need for AC.
Today when I pulled off the driver-side wheel, fender liner, fender, and headlight for the tuck, I found there are handy holes along the entire length of the fender bracing, almost as if specifically made for wire harness plugs. And, as it turns out, I have a bunch of these plugs left over from where the harness connected on the inside of the engine bay
Also pulled out the main ground and power wires. These OEM wires be crimpin my style.
The new starter line will drop down to the frame rail and back to the firewall, across to the starter. The ground wire will drop off the front of the battery, tuck under the battery tray, back the frame rail, grounding out at the strut tower ps cooling line bolt. From here under and across to the rear iron of the engine block. My hope here is that it will better ground out the block, intake, and related ECU sensors, rather than dangling off the back of the starter bolt as was previously.
I will also run another 10ga ground wire back through the fender and across to the ECU. It's best to keep related systems powered and grounded on the same circuit, to isolate and reduce ground loops.
This past week I pulled the engine harness back into the cabin for the wire tuck. I found that the harness that wraps around the nose and back the passenger side fender is the ignition system harness, terminating at the 6-pin connector on the passenger side firewall. It connects into the main harness via a thick 12v black/white stripe and a yellow/green stripe tach signal from the trailing coil.
Since I'm installing an FC direct fire ignition with a standalone computer to control it, this entire harness can be removed. I pulled the thick 12v back into the cabin to hook up to additional hardware such as gauges, ECU, and related relays. Pretty sure it goes back to the fusible links as 12v constant, but I could be mistaken.
Tomorrow I will scope out some firewall grommets for the fender hole, and then buy a large-diameter circular drill bit to match. I need to pull through the stereo power wire as well, which I definitely want to isolate from the rest of the harness.
That's all for now, pictures after the break.
~Geoff
01-06-14, 05:16 PM
#2233
Senior Member
Put fresh spark plugs in on Saturday, soOoO glad I deleted PS and A/C!! None of that nonsense in the way anymore!

01-08-14, 05:21 AM
#2234
Original Blackfuries Plyr
01-08-14, 02:58 PM
#2235
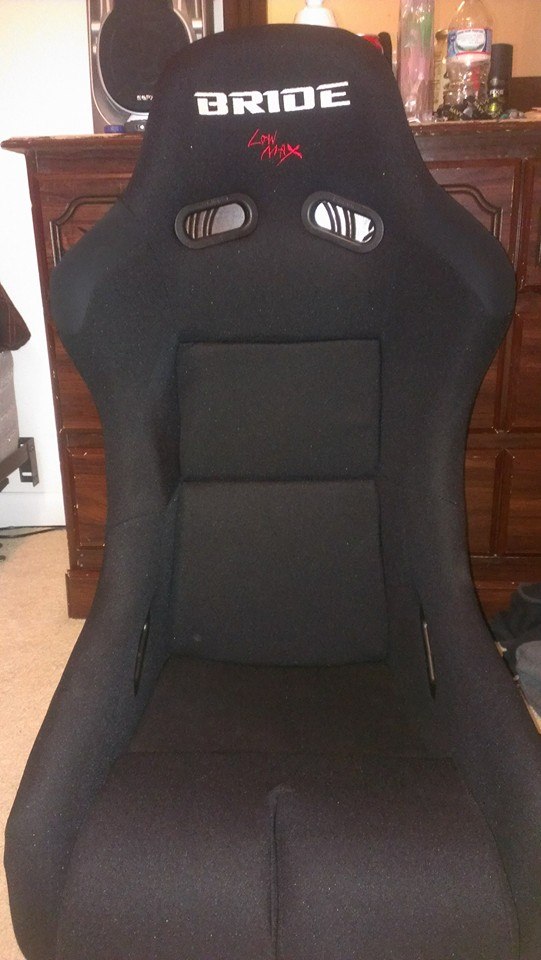
Thank you. I got some more parts. Not all motor but still needed. Seeings how the stock intake had a massive crack in it, I bit the bullet (lol) and got me a nice corksport intake. Also, got a new shift **** for ***** and giggles. Then today my new seat came in. All i need is a fuel pump and a throttle cable then i should be ready to slap that bitch in
 01-10-14, 04:49 AM
#2237
I promised myself that this winter I would do a wire tuck.
I put it off as long as I could, made excuses on how I needed to wait until I got the new computer in, or until mercury hits retrograde.
Enough bullshitting, time to actually do it. Thanks to Dave and Jesus for all the inspiration and help!
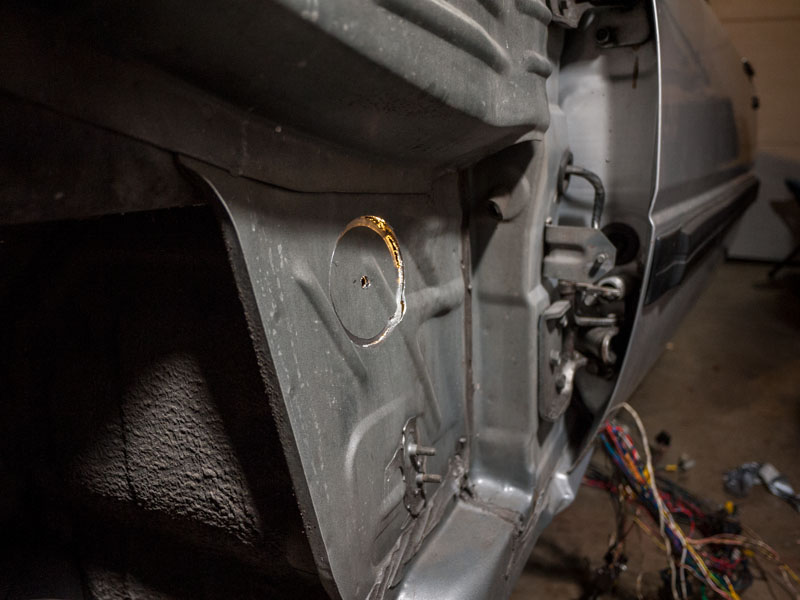
3" hole drilled into the kick panel above the foot rest. (Note to self: buy that plug-in drill, batteries suck.) I used duct tape on the inside of the kick panel to catch dropped metal shards and the final 3" chunk.
I then took a dremel to the sharp edge and smoothed it down, then cut a bit of vacuum hose and made a temporary gromet. Eventually I'll make a more permanant setup with some split bike tubes covering top and bottom half, allowing a split down the center for the loom.

After spending all of today out and about gathering the electrical supplies, connectors, wires, terminals, etc that I would need for the tuck, I finally get into the flow at 9pm only to realize my wire crimps do not work for the non-insulated butt connectors I plan to use.
And nobody's open.
In a frantic dash, my roomie and I hit up Fred Myer, and they have the absolute junkiest piece possible. but i pay $14 for it anyways, grab a box of Bitter American session ale, and make for the door.
They worked even worse than I had imagined.
Not willing to give up after building so much momentum, i dug through the garage and found a crimp tool that had a solid non-ins crimp. Whew! Time to dive in.
Dave convinced me to switch out all the connectors to weather pack. they will last forever, and the crimping tool is SOLID. I figured if i'm going to be extending or crimping anyways, might as well do it right and do it once.
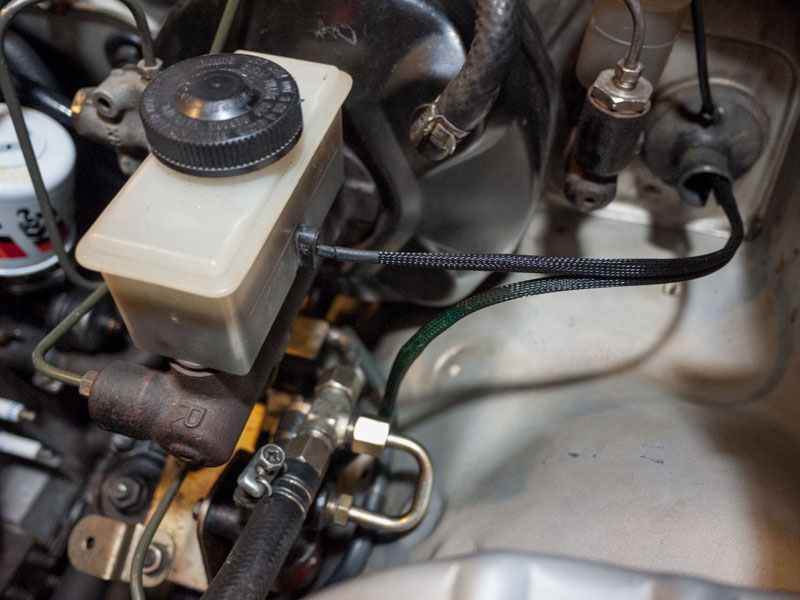
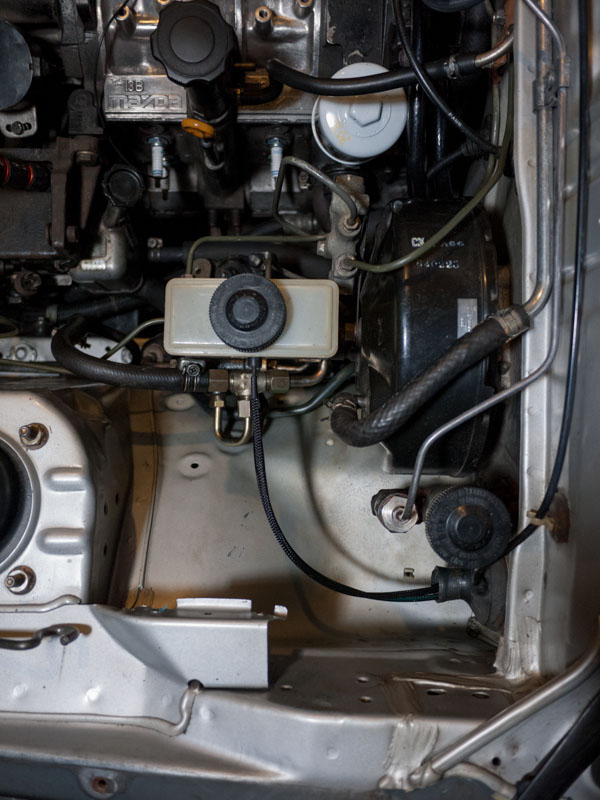
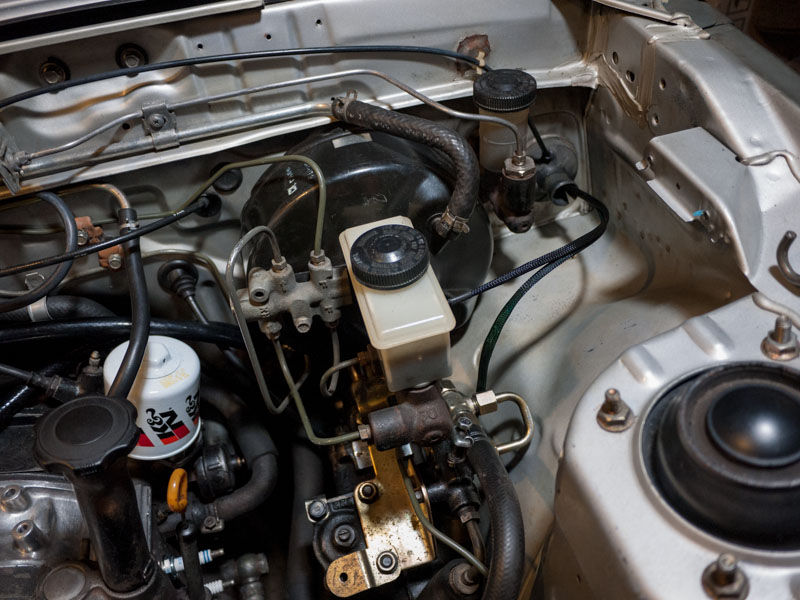
An extended and weather-packed brake fluid signal wire
The steering column wire joins the party
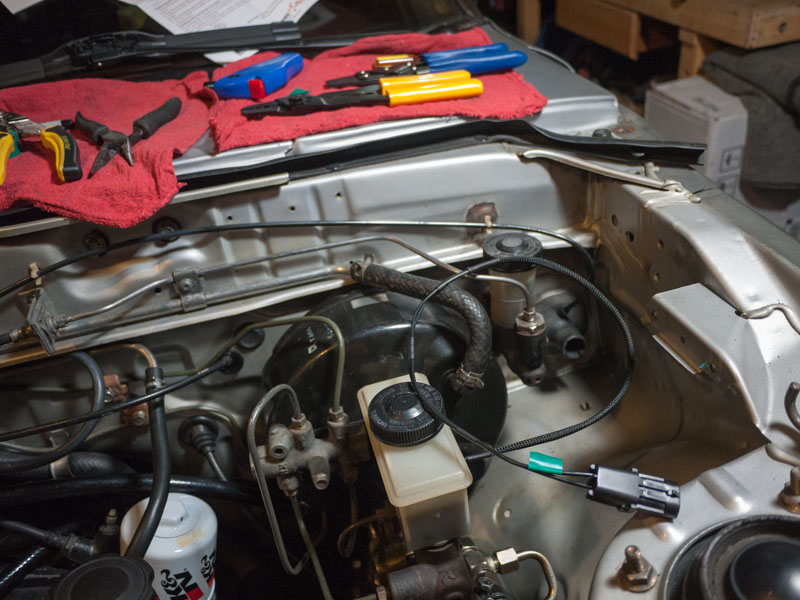
Looking so much better!
Time to get some rest and dive back in tomorrow.
I put it off as long as I could, made excuses on how I needed to wait until I got the new computer in, or until mercury hits retrograde.
Enough bullshitting, time to actually do it. Thanks to Dave and Jesus for all the inspiration and help!
3" hole drilled into the kick panel above the foot rest. (Note to self: buy that plug-in drill, batteries suck.) I used duct tape on the inside of the kick panel to catch dropped metal shards and the final 3" chunk.
I then took a dremel to the sharp edge and smoothed it down, then cut a bit of vacuum hose and made a temporary gromet. Eventually I'll make a more permanant setup with some split bike tubes covering top and bottom half, allowing a split down the center for the loom.
After spending all of today out and about gathering the electrical supplies, connectors, wires, terminals, etc that I would need for the tuck, I finally get into the flow at 9pm only to realize my wire crimps do not work for the non-insulated butt connectors I plan to use.
And nobody's open.
In a frantic dash, my roomie and I hit up Fred Myer, and they have the absolute junkiest piece possible. but i pay $14 for it anyways, grab a box of Bitter American session ale, and make for the door.
They worked even worse than I had imagined.
Not willing to give up after building so much momentum, i dug through the garage and found a crimp tool that had a solid non-ins crimp. Whew! Time to dive in.
Dave convinced me to switch out all the connectors to weather pack. they will last forever, and the crimping tool is SOLID. I figured if i'm going to be extending or crimping anyways, might as well do it right and do it once.
An extended and weather-packed brake fluid signal wire
The steering column wire joins the party
Looking so much better!
Time to get some rest and dive back in tomorrow.
01-10-14, 11:10 AM
#2238
Senior Member
Did some more to one of my Nikki's..


 Sad day.
