
Len-len's artisan made FD aero project

Len-len's artisan made FD aero project
Hey everybody
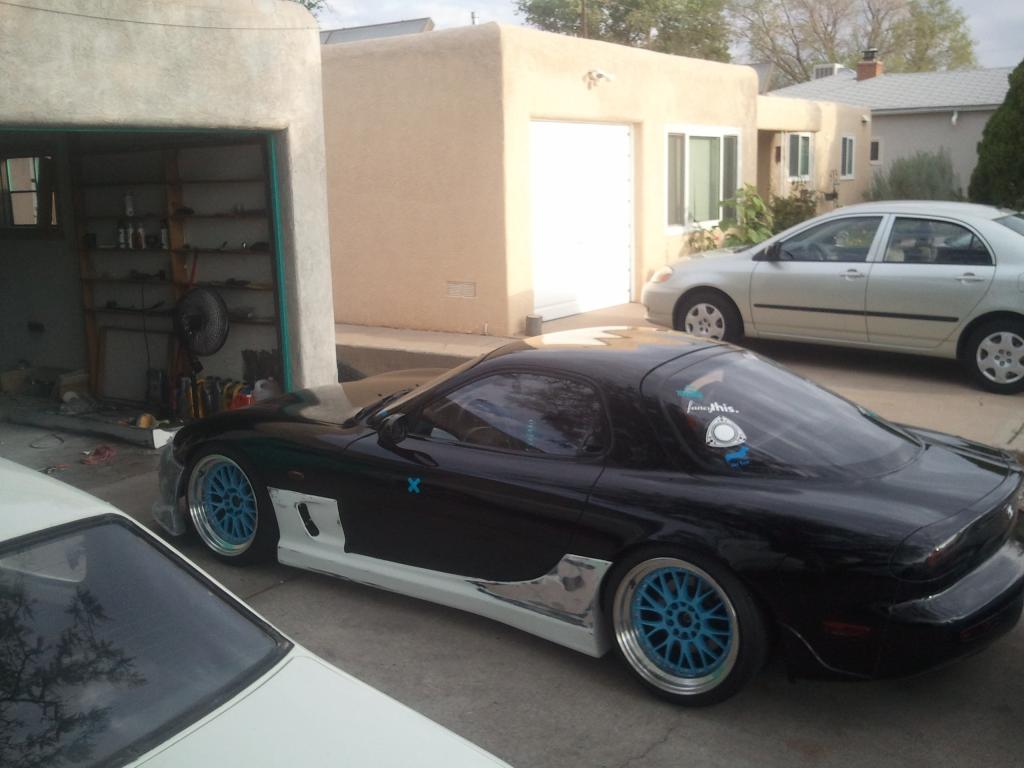
I finished this project a few months ago, but time has not been on my side and I haven't been able to make a thread about it. Some of you might know that I'm pretty broke and have been building an FD on a budget. A couple of years ago, I was in need of a front bumper to finish the exterior of the car. So I bought this for 100 bucks:
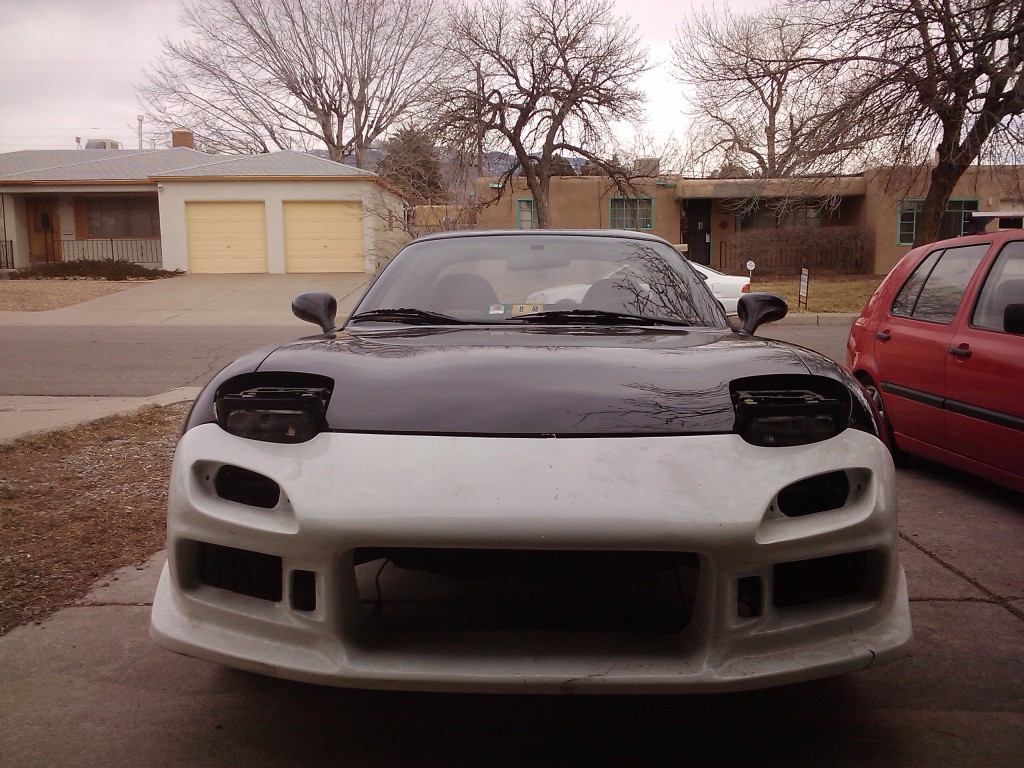
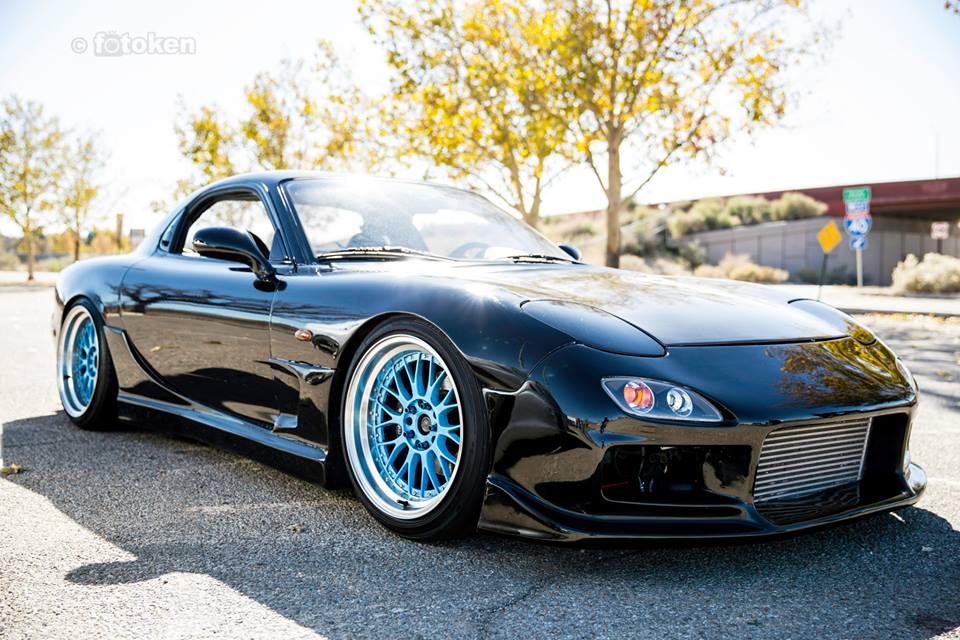
Its a crappy fiberglass C west knock off that came off of this car:
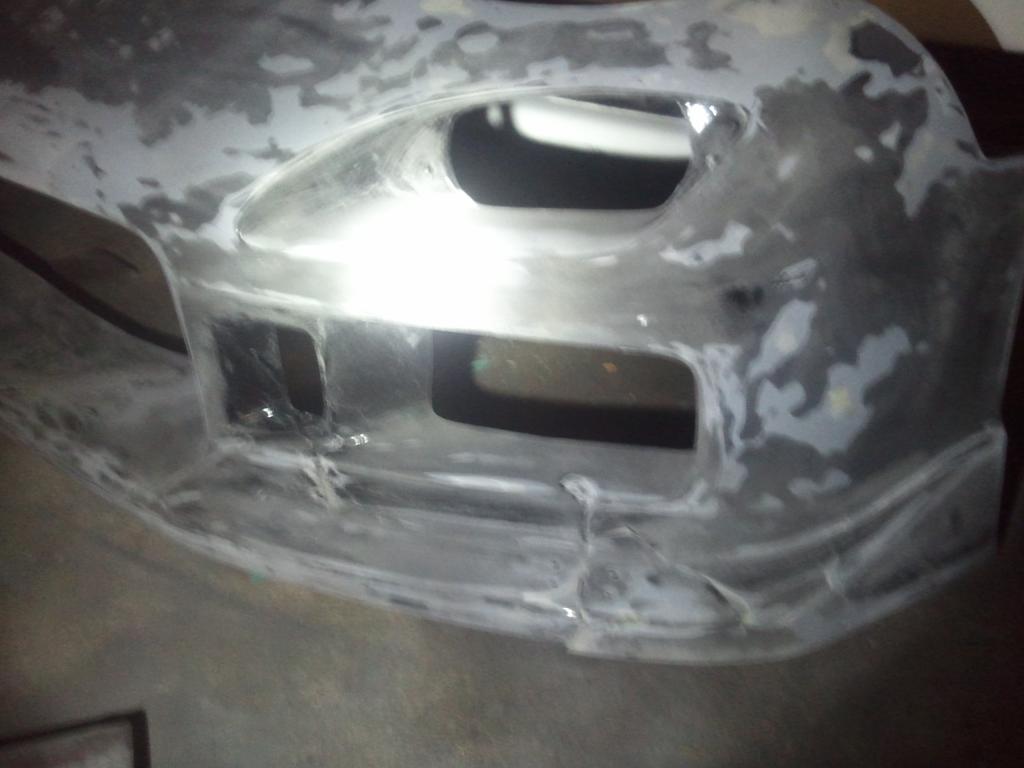
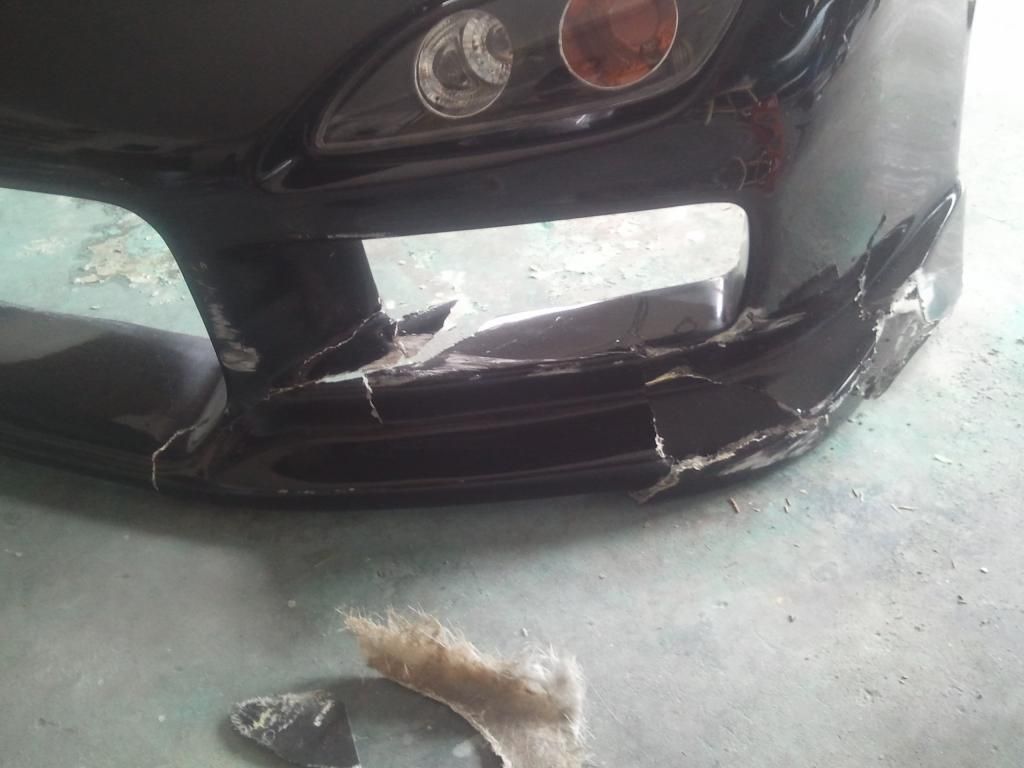
So I taught myself how to paint and do bodywork on that bumper. Looked great for a while but after a while of driving the car hard, it looked like this:
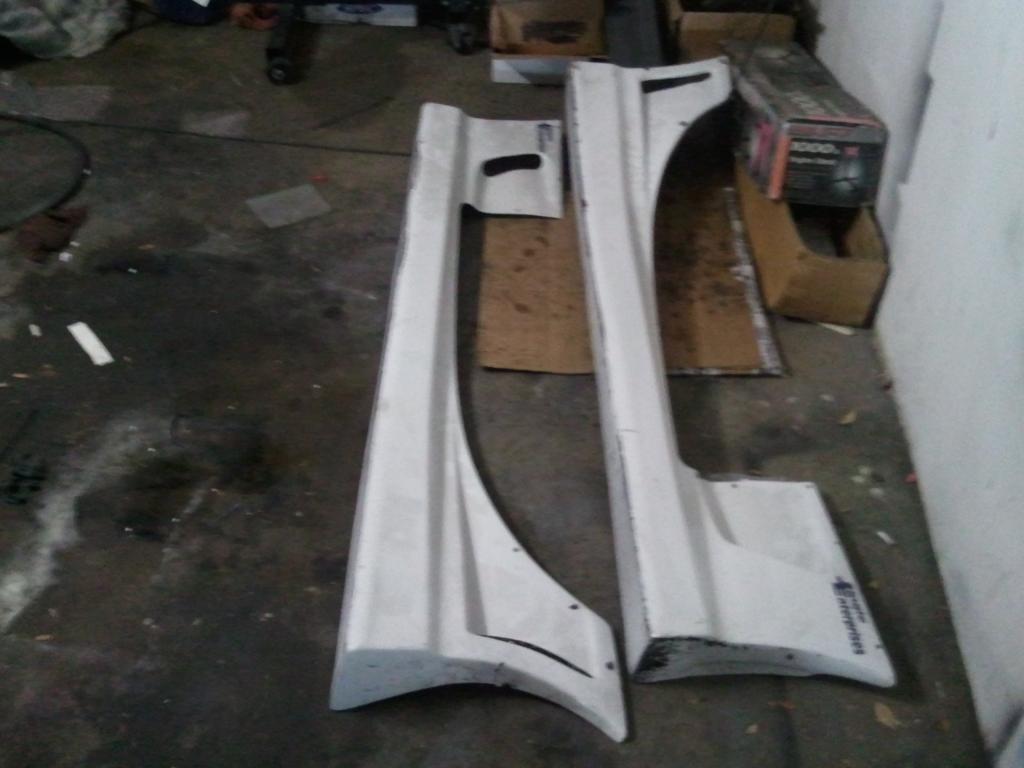
I drove around like this for months, then decided to repair the bumper since I don't have the money for a better, less cheap fiberglassy unit. Also, in a weird roundabout way, I got these sideskirts for free. Coincidentally off of the SAME car.
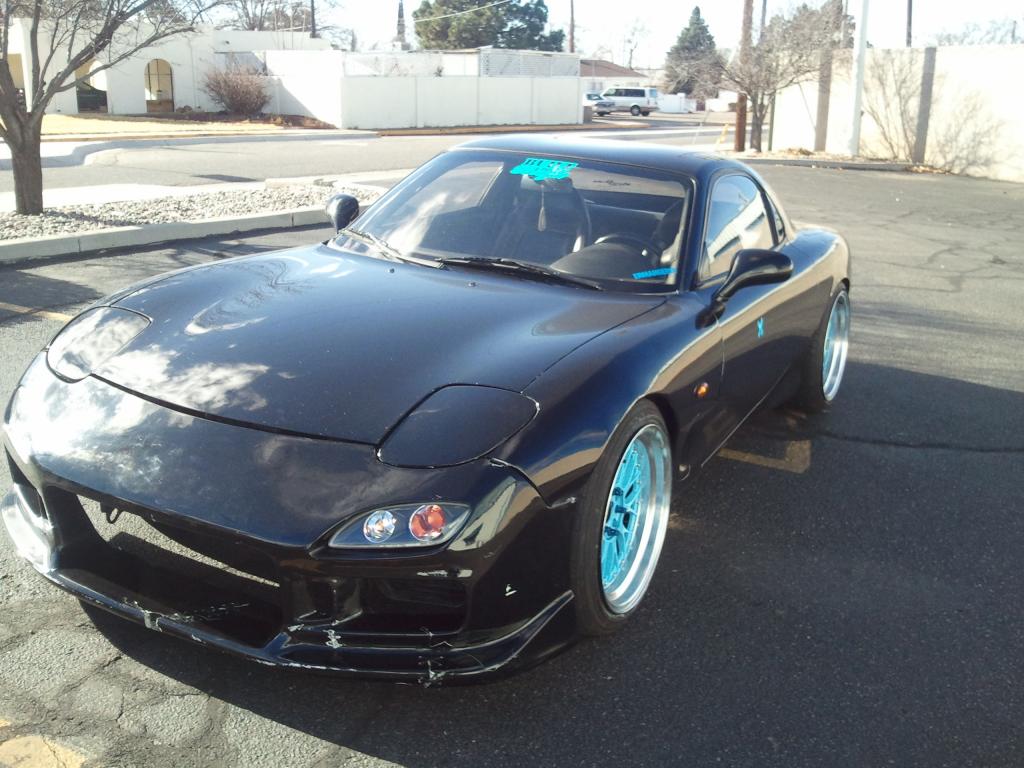
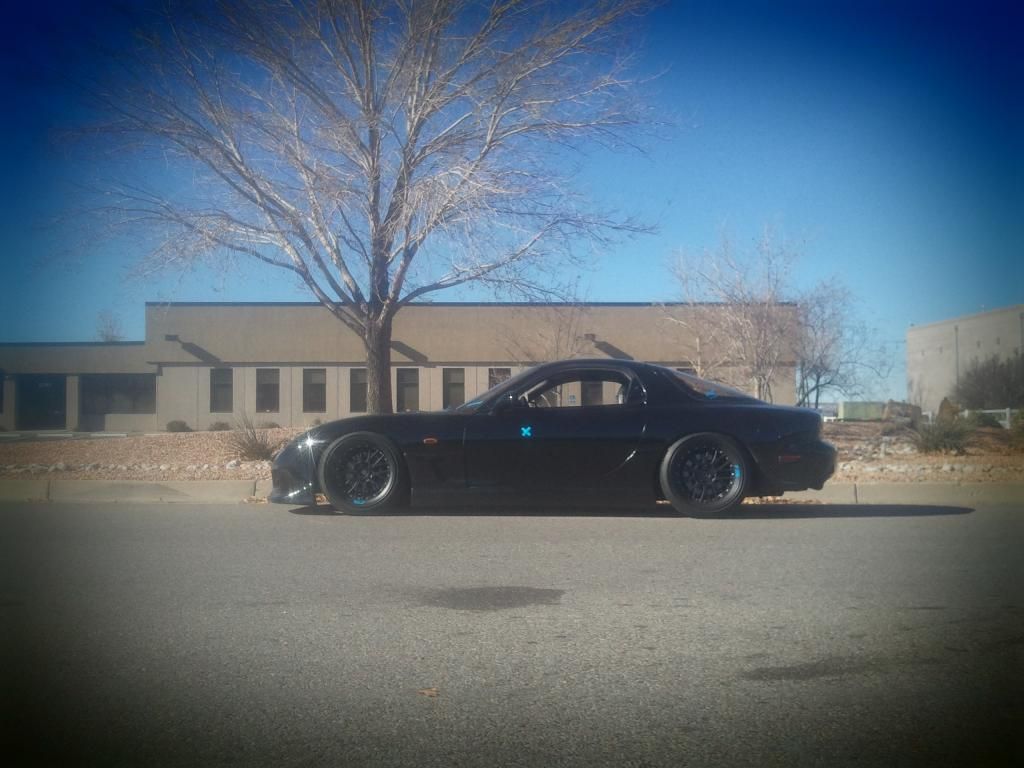
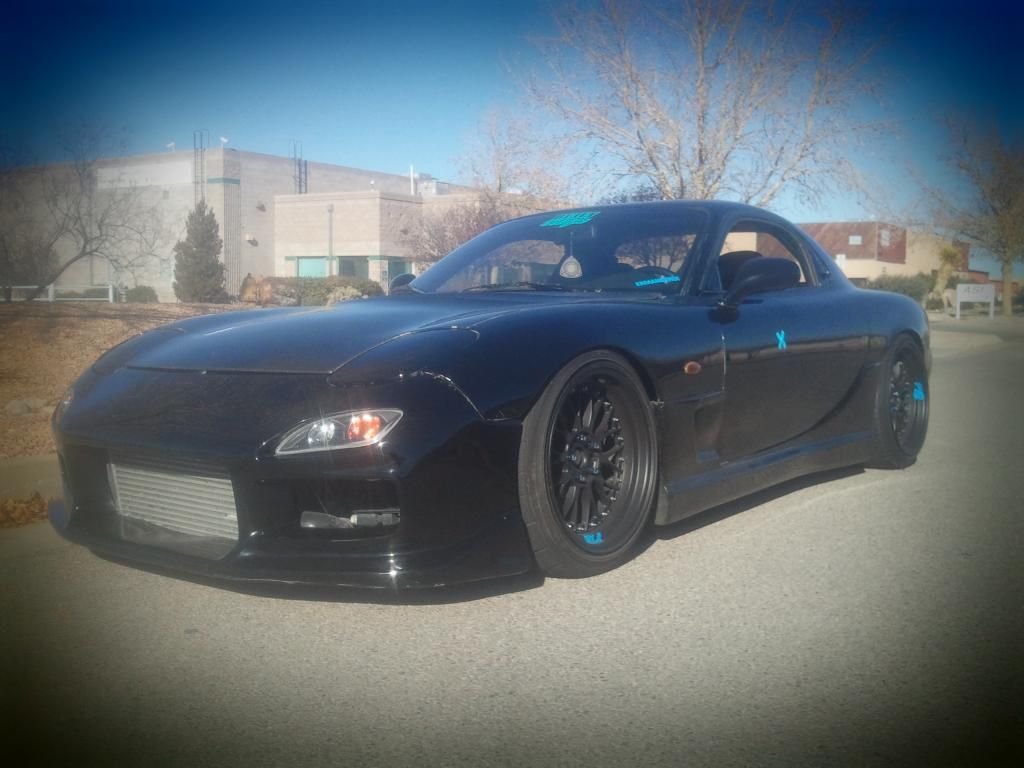
I also decided to shave some stuff off the bumper and skirts. I like the C-west stuff, but for some reason I wasn't feeling the extra random ducts on both the bumper and skirts. I love it on some cars, but I wanted more of a Sexy Style aero on my car. That, and there's already another black FD in town with C-west aero:
http://i228.photobucket.com/albums/e..._4876583_n.jpg
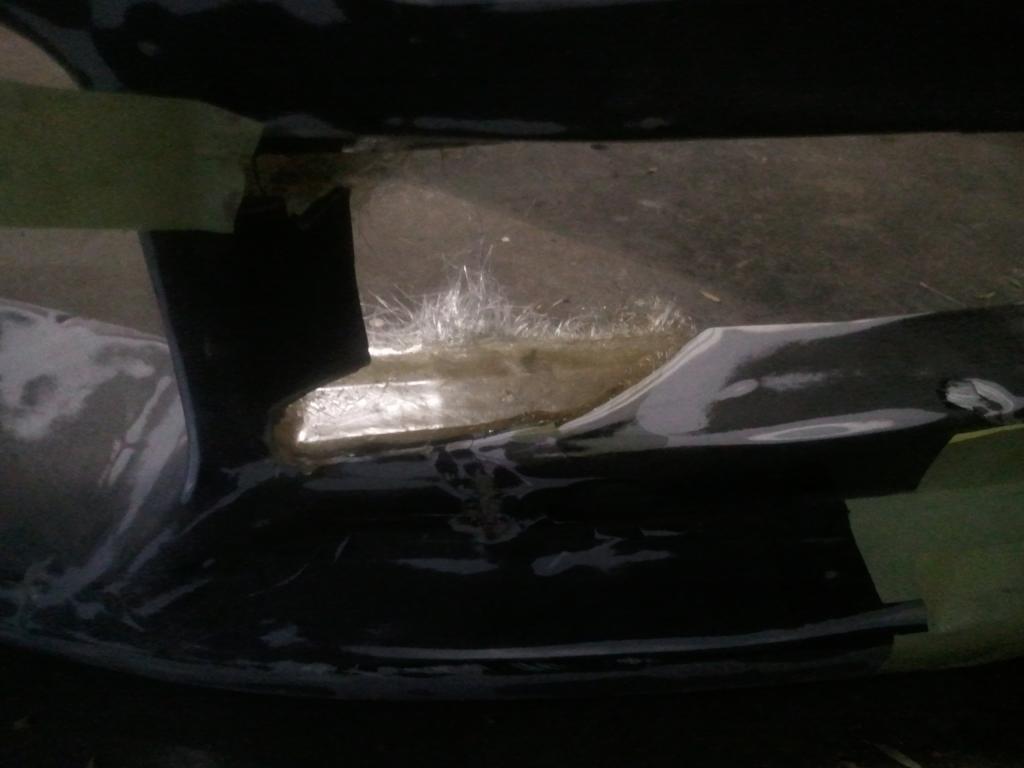
So I began by cutting the edges of the pocket of the sideskirt, taping the pocket flush with the rest of the bumper, and fiberglassing the backside to hold it still. After letting it dry I began glassing the front.
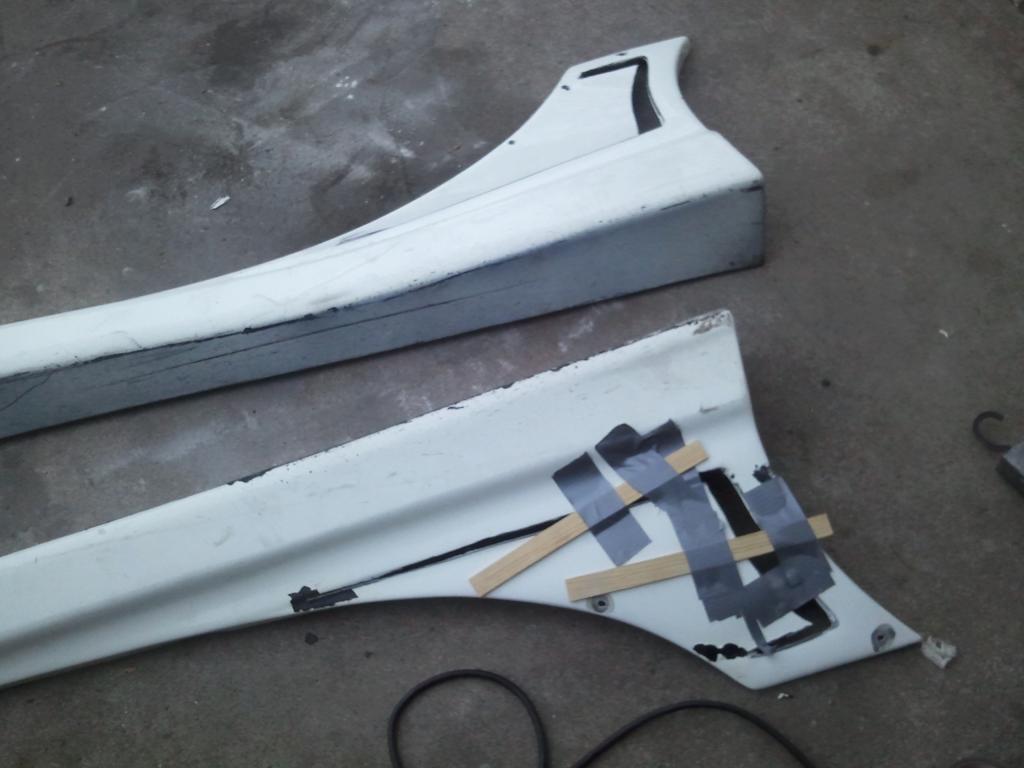

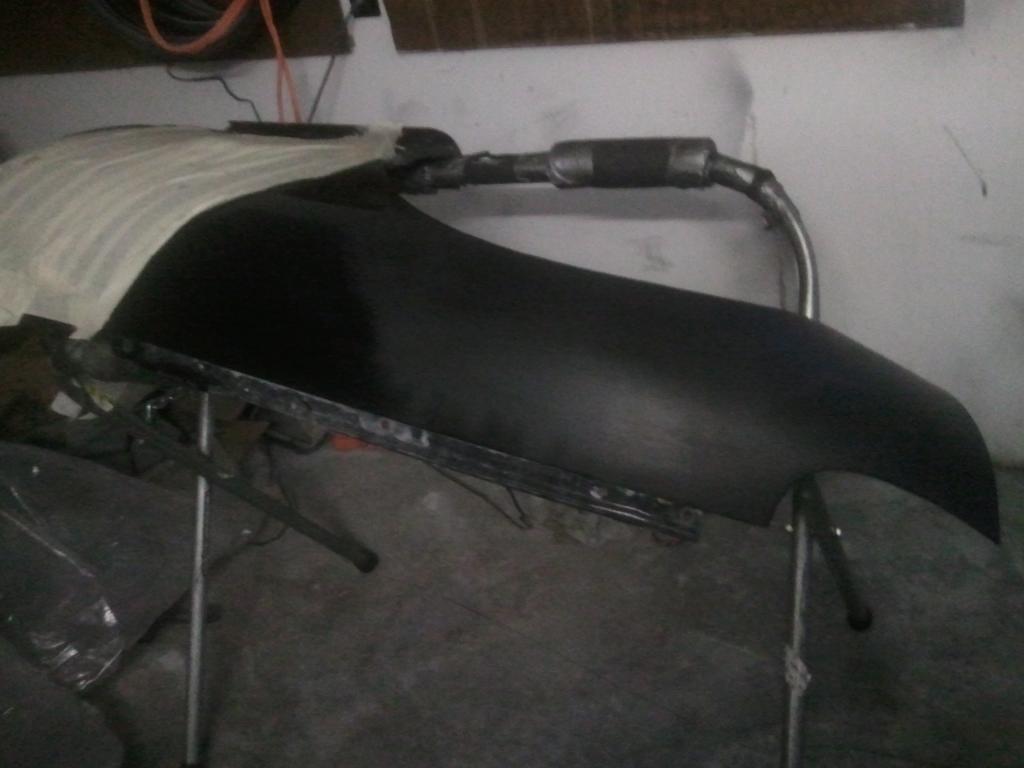
Sand, bondo, sand, bondo, sand, bondo until the surface was flat. I also filled in the holes from where the skirts were riveted to the previous car. These bad boys were ready for paint.
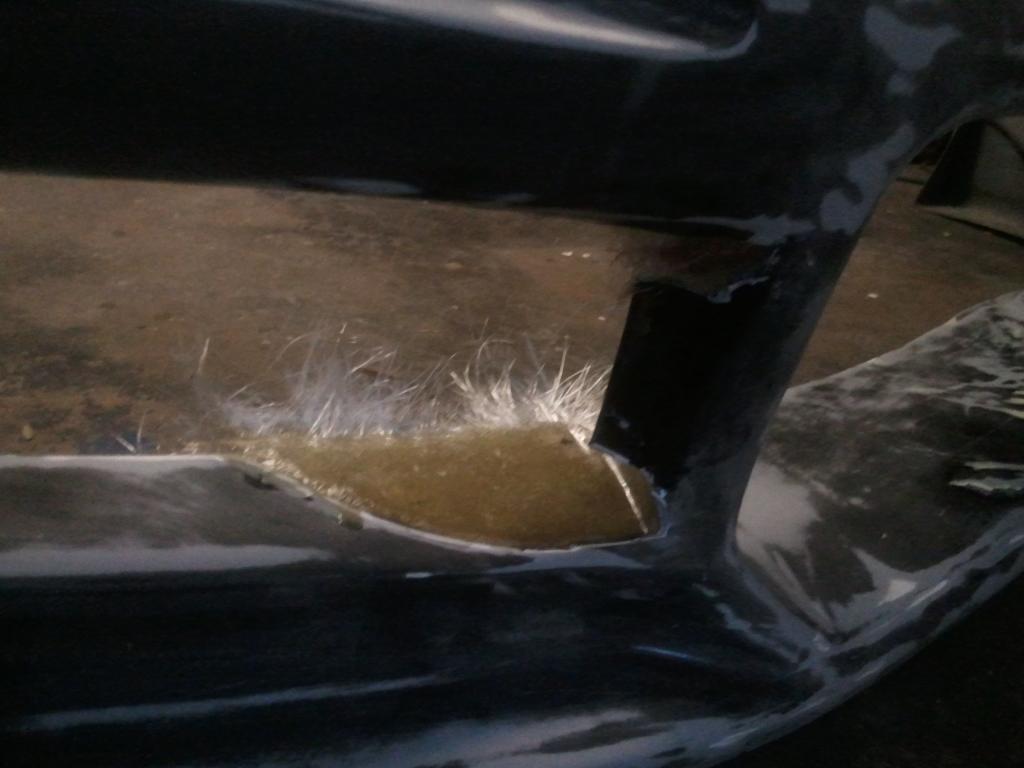
I began working on the bumper. This wasn't so straight forward, as cutting the two smaller pockets out left gaping holes in the larger pockets.
Slice
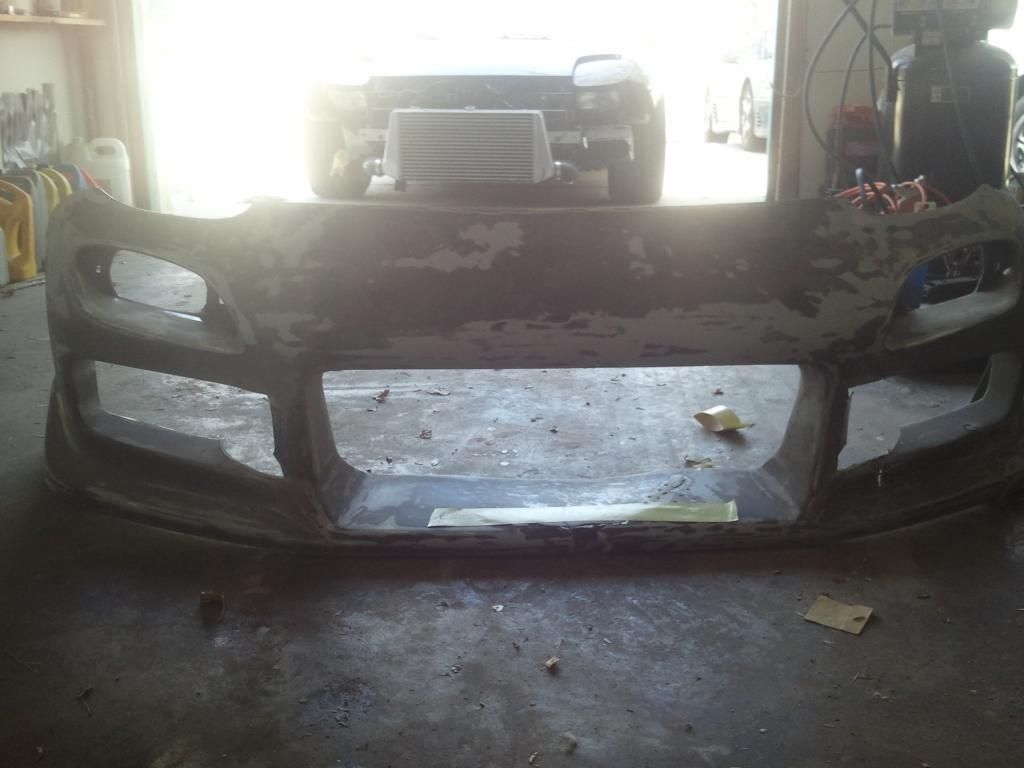
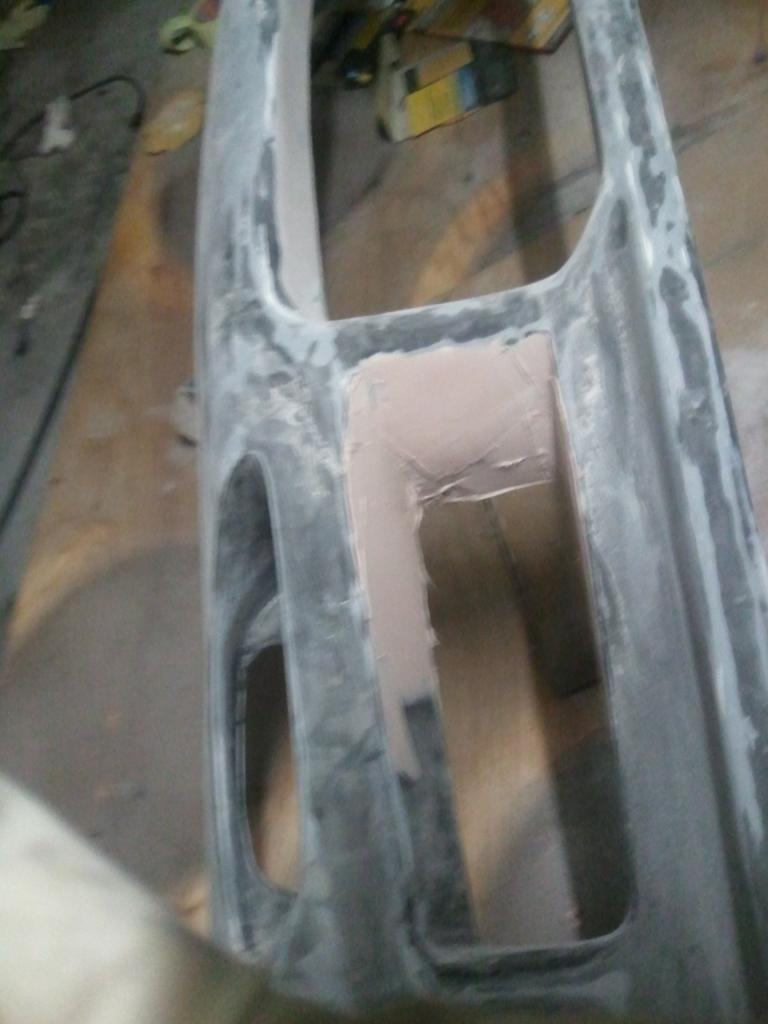
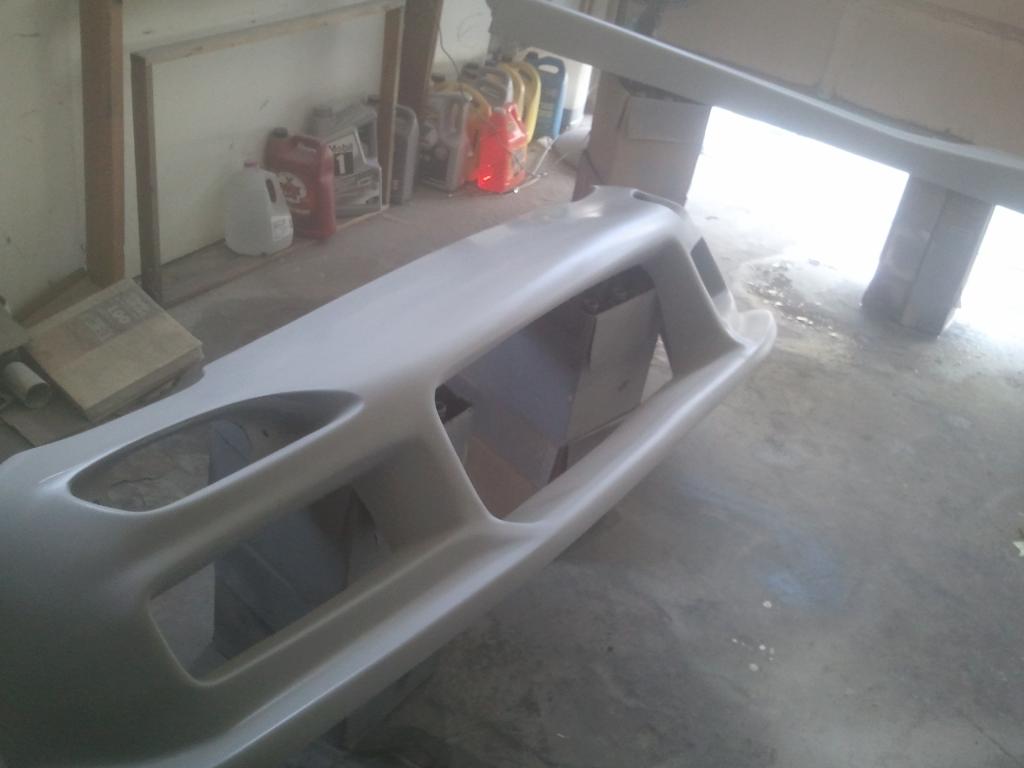
So I needed to figure out how to make those empty areas from the pockets I cut out go away. I taped some paint sticks together and taped them to the tops and bottoms of the newly created wide-*** vents. I then fiberglassed over them, let them dry, and removed the paint sticks. Leaving a smooth fiberglass surface.
I finished this project a few months ago, but time has not been on my side and I haven't been able to make a thread about it. Some of you might know that I'm pretty broke and have been building an FD on a budget. A couple of years ago, I was in need of a front bumper to finish the exterior of the car. So I bought this for 100 bucks:

Its a crappy fiberglass C west knock off that came off of this car:
So I taught myself how to paint and do bodywork on that bumper. Looked great for a while but after a while of driving the car hard, it looked like this:

I drove around like this for months, then decided to repair the bumper since I don't have the money for a better, less cheap fiberglassy unit. Also, in a weird roundabout way, I got these sideskirts for free. Coincidentally off of the SAME car.

I also decided to shave some stuff off the bumper and skirts. I like the C-west stuff, but for some reason I wasn't feeling the extra random ducts on both the bumper and skirts. I love it on some cars, but I wanted more of a Sexy Style aero on my car. That, and there's already another black FD in town with C-west aero:
http://i228.photobucket.com/albums/e..._4876583_n.jpg
So I began by cutting the edges of the pocket of the sideskirt, taping the pocket flush with the rest of the bumper, and fiberglassing the backside to hold it still. After letting it dry I began glassing the front.


Sand, bondo, sand, bondo, sand, bondo until the surface was flat. I also filled in the holes from where the skirts were riveted to the previous car. These bad boys were ready for paint.

I began working on the bumper. This wasn't so straight forward, as cutting the two smaller pockets out left gaping holes in the larger pockets.

Slice

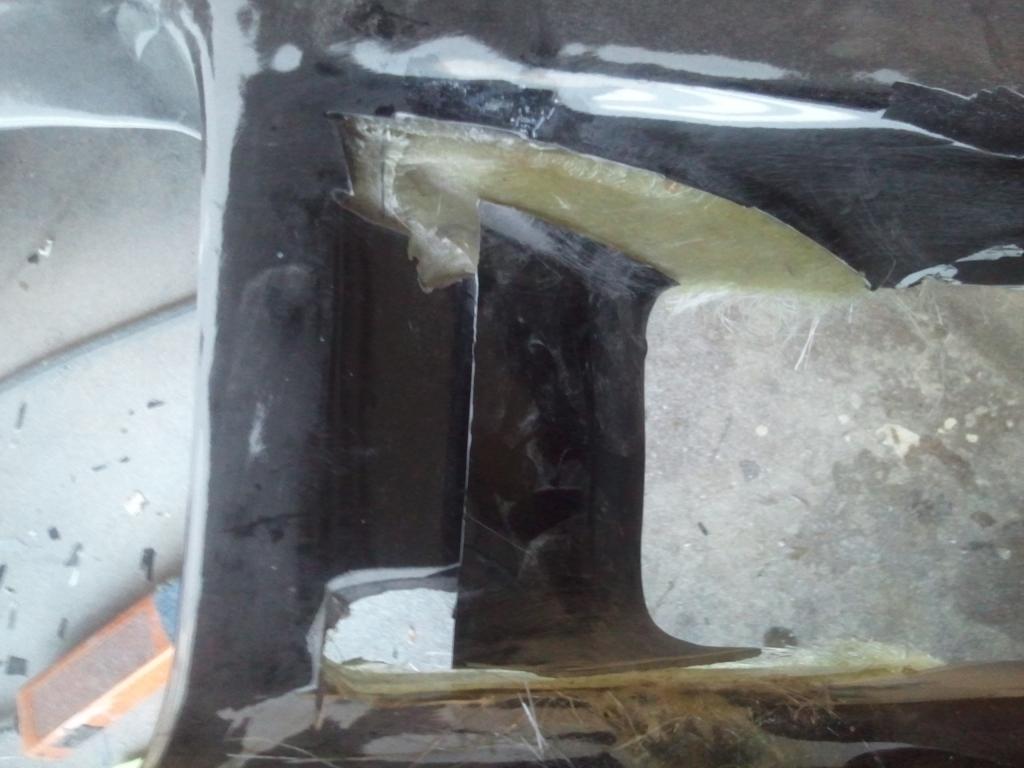
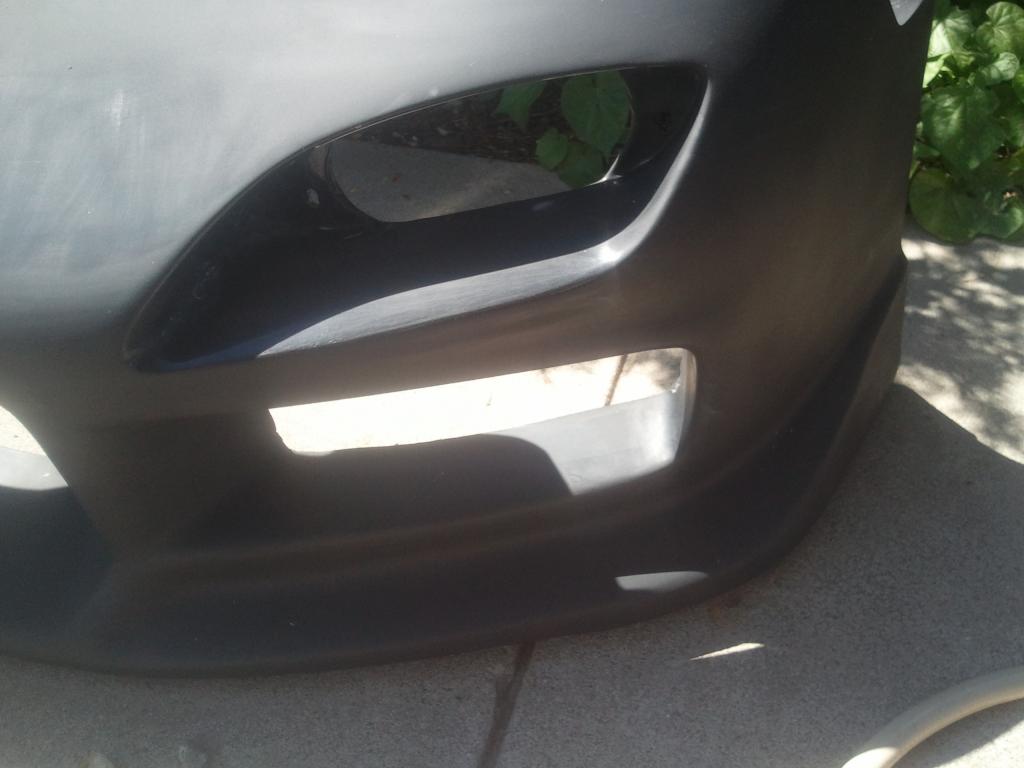
So I needed to figure out how to make those empty areas from the pockets I cut out go away. I taped some paint sticks together and taped them to the tops and bottoms of the newly created wide-*** vents. I then fiberglassed over them, let them dry, and removed the paint sticks. Leaving a smooth fiberglass surface.


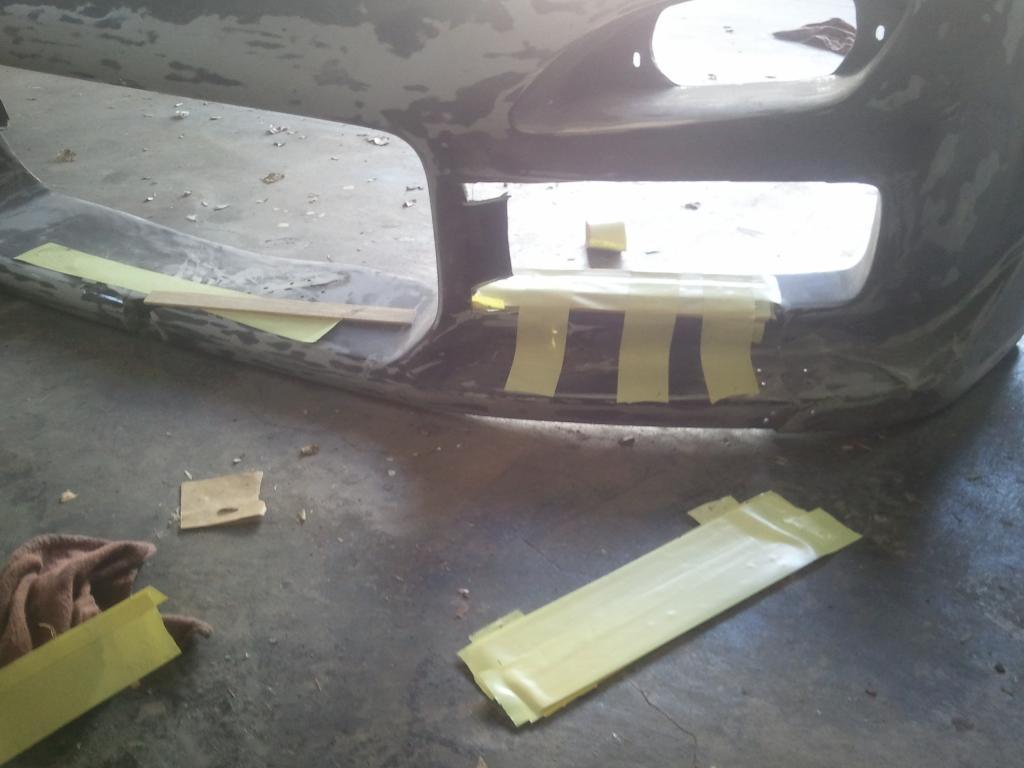
As you can see from the last pic, the inner side of the new big-*** vents is not long enough to meet up flush with the top and bottom parts of the vents. I had to get creative. Using the pockets I had cut out and a little yellow tape, a template was born
Glassed the backside, then removed template
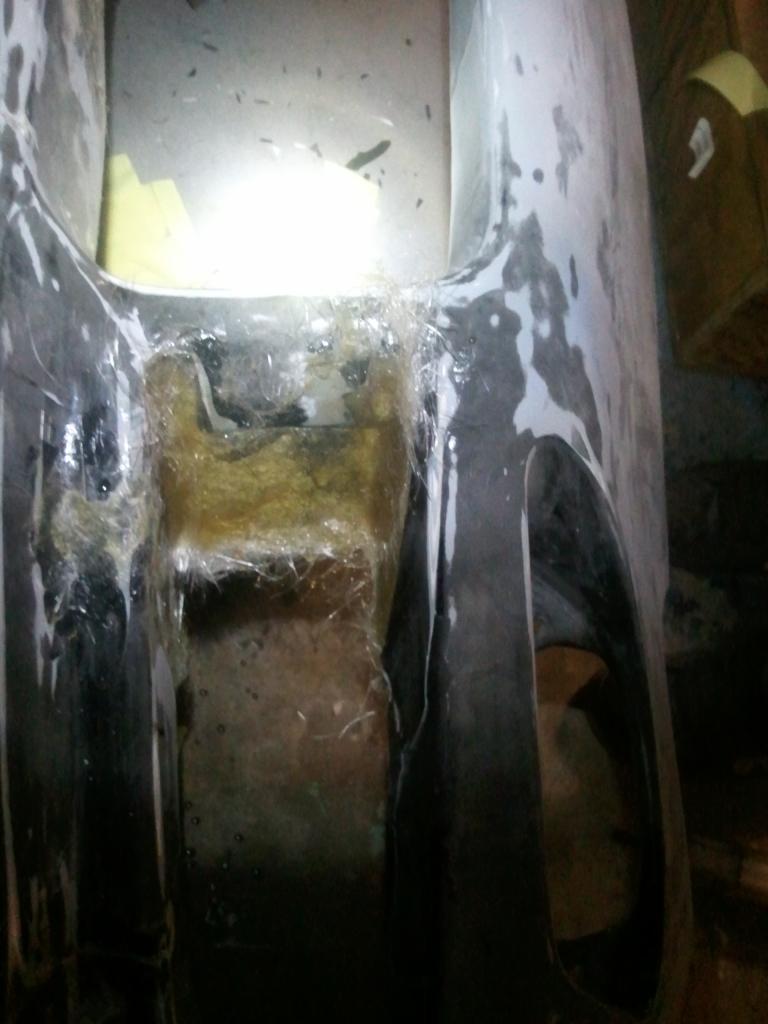
Bondo sand bondo sand bondo sand until the surfaces are flat and you want to hit your spouse.
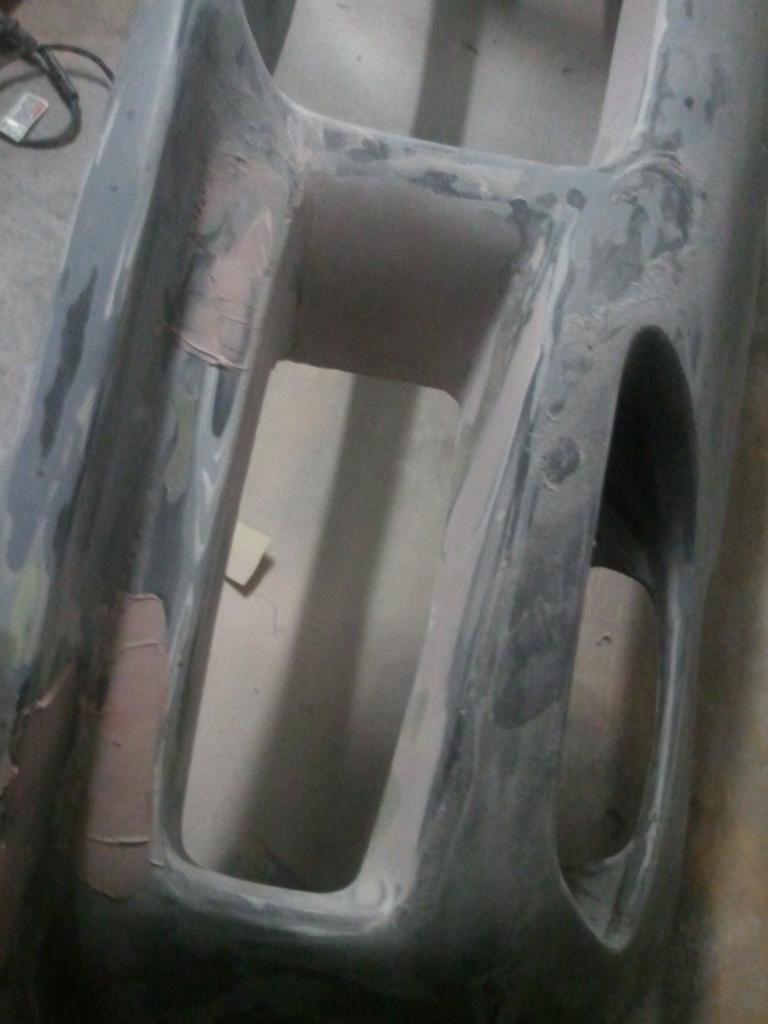
I then repaired all the other holes I had with fiberglass and then bondo. Sanded everything up to 400 grit and got everything smooth and ready for paint
Mixing primer
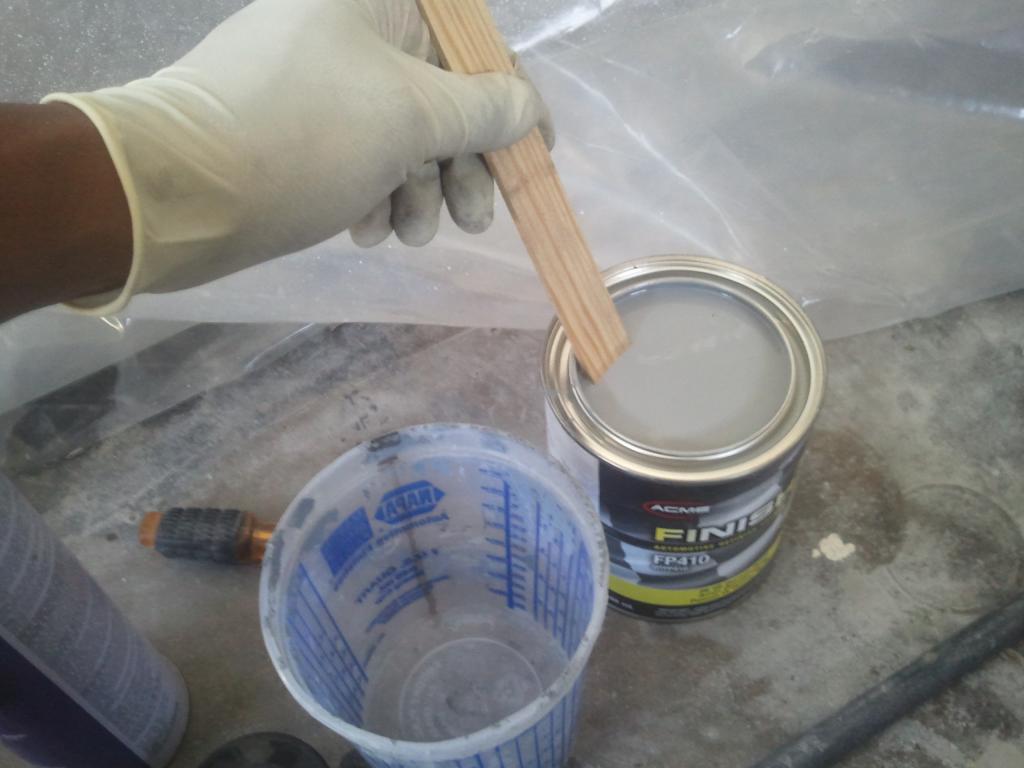
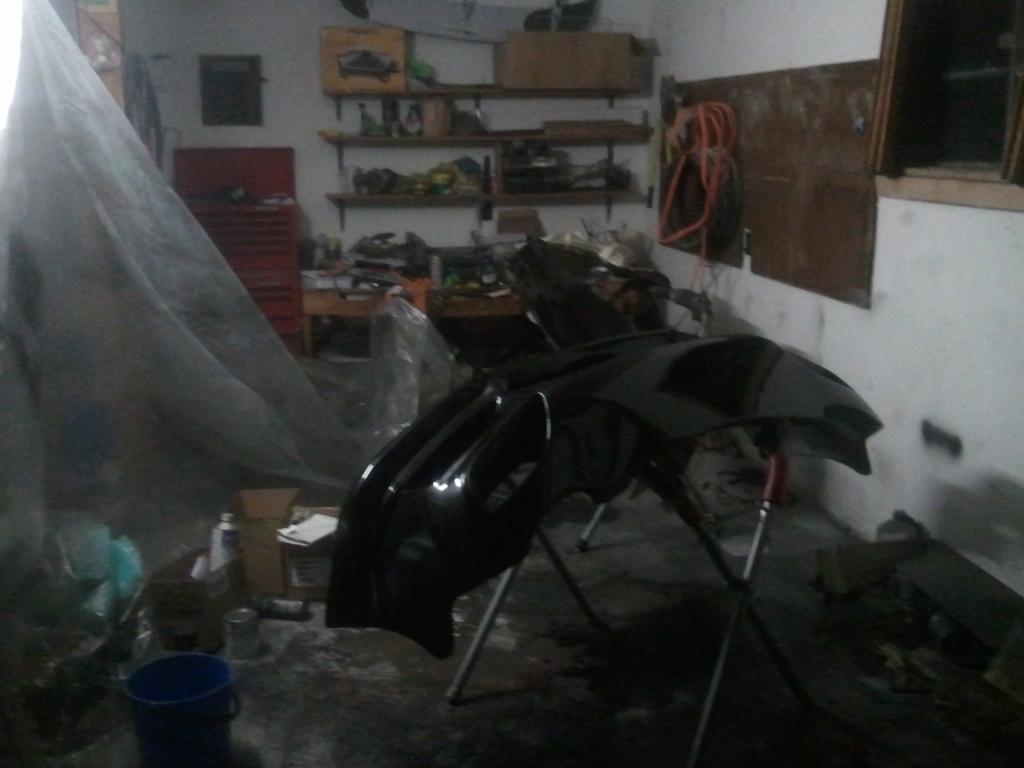
Primered. excuse the messy garage/paint booth I was in the zone.
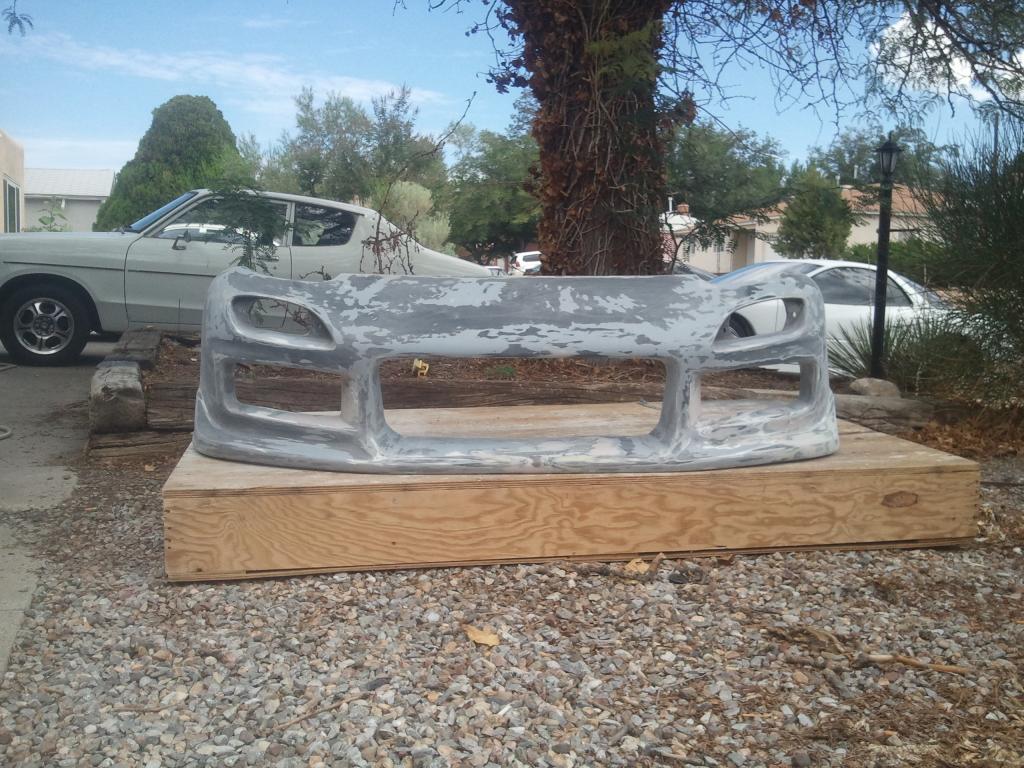
sprayed a guide coat with spray paint on everything, then block sanded until the spray paint was gone. This ensured a flat surface.

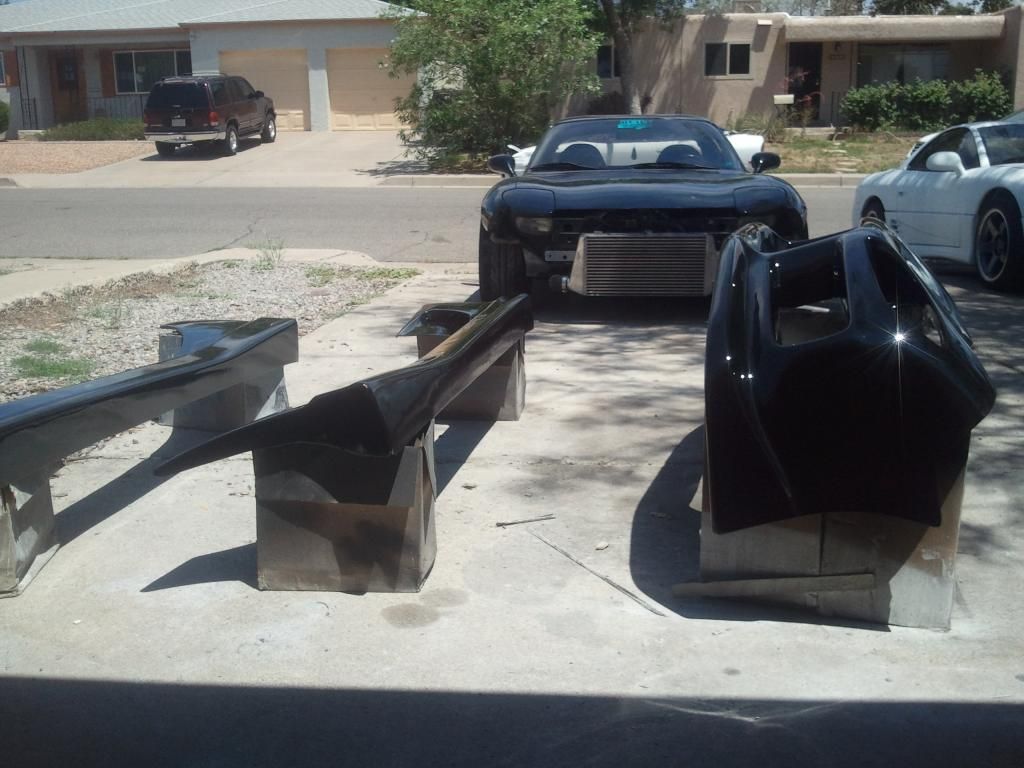
Painted


Glassed the backside, then removed template

Bondo sand bondo sand bondo sand until the surfaces are flat and you want to hit your spouse.


I then repaired all the other holes I had with fiberglass and then bondo. Sanded everything up to 400 grit and got everything smooth and ready for paint

Mixing primer

Primered. excuse the messy garage/paint booth I was in the zone.

sprayed a guide coat with spray paint on everything, then block sanded until the spray paint was gone. This ensured a flat surface.

Painted


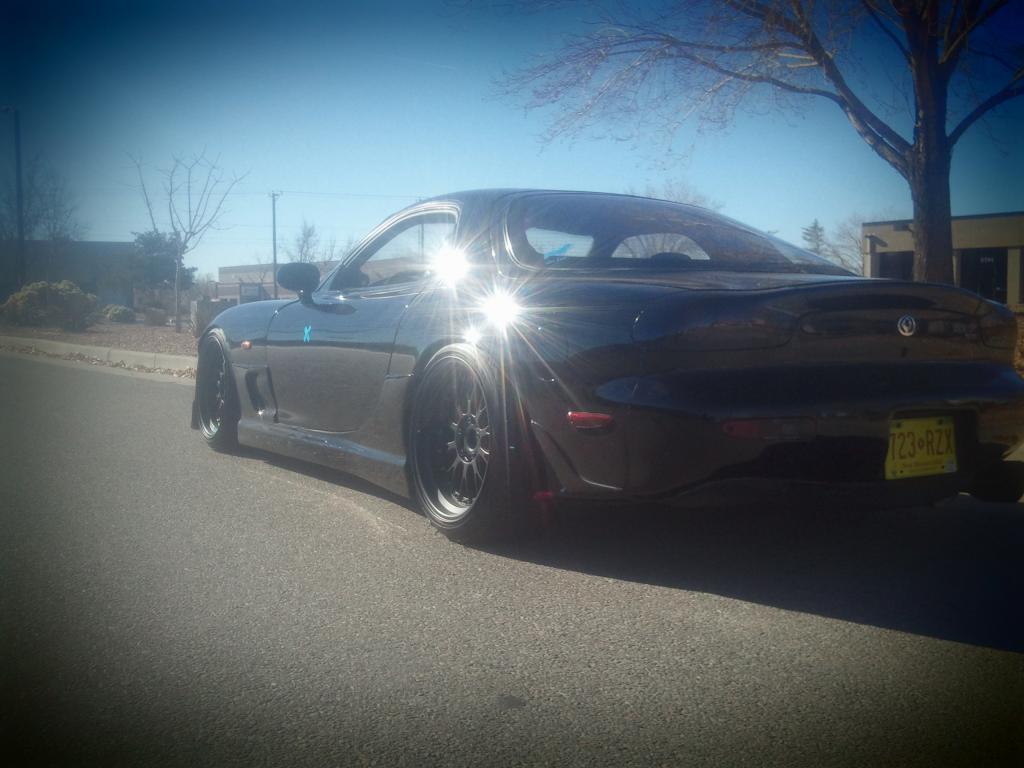
Installed
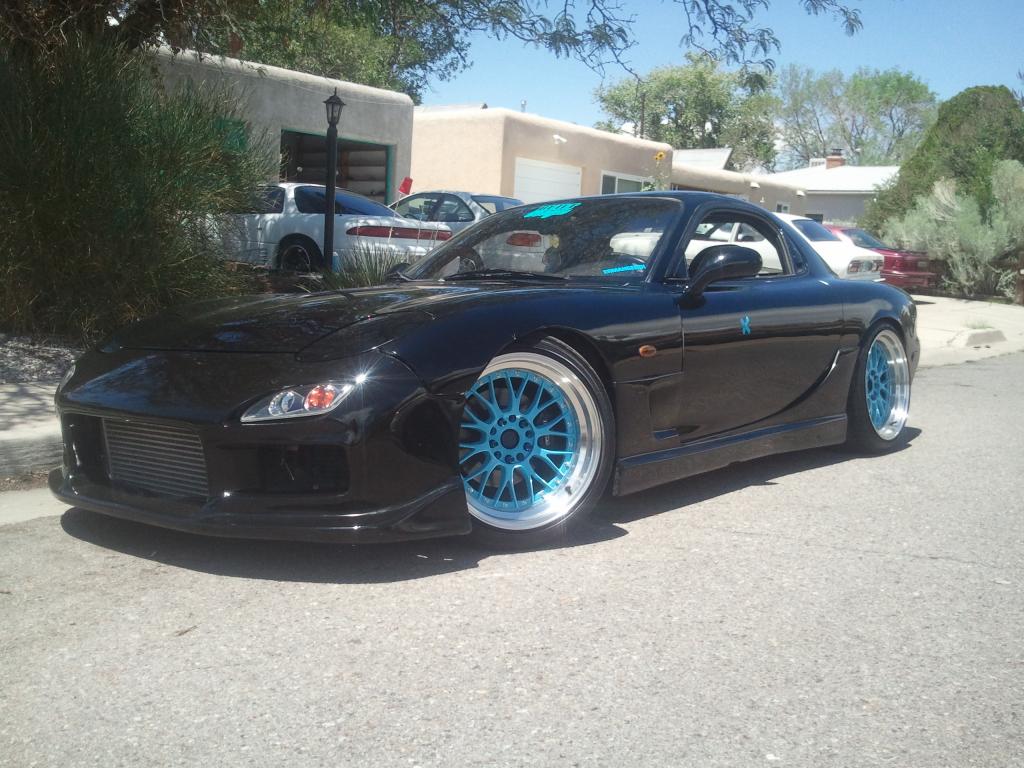
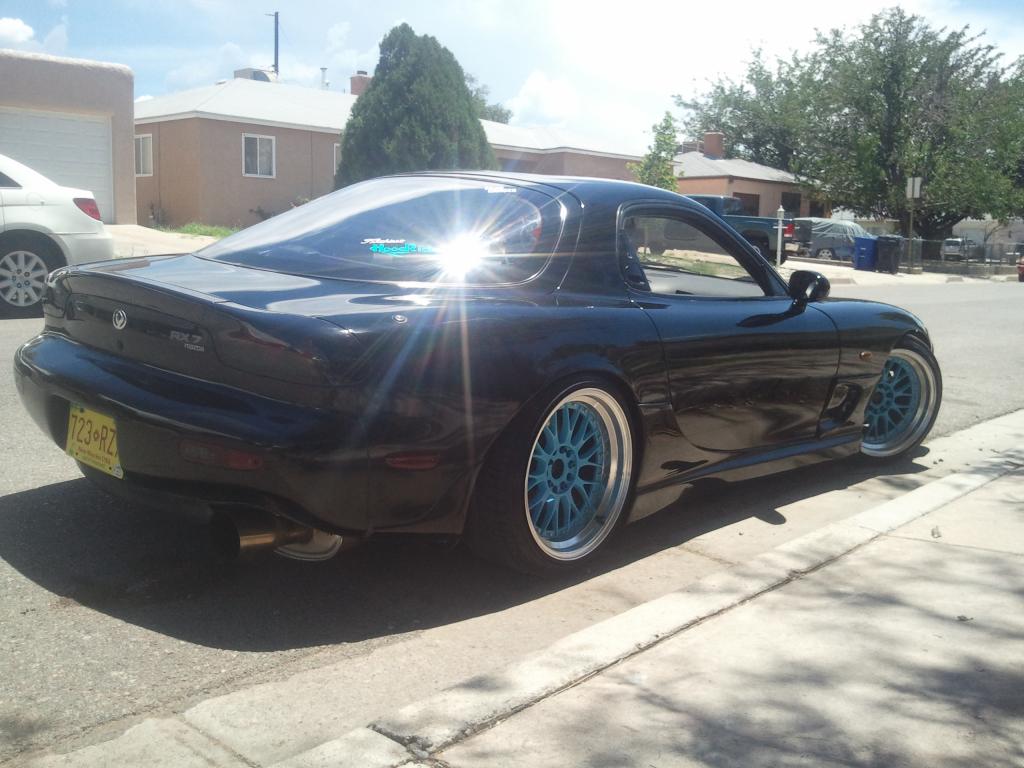
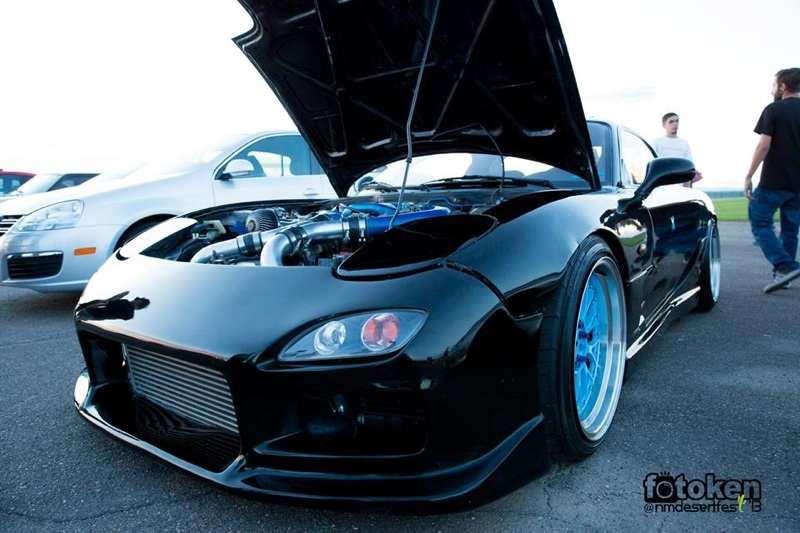
Cut and buffed the whole car. Got it looking AMAZING. (This is my reflection in the hood)

Took it to a local show and shine. Bumper fitment isn't on point in this pic. Never is and most likely will never totally be on point. Its held on by zip ties since I have to take the damn thing off so often.
Aaaaaannnnnd about two weeks after all the paint work I did this. Lololololol
I wanted to be cool and slide my car into a curb. Could've been much worse if it wasn't secured by zip ties. They broke off and allowed the bumper to fly to safety. Thank you zip ties!


Cut and buffed the whole car. Got it looking AMAZING. (This is my reflection in the hood)

Took it to a local show and shine. Bumper fitment isn't on point in this pic. Never is and most likely will never totally be on point. Its held on by zip ties since I have to take the damn thing off so often.

Aaaaaannnnnd about two weeks after all the paint work I did this. Lololololol

I wanted to be cool and slide my car into a curb. Could've been much worse if it wasn't secured by zip ties. They broke off and allowed the bumper to fly to safety. Thank you zip ties!
I didn't take many pics of the repair this time. Basically i fit the broken chunks together like a puzzle, fiberglassed, sanded and bondo'd x30000000, primered and painted. Also fixed a cracking fender, primered and repainted the damaged part too. The fender looked great for a while but now is cracking in a different spot lol. At least I got some practice blending paint repairs.
And that's about it for this project. My work is faaaarrrrr from perfect, but at least I'm learning to do stuff like this myself, and most people who have seen my car can't tell I did any custom work to it. The aero fitment is not good at all and I may fix it one day. I don't really have a whole lot of time these days. Oh well, thanks for looking!


And that's about it for this project. My work is faaaarrrrr from perfect, but at least I'm learning to do stuff like this myself, and most people who have seen my car can't tell I did any custom work to it. The aero fitment is not good at all and I may fix it one day. I don't really have a whole lot of time these days. Oh well, thanks for looking!


Trending Topics
Thanks fellas! Yea buying another bumper wasn't really an option financially.
Josue, hope to see you this summer too man. If I ever get enough spare time, I'll venture out to Clovis to visit.
Josue, hope to see you this summer too man. If I ever get enough spare time, I'll venture out to Clovis to visit.


Thread
Thread Starter
Forum
Replies
Last Post