
Schmitty's "Like it or Don't" Drift Build


Thread Starter
Joined: Nov 2004
Posts: 936
Likes: 1
From: Lincoln Park, NJ
I haven't driven at any yet, but I have a buddy that occasionally run at USdrift so I may tow my own car down too instead of being pit crew for him next time.
Nope, fenders do not get cut. The bumper just covers the lower part and tucks into the wheel well.

Procrastinator
Joined: Nov 2015
Posts: 17
Likes: 0
From: Connecticut

F**K THE SYSTEM!!
Joined: Sep 2006
Posts: 2,591
Likes: 1
From: Florida
How do you adjust the whiteline camber bushings? How do you rotate the metal offset insert to change camber.
I ask because I've had mine sitting around because they didn't fit when I tried to out then on. I see you shaved material to make fit and I'm considering giving them another try.
I ask because I've had mine sitting around because they didn't fit when I tried to out then on. I see you shaved material to make fit and I'm considering giving them another try.
Thread Starter
Joined: Nov 2004
Posts: 936
Likes: 1
From: Lincoln Park, NJ
2017 Bump - Still working on this POS.
The "big" winter project was to clean up this wiring mess behind the passenger's seat -
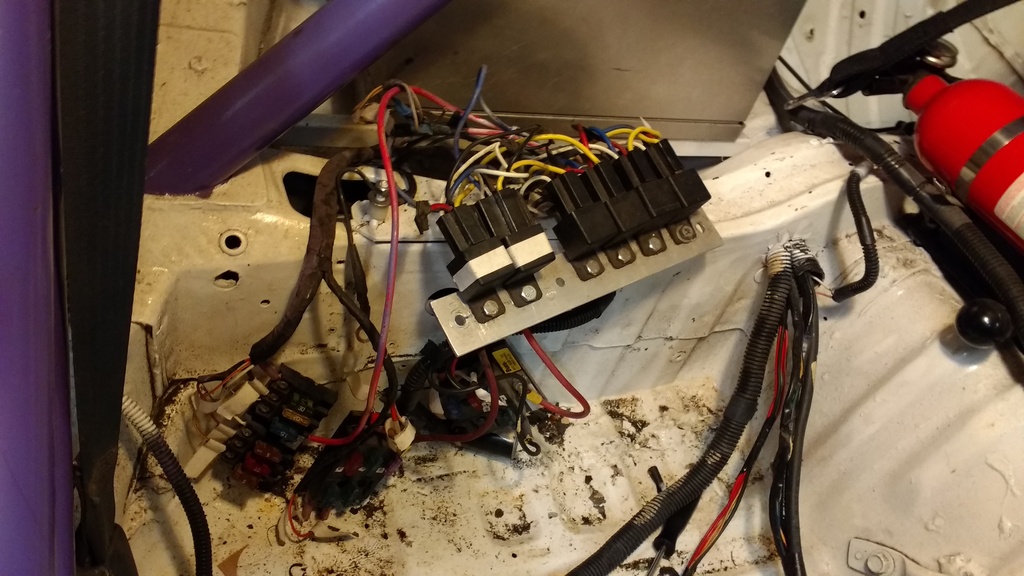
This is basically the power distribution for all the non-RX7 chassis wiring. So it covers the LS wiring and any added systems. I'm moving it so that I can put a matching fixed back seat and harness on the passengers side. Decided that the glove box was the best place to relocate the fuse panels and relays.
Panel delete - mock up -
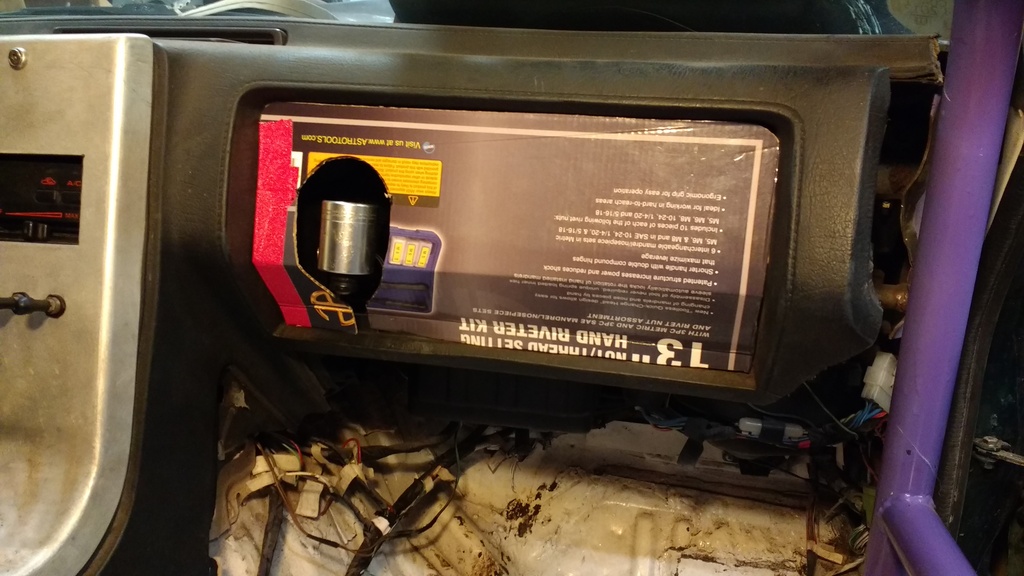
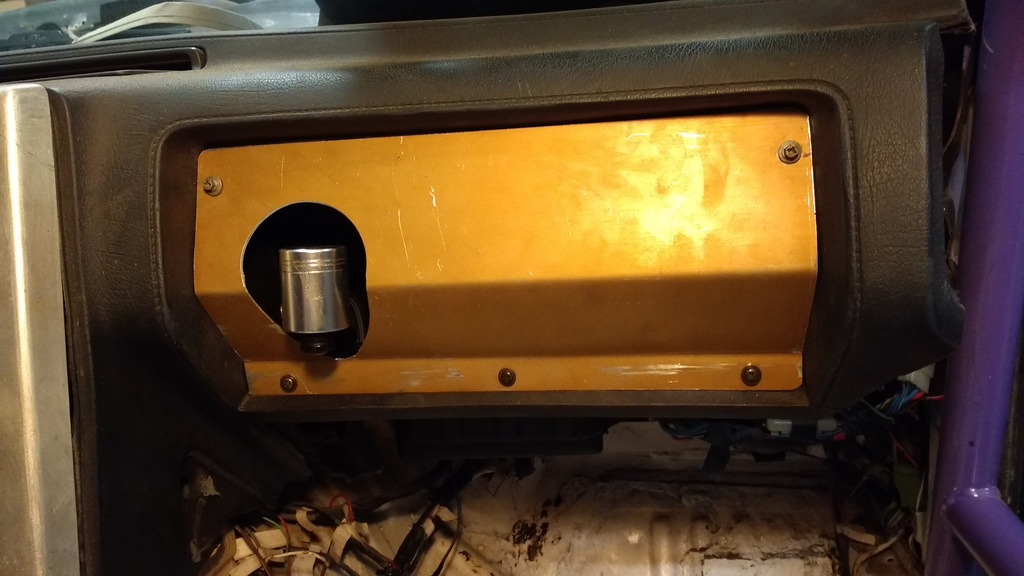
Finished panel with some Hella thru-panel bulkhead fuse blocks and space to fill the hydro reservoir - relays are tucked up behind the panel:
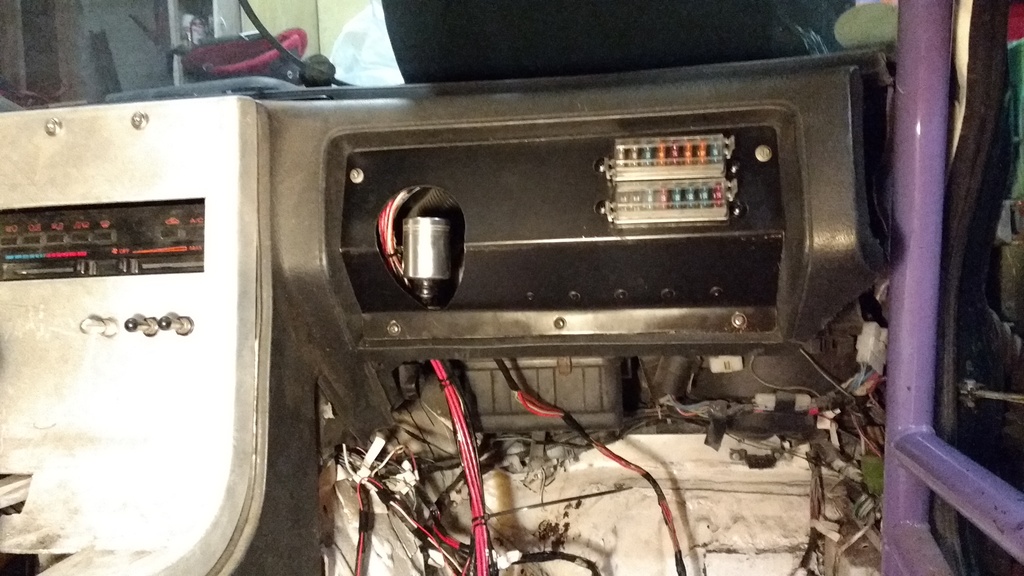
Note - wiring was properly dressed and secured after taking this photo
That's as far as I got on actual "build" improvement for the year since the first event came up quick - March 11 with Lock City Drift at Thompson Speedway in CT.
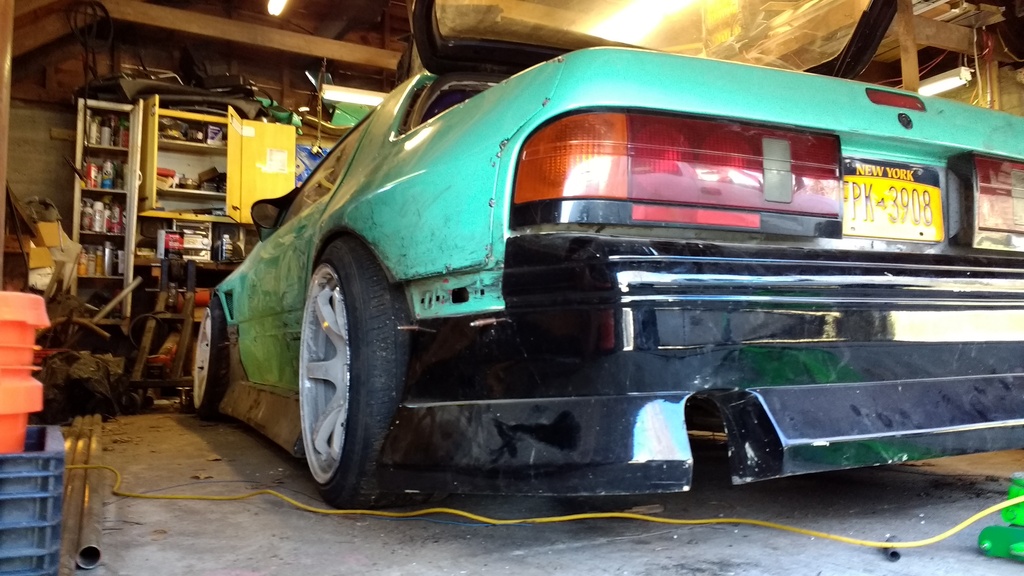
I installed my spare Aero -
Got some mint paint mixed up-
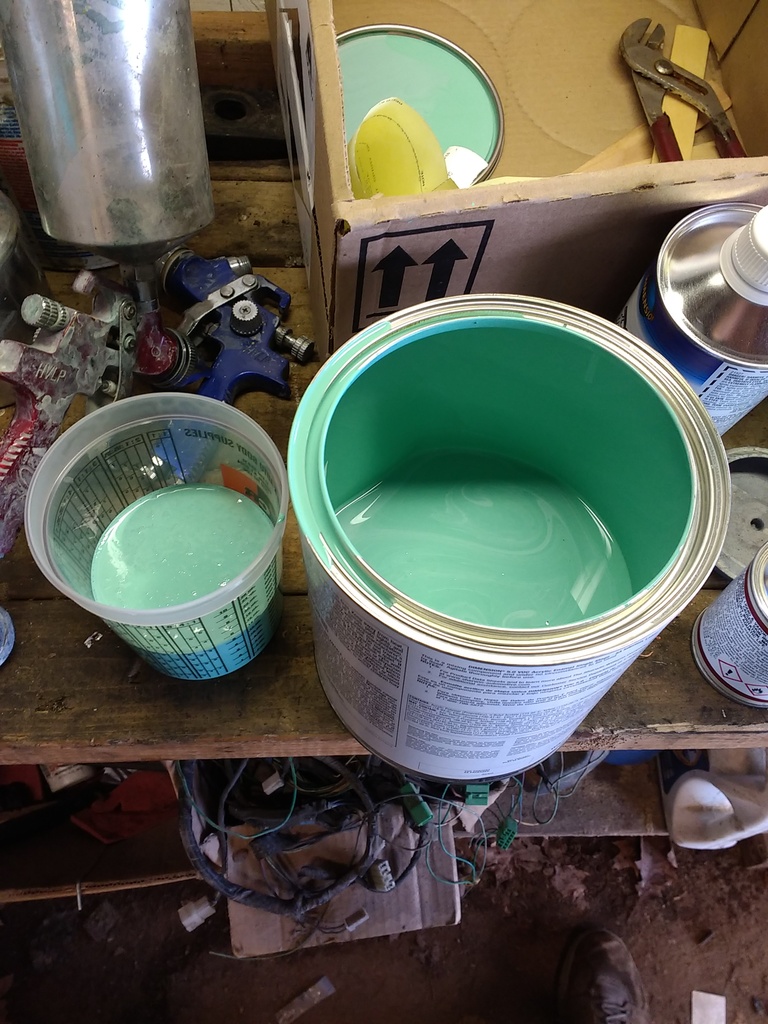
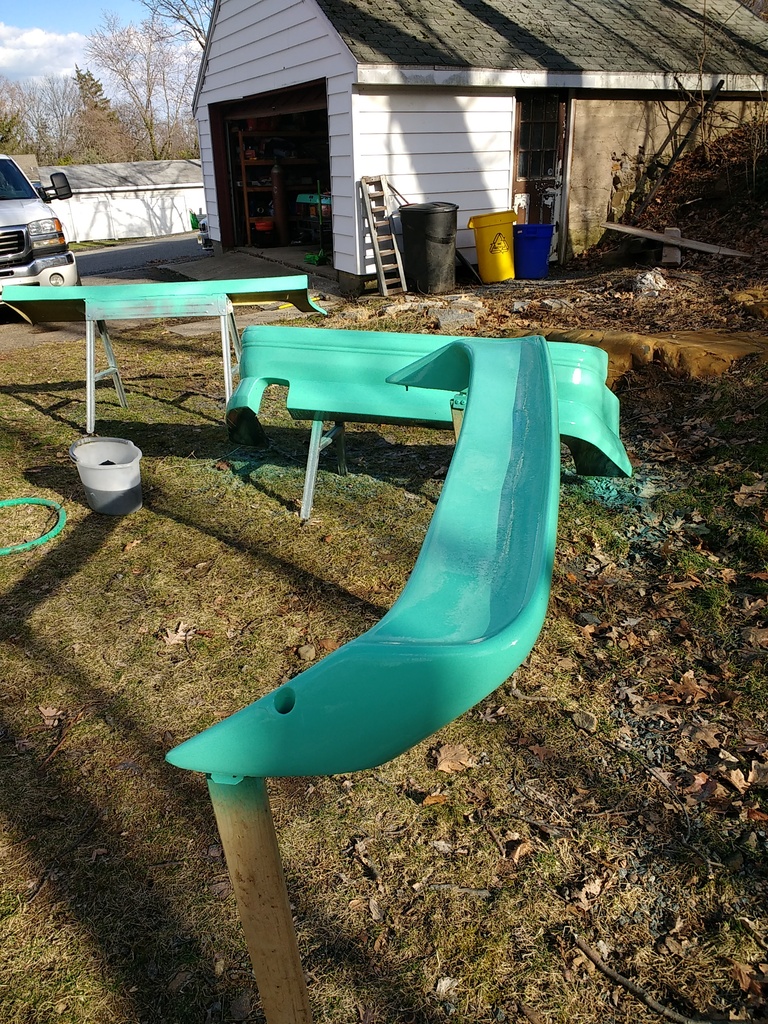
and sprayed some color on one of the days where the weather got into the mid 60s
The "big" winter project was to clean up this wiring mess behind the passenger's seat -
This is basically the power distribution for all the non-RX7 chassis wiring. So it covers the LS wiring and any added systems. I'm moving it so that I can put a matching fixed back seat and harness on the passengers side. Decided that the glove box was the best place to relocate the fuse panels and relays.
Panel delete - mock up -
Finished panel with some Hella thru-panel bulkhead fuse blocks and space to fill the hydro reservoir - relays are tucked up behind the panel:
Note - wiring was properly dressed and secured after taking this photo
That's as far as I got on actual "build" improvement for the year since the first event came up quick - March 11 with Lock City Drift at Thompson Speedway in CT.
I installed my spare Aero -
Got some mint paint mixed up-
and sprayed some color on one of the days where the weather got into the mid 60s
Thread Starter
Joined: Nov 2004
Posts: 936
Likes: 1
From: Lincoln Park, NJ
This weekend was the Thompson event - we got some snow the day before the event so it wasn't looking promising that we'd actually have the event -
All loaded up and ready to party:
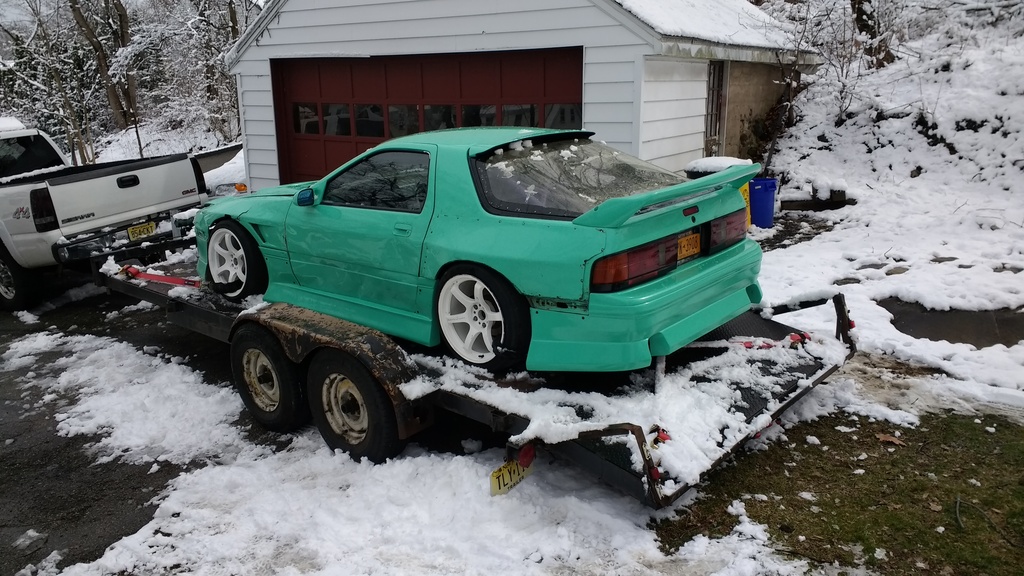
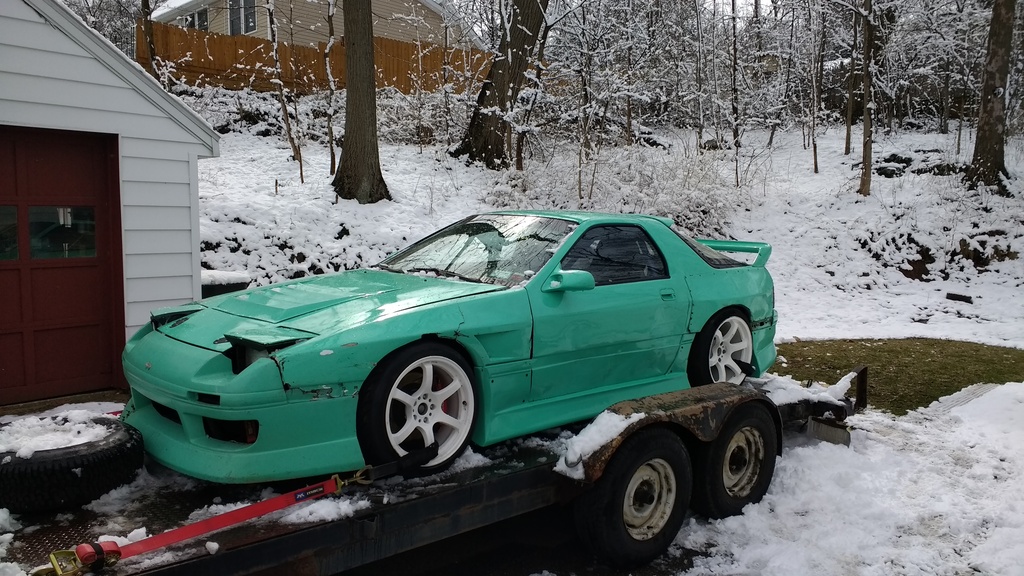
We ended up having the event despite the cold and snow -
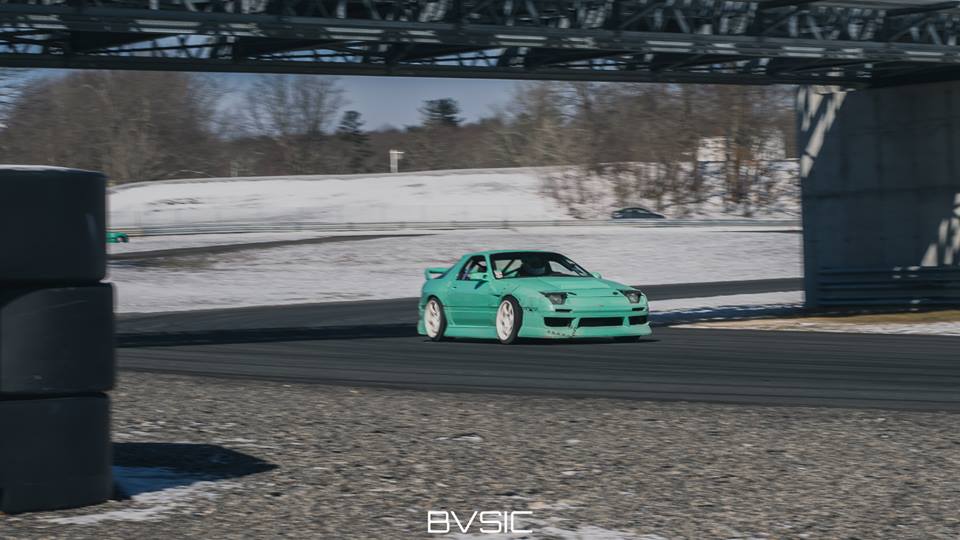
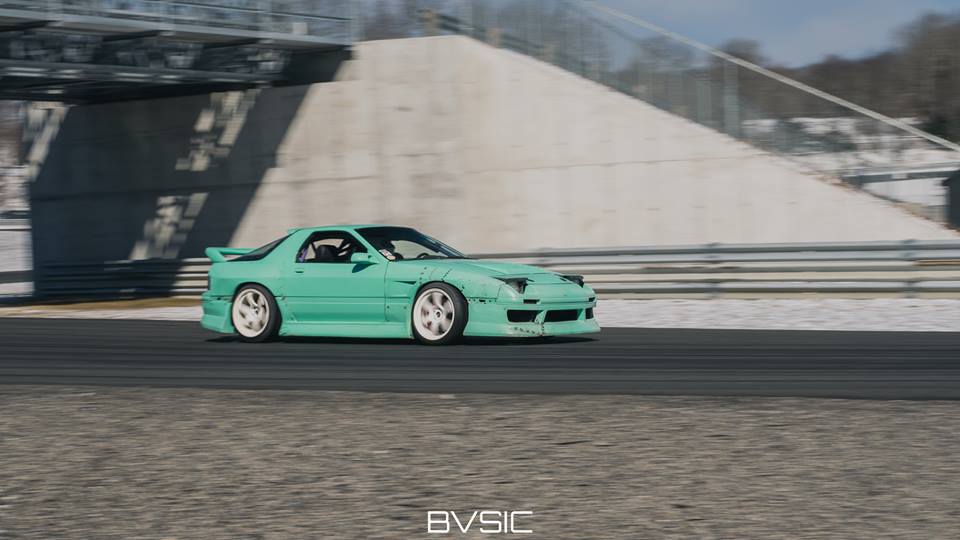
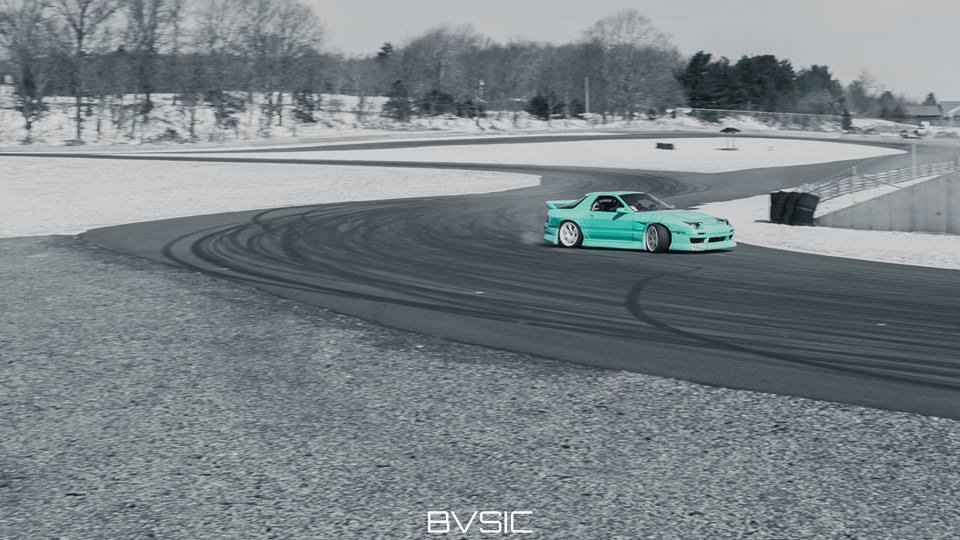
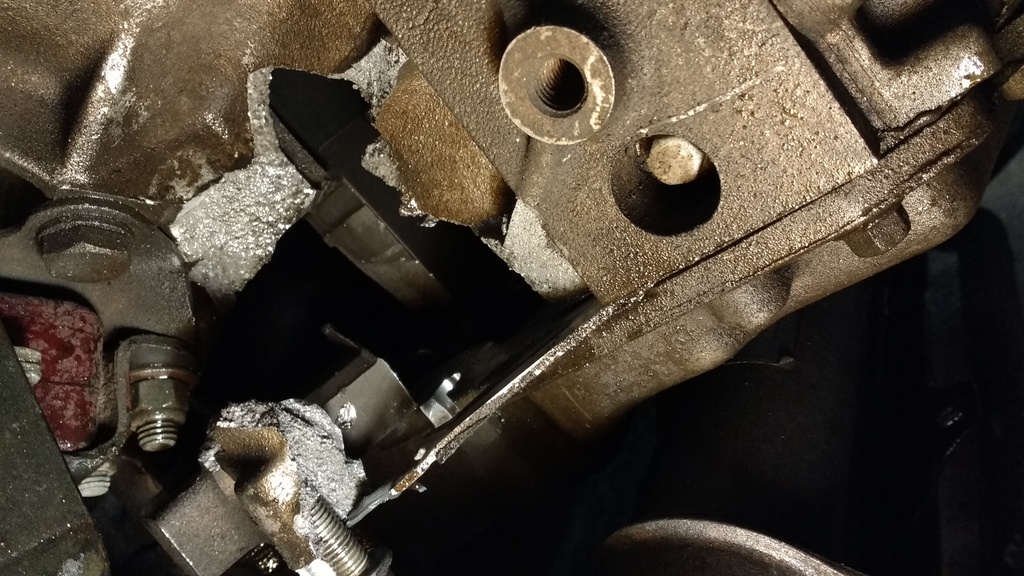
Got a few sighting laps in and was getting the hang of the track but my day ended early with a rod through the block:
My plan before the season gets into full swing was to replace the front fenders, put on a fresh body kit, and get a fresh coat of mint paint... but this motor issue is going to push that back - hoping to get it all completed before ECB.
All loaded up and ready to party:
We ended up having the event despite the cold and snow -
Got a few sighting laps in and was getting the hang of the track but my day ended early with a rod through the block:
My plan before the season gets into full swing was to replace the front fenders, put on a fresh body kit, and get a fresh coat of mint paint... but this motor issue is going to push that back - hoping to get it all completed before ECB.

Unfortunately even V8s need oil 
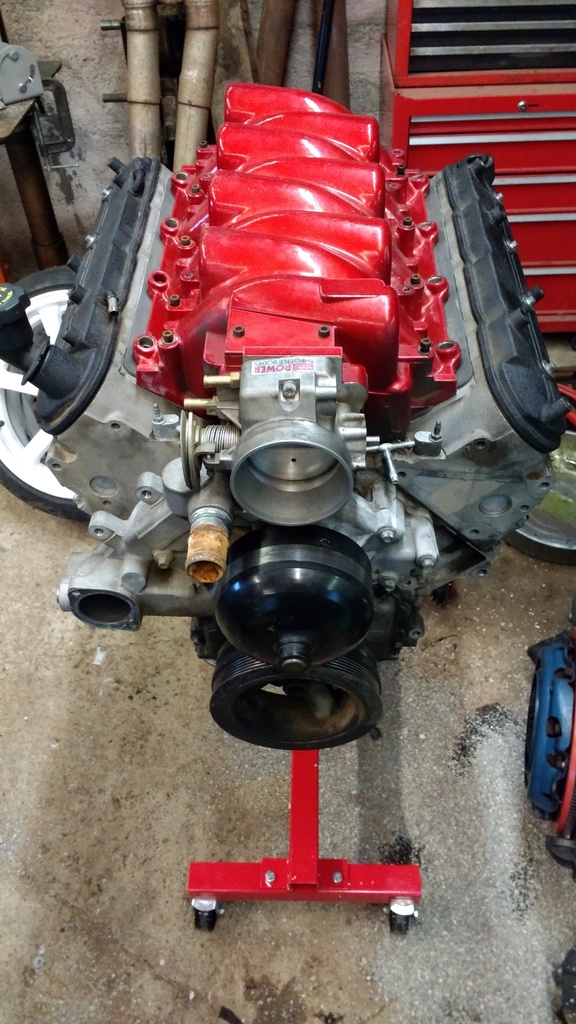
Good news is he could throw an iron truck 5.3 or 6.0 long block in for $500 and at least be running again. For around $1000 it could be an aluminium 5.3 truck long block.
Good news is he could throw an iron truck 5.3 or 6.0 long block in for $500 and at least be running again. For around $1000 it could be an aluminium 5.3 truck long block.
Last edited by LargeOrangeFont; Mar 13, 2017 at 06:07 PM.

Yea.. I think the prices will somewhat drop again over time. There are a lot of L33/LC9 style aluminium 5.3s in the 07-14 trucks. The nice thing is that you can bore them to 5.7 liters.
Thread Starter
Joined: Nov 2004
Posts: 936
Likes: 1
From: Lincoln Park, NJ
For real, I never once had my rotary street car leave me stranded, and I never had a catastrophic rotary engine failure, even when I had it supercharged.
I'll probably keep my eyes peeled for a deal on an aluminum 5.3 and install my 706 heads/cam and keep that as my backup motor.
Last edited by Schmitty; Mar 14, 2017 at 08:40 AM.
Thread Starter
Joined: Nov 2004
Posts: 936
Likes: 1
From: Lincoln Park, NJ
I picked up some used KSP GT-1 reinforced steel hubs on Yahoo Japan for a great price earlier this winter.
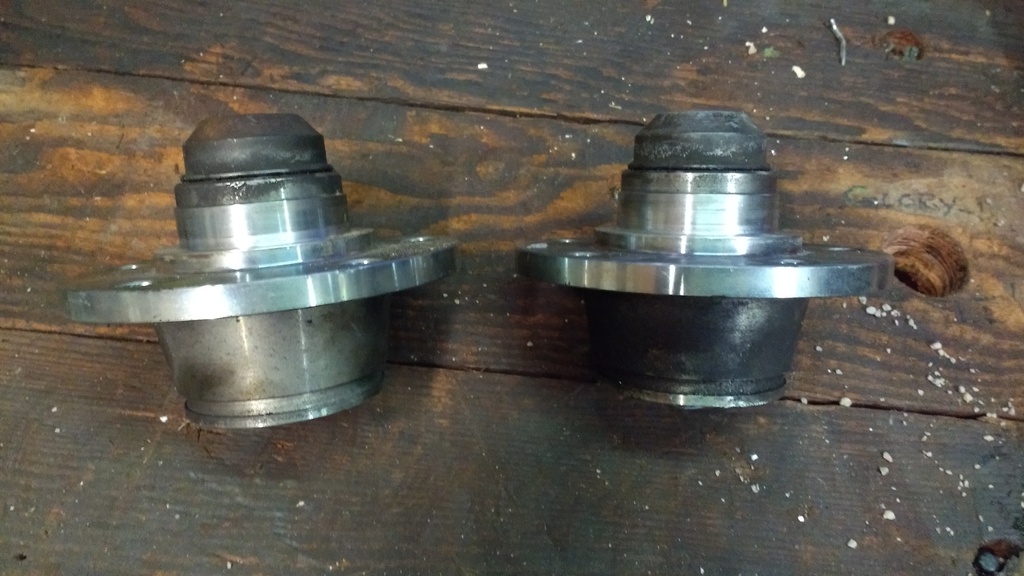
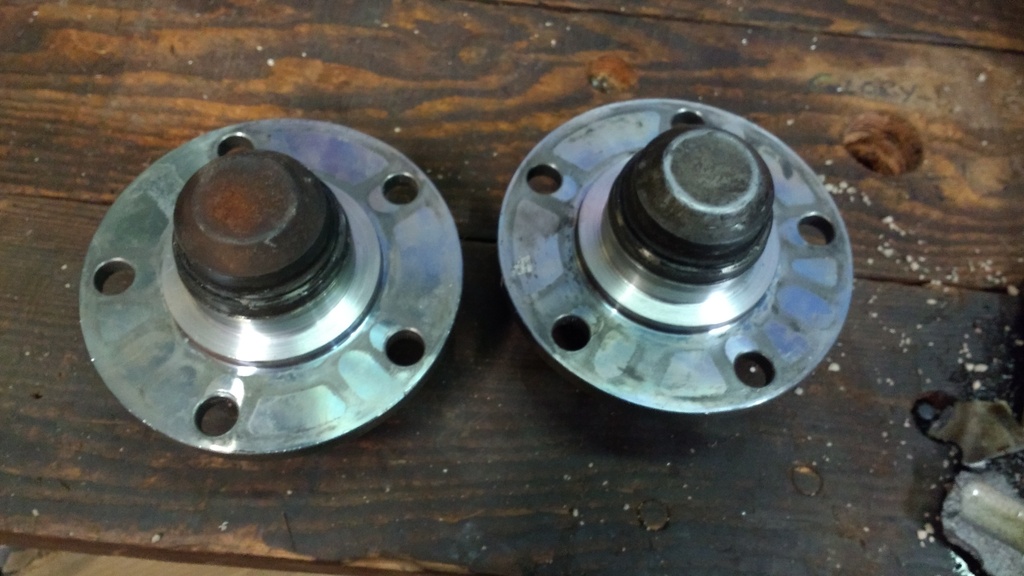
Had to get a portion of the center of the hub turned down to fit my stoptech brake rotors, so I had to pull the studs and instead of putting the provided studs back in, I went with some extended ARP lug studs.
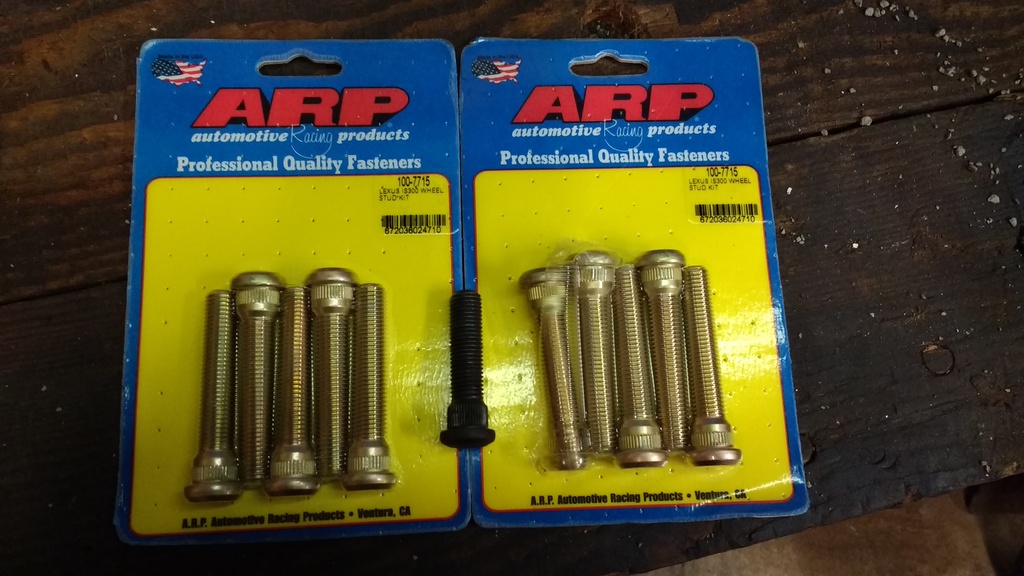
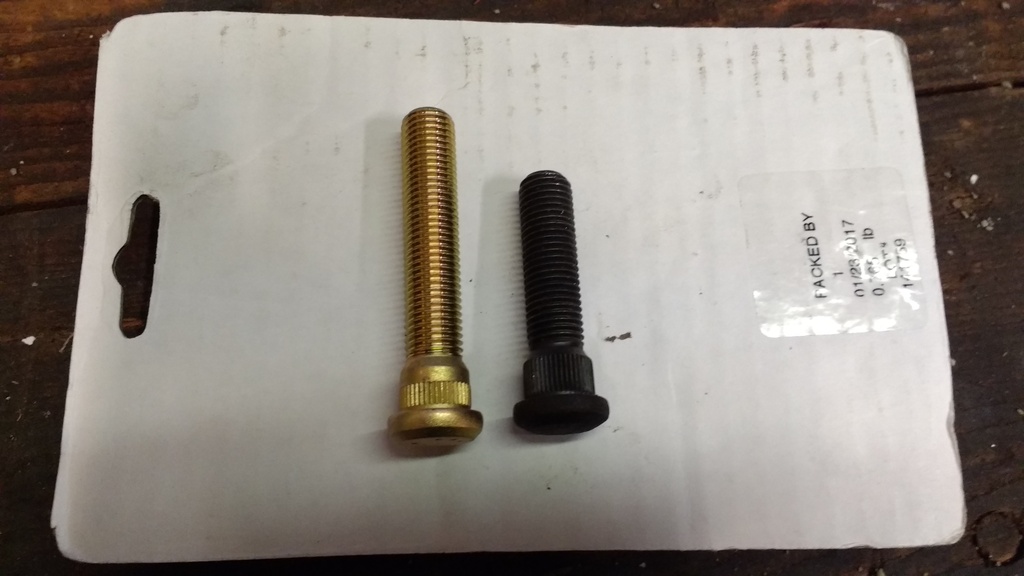
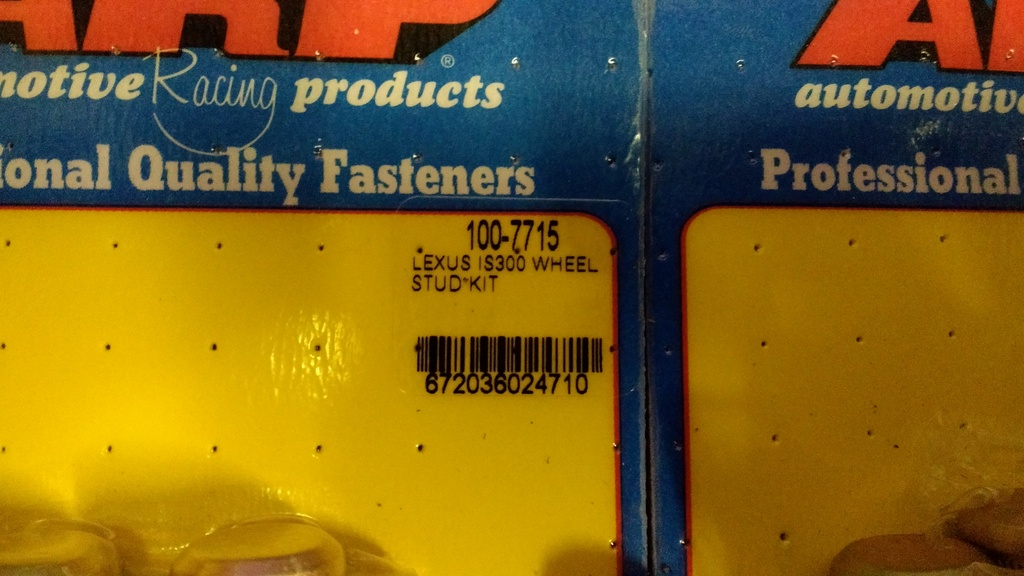
Here's the important bit - If you end up with these GT-1 hubs and want to run ARP hardware know this - the knurl diameter is larger at 0.558" than the stock Mazda hub knurl diameter (0.509") so you CANNOT use the same studs you'd run in your stock aluminum hubs. Turns out the 2.600" long IS300 kit (ARP part number 100-7715) has the correct knurl diameter for the GT-1 hubs and the correct thread pitch for the FC.
They are not quite as long as the 3-1/4" long studs commonly used in the stock front hubs, but are an improvement over the provided studs.

Had to get a portion of the center of the hub turned down to fit my stoptech brake rotors, so I had to pull the studs and instead of putting the provided studs back in, I went with some extended ARP lug studs.
Here's the important bit - If you end up with these GT-1 hubs and want to run ARP hardware know this - the knurl diameter is larger at 0.558" than the stock Mazda hub knurl diameter (0.509") so you CANNOT use the same studs you'd run in your stock aluminum hubs. Turns out the 2.600" long IS300 kit (ARP part number 100-7715) has the correct knurl diameter for the GT-1 hubs and the correct thread pitch for the FC.
They are not quite as long as the 3-1/4" long studs commonly used in the stock front hubs, but are an improvement over the provided studs.
Nice, that new motor should make some steam. Run an extra quart of oil in the pan, at least 6 quarts total if you have not already been doing that. With the Improved oil pan baffle you likely wont have an oiling problem again.
I also deleted the PCV and went to a full open breather setup off of a catch can. Oil consumption dropped to almost nothing.
I also deleted the PCV and went to a full open breather setup off of a catch can. Oil consumption dropped to almost nothing.
Last edited by LargeOrangeFont; Mar 15, 2017 at 05:22 PM.

Thread
Thread Starter
Forum
Replies
Last Post
Frisky Arab
2nd Generation Specific (1986-1992)
13
Aug 18, 2015 05:30 PM