CR garage pirate fc build
 10-31-13, 01:26 PM
#226
you guys both bring good points. for shmitty- you are correct since they are cut, theres not a ton of threads left which is why i plan to weld them together to secure the pieces and make them alot stronger once i get the alignment sorted. i didnt plan on adjusting these pieces a ton since pbm claims that when using their tilting subframe bushings the camber is the same side to side when adjusted so no need to dick with one side to get it to match like you usually have to.
for jtp- the heims arent top of the line **** by any means but they have minimal play and will be good enough for my purposes. i run these unwelded on my street car for about a year with no problems so far so im gonna run them. if they break maybe ill have to pick up some of those blingy new pbm ones
for jtp- the heims arent top of the line **** by any means but they have minimal play and will be good enough for my purposes. i run these unwelded on my street car for about a year with no problems so far so im gonna run them. if they break maybe ill have to pick up some of those blingy new pbm ones


 11-05-13, 11:32 AM
#232
Junior Member
iTrader: (1)

Join Date: Jul 2013
Location: Wisconsin
Posts: 13
Likes: 0
Received 0 Likes
on
0 Posts
awesome build guy, didnt think it was gonna b that entertaining to read but i was wrong learned alot and got some ideas of wat i still need to pick up for my fc3s winter build, keep up wit the good wrk and any updates soon
 11-13-13, 09:11 PM
#236
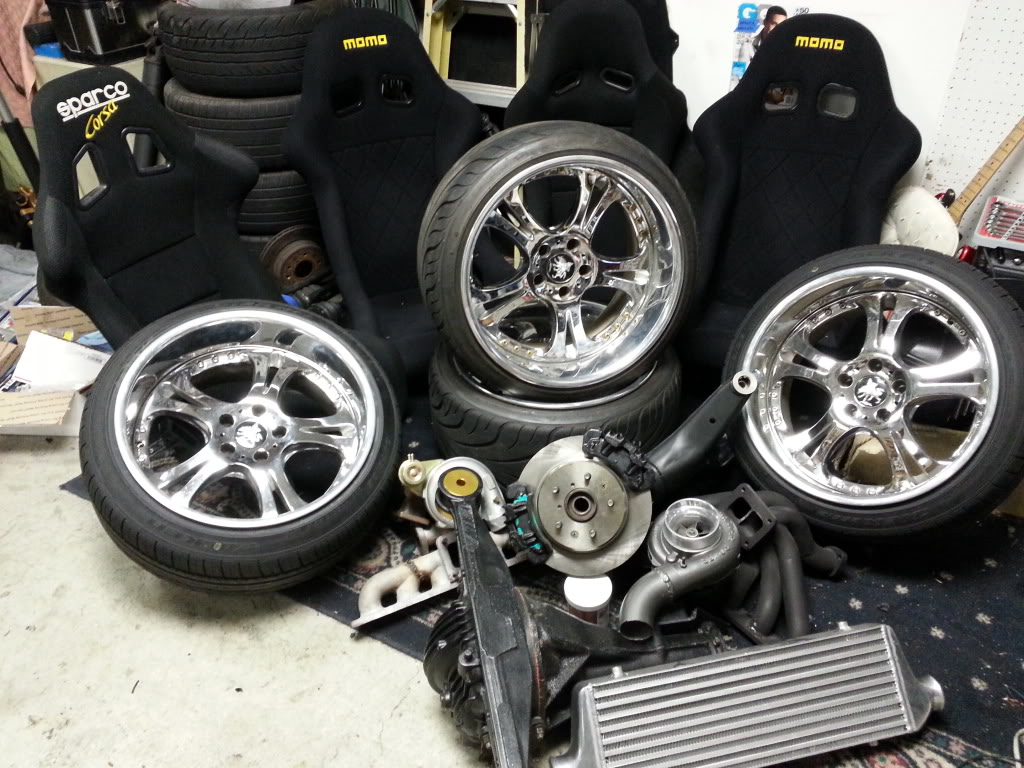
heres a little sneak peek at the setup
this is about all the money we have left between us after this build
i wasnt super impressed by the racefab kit. first off it came with no instructions, granted its pretty straightforward to install but it would have still saved a good amount of time to note the spacer placement. and second the hardware was incorrect. 2 bolts were not included with the kit and 2 of the ones that were included were the wrong thread pitch. i know its not a huge deal to get off your *** and go to the hardware store but i expected a little more out a kit that costs almost 200. anyways heres what it looks like all bolted up. seems to fit okay

dont go anywhere. the fully assembled pix will be here soon
this is about all the money we have left between us after this build

i wasnt super impressed by the racefab kit. first off it came with no instructions, granted its pretty straightforward to install but it would have still saved a good amount of time to note the spacer placement. and second the hardware was incorrect. 2 bolts were not included with the kit and 2 of the ones that were included were the wrong thread pitch. i know its not a huge deal to get off your *** and go to the hardware store but i expected a little more out a kit that costs almost 200. anyways heres what it looks like all bolted up. seems to fit okay

dont go anywhere. the fully assembled pix will be here soon
11-13-13, 09:58 PM
#237
Senior Member
Join Date: Nov 2011
Location: Oklahoma City, OK
Posts: 418
Likes: 0
Received 0 Likes
on
0 Posts
I'm about to just make my own rear dual caliper bracket kit based off the RaceFab kit. It looks effective and really simple to make, so I don't see why I can't just save a couple bills and weld it up myself.
That sucks about the lack of hardware though, that's the first bad review I've heard of it.
When'd you pick up the Kranze? I don't think I've seen them yet in this thread
That sucks about the lack of hardware though, that's the first bad review I've heard of it.
When'd you pick up the Kranze? I don't think I've seen them yet in this thread
11-13-13, 11:13 PM
#238
I'm about to just make my own rear dual caliper bracket kit based off the RaceFab kit. It looks effective and really simple to make, so I don't see why I can't just save a couple bills and weld it up myself.
That sucks about the lack of hardware though, that's the first bad review I've heard of it.
When'd you pick up the Kranze? I don't think I've seen them yet in this thread
That sucks about the lack of hardware though, that's the first bad review I've heard of it.
When'd you pick up the Kranze? I don't think I've seen them yet in this thread
and the cerbs we just picked up but theyll be going on the hatch were helping a buddy build
 12-06-13, 08:22 PM
#242
christmas has really been kicking our asses but the last few days have been very productive for us.
came up on a couple new things i got for a steal:
greddy 720s used once. gonna use them for primaries
and s5 counterweight for our os flywheel. emphasis on WEIGHT
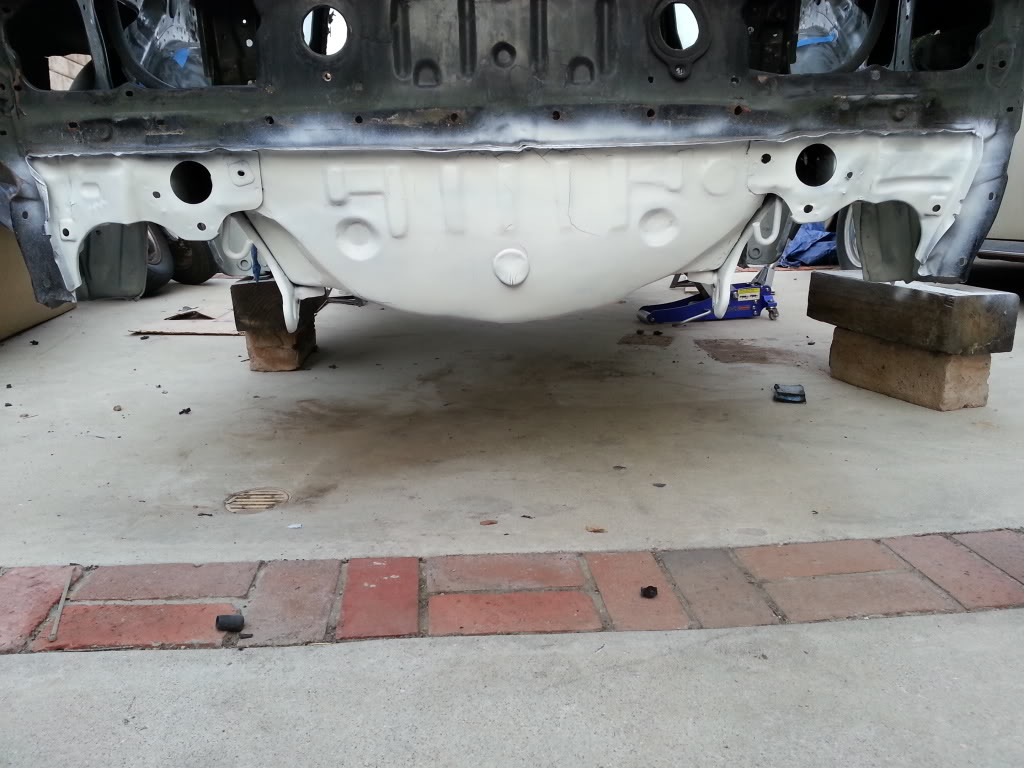
then we got some motivation and painted the underside of the car. got on that bane steez. painting a car upside down is not ideal in the least bit and i dont recommend it. we had white hair and faces for about 3 days. least itll look super flossy when we flip the car at our first event

boom son
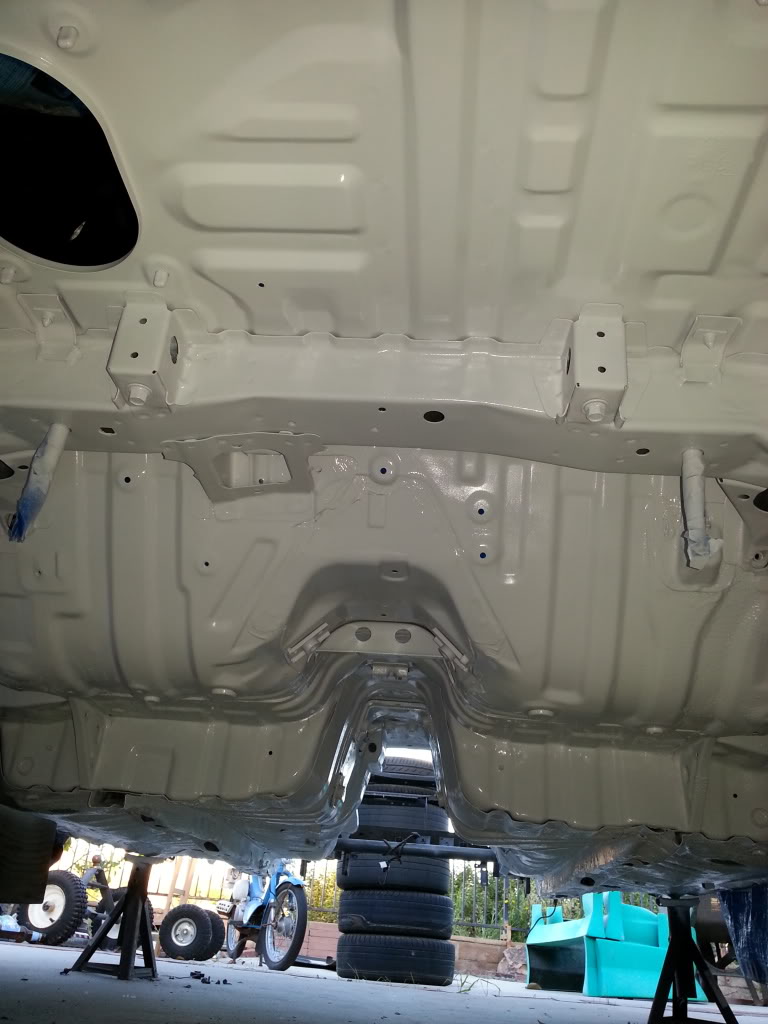
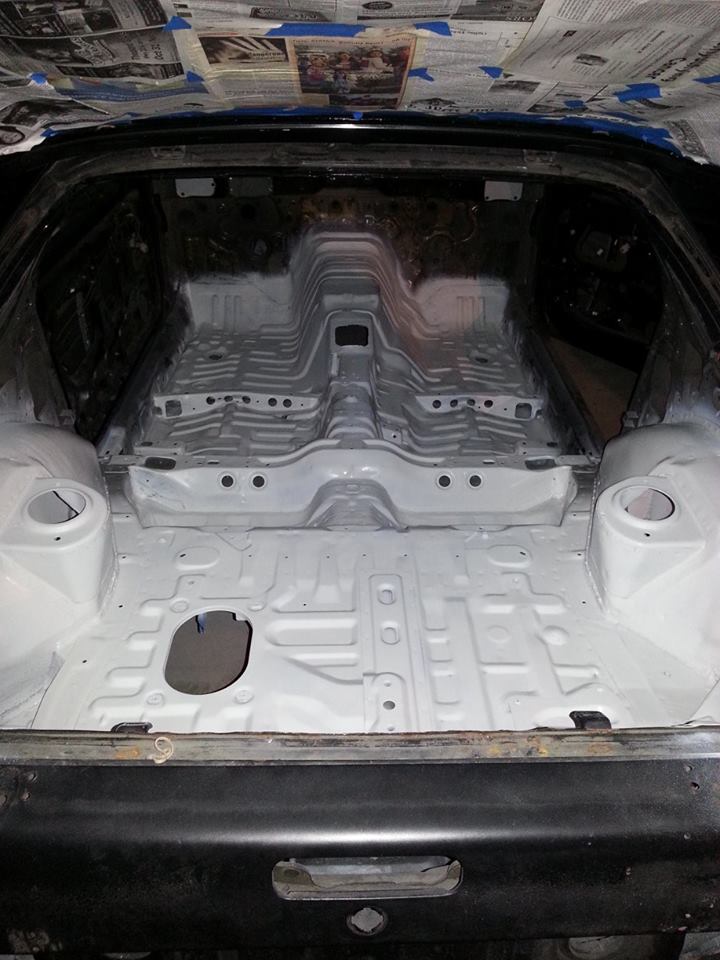
since there was a lot of bare metal exposed and a good amount of rain coming into our area soon we threw down a quick primer coat on the floor for now
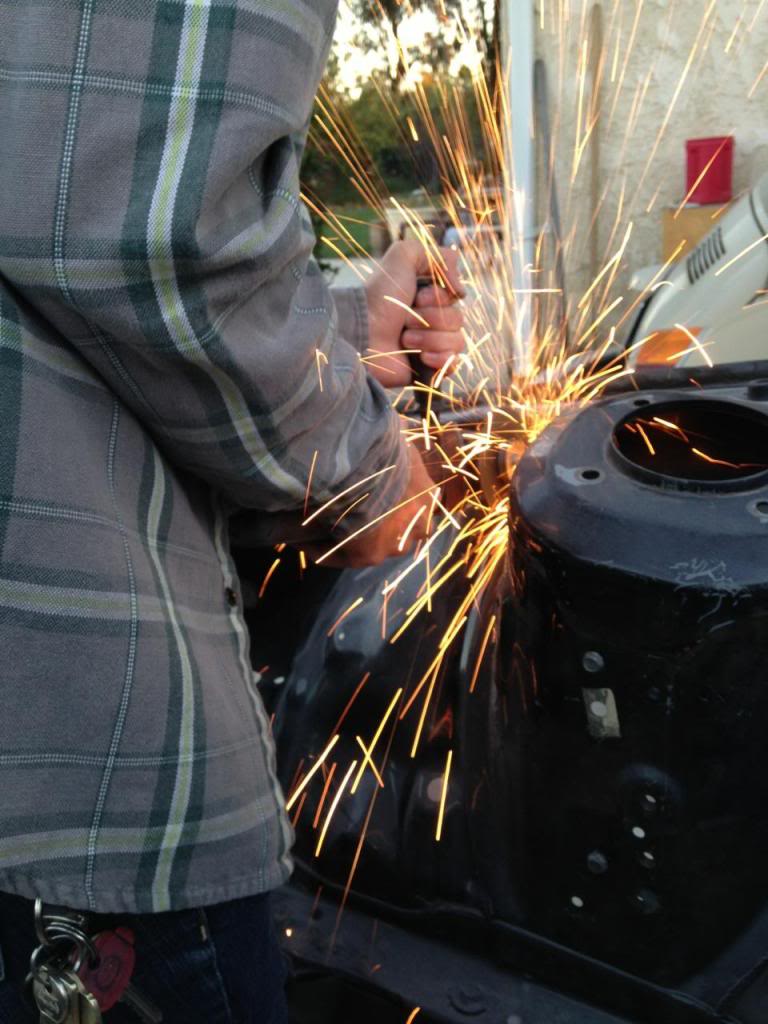
got to work on those wheel wells to fit the fat angle and wheels were planning for this thing
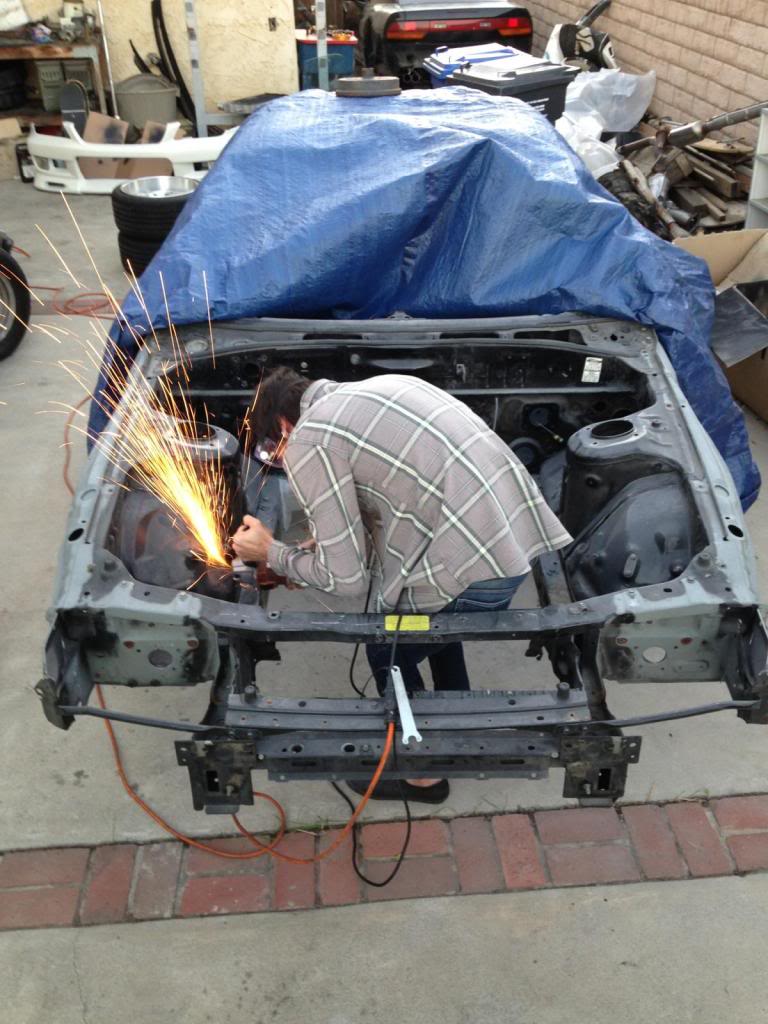
on the grind
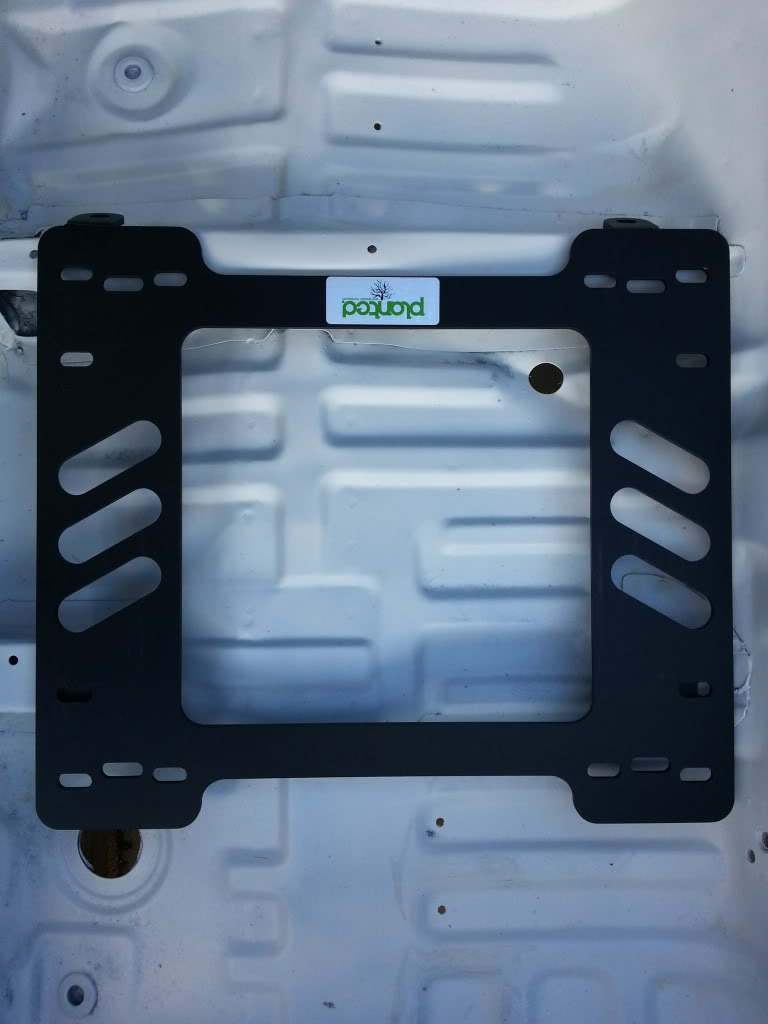
before we take the car off to get caged, we wanted to put a seat in so our fabricator knows how far back to make the main hoop and leave enough room for some seat adjustability. theres a few different options for seat mounting out there but very few leave the bucket at a desirable height. having a low seat position is crucial in a track car especially fcs that were designed with only enough headroom for keebler elves. most people go with a custom fabbed bracket but since we dont have a welder at the moment it was out of the question
so i decided to check out this company called planted based out of the us.
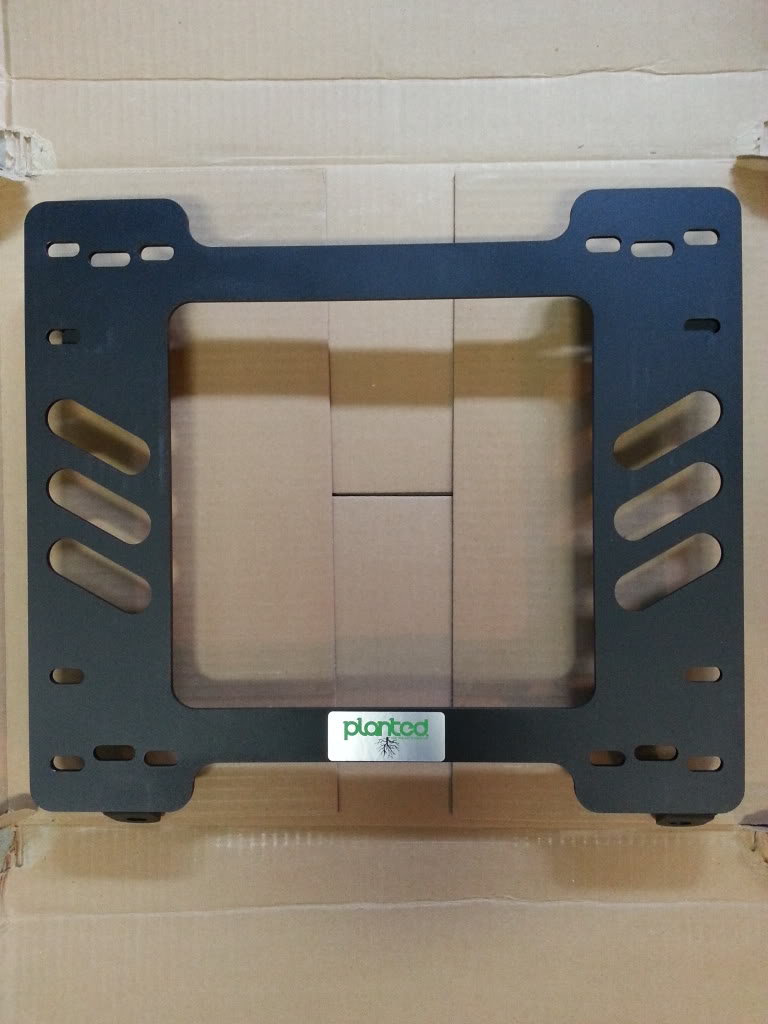
i only have good things to say about this company. their customer service was on point to say the least. i emailed them a few times and spoke to jeff who returned my emails within an hour of sending them. the quality of the bracket is also exceptional. beefy *** metal and good welds. they run $140 shipped which most ricers might think is alot to mount your knockoff thailand bride seats but i would definitely say this is a worthy buy.
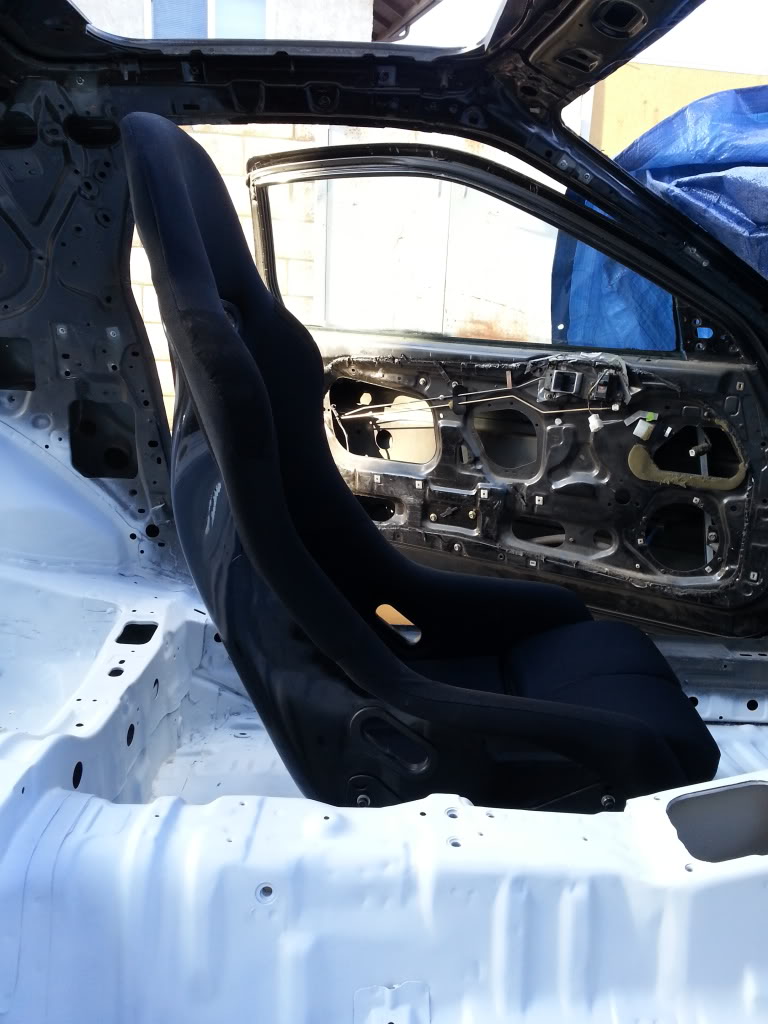
i test fit them in the car and im super stoked on the seating position. they sit right on top of the floor cross bracing. two of the holes need a little enlarging with a dremel which is expected but aside from that the fitment seemed perfect.
heres a mock up with our passenger side seat with no sliders. we plan to run sliders which will lift it up a little but as it sat here i had about half a foot of headroom and sat very low in the car without being on the lowest postion on the seat side mount. should be perfect. *young jeezy voice* AYYYYYYYYYYYYYYYYYYYYYY
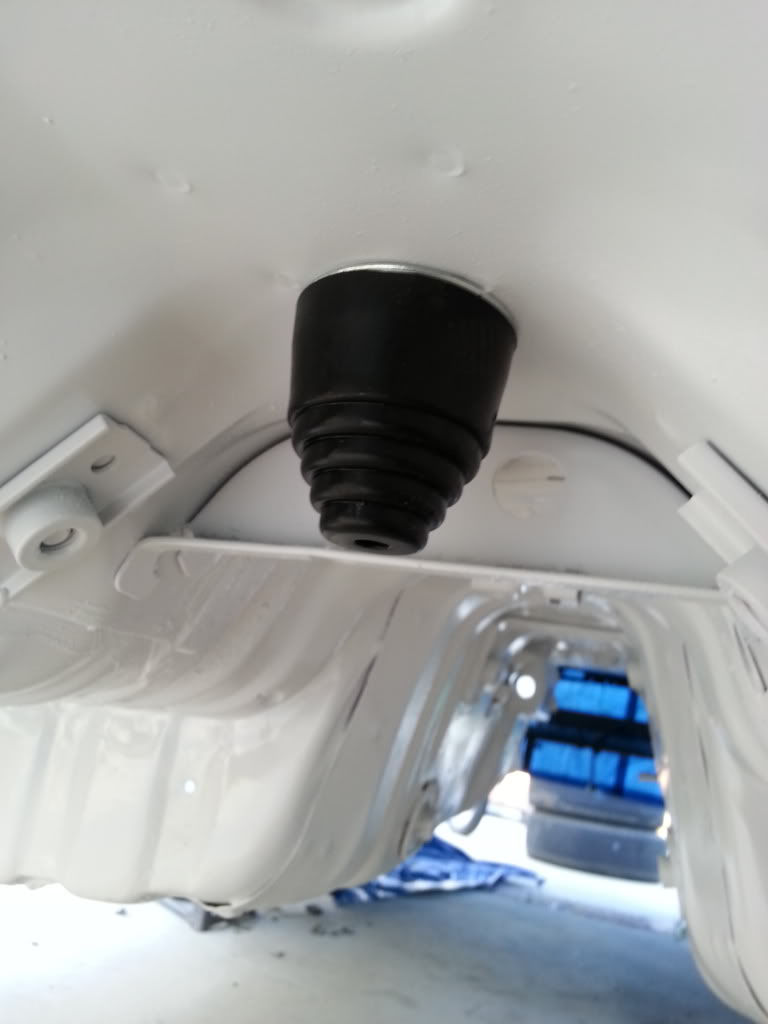
had a little spare time so i threw the pinion snubber in too
came up on a couple new things i got for a steal:
greddy 720s used once. gonna use them for primaries

and s5 counterweight for our os flywheel. emphasis on WEIGHT

then we got some motivation and painted the underside of the car. got on that bane steez. painting a car upside down is not ideal in the least bit and i dont recommend it. we had white hair and faces for about 3 days. least itll look super flossy when we flip the car at our first event


boom son

since there was a lot of bare metal exposed and a good amount of rain coming into our area soon we threw down a quick primer coat on the floor for now

got to work on those wheel wells to fit the fat angle and wheels were planning for this thing

on the grind

before we take the car off to get caged, we wanted to put a seat in so our fabricator knows how far back to make the main hoop and leave enough room for some seat adjustability. theres a few different options for seat mounting out there but very few leave the bucket at a desirable height. having a low seat position is crucial in a track car especially fcs that were designed with only enough headroom for keebler elves. most people go with a custom fabbed bracket but since we dont have a welder at the moment it was out of the question
so i decided to check out this company called planted based out of the us.

i only have good things to say about this company. their customer service was on point to say the least. i emailed them a few times and spoke to jeff who returned my emails within an hour of sending them. the quality of the bracket is also exceptional. beefy *** metal and good welds. they run $140 shipped which most ricers might think is alot to mount your knockoff thailand bride seats but i would definitely say this is a worthy buy.
i test fit them in the car and im super stoked on the seating position. they sit right on top of the floor cross bracing. two of the holes need a little enlarging with a dremel which is expected but aside from that the fitment seemed perfect.

heres a mock up with our passenger side seat with no sliders. we plan to run sliders which will lift it up a little but as it sat here i had about half a foot of headroom and sat very low in the car without being on the lowest postion on the seat side mount. should be perfect. *young jeezy voice* AYYYYYYYYYYYYYYYYYYYYYY

had a little spare time so i threw the pinion snubber in too
 12-07-13, 03:58 AM
#245
Senior Member
Join Date: Apr 2013
Location: Nashville TN
Posts: 275
Likes: 0
Received 0 Likes
on
0 Posts
 12-11-13, 04:48 PM
#248
compared to where i sit in my red car id have to estimate its about 3 inches lower in the bucket i used. keep in mind that was with no sliders so its gonna vary depending on the seat you use and if you have sliders or not. there was definitely room for a helmet but were both not that tall being around 5'10
12-11-13, 06:20 PM
#250
compared to where i sit in my red car id have to estimate its about 3 inches lower in the bucket i used. keep in mind that was with no sliders so its gonna vary depending on the seat you use and if you have sliders or not. there was definitely room for a helmet but were both not that tall being around 5'10
Now with that bracket and side mounts in the lowest position, would the seat be able to touch the floor or at least rest on the planted bracket (minus sliders of course)?
I'm talking cross brace, planted mount and a bucket seat sandwich, the max amount of head room. Is that possible?
it might be a lot to adjust seat position but its a small sacrifice.