When you click on links to various merchants on this site and make a purchase, this can result in this site earning a commission. Affiliate programs and affiliations include, but are not limited to, the eBay Partner Network.
Seeing the prices of the TII slowly increase has been a love/hate dilemma for me. On one hand, the value is increasing, on the other it was getting further and further out of my reach for a project. After having the motor in my S4 n/a lose compression, I parked her in the driveway and began getting serious about finding a good FC3S. I figured if I'm going to need to rebuild the car anyway, I should start with the one I really want. I searched the forums and picked up my first TII from a fellow member (thank you K!NCH). My n/a will be rebuilt next season as a daily driver, so no worries there. But for now, my focus is my "new to me" FC.
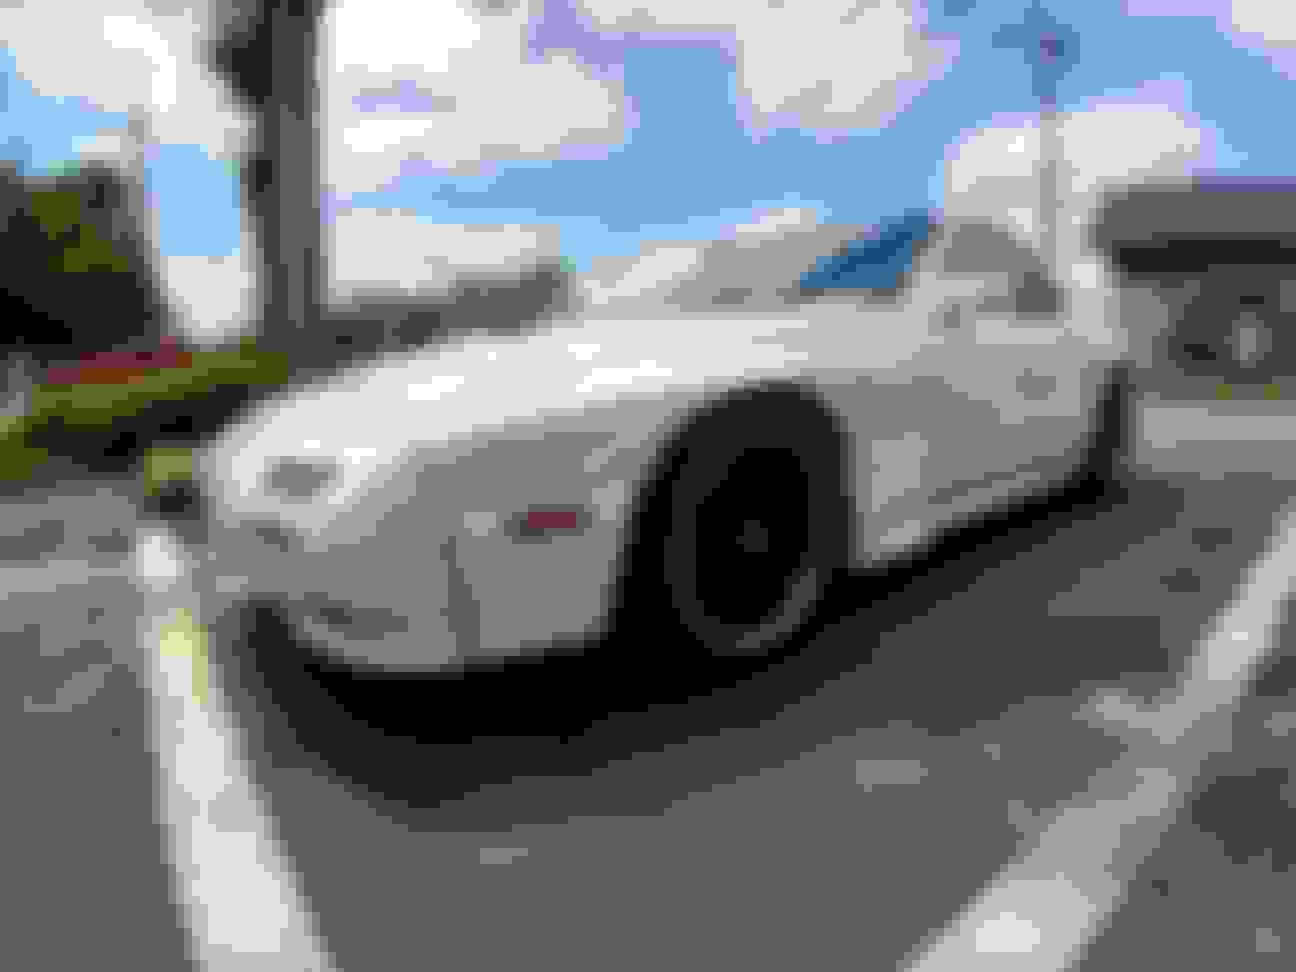
The car started life as a white S4 n/a. At the time of me buying the car, it had an s5 body panel conversion, s5 tail lights, TII hood, and a TII motor swap.
Here's the for sale ad I read when I decided this was the one:
1988 Mazda Rx7 TurboFOR SALE: 1988 Mazda Rx-7. Asking: $6500. Located in Cincinnati, OH.
Engine:
Dynoed at 265hp/295tq with the stock turbo. Currently has a BNR Stage 2.
13B S5 TII short block built by GarageLife. Under 1000 miles.
Racing Beat high pressure oil regulator
New Oil Pump
1000cc Injectors (primary and secondary)
FFE Fuel Rail
Aeromotive FPR
Mk4 Supra Fuel Pump
Like new BNR Stage 2 Turbo
3" Racing Beat Downpipe
3" Racing Beat Pre-Silencer
Apexi N1 cat-back (modified to be 3" all the way)
OEM Top Mount Intercooler
Haltech Sprint RE installed and tuned by Defined Autoworks (tuned for S5 turbo not BNR)
SS lines throughout
Drivetrain:
ACT Street/Strip Clutch
Racing Beat Flywheel
TII Trans
TII Driveshaft
TII Axles
TII Differential (modified or aftermarket, not sure)
Suspension
Fortune Auto 500 coilovers w/ SWIFT springs (8k front, 6k rear)
SuperNow Tie Rod Ends
Eyecandy Extended Tie Rods
Part Shop Max Rear Toe Arms
AWR Individual Rear Camber Adjusters
SuperNow Rear Camber Center Link
Pinion Snubber
HAWK HP+ Brake Pads
SS Brake lines where possible
Sportmaxx/XXR 009s (discontinued) 17x8 +35
225/45/17 Kumho Ecsta V720s
Chassis:
82,XXX miles on the body
Rear quarter panel was damaged but professionally fixed
Frame has never had any issues.
Garage kept as much as possible.
S5 conversion body conversion
TII hood
TII side skirts (mostly removed, but a full set will be included)
Moonroof motor does not work, can use manual crank.
Interior:
Blue S4 interior
Decent shape (dash is not cracked, some vents are missing, carpet is ok)
Nardi Gara Steering Wheel
Alpine head unit
Innovative AFR Gauge
Prosport Boost Gauge
Prosport Oil Pressure Gauge
Prosport Water Temp Gauge
Greddy Profec II Boost Controller
Retro Spec Logicon Three Gauge Pod (not installed)
BRIDE seat is not included, will be replaced with OEM drivers seat
Viper alarm system
Aftermarket power locks
Aftermarket power windows
The Bad:
Car smokes (blue) under throttle, I believe it's an oil control ring not an apex seal or low compression issue. Car starts, idles, revs, builds boost and drives just fine. Video can be provided for anyone interested.
Needs tuned adjusted for the new turbo.
Due to these issues towing/trailering the car is recommended.
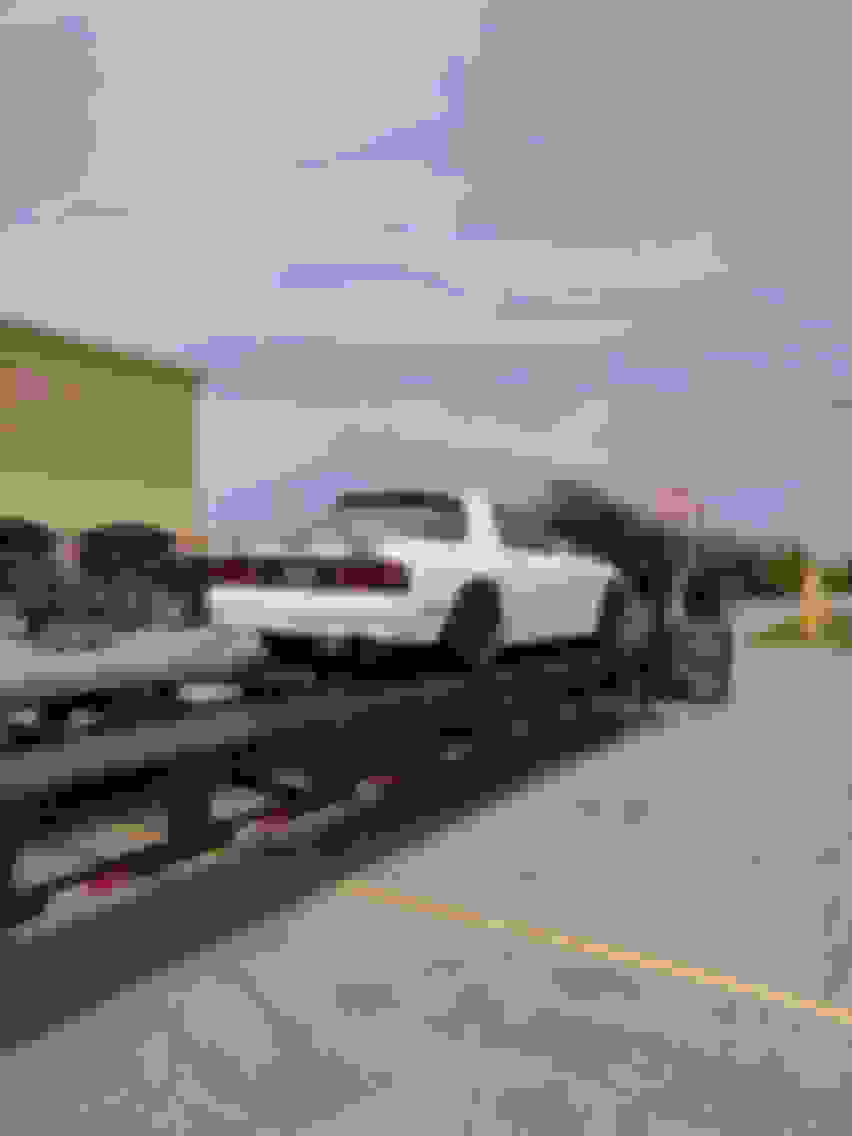
I had the car picked up on a flat bed in Ohio and delivered to me in Virginia in May of 2018. Upon delivery I gave her a bath, changed the tune on the Haltech Sprint RE using some base maps on the forum as reference, and did a quick tune up. For the next 2 months, I commuted to work (an hour each way) in the FC to see what I liked and what I wanted to change. It wasn't long after owning the car that I realized the car was burning about a quart of oil every 500 miles even though the OMP had been deleted and the car was being premixed.
Last edited by jjandros; Nov 10, 2018 at 09:01 AM.
Eventually I decided that I wanted to update the interior. I went ahead and swapped my grey interior from my n/a into the car along with some new goodies:
BRIDE (B-GREO) BRIX seat
LRB speed door panels covered in BRIDE fabric
LRB speed windshield vents painted black
Custom floor mats made by JasonS (one of the forum members)
Cheap rear strut brace by Ultra Racing
Parking brake button from Banzai Racing
Delrin parking brake handle from Level Zero Motorsportshttp://amzon.com/
Leather shifter and parking brake boots from RedlineGoods
Double DIN touch screen radio
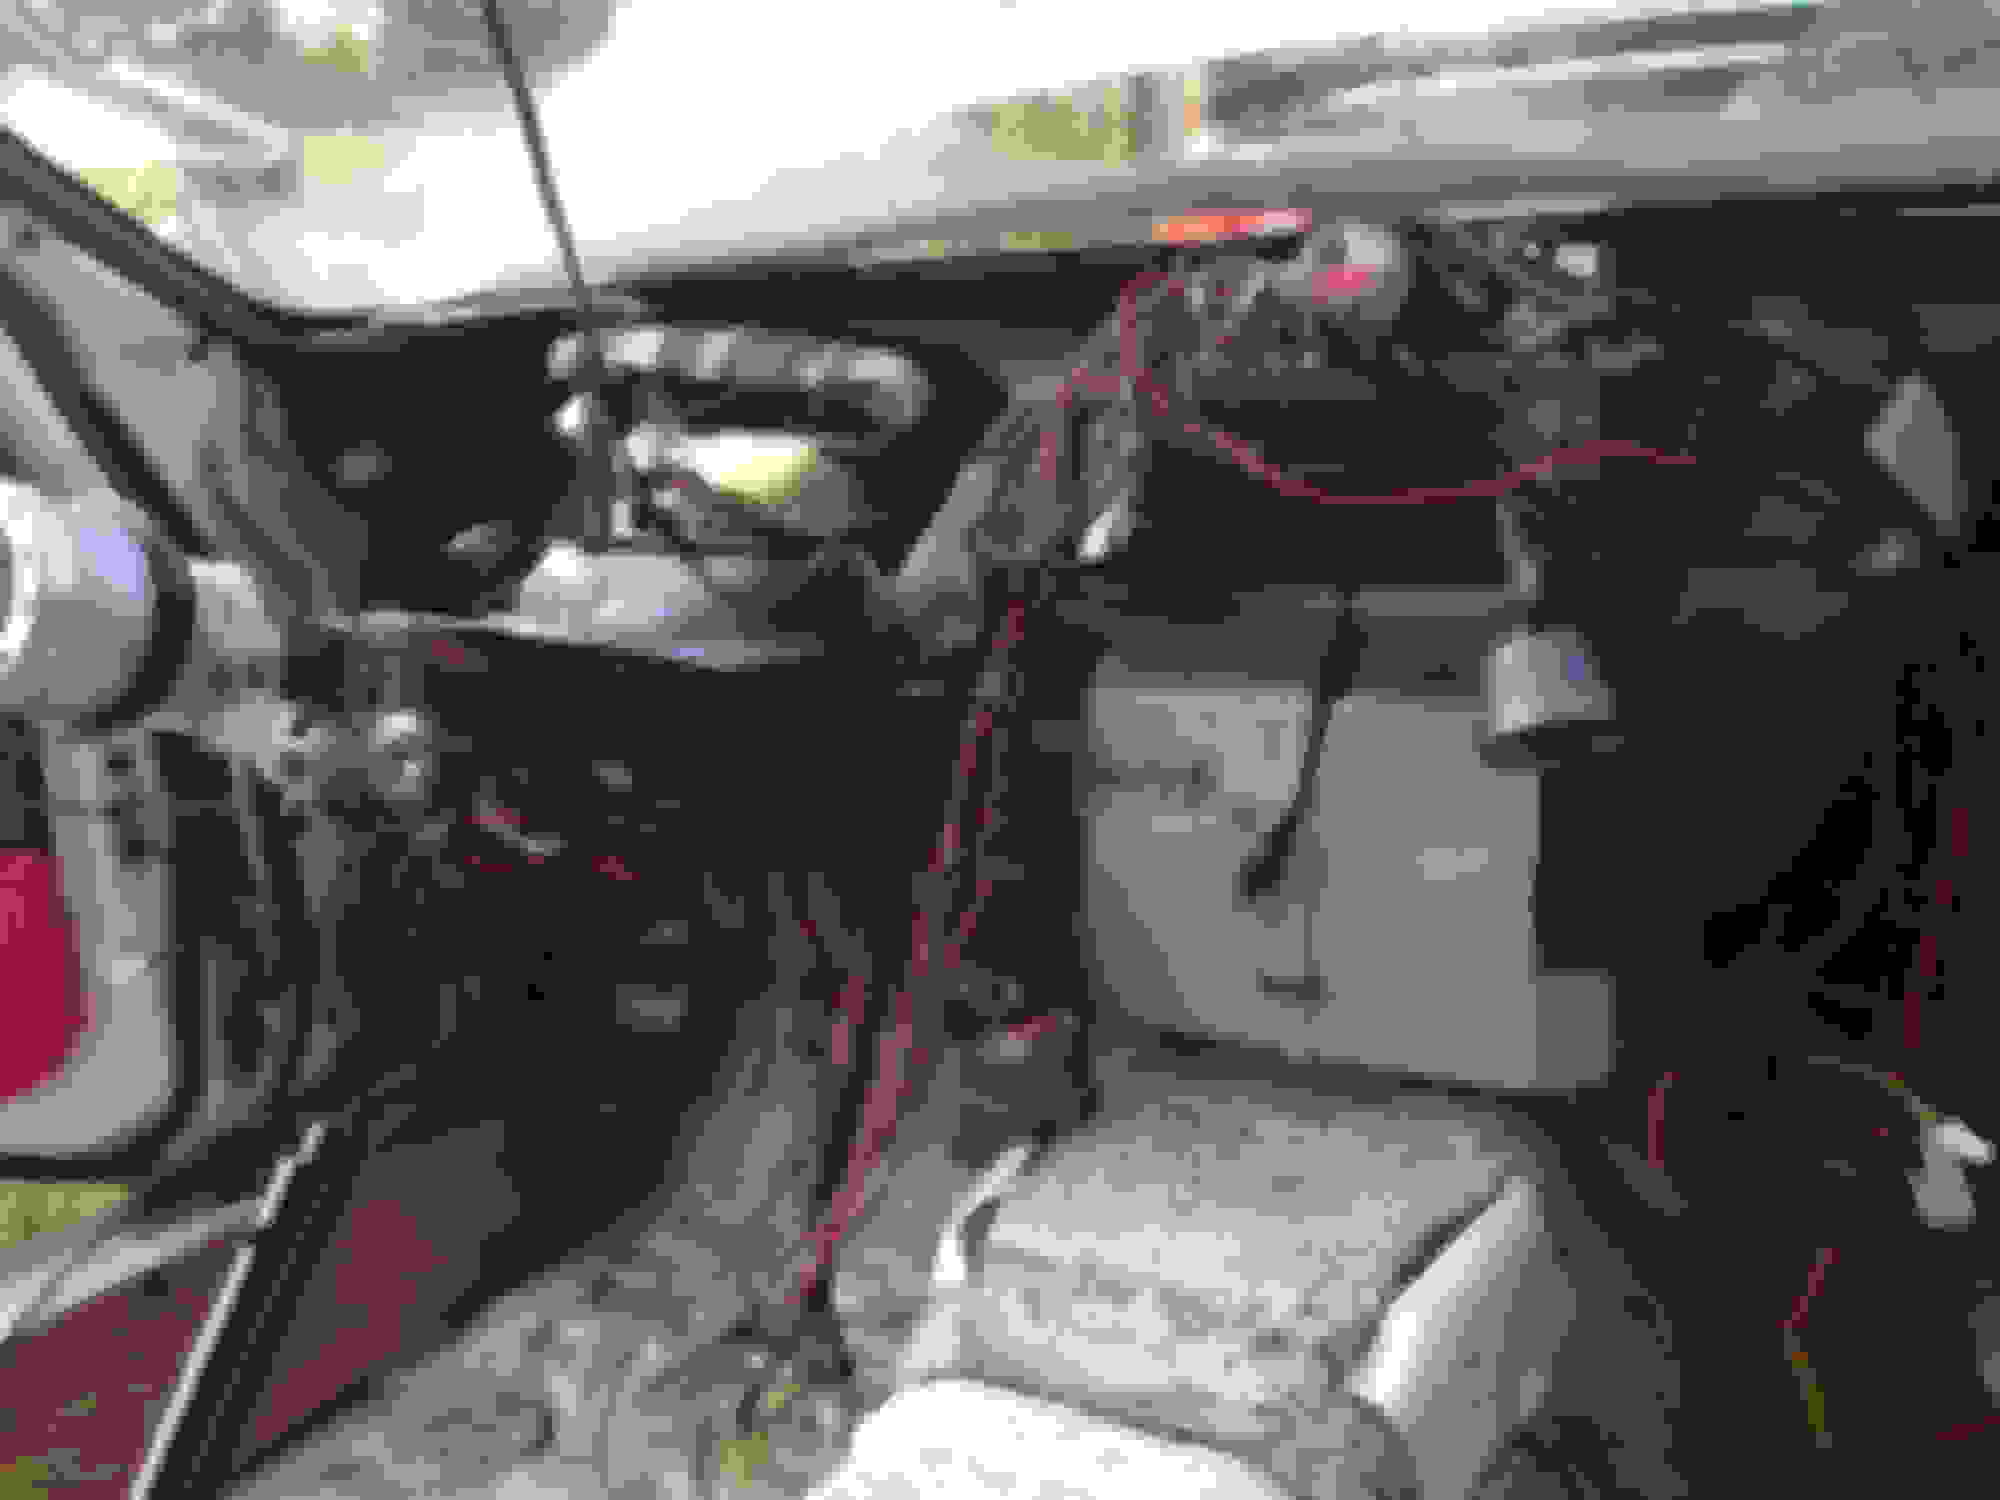
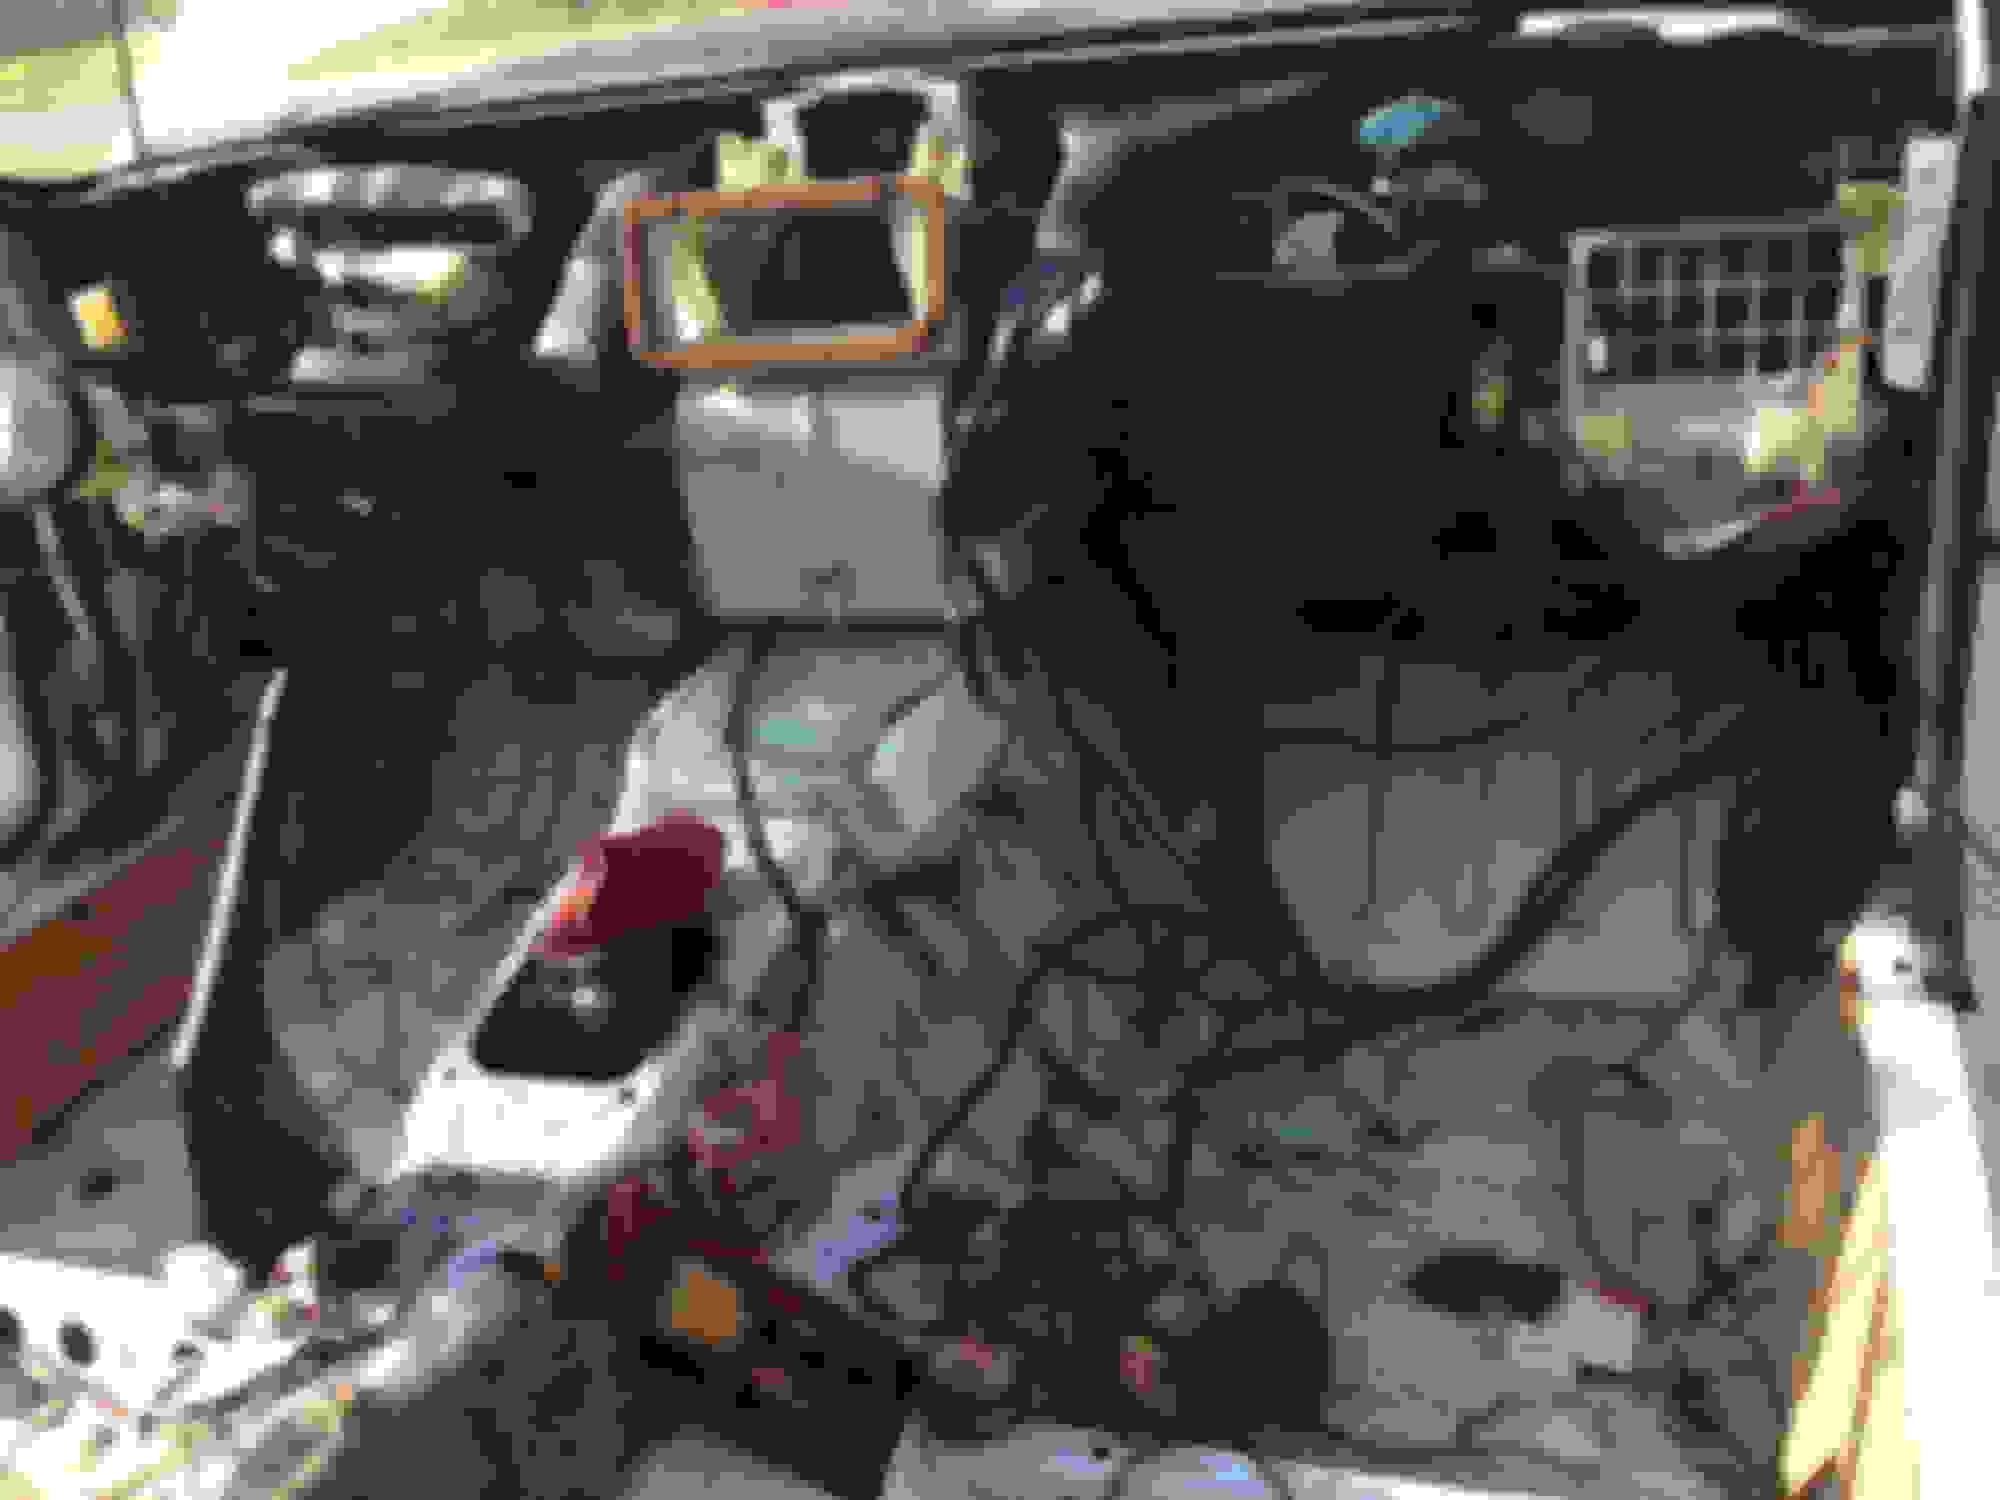
While stripping the interior I cleaned up a lot of the ECU, gauges, radio, power window, and security system wiring and relocated the logicon to the glove box. I also found that the map lights and sunroof were inoperable as the wiring to them had been cut out at some earlier part in its life. I went ahead and tested the lights and motor with a PowerProbe and reran the wiring to the factory locations.
A few days later the battery was completely dead after a long day of work. Once I got the car home I found out why the wiring had been cut out, there was a parasitic draw from the sunroof circuit. I removed the interior, traced out the issue, replaced the wiring, and put everything together before having to go back to work in the morning.
Last edited by jjandros; Nov 10, 2018 at 08:59 AM.
After driving the car for a few months I decided to do a little bit of maintenance before really diving into the project. To start, I had the alignment redone and brought the camber just to the outside of factory specs while keeping toe and caster in the middle of factory spec. I also went ahead and replaced the air filter and dropped in a Koyo radiator and Samco hoses at this time. At this point I had fair idea of what I wanted to do with the car and knew that it would be taken apart soon.
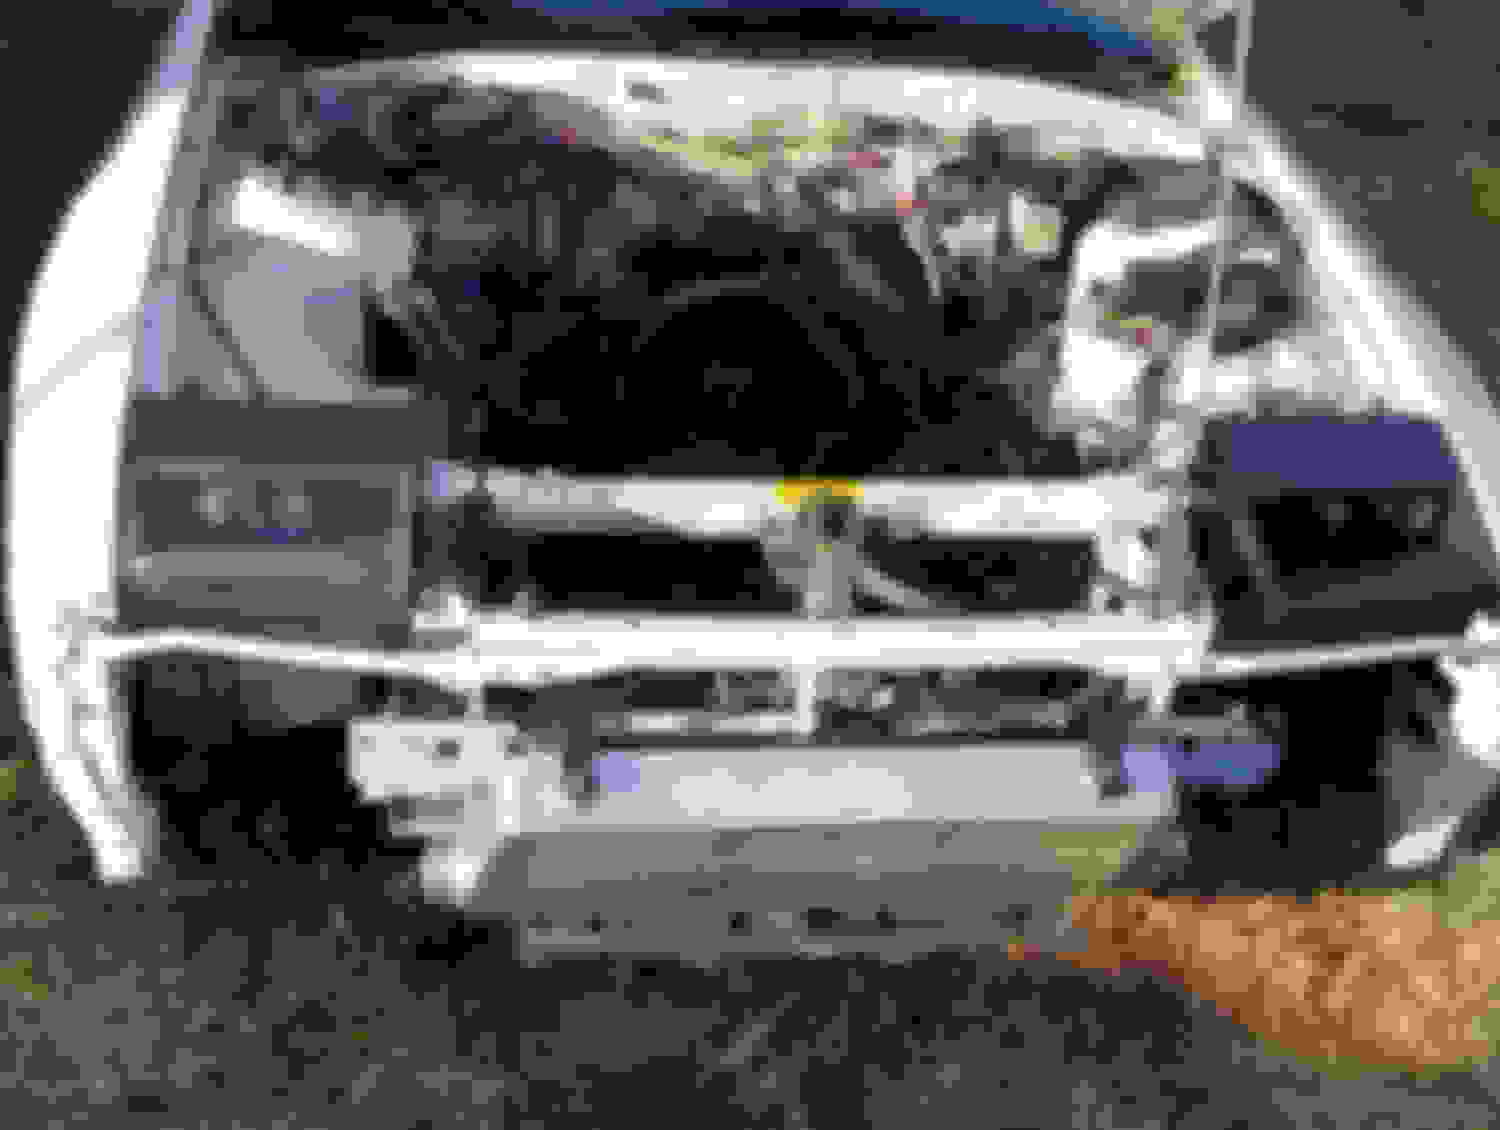
In early September 2018, hurricane Florence was expected to hit Virginia hard. With the car already having oil issues and not wanting to add flooding problems to it I decided now was the time to pull the motor. I pulled the motor and broke it down for inspection before the hurricane (which turned out to just be some rain and not the CAT IV monster that was predicted). For the most part the motor looked good. Everything except the questionable "port job."
Last edited by jjandros; Nov 10, 2018 at 09:48 AM.
My power goals for this motor build is going to be around 400 hp so i decided to begin with a large street port
For anyone interested I began a thread about the porting on the motor called "Custom Porting Templates" which can be found here: https://www.rx7club.com/2nd-gen-gene...lates-1129971/
I picked up some block off plates, a Greddy compression tube, Glowshift oil plate adapter, and rebuild kit from Atkins Rotary in preparation for the assembly. I also grabbed up a TO4b turbo built by BNR motorsports, an HKS 40mm wastegate, and HKS cast manifold along with some other goodies from dguy here on the forum. Thanks again bud!
It was around late September 2018 when I began cleaning, painting, and porting the motor and engine parts. During the porting, I also decided to perform the throttle body modification using FC3SPro's how-to guide.
While waiting on some finishing parts to come into so that I could assemble the motor I got busy on some things that didn't cost much to do; modified the power steering bracket, washed the car, cleaned the engine bay, and tinted the lenses using VVivid smoke tint.
I also went ahead and picked up a few more odds and ends from a couple forum members:
a Corsport FMIC thanks to toplessFC3Sman
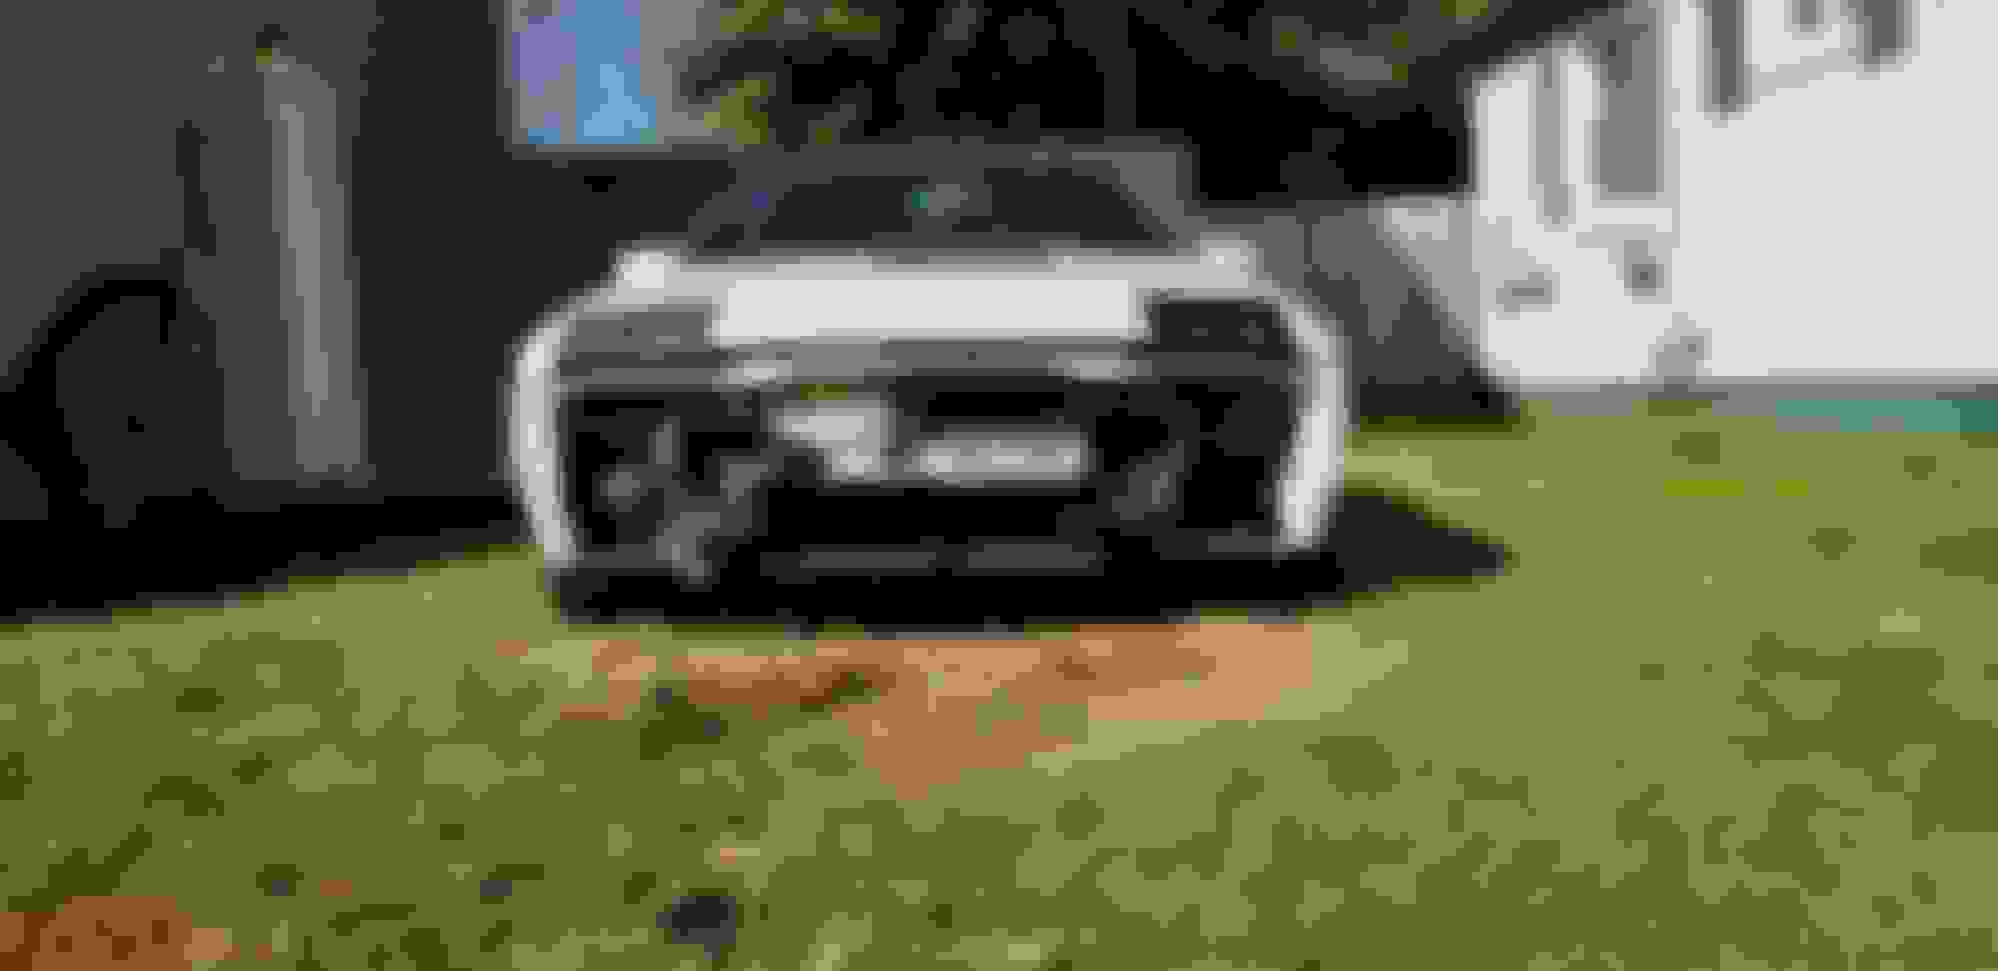
and a pair of EVO-R sleek headlights thanks to RockLobster
I decided to go ahead and tint the lenses on the EVO-R lights to match the rest of the car as well as help to protect the lenses from road debris. To finish off the look I ordered a demon-eye kit to add to the projector lenses and picked up a pair of replacement aftermarket FTP lenses from 13betc on ebay (i tinted these for protection as well).
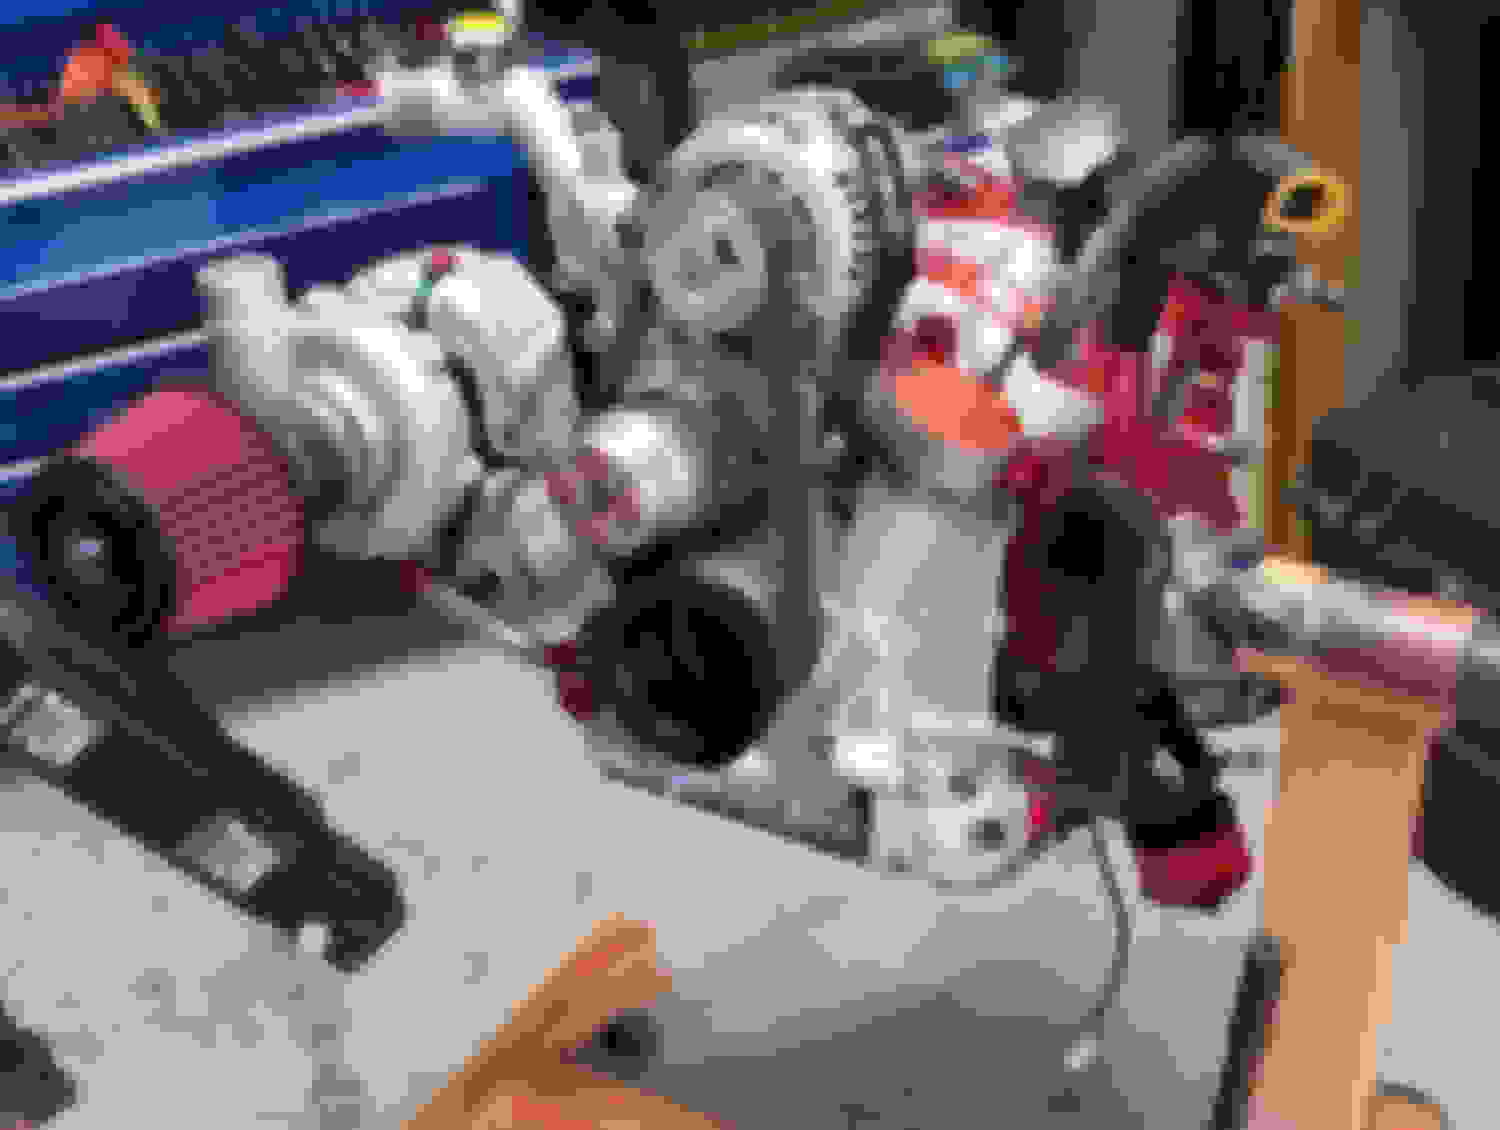
Once the parts I was waiting on came in (including a set of poly motor mounts and aPexi filter from Banzai Racing) motor assembly could begin. I went ahead and swapped out the stock pulleys for a set of gilmer pulleys as well. After a pretty grueling few nights, the motor had been clearanced, assembled, and set back in the car. Currently I'm waiting on a few package so that I can start mocking up the exhaust and intercooler piping. I'm also trying to decide if I should install the S5 intake or order up and adapter and use the S6 UIM and throttle body.
Last edited by jjandros; Nov 10, 2018 at 10:47 AM.
Good stuff, man. Glad to see you got the engine built and putting everything back together. I'm really anxious to hear it come to life and see how the ports work out in terms of your goals. Sorry I was so late with that info, but in the grand scheme of things I also knew you didn't really need it to proceed. Everything looks good. I'm excited.
Alright guys, progress has been a little slow over the last 3 weeks as I've been focusing on some of the more detail oriented things. However, progress is still being made and I do have some updates.
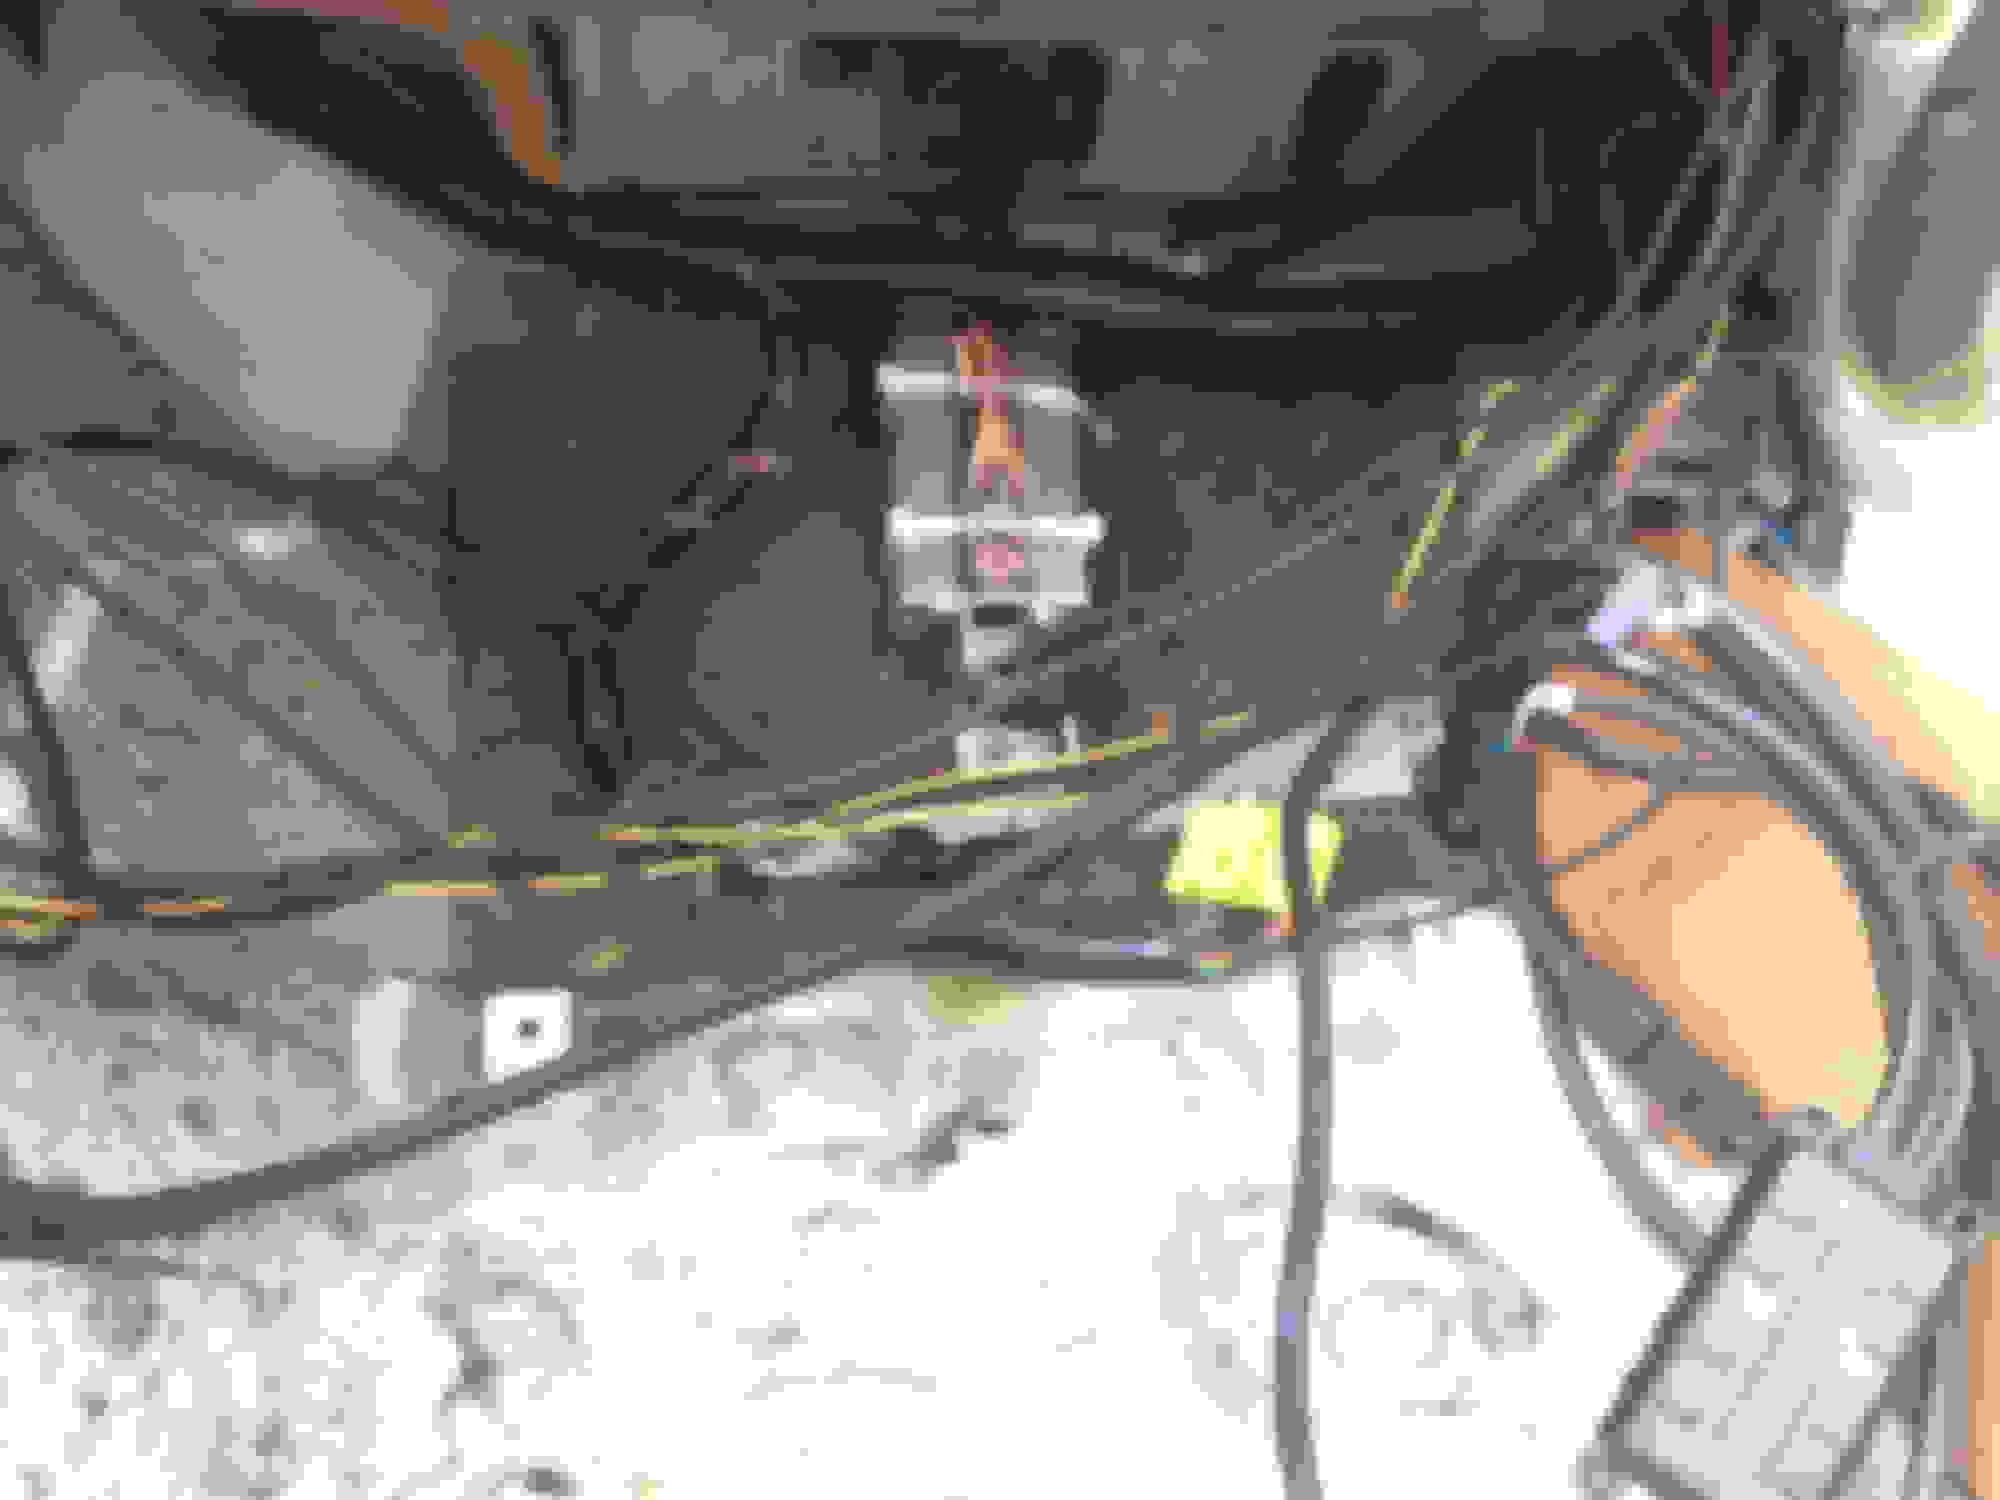
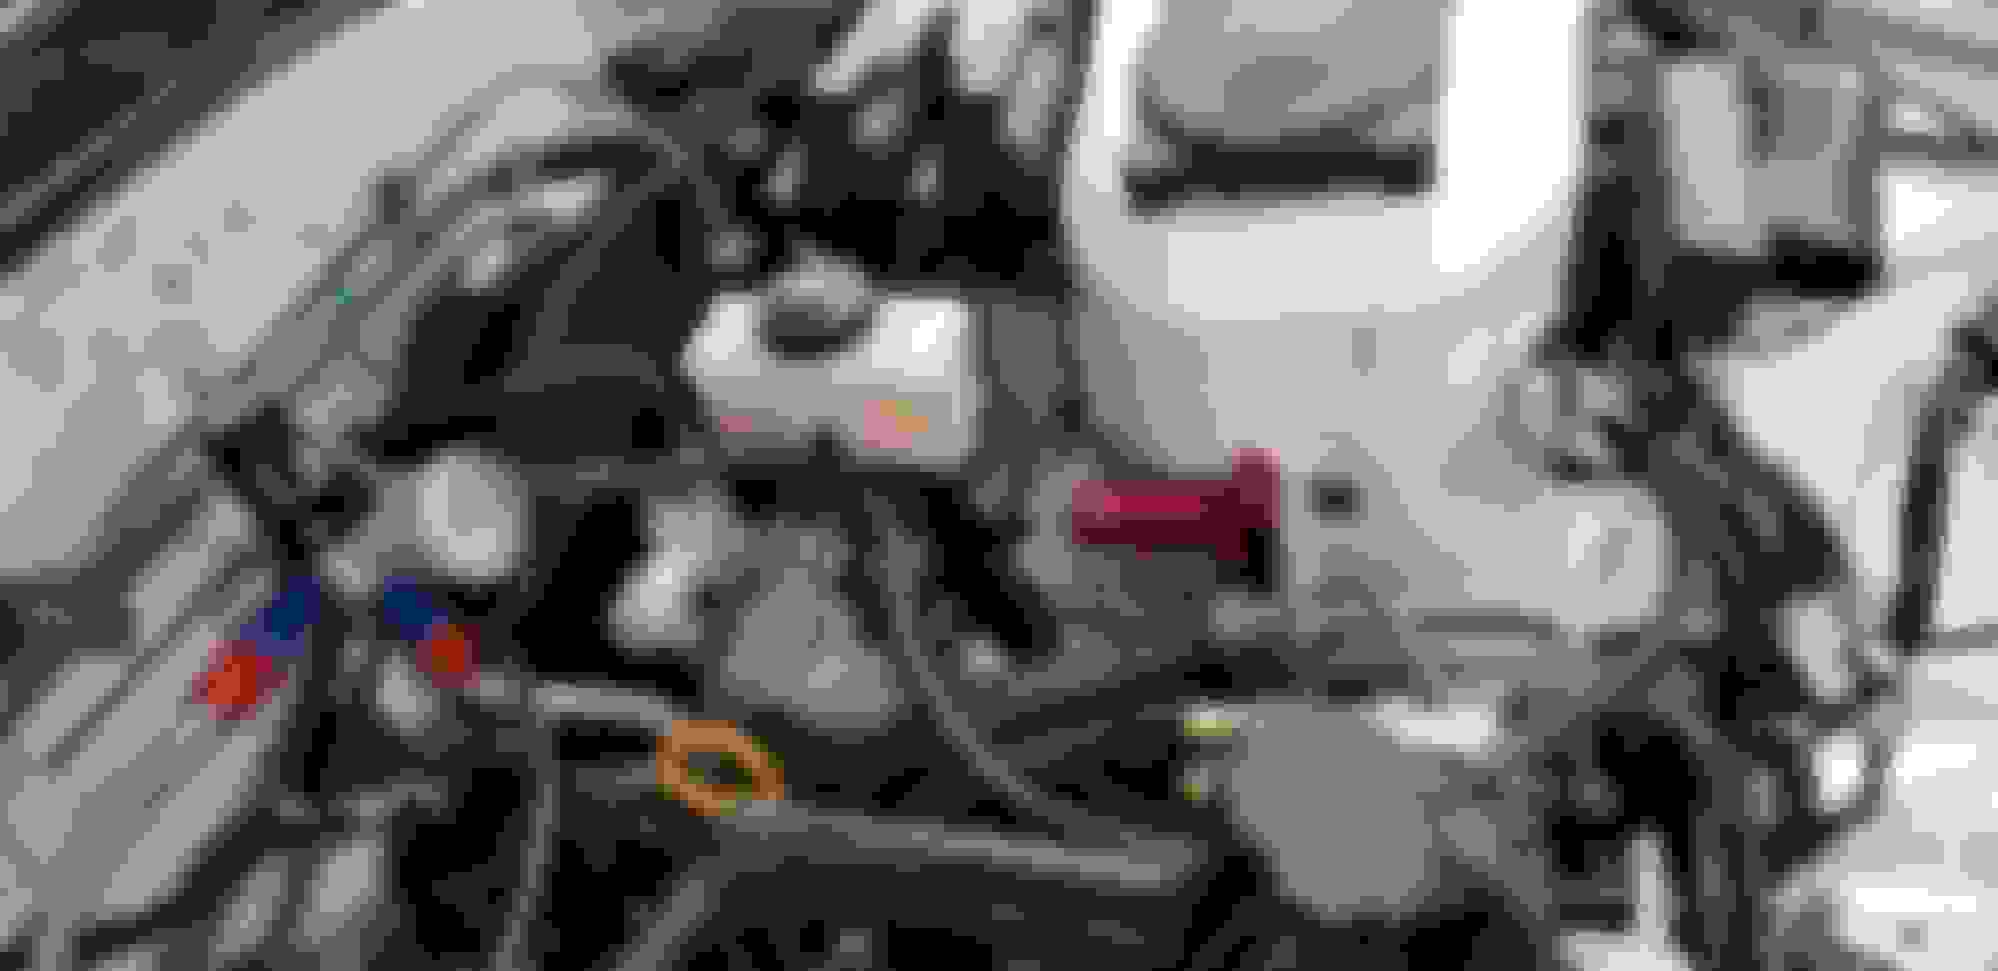
The first thing I did after getting the motor in was to start building and routing all my braided lines and trying to keep oil and coolant flow to a max. I also picked up a master cylinder brace from Level Zero Motorsports. Here's what I came up with.
Once the line routing was complete I went ahead and installed the intake manifold, hooked up the fuel lines, and cleaned up and rerouted the wiring in the left side of the engine bay (right front of the car).
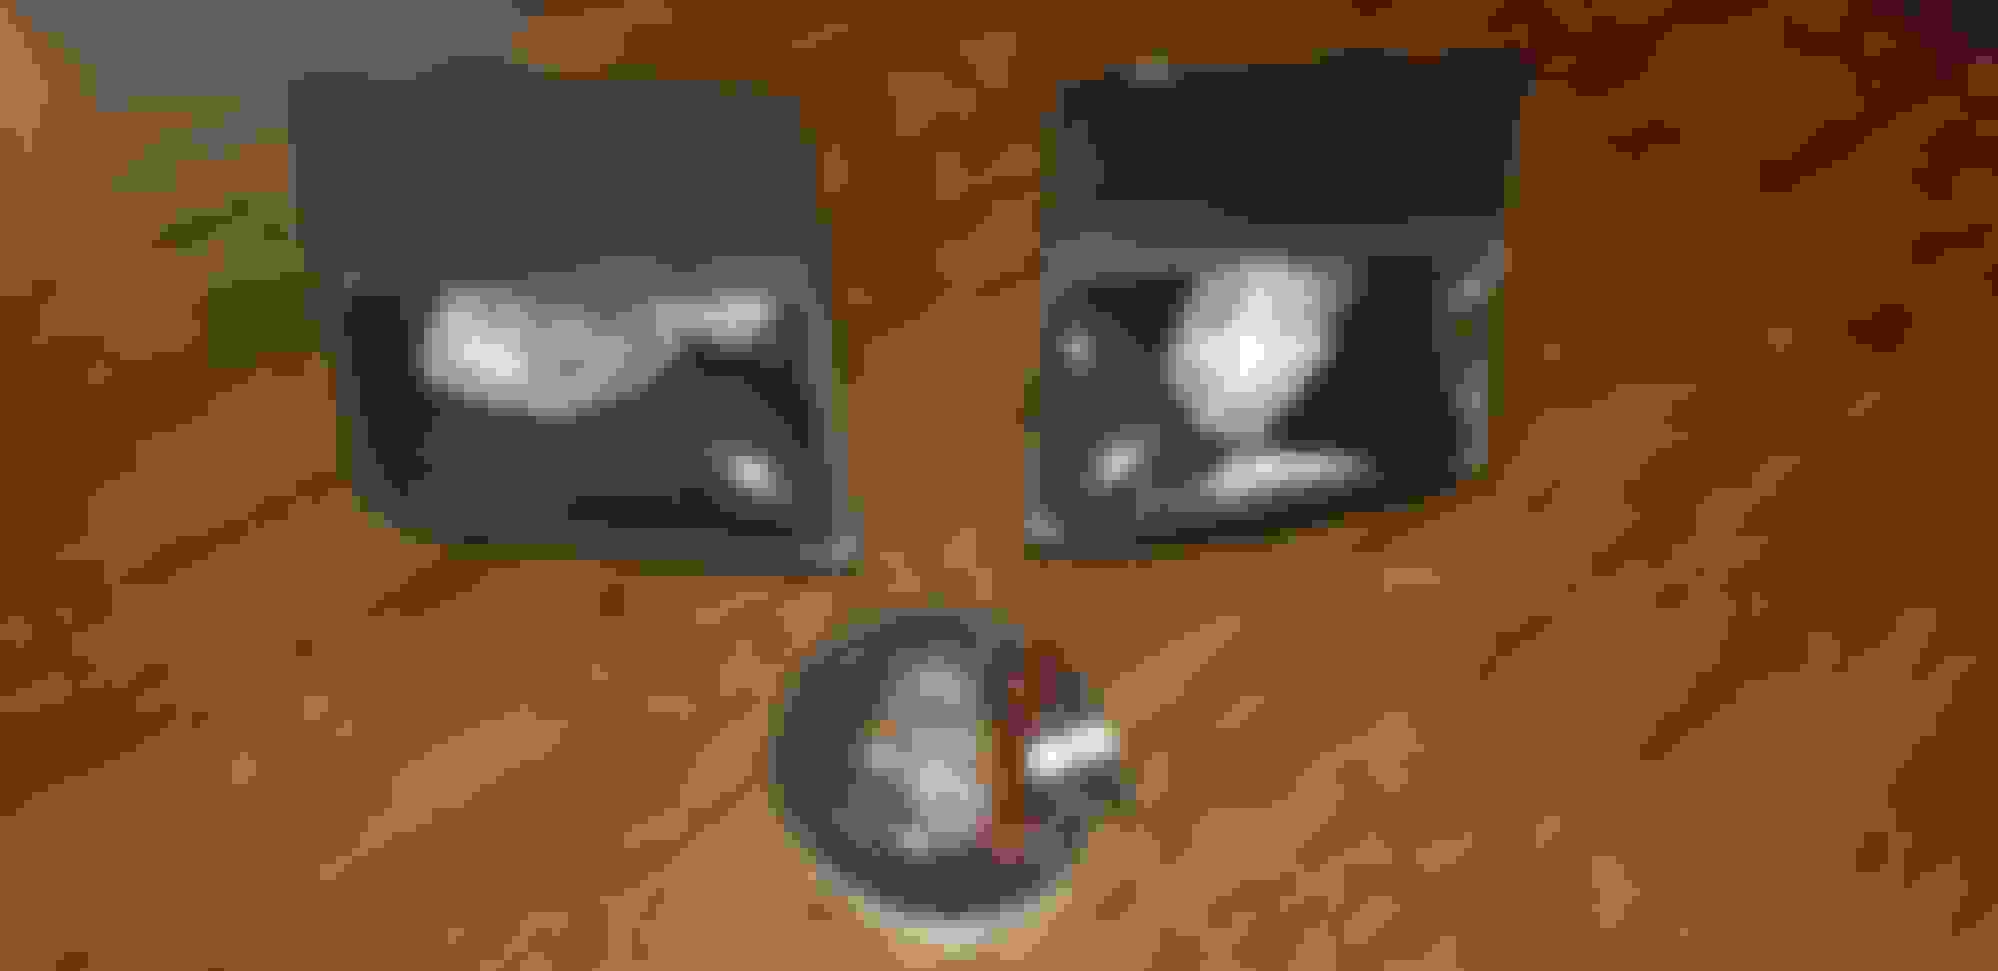
My favorite part of the last few weeks was signing for a special package from Japan's Car Show Glow. I've wanted these tail lights since I first saw them a few years back and am truly excited to actually have a pair. I think they'll modernize the car a little without compromising the look.The customer service, communication, packaging, and product quality are top notch. They even took the time to tint the lenses a few shades darker. The finished product was well worth the 3 month made to order wait. I'm extremely excited to put these on.
I'll be spending the next few weeks deciding on my exhaust and intercooler piping setup as well as Revamping some of the interior pieces. I have some work to do.
Cold drizzling rain has greeted my every day off for the last two weeks. As such, I have made almost NO progress... On the upside, the weather may lead to me buying a temporary car cover, kind of like a mobile spray booth setup, that I can setup at night and get to work in nice and dry the next day. I just need to come up with some lightning ideas and funds. Instead of doing nothing, I pulled the dashboard back out and figure I can clean up the wiring and focus on cleaning/remodeling the dash setup the way I'd like.
On a side note, Banzai Racing sent me a nice little Christmas card. Little things like this are what make this community so awesome and why when I get discouraged with an RX7 I just can't leave them alone. The feeling of solidarity in this community is pretty amazing. Outside of the business or thank you cards you get with some company's packages, this is pretty unheard of. In fact, I've never gotten an actual card from any business. A+ customer service and appreciation Banzai. Thank you for keeping me motivated when I'm being a little woos* about the weather.
Last edited by jjandros; Dec 21, 2018 at 07:50 AM.
I love the master cylinder stopper there. I also really dig seeing the rear strut there. I was thinking about ordering some of those but was not sure how they would look in a stock interior. Nice to know I can go ahead with getting it and not lose too much of my interior! Does it perform well? Loving the build so far! Keep the pics coming! Good stuff!
Any updates? What part of VA you in? I'm in Hampton.
I'm currently in Portsmouth. I haven't done all that much BIG updating but the dash and HVAC work is being done at the moment. I'll find some time to get a few pictures up soon. At the moment I REALLY need someone that can weld up the intercooler piping and exhaust flanges.
I love the master cylinder stopper there. I also really dig seeing the rear strut there. I was thinking about ordering some of those but was not sure how they would look in a stock interior. Nice to know I can go ahead with getting it and not lose too much of my interior! Does it perform well? Loving the build so far! Keep the pics coming! Good stuff!
I really recommend the master cylinder brace. Great price and made well.
As for the rear strut brace, I will say for the price it performs pretty well. It's definitely not a full cage but helps to stiffen the rear and gives me a place to strap my seat harness. I've also used the bar to strap in a trunk organizer to hold my premix and rags so that it's easy to get to and stays secure.
However, you will be required to cut a pretty large portion out of each of the strut towers (the part that holds the speakers at least). If you want to keep cutting to a minimum then a cusco bar might be best. But, if you want to stiffen up the rear without going as far as installing a full cage I'd say it's the way to go.
Last edited by jjandros; Mar 17, 2019 at 10:16 AM.
That's a lot of money for tail lights. Im just jealous because my tail lights look like ***. Nice build so far.
Yeah... it definitely took me some serious contemplation before I took the plunge. But I've only seen two or three others in the US with them so I figured at least it'd be something that you don't see on every other FC.
Last edited by jjandros; Mar 17, 2019 at 10:17 AM.
I always wanted to see those headlights in person.
In hindsight I'm actually pretty impressed. They don't look half bad. Did they install alright?
So far I've only mocked them up and done a test run as I want to paint the buckets to match the car. The buckets look to be hand laid fiberglass, and therefore aren't perfect. Install requires some serious patience if you want it to look right (just like installing any other fiberglass body parts). Also, the lense covers look to just be a molded plexiglass sheet, so covering them with some kind of vinyl to protect them from rock chips seems important. That being said, I love the way they look now that I tinted the lenses. Install gave me something to do while I was low on funds. Once they're painted I'll go ahead and put up some more pictures.
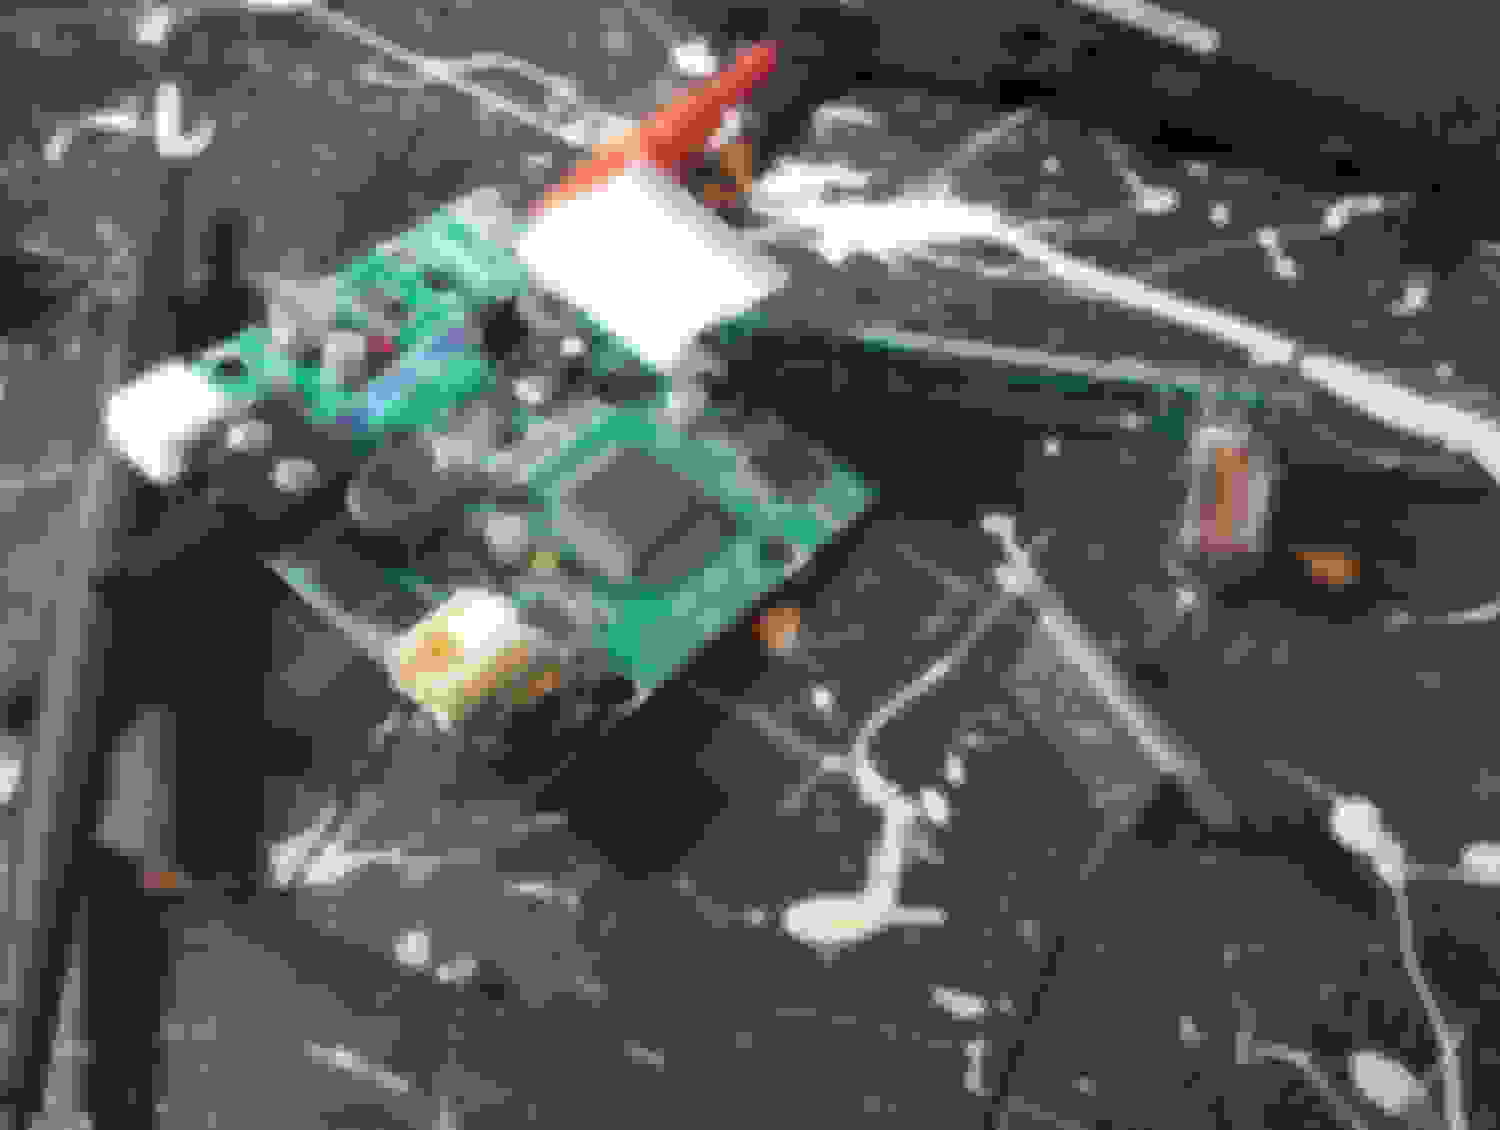
One of the crazier things I decided to do lately was to rip open my boost gauge and change all of the LEDs to amber. The LEDs were extremely small and hard to hand solder/flow onto the board but the end result was worth it.
below is a picture of the boost controller with one of the 12 LEDs I installed in place of the stock blue ones. That little white spec sitting on front of the case is an LED! What a paint to test the polarity and keep them oriented properly.
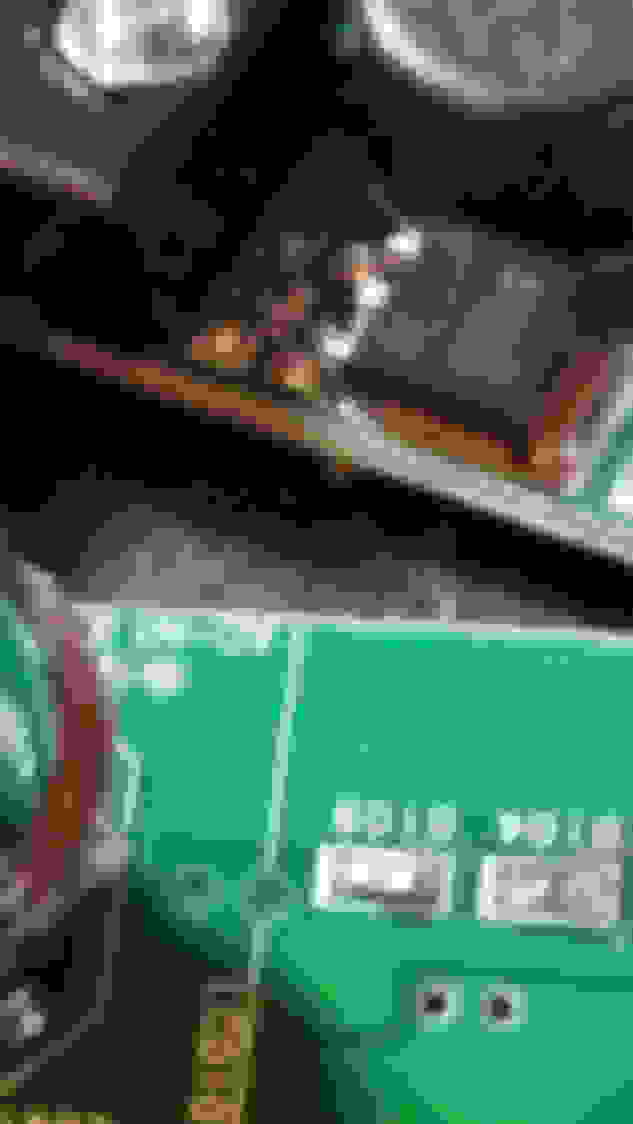
Here's a picture of the inside of the controller, as well as a close up shot of the stock LEDs after unsoldering the LCD screen that covers them.
This is the final result. This actually may be the only Greddy boost controller with an amber backlit screen out in the wild at the moment. Came out just like I wanted it.
Last edited by jjandros; Mar 17, 2019 at 12:06 PM.